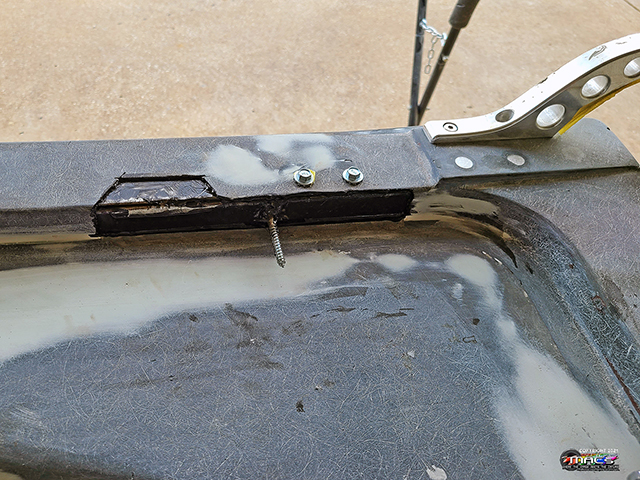
We
got these installed, one on each hinge. These will raise and
lower the rear decklid, replacing the springs that come on these
from the factory.
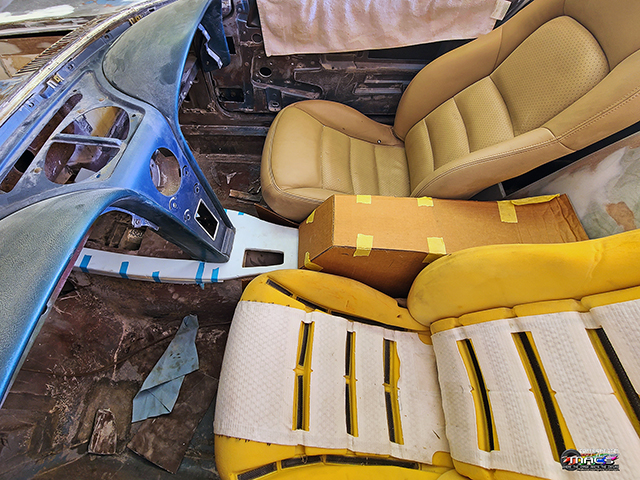
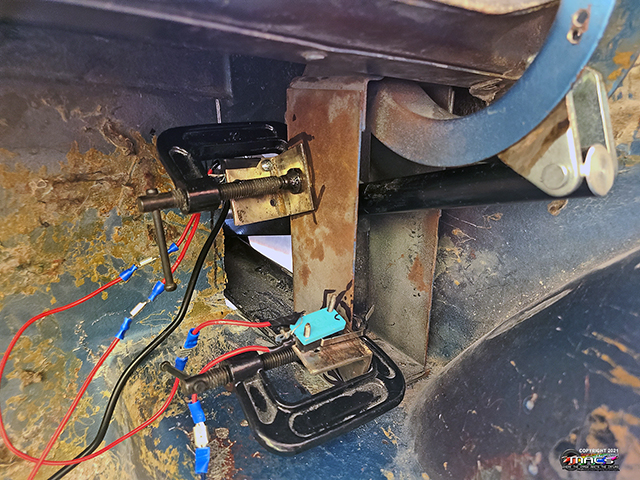
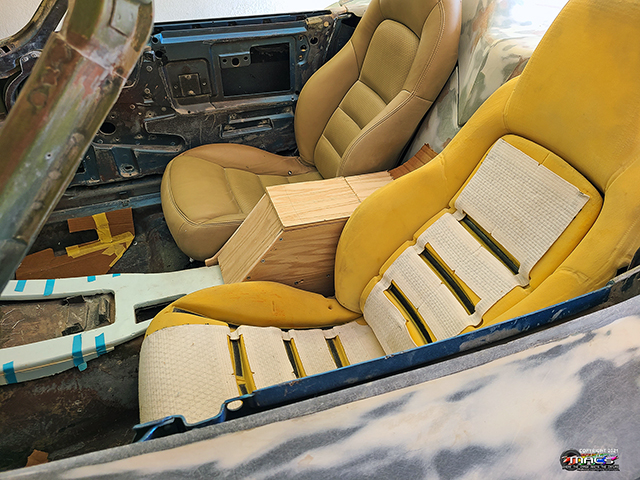
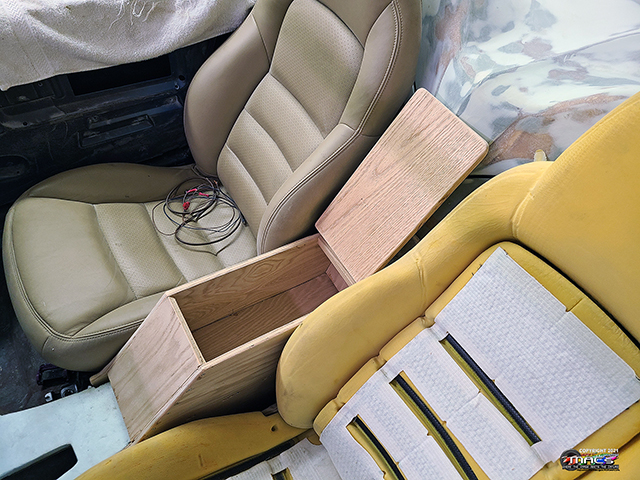
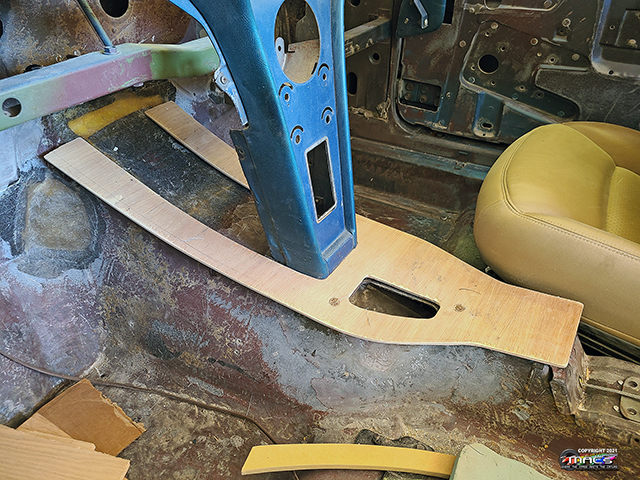
Rear Console Panel - 7/29
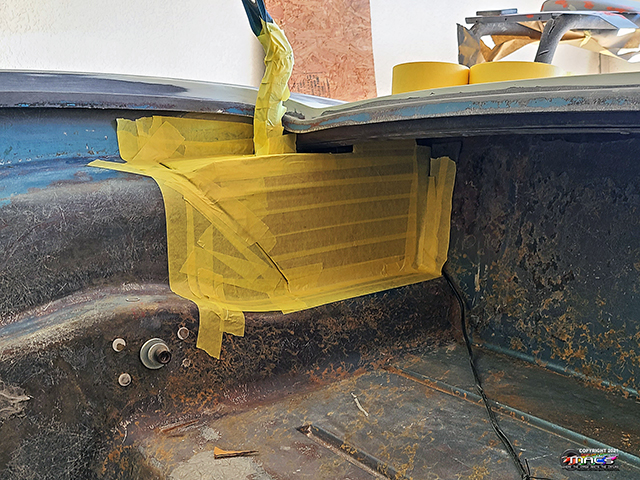
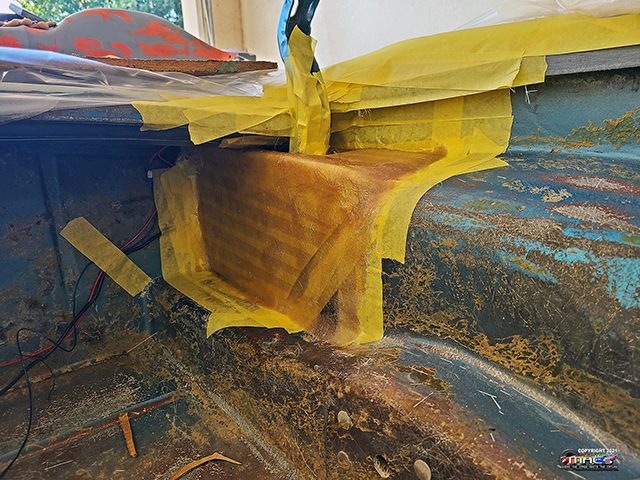
started designing the rear console panel that covers the E-STOPP
e-brake unit. This will now have a compartment door on each side
of the panel for hidden storage.
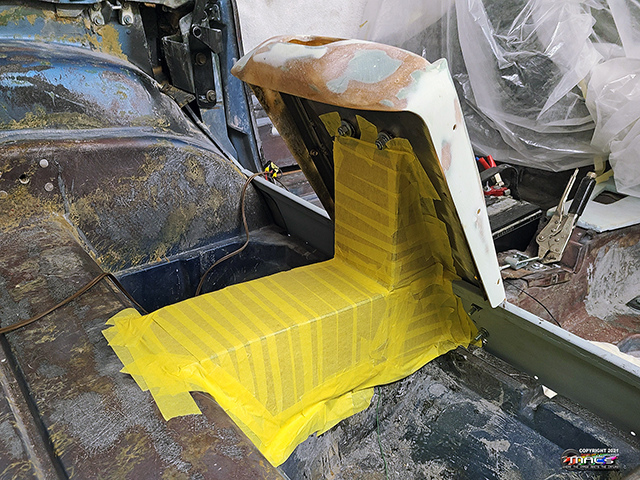
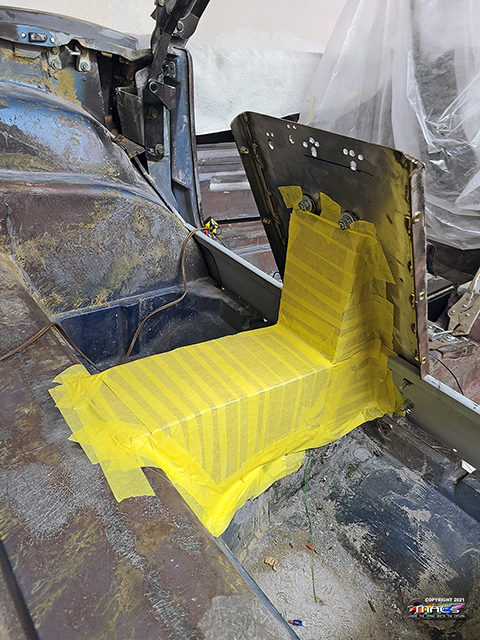
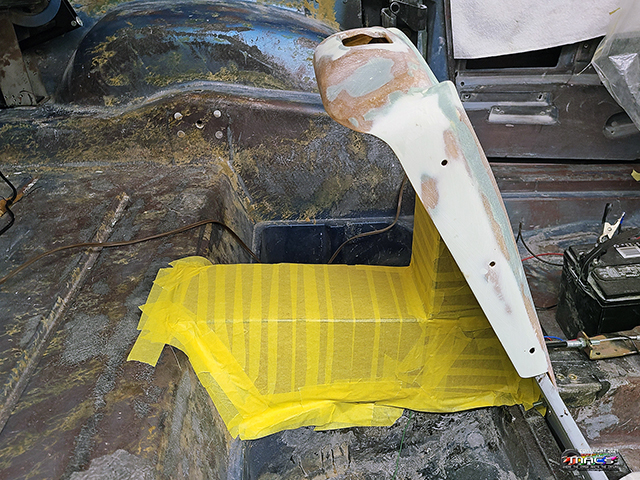
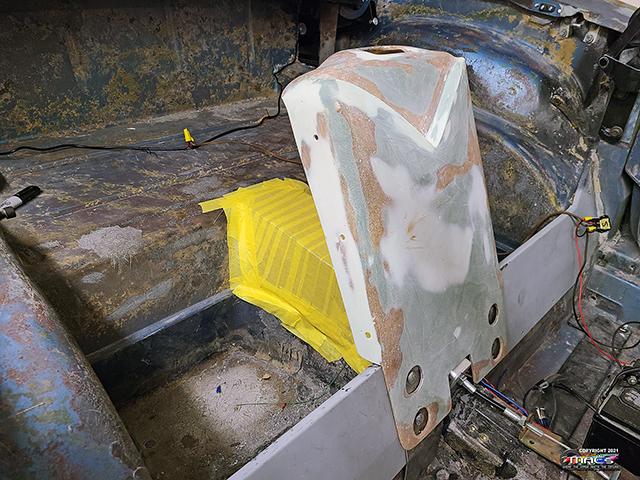
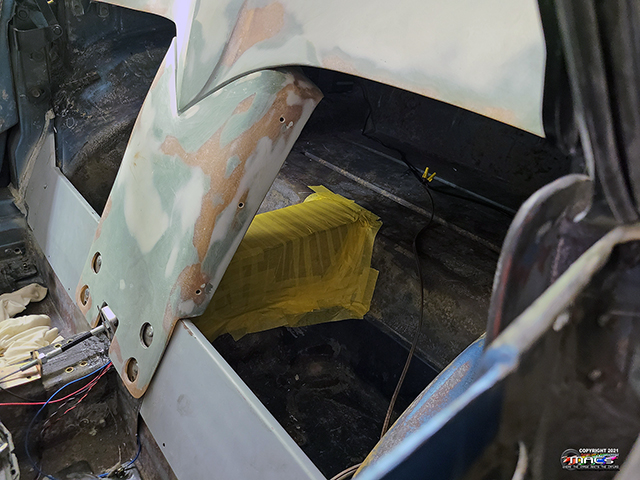
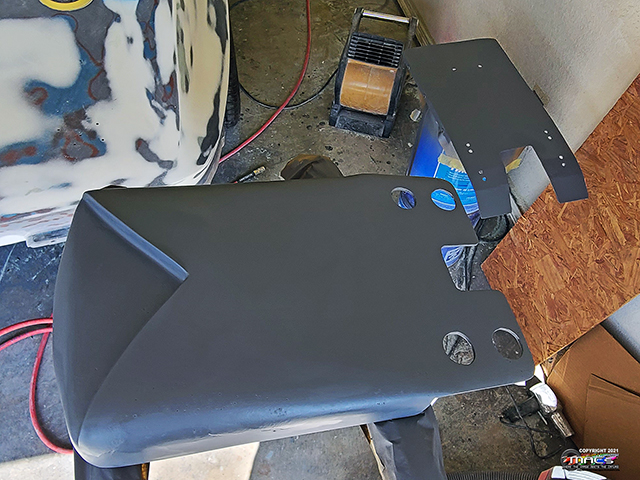
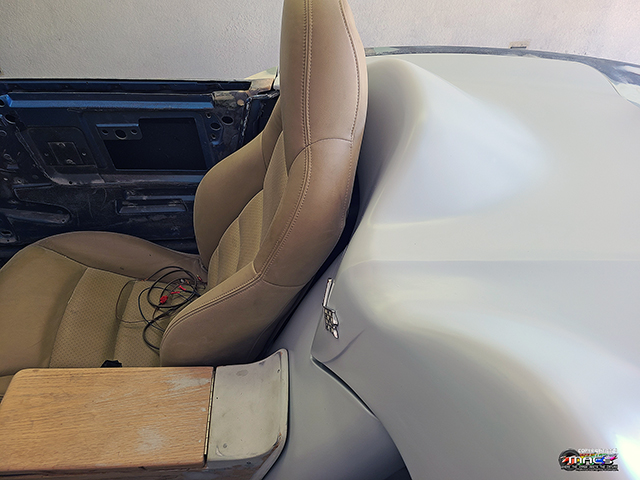
Considering a mondesty panel to hide the decklid hinge and
cleanup the luggage compartment - it would be leather wrapped
along with the back of the compartment
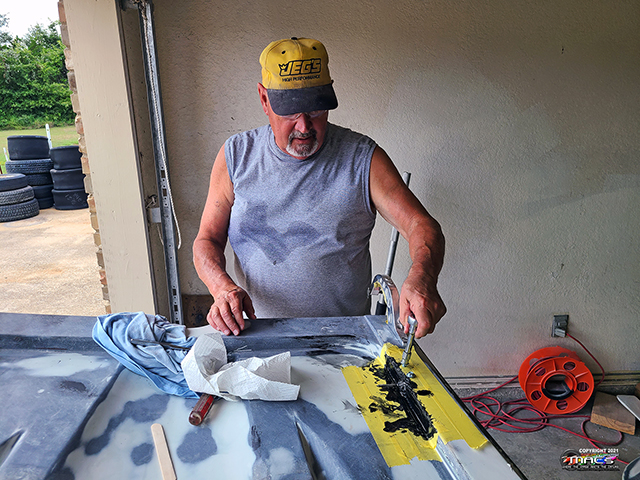
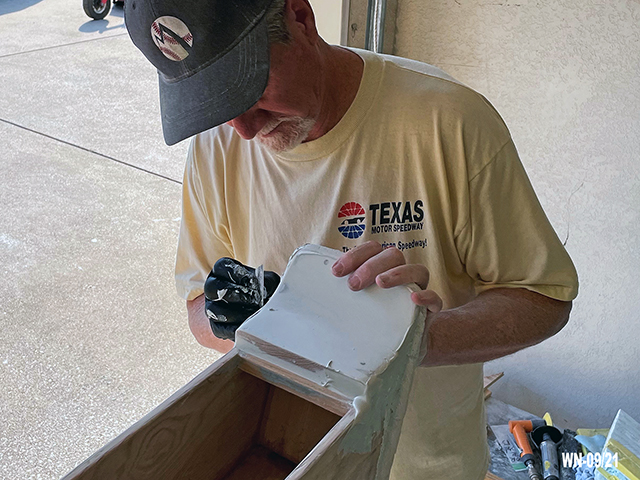
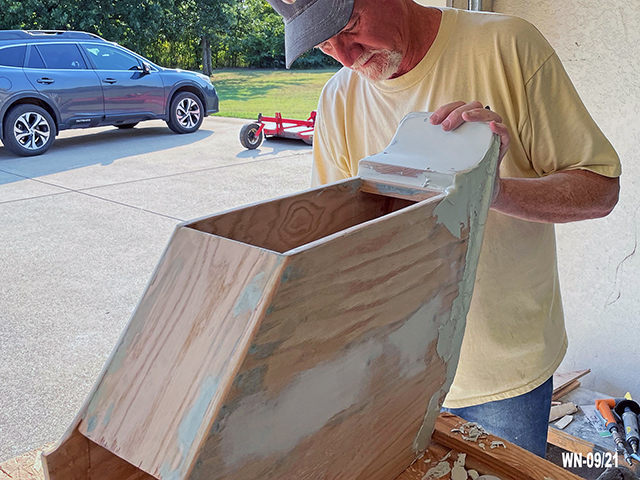
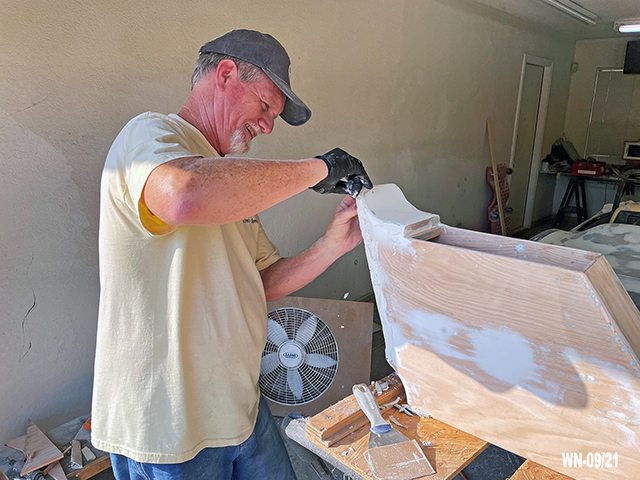
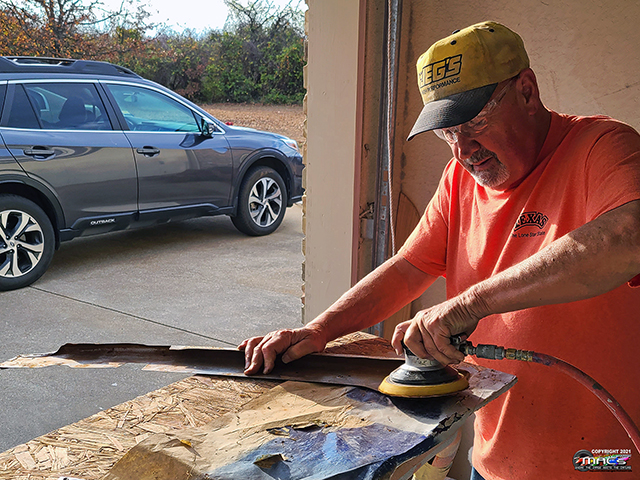
Rear Console Panel - 8/03
William muddin' it
...spread to cover it ...then sand it smooth to remove any
low-spots
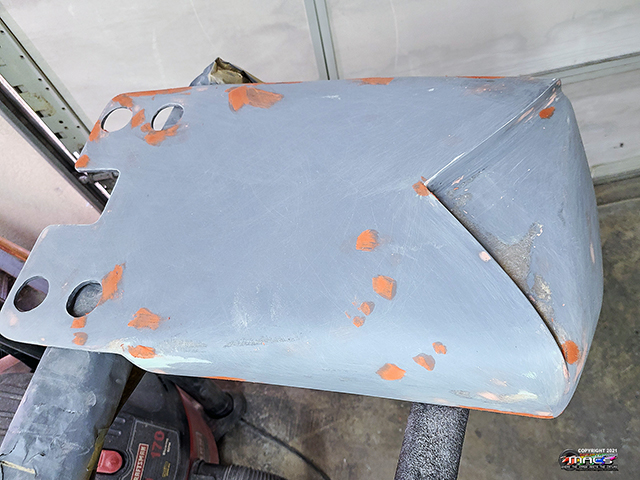
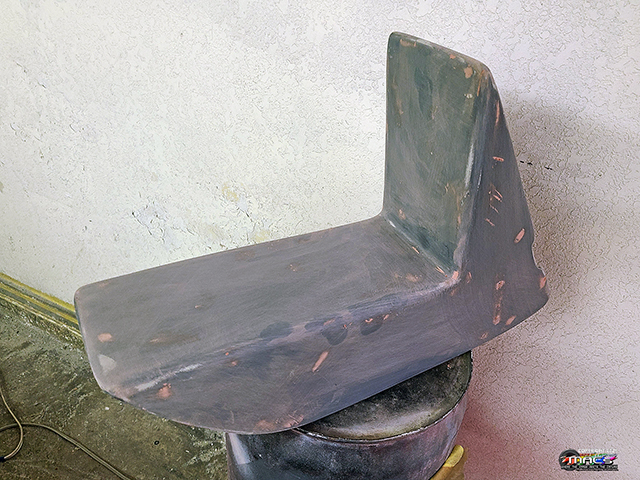
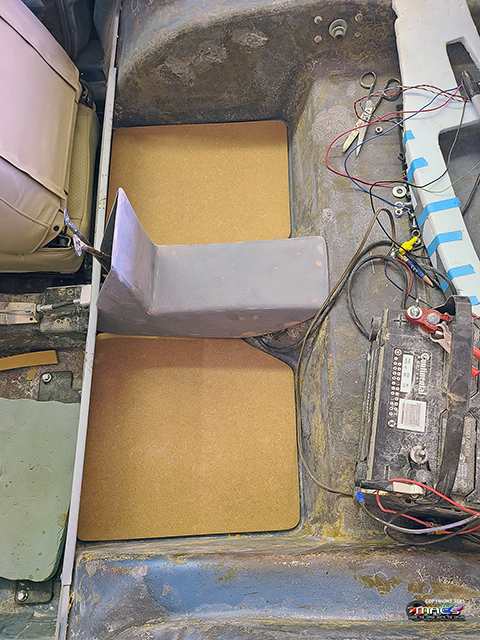
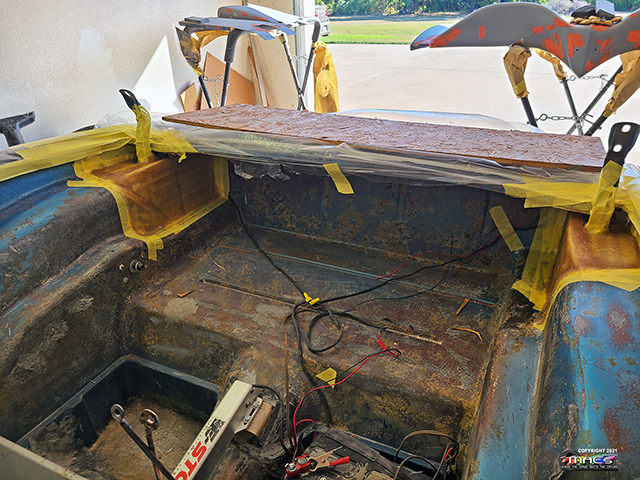
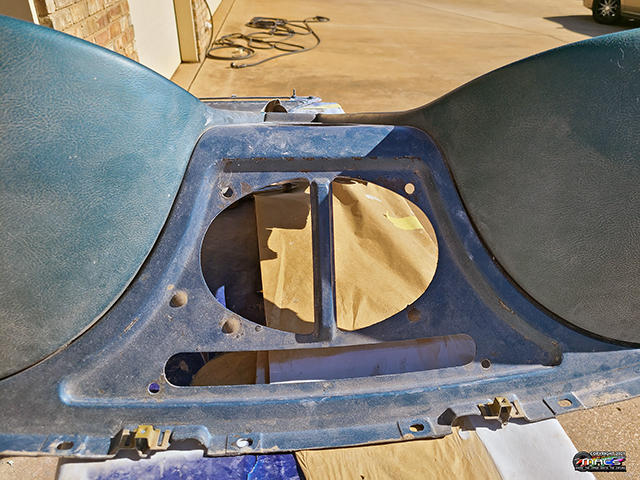
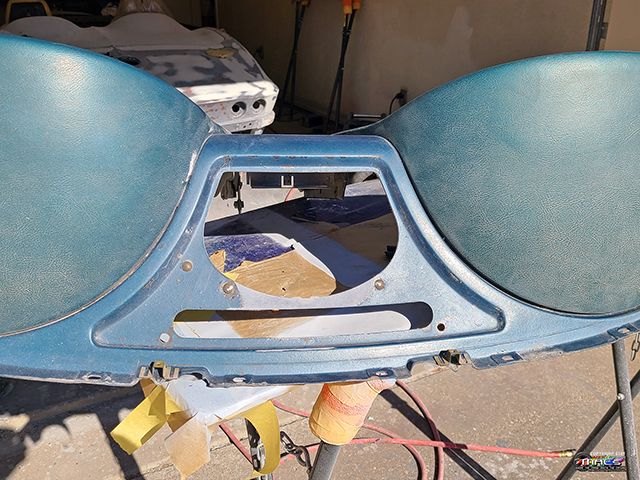
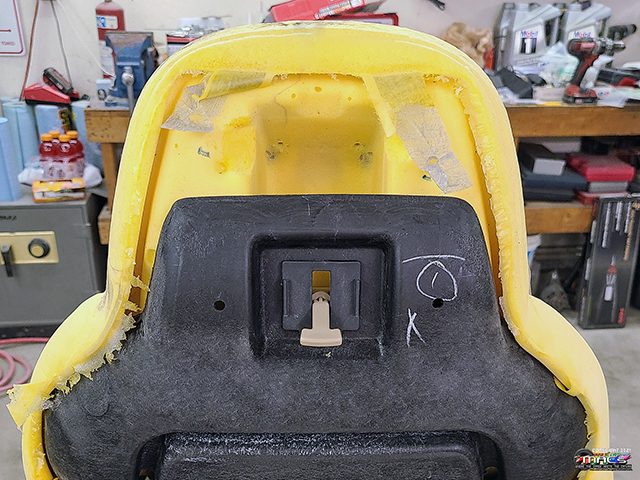
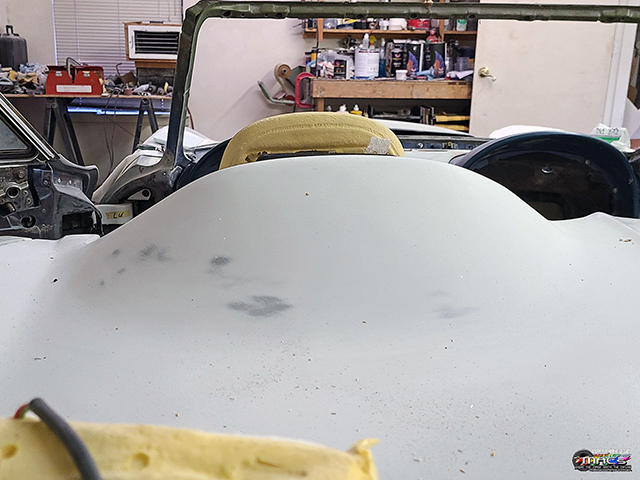
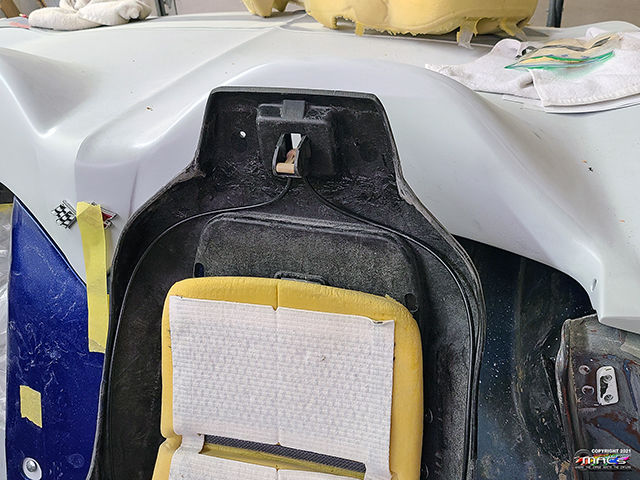
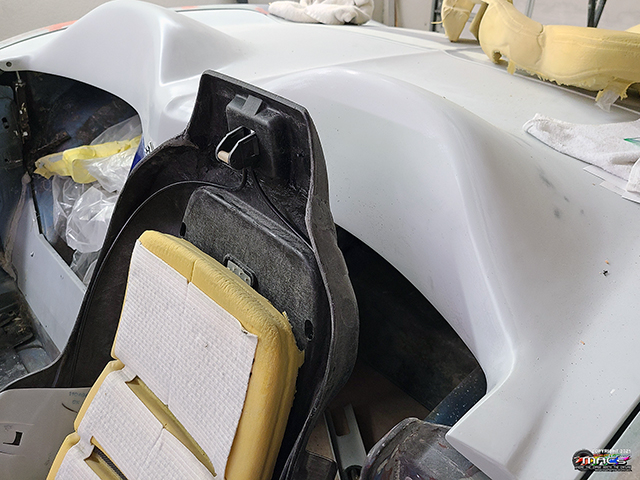
Rear Console, Waterfall &
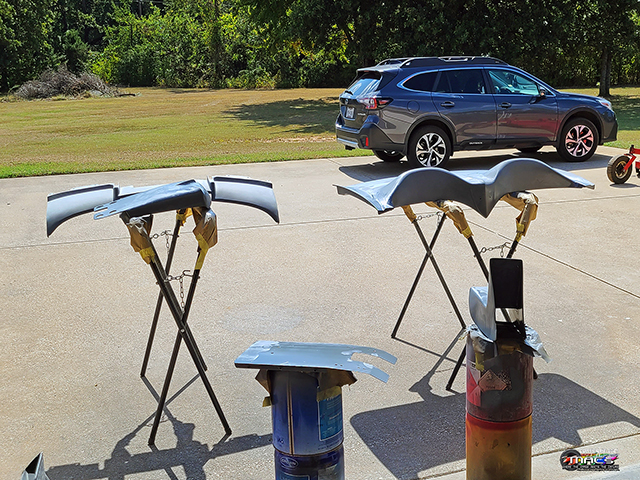
Seeing it Outside - 8/06
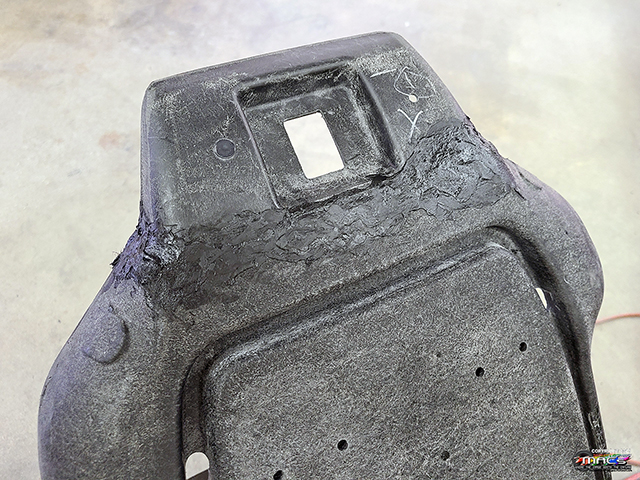
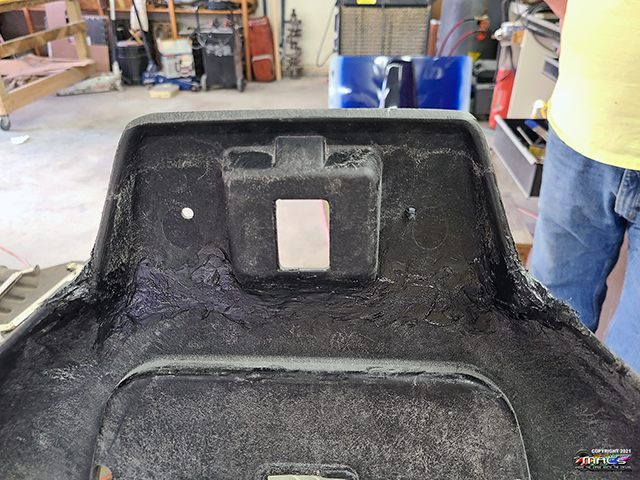
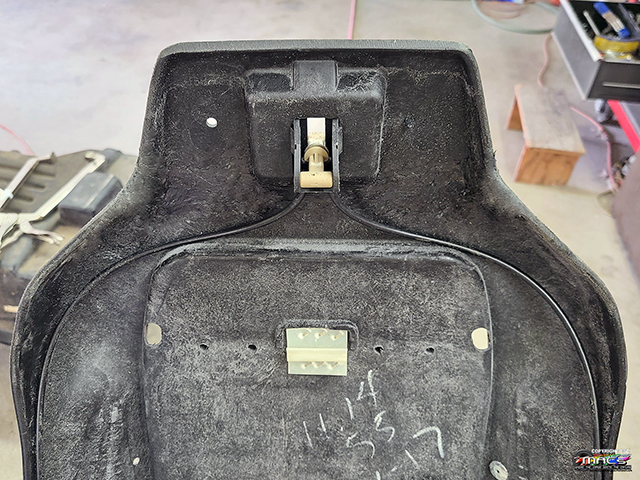
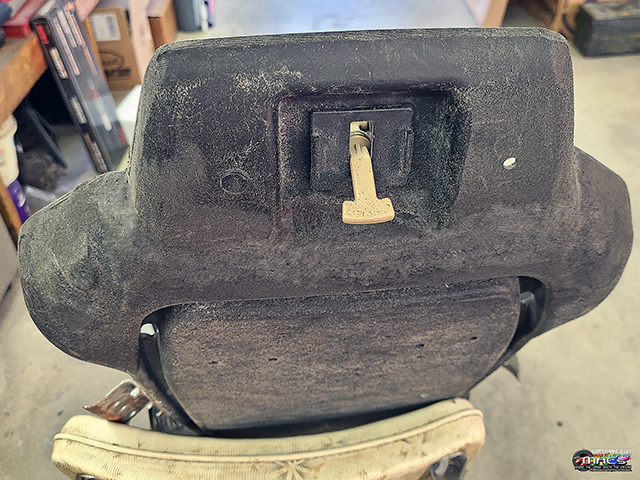
The
rear console completed - other than mounting holes to affix it
to the body
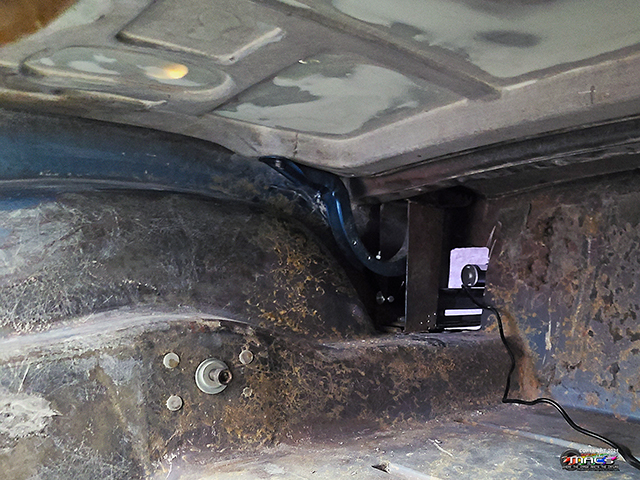
Hides the electronic E-STOPP brake well
The modified waterfall cover, after eliminating the electronic
latch at the top
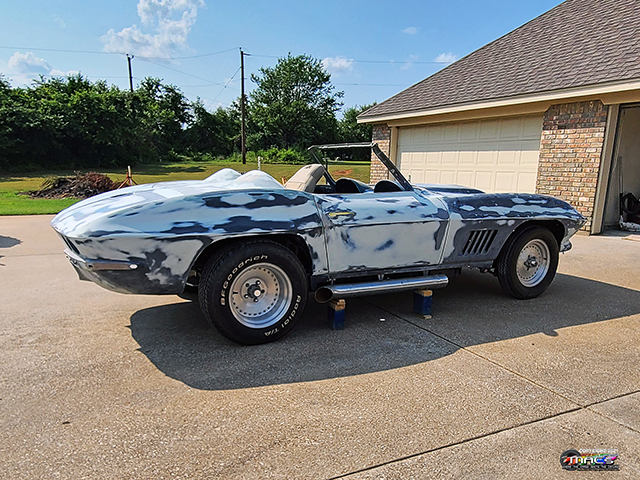
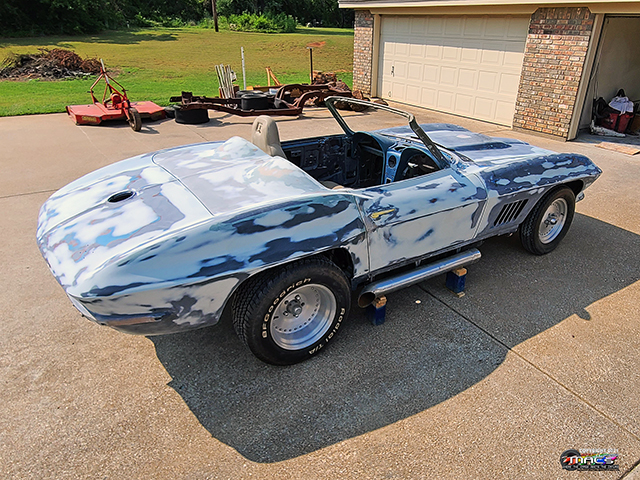
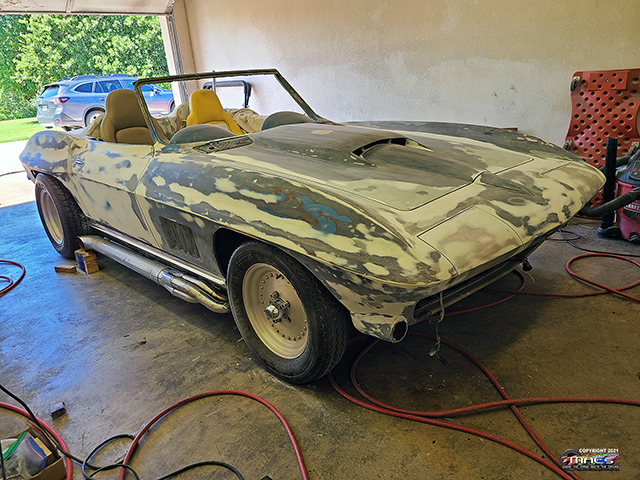
Decided to roll it outside for a look, first time since the
quarters and other items were installed
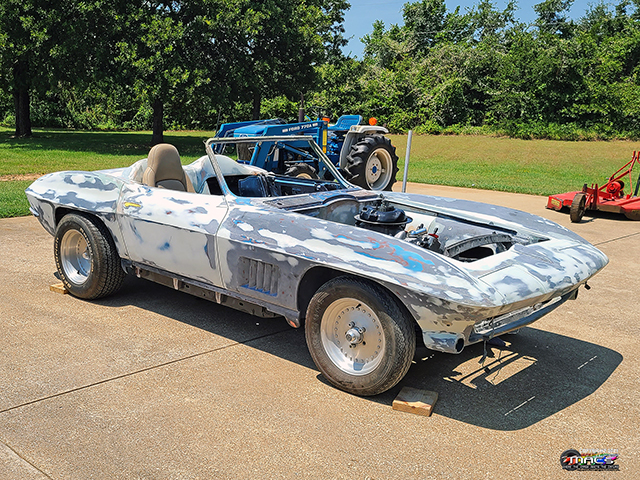
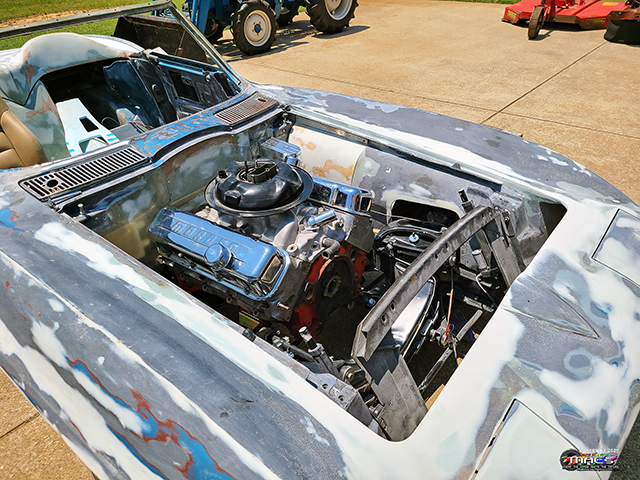
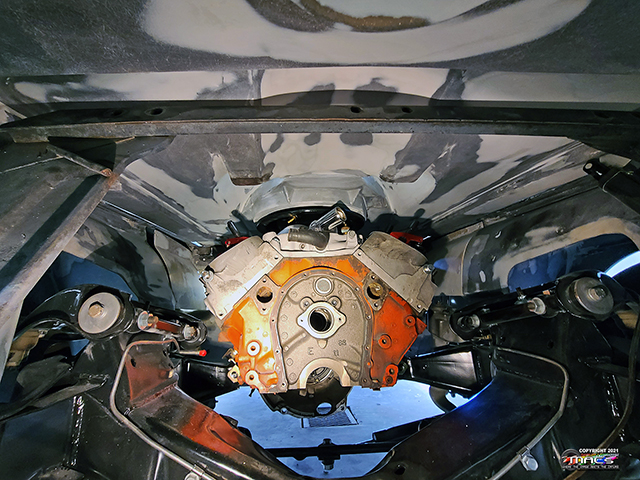
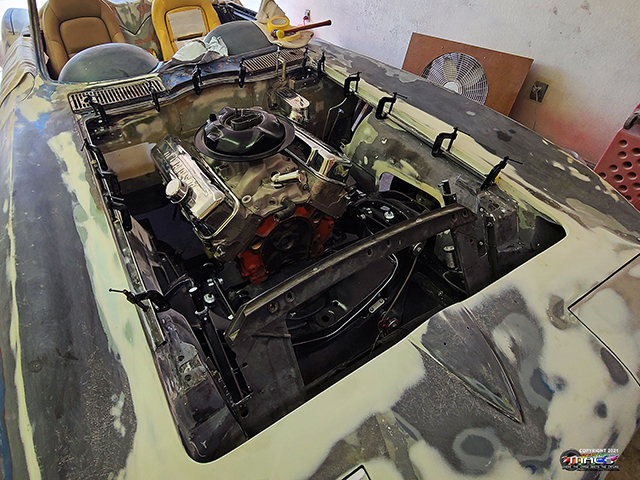
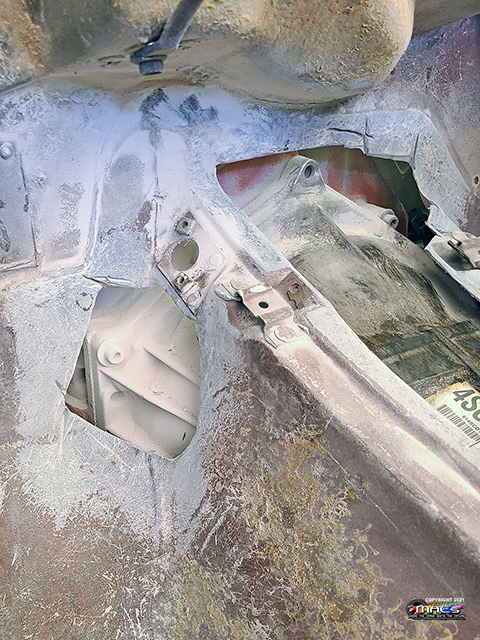
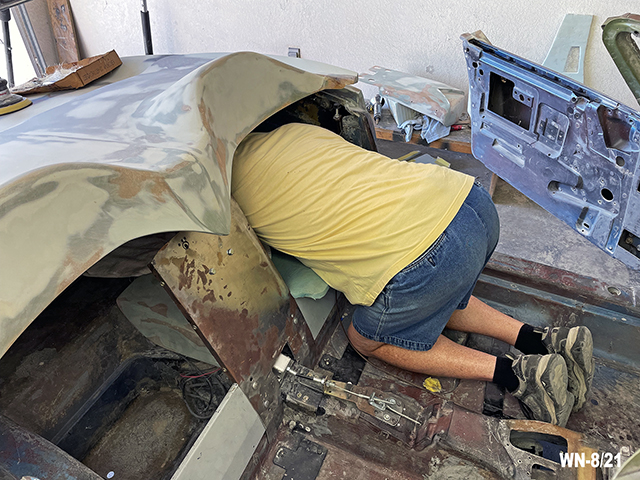
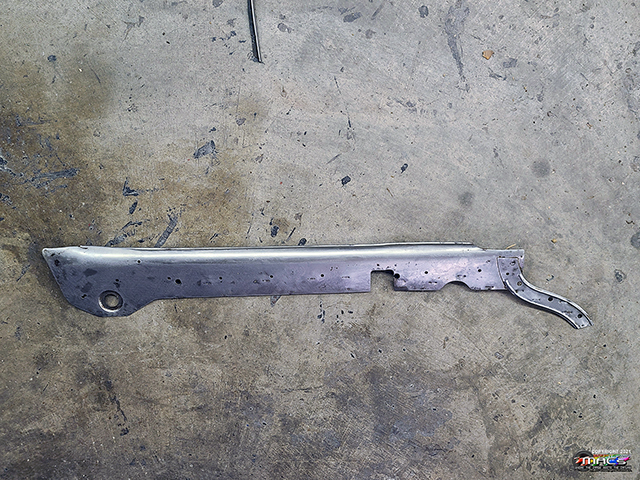
Test-Fit Day - 8/08
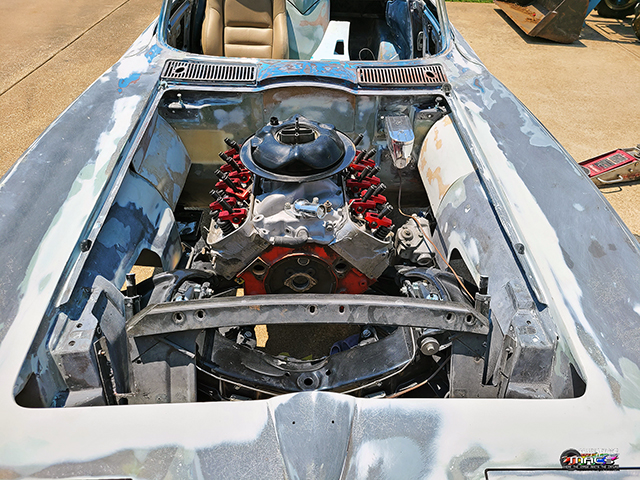
We
dropped the engine & transmission in to check clearances on the
transmission tunnel
A couple of areas did require trimming - fiberglass repair /
reshaping coming soon
William took the opportunity to clean the shop floor without the
Vette inside
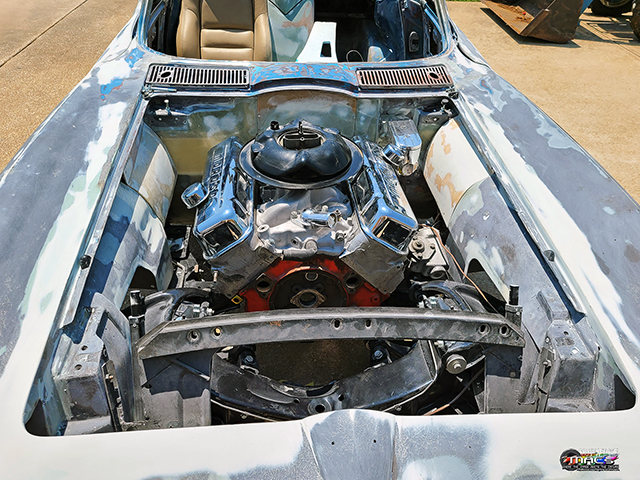
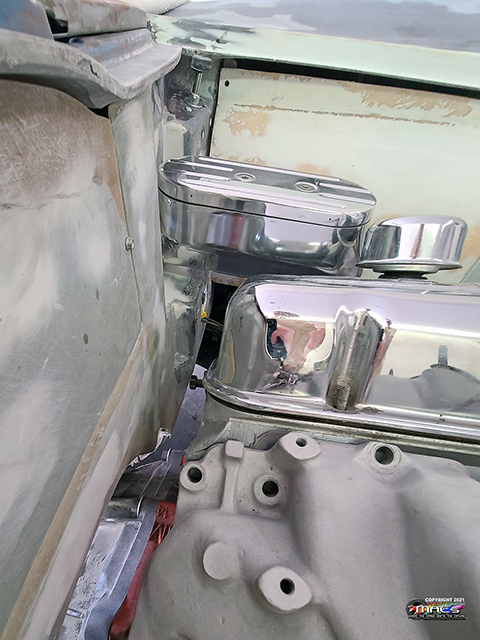
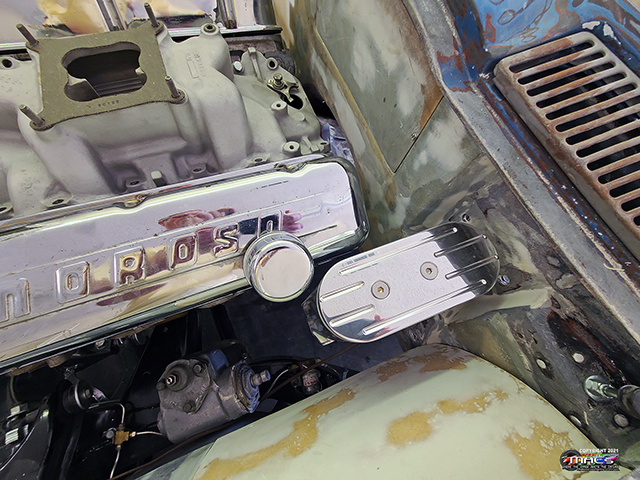
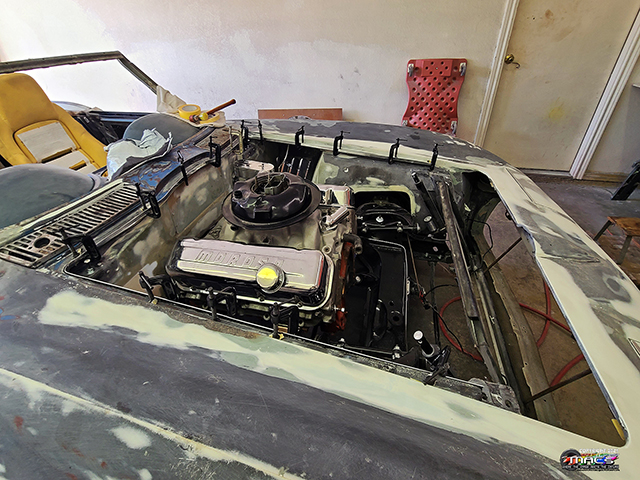
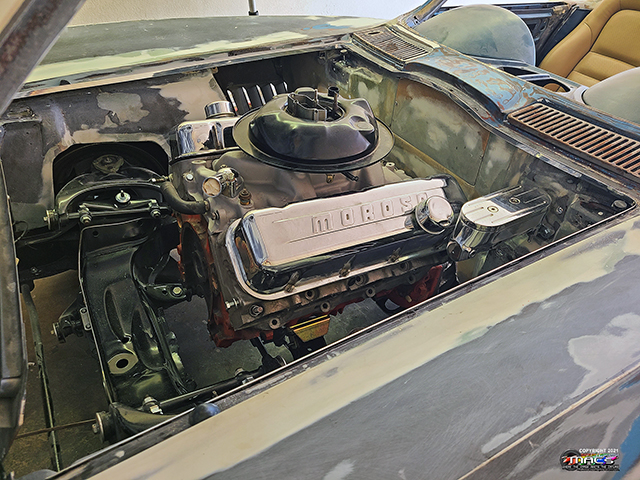
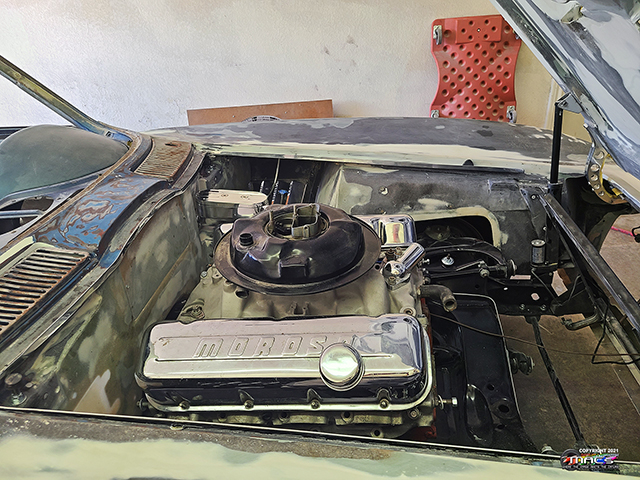
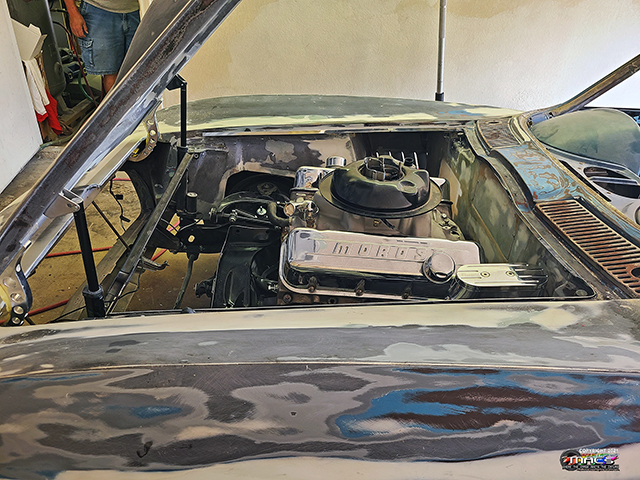
Checking Clearance on L88 Air
Cleaner and other Items - 8/13
Going
to need to choose new valve covers carfully - hopefully with the
breather on the other end
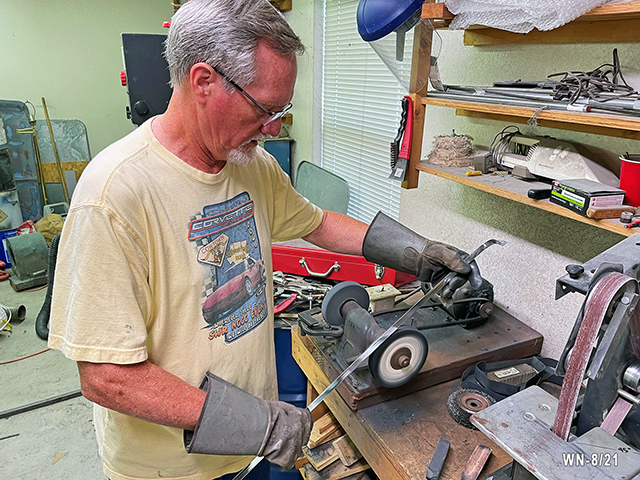
Checking
Rear Console Panel - 8/15
Design #2 of the console ...6.5" wide - will taper the front
more. It will have a lid that opens to the rear.
Polishing the new rain gutter rail (aluminum angle) prior to
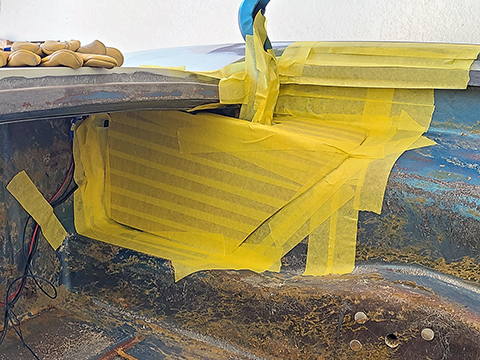
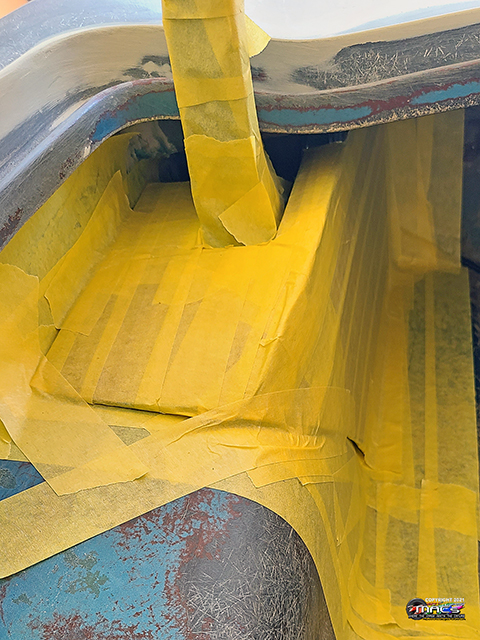
installation
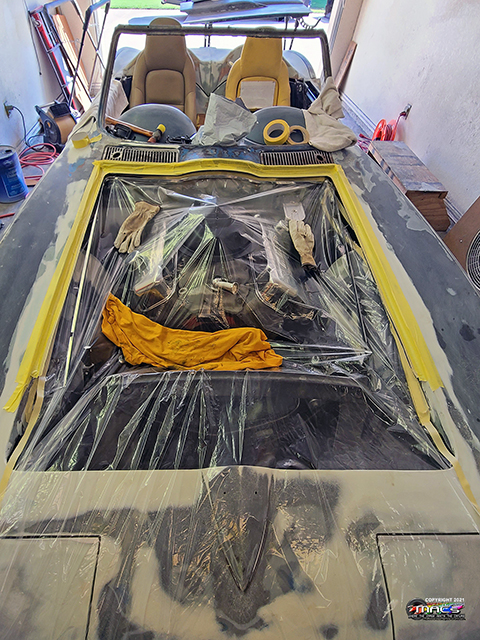
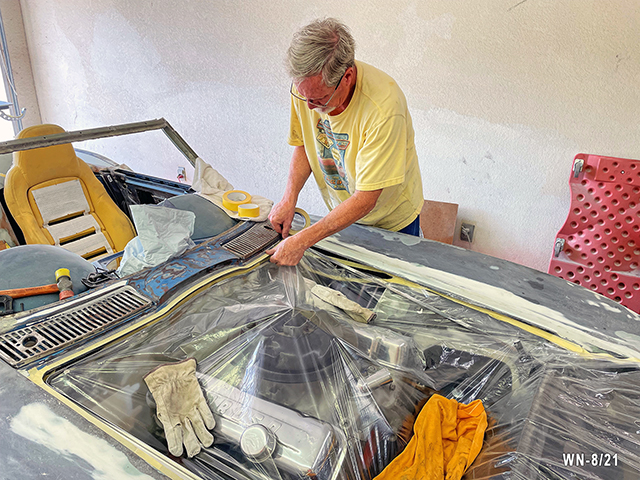
Engine compartment / fender have been masked for the messy epoxy
work
Epoxied to the bottom of the hood surround - held in place with
small clamps until dry
The new polished
aluminum rain gutter is finished now and bonded to the hood
surround
Console Design mock-up - version 2
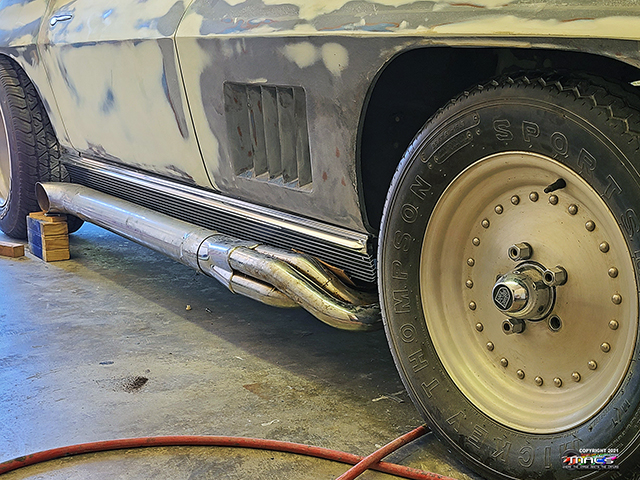
Rocker Panel / Header Test
Fit - 8/21
Test
fit of the new '66 Rocker Panels with the Hooker Header /
Sidepipes (old set)
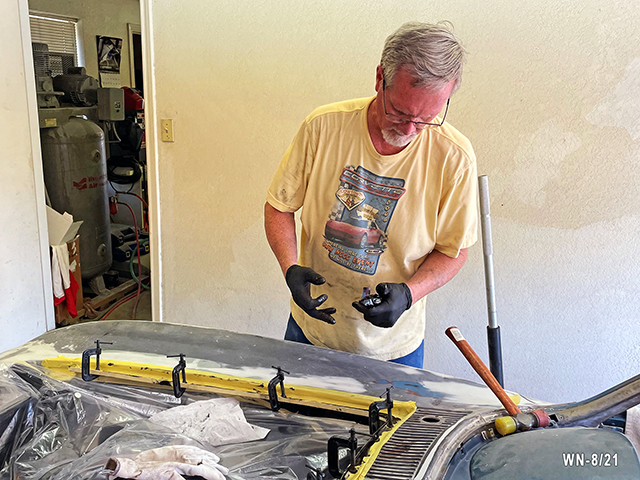
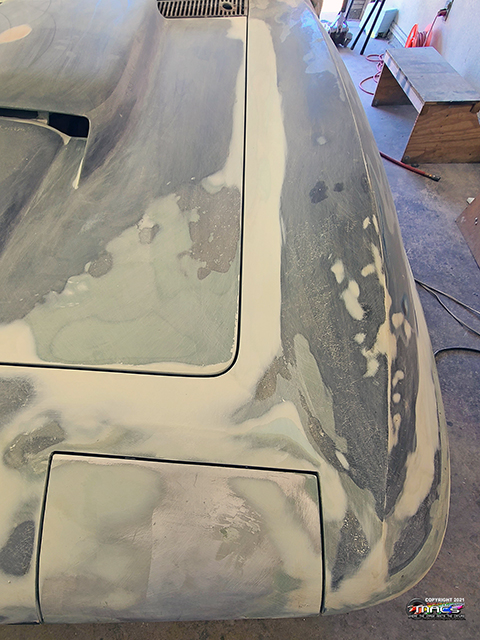
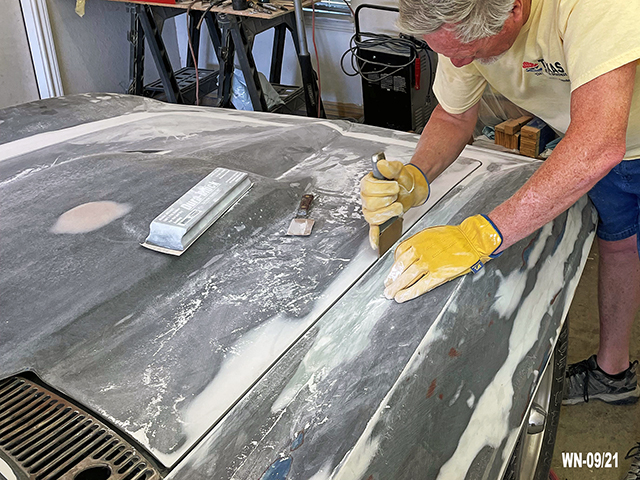
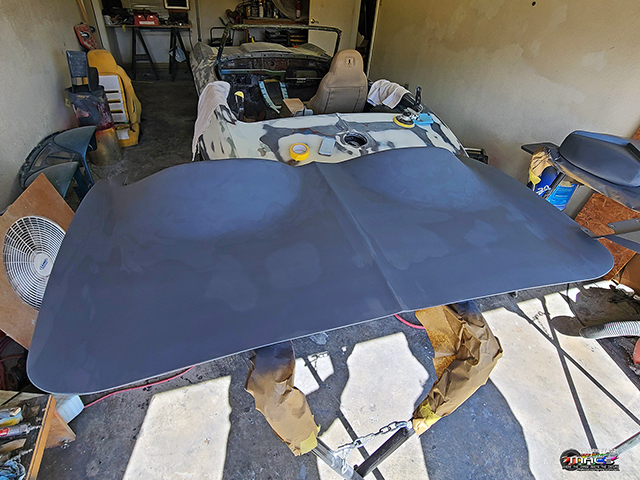
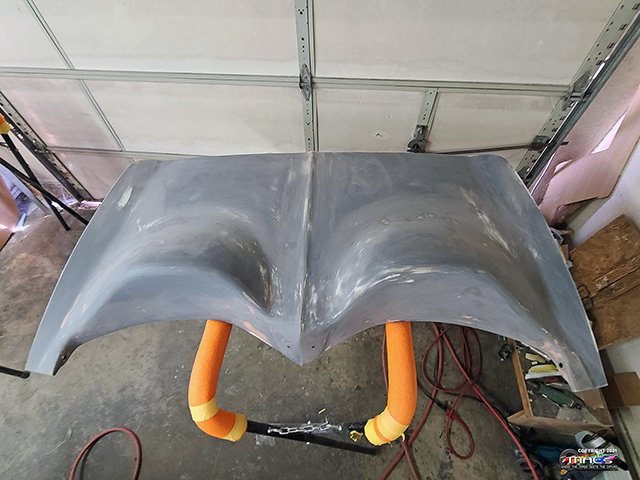
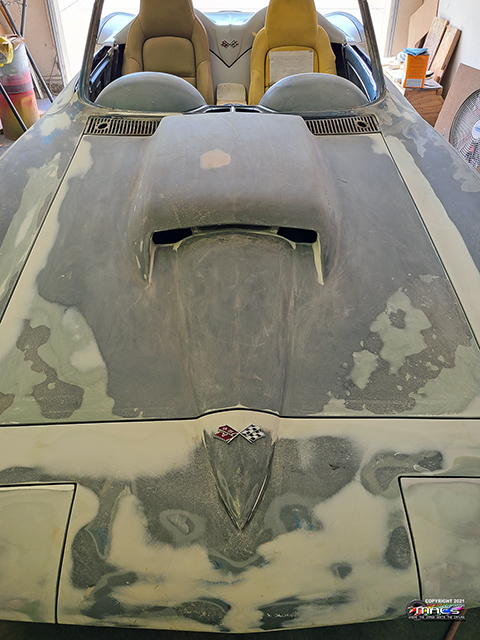
Final Hood Gap and Leveling - 8/22
The slow painful
process of hood gaps is finally complete
Leveling the hood to the hood surround is equally slow & painful
It
takes a lot of time and hand sanding to get the gaps perfect
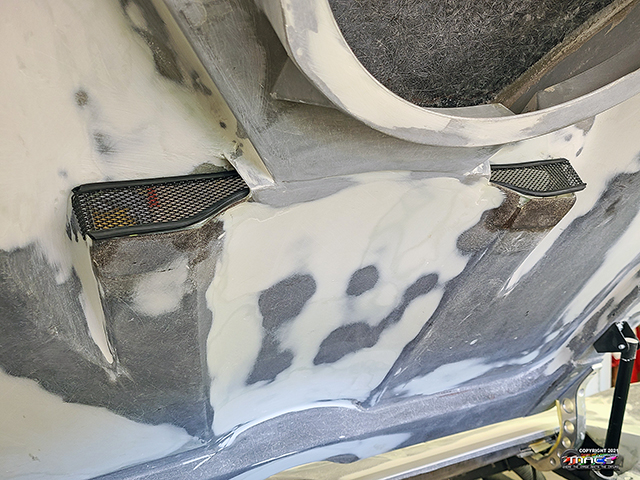
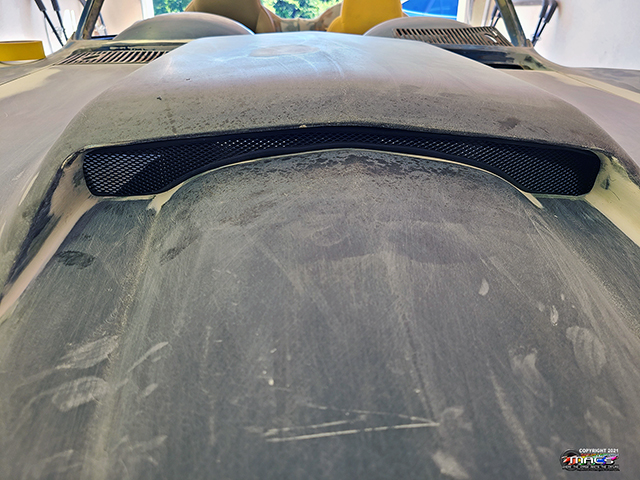
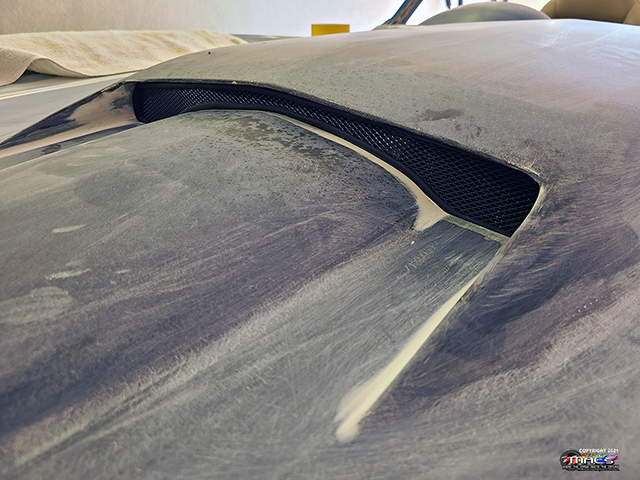
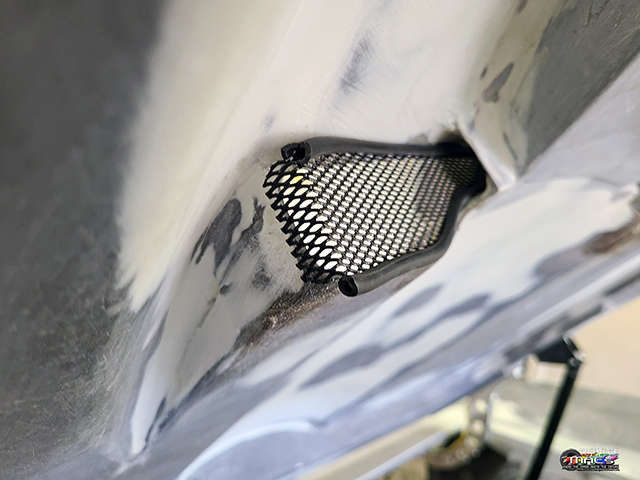
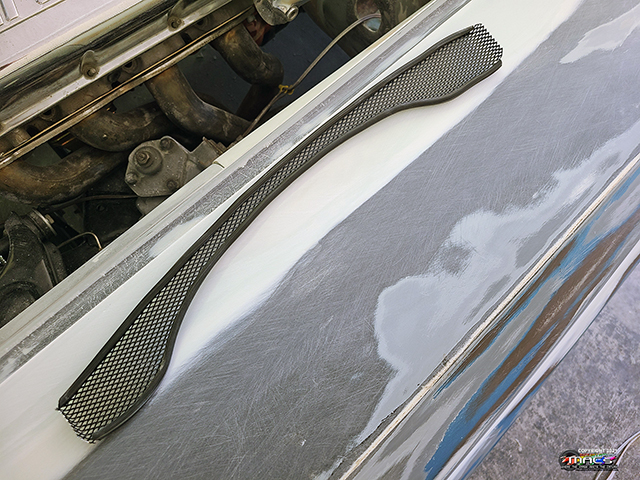
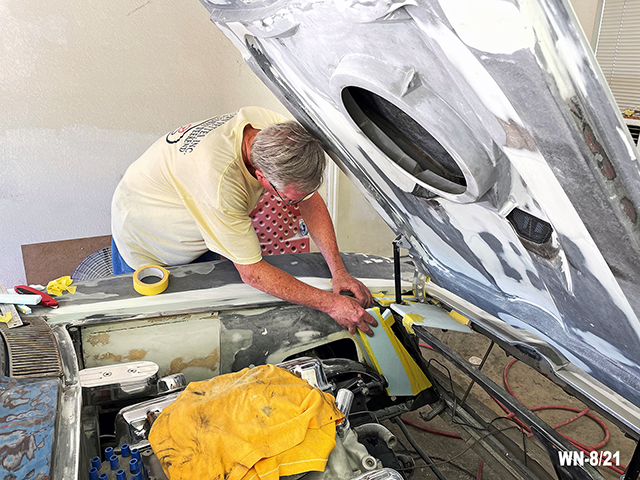
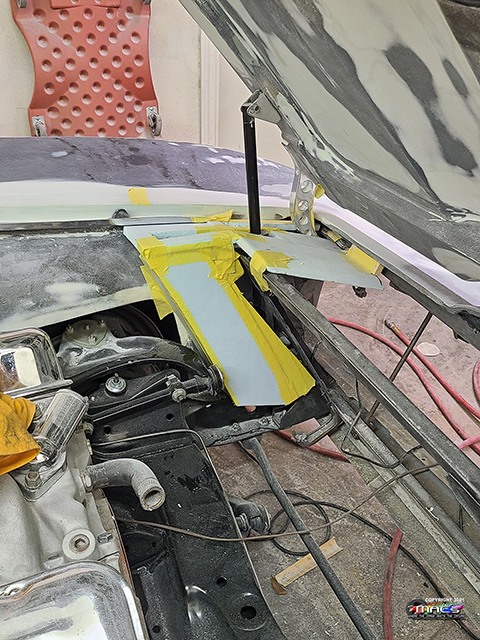
L88 Opening Grill & Actual
Cover Mock-Up - 8/24
Built
a mesh grill insert for the L88 stinger opening. Still need to
finish out the ends and figure out attachment to the stinger
hood
Repairing the body where the U-Nuts go to hold down the grill at
the back of the hood
The
plan is to have a radiator cover that also covers the hood
actuator motors. This was a mock-up (very rough shape) for one
thought
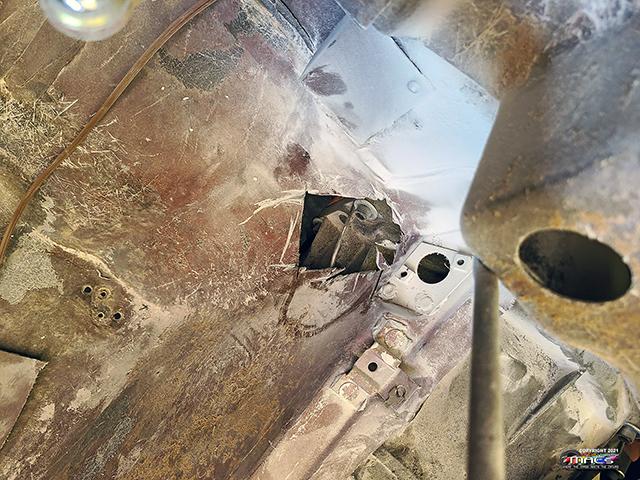
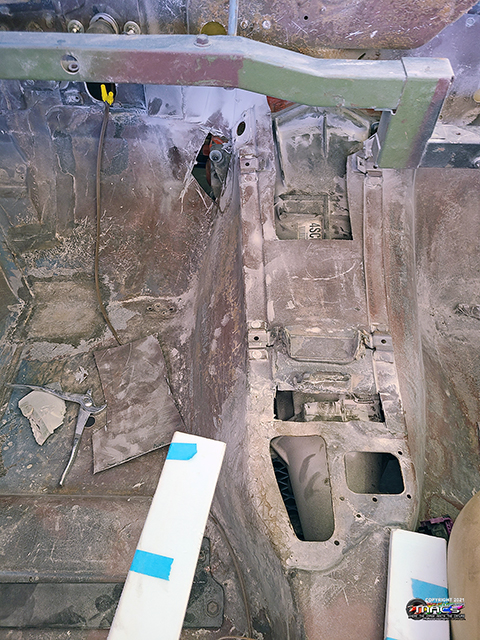
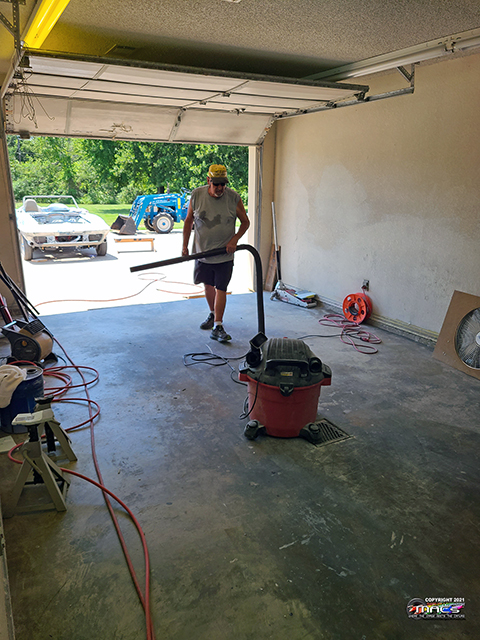
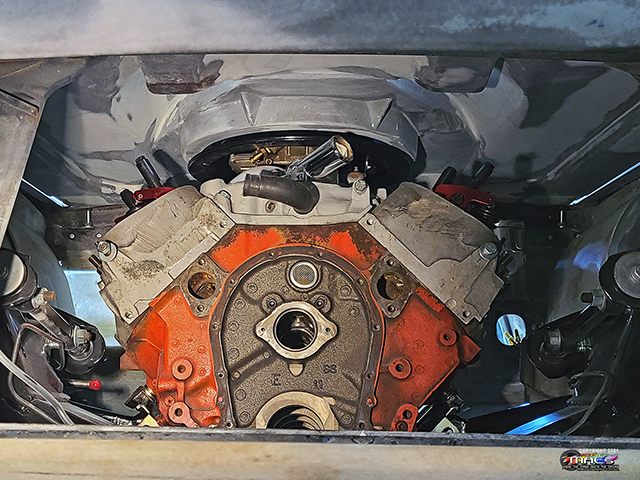
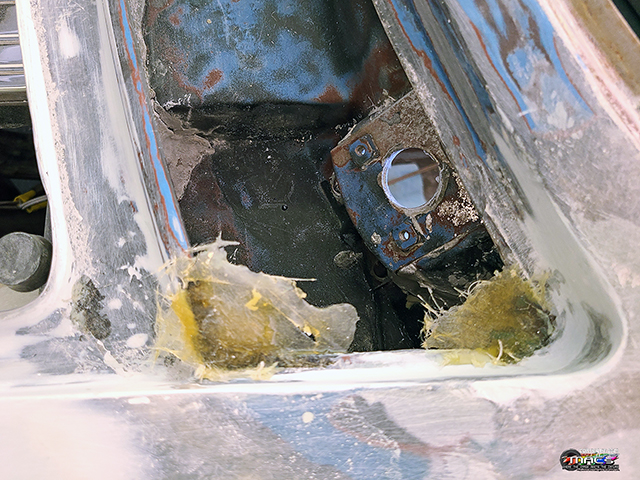
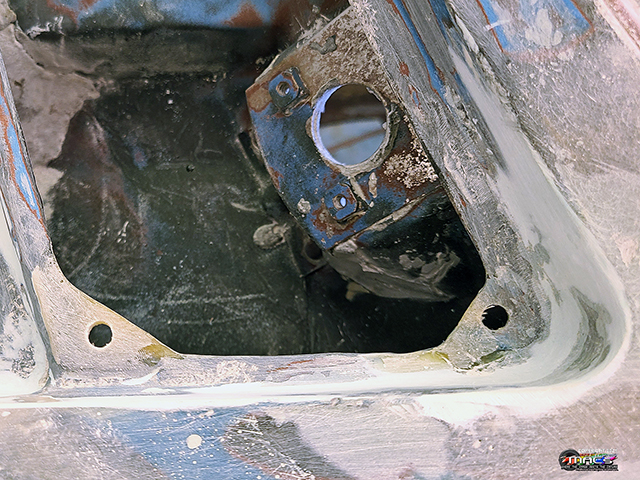
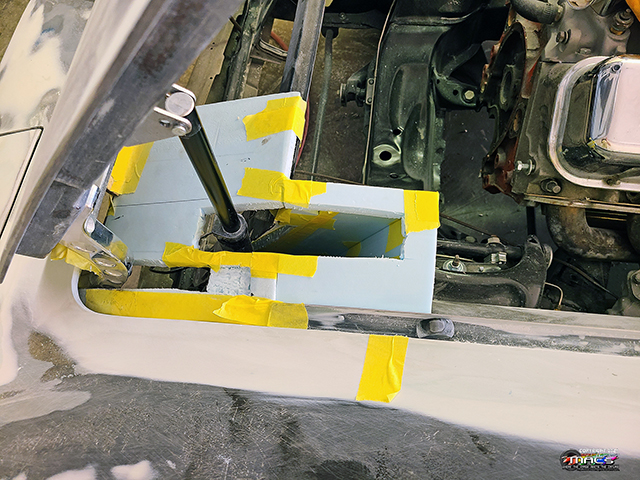
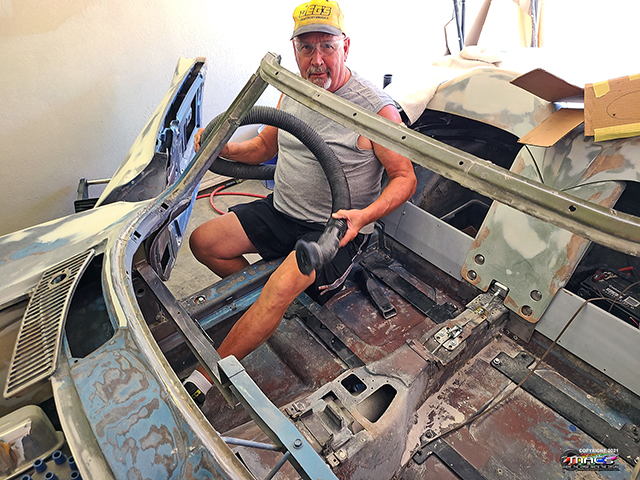
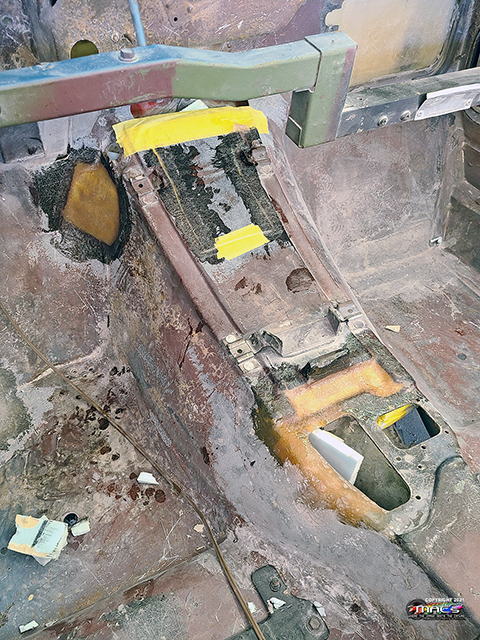
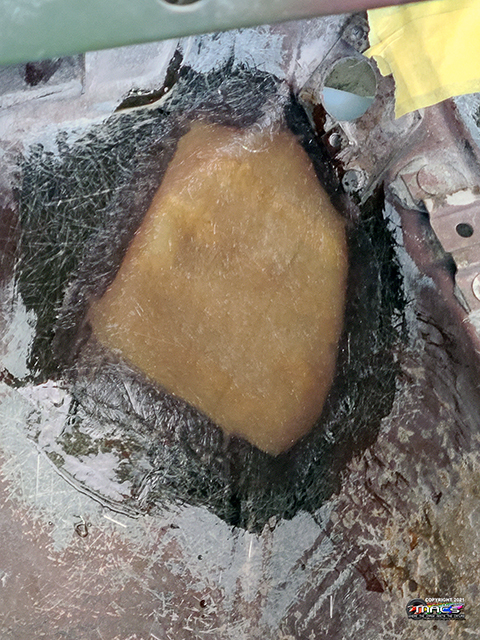
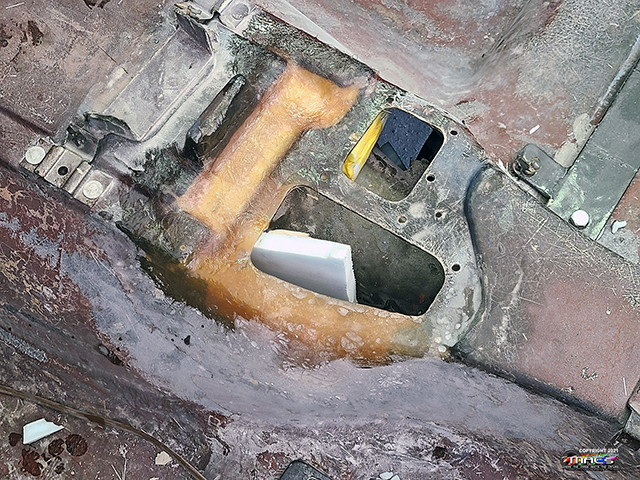
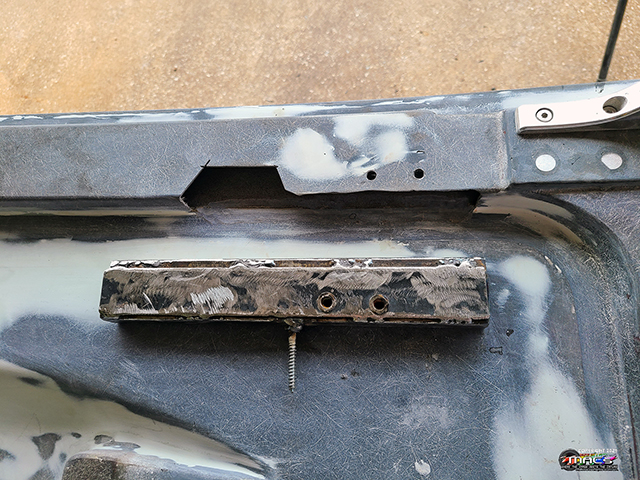
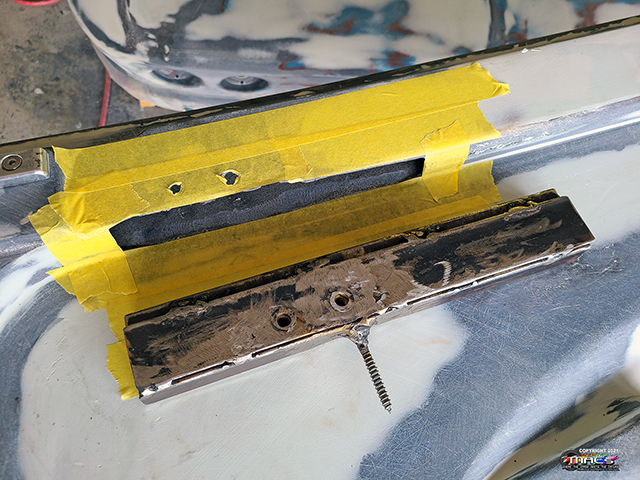
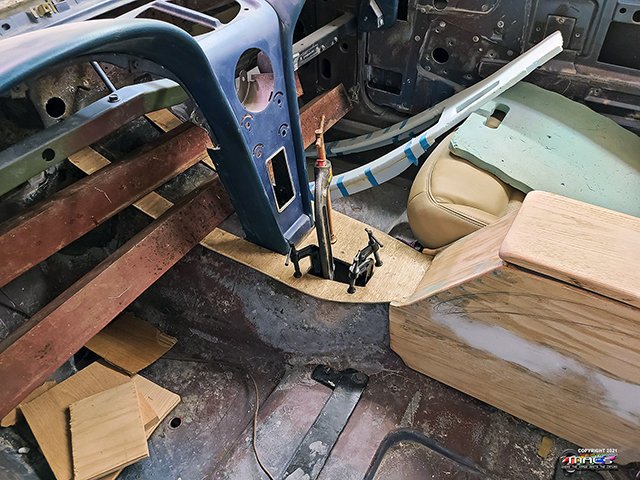
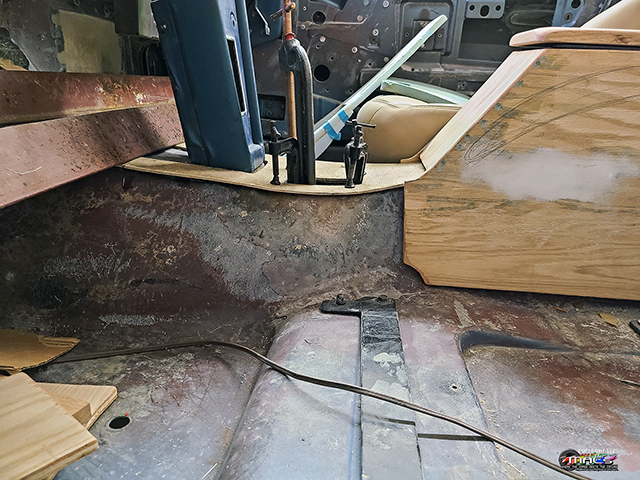
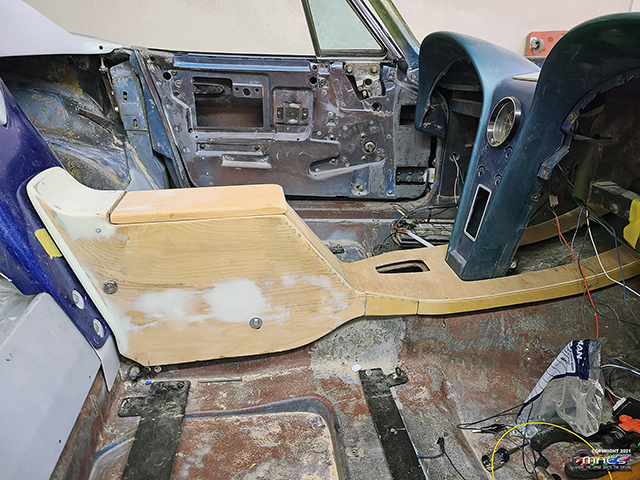
Rebuilding Firewall /
Transmission Tunnel - 8/27
William vaccuming
out the fiberglass grinding dust before we perform the repairs
Rebuilding the areas of the firewall and console that had to be
trimmed / reshaped to allow 700R4 transmission clearance
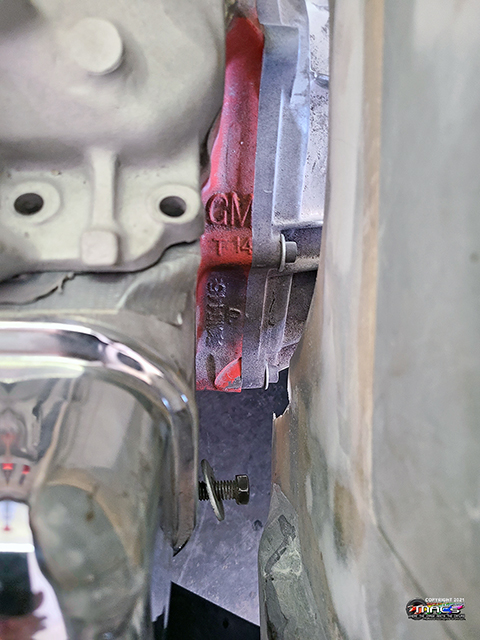
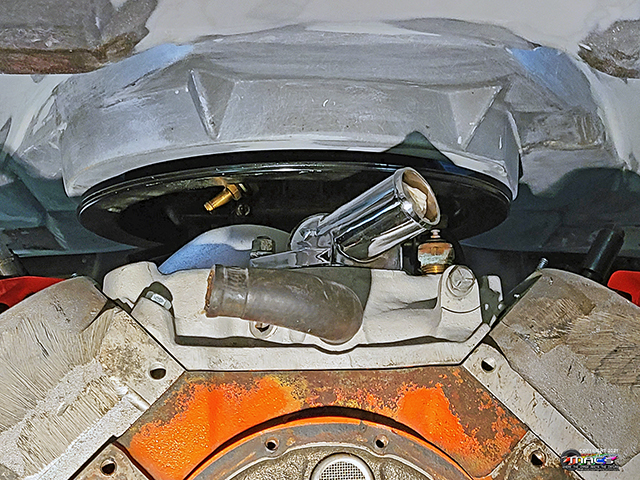
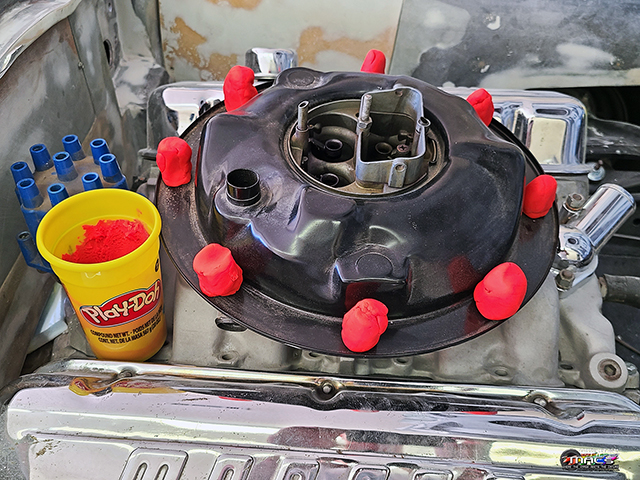
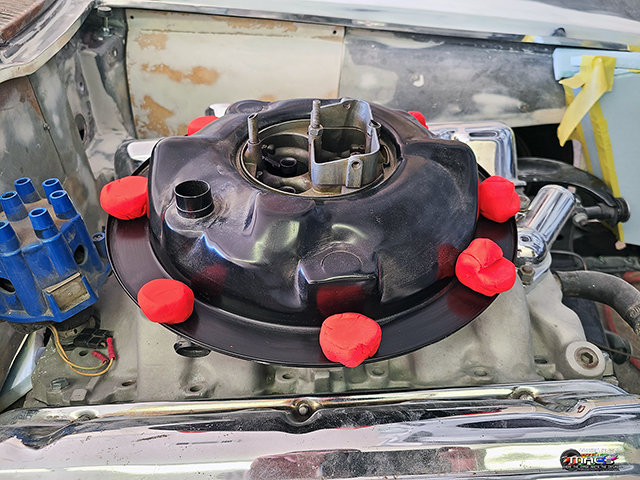
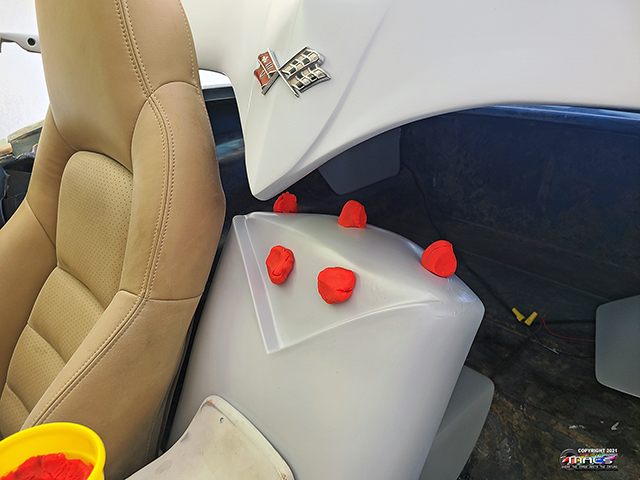
Checking Clearance on L88 Air
Cleaner and other Items - 8/27
Using Playdough to check the clearance of the air cleaner base
to the L88 Hood
Strengthening the Hood for
the Actuators - 8/28
The
hood structure needed beefed up to handle the pressure of the
actuators. Used retangular tubing w/addition flat bar on top,
then inserted rivet-nuts for the actuators to bolt to
William tightening the bolts to pull the metal up while the
epoxy sets
Epoxy has set and is now ready for the fiberglass covering to be
rebuilt, after the temp screw is cut off
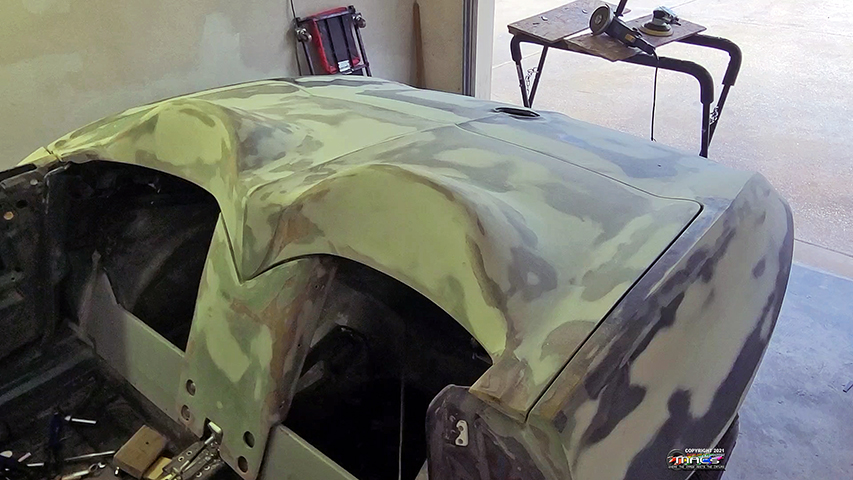
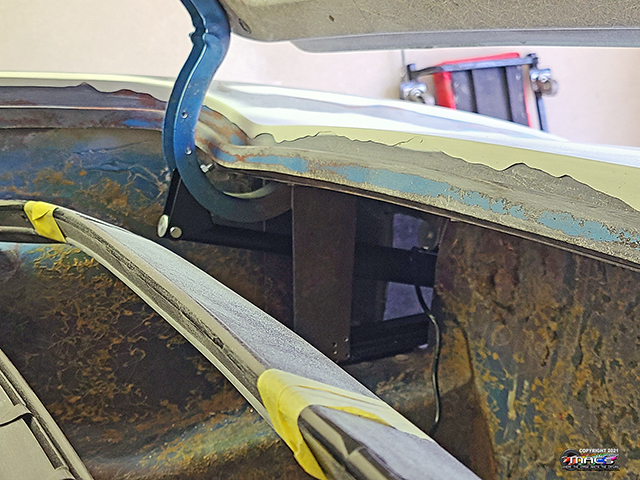
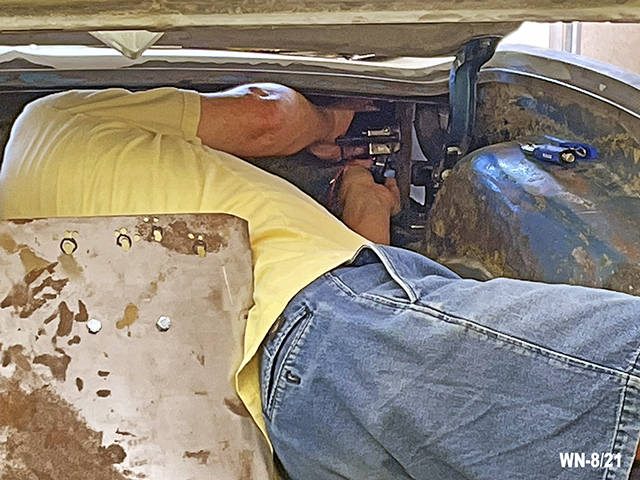
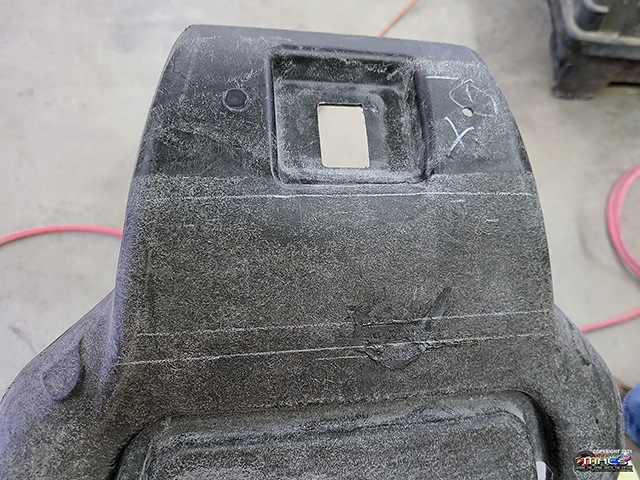
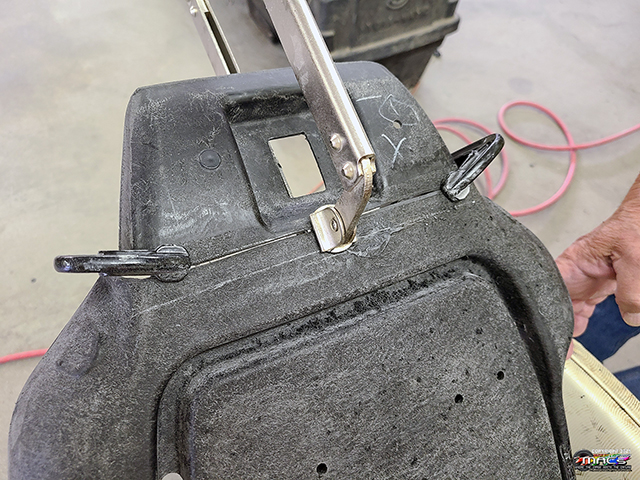
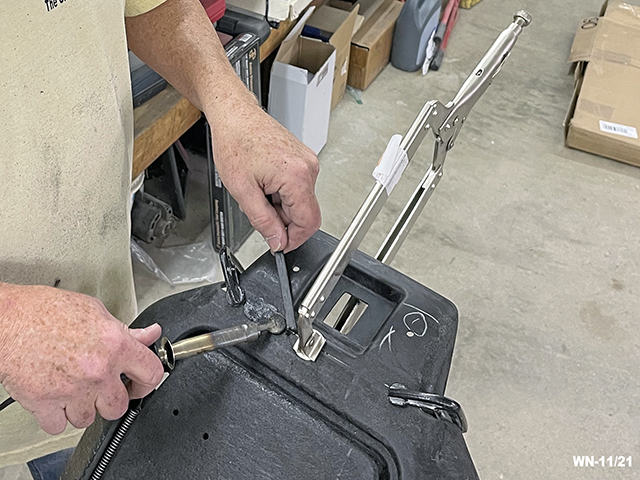
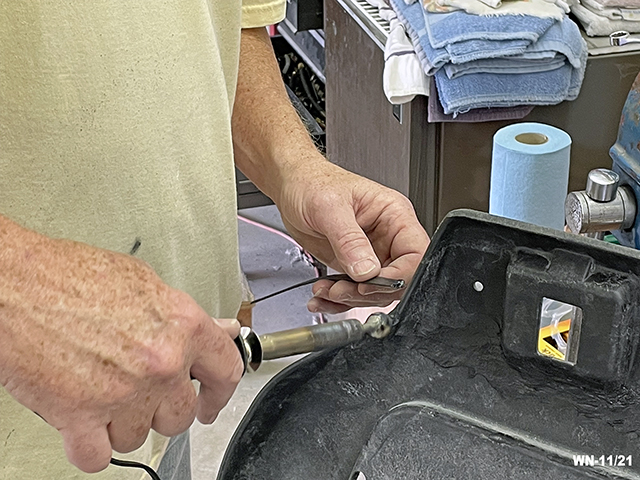
Installing Limit
Switches on the Decklid Actuators - 8/30
Testing the use of limit switches on the decklid actuators -
becoming a contorsonist
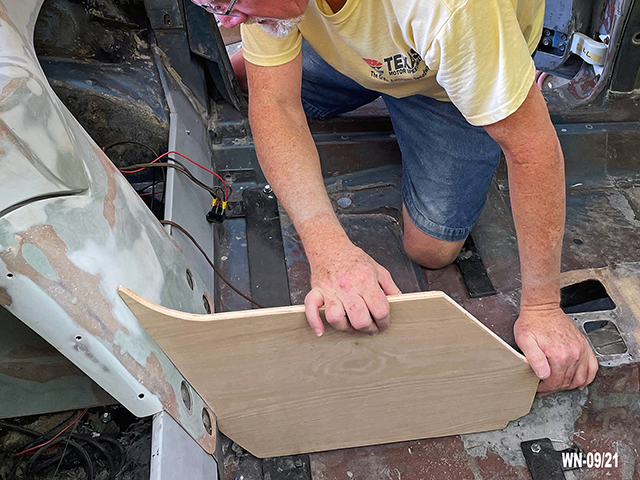
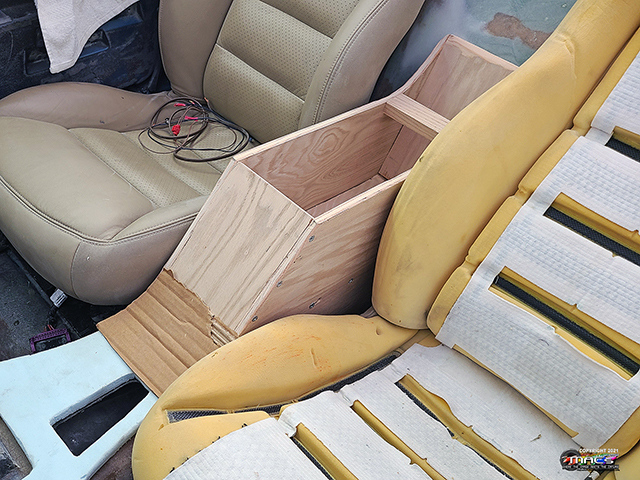
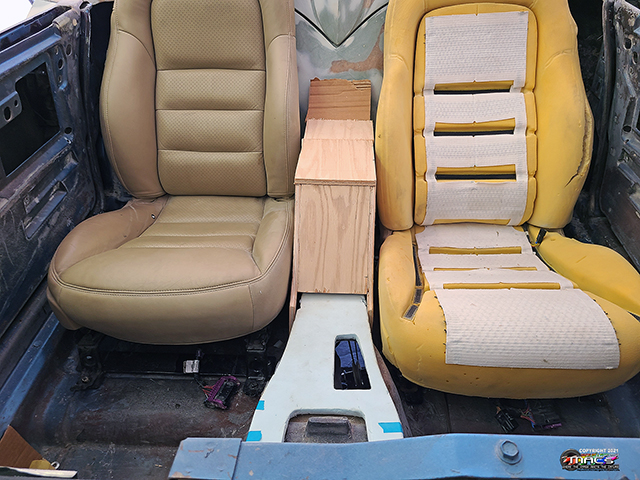
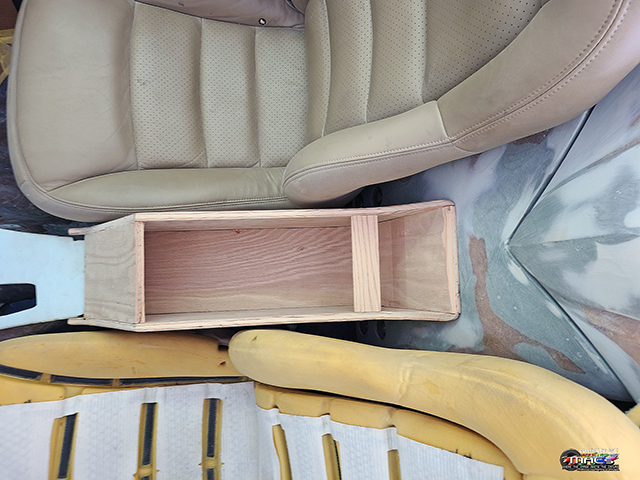
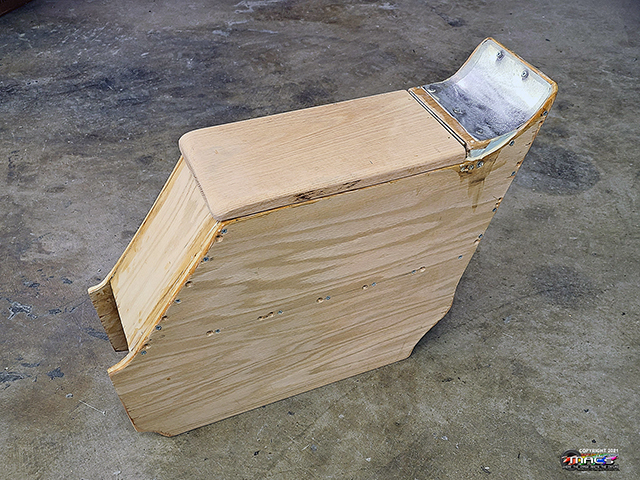
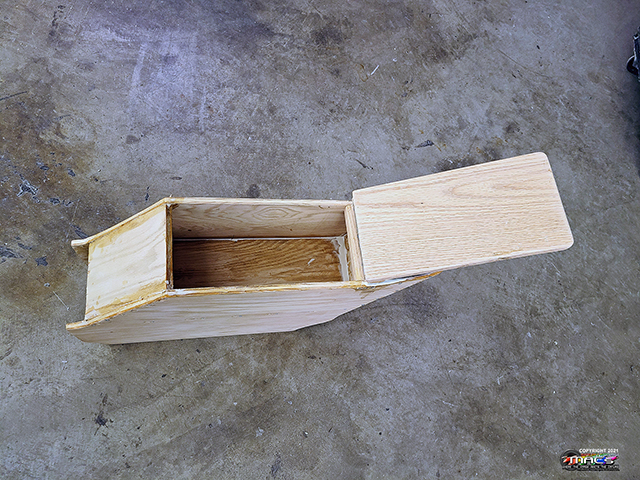
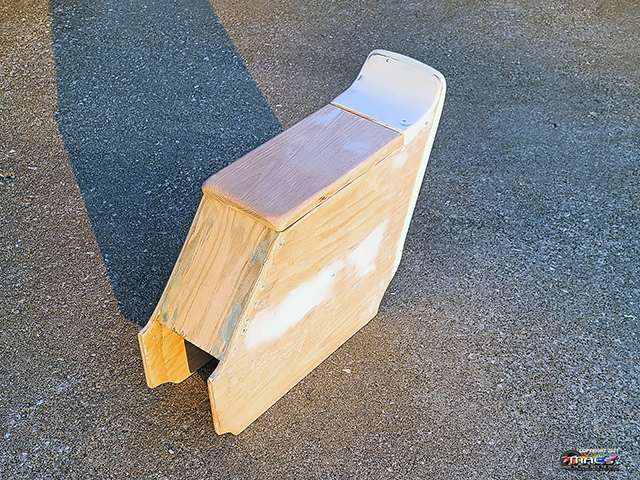
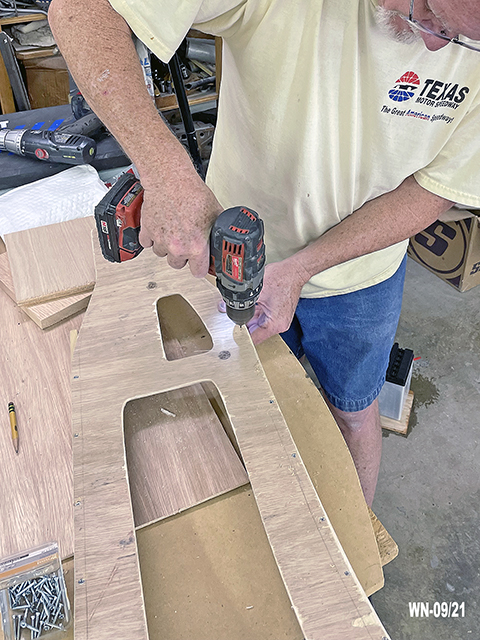
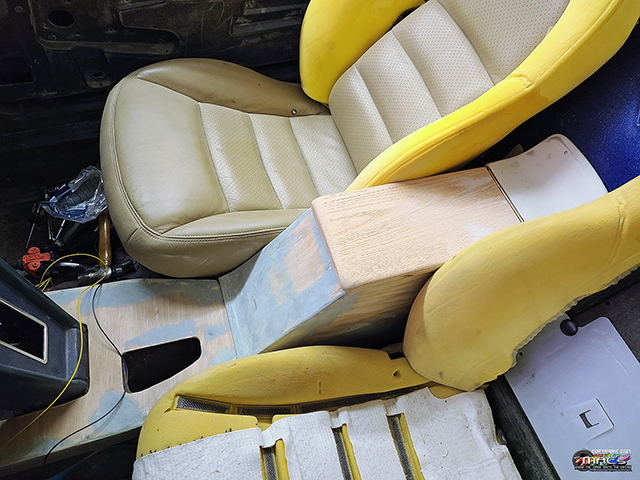
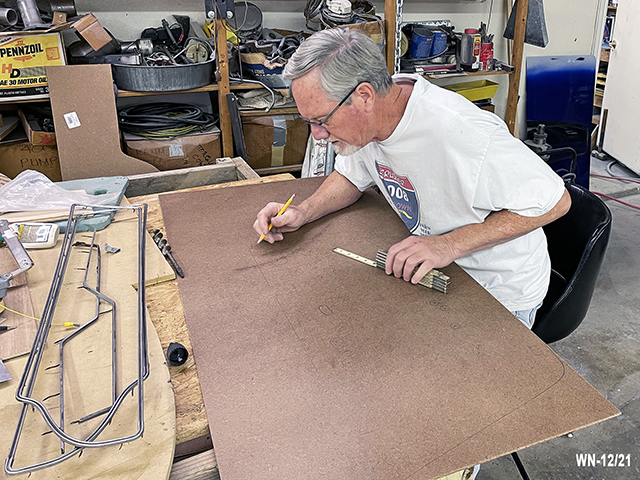
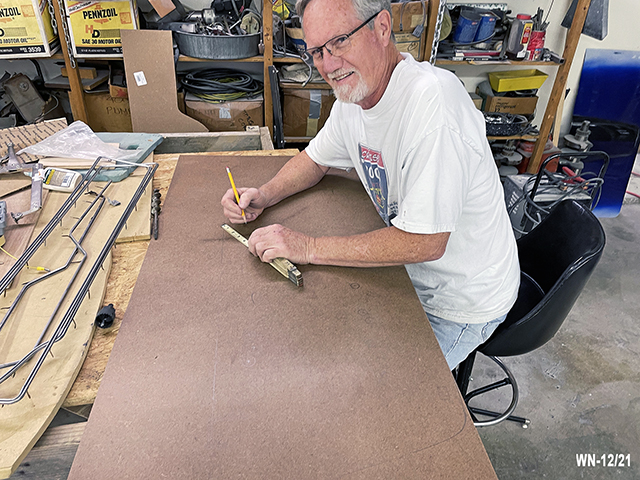
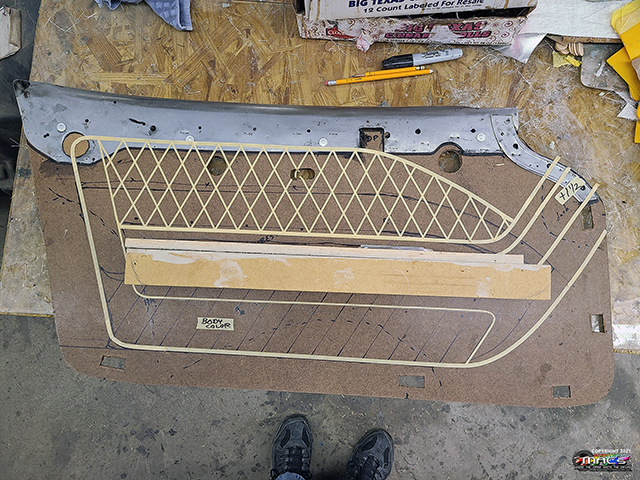
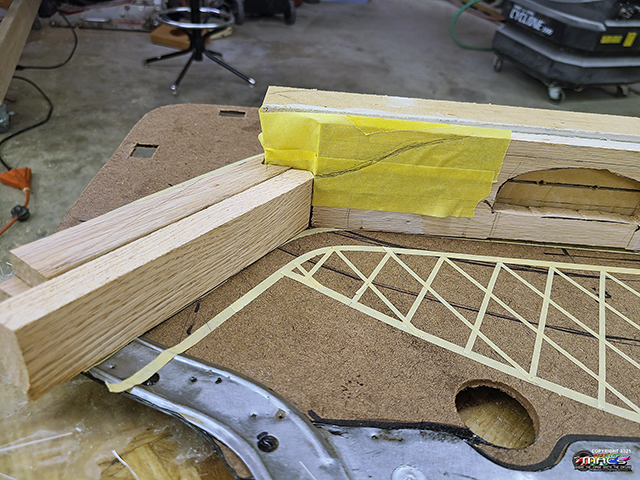
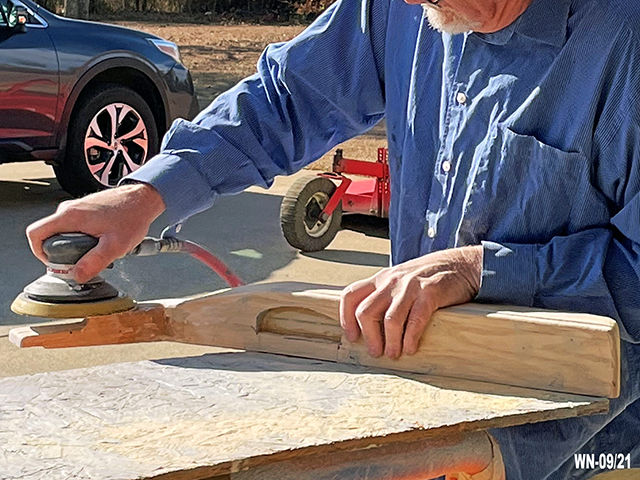
Building the Console -
9/06-10
Cutting the sides of the console out of Oak plywood, using the
cardboard template that was used in the mock-up
Test fitting the side on both sides of the console ->
After the pieces
are cut and sanded, they are assembled
Rough
fit but close enough to check elbow height, along with the lines
to validate the design
Cleanup, sanding, rounding the corners and adding the duck-tail
that transforms it to the waterfall
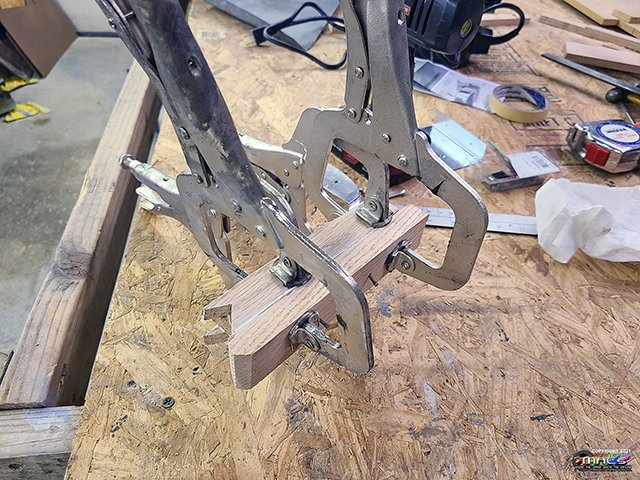
A
liitle filler here ...a little there ...then sand it
End
result has a small curved surface on each side, along with the
duck-tail
Testing Some LED Lighting
Thoughts - 9/12
Need to consider some lighting options that popped into my mind
;)
Additional
Body Working - 9/18
slicking up the waterfall support panel
finishing out the rear quarter panel lower sections, where the
rear panel attaches.
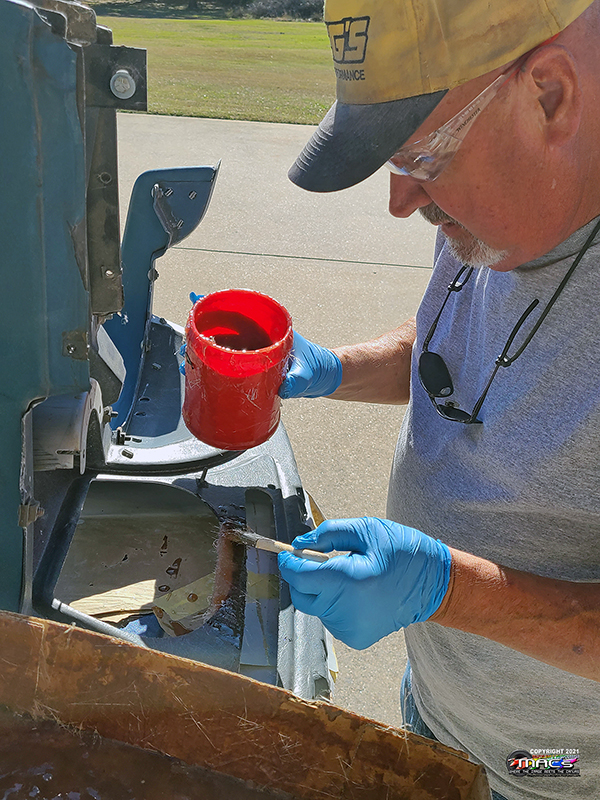
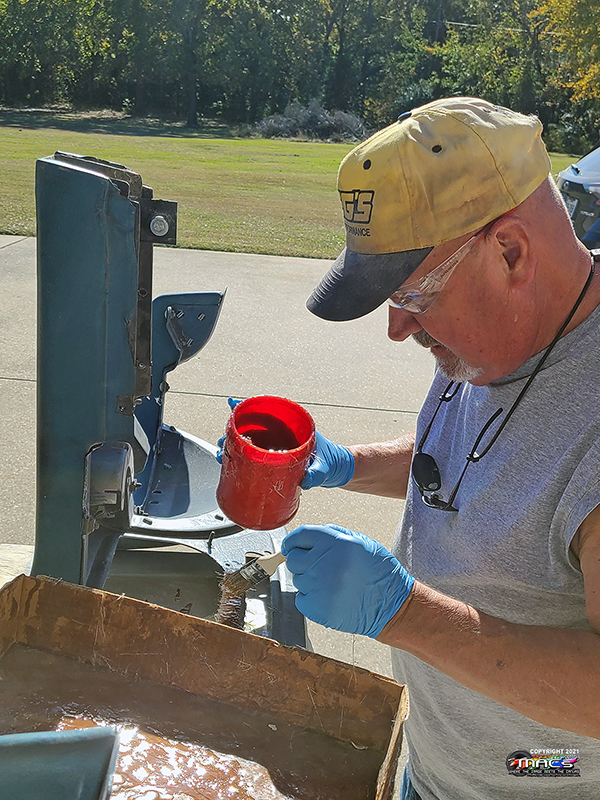
Additional
Body Working - 9/18
time to start sealing the panels with epoxy sealer primer
The first coat of epoxy sealer has been applied to the first 5
parts - time to order more product ;)
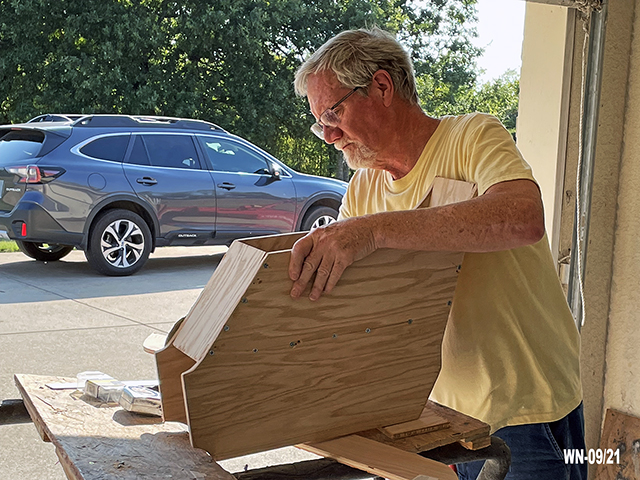
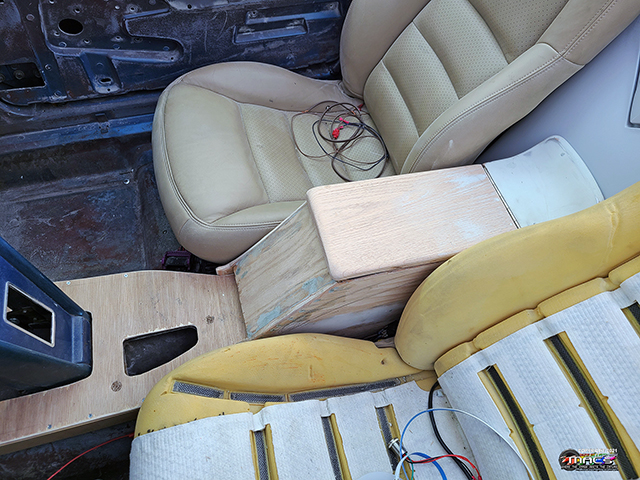
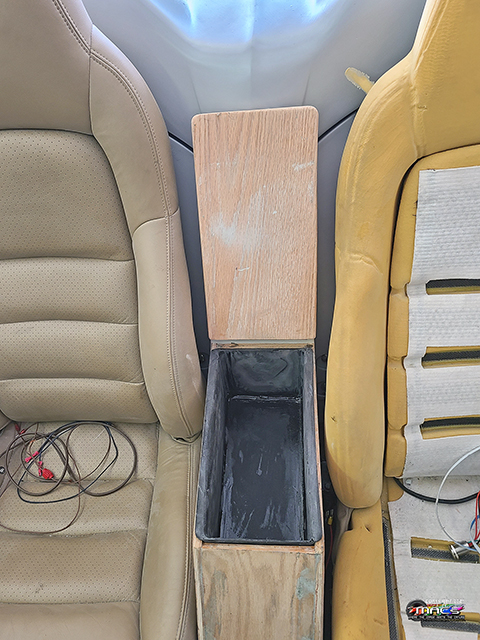
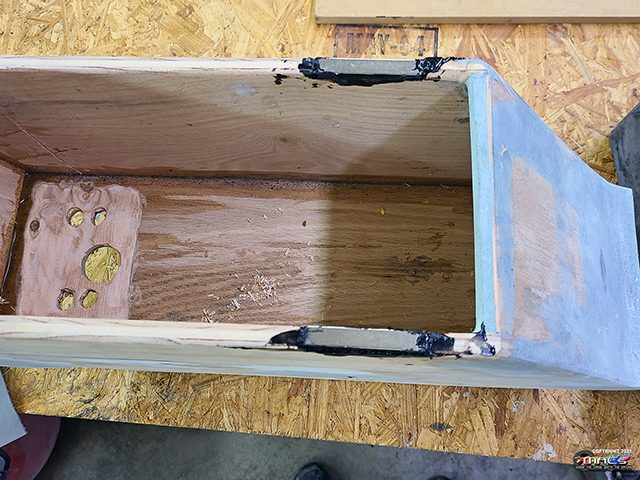
Console Inner Box - 9/20
building the console inner box out of PVC plastic sheets
Console Inner Box - 9/20-24
Time to red putty any small imperfections to create a perfect
surface - most of the red is sanded off
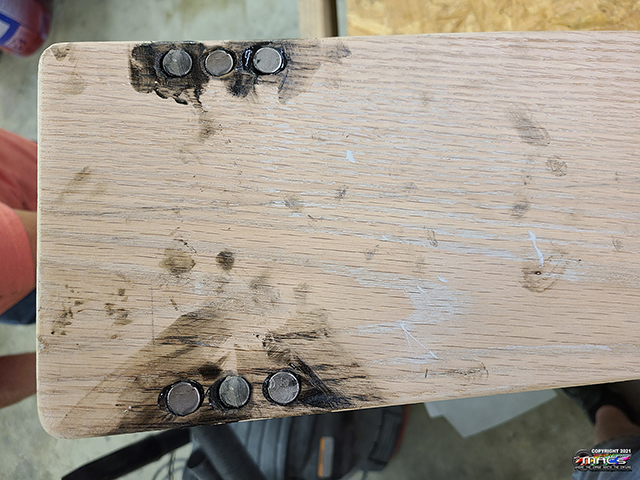
Creating the front part of the console. Thin Oak sheet that was
fully soaked in water, then put on the curved console (body) to
dry for 24 hours; to obtain the correct curve
the
dry oak console top fits great ...now to build the sides and it
will be covered in Leather
Since a single (stock) compartment cover can't be used (due to
e-Brake), new storage compartment covers were cut
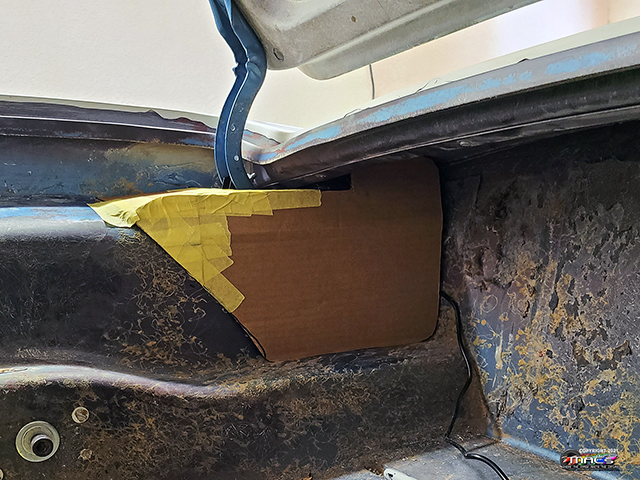
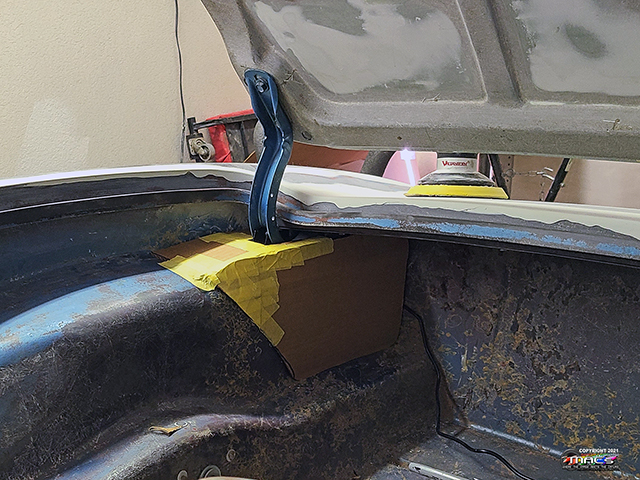
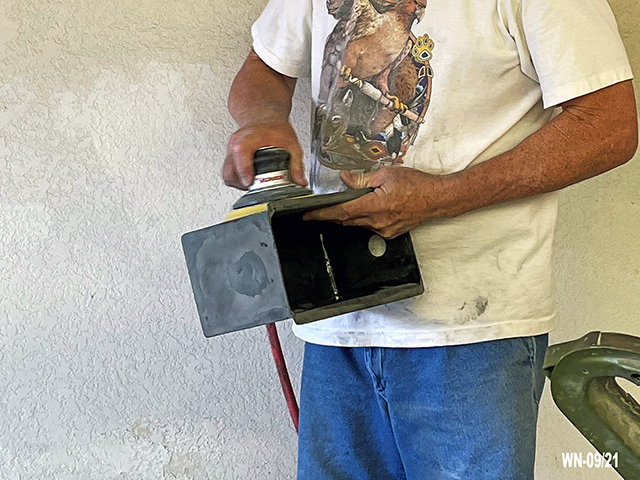
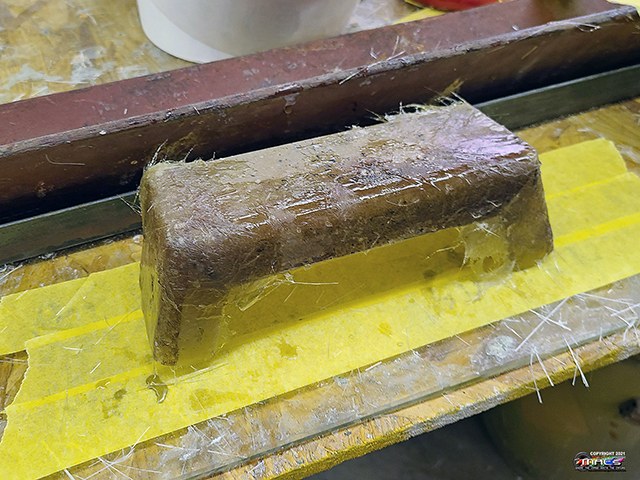
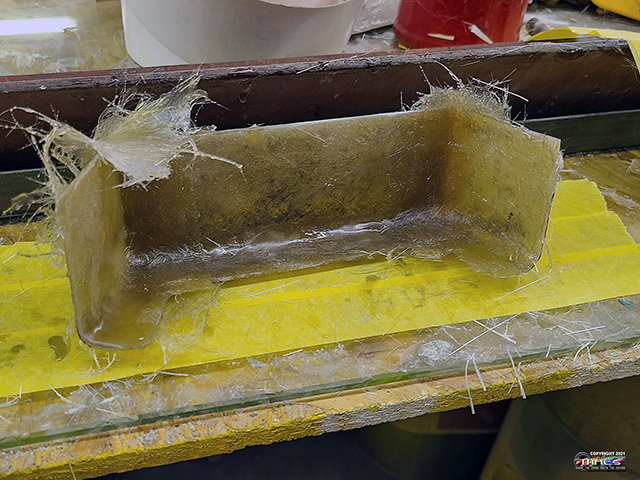
Hinge Covers - 9/26-27
the unsightly hinge covers needed some attention, so cardboard
mock-ups were created, allowing us to fiberglass these for
final design
Fiberglass has been laid over the mocked up cardboard templates
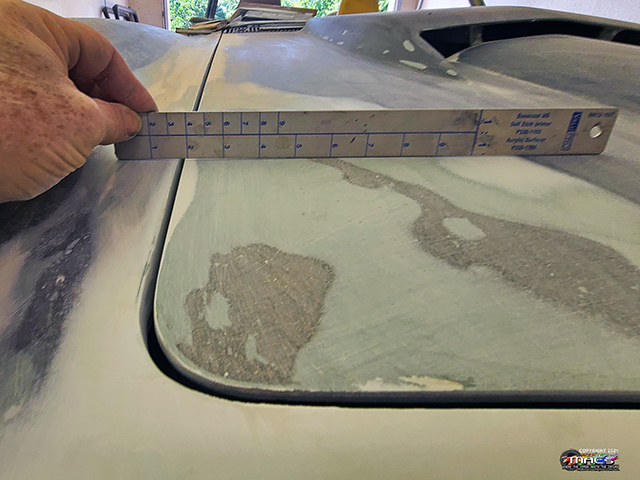
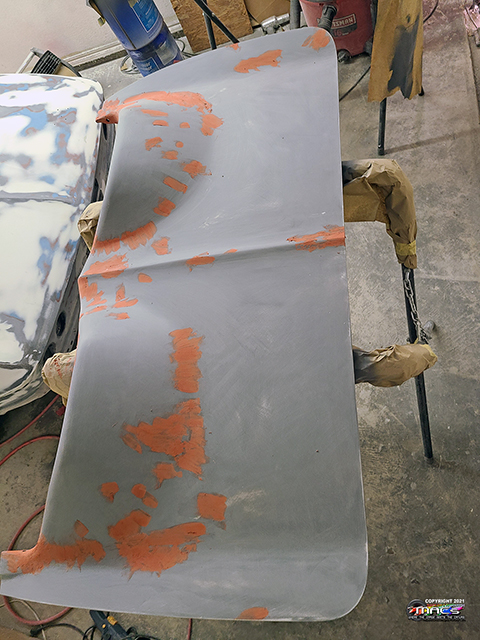
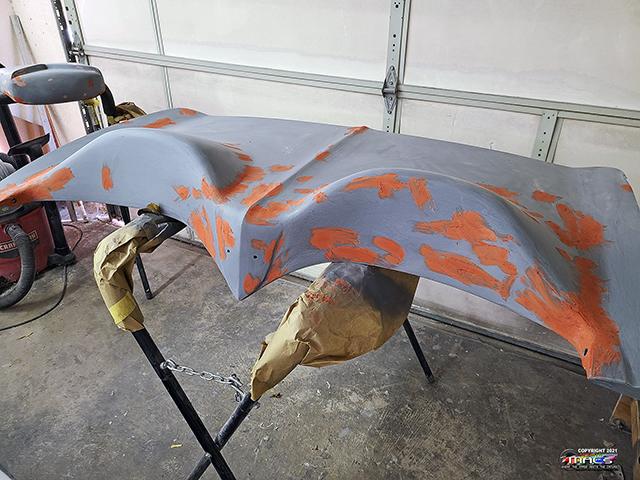
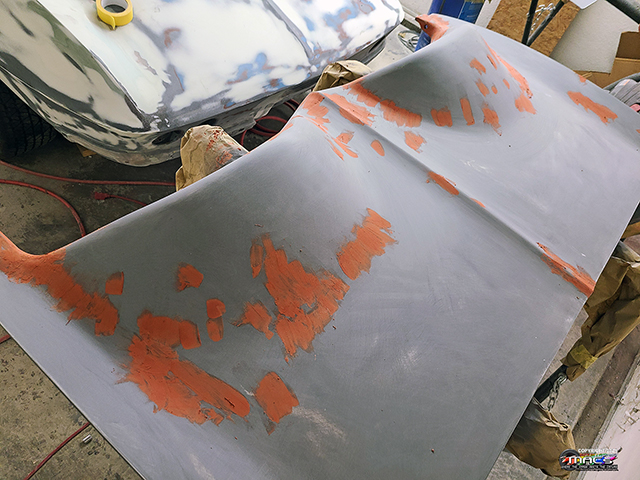
a minimal amout of red putty remains on the primered parts -
just enough to fill a pin hole or slight imperfection
after the underside of the decklid was sanded, it needed a
little red putty
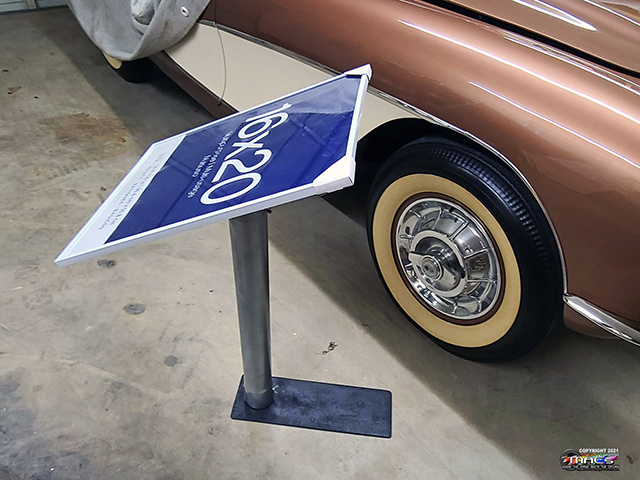
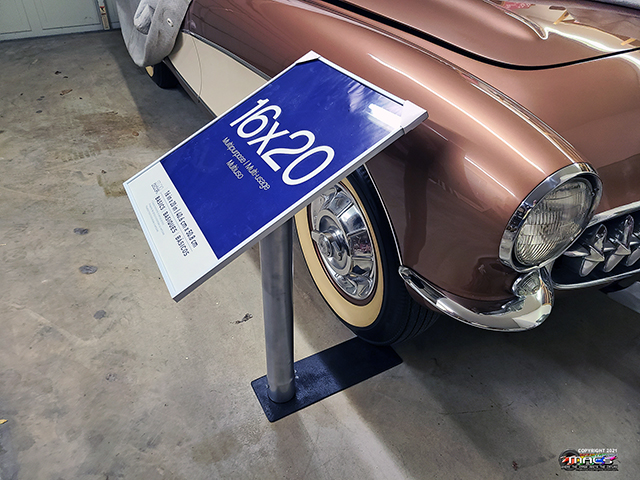
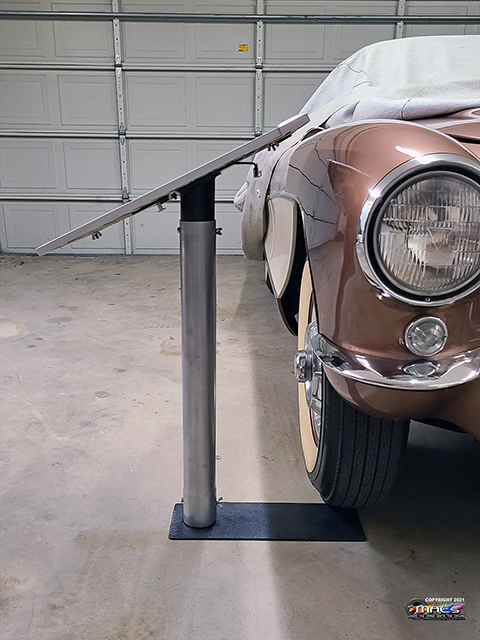
Destraction - 9/27
with 4 car shows coming up, it was time to take some time to
create a new show board stand for the '56
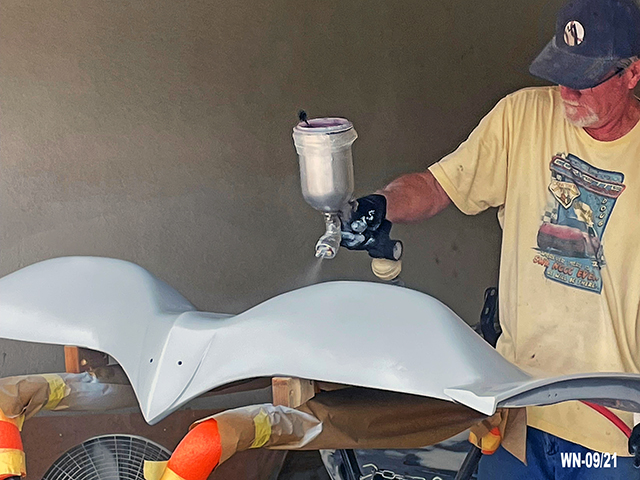
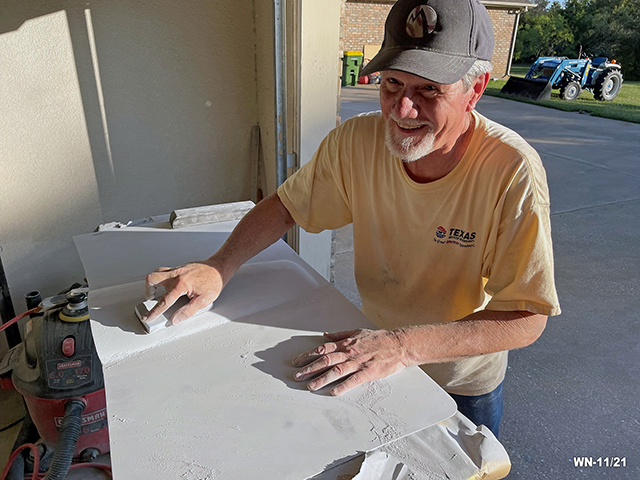
Priming Custom Parts -
10/02
It was time to make progress on the finish of some of the custom
parts we built
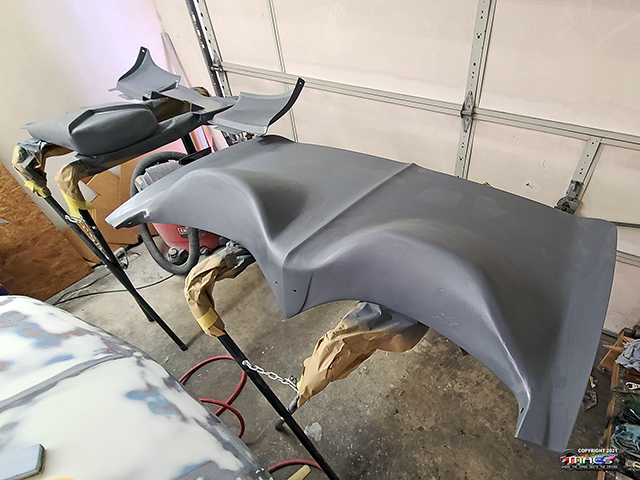
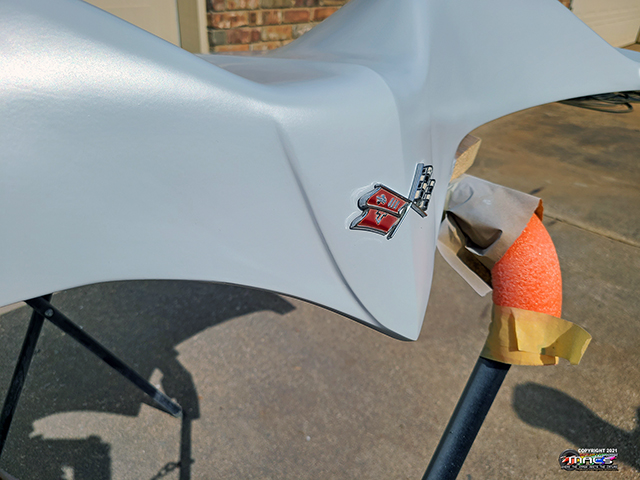
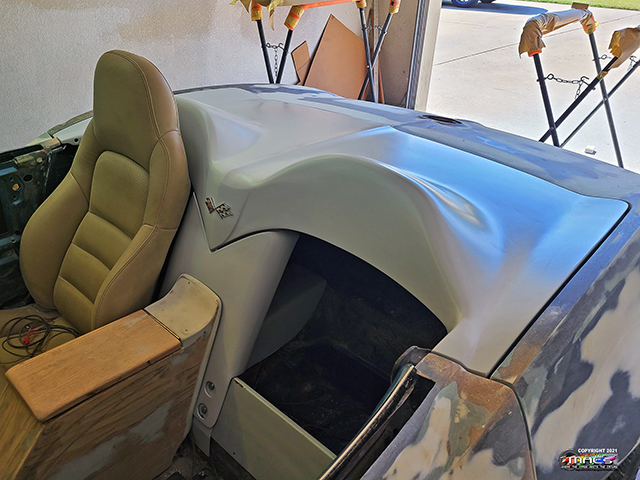
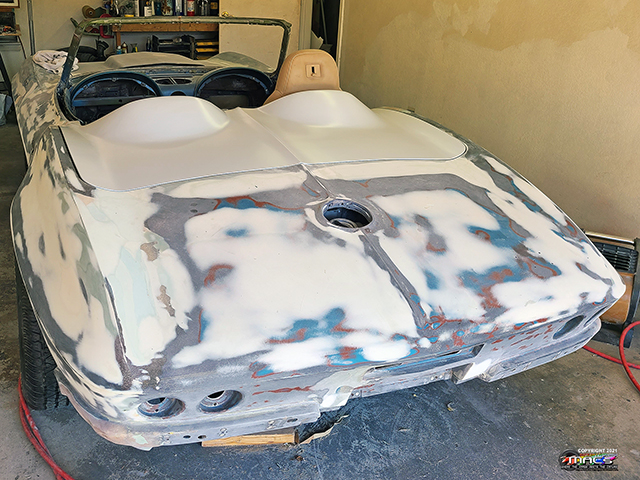
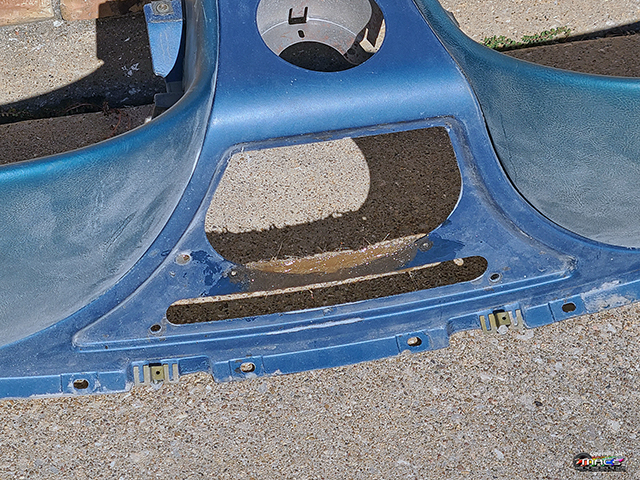
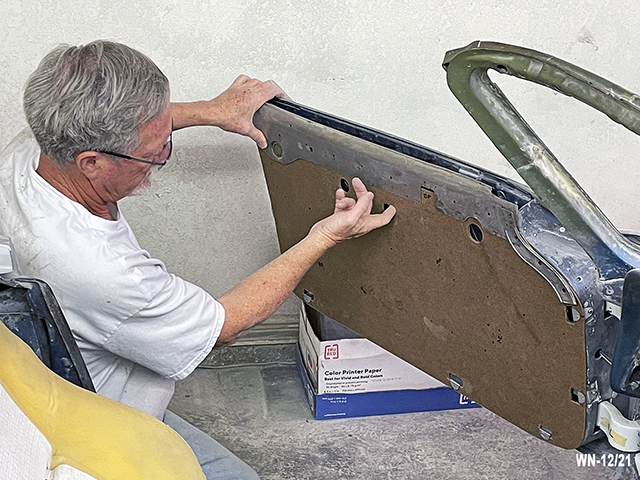
Numerous Activities Today
- 10/03
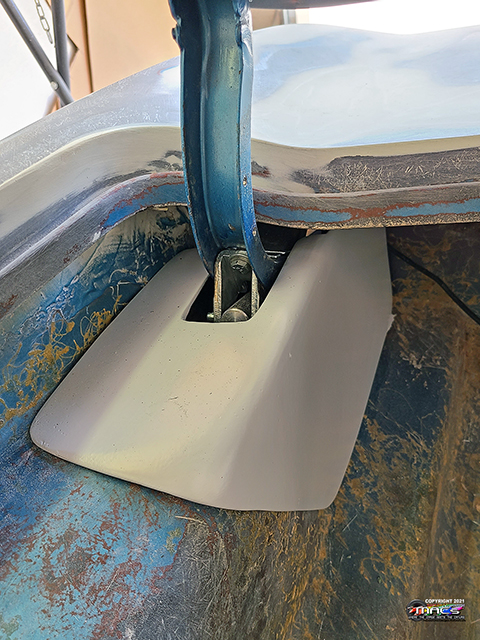
It was time to look at the primed decklid on the car
Checking clearances on the desklid to the waterfall
Checking the fit of the hinge modesty panel
rechecking the fit of the E-Stopp brake modesty panel
Built the console structure (which will be leather-wrapped) -
along with the console.
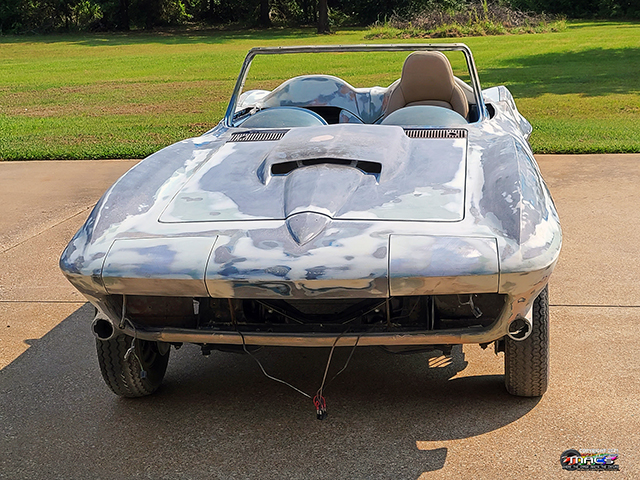
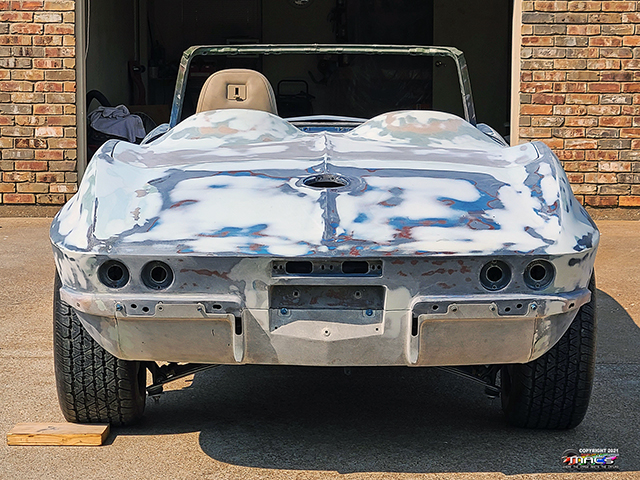
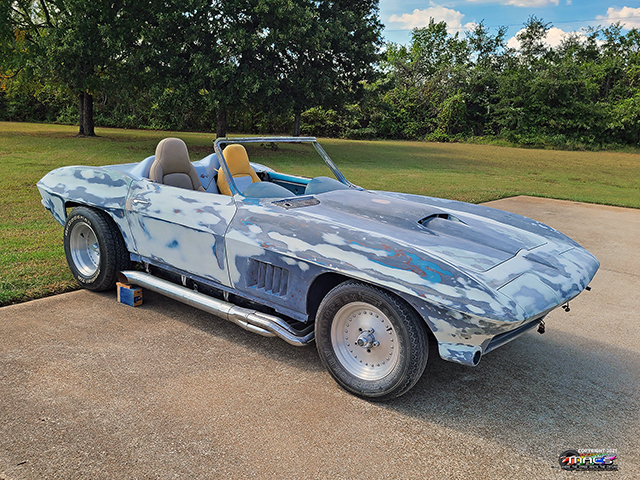
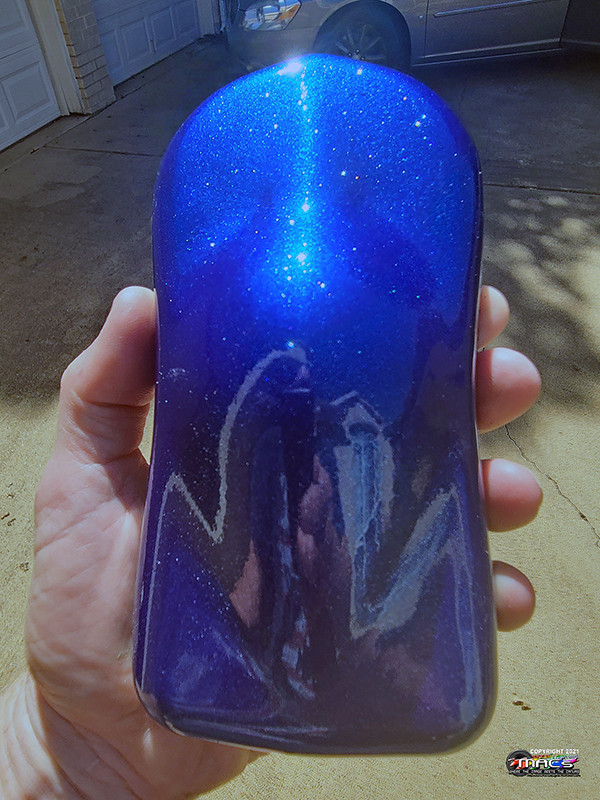
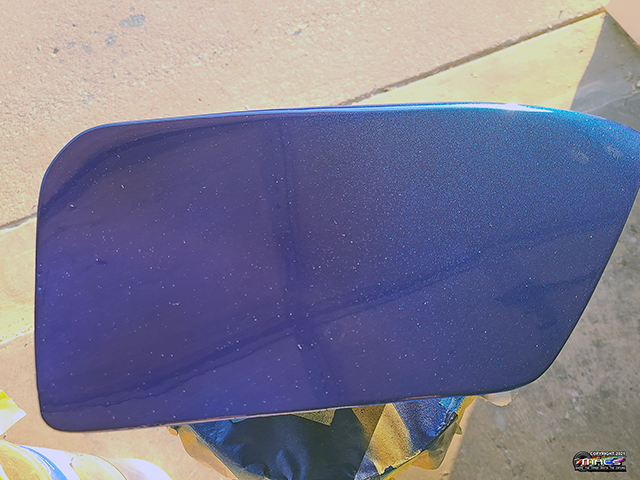
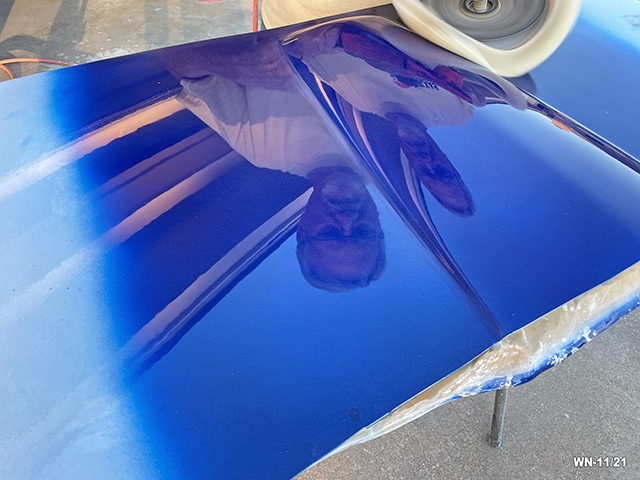
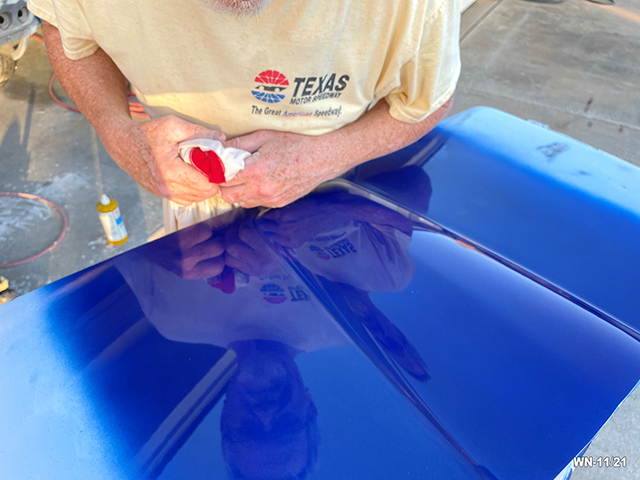
More Test Paint Colors -
10/05
The House of Kolors Blue we are looking at
with blue pearl and white diamond on top
Still pictures don't do it justice - see below
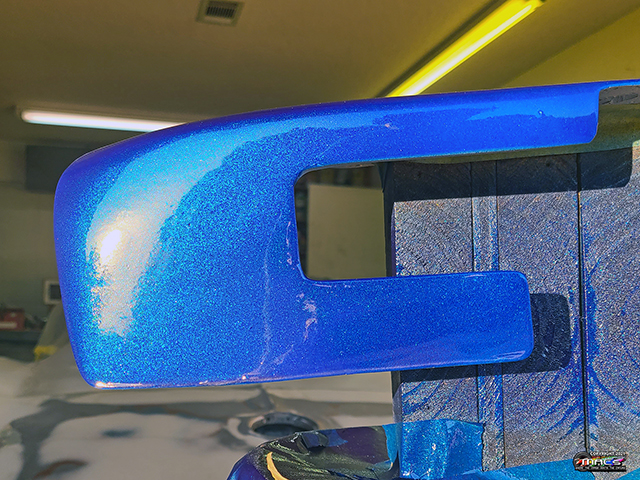
"The boss" wanted to see what purple pearl looked like over the
blue - so tested on a hinge modesty cover
The proposed blue on the other hinge modesty cover
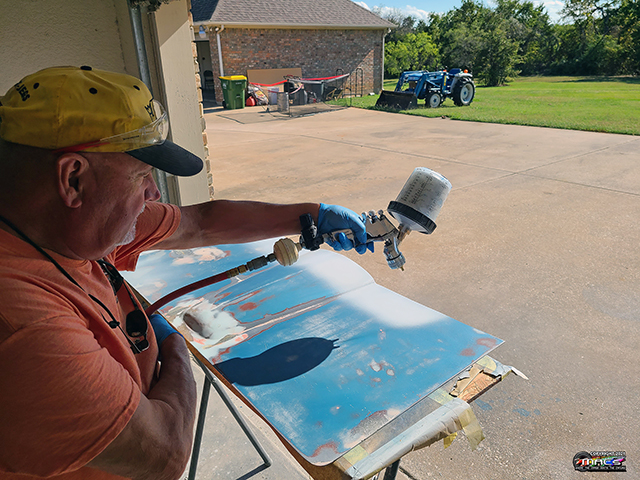
Test Panel & Header Fitment
- 10/24
Doug blocking out the test panel
William trying his hand at shooting primer
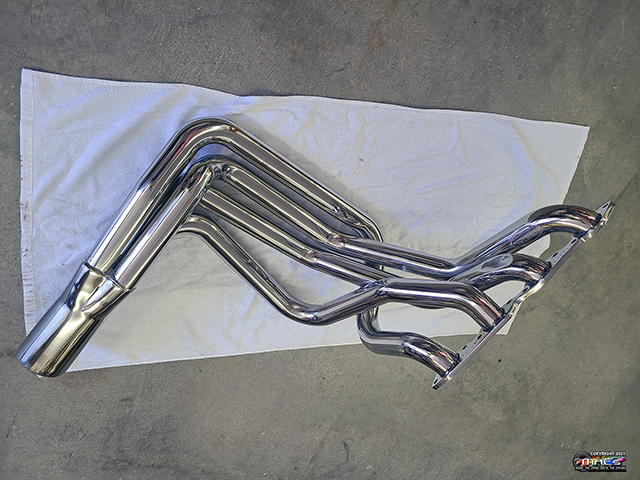
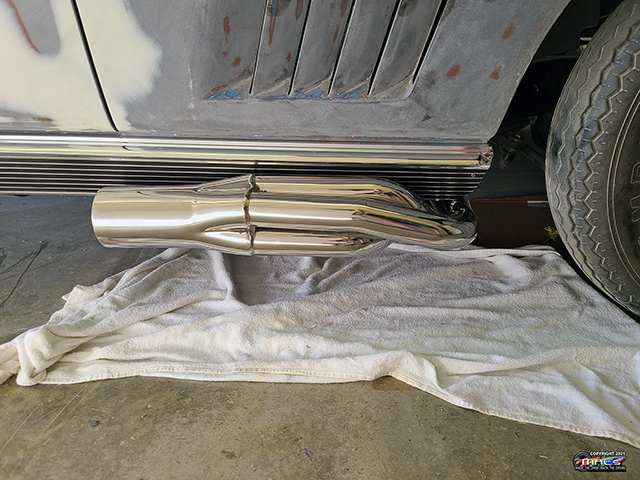
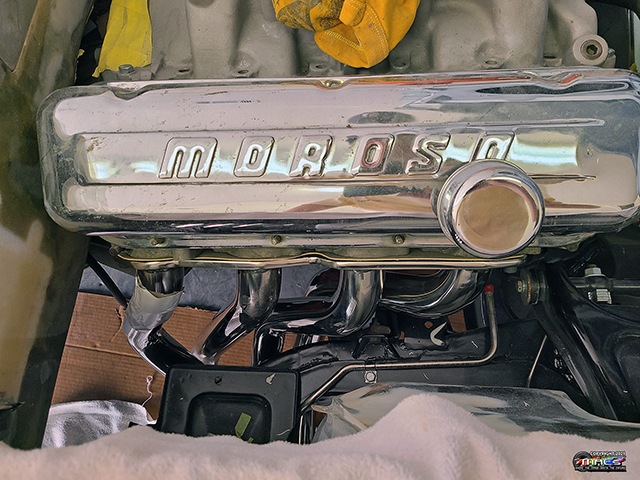
Time to test fit the new SS Doug's Headers
Buffing the Test Panel
- 10/25
Testing a couple of different ideas of painting on the test
panel
Electric /
Remote Door Locks - 10/31
We spent a few evenings determining the best location and method
to mount the fob controlled door locks
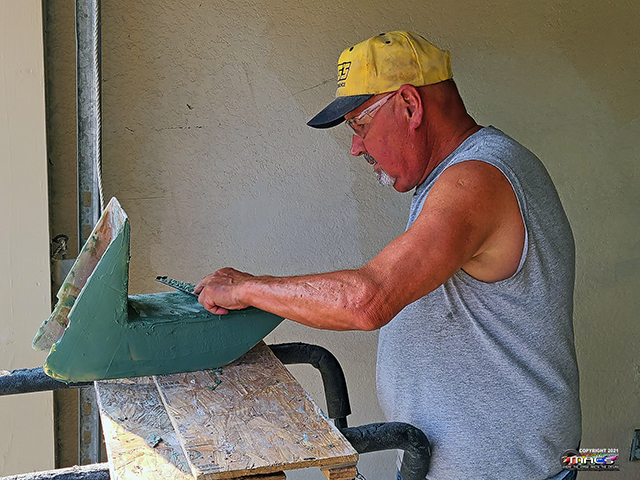
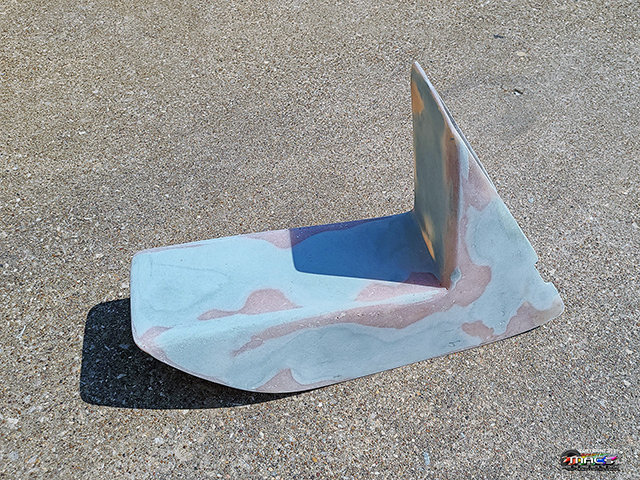
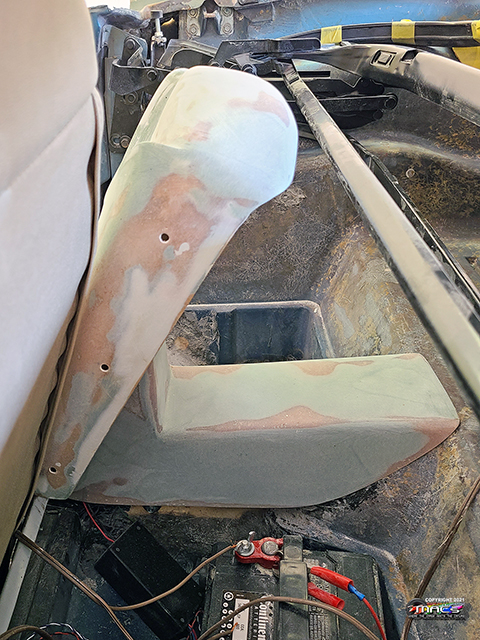
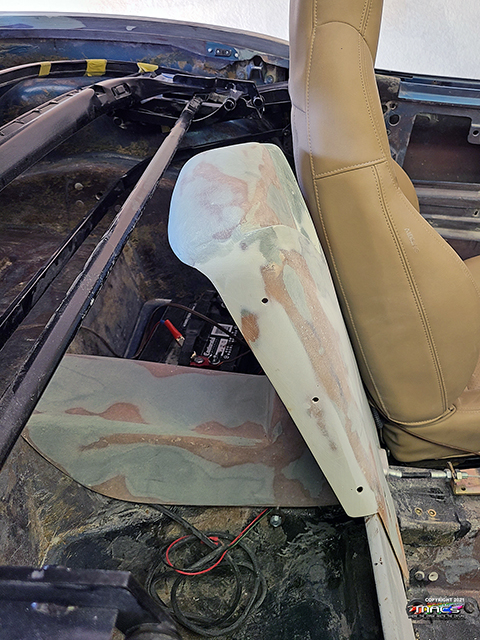
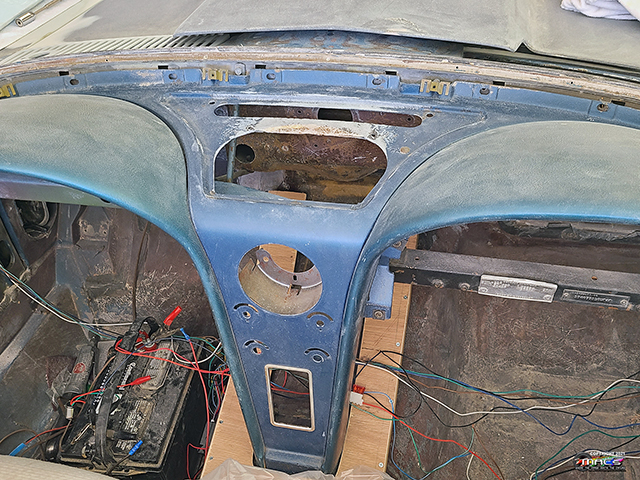
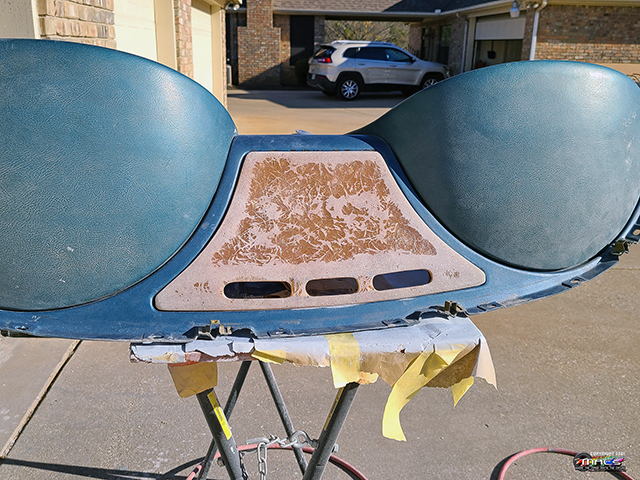
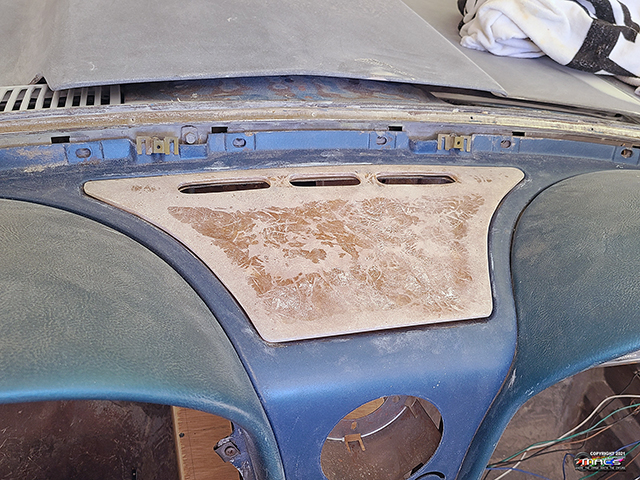
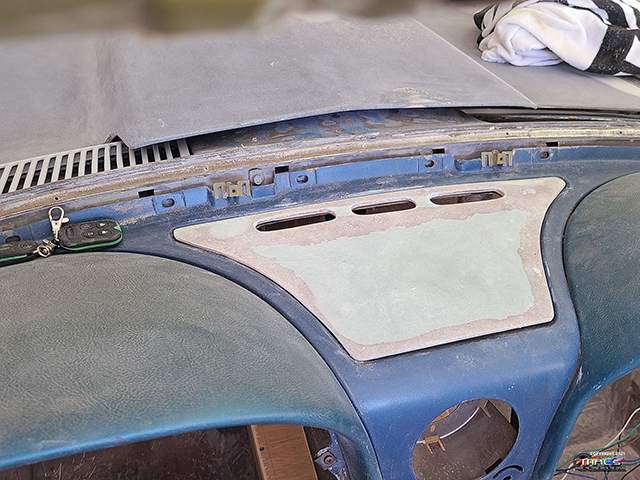
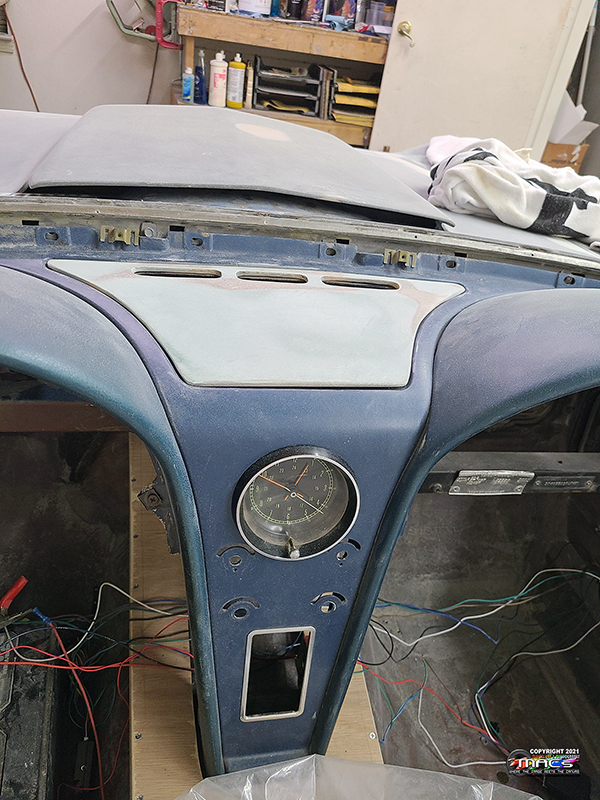
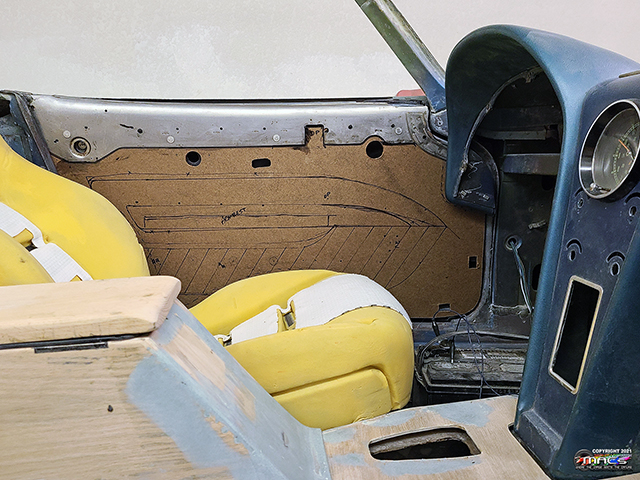
Dash Modification - 11/13
The original speaker hole - which won't be used with a modern
sound system
Removed the center brace to make it useful for another
functional need
William glassed up the area closest to the defroster opening
after we removed the brace
This makes the space more usable - see below
We made a new fiberglass panel to replace the metal speaker
grill
trimmed up and fits nicely in the old speaker grill area
smoothed out and ready for leather wrapping
The design is for the panel will
raise to expose a panel for switches
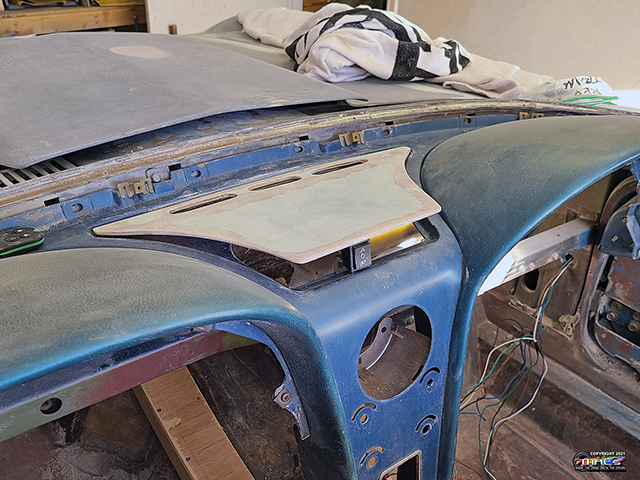
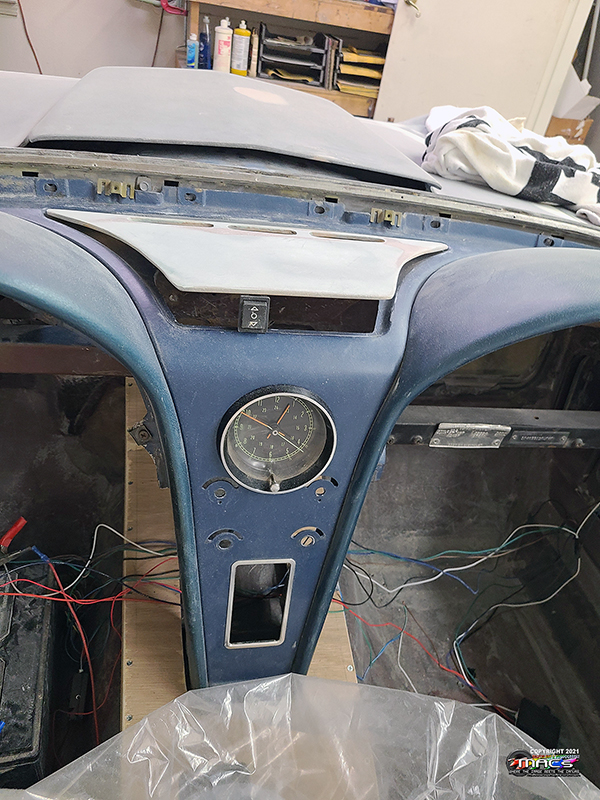
Dash Switch Panel
- 11/16
a mock-up with the factory clock in place
mock-up with the panel raised
Building the switch panel that will attach under the new
fiberglass panel - to hold the 6 switches
Not pretty until finished
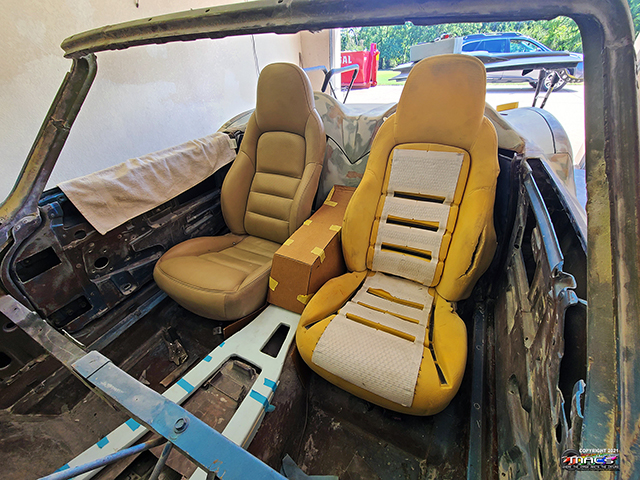
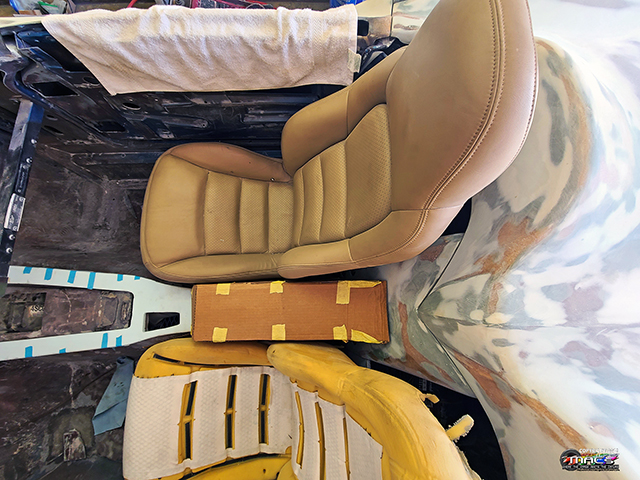
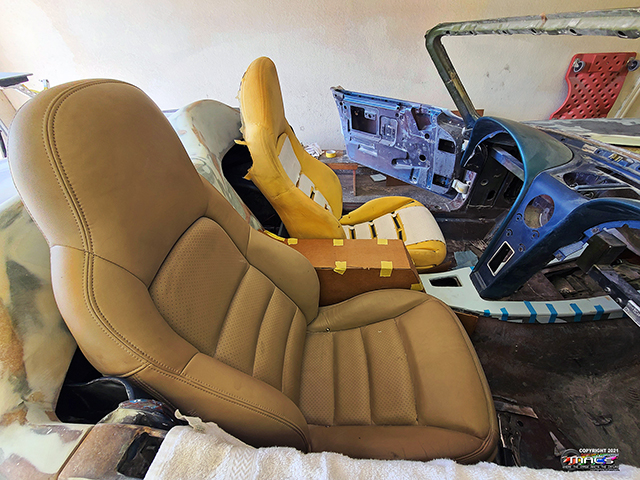
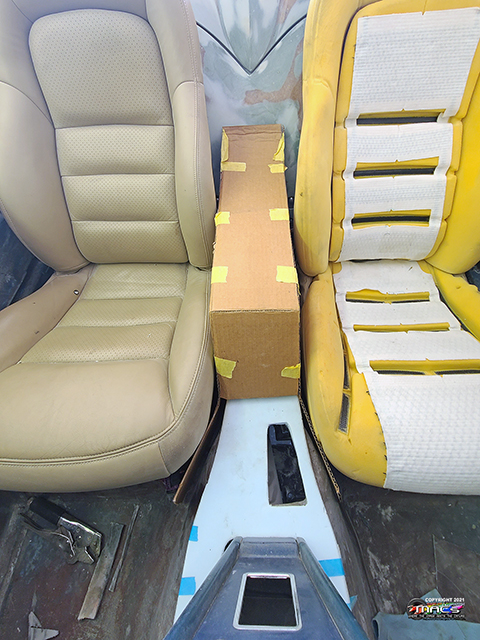
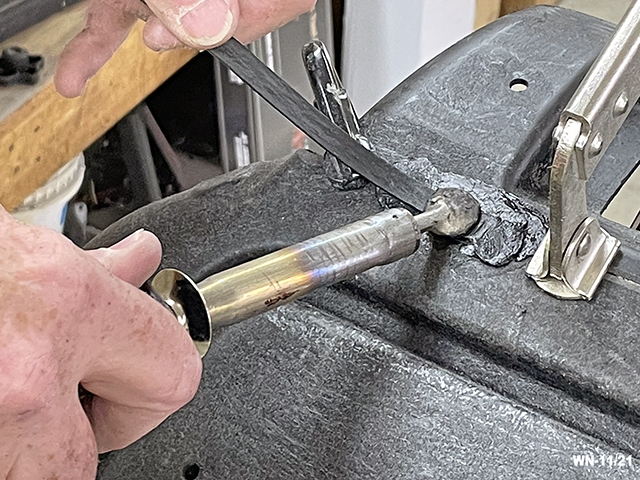
Sectioning the Seats
- 11/24
Marked to section (cut) 2-1/2" out of themiddle.
Cut and repositioned to start welding
plastic welding
Seat is welded back together - inside and out
<-Seat release back in place
Foam now needs sectioned->
The seat hieght appears to be just right - once the seat is
moved back 3"
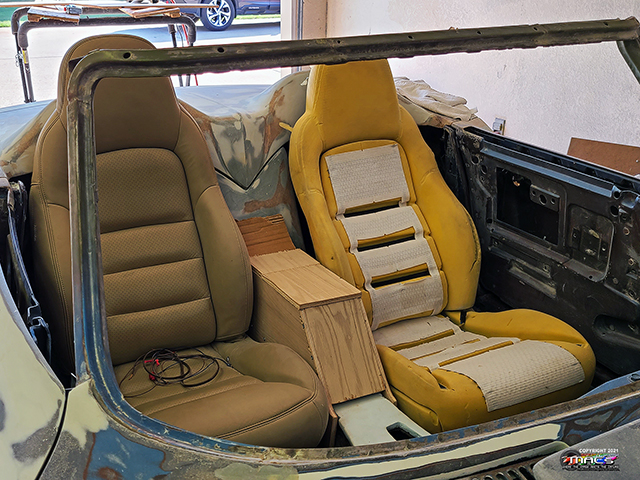
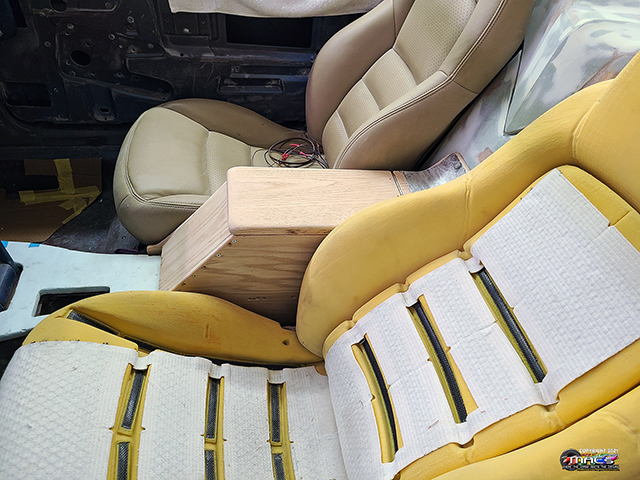
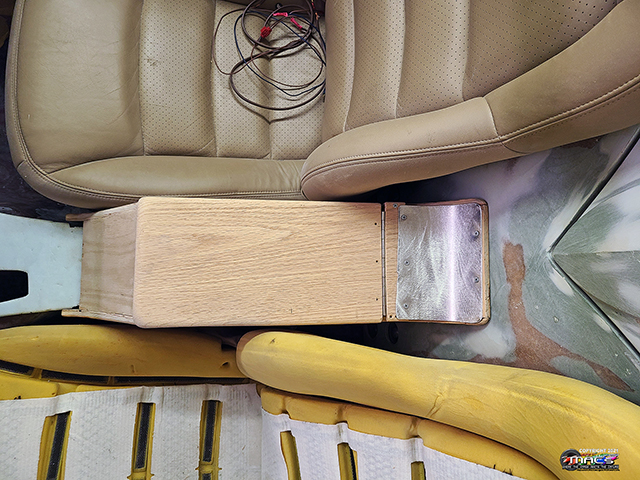
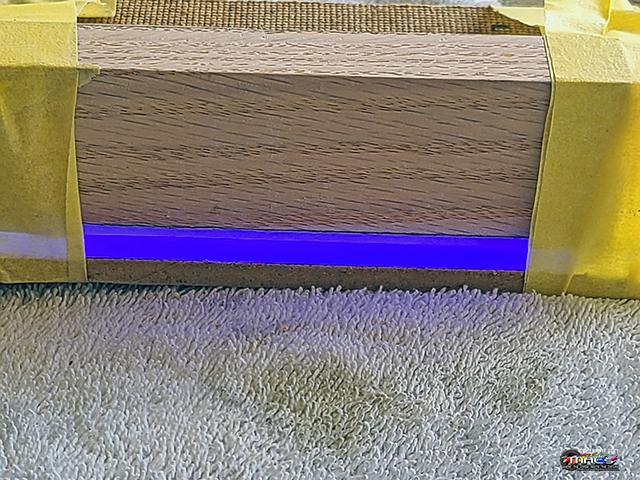
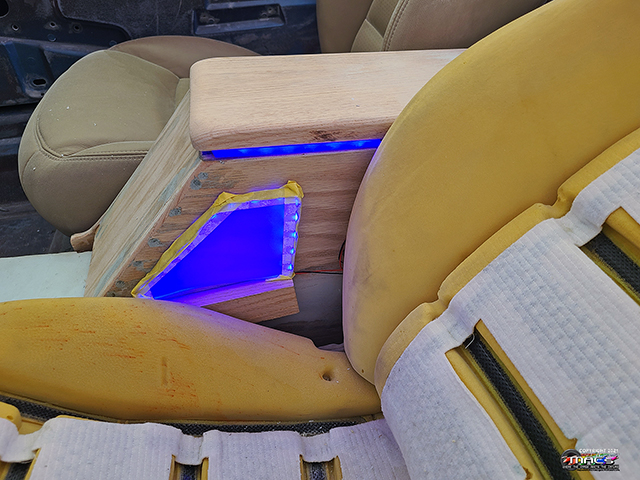
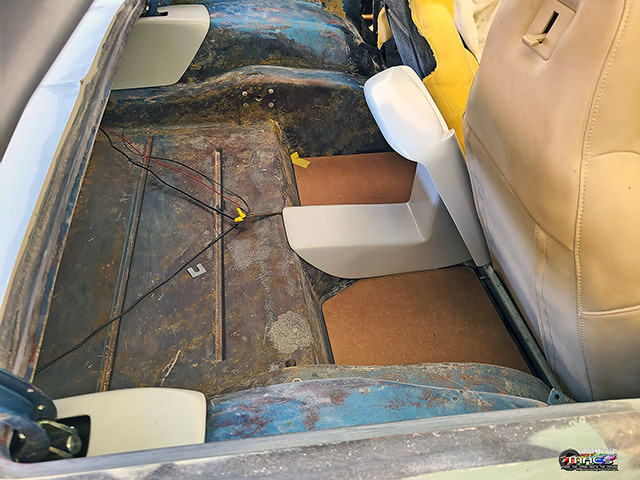
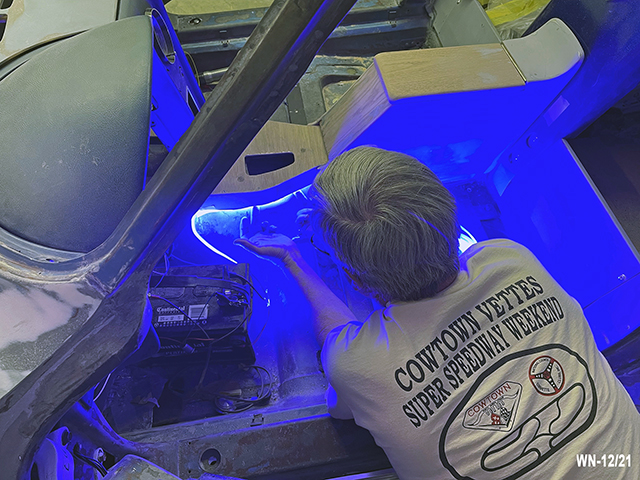
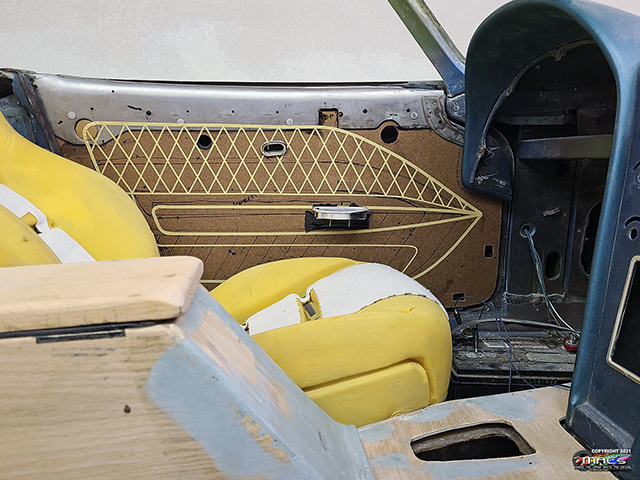
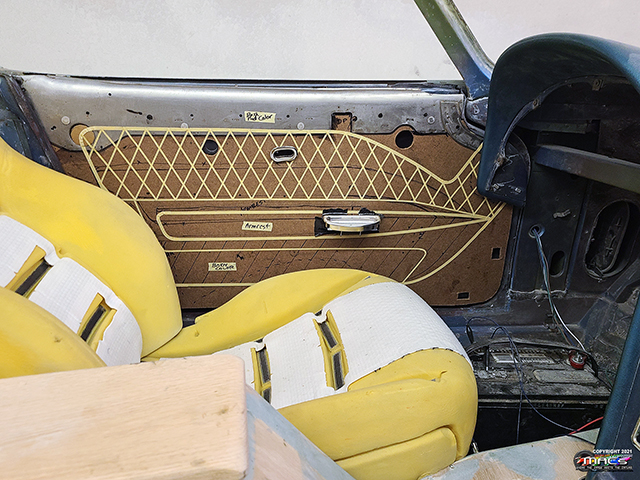
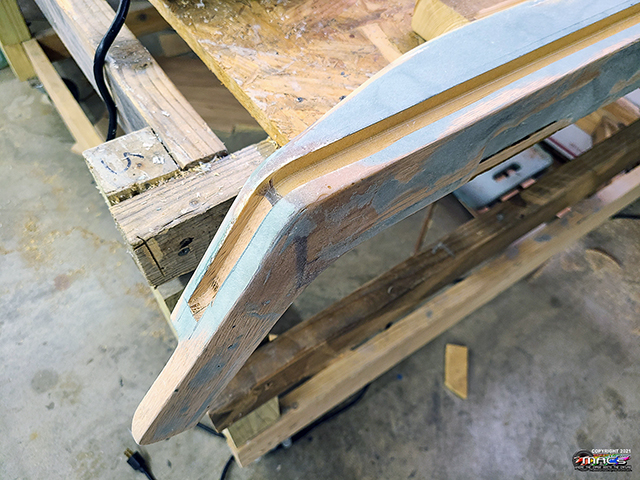
Interior Work
- 11/28
Completed the transition section completing the front to back
part of the console
It is a smooth transition from the rear console to the front
console - will look good leather wrapped
This didn't photograph well however, it is testing the LED Neon
interior courtesy lighting that will go under the edge of the
front console
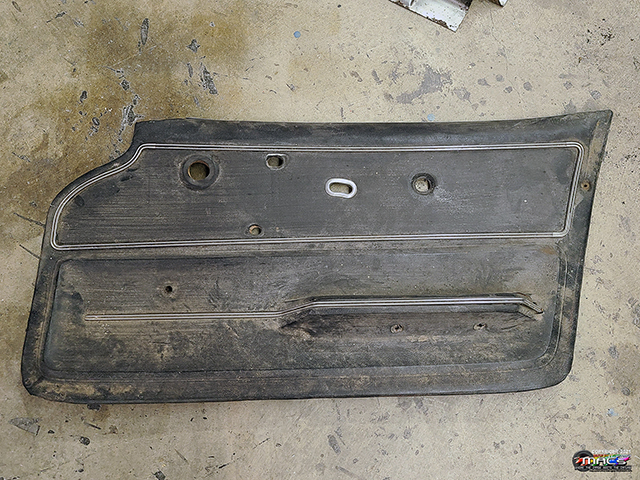
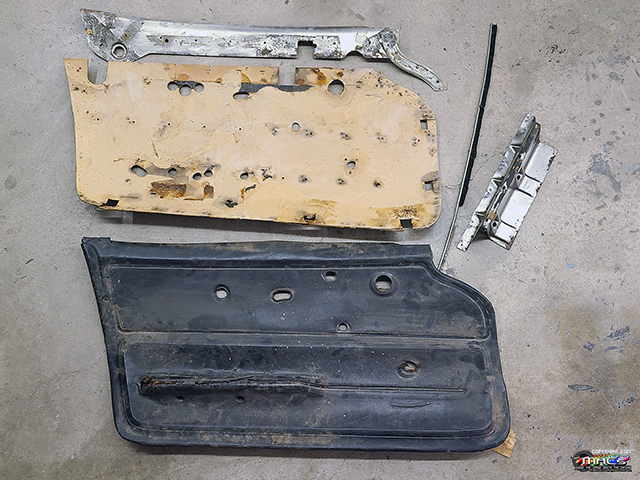
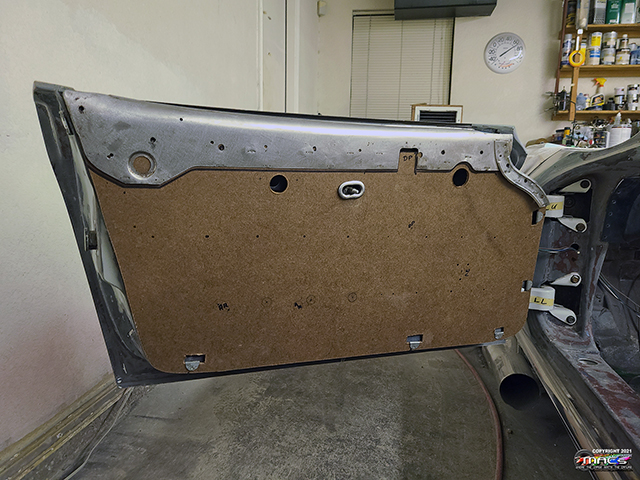
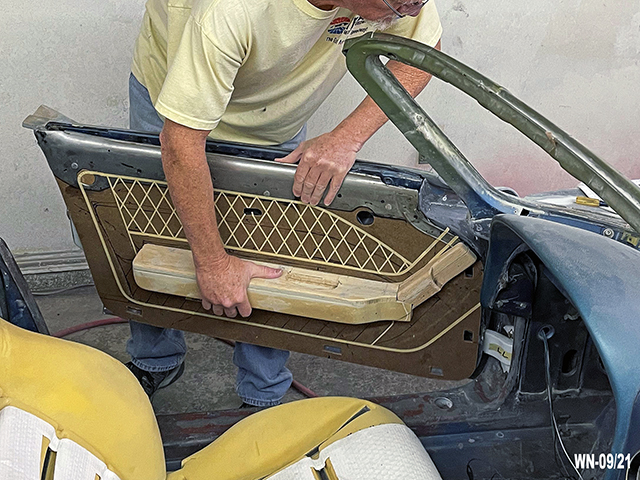
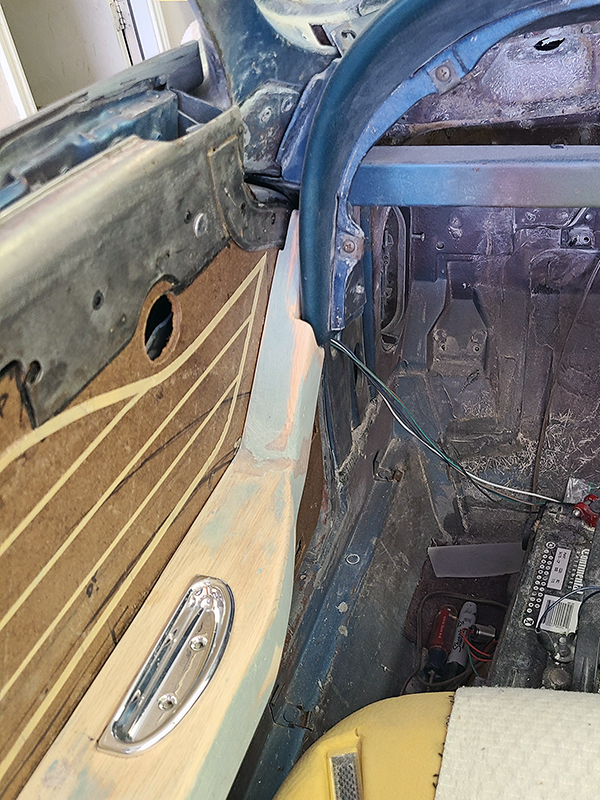
Door Panel & Hardtop Work
- 12/05
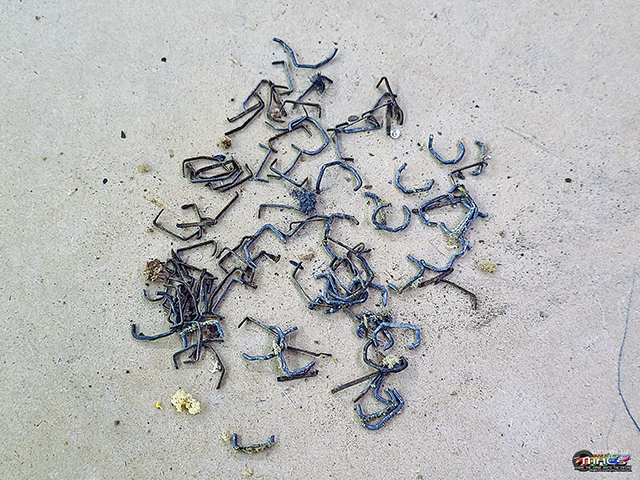
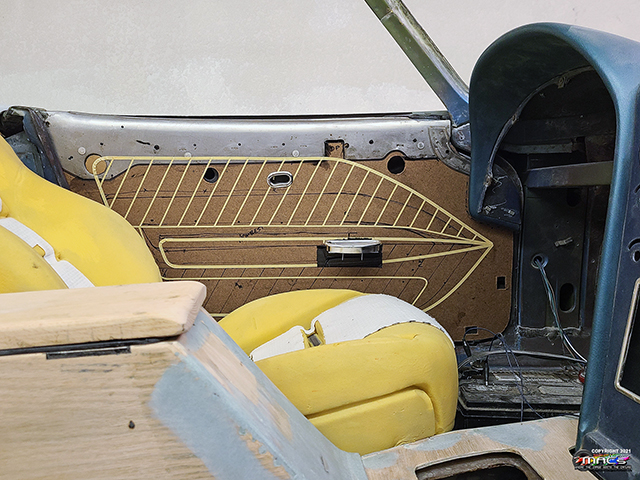
an old non-desirable door panel to be disassembled
they have a lot of staples in them
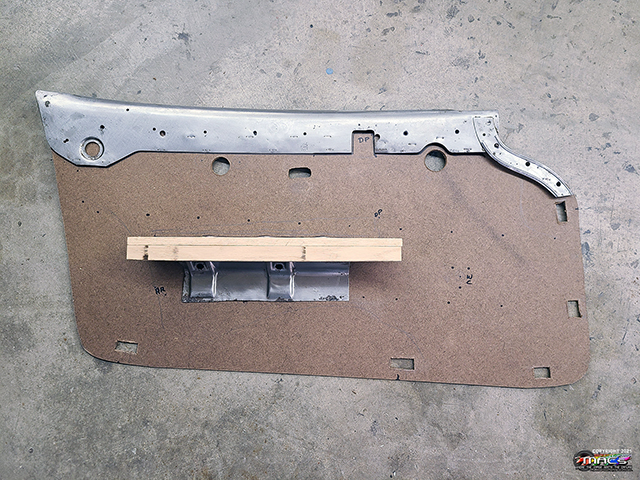
William sanding the metal upper door panel support
Turned out really nice
Then we switched our attention to the console, where we needed
to add Strong Neodymium magnets in the lid & base to keep the
console lid shut
Next, we switched to hardtop disassembly
Rotten, brittle rubber, not to mention disentigrated foam
Interior Work
- 12/06
Now that the epoxy on the magnets is dry, time to test the
amount of holding force thru 2 pieces of leather and the EMC
plastic console tray - works great
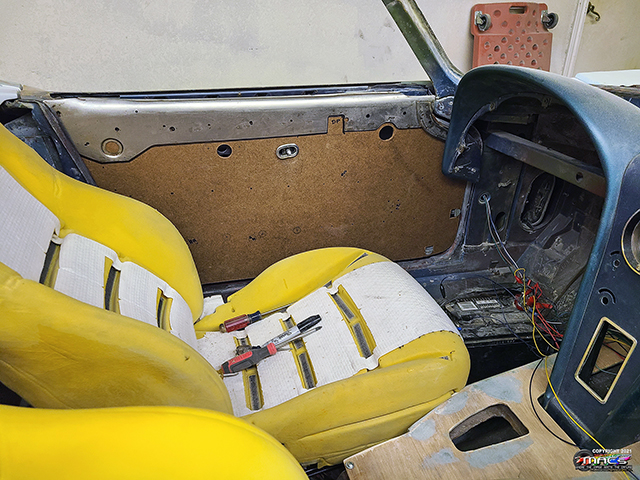
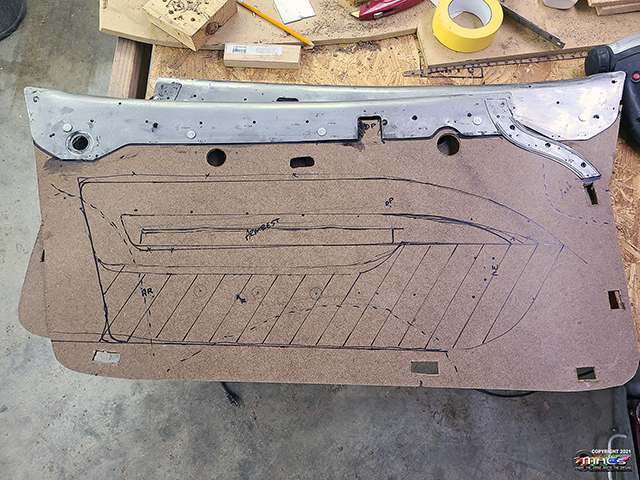
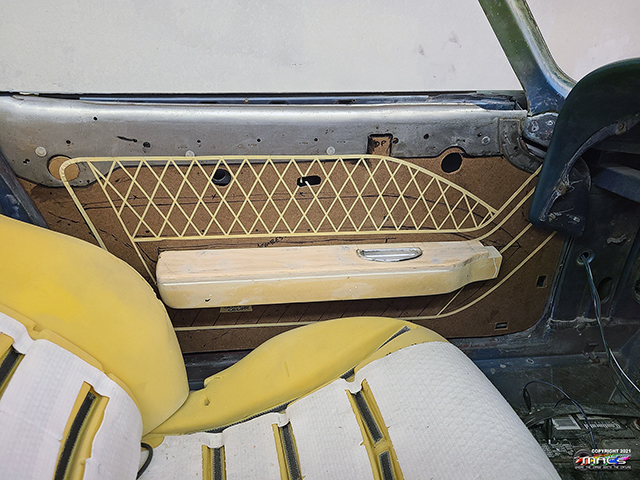
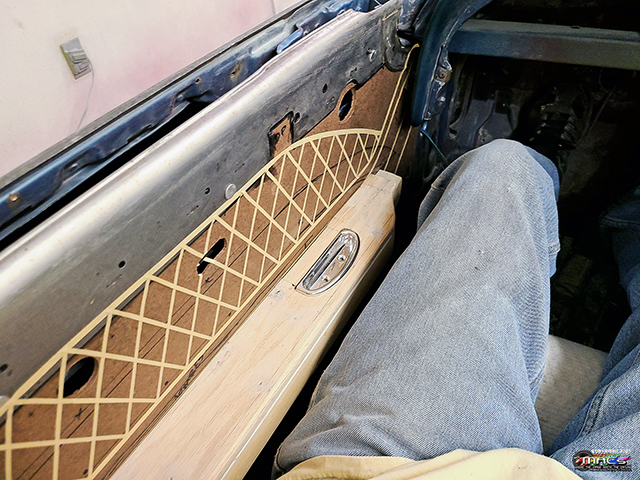
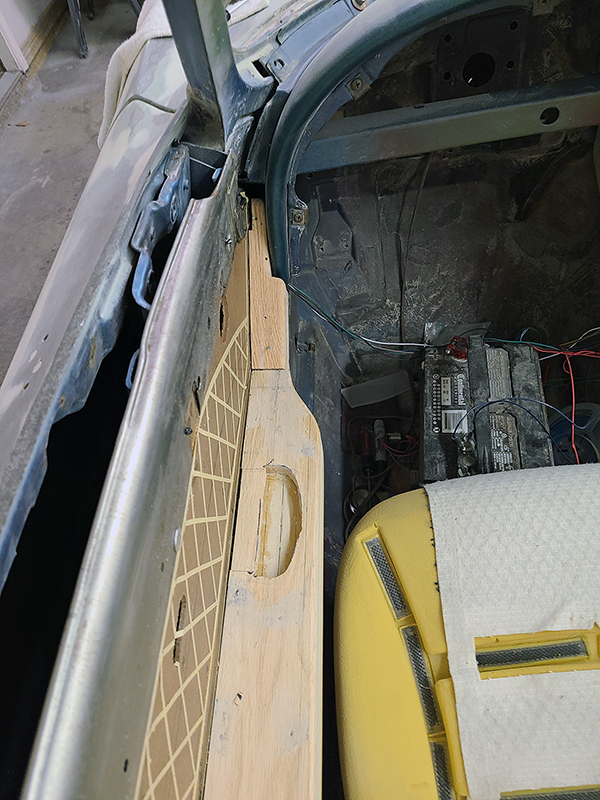
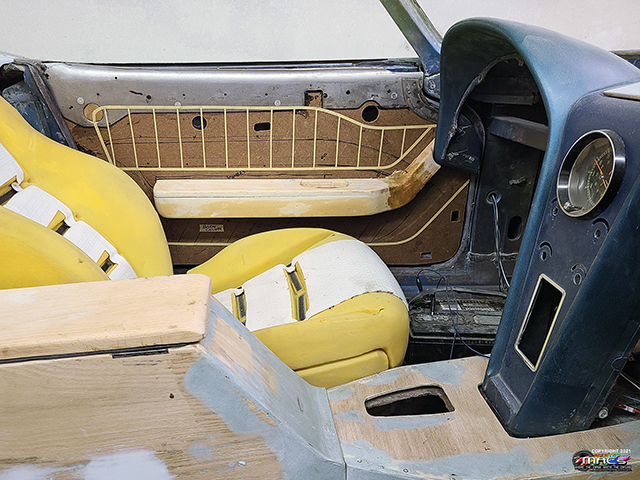
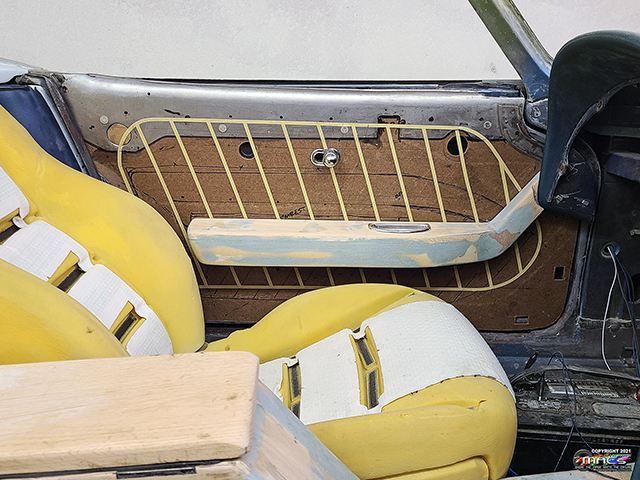
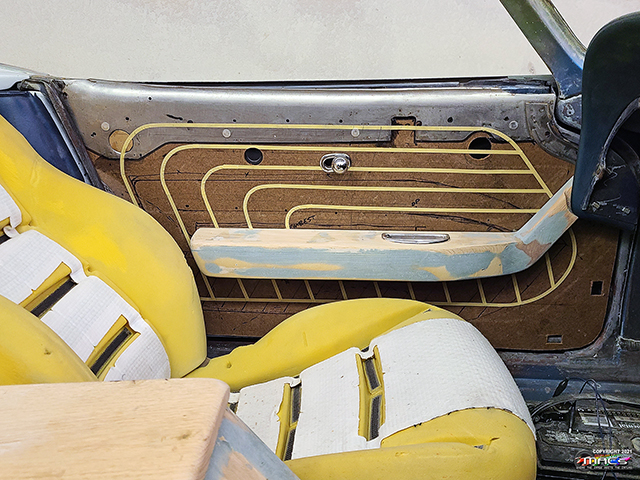
Time to switch attention to the custom door panel design and
layout. Since we aren't using factory trim and electric windows,
we won't use all holes in the legacy panel
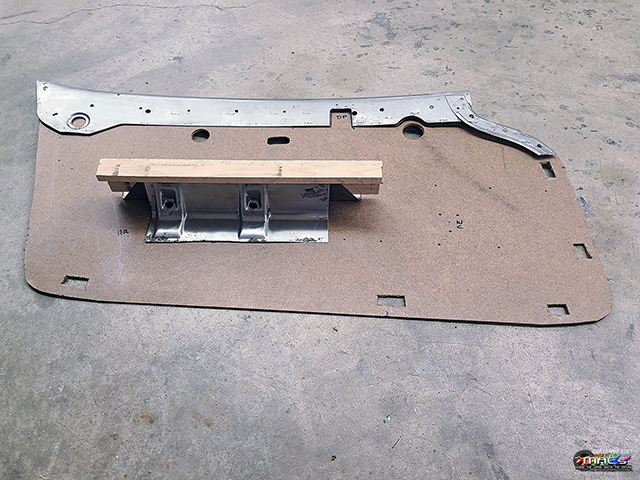
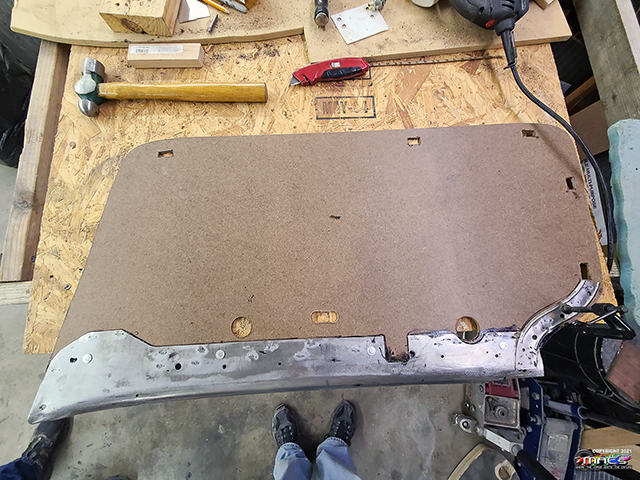
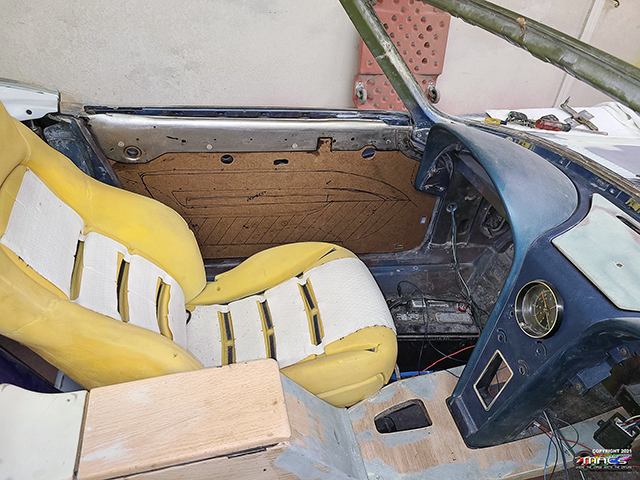
Test fit of the new door panel blank and the factory top metal
support piece
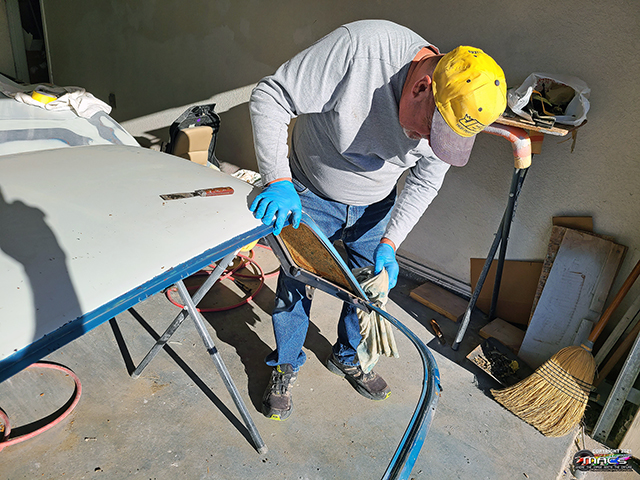
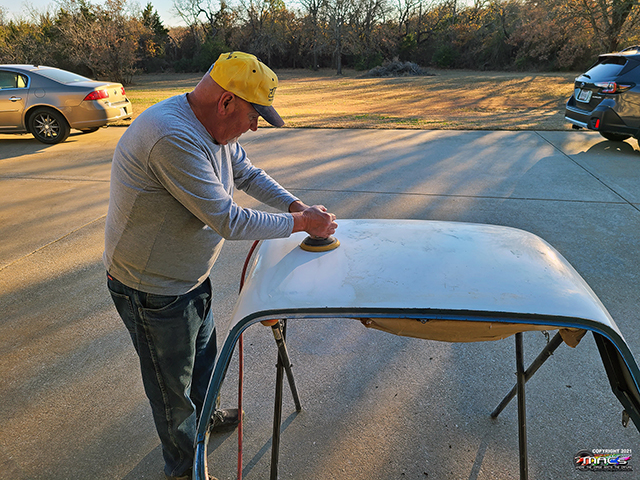
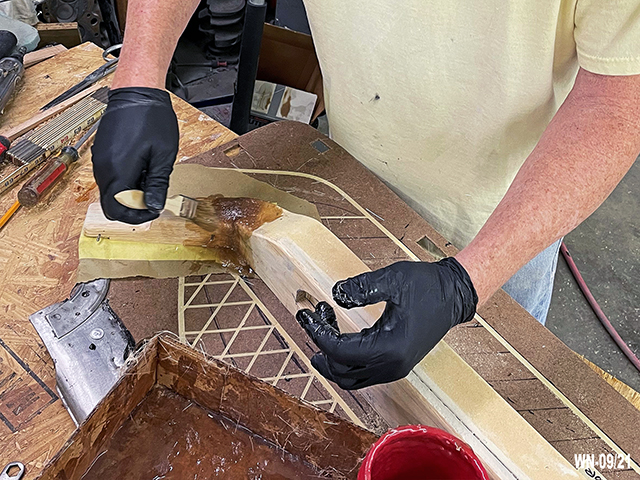
Hardtop & Door Panels
- 12/12-13
The armrest (rough) has been positioned where it matches the ht
of the console - different than the stock location
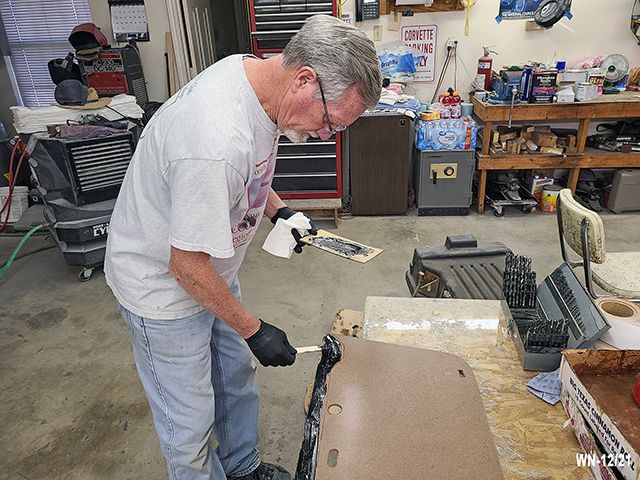
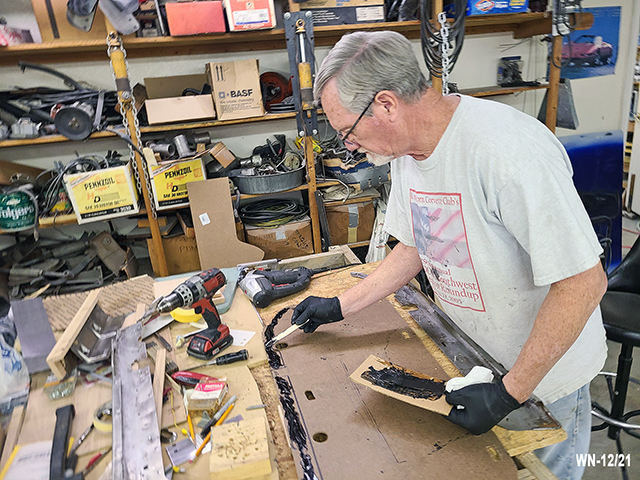
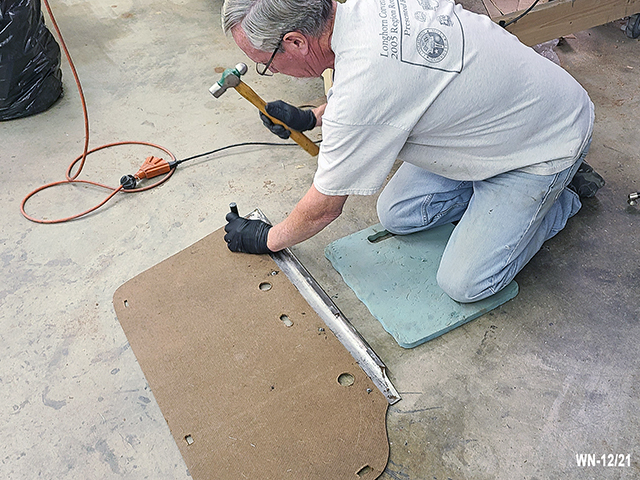
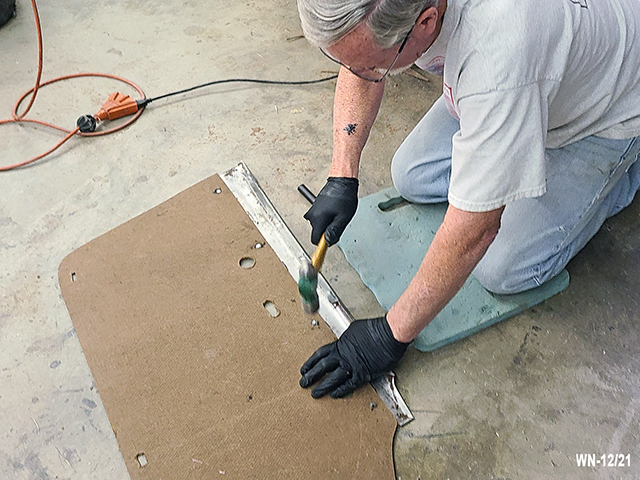
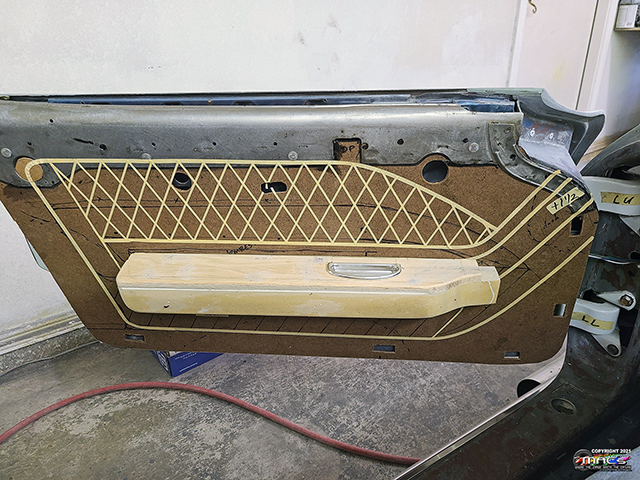
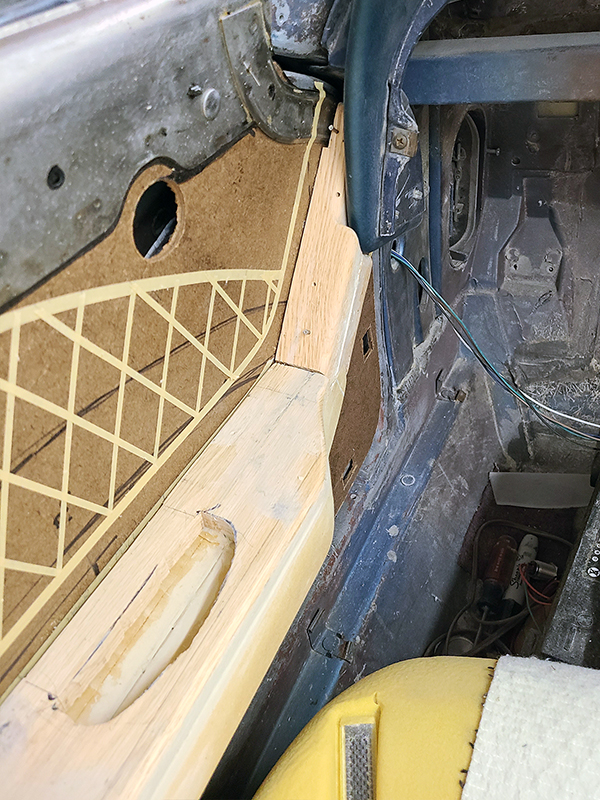
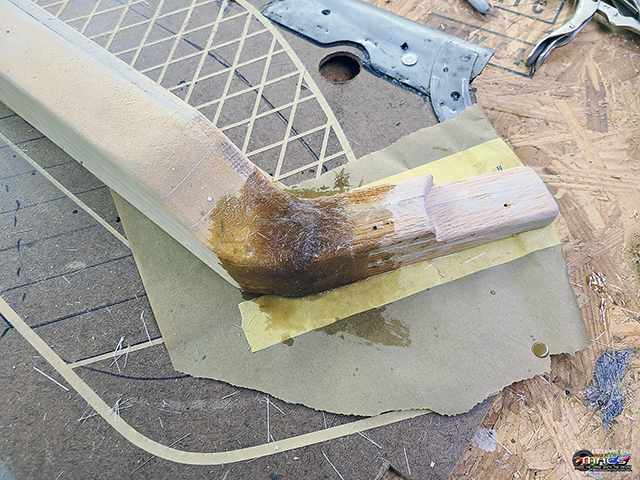
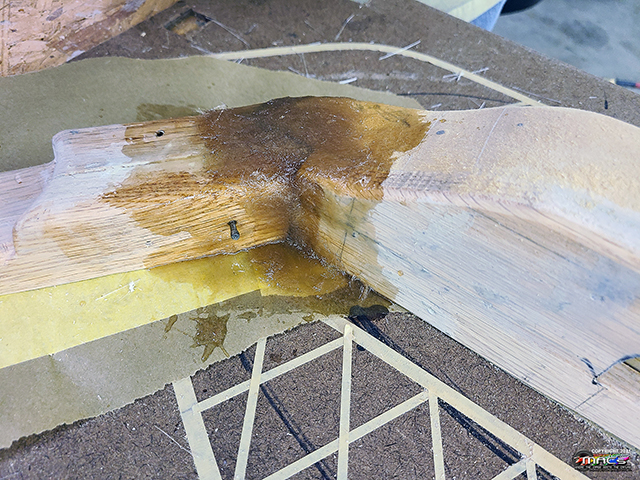
adding epoxy to the door panel to affix it to the metal upper
panel
Setting the rivets with the rivet tool / hammer
Then a few blows just with the hammer to flatten the rounded
head
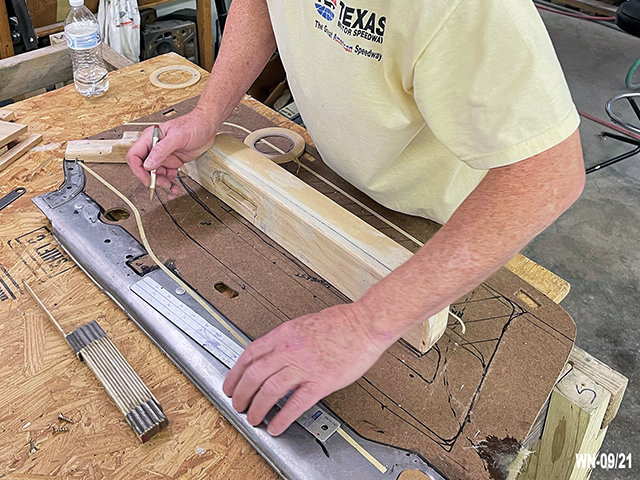
a 1st test of a pattern for the door panel - still needs design
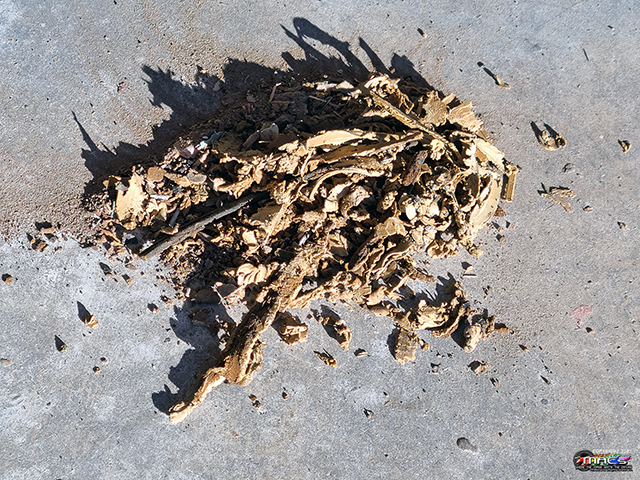
work!!!
You can see the nasty, aged chaulk and adhesive found under the
trim
lots of nasty chaulk and adhesive were cleaned out - this is
just one pile of it
William wiping the window area with cleaner
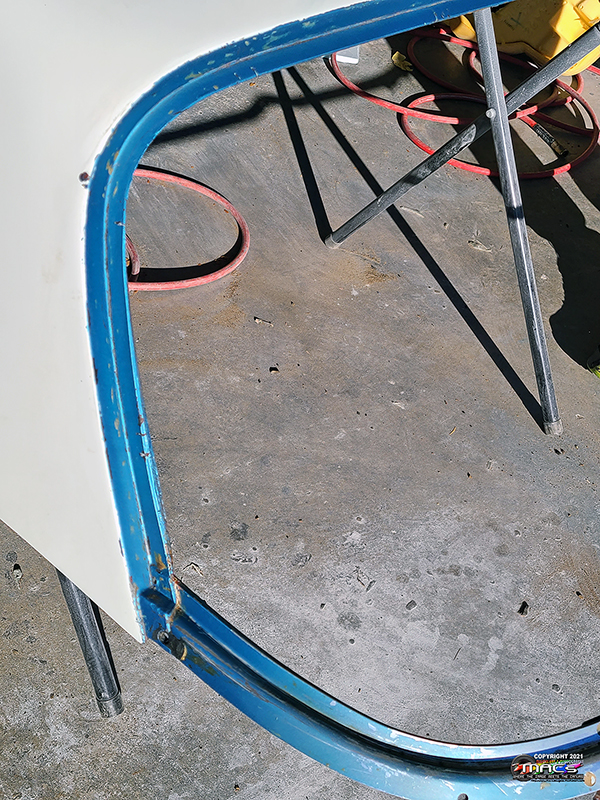
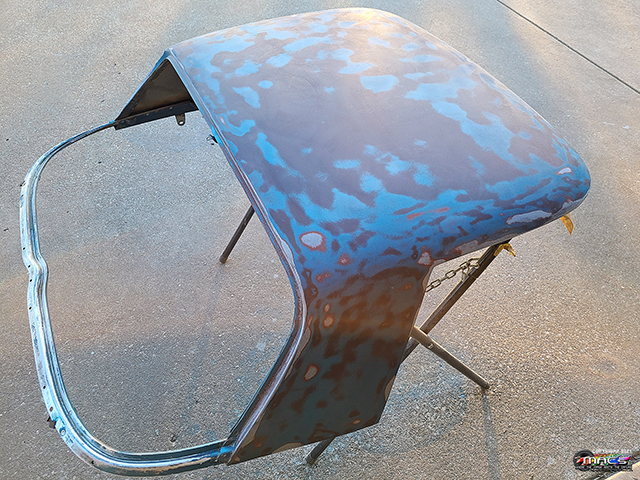
Cleaned and ready to strip the paint and get ready for primer
William stripping the 2 coats of aftermarket paint / printer
The top is stripped of the aftermarket paint & primer we found -
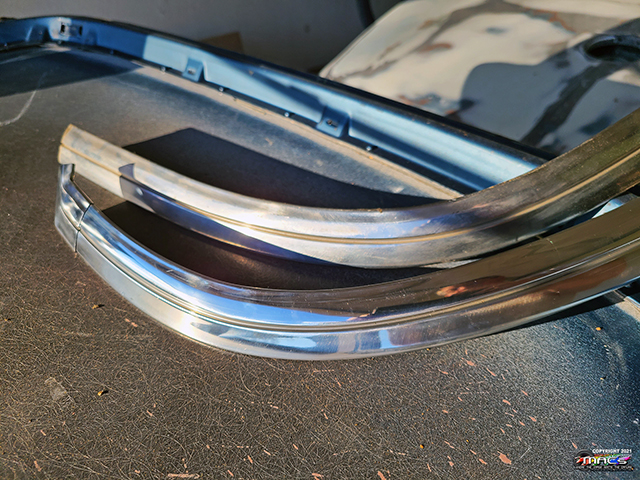
ready for primer
A quick test on how well the stainless trim will buff / polish
out
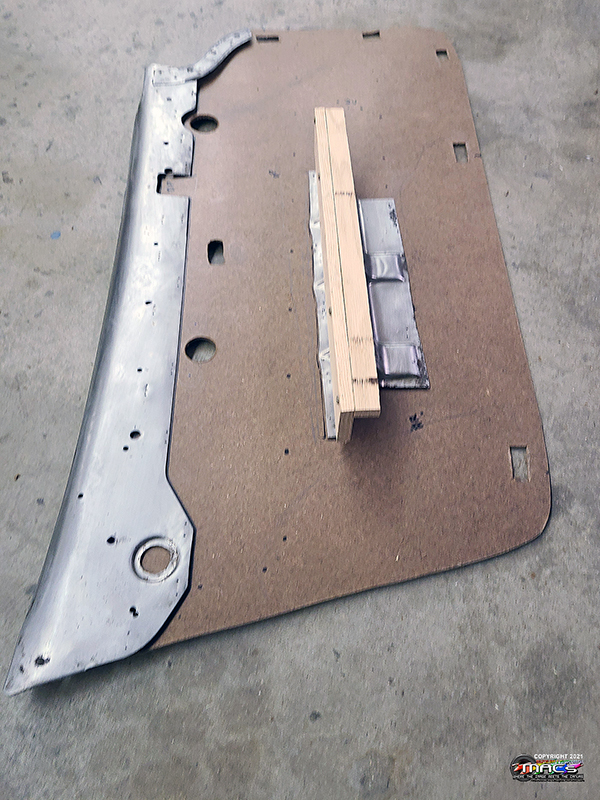
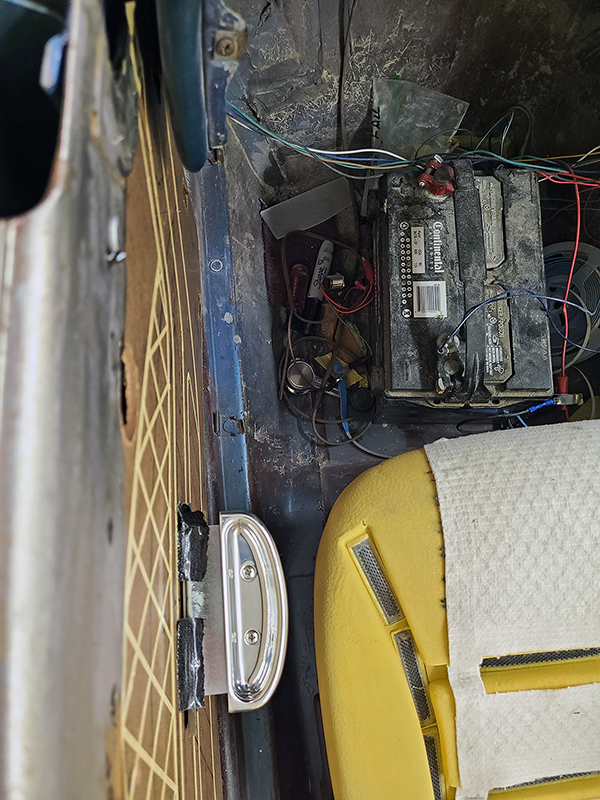
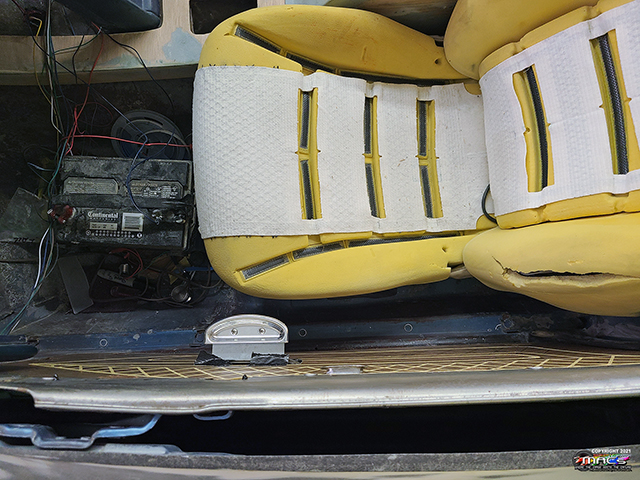
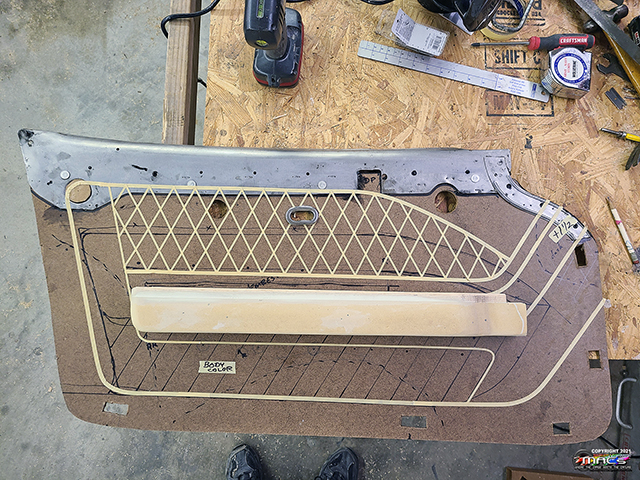
Door Panels
- 12/17
The first look at our new Lokar lolished aluminum door pulls
along with various door panel thoughts
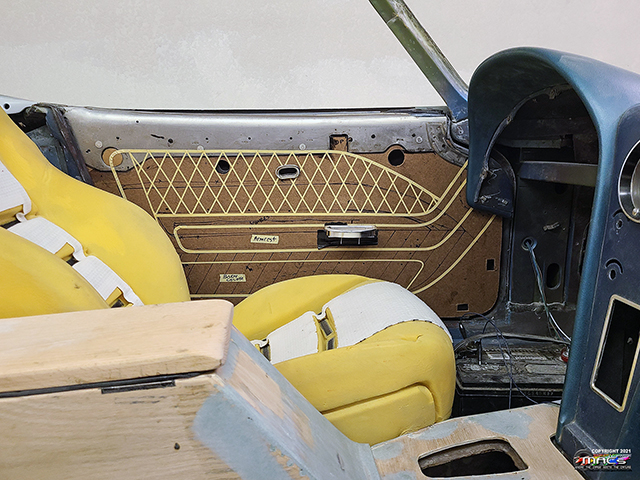
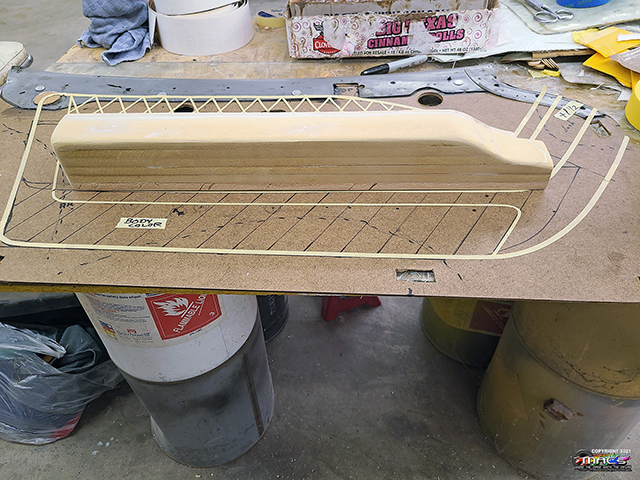
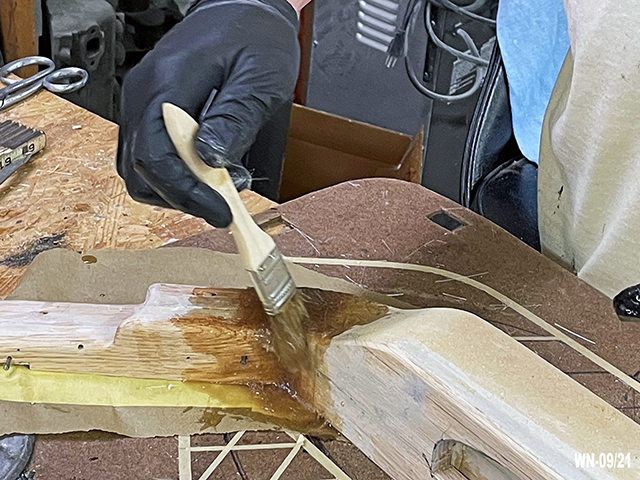
Door Panels - 12/18
A rough armrest has been mocked up and placed on the door panel
Time to build the upright on the armrest and some overall
shaping
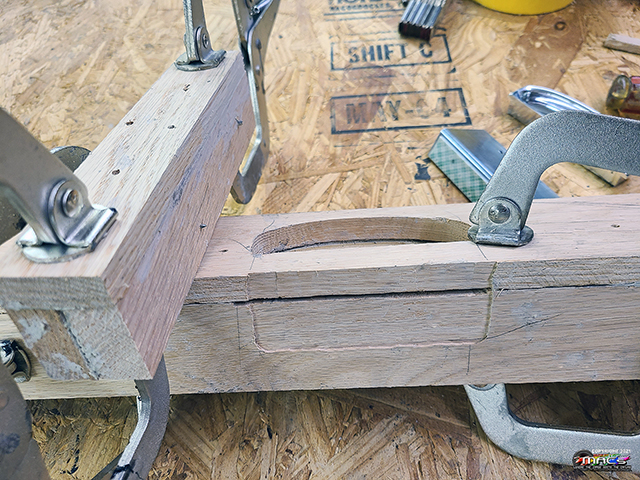
Door Panels
- 12/19
Test fitting and final fit prior to fiberglassing the
upright
Shaping of the upright and complete armrest along with test
fitting
Fiberglassing the upright to the main armrest
What might be "the final" shaping has been completed
The fit to the dash humps fits great
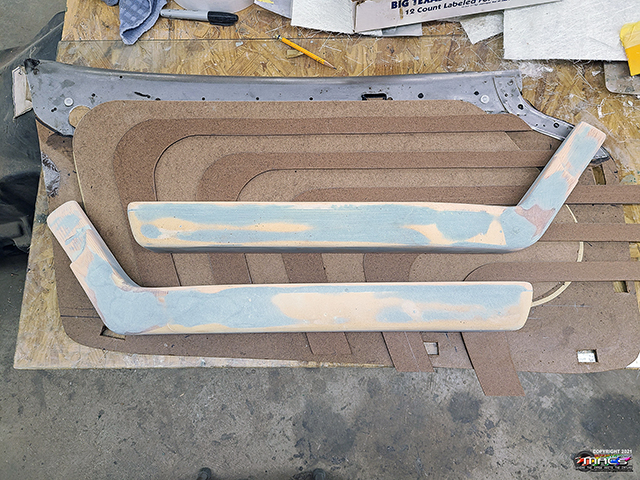
Door Panels
- 12/21-23
Test fitting and final fit prior to fiberglassing the
upright
Both armrests are 98% complete - a few final tweaks left to do
here and there
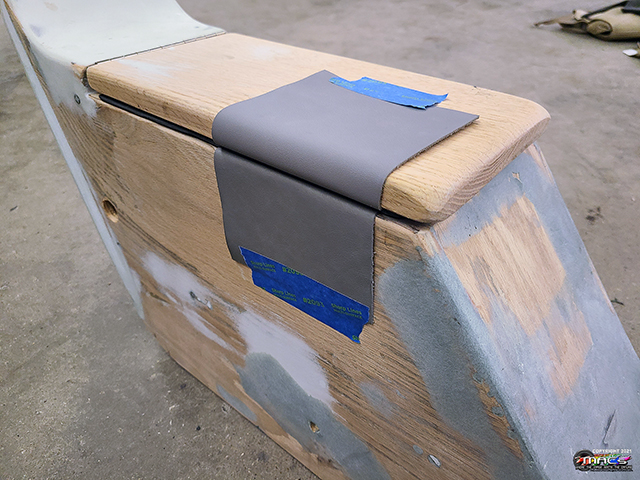
Two more thoughts on door panel upholstery
The slant of the left one matches the '67 Vette side louvers but
in reverse - the right version is more abstract
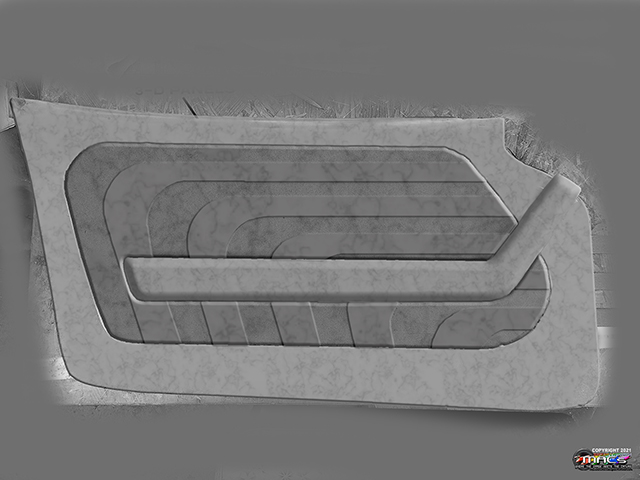
Built some raised panel components to get a better visual on
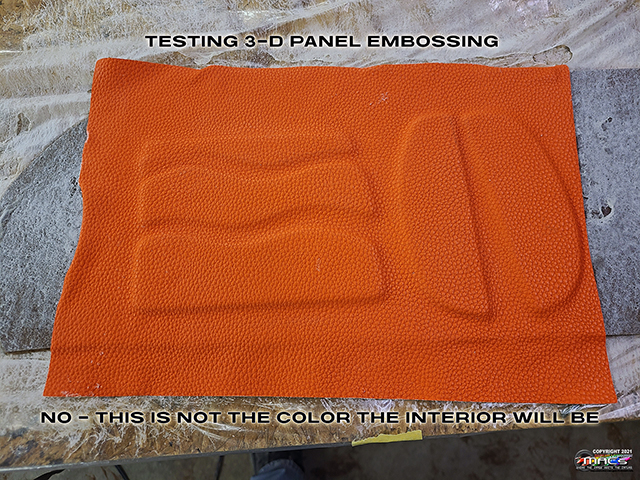
this option
Testing the embossed panel with some sample leather (no not
final color)
A rough rendering with two-tone gray leather
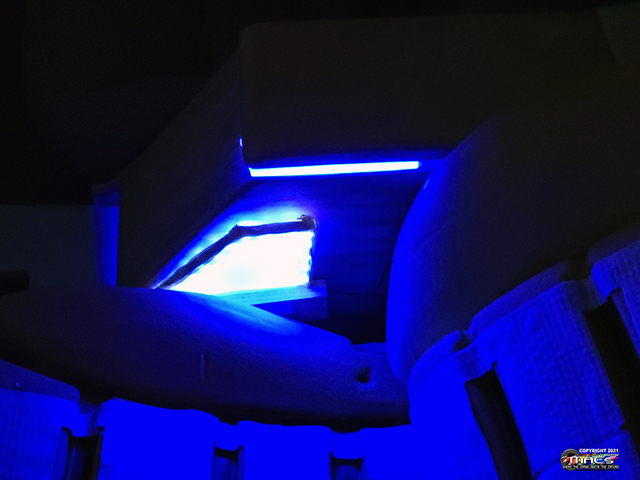
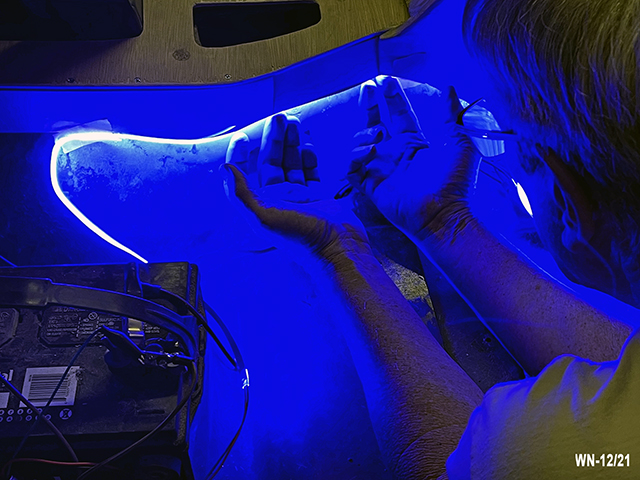
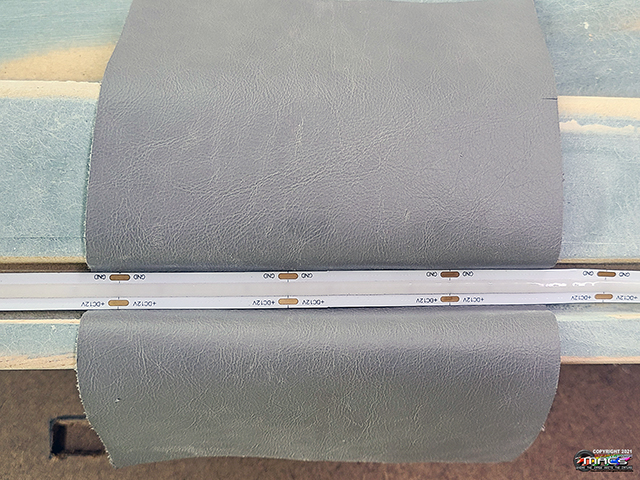
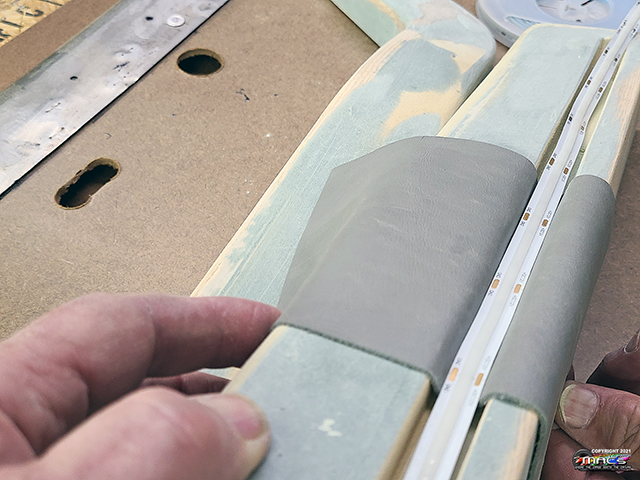
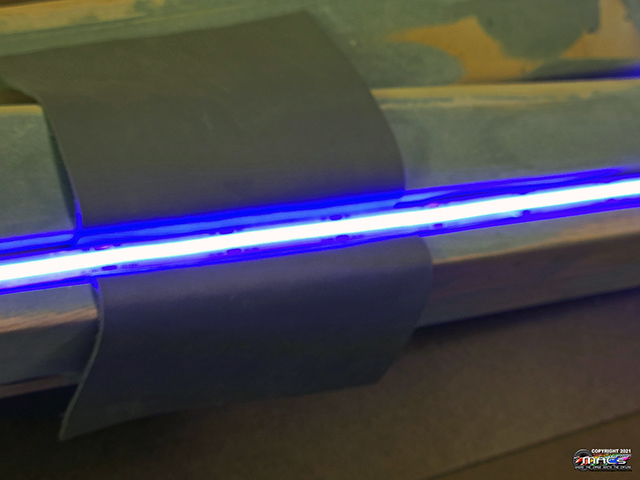
Door Panel Indirect Lighting
- 12/27
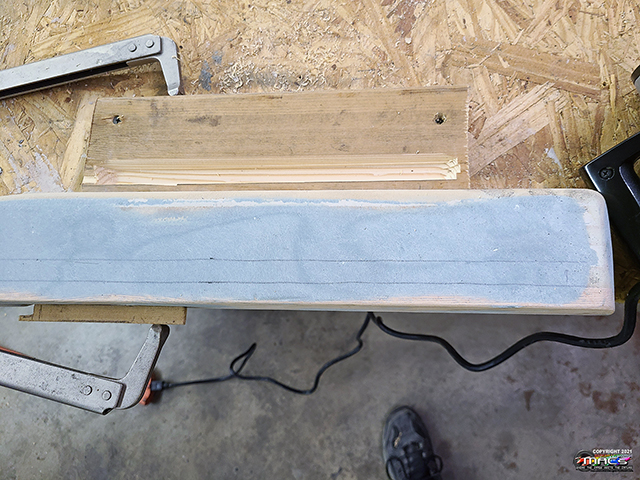
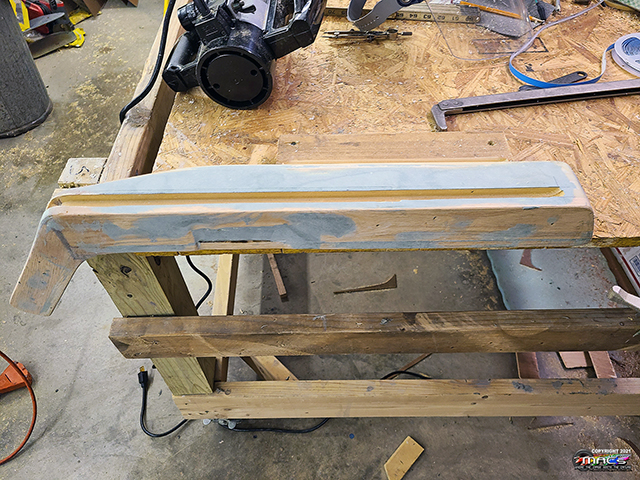
Routing a channel on the bottom of the armrest to put the neon
LED lighting
Pefect wicth and depth for the light strip with leather inserted
- blue led isn't photographin correctly