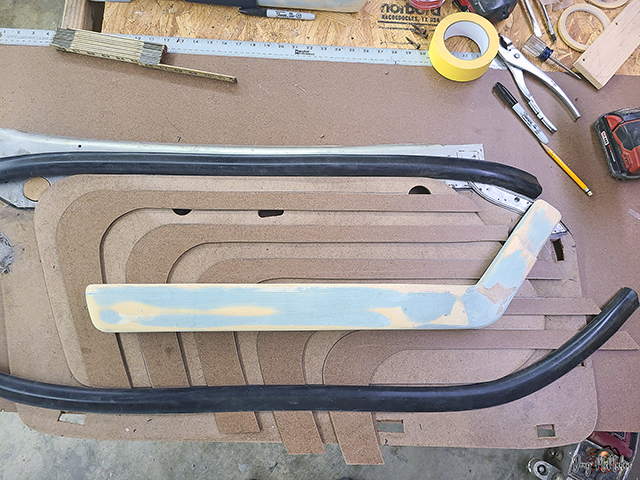
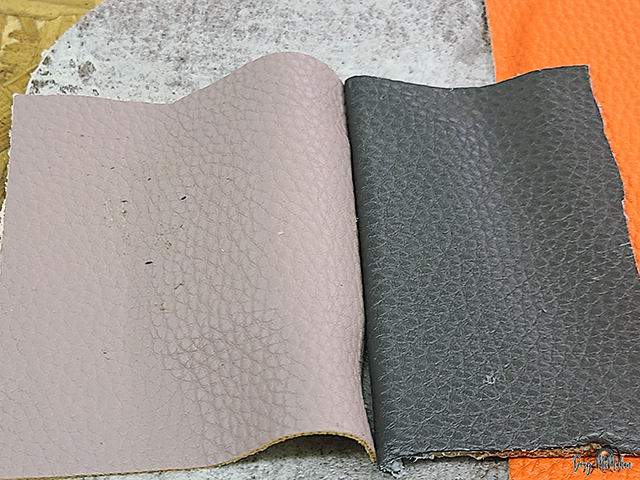
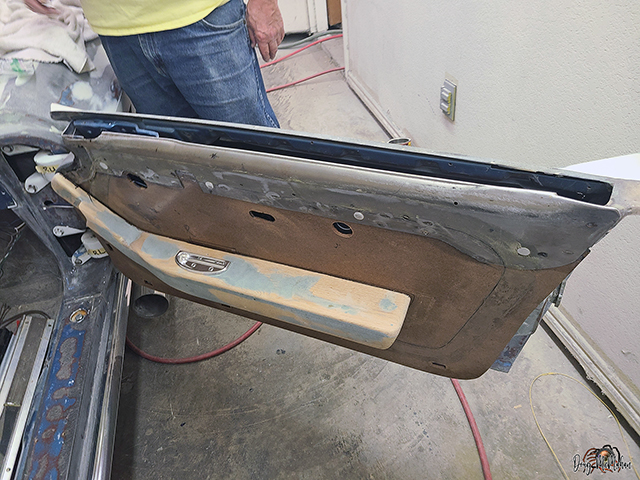
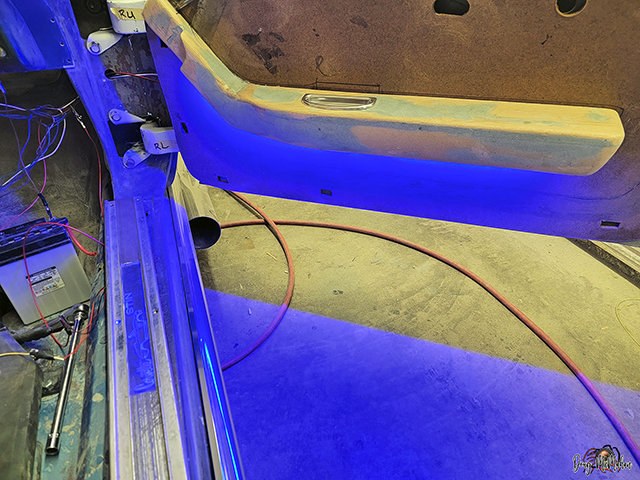
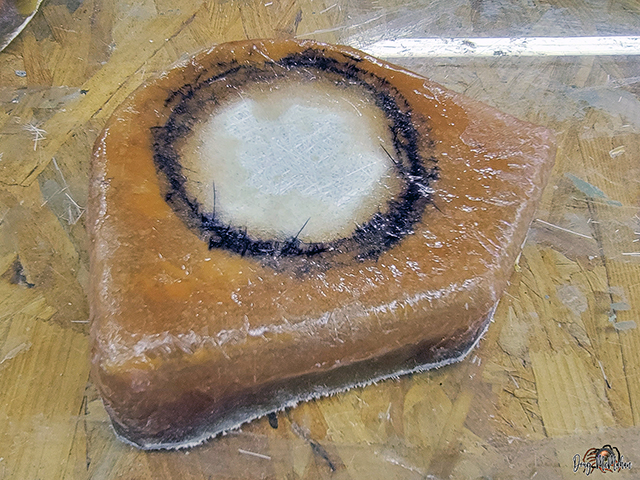
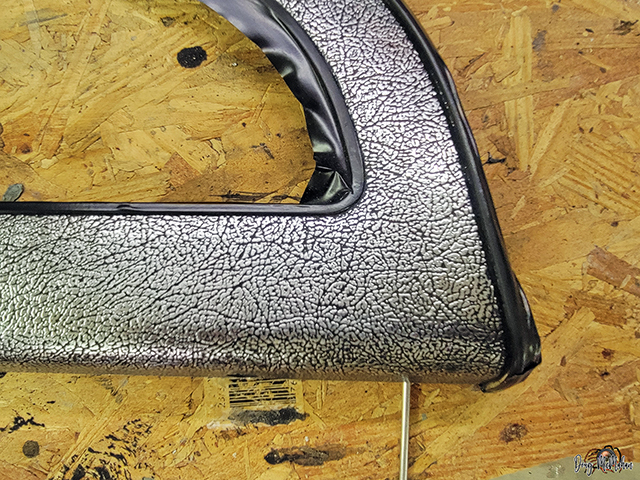
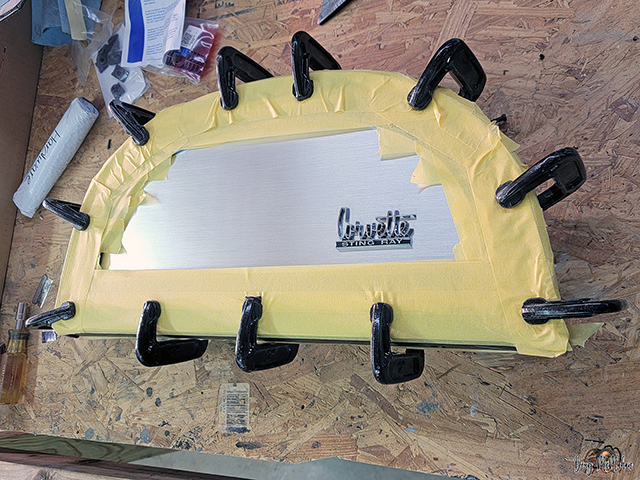
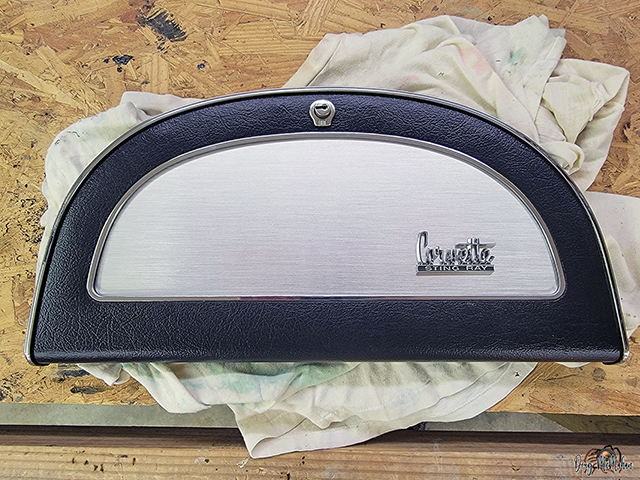
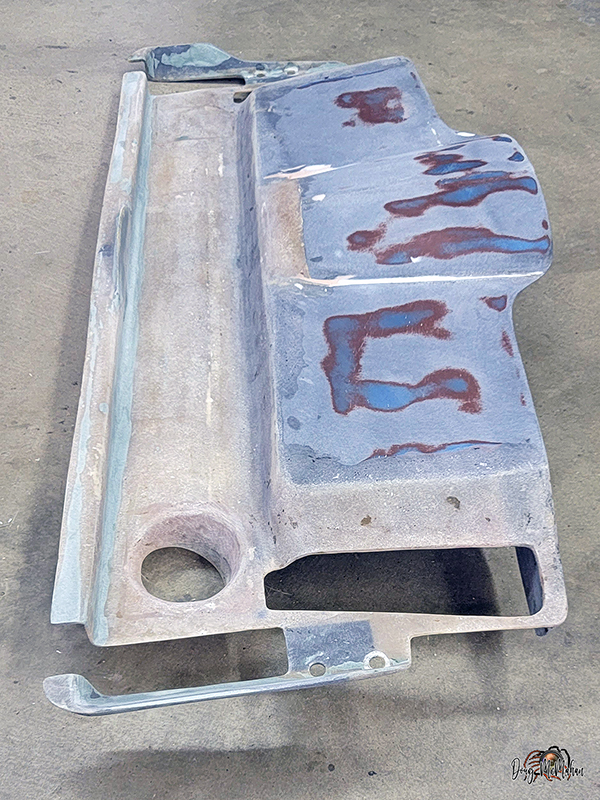
The contoured bull-nose piece will provide some 3-dimensional
shape to the otherwise flat door panel. It also provides a nice
break from one color to the other.
The black piece simulates the inside section of the door panel
while the tan represents the outer section of the door panel -
bull nose is 1/2 ht.
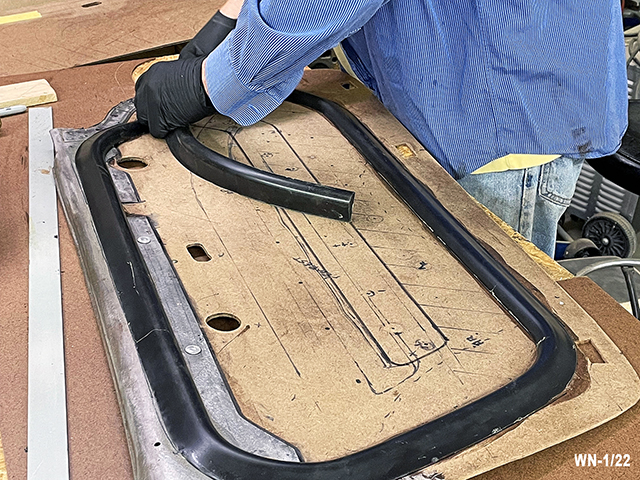
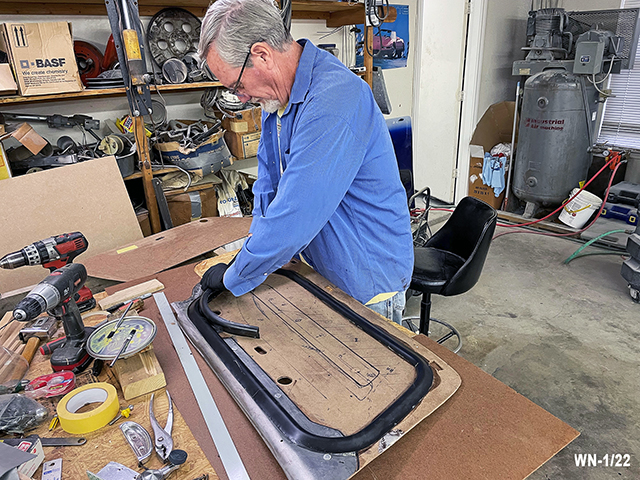
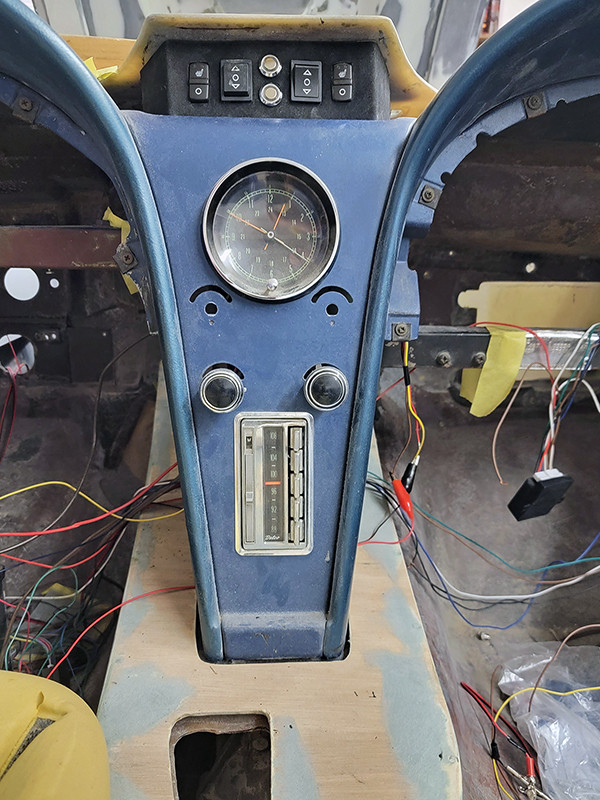
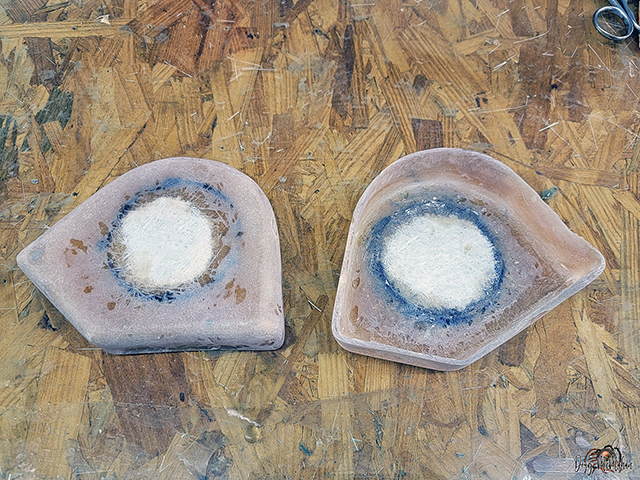
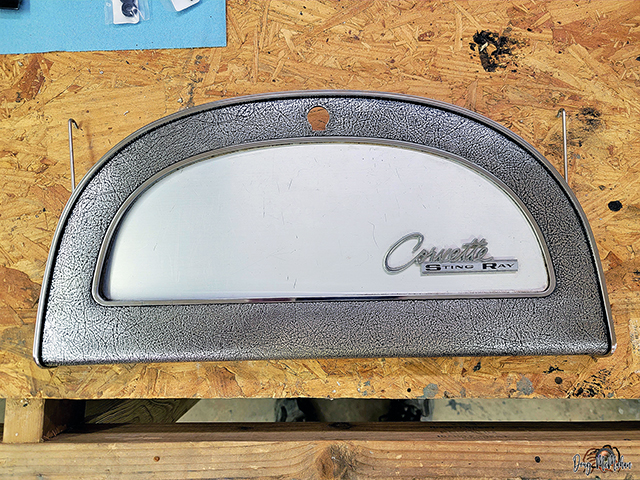
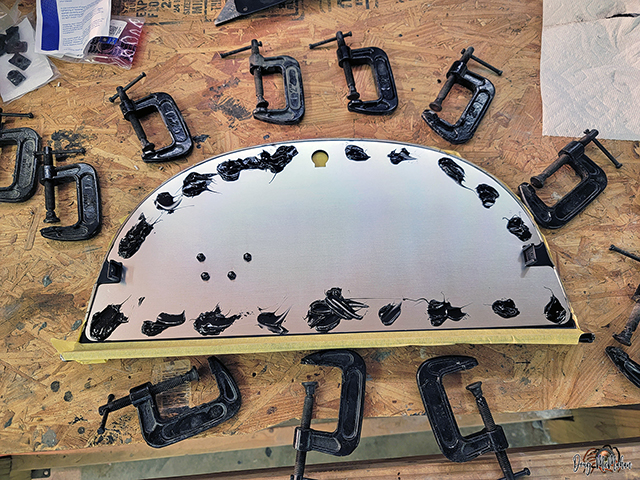
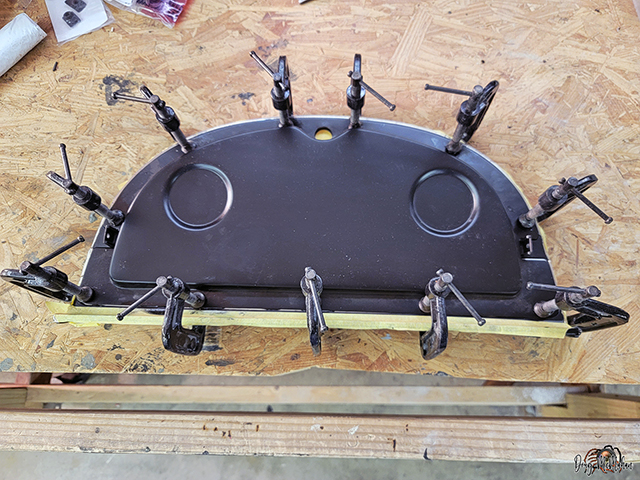
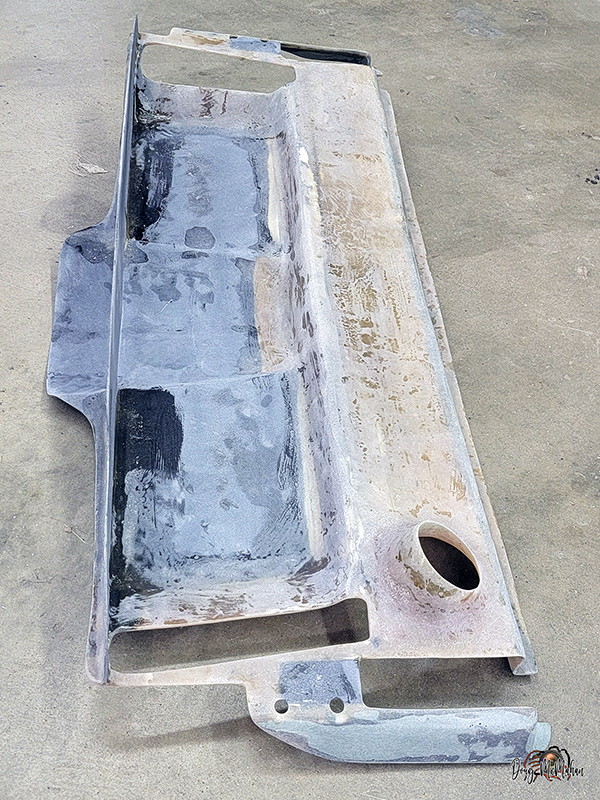
Door Panel Molding & Stainless Trim - 1/08-10
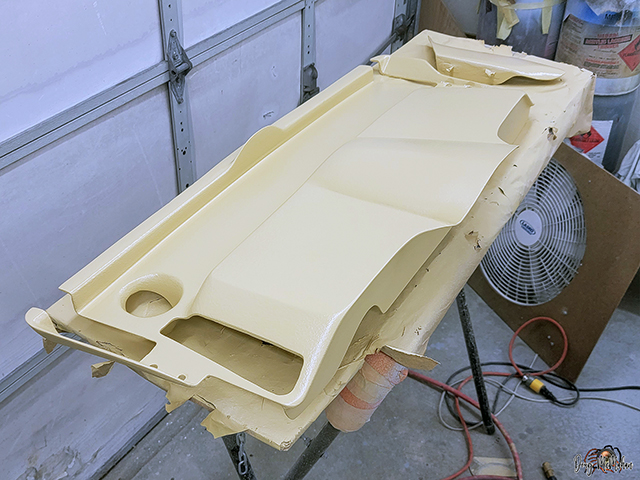
We installed the Hagan Auto Bull Nose Molding onto the door
panels; this will be upholstered over
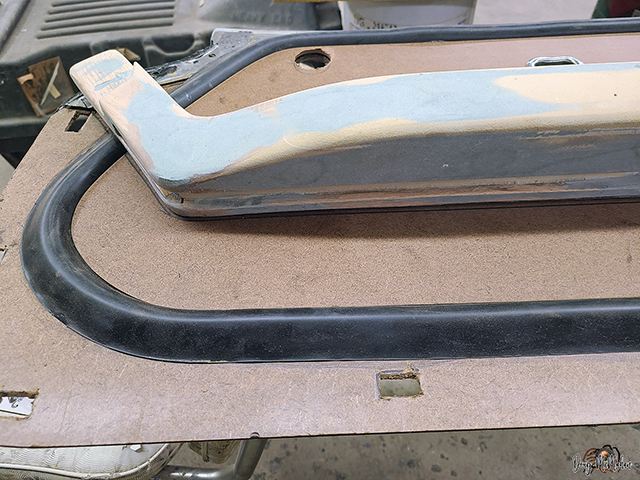
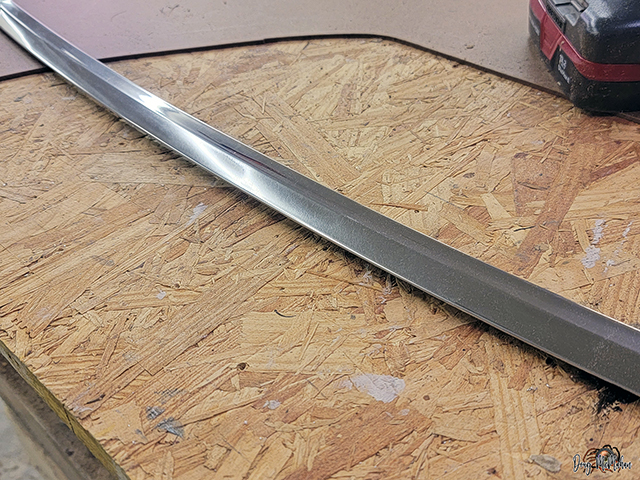
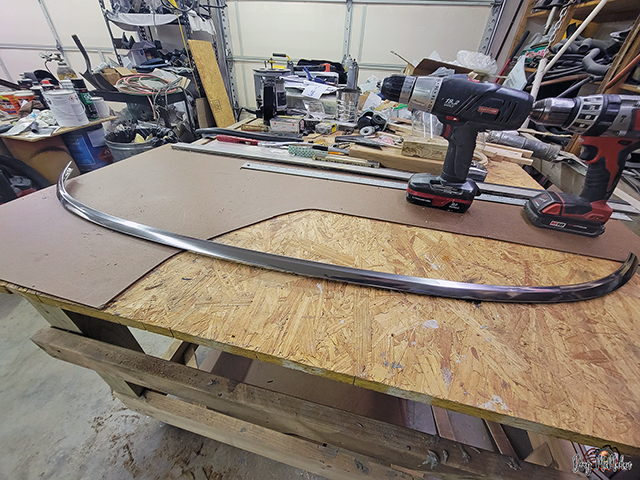
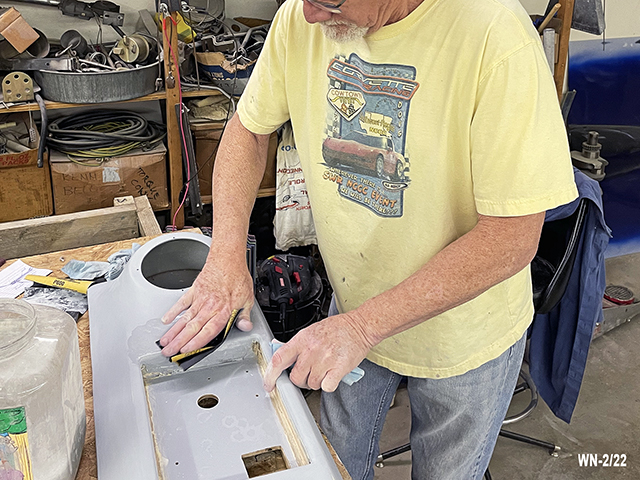
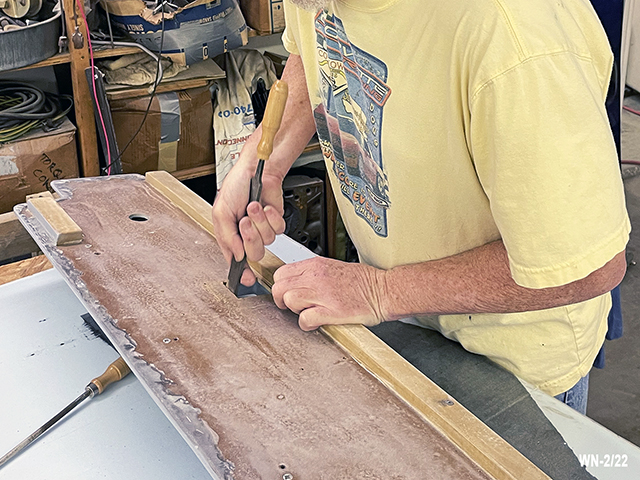
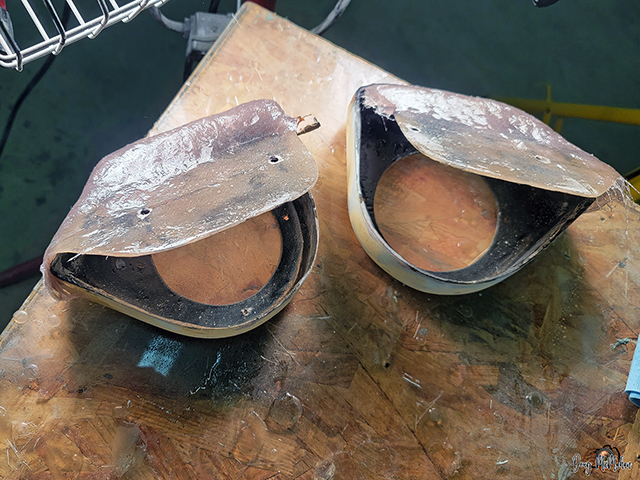
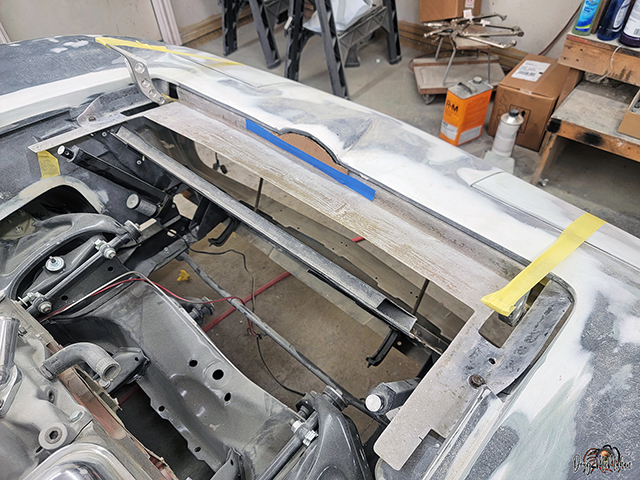
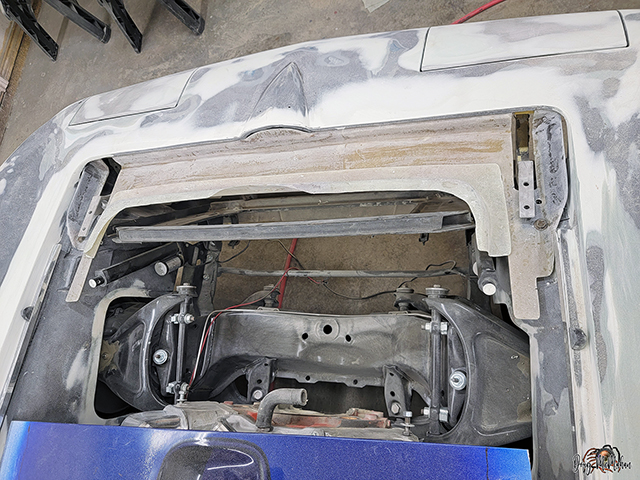
Since we are waiting on parts, I started sanding, de-denting the
stainless trim around the windshield
...bottom photo is of the interior windshield trim
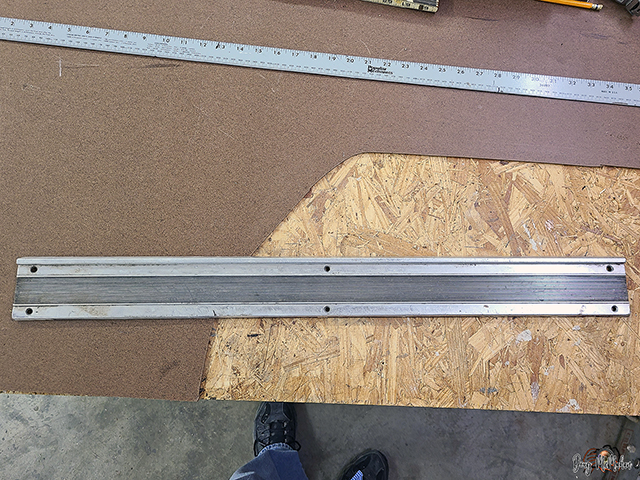
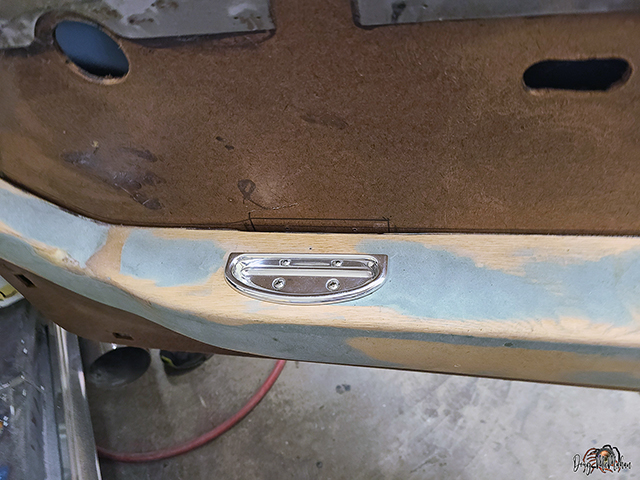
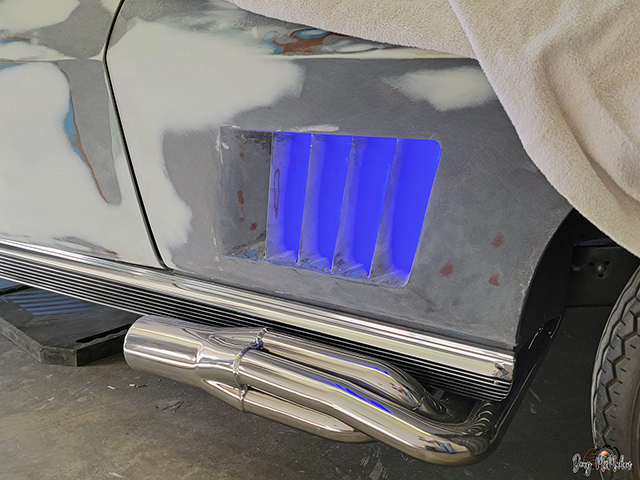
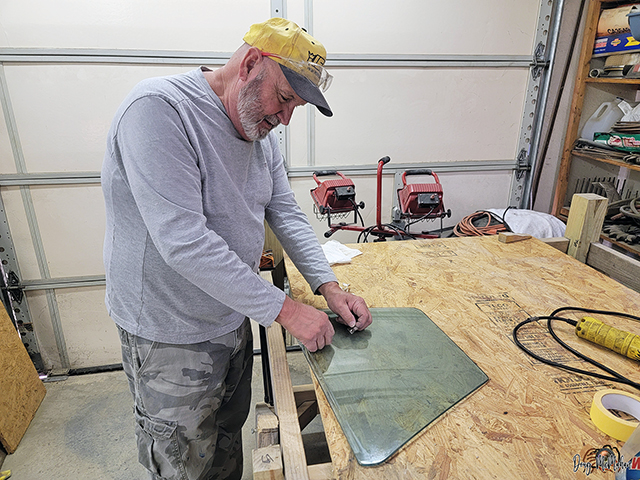
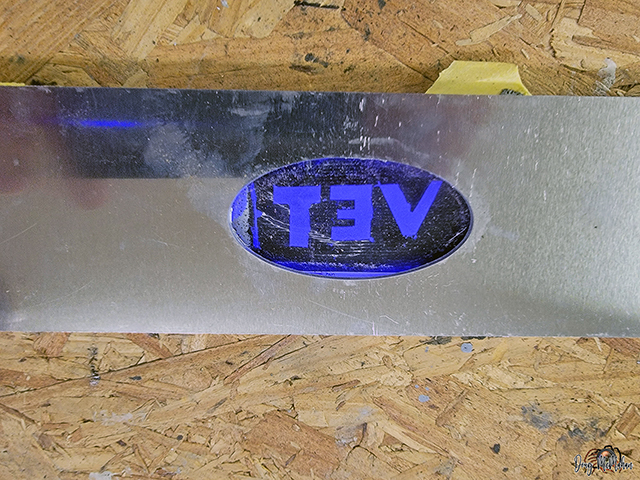
Door Sill Plate Testing - 1/11
<- Stock Door Sill Plate - in very ROUGH shape - good practice
piece :)
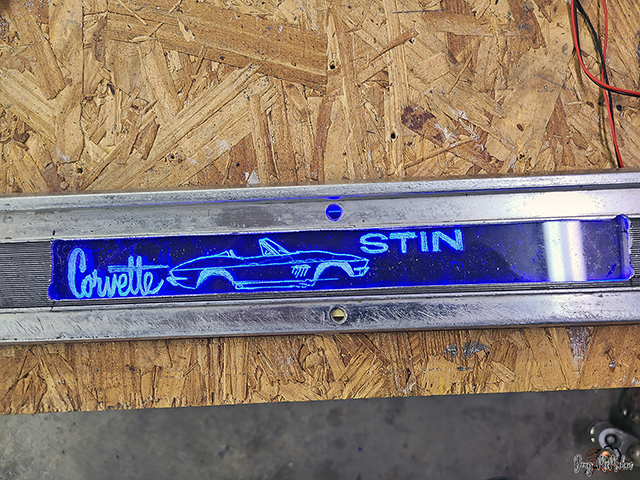
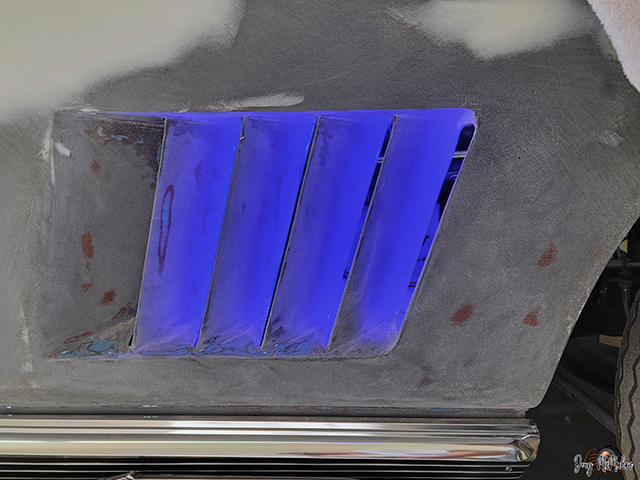
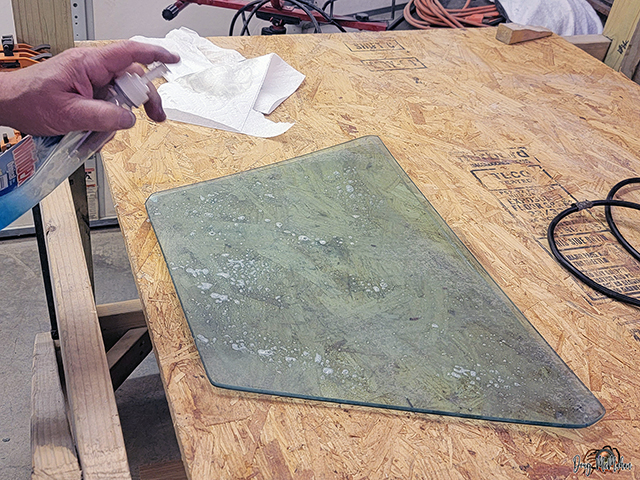
Testing a backlit Plexiglas with blue LED edge lighting to give
a custom touch to the door sills->
Test was done engraving the Plexiglas w/etcher
The Plexiglas I have is too thick and the artwork needs to be
sandblasted backwards on the Plexiglas to leave the top-side
smooth - but the direction worked
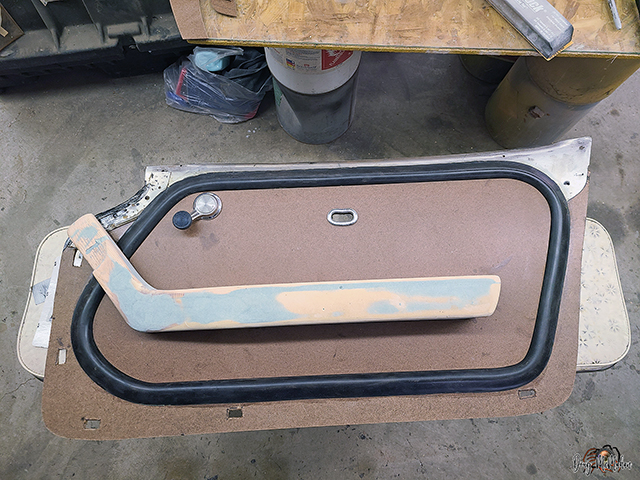
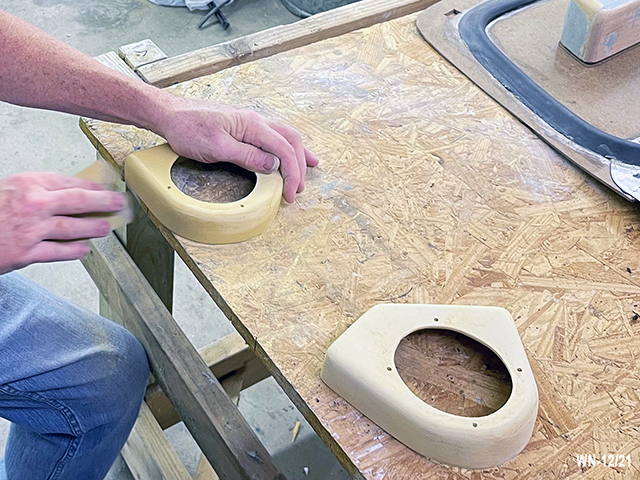
Arm Rest Supports
- 1/13
<-Door Handle Support Structure
Mounted & Complete ->
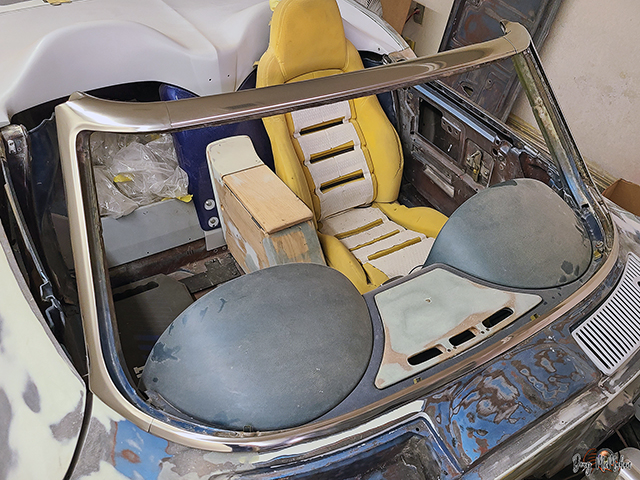
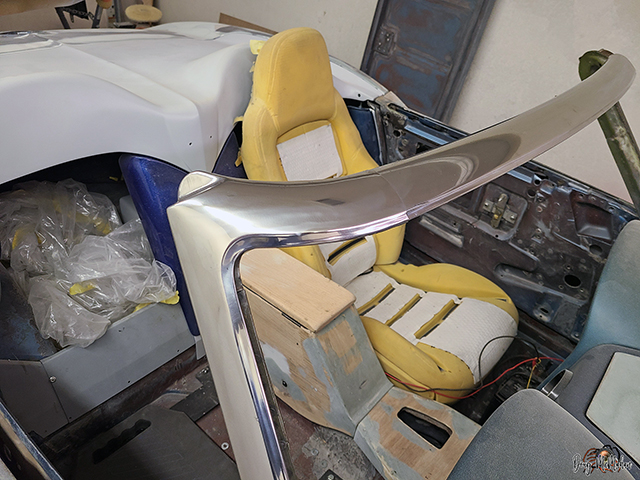
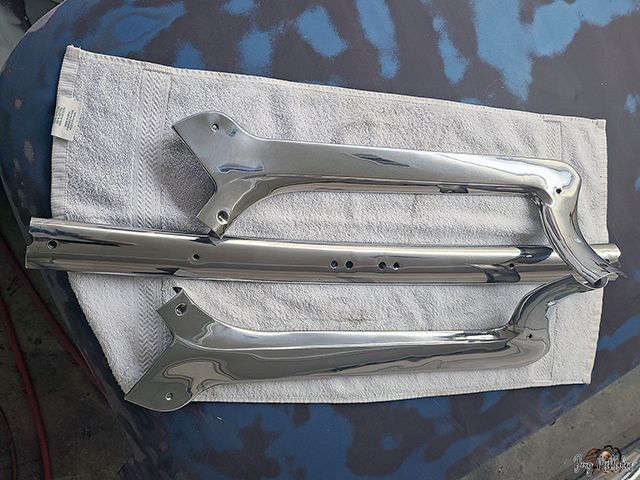
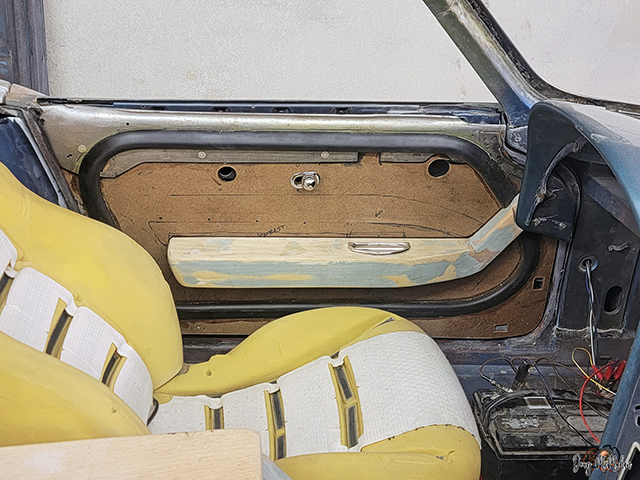
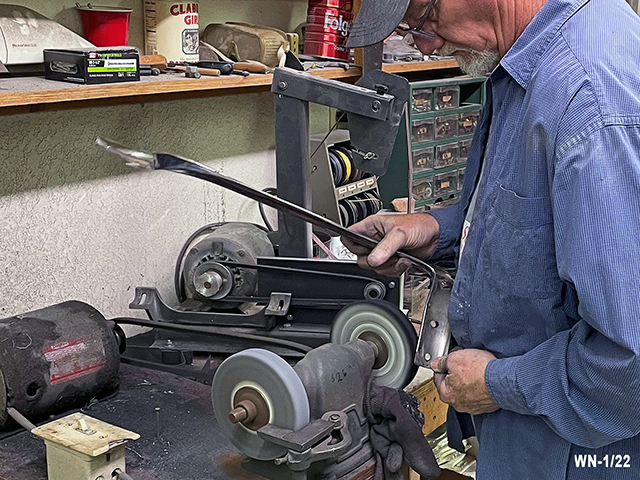
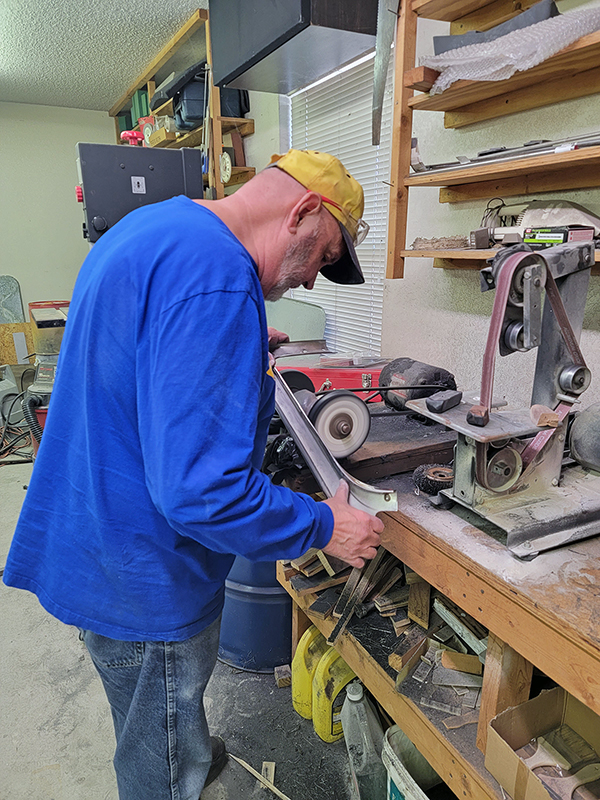
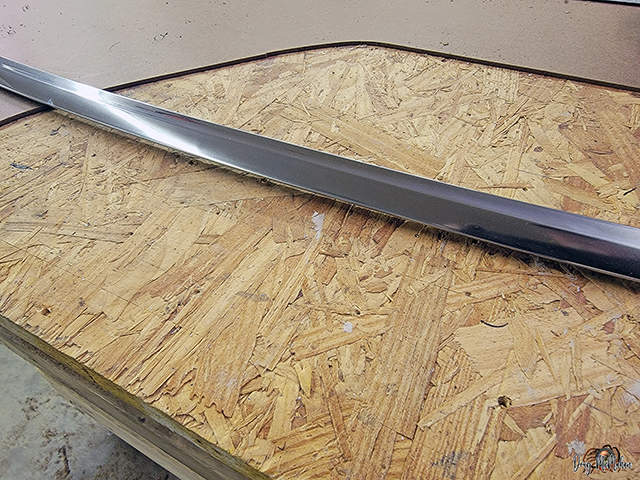
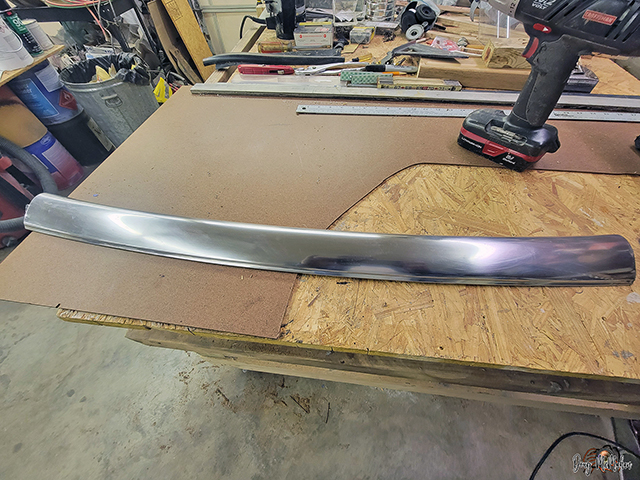
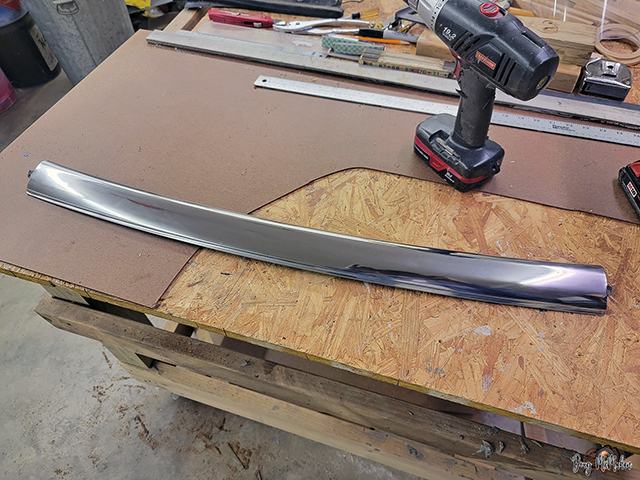
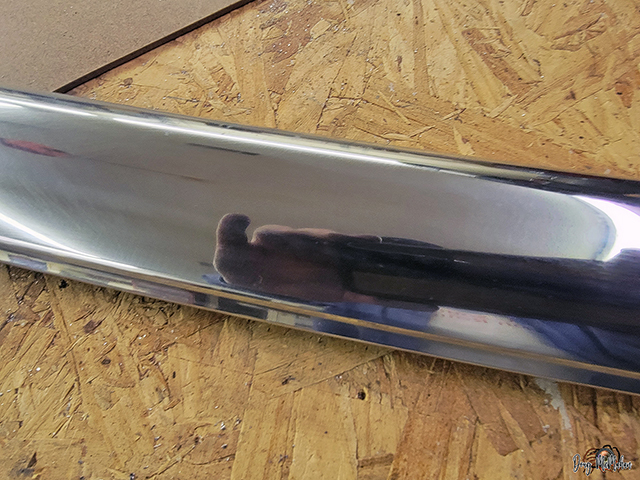
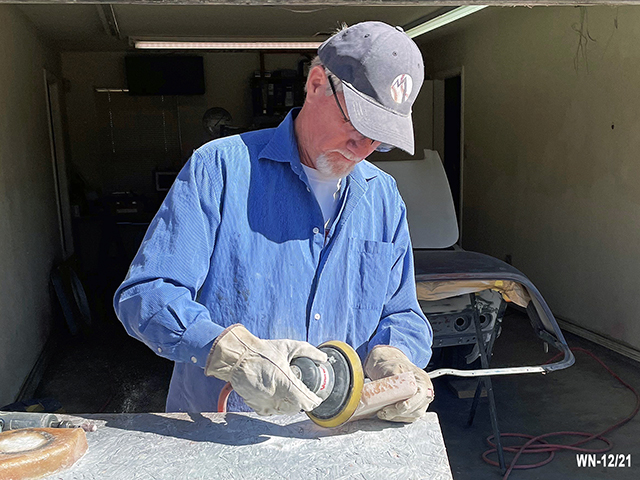
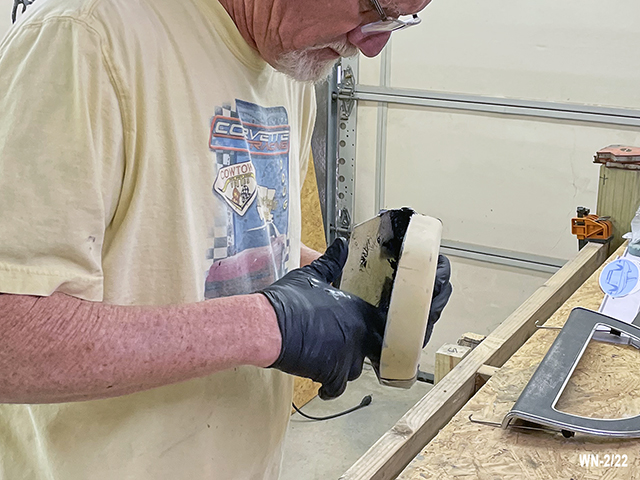
Arm Rest / Door Panel & Refinishing Stainless Windshield Trim - 1/16
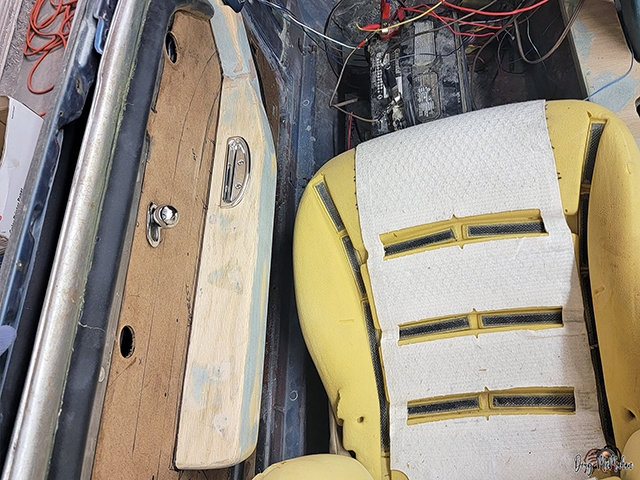
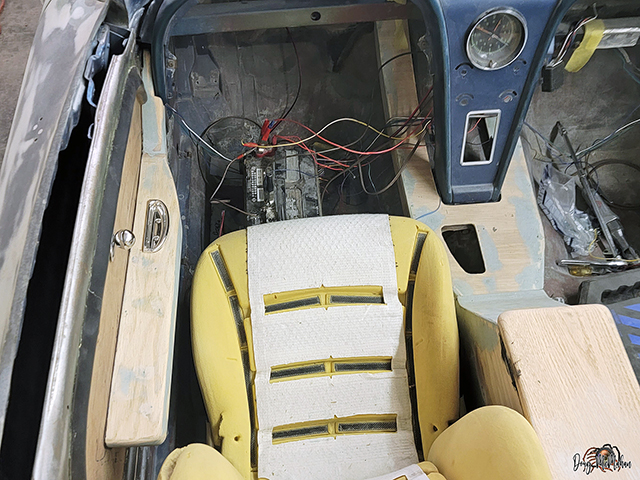
Driver's Door on - checking clearances with the seat
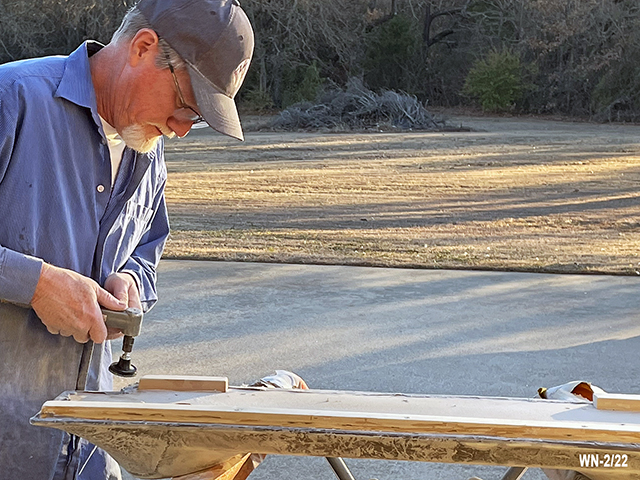
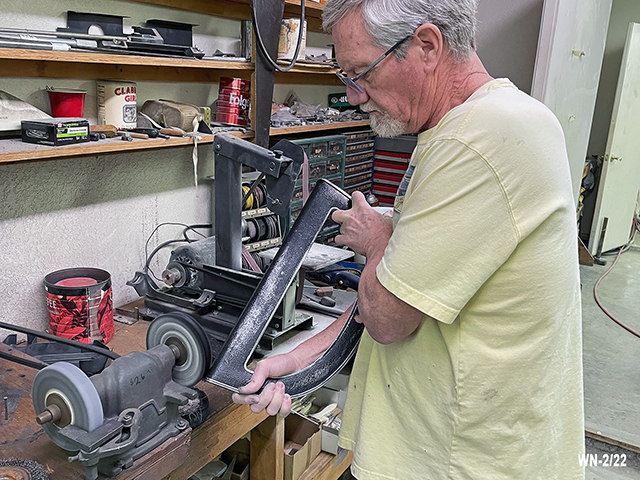
Doug polishing a piece of stainless windshield trim
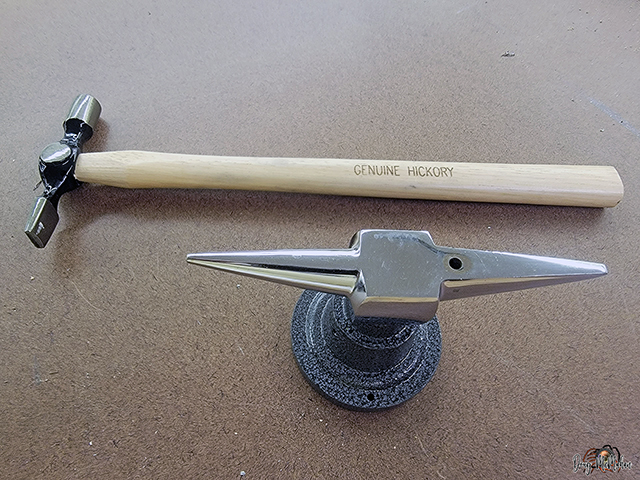
William giving a try to the stainless polishing
You hammer the dings out of the stainless, using a special anvil
and hammer. You then use a metal file on it to remove
high-spots, then sand it down
sanding it is with 180, 400 & 600 before taking it to the
polishing wheel
More
Door Lighting - 1/17
Testing neon LED lights that will mount the under arm rest -
turn on when a door opens
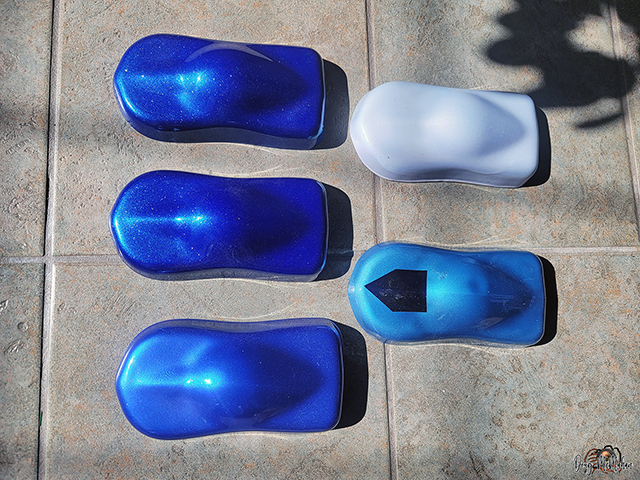
More Testing for Color Decisions - 1/19
More testing with paint colors for the Boss
Top Lt - HOB w/Purple & Blue Pearl & White Diamond
Mid Lt - HOB w/Blue Pearl & White Diamond
Btm Lt - HOB w/Blue & Purple Pearl mixed w/WD
Top Rt - Blade Silver w/Blue & Purple Pearl
Bottom Rt - Original Marina Blue
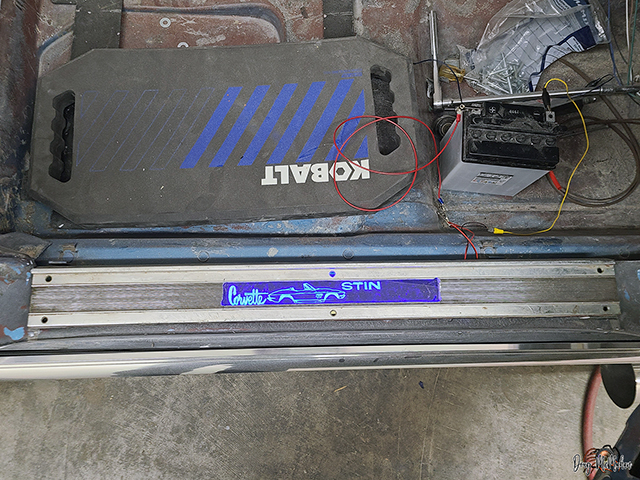
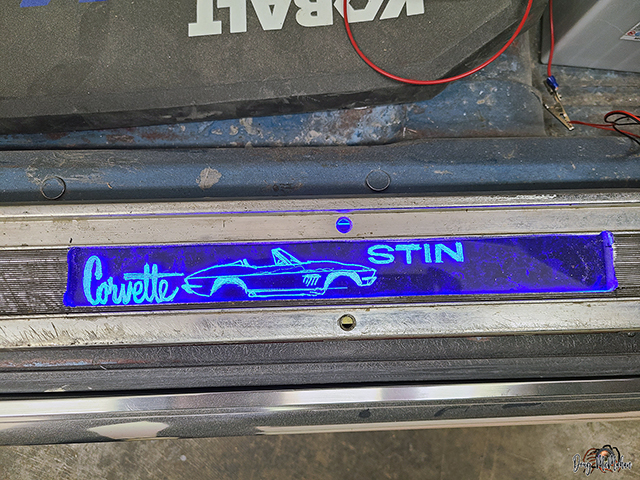
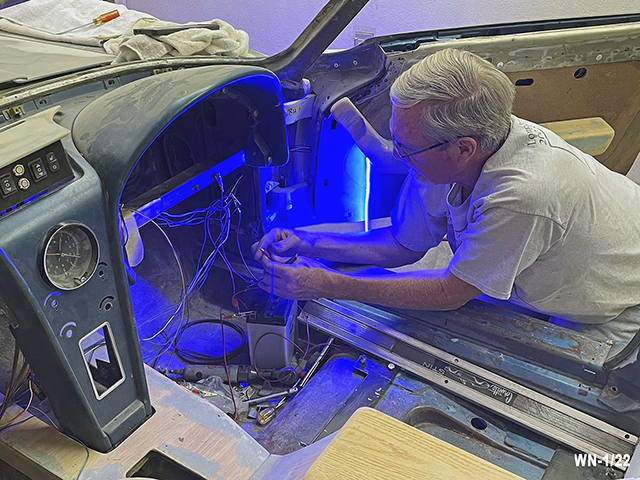
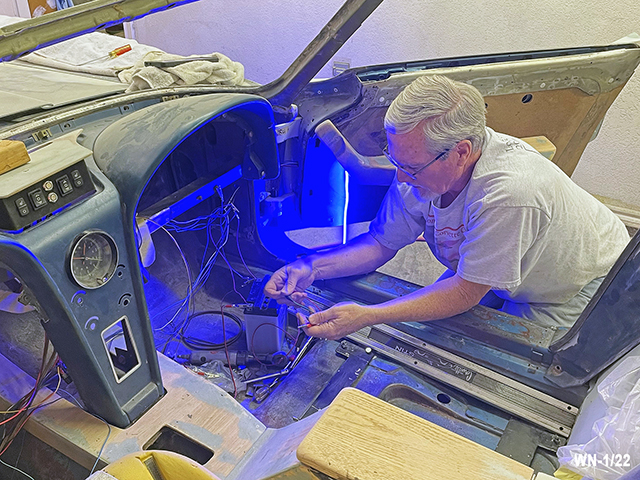
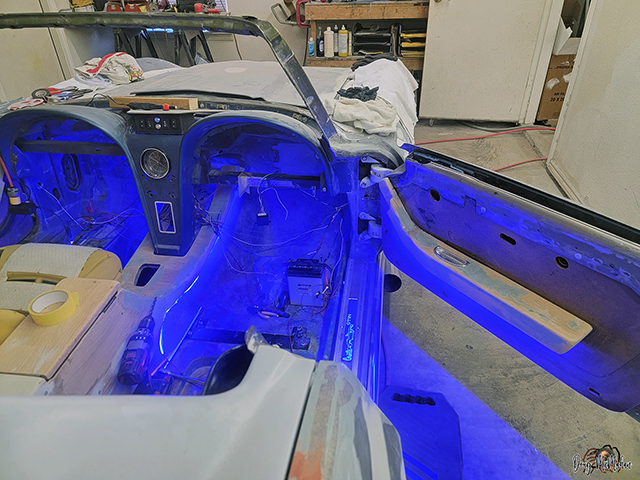
More Efforts with LED Lighting - inside - 1/21
First, let me state that the blue LED lighting does not
photograph correctly - it isn't this in-your-face-bold in person
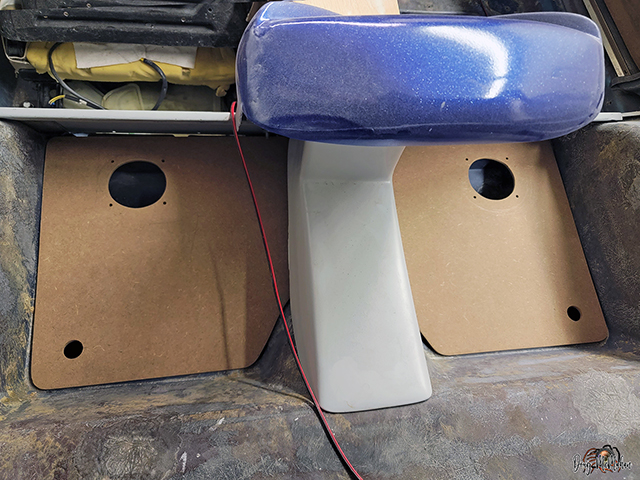
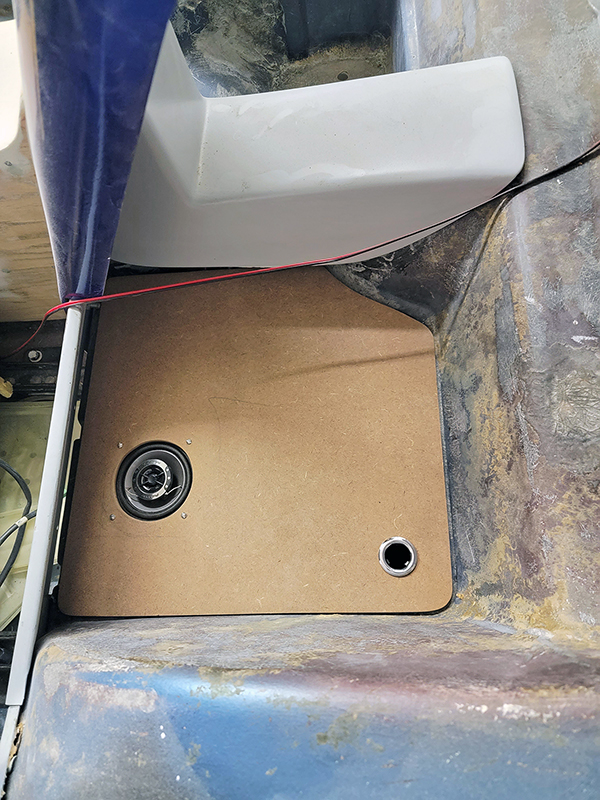
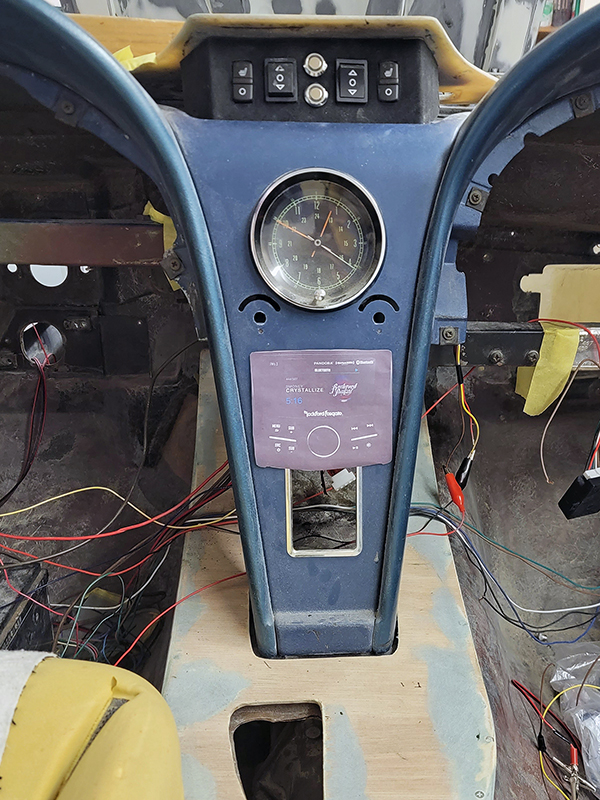
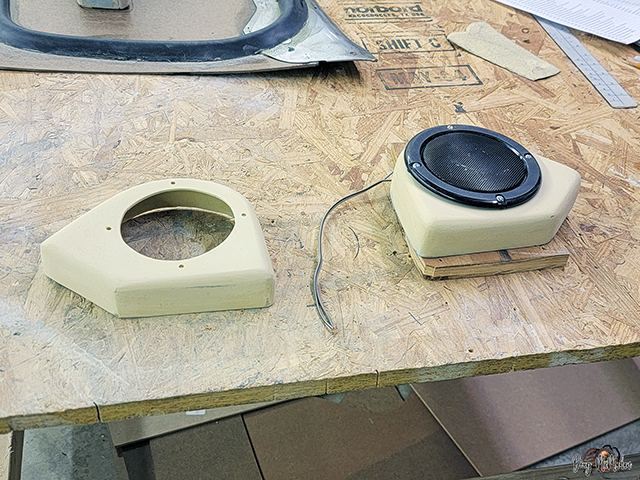
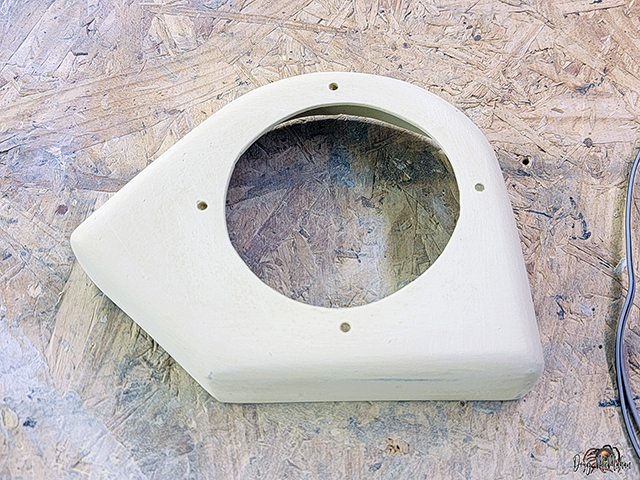
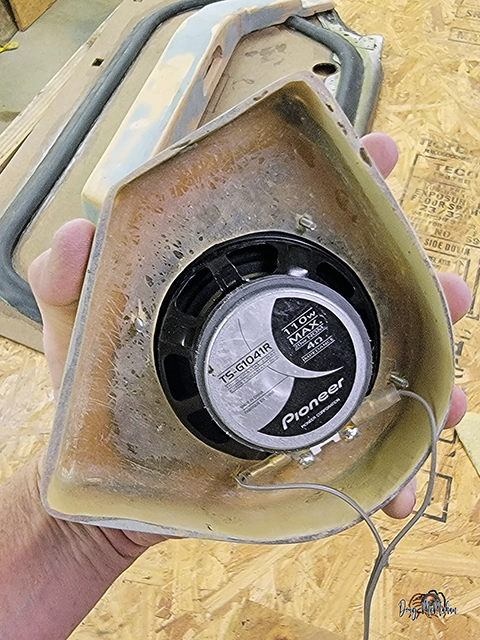
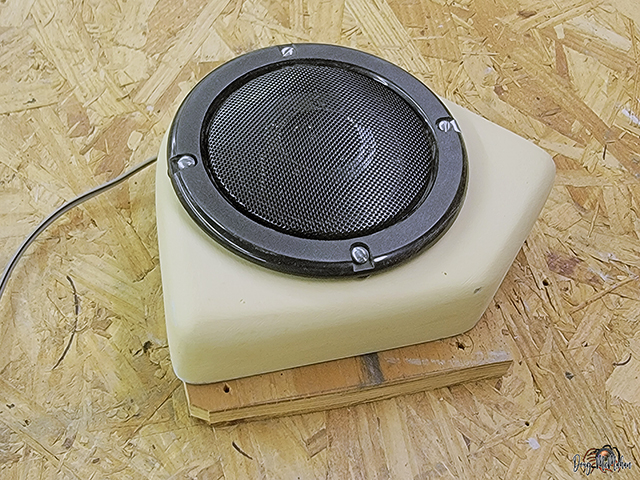
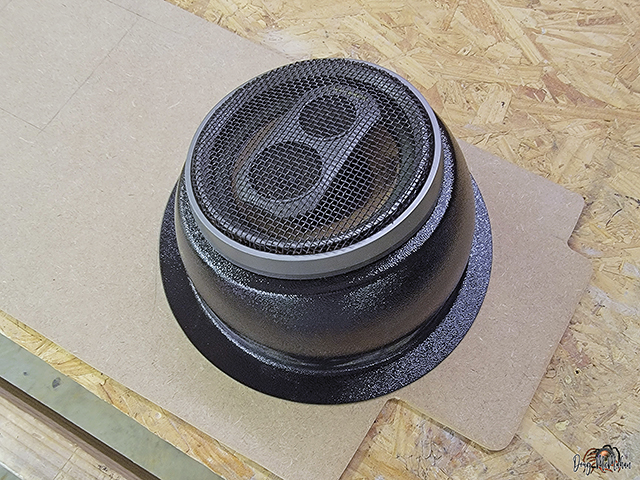
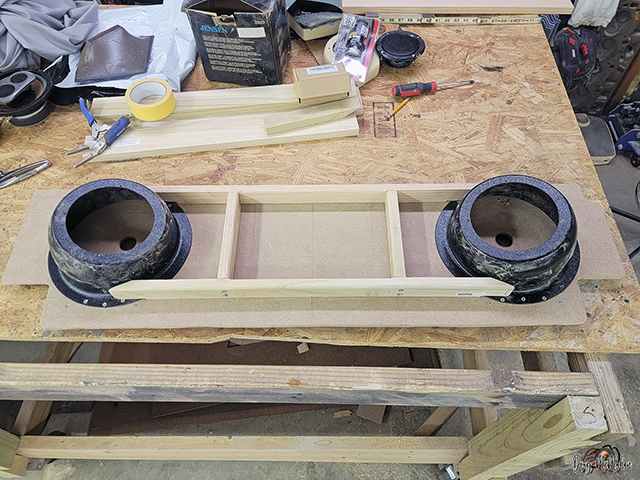
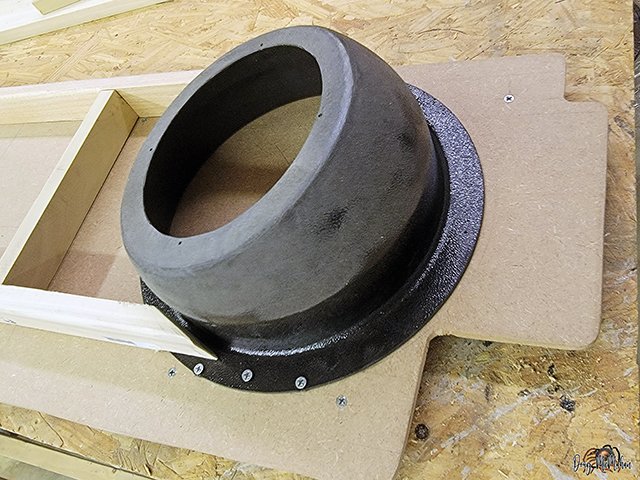
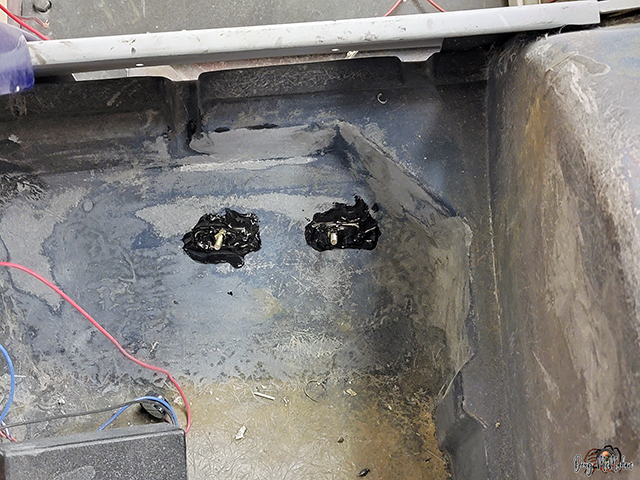
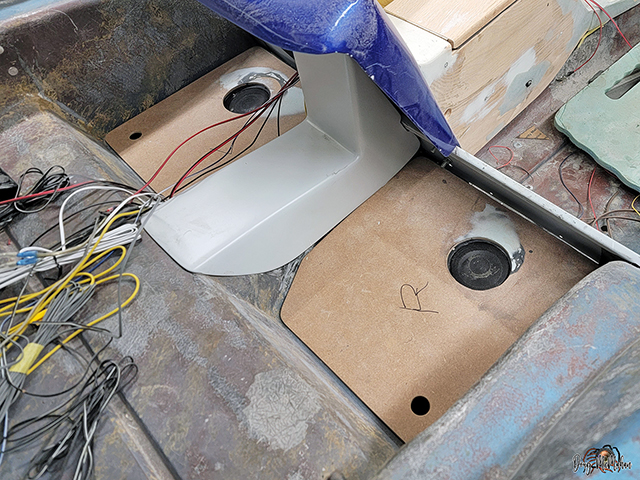
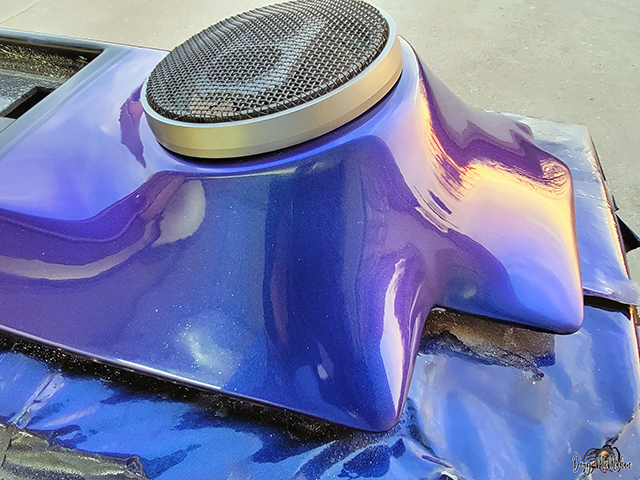
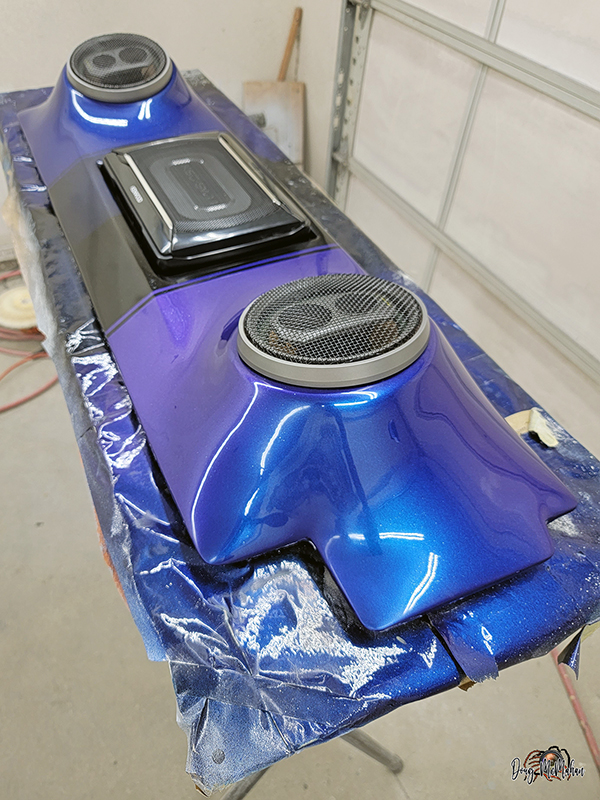
Handling Part of the Sound System - 1/23
The storage compartment covers are being used to mount a 3-1/2"
speaker - basically points sound vertically around the back of
the seats
A cardboard mock-up was created to use as the puck for building
a fiberglass POD
Fiberglass has hardened - ready for sanding
The inside was sanded down and prepped for coating
A little bit of Duraglass to smooth it out, then some high-build
primer - now sanded and ready for final primer and paint.
Awaiting mounting clips to come in to test fit them
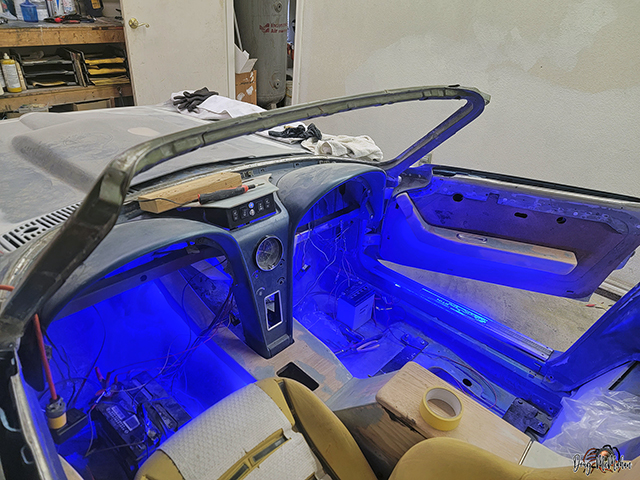
More Efforts with LED Lighting - inside - 1/30
Had a little of the blue LED strip left so we did some testing
with lights in the side panel - these would be on a separate
switch and dimmable
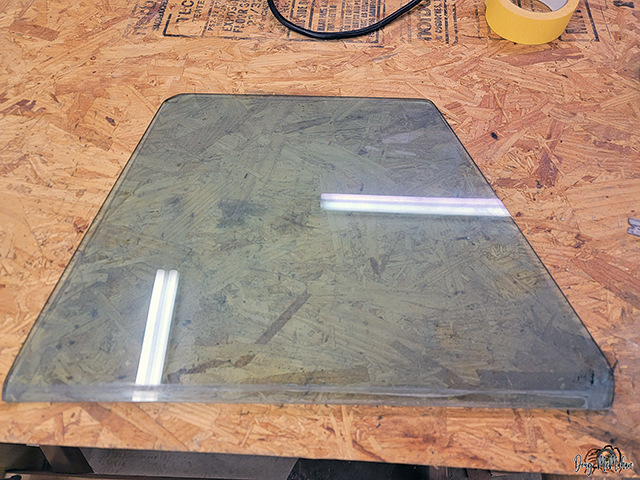
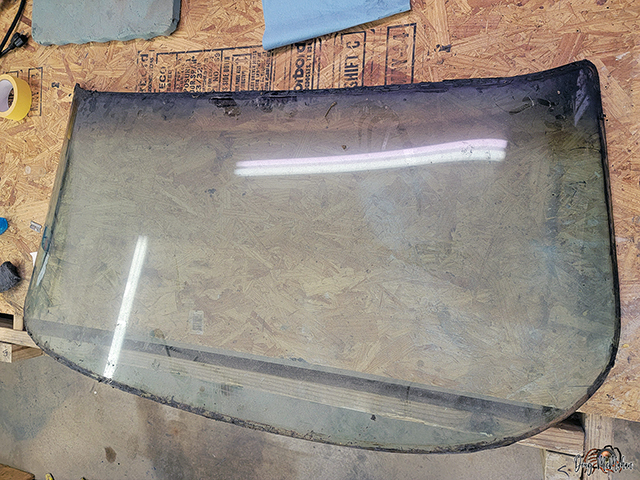
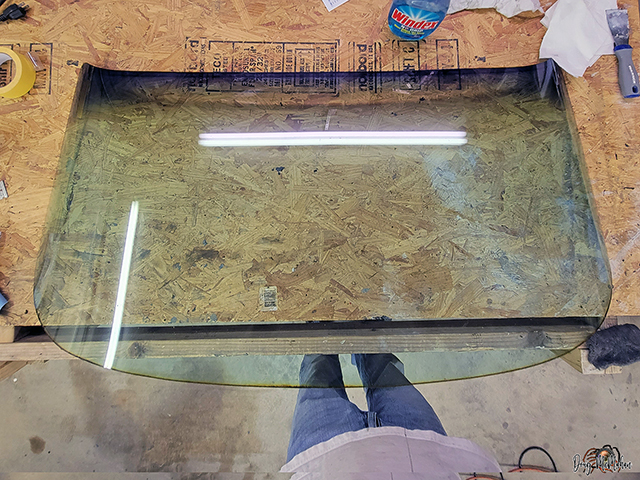
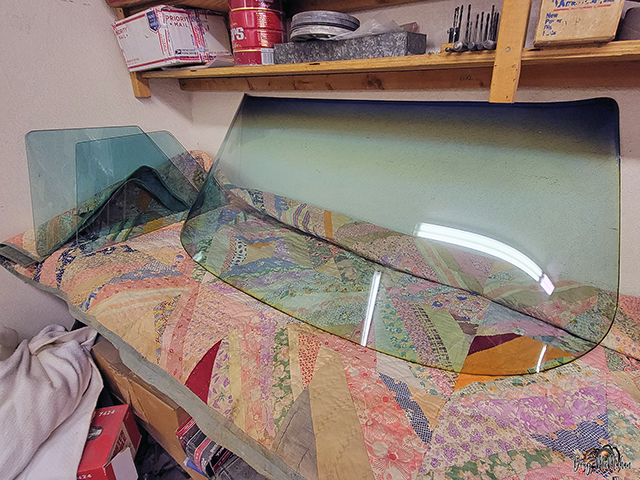
We decided to clean years of dust, grim and installation gunk
off the windows
The worst part was the adhesive on the edge of the windshield -
after 54 years still sticks to everything
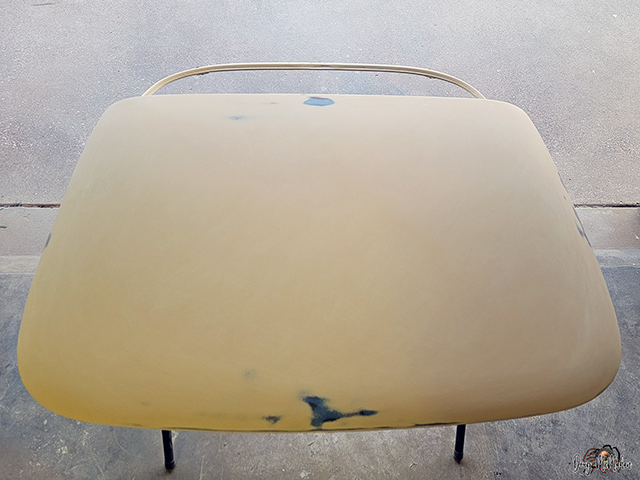
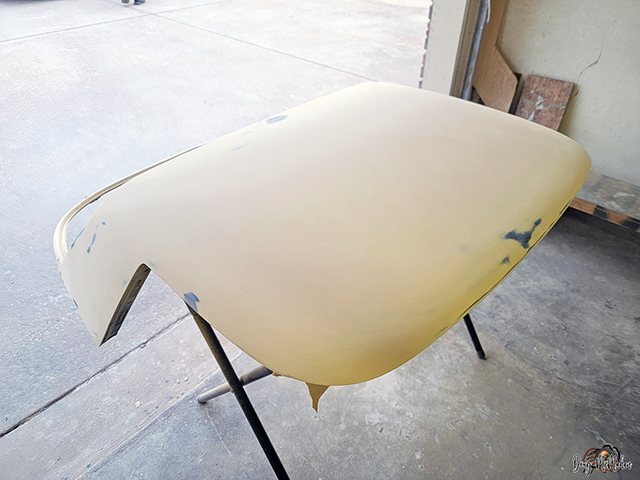
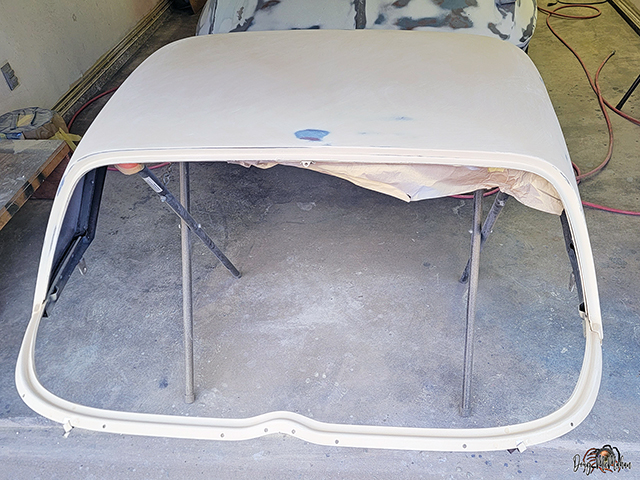
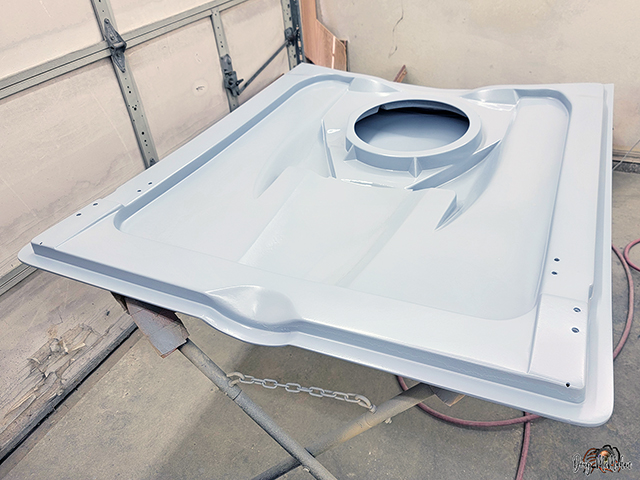
Block sanded the hardtop - it is now ready for paint
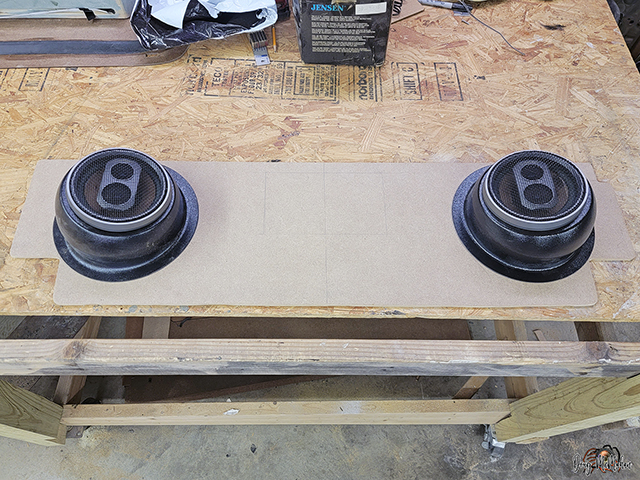
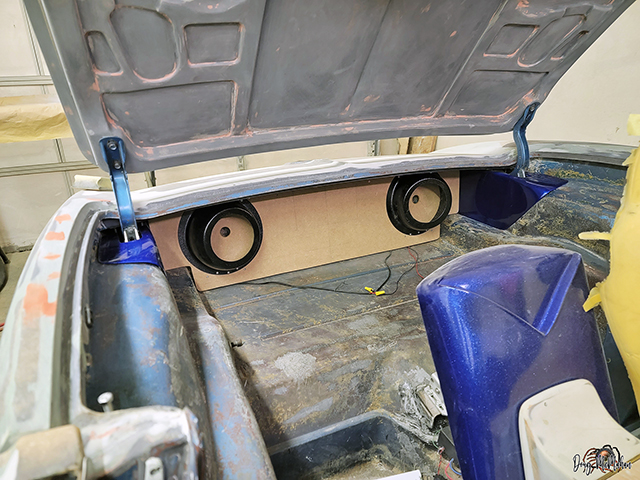
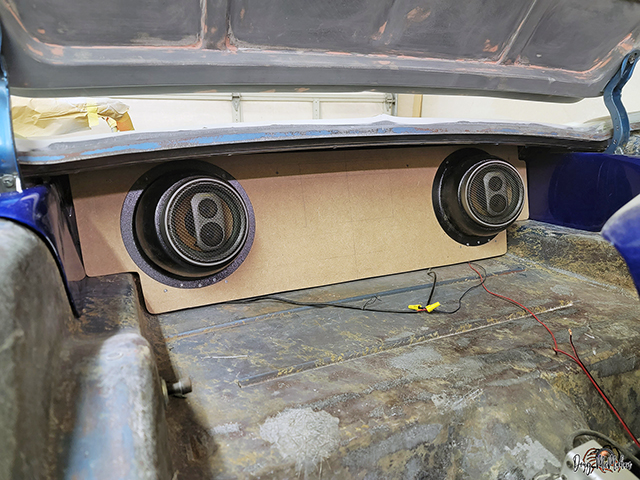
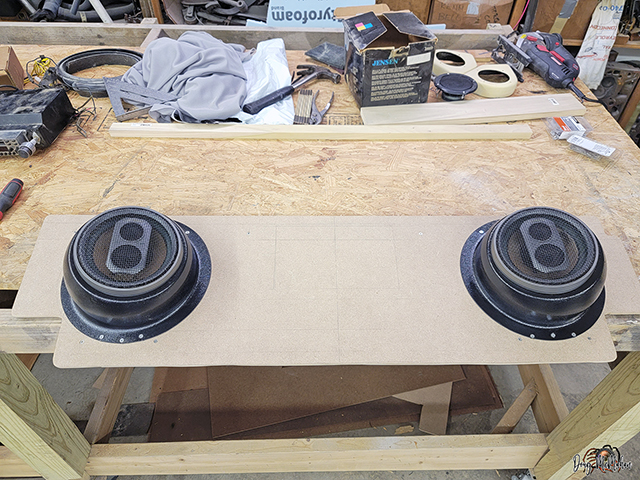
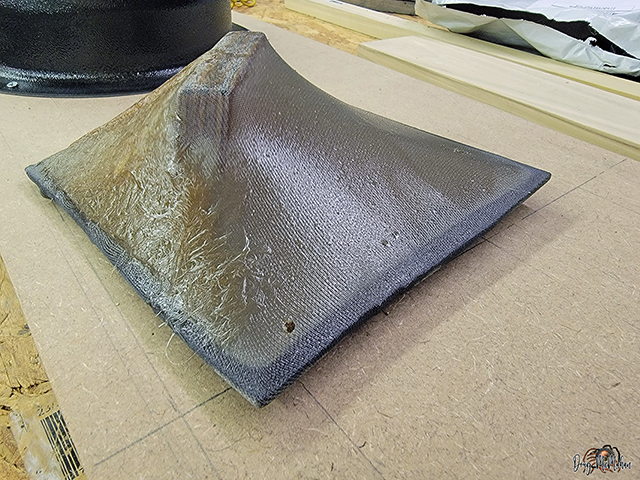
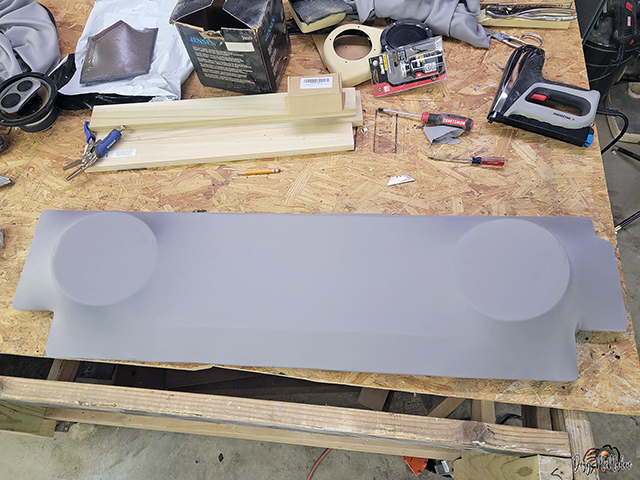
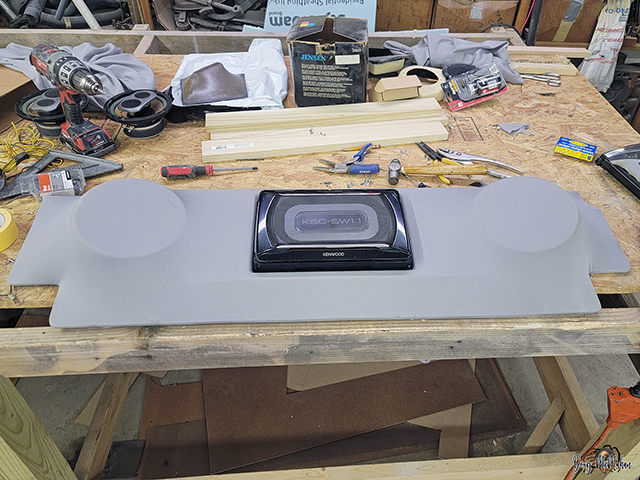
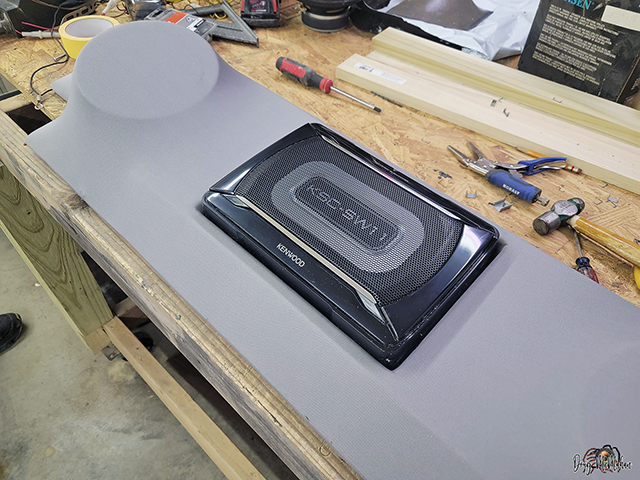
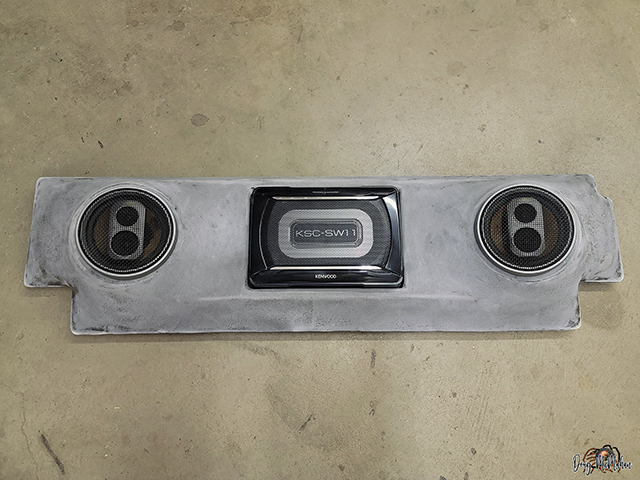
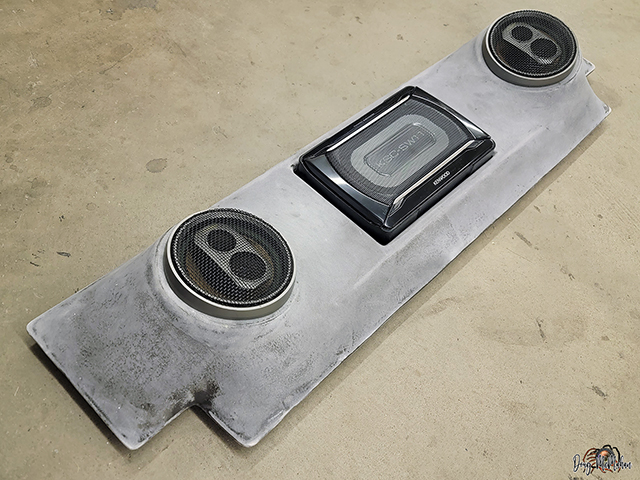
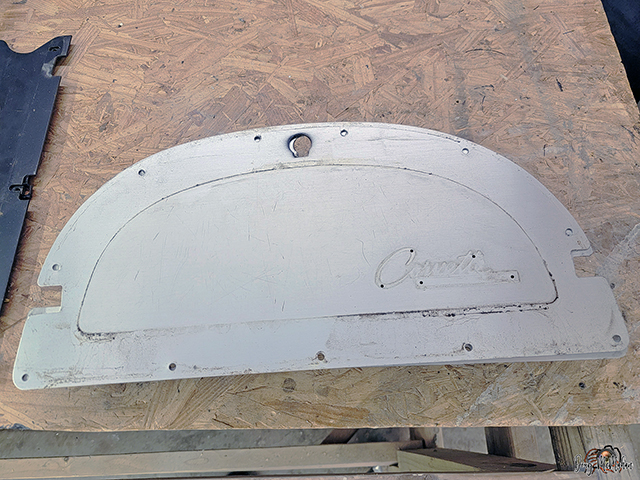
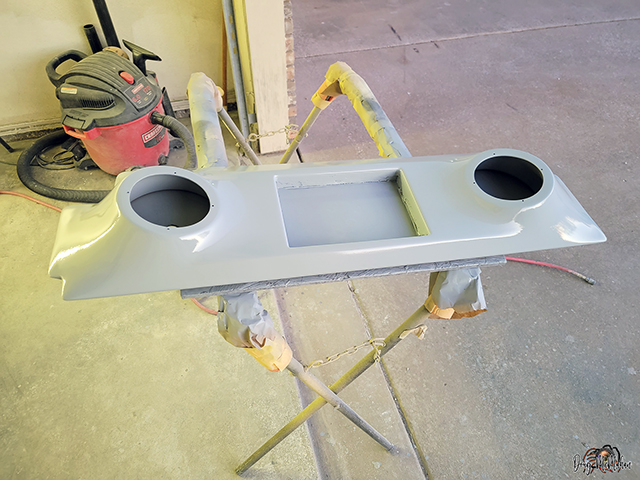
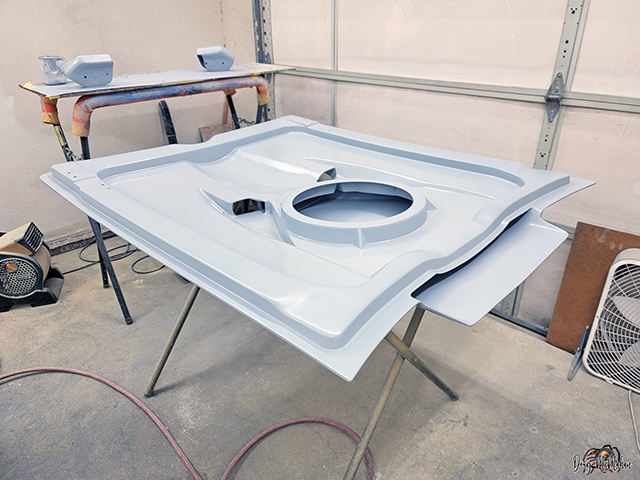
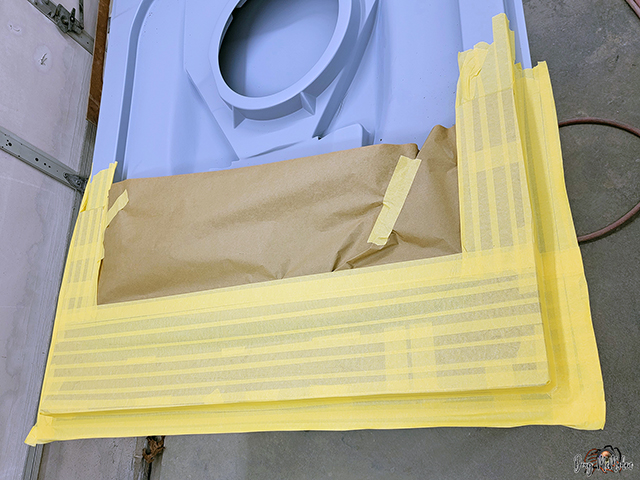
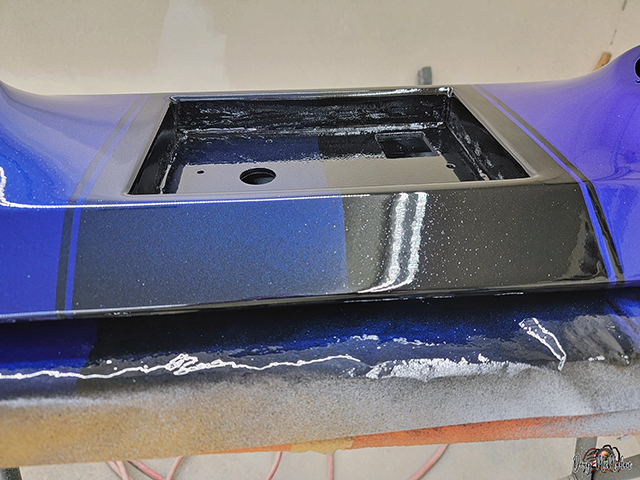
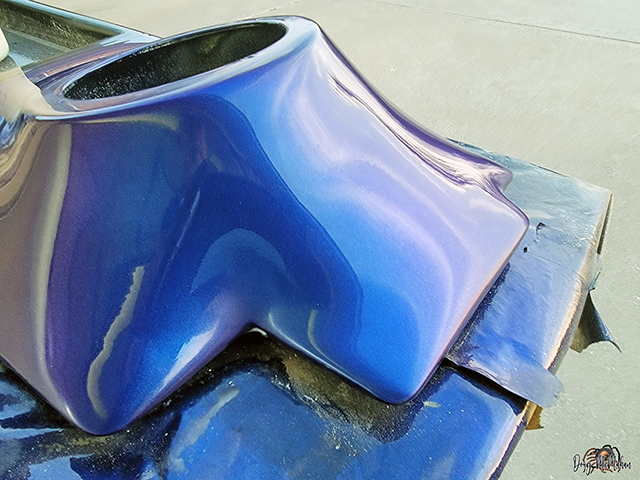
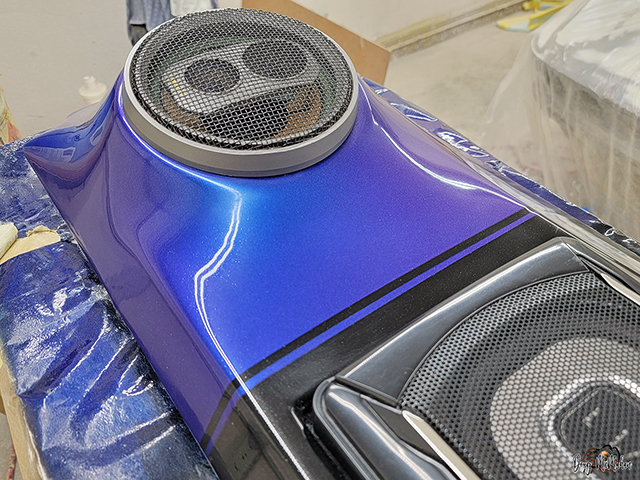
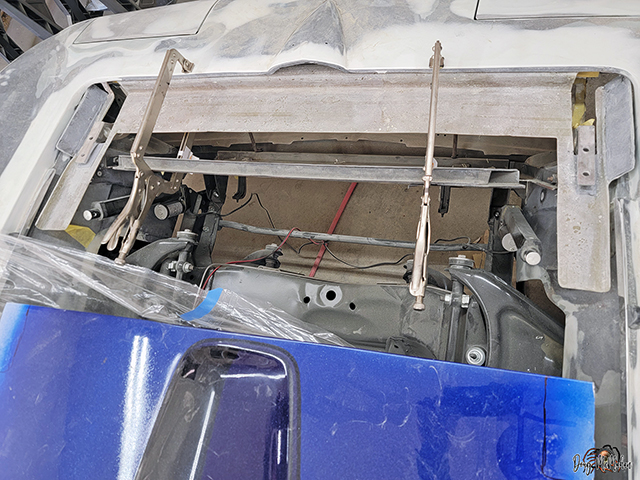
Speaker / Subwoofer Panel - 1/31 - 2/01
Rear Speaker Panel was designed to hold two 6-1/2" speakers and
a Subwoofer (not pictured). We will be fiberglassing a contoured
shape over the entire panel - similar to the test piece shown at
the lower right.
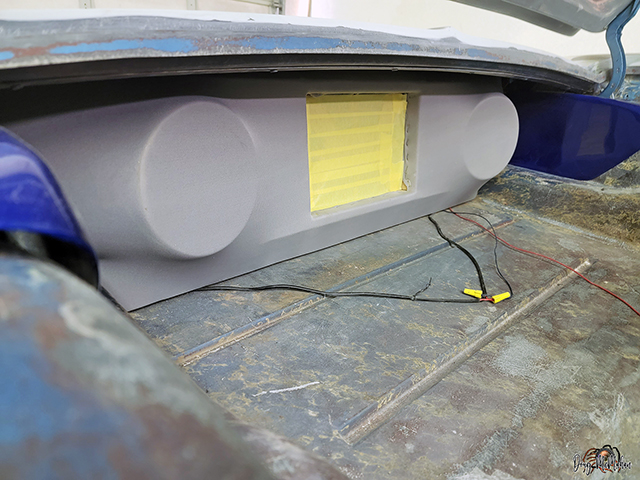
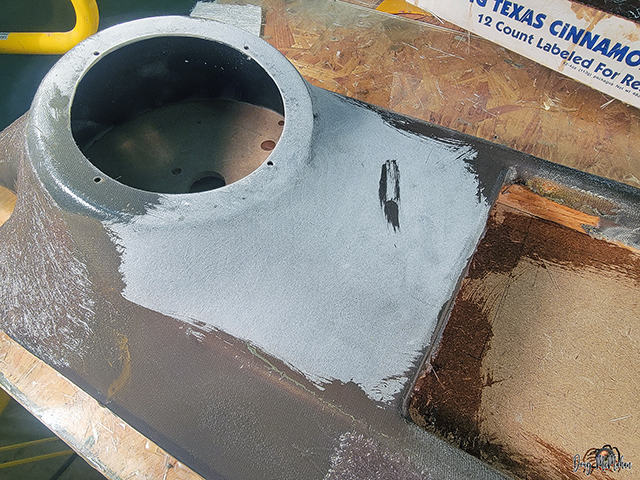
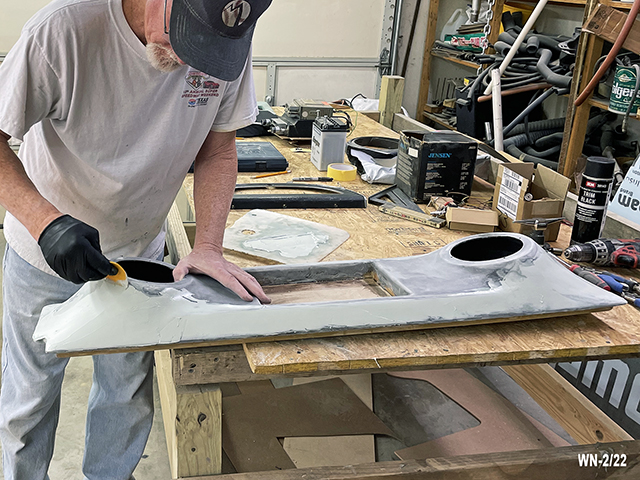
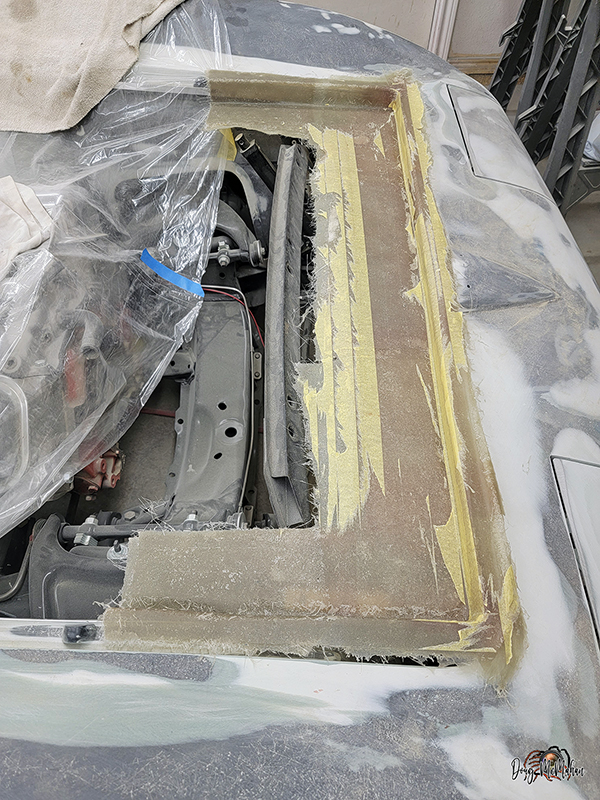
Speaker / Subwoofer Panel - 2/5-6
The structure for housing the subwoofer and what the form
material will stretch over
The speaker pods were scuffed up where the fiberglass will be
bonding
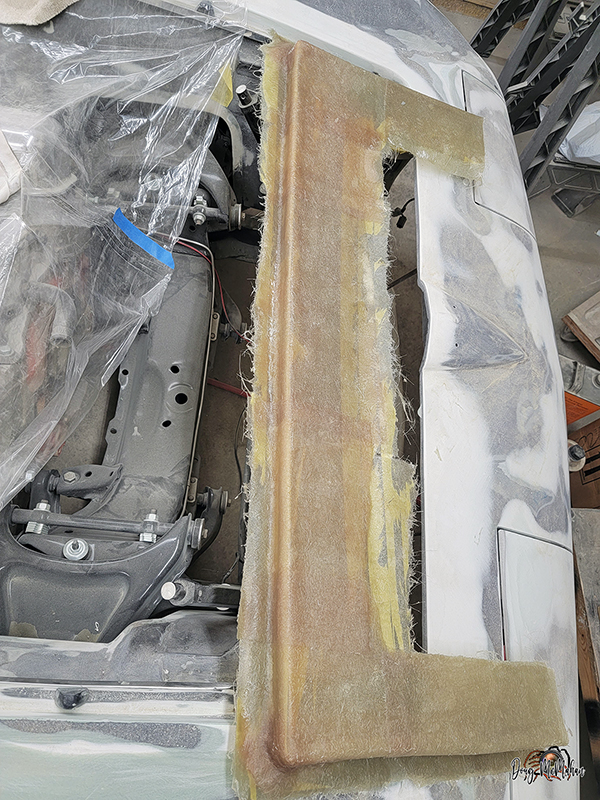
The material was stretched and stapled to the back - then cutout
in the middle - then the test fit of the subwoofer
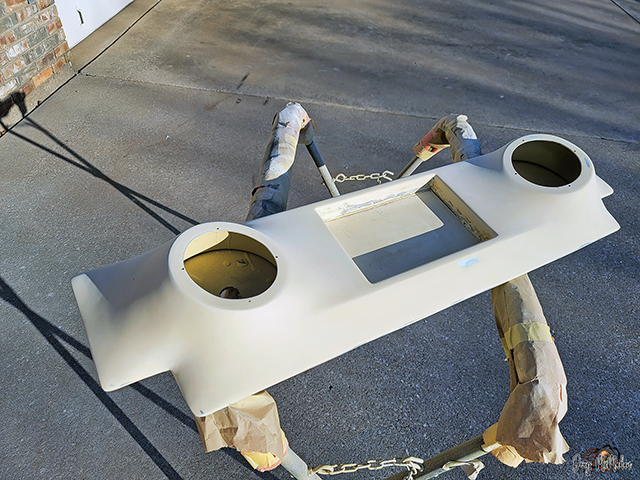
The stretched panel test fit in the rear cargo area of the Vette
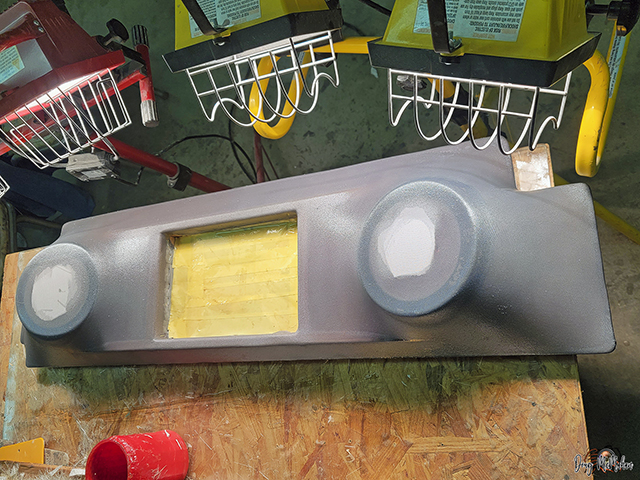
Fiberglass resin has been applied to the material to form the
smooth rear sound panel (upside down)
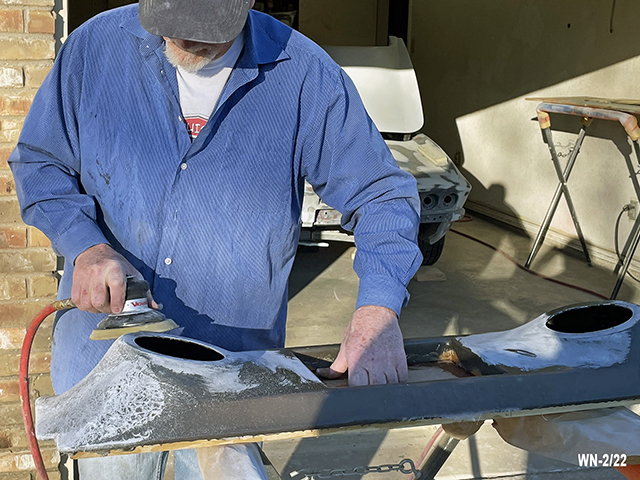
The fiberglassed material sanded down good - added a little mat
for strength on the ends
sanding down the mat that was added on the ends
sanding the backside of the panel -
where the material was pulled and stapled
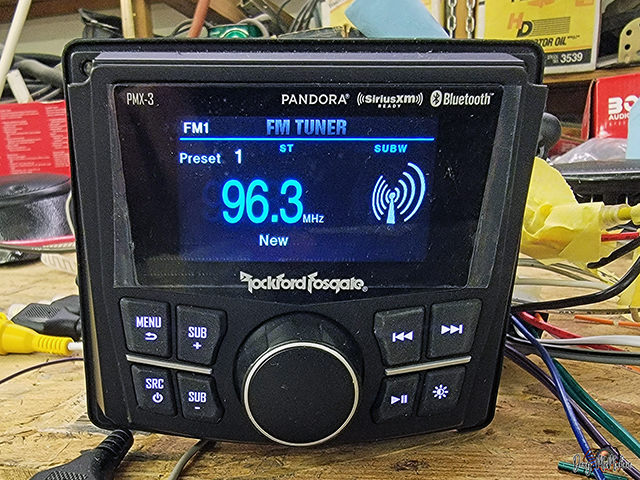
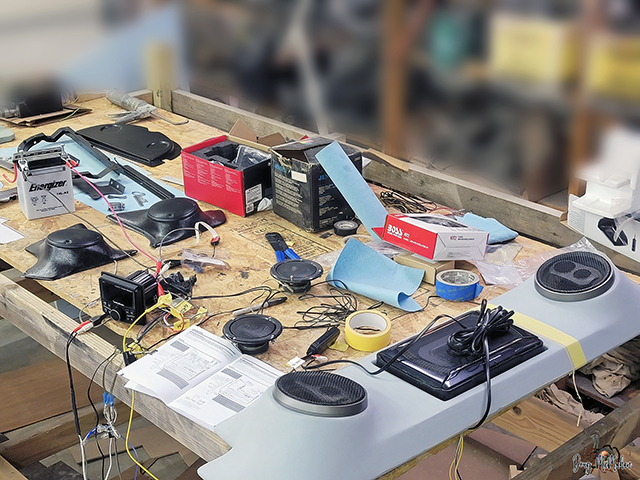
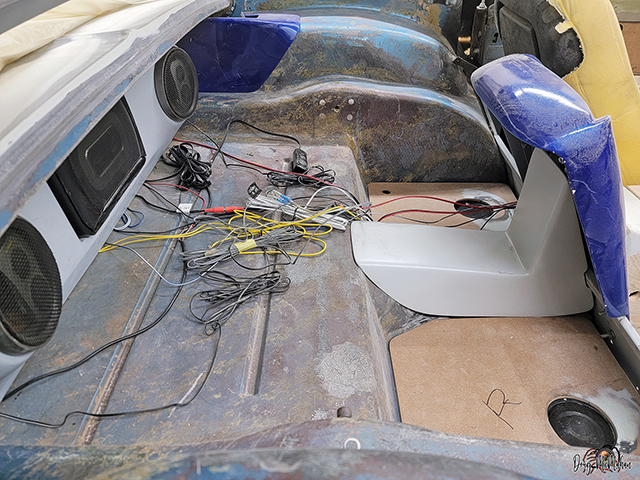
It takes a lot of wires and pieces to complete the sound system
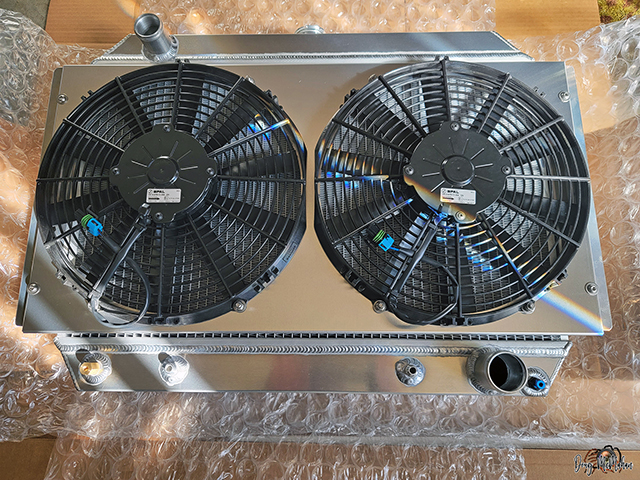
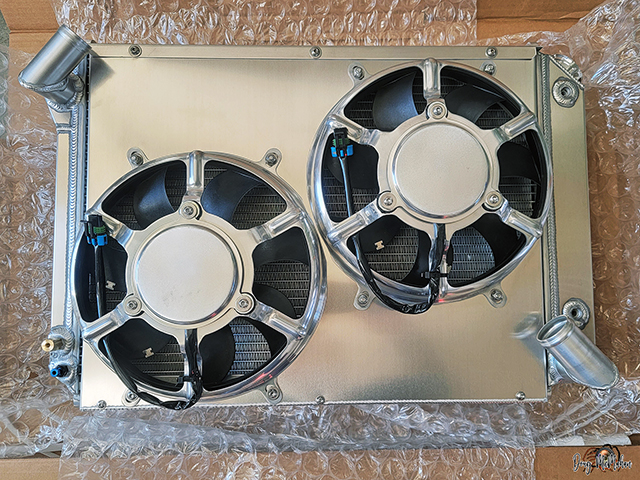
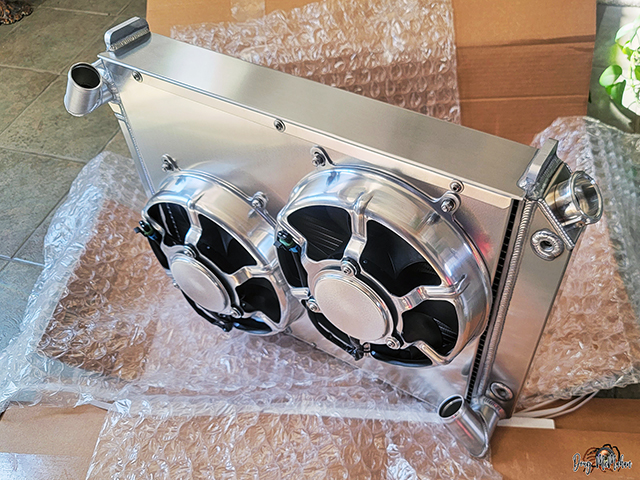
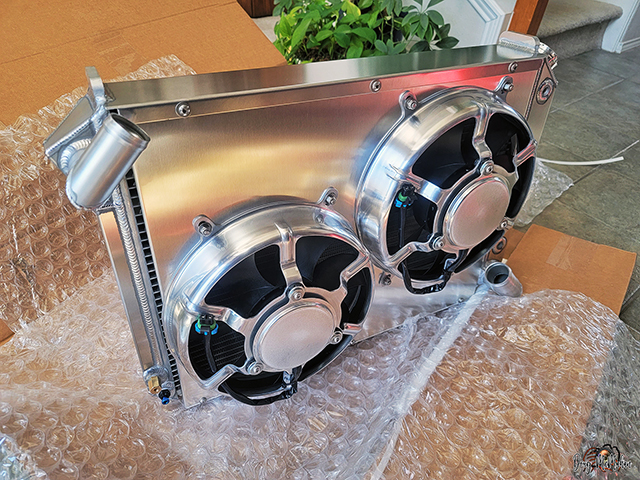
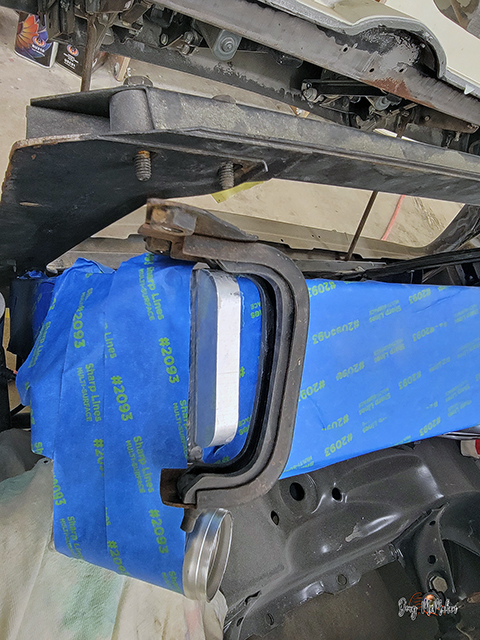
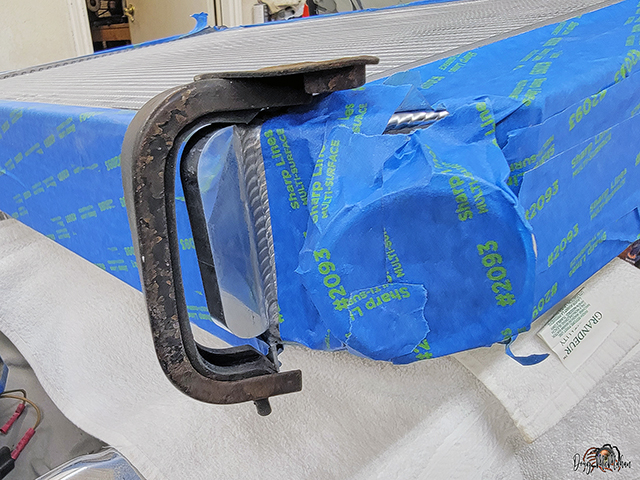
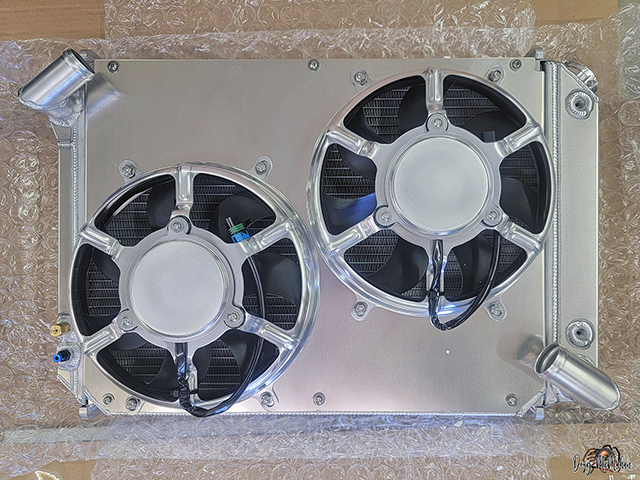
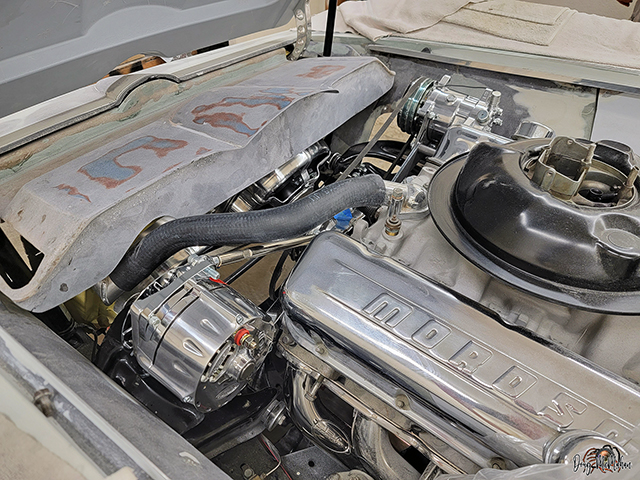
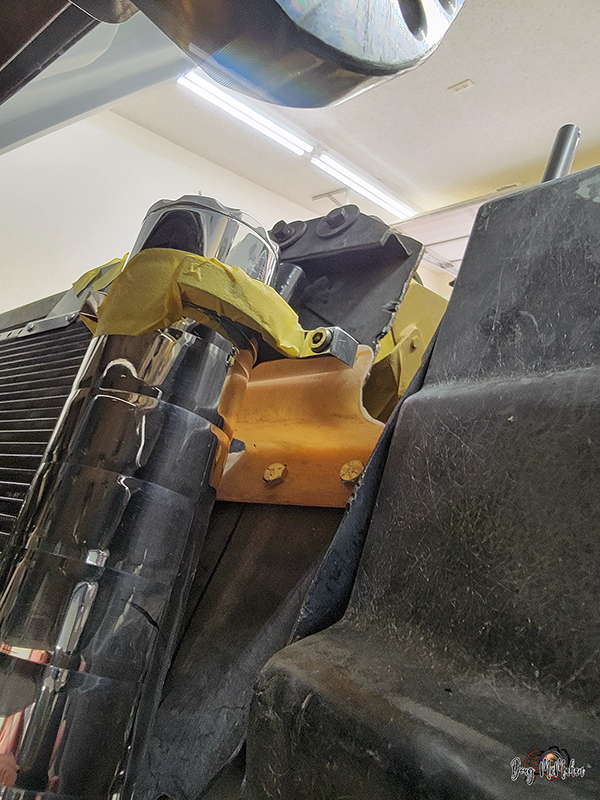
Correct Radiator Arrived - 2/15
We finally received the
correct '67 BB Radiator w/Transmission Lines & HD Cooling
Fans Installed
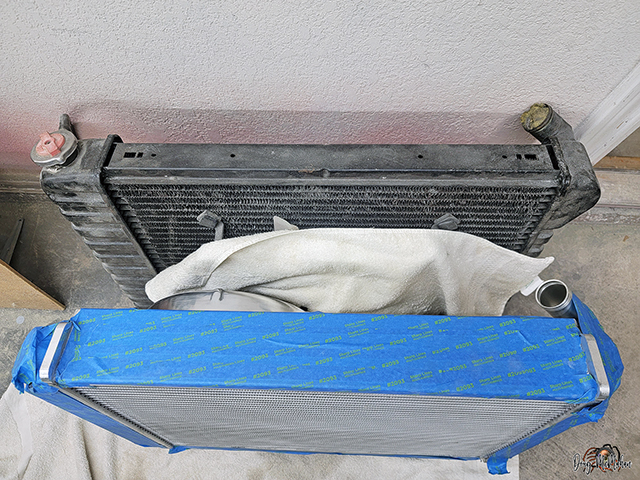
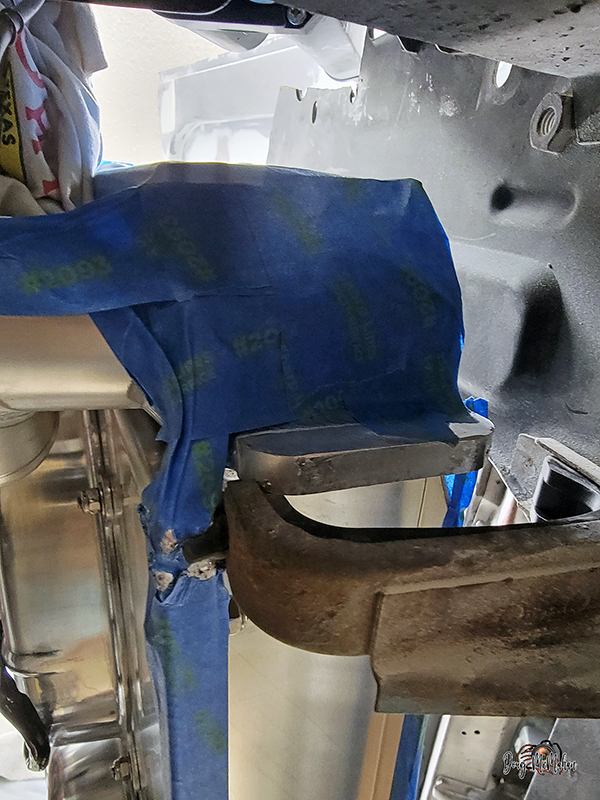
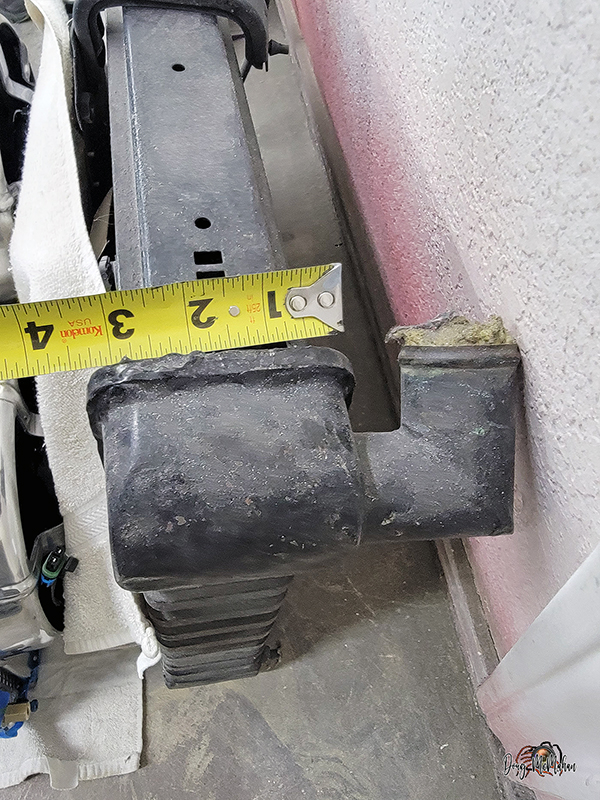
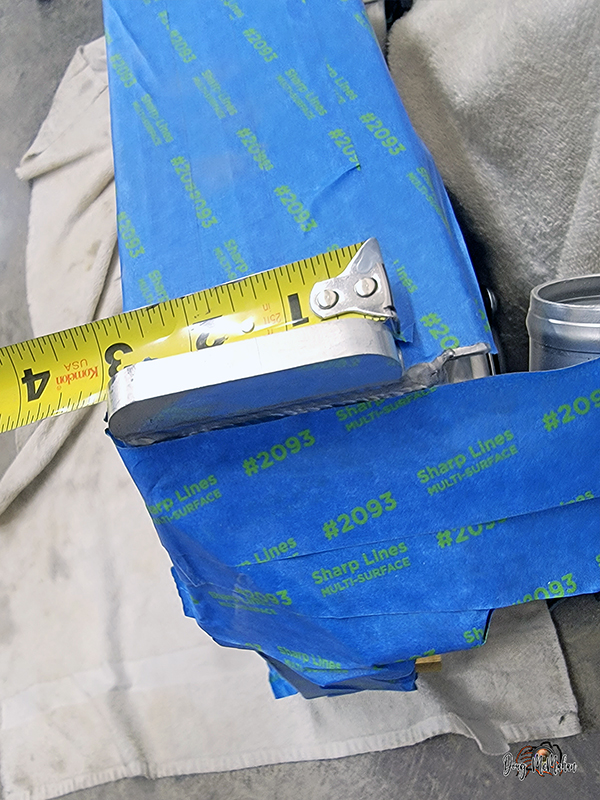
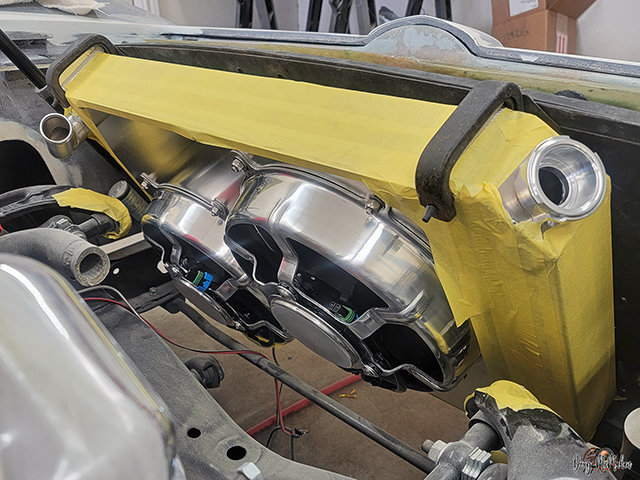
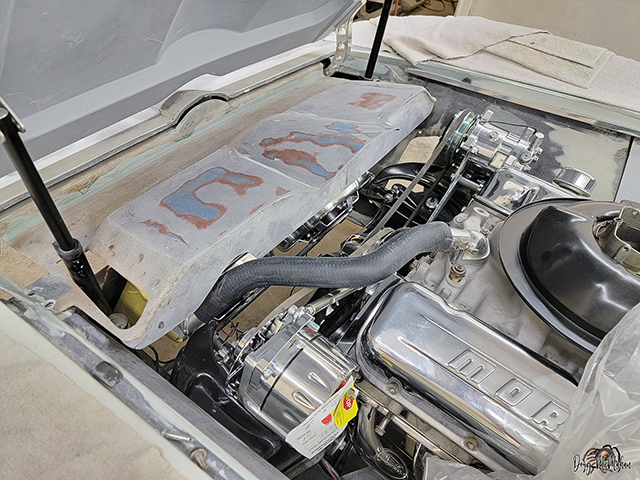
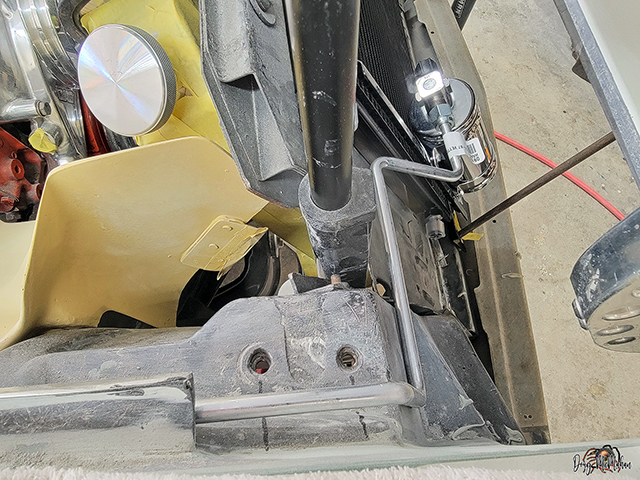
Test Fit - Radiator & Power Steering - 2/15
Wasn't a great day for test fits - ran into issues with the
Enthropy Radiator - brackets on the tank are too small and
the width of them seemed to be about 3/8" too wide -->>>
taped off the hood support structure so we can lay fiberglass to
build the support for the radiator finishing panel
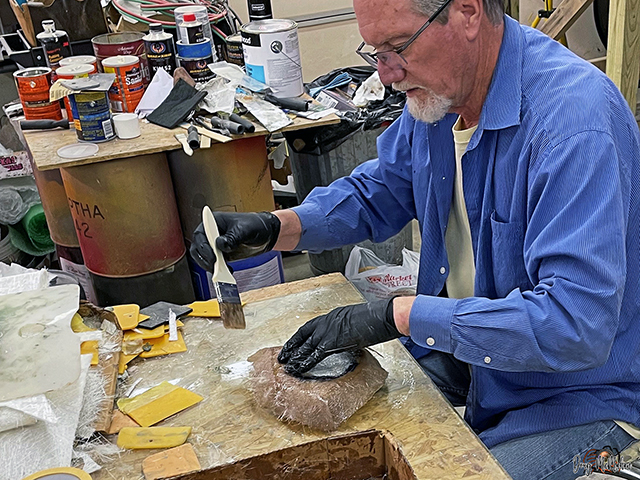
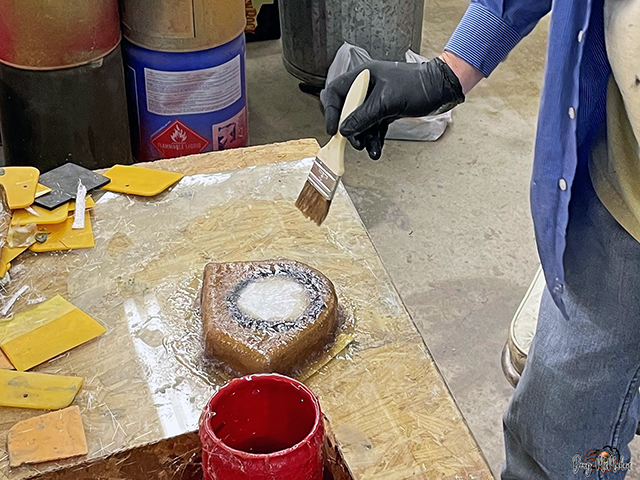
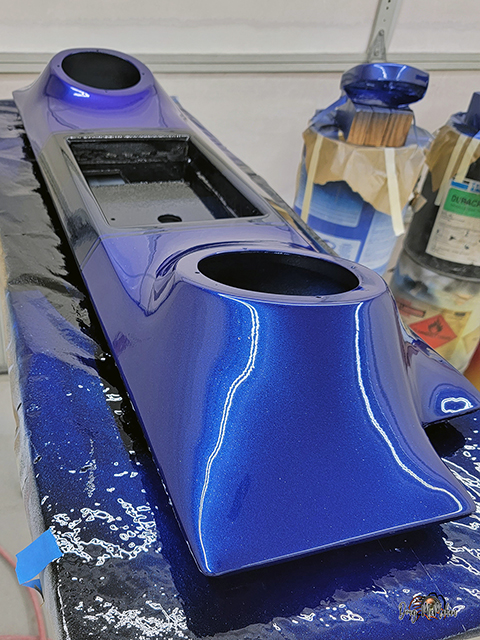
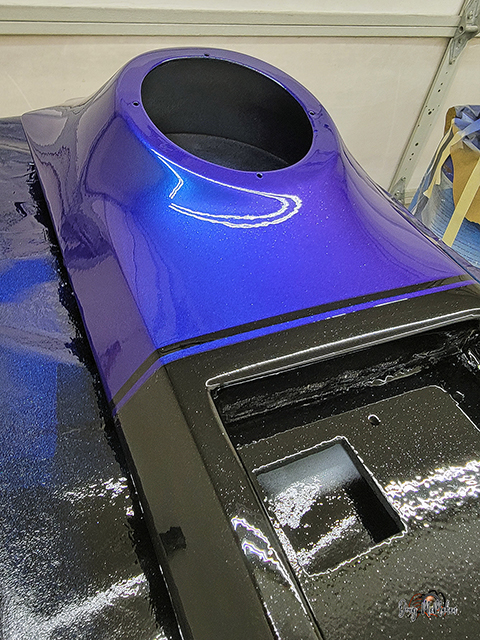
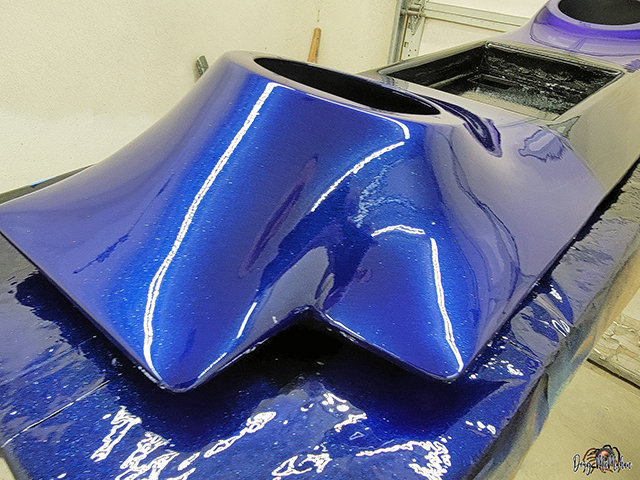
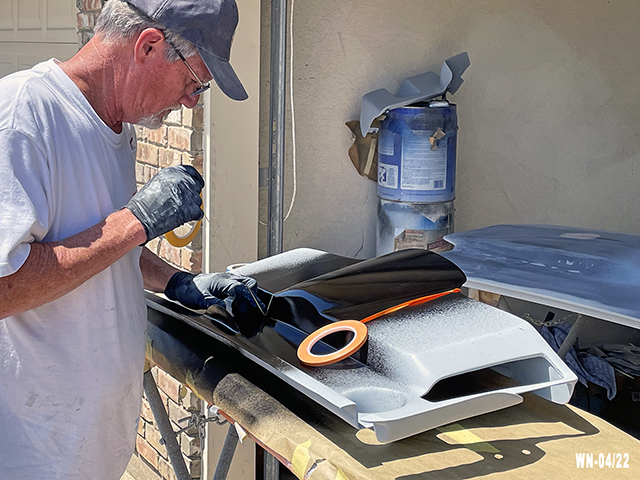
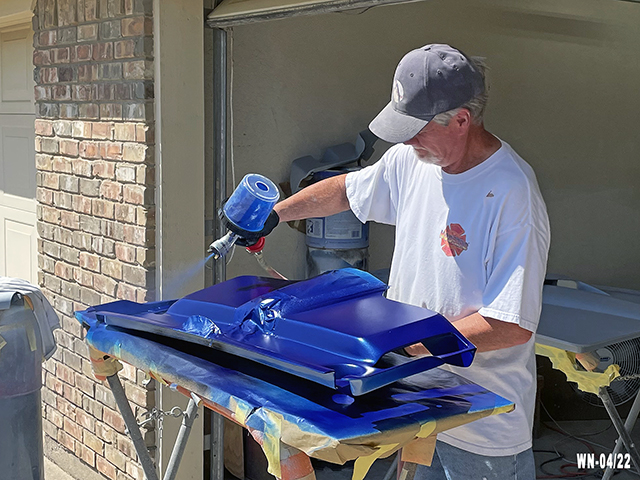
Testing More Paint Thoughts - 3/2
So, what do you do when you have the subwoofer panel completed
and primed ...and your wife wants to consider other paint color
options ...you use the panel for a test paint surface ;)
right end is painted with HOK Stratto Blue w/Blue Pearl - left
w/SB & Colorshift Pearl
Center Black/L w/Blue Pearl
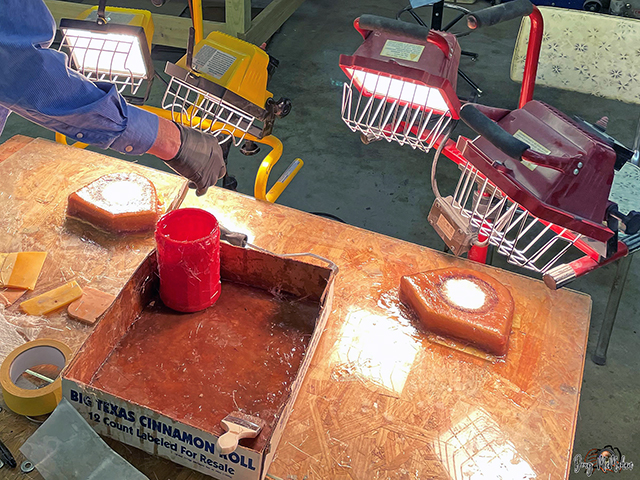
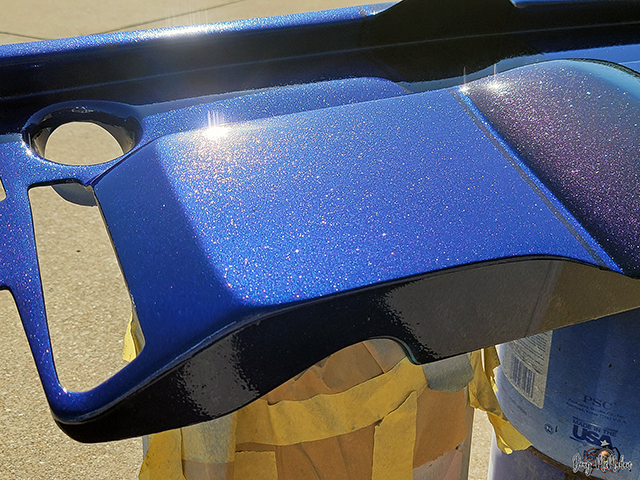
Testing More Paint Thoughts - 3/4
Some wet-sanding and buffing on the subwoofer/speaker panel to
see how it looks
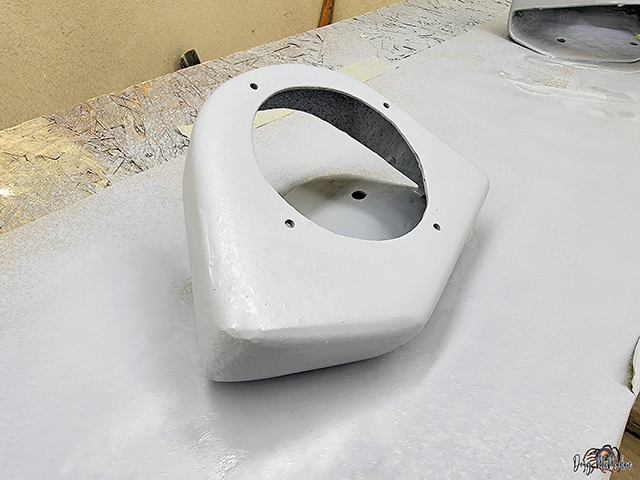
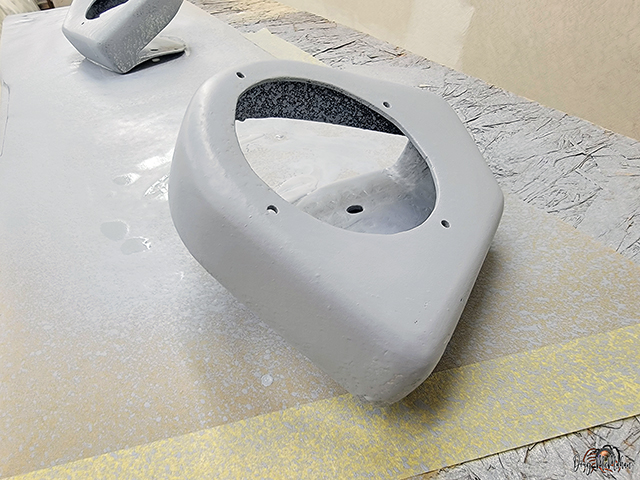
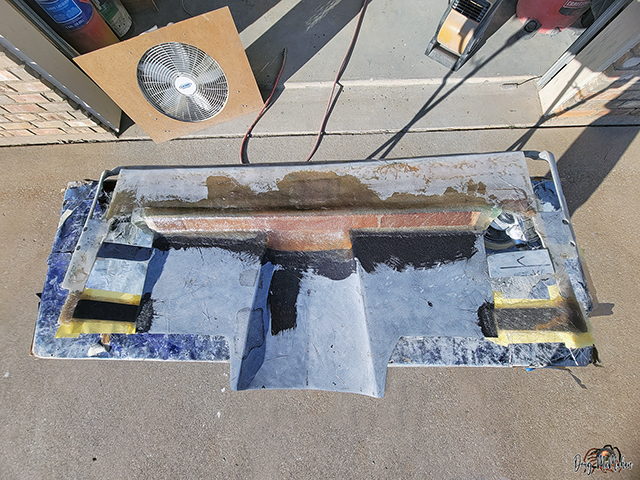
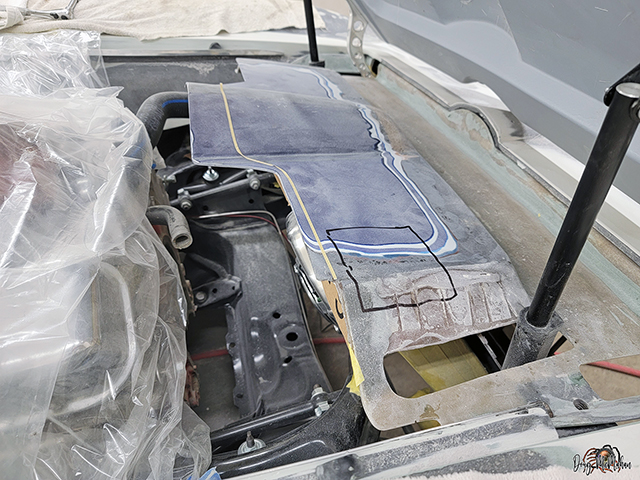
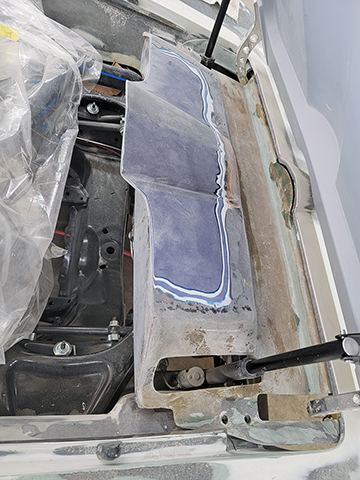
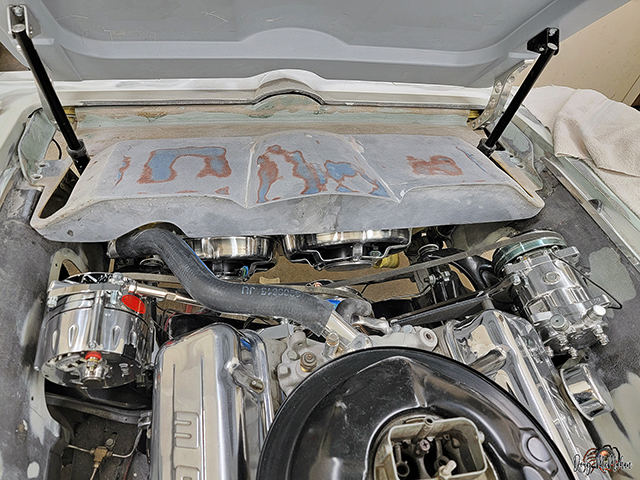
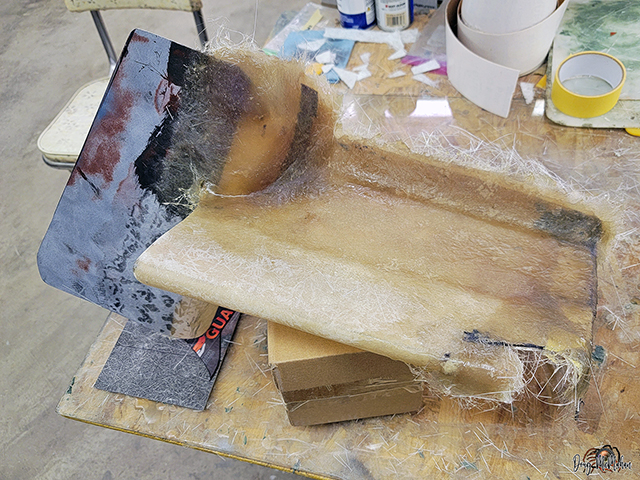
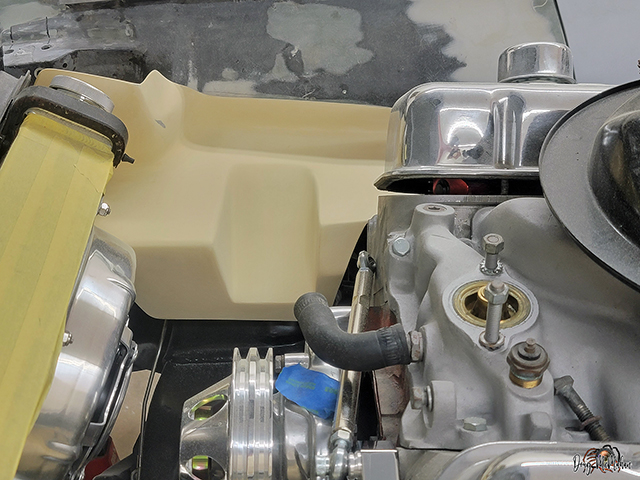
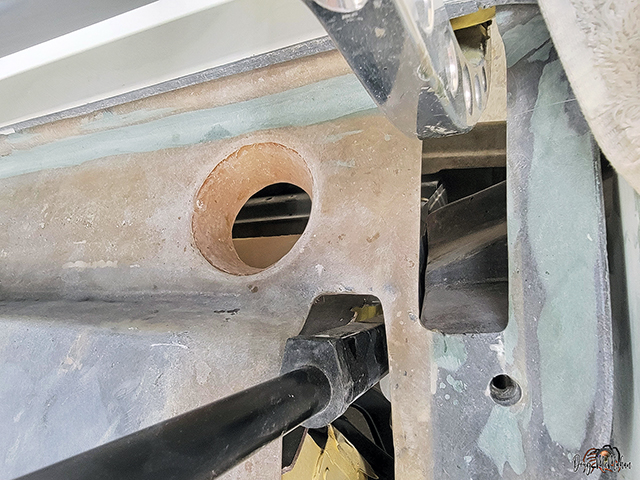
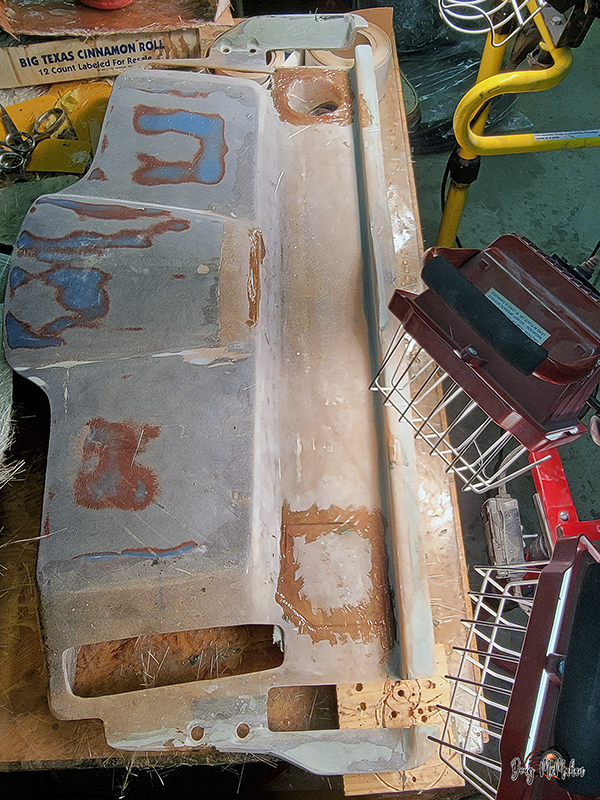
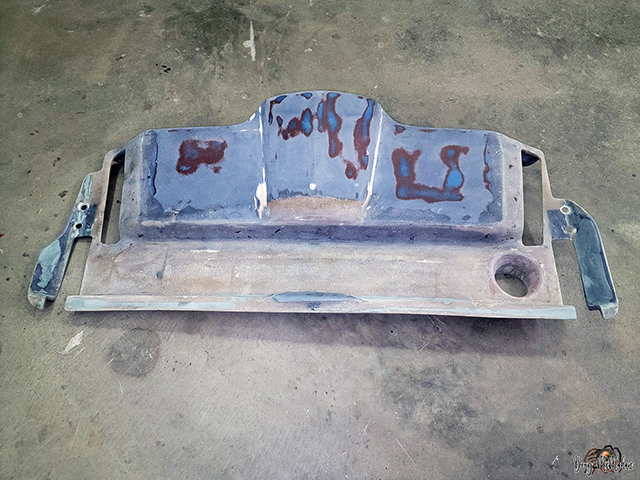
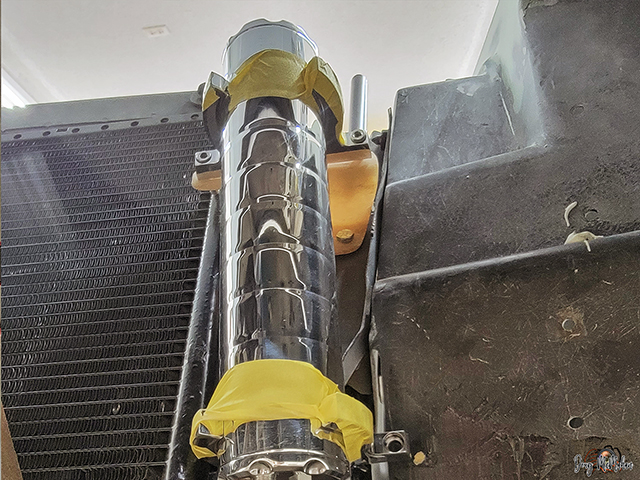
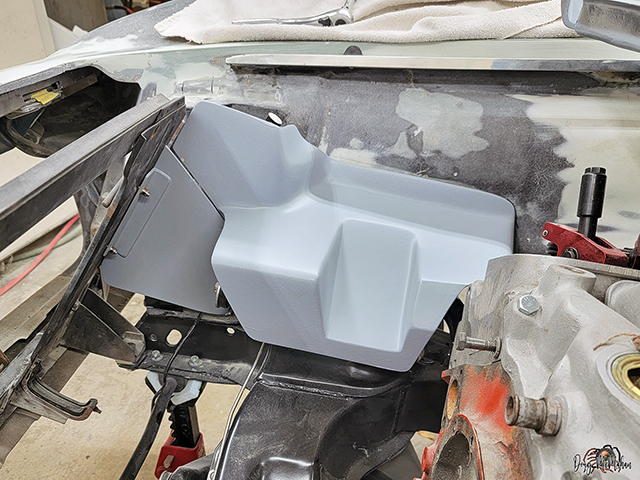
Radiator Cover Support
- 3/4-8
The radiator finish panel support is roughed out ...needs a
little trimming and slots for the hood hinges and actuators
before we bond on the upper piece.
Most of the shaping / trimming is complete
It fits nicely into the engine compartment - now to build the
raised area to clear the radiator support
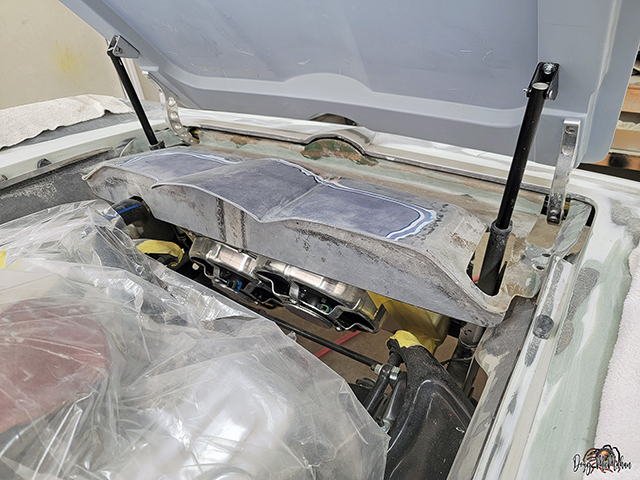
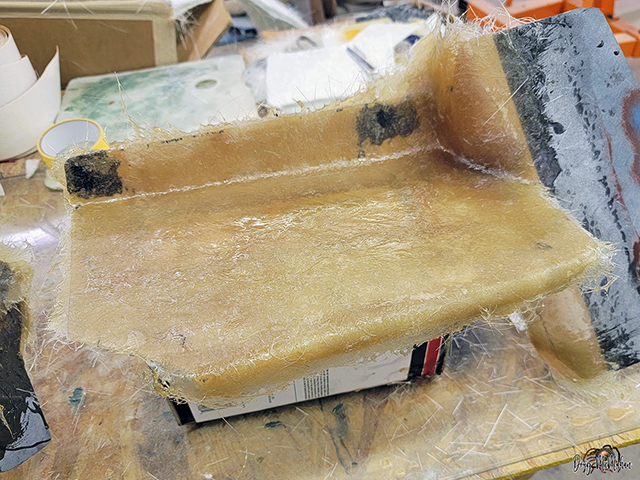
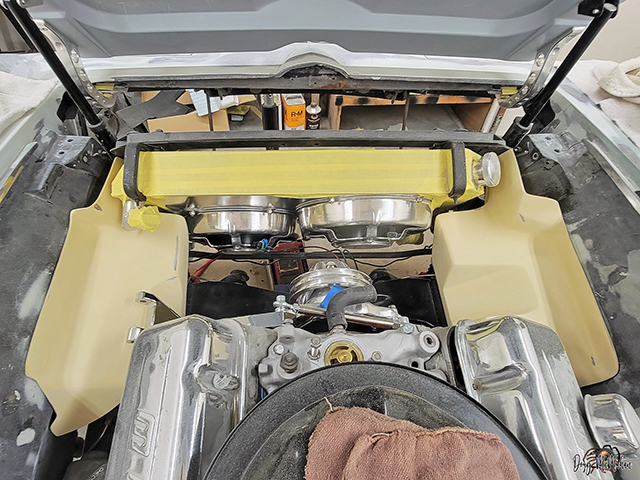
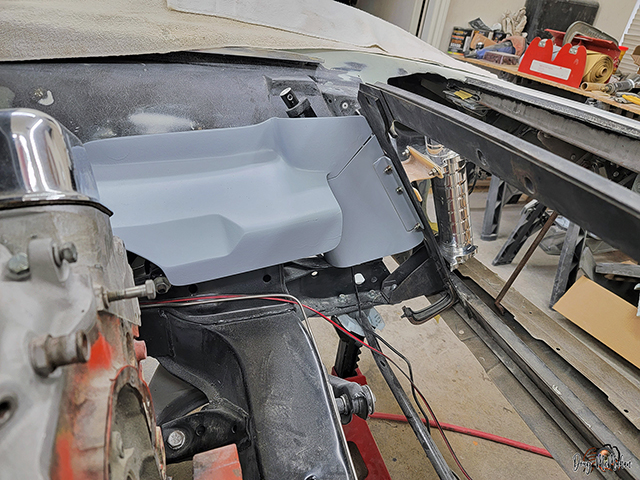
More trimming & fitting
Test fitting the pieces in the engine compartment
test fitting the pieces to check clearances under the hood
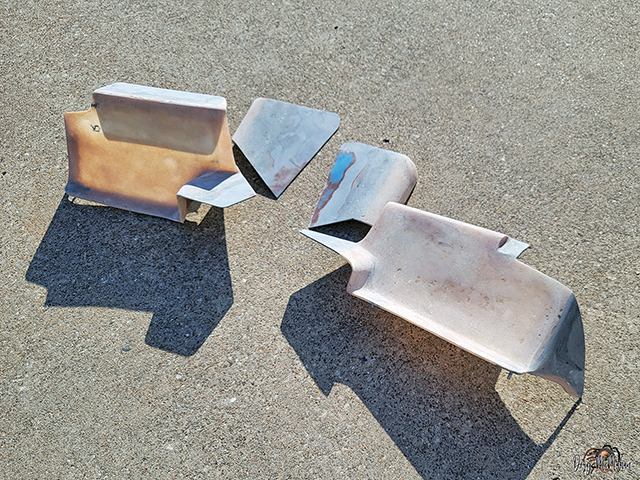
The two support pieces are ground & sanded, now time to join
them together
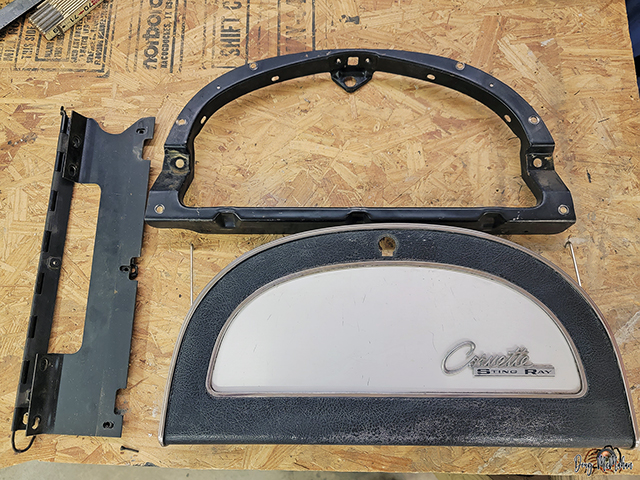
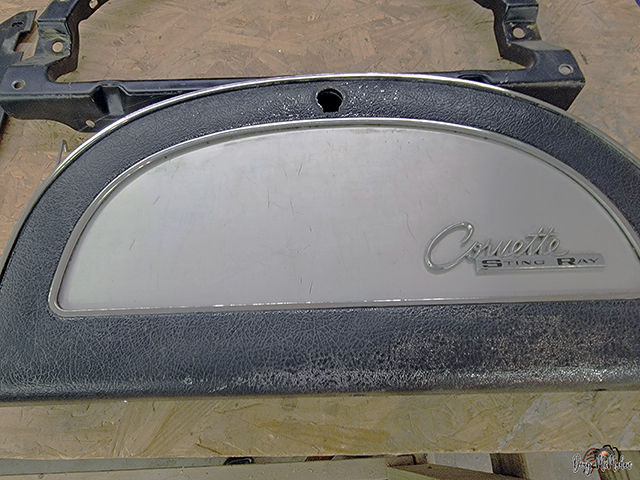
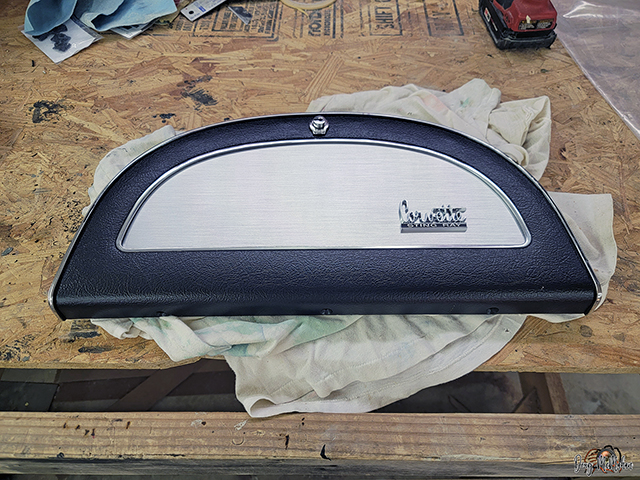
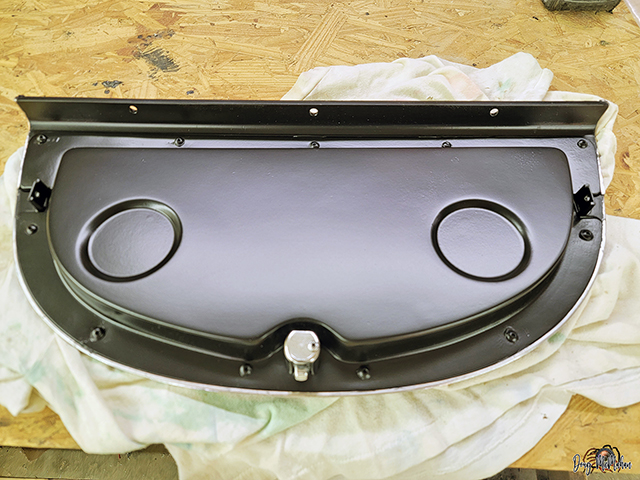
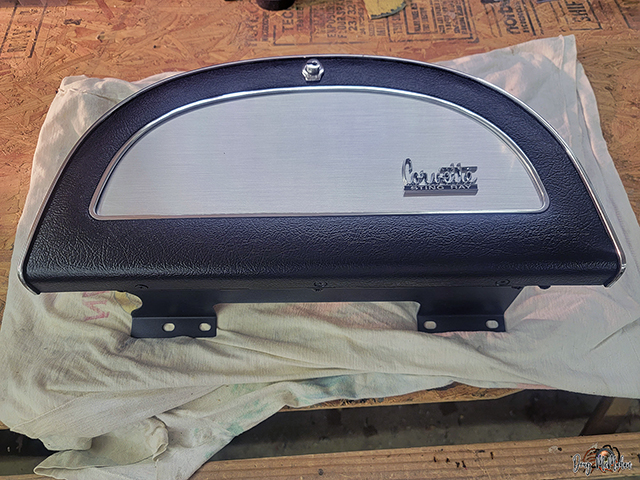
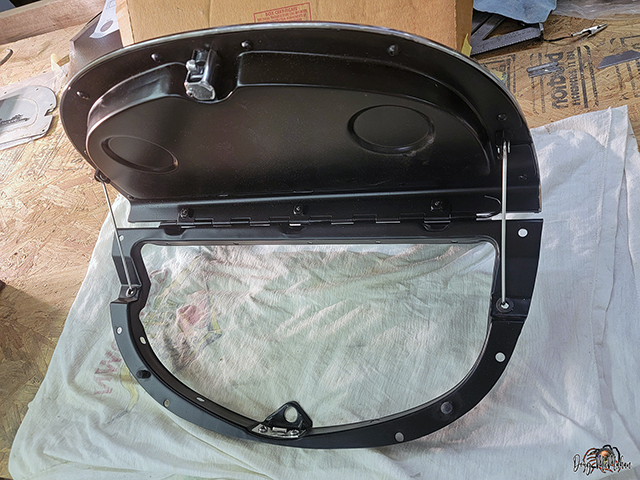
Dash Glove
Box
- 3/8-11
The original glove box lid is riveted together - the aftermarket
solution didn't work - epoxy time
Restored ...now it even has the "correct" '67 glove box emblem -
had a pre-66 in it
Glove Box is restored and ready - waiting on the rest of the car
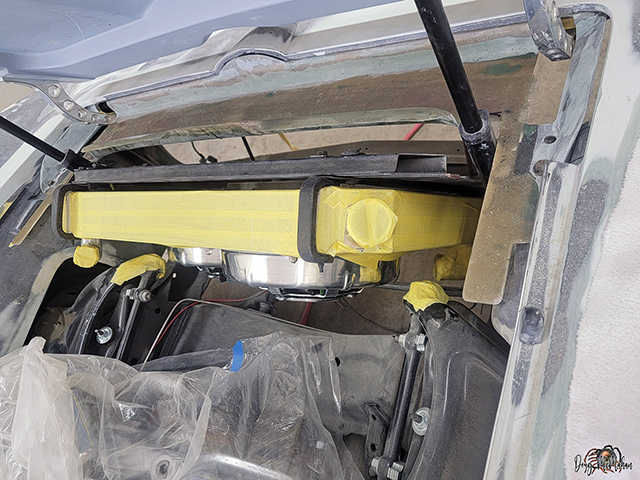
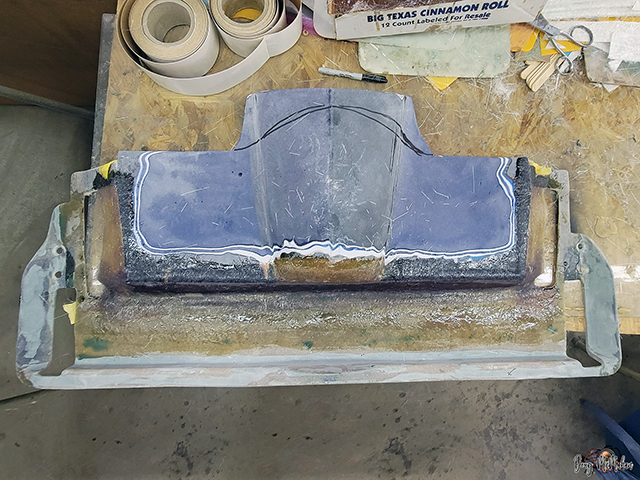
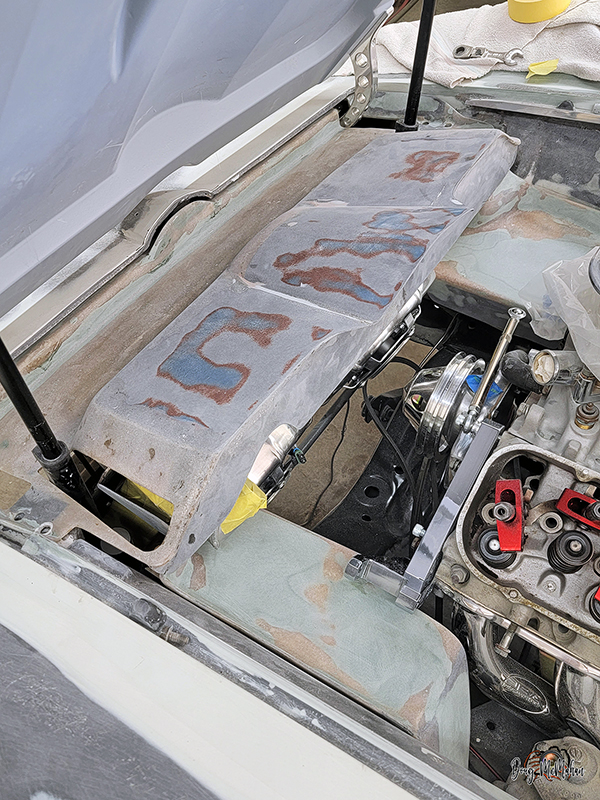
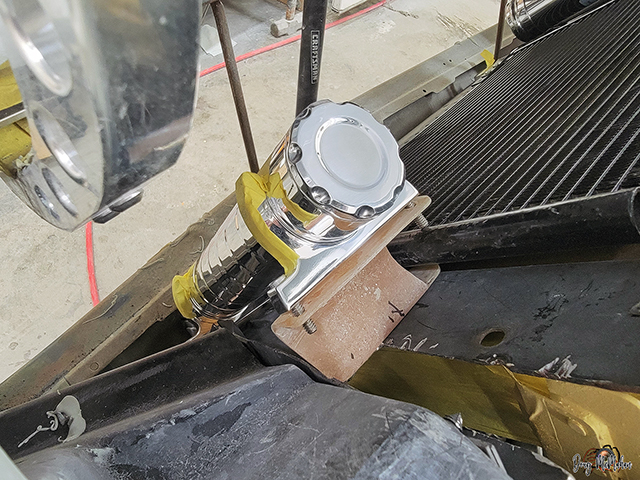
Radiator & Cover
- 3/15-16
Radiator 3.0 arrived, looks correct, even down to the "lugs"
this time
Test-fit confirmed that it was built correct this time
Looked good and fit the new radiator cushions perfectly - in the
stock radiator mounts
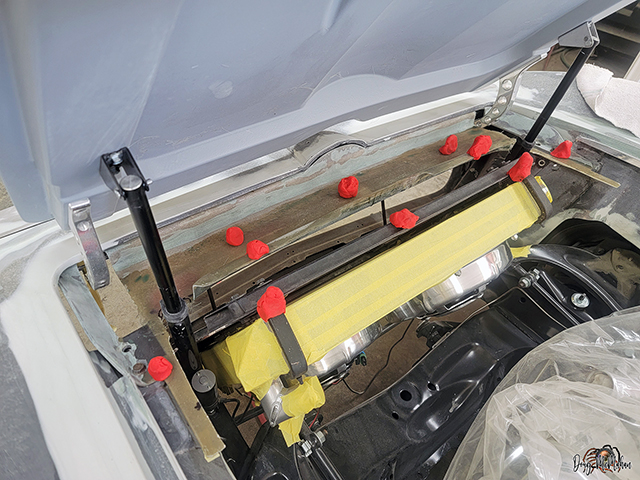
checking clearance between the radiator mounts and the underside
of the hood - almost an inch
The playdough confirmed that there was at least 1/2" betwen the
proposed cover and the bottom of the hood
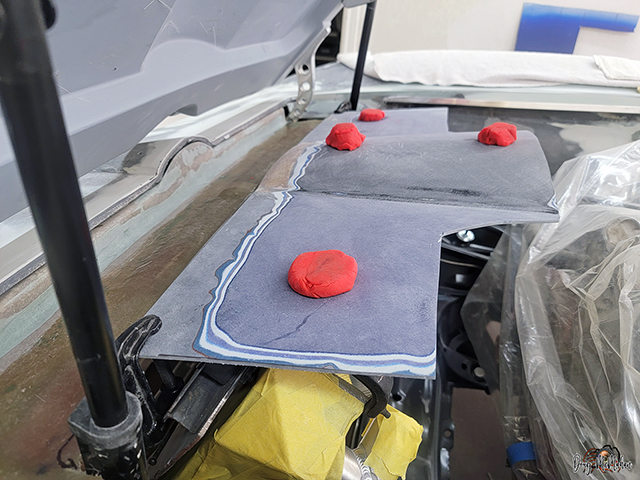
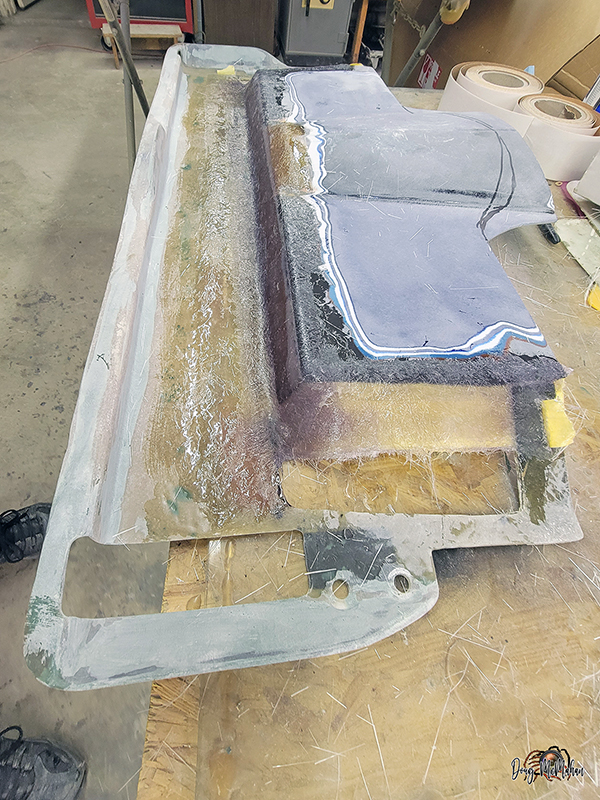
mocking up what the radiator cover could be shaped into
Placed a few bonding pieces in place while the cover was mounted
in the engine bay
Then took it out and bonded it more permanant on the backside -
at an angle
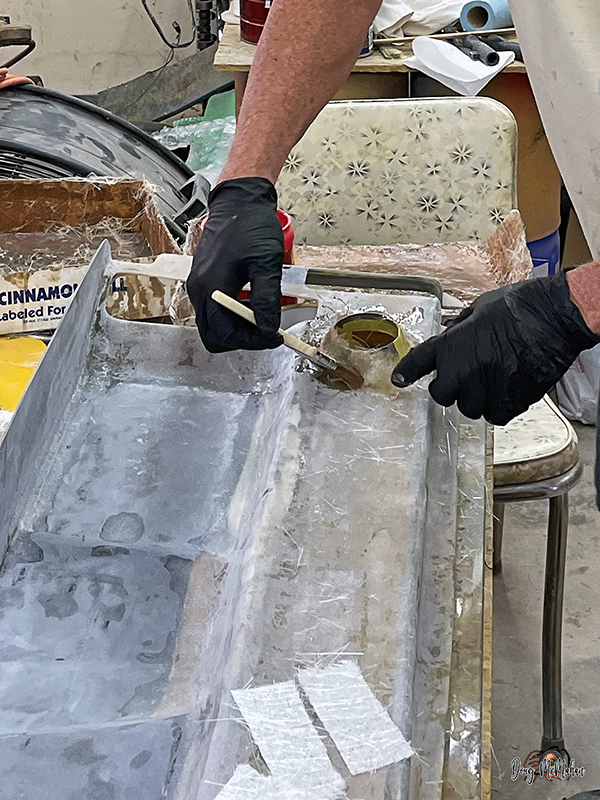
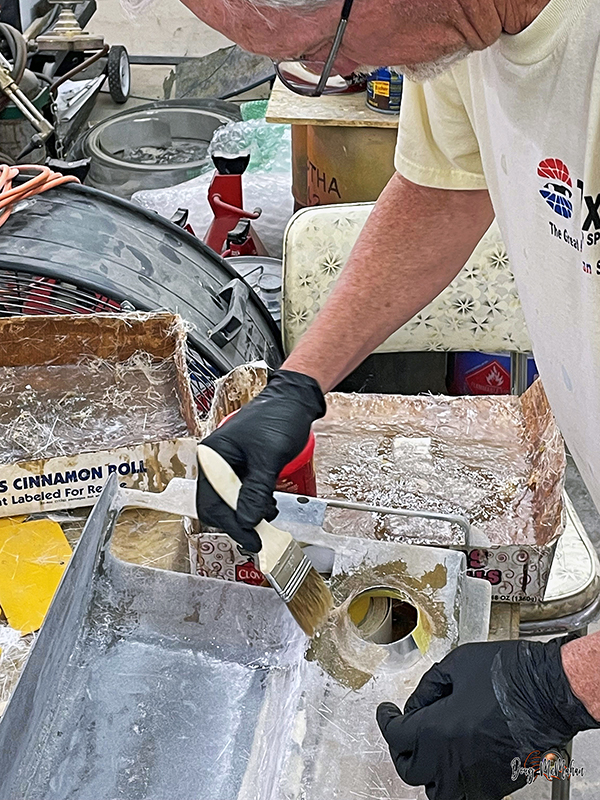
Cut the top side out to reglass and change the angle of the
transition
It should be more pleasing to the eye - a little duraglass and
this should work well
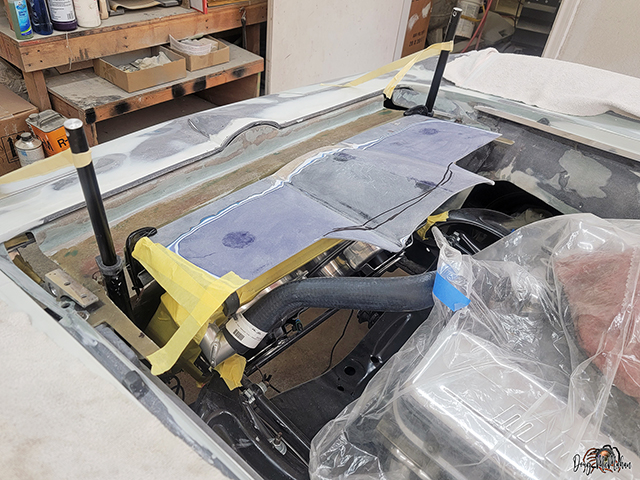
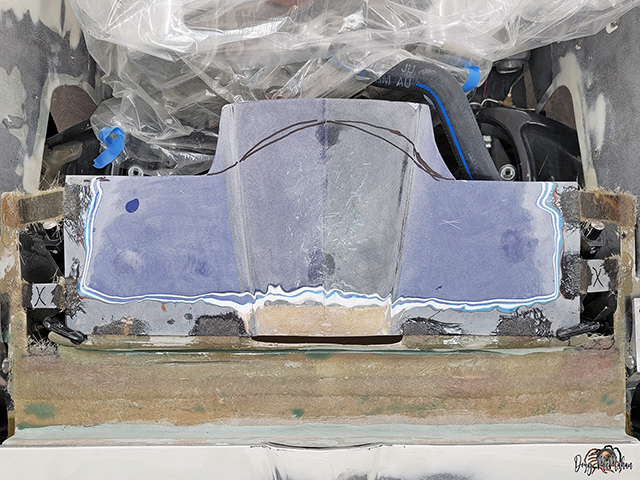
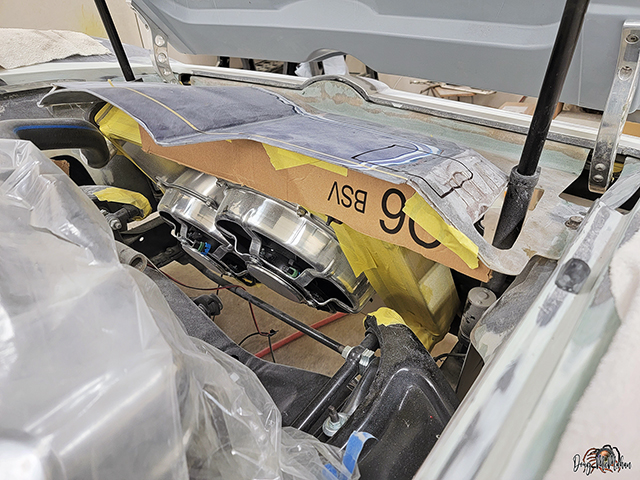
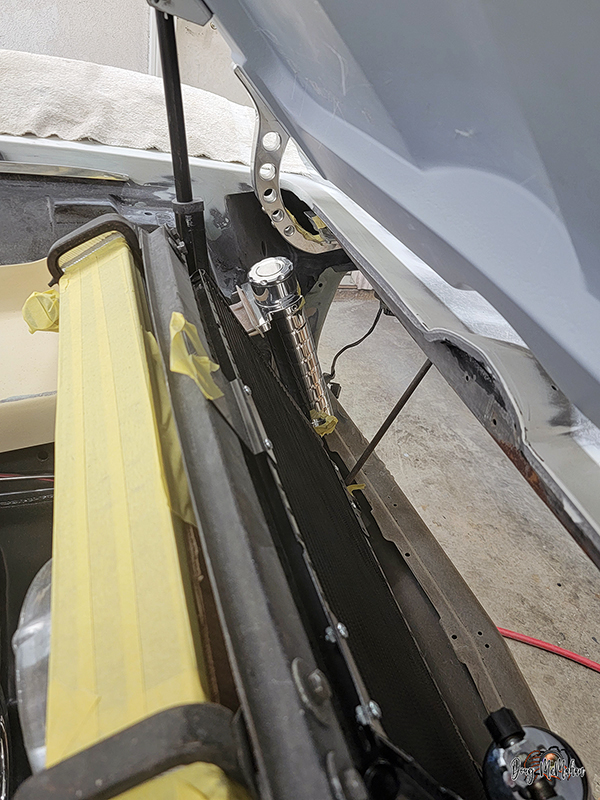
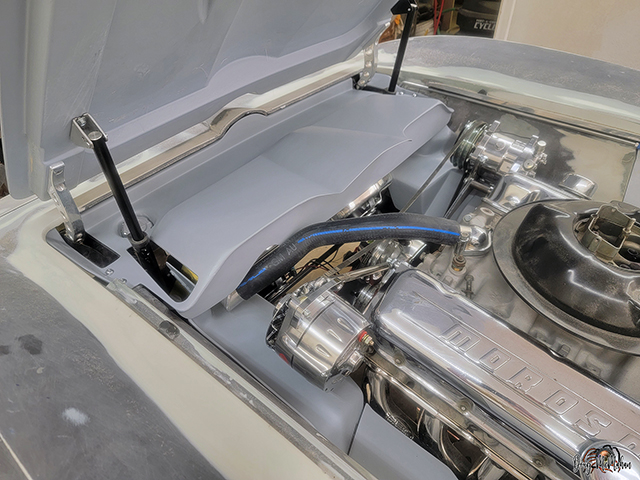
Radiator Cover
- 3/22-27
adding a rear support piece to the radiator cover
Back of the cover hasn't been trimmed yet
The support is now installed and fully functional
Trimmed the back of the cover to be more eye pleasing
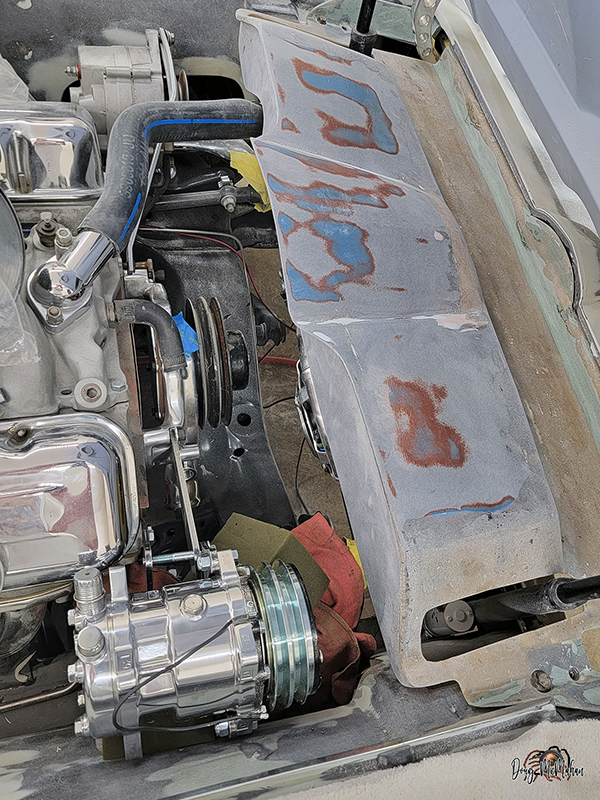
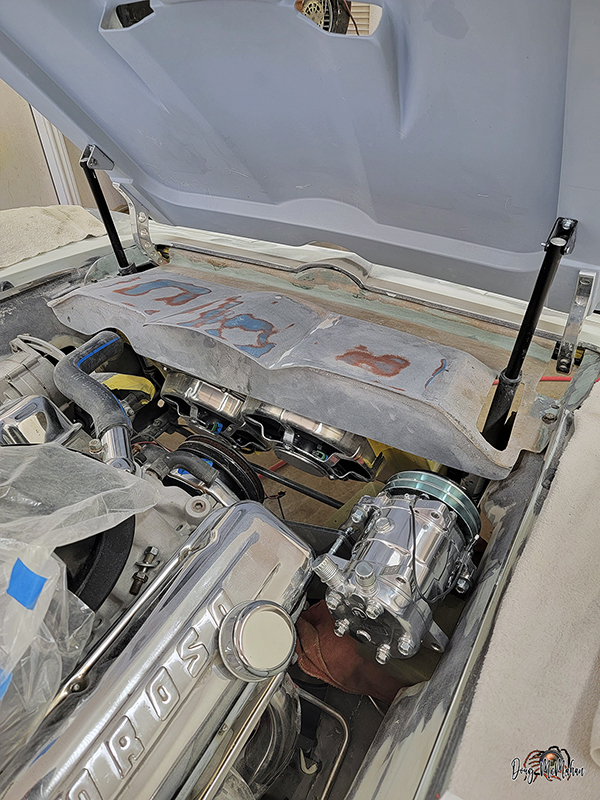
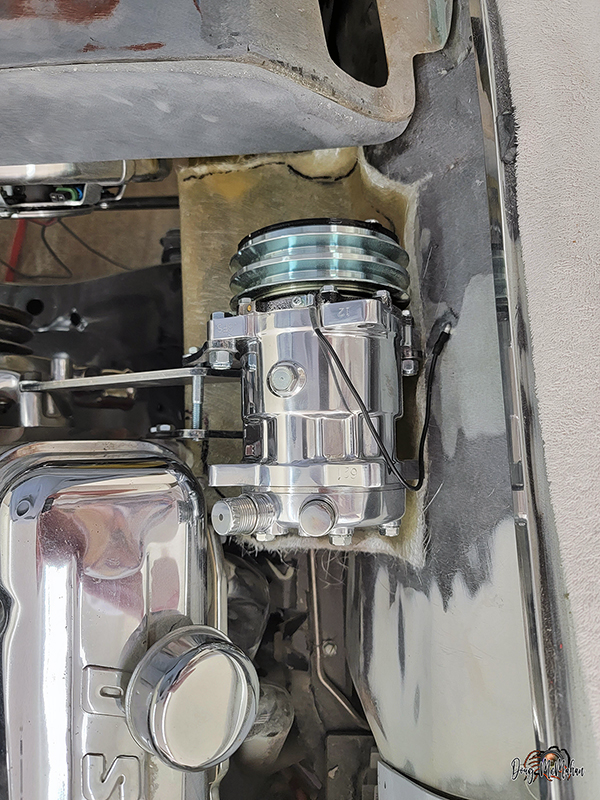
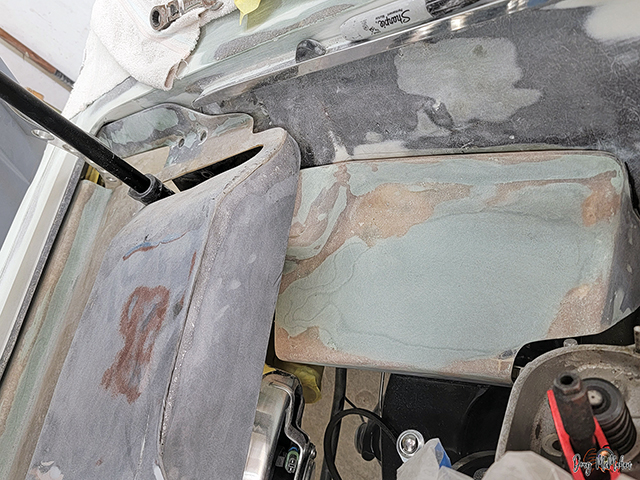
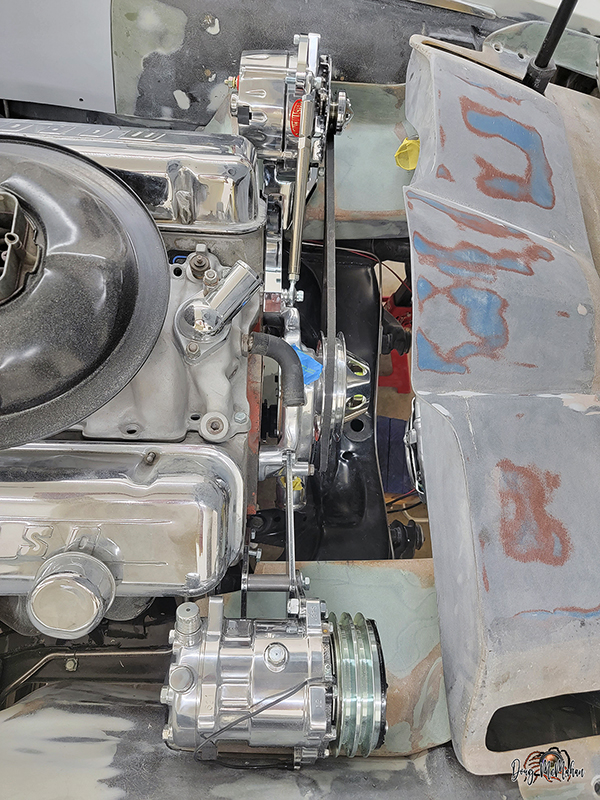
Test fit of the Vintage Air A/C Compressor
Another view of the compressor - tight fit.
you can also see the custom A-Arm Covers underneath the
compressor
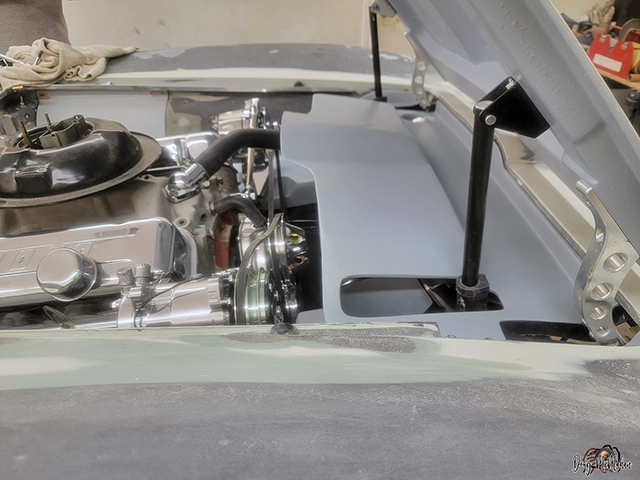
The Actuator Cover (vertical) and the A-Arm Cover will be joined
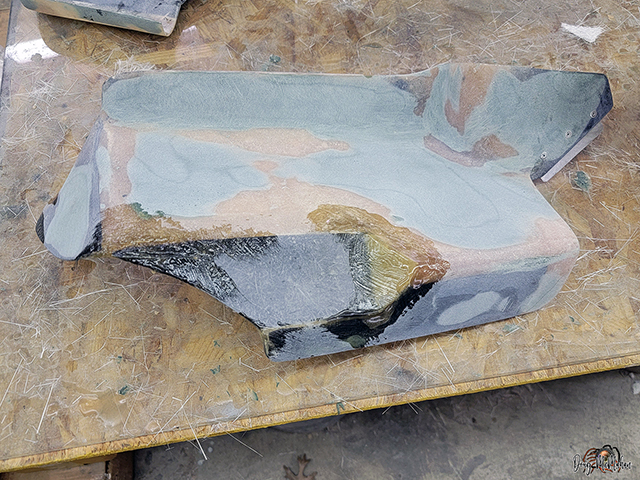
later
Still rough design - it will be smoothed out and will have a
better flow when done
While the fiberglass was setting, started testing thoughts on a
distributor / wire cover - not liking it yet
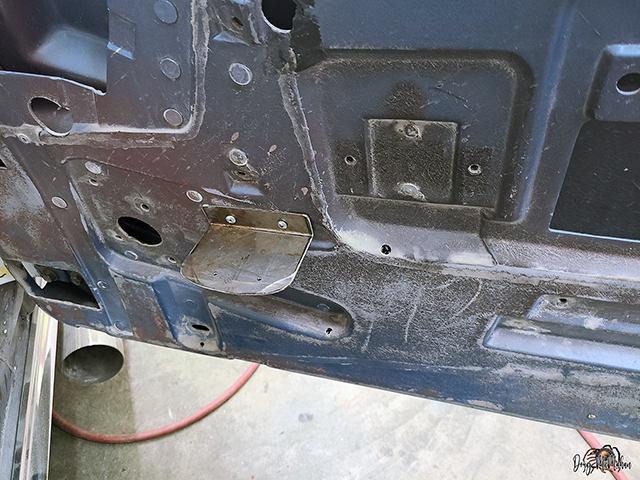
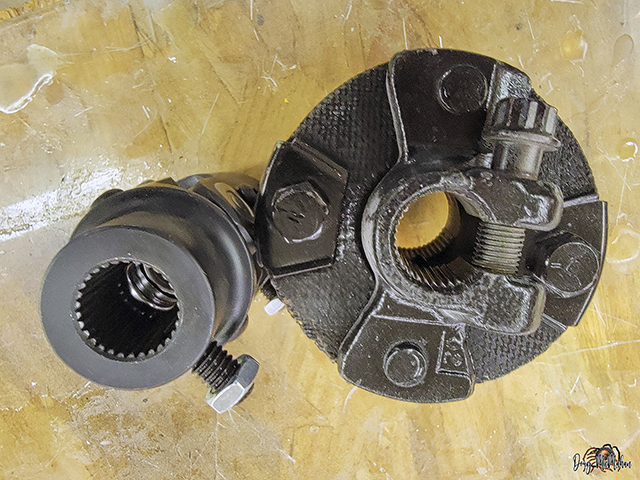
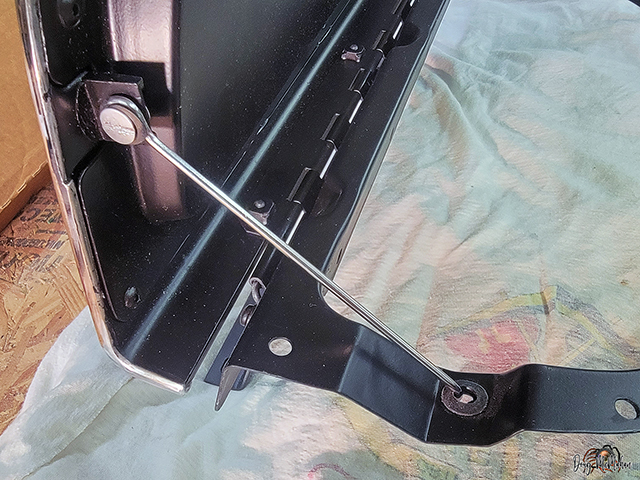
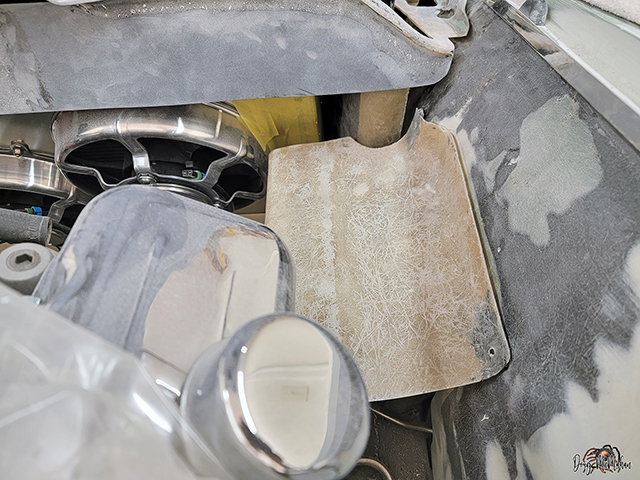
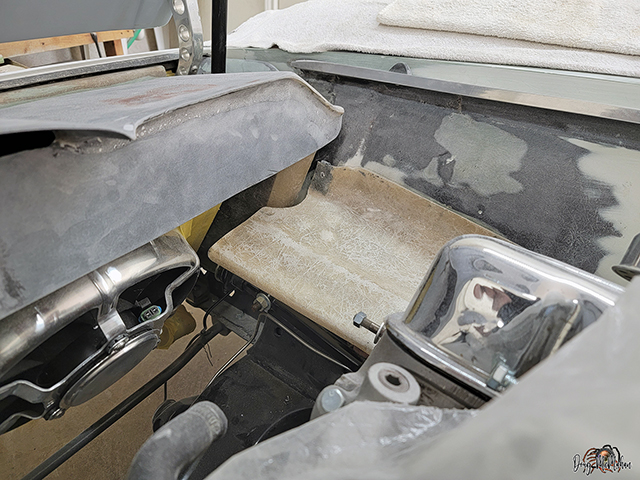
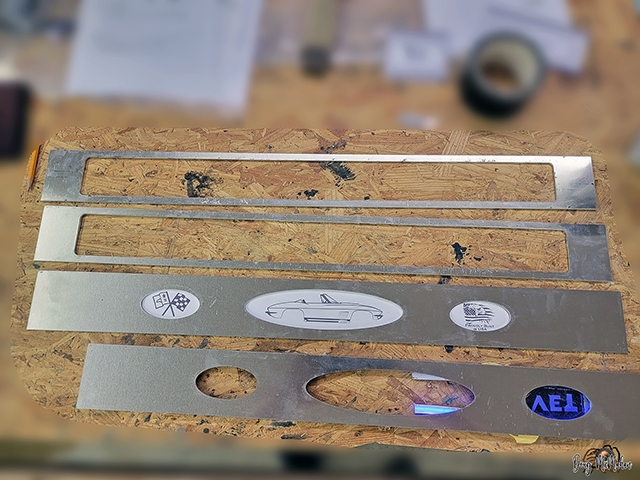
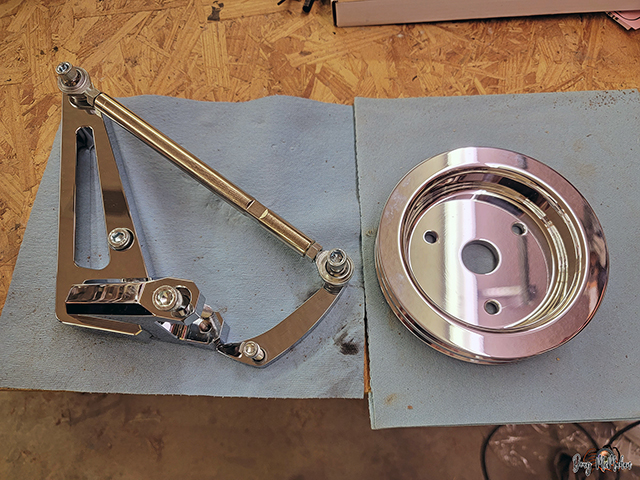
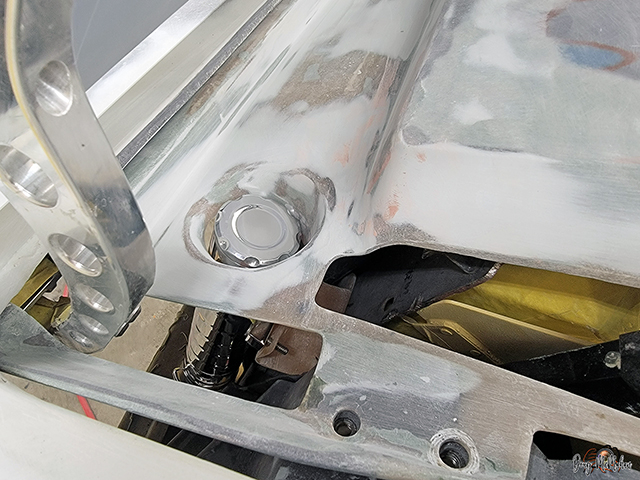
Door Sill Plates & Pulleys
- 3/29
Picked up the Aluminum Sill Plate pieces today - 2 spacers and 1
top plate for each door
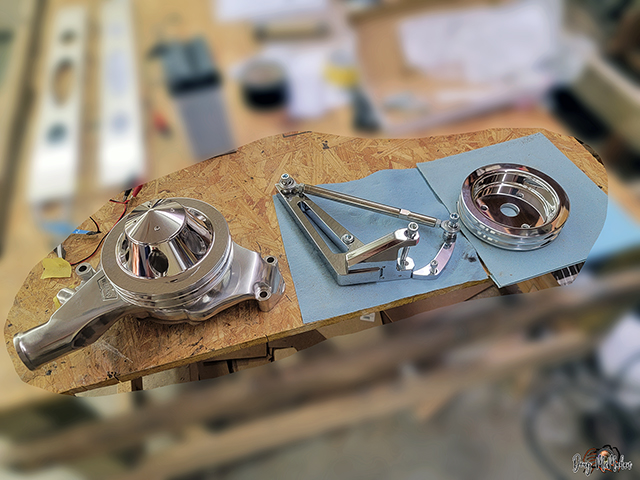
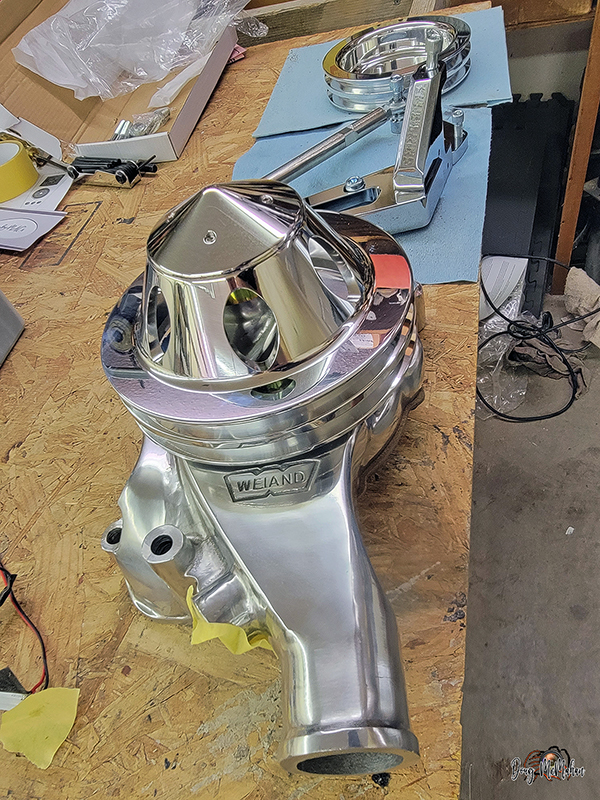
Took a look at the new Billet Specialties pullies and Summit
Alternator Bracket - too bad the water pump isn't polished as
nice as the pully are polished :(
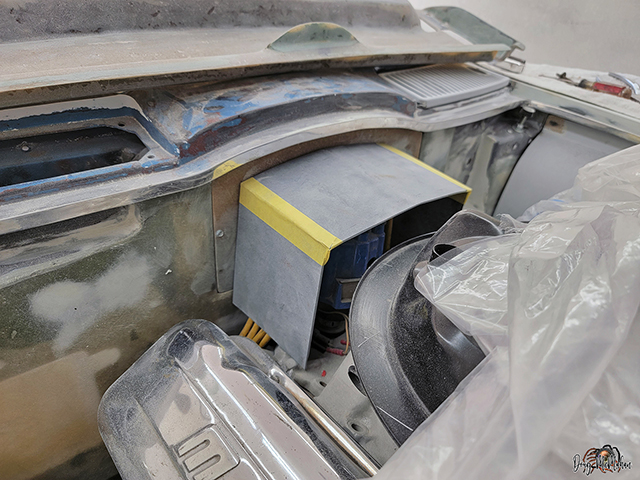
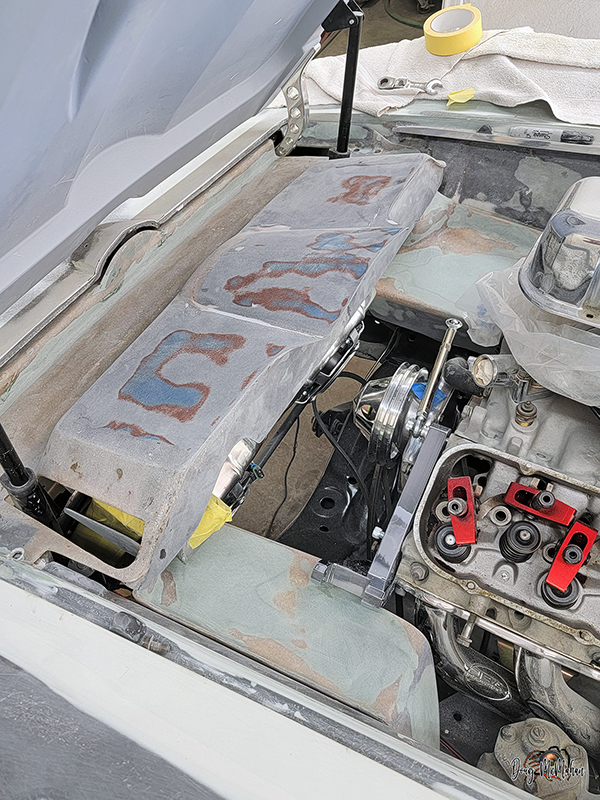
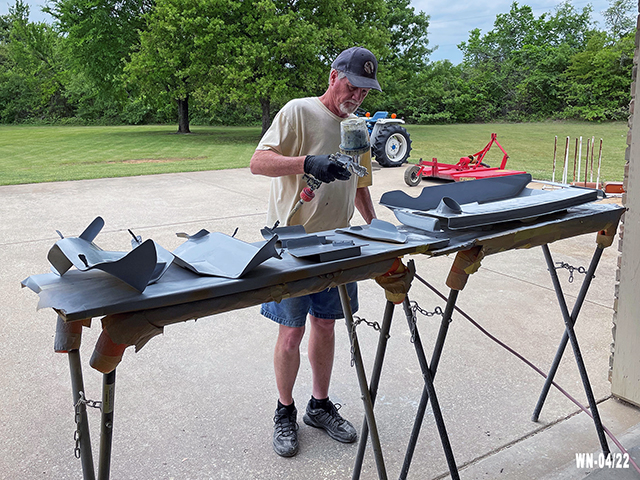
Test Fitting Parts & A-Arm /
Actuator Covers
- 3/30
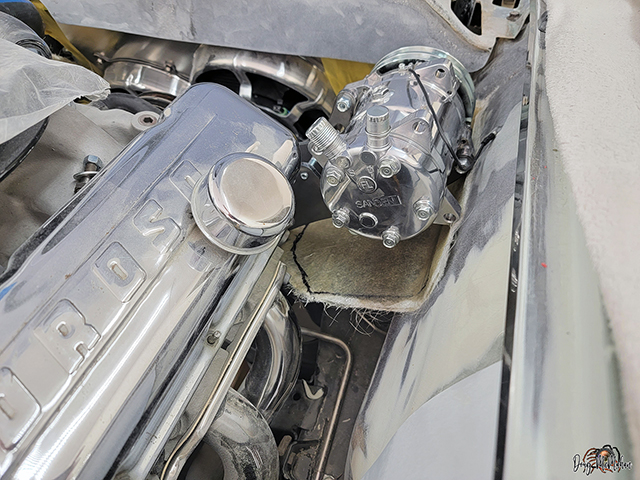
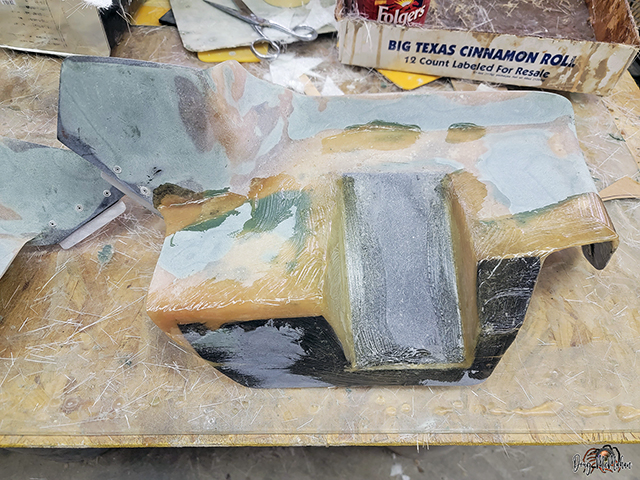
Test fit of the Alternator & A/C Compressor
The covers started rough, built sections at a time - however
after griding and sanding they start to take shape
Test fitting the A-Arm Covers after the final smoothing out of
the fiberglass
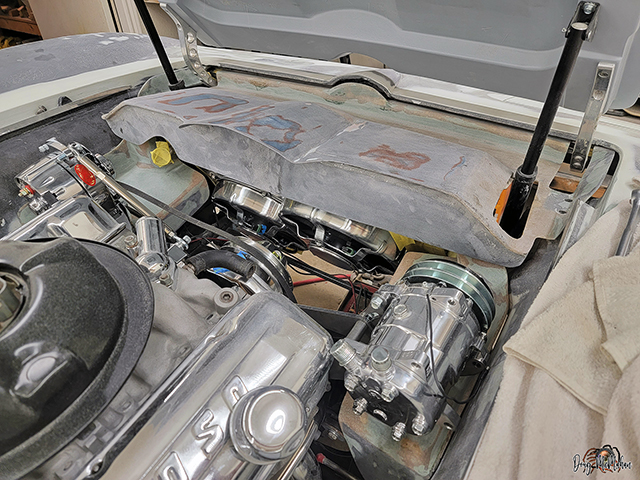
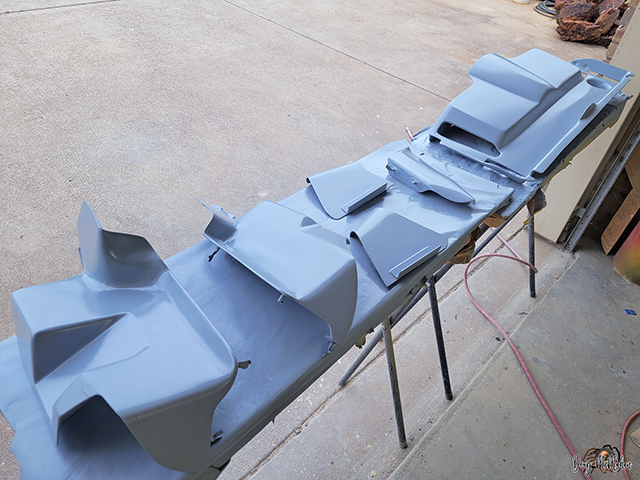
Test Fitting Parts & A-Arm /
Actuator Covers - 4/12-15
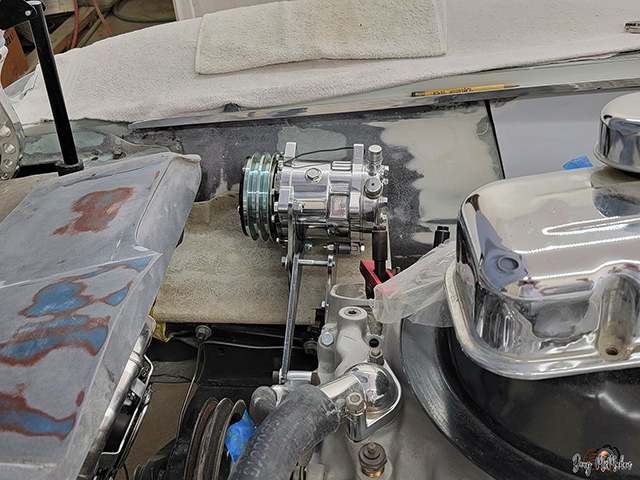
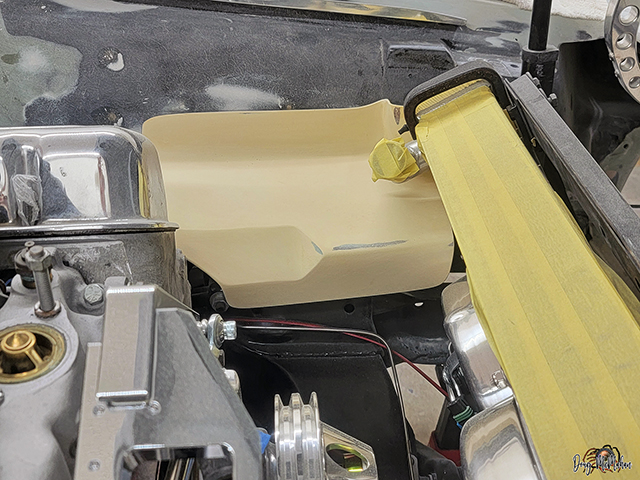
Test fit of the Covers with the Alternator & A/C Compressor
mounted - determined we needed some belt clearance
Almost complete with the modifications for belt clearances
High-build primer and sanced - looking better ;)
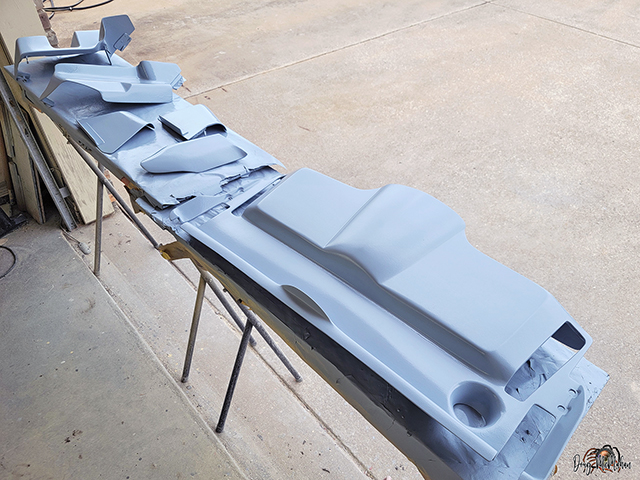
Test Fitting Parts & A-Arm /
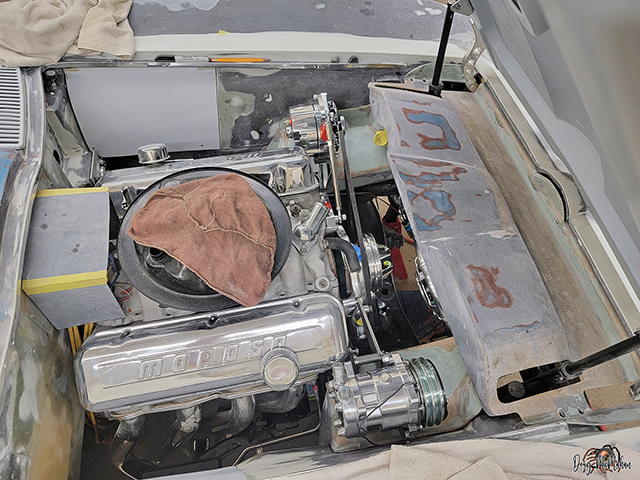
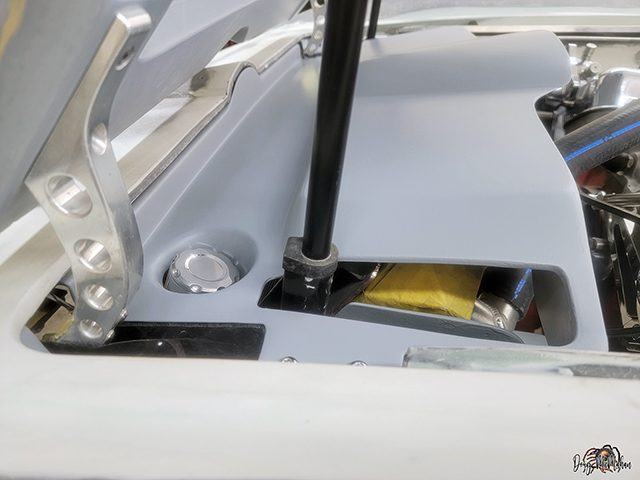
Actuator Covers - 4/21-25
Cut the hold for the radiator overflow tank access - now
glassing the beveled cone shape on the bottom of the radiator
cover
This was starting to really take shape until we test fitted the
A/C lines - PROBLEM!
So, we cut the cone out of the passenger's side of the cover and
grafted it into the driver's side - swapped pieces.
Now the radiator overflow tank access is finished on the
driver's side
The radiator cover is now primed with high-build primer
Needed a special dimension / shape bracket to mount the top of
the radiator overflow tank - a few measurements and we built it
out of fiberglass