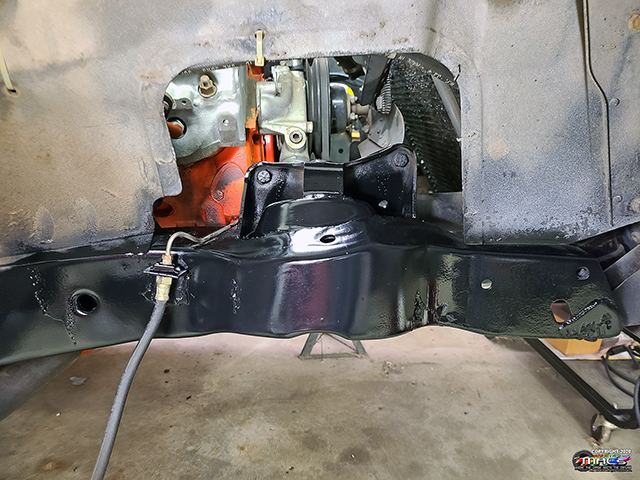
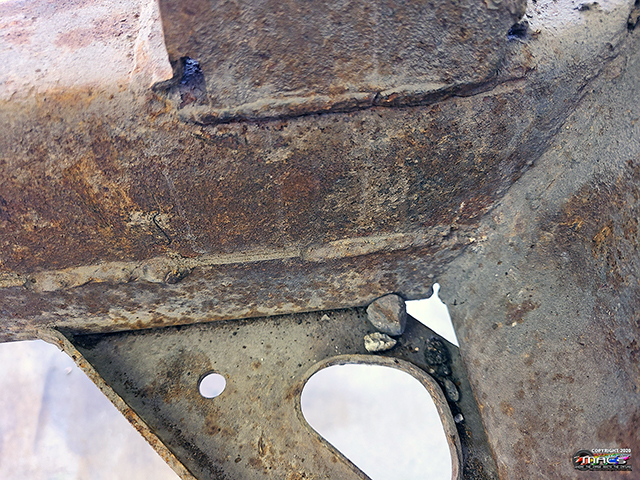
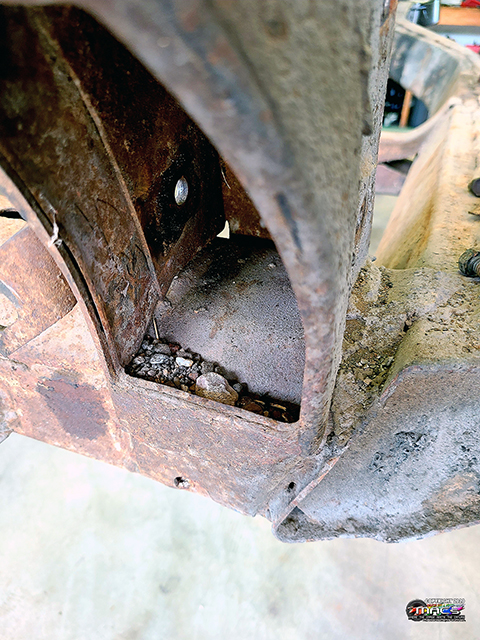
Worked on the Front Frame areas to Mount Suspension - 4/11
Wanted to scuff & clean the frame areas where the suspension
will soon be mounted
The goal wasn't SHOW condition - but to remove the surface rust
and coat it to preserve it until we could to a "Frame Off" restoration
later on. Hard to work on and do things 100% correct
with the body & engine still in the Vette
I'm really on the fence right now deciding to do a body-off
restoration on the frame.
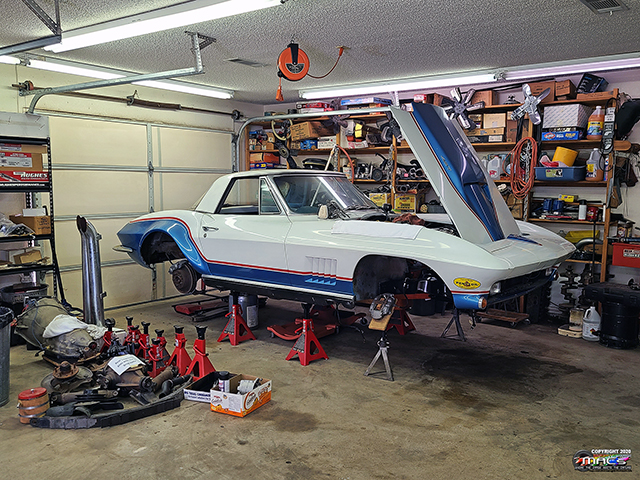
We have NOW decided on a "Frame Off" - Started getting
things disconnected - 4/22
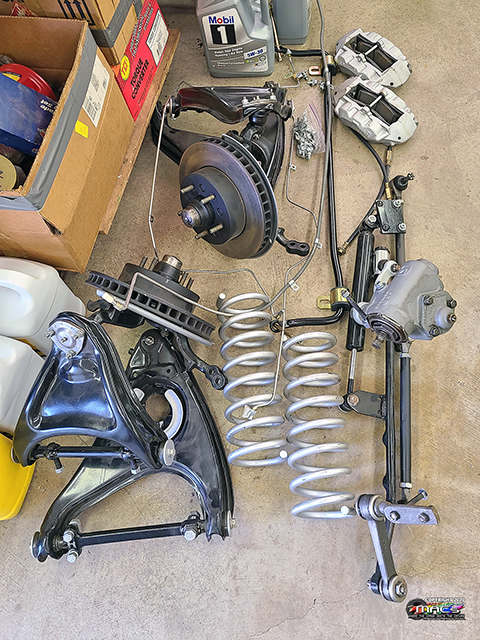
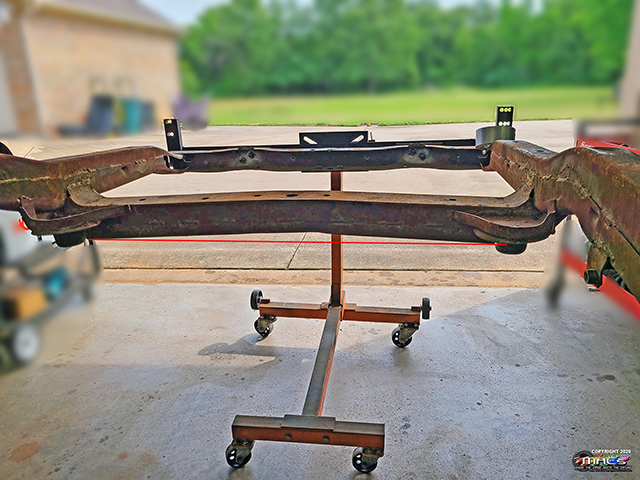
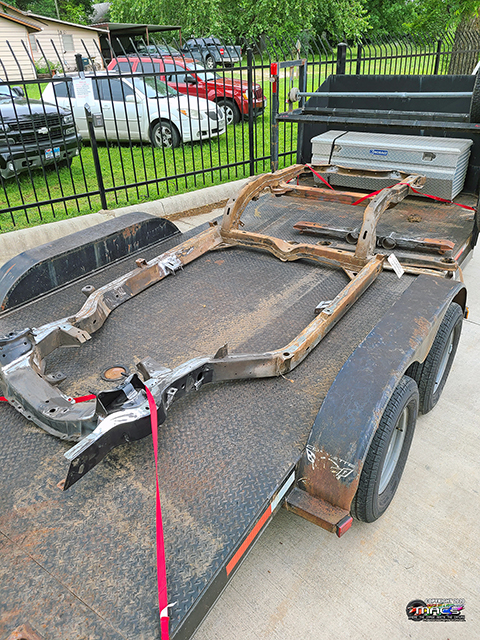
Removed original C2 Suspension from C3 Frame for reuse
Moved the C3 frame to the back Shop
area to make room to work
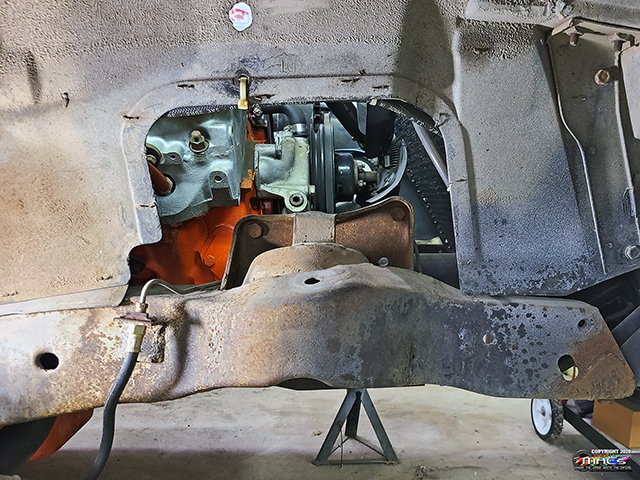
Started disconnecting things off the firewall, that connected to
the engine
Drained fluids and removed other items
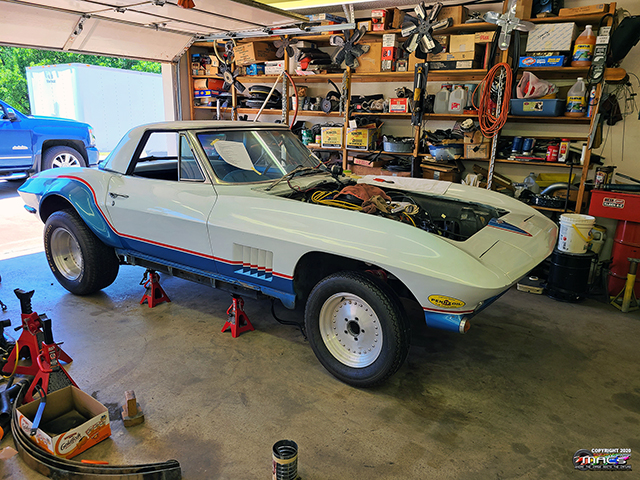
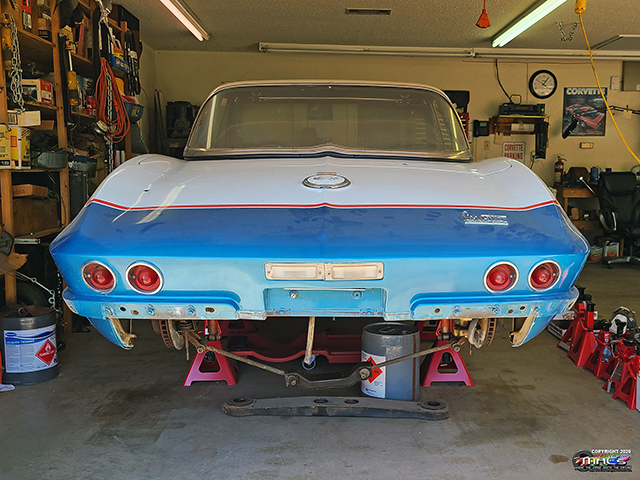
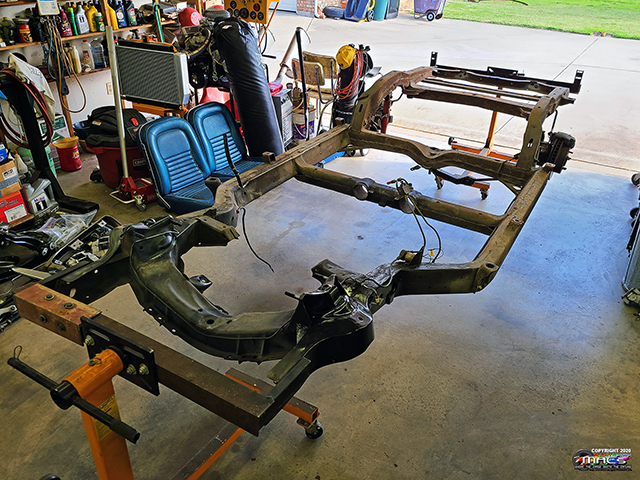
Mock-up with the existing wheels & tires - though the body was sitting a
little high
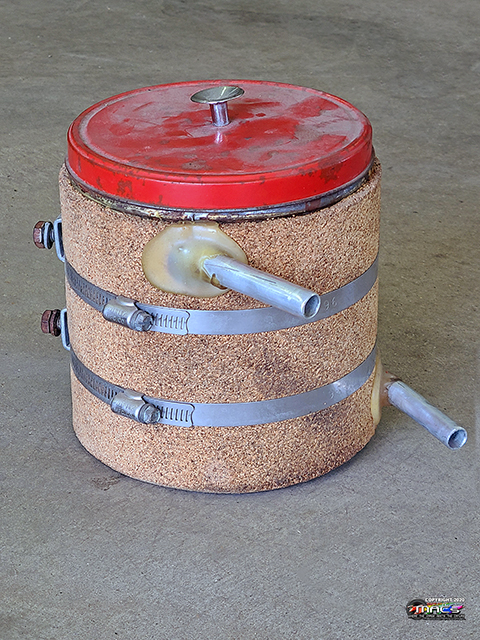
even Removed the Fuel Cool Can -
haven't seen one in years
Continued Efforts to Separate the Body & Frame - 4/23
All wires, hoses, radiator, trans
cooler, hood, etc. are now off and out
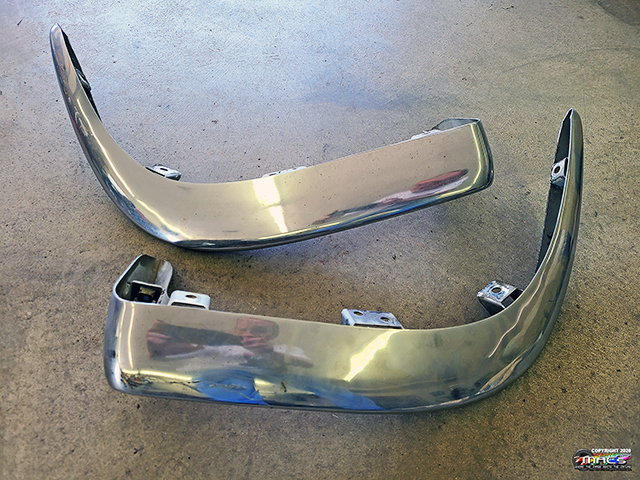
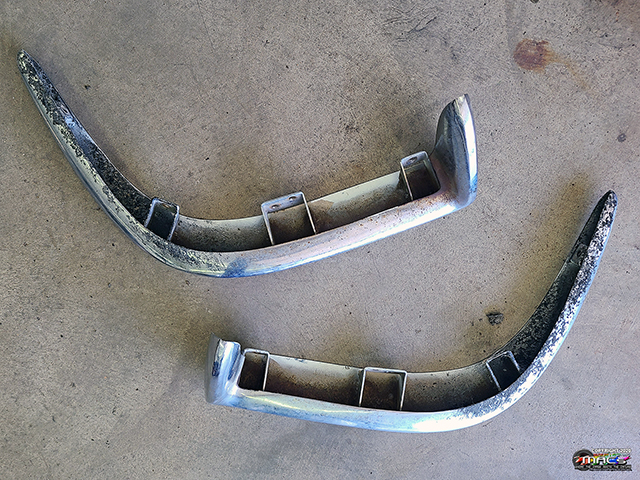
Rear bumpers, lower trim panel and all brackets have been
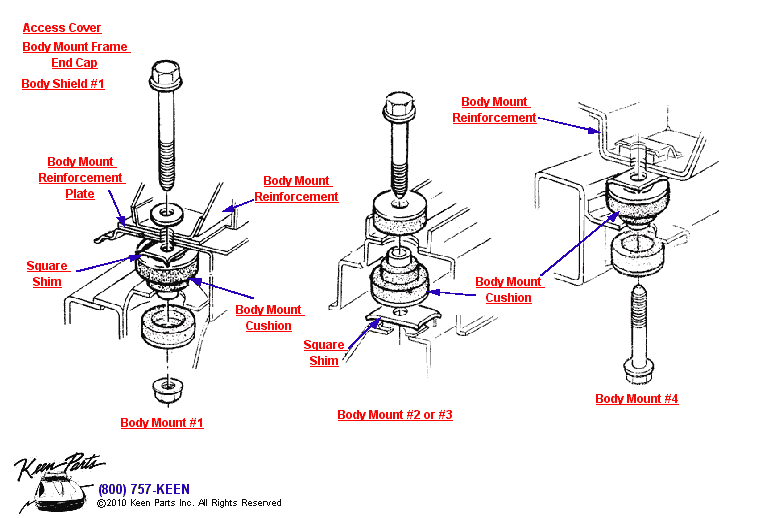
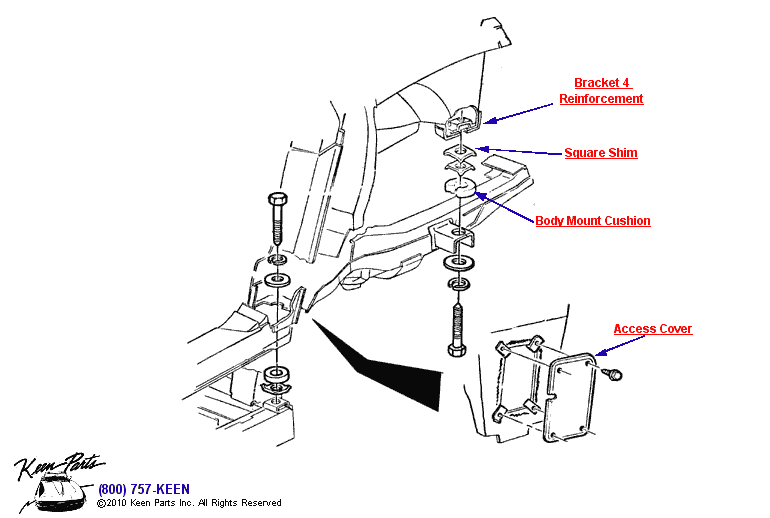
removed - some body mount hardware
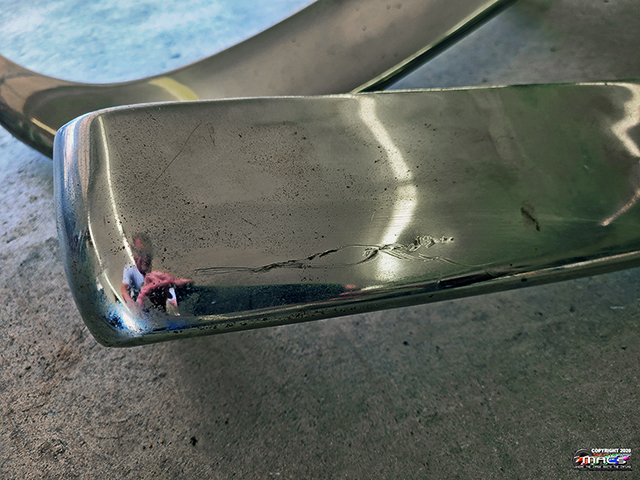
Minor dings in the
right bumper ...lots of rubber and some rust on the bottoms
Continued Efforts to Separate the Body and Frame -
5/06-08
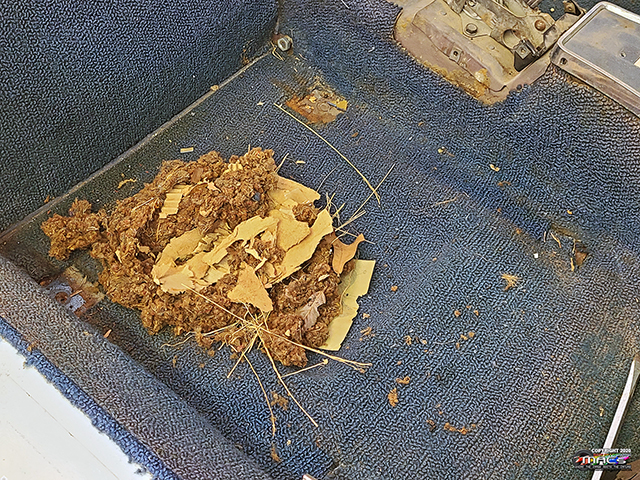
Something had been living under the seat
- at some point
Thanks to help from CTV Members,
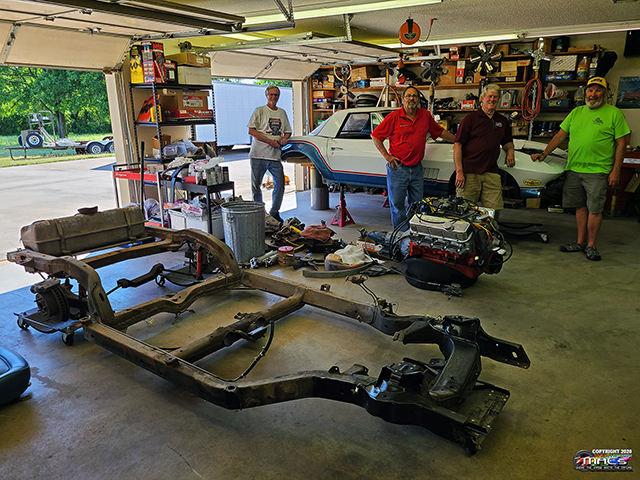
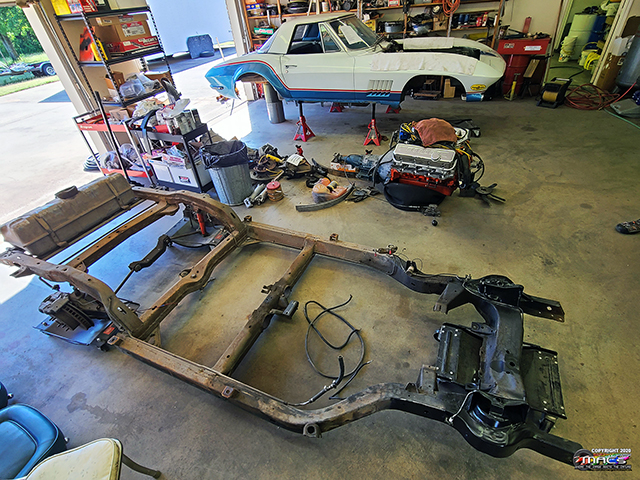
William Nolan, Robert Geyer & Don Wells, the
body is now off the frame
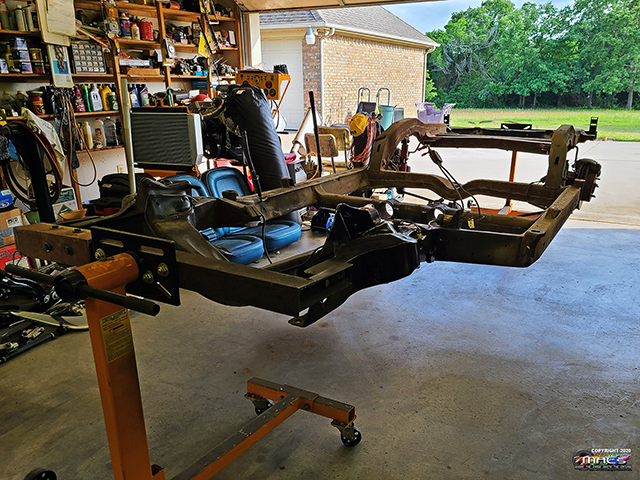
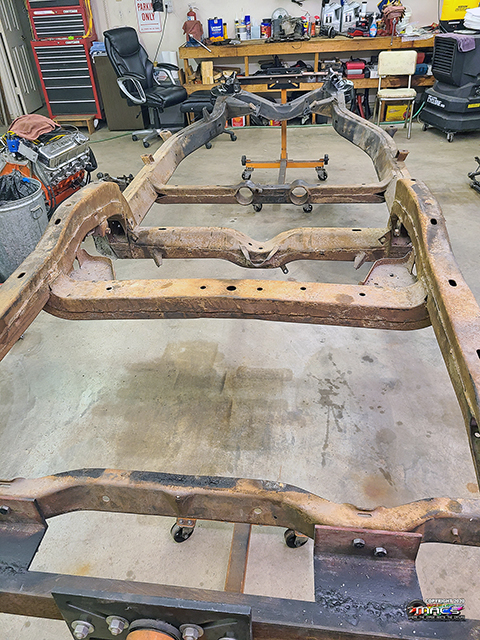
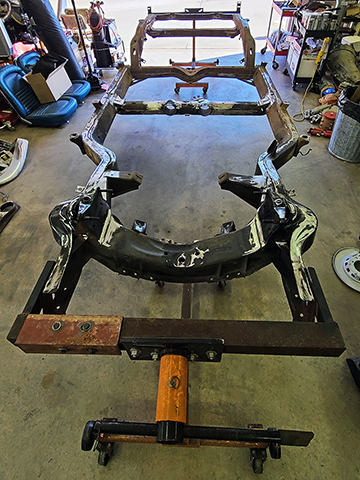
Time to put the frame on the rotisserie
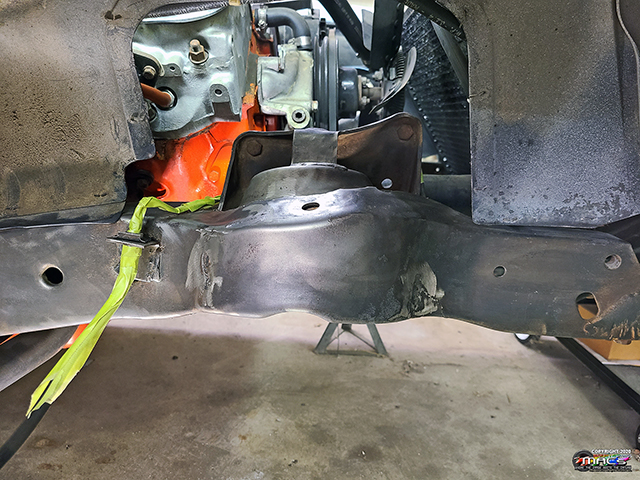
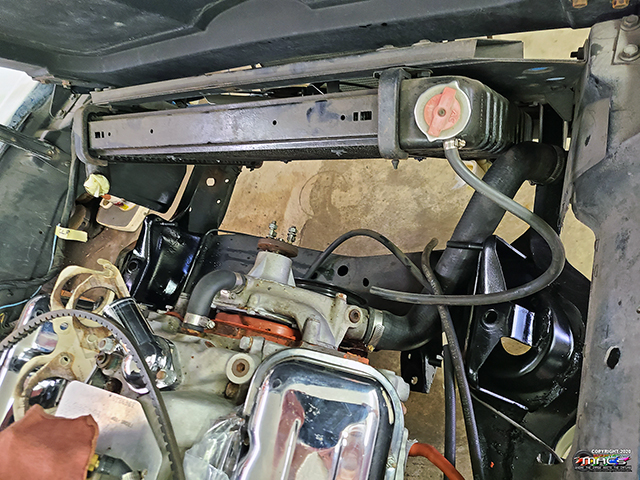
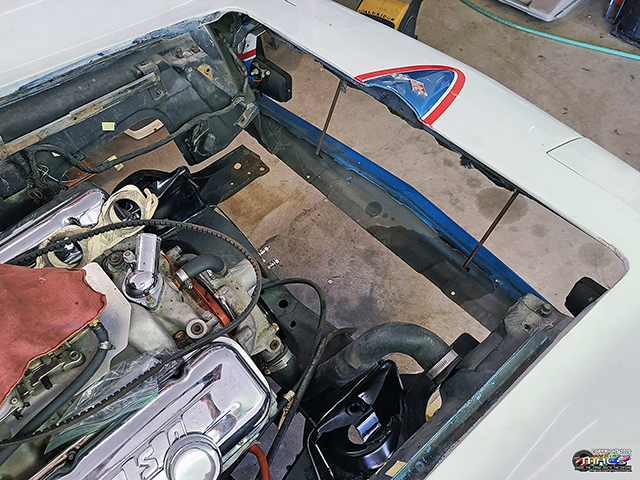
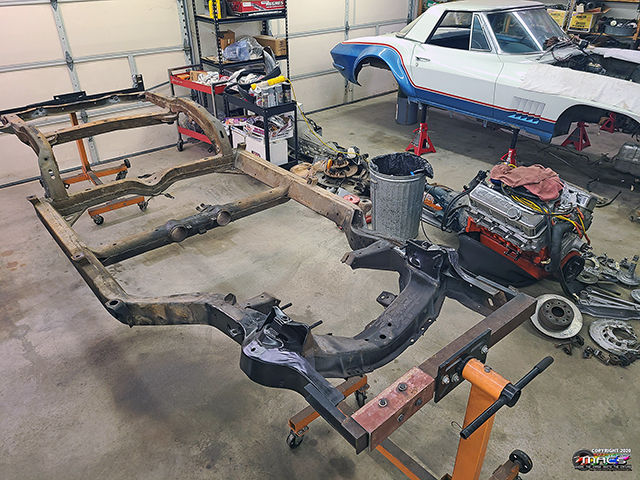
The Firewall needs lots of work - wiring & smoothing
The engine still has a lot of
unknowns
...other than it now runs :)
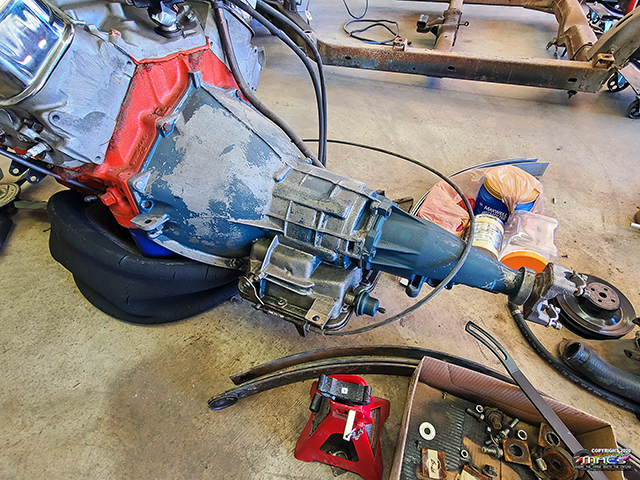
Transmission confirmed to be a PowerGlide
We modified Larry's C3 frame rotissarie so it also fits
the C2 chassis
we drained & removed the gas tank
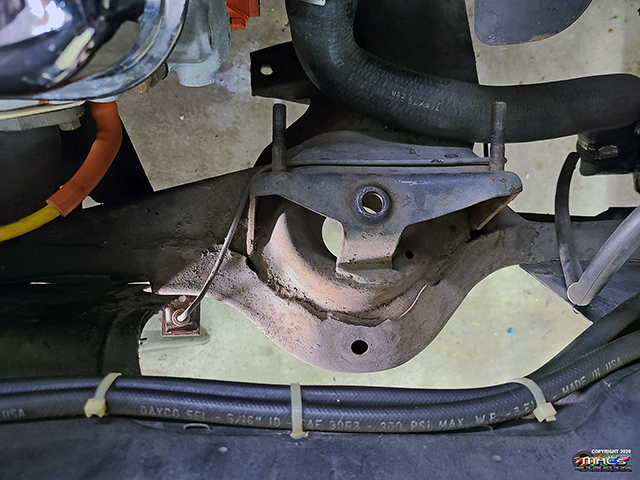
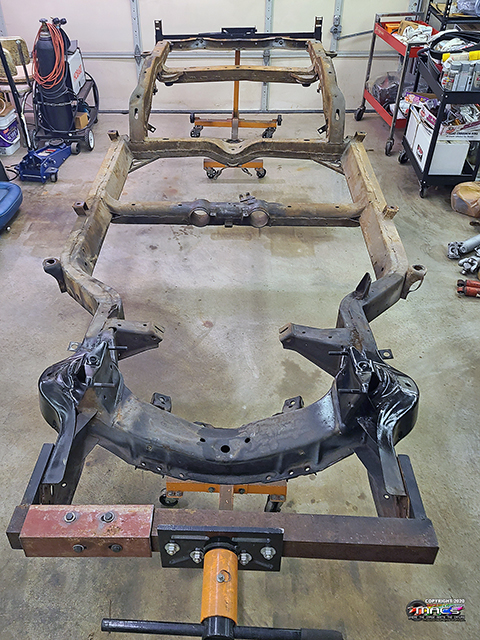
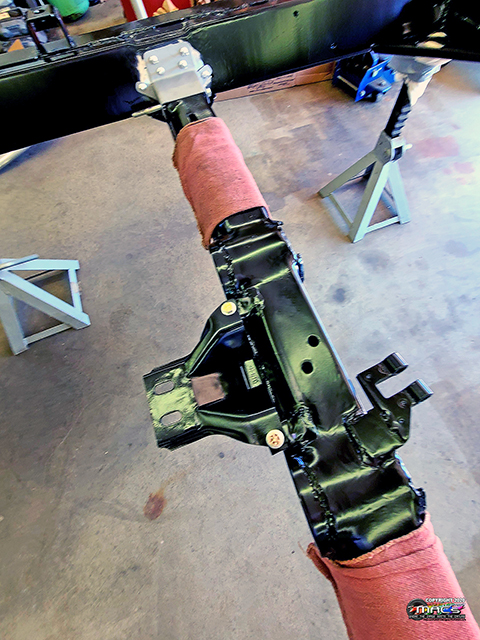
we sandblasted numerous parts
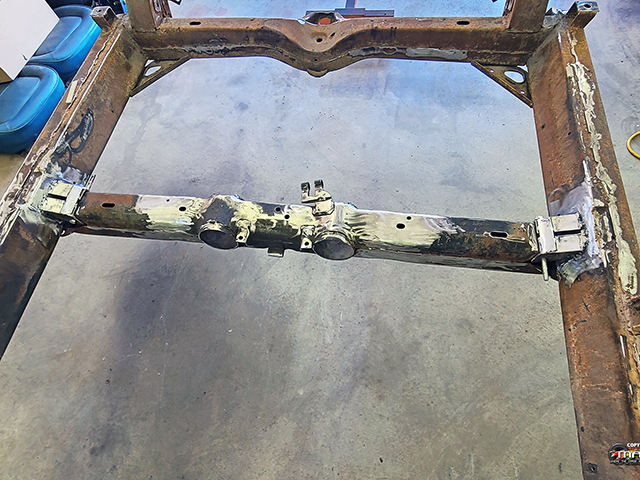
The crossmember
above the axle crossmember is slightly bent upwards - looks to
have been rubbing the frame
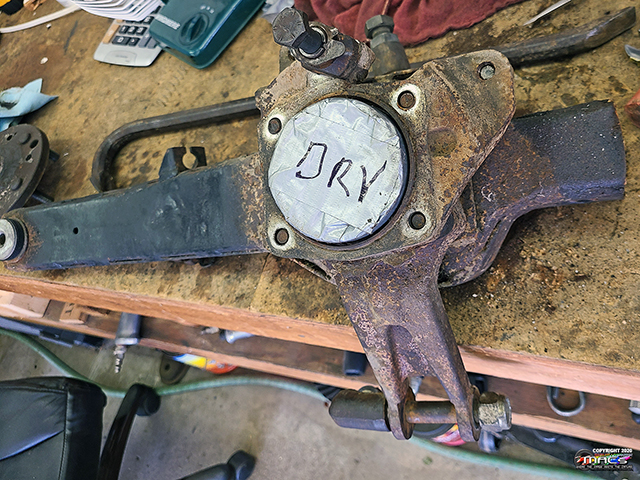
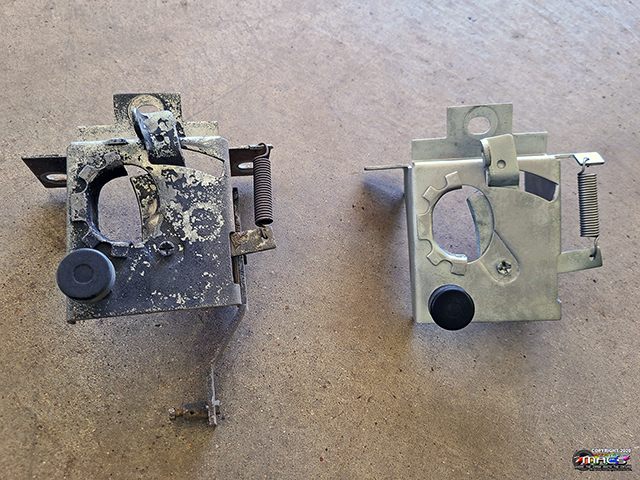
Trailing arms disassembled
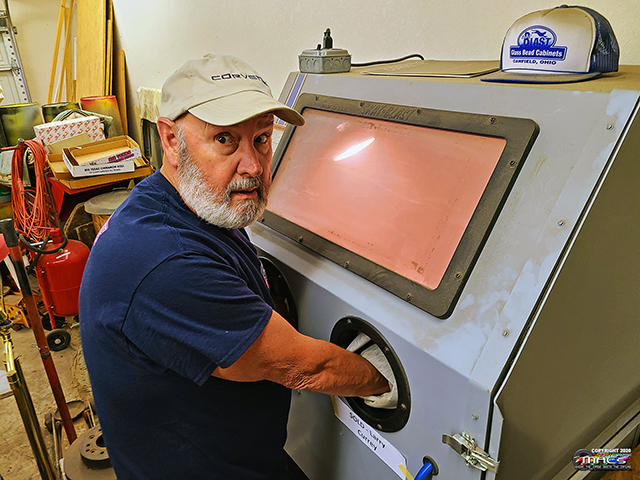
and sandblasted (after these photos) - hood latches (before &
after)
...many thanks to William Nolan for spending
countless hours blasting
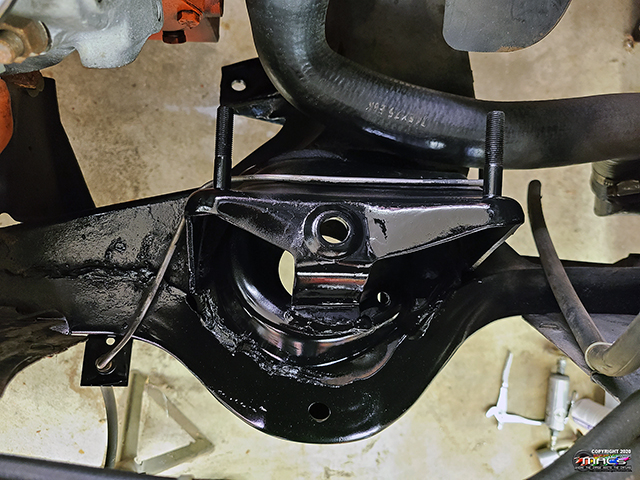
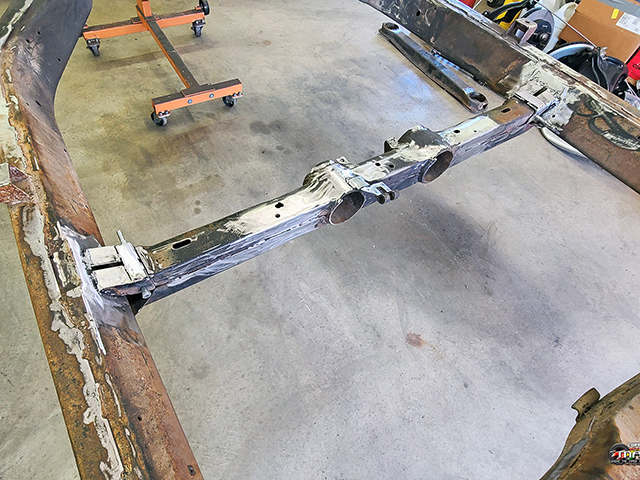
Continued Efforts on the Frame -
5/18-22
Frame is deburred
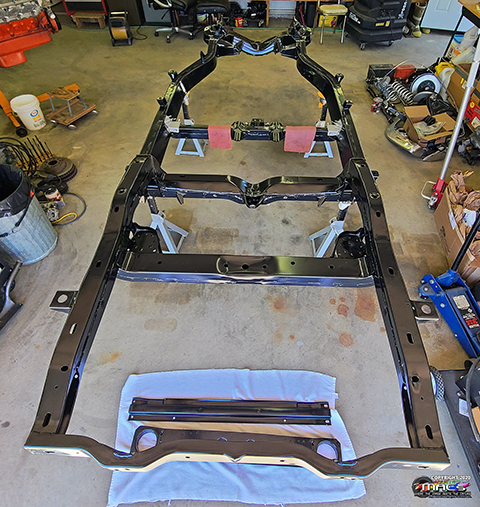
and ready for blast & powdercoating
Decided to make a
removable crossmember - outside sections are C3 - center section
is original C2
since
we don't know the final model of transmission that will ever be
in the car
The frame & crossmembers are heading to
sandblast & powder coat on 5/20
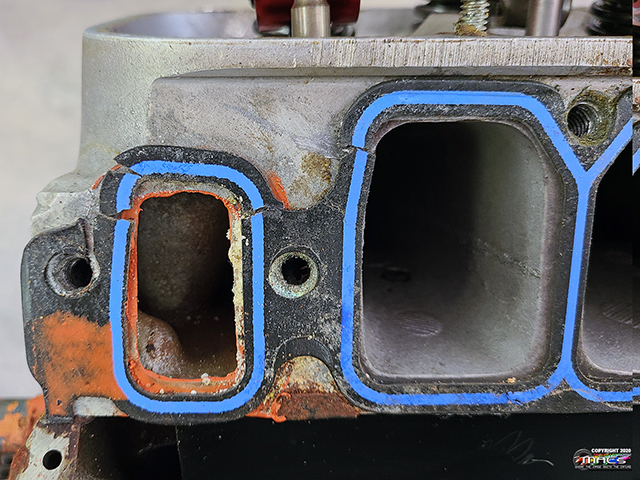
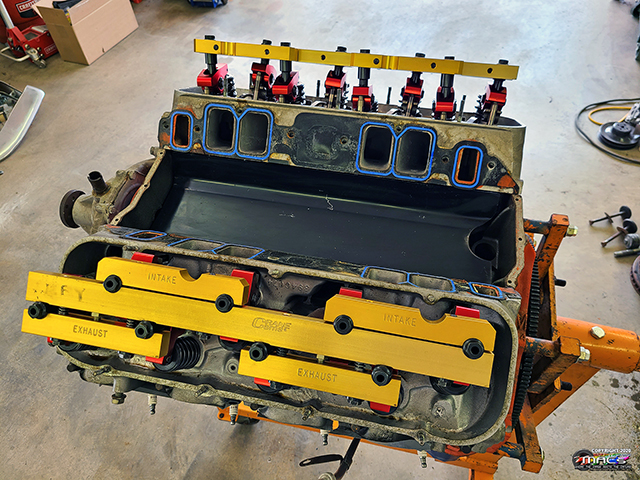
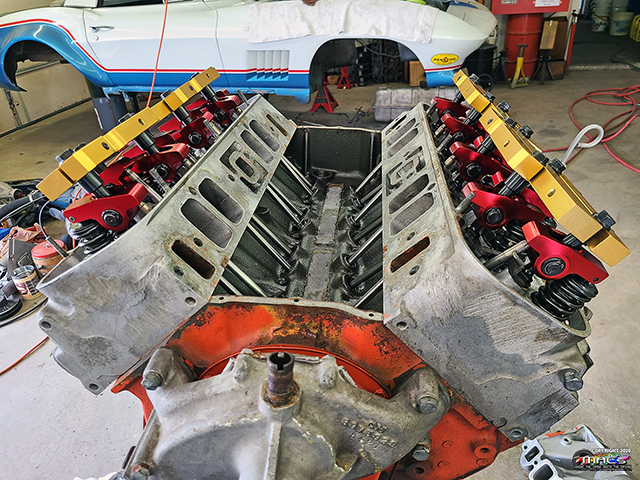
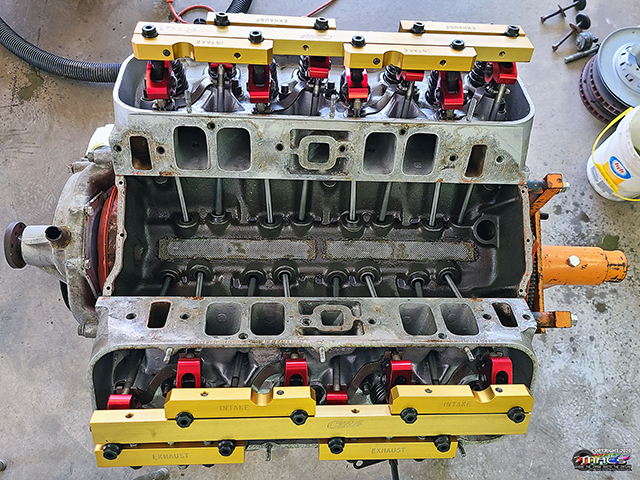
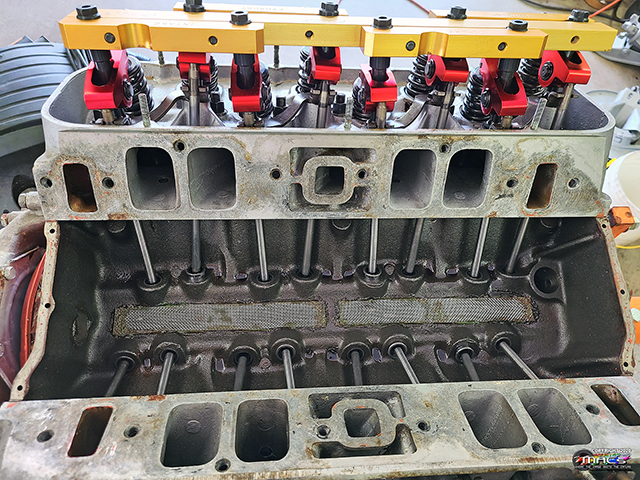
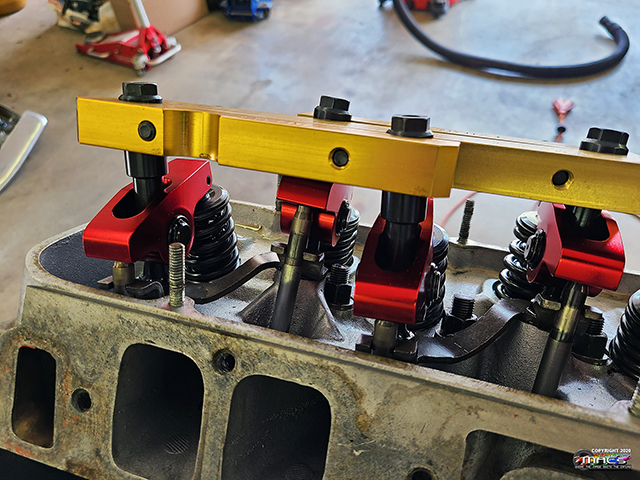
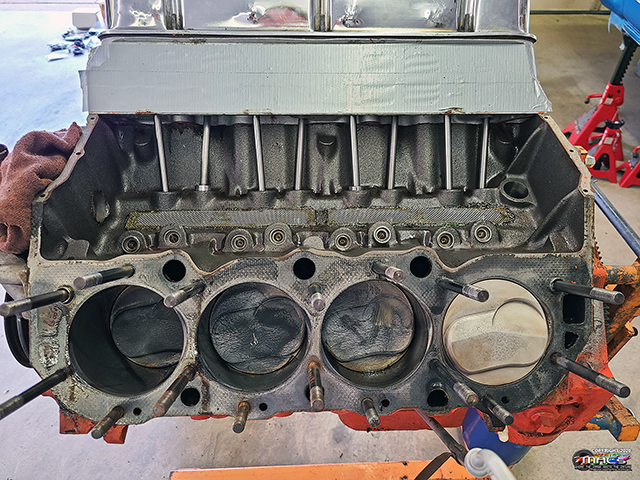
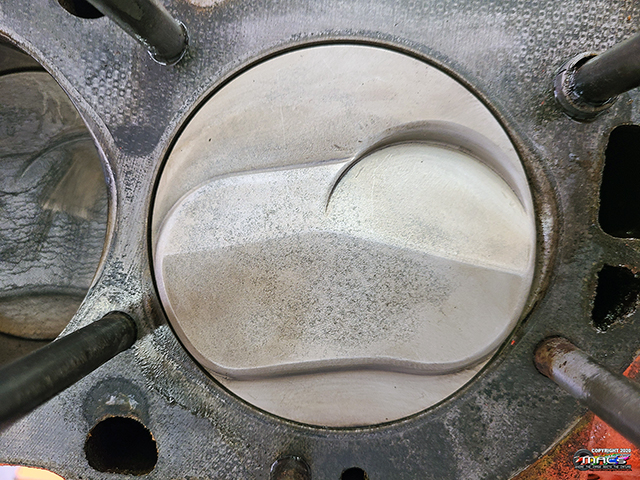
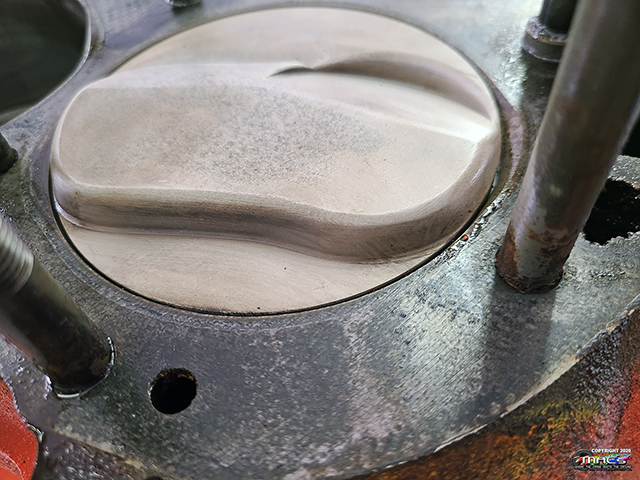
Continued Efforts on the Engine -
5/18-22
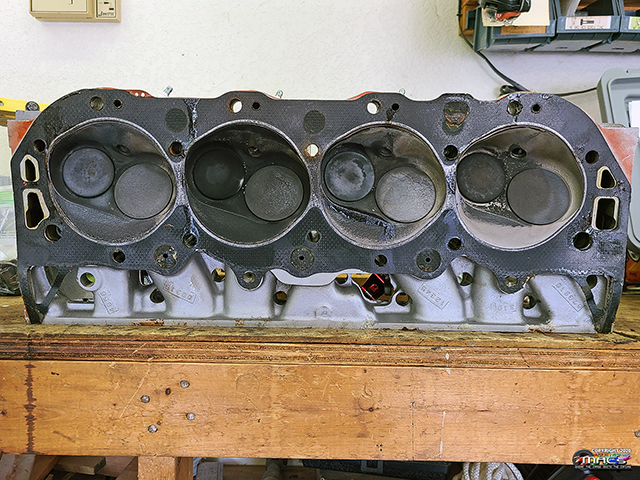
After talking to several
guys that new the car, we decided to pull the intake to see if
we could determine more about the engine - torn intake gaskets
were not a good sign
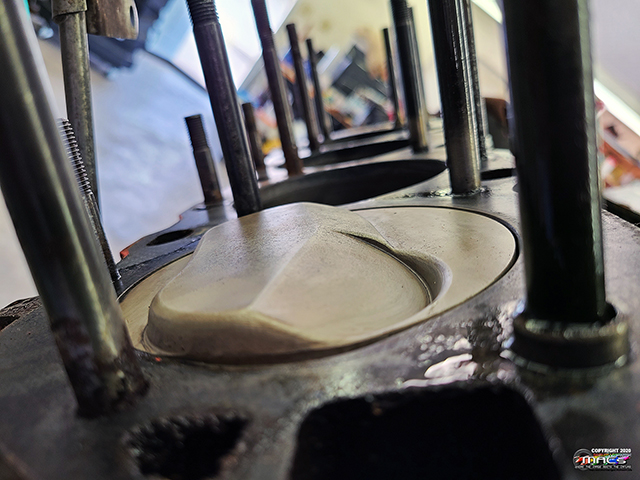
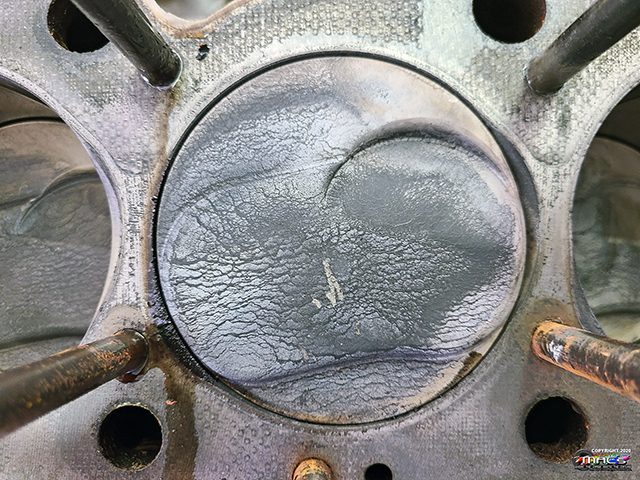
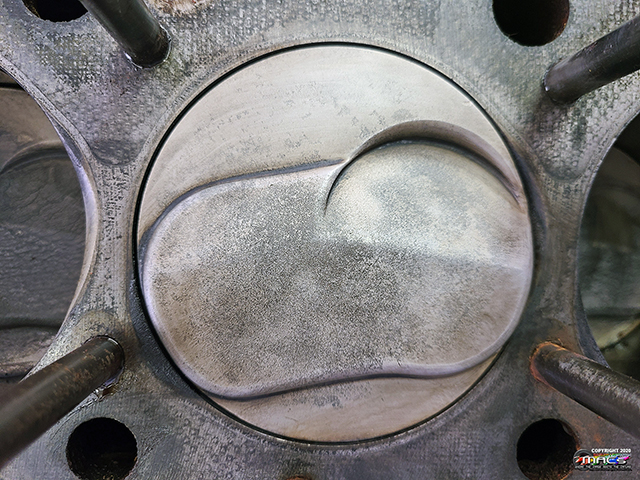
These are
Aries 427 pistons; 12.5:1 compression - needs higher octane
than pump gas for sure
The pistons clean up fairly
well - was worried when I look thru the scope and saw the cracks
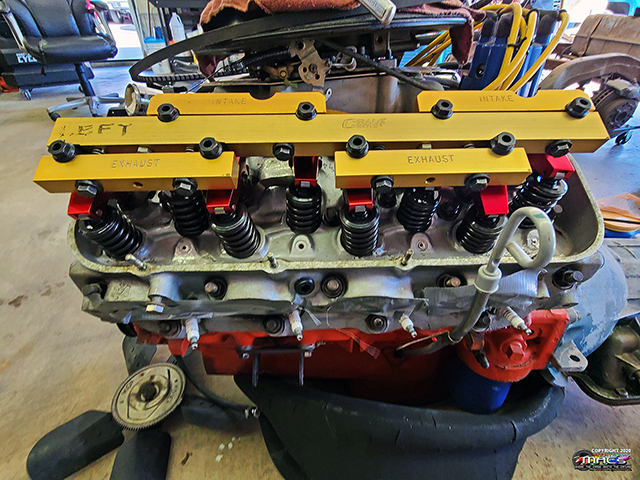
The Driver's side
head, 1.84" exhaust & 2.19" intake valves
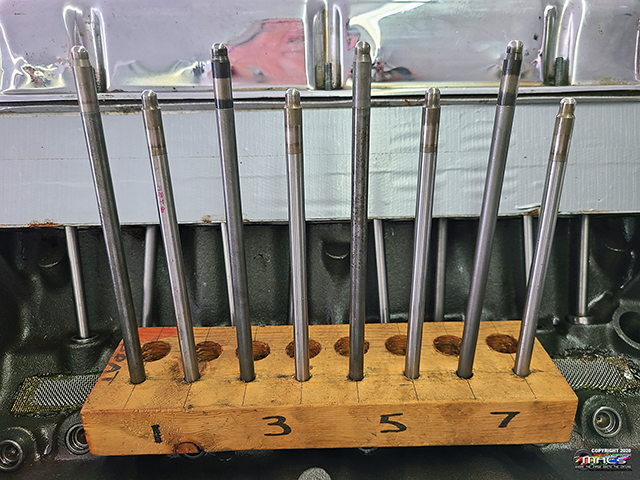
The pushrods are
different lengths
Continued Efforts on Chassis Parts -
5/18-22
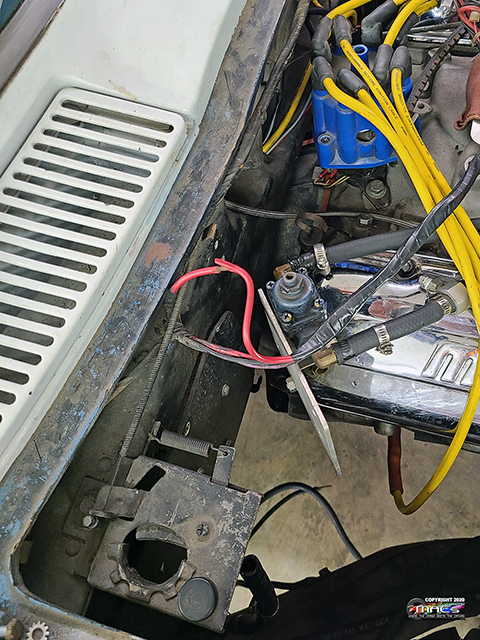
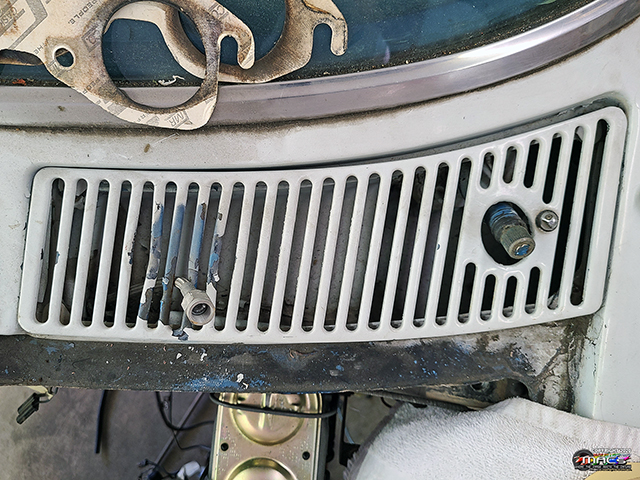
One of the former owners
had mounted an external fuel pressure gauge on the windshield
wiper grill - really distorting it.
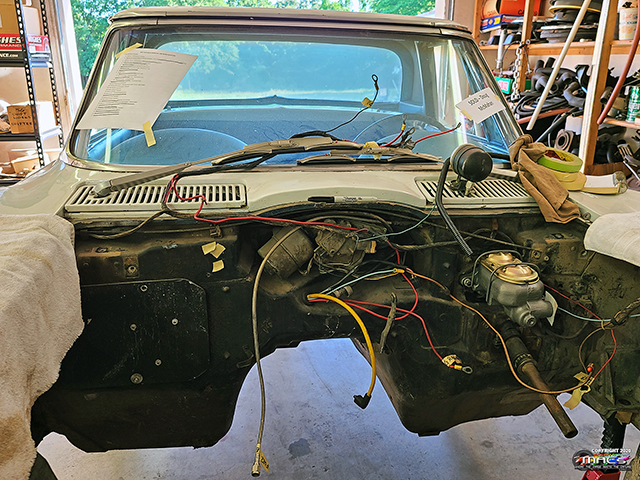
Removed the
firewall forward wiring - to start the firewall cleanup
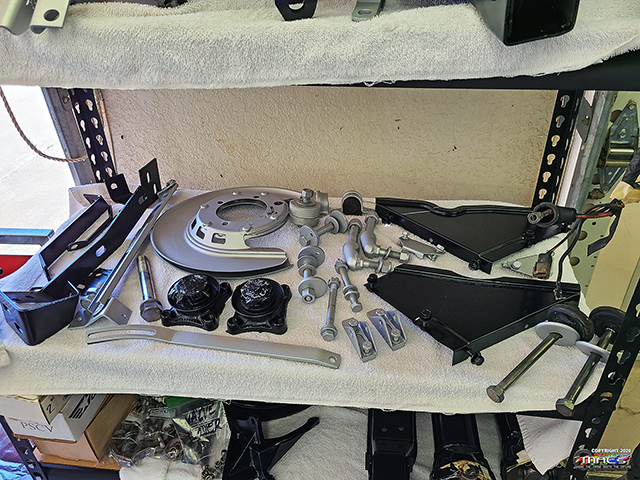
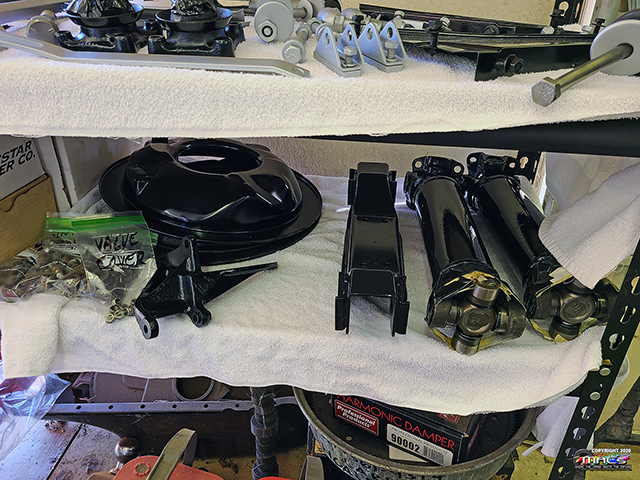
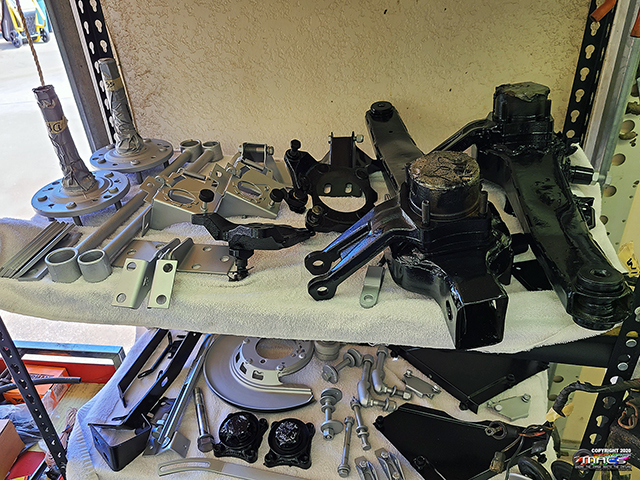
Painted several of
the parts that had been blasted, sanded, etc.
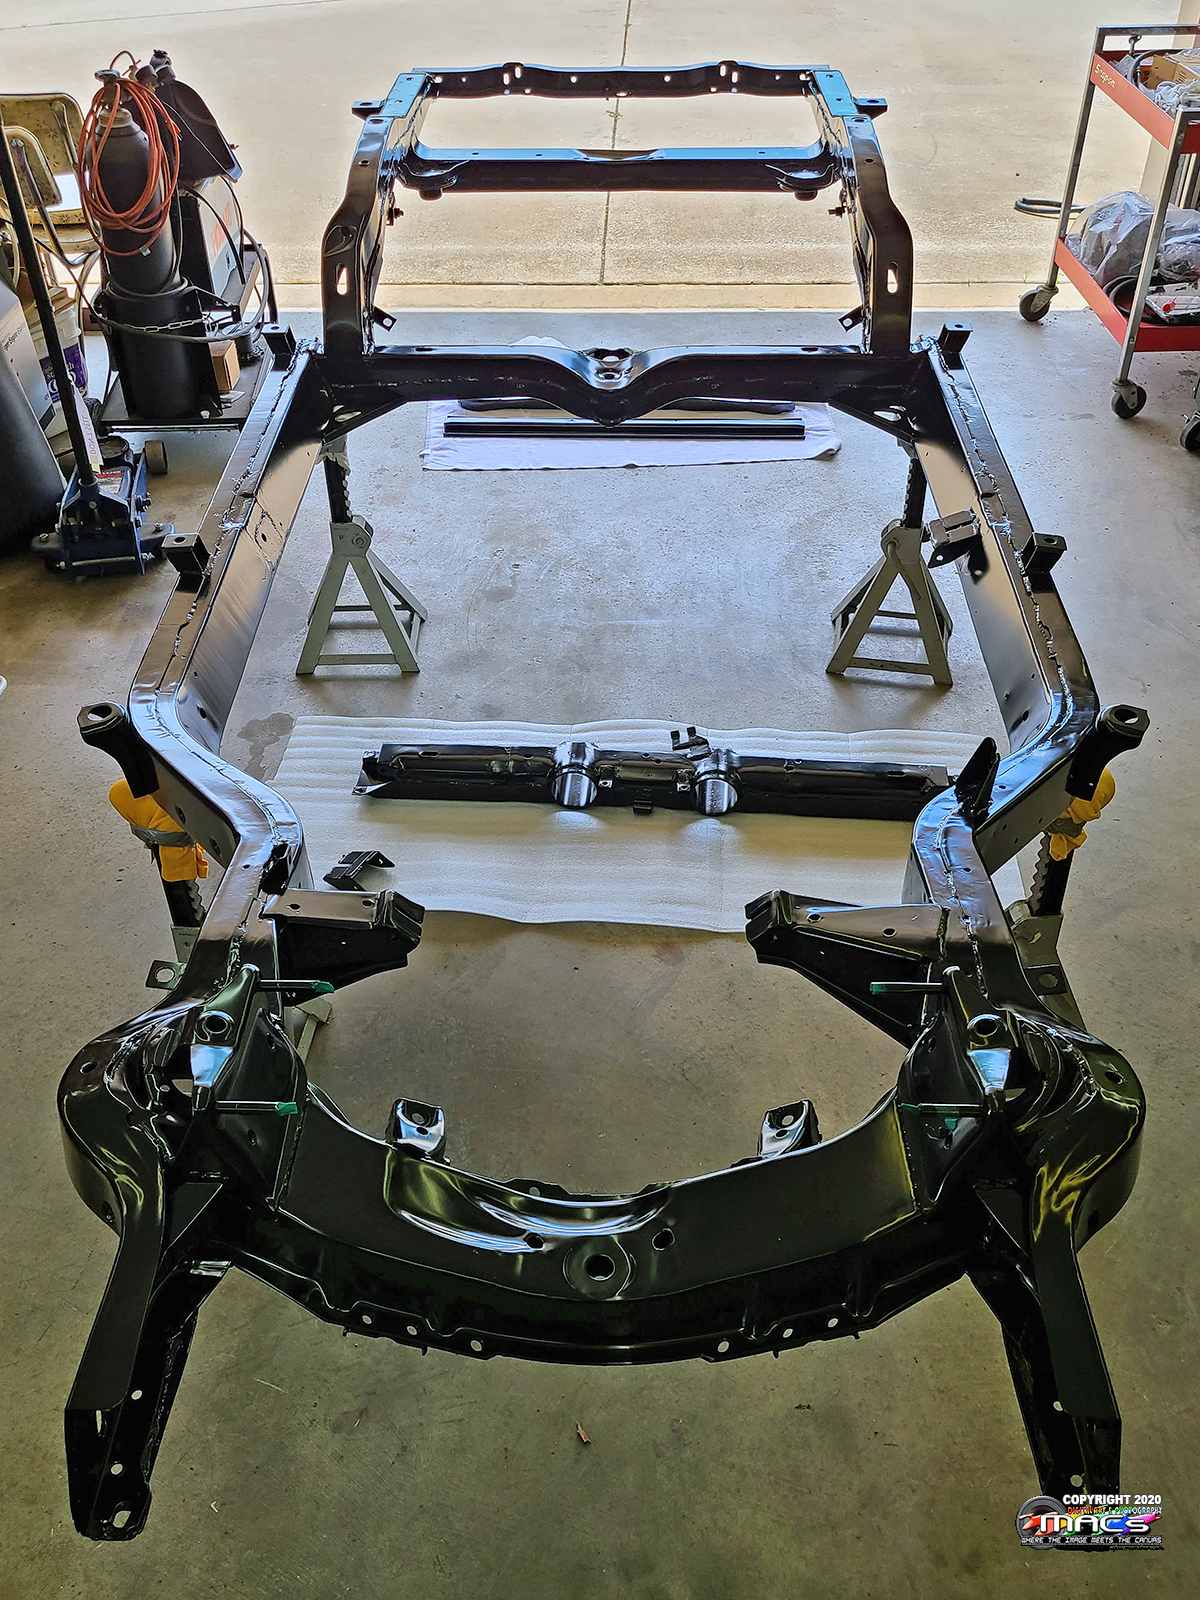
William & Jason
helped bring the frame back from the Outlaw Powdercoating today
(5/28)
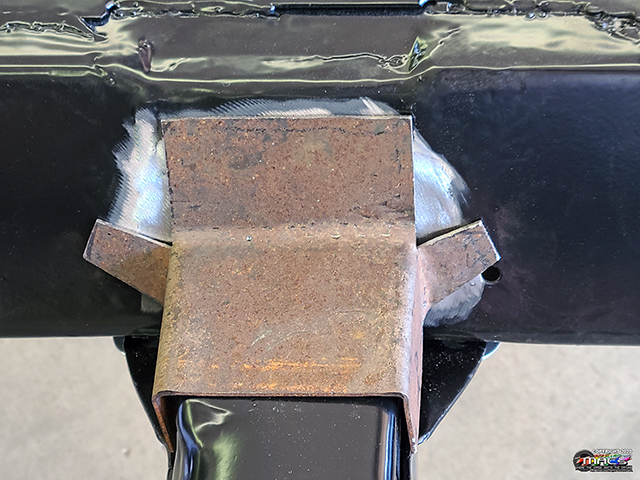
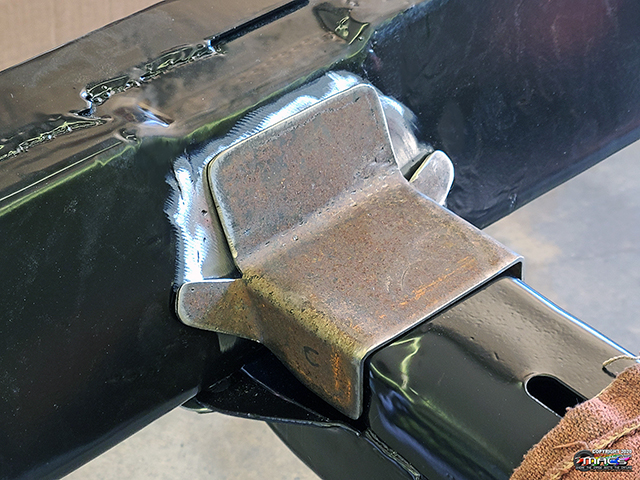
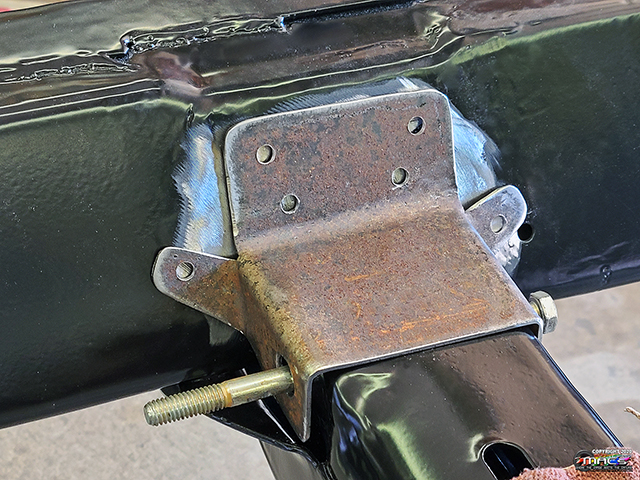
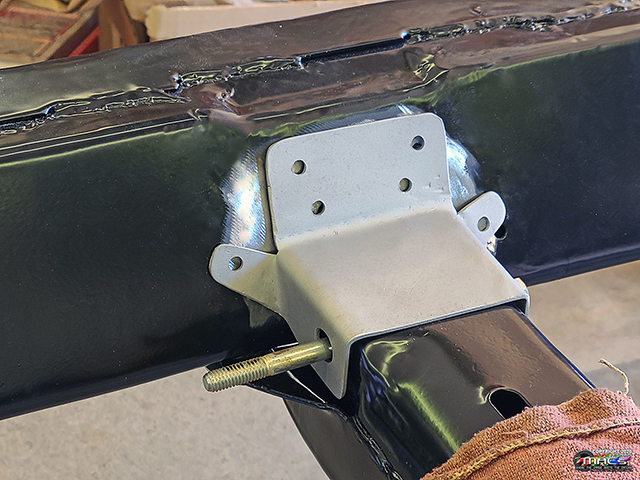
Continued Efforts on the Frame -
5/30
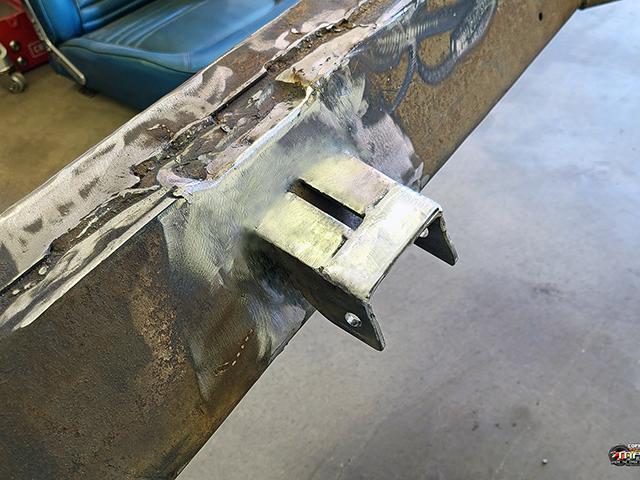
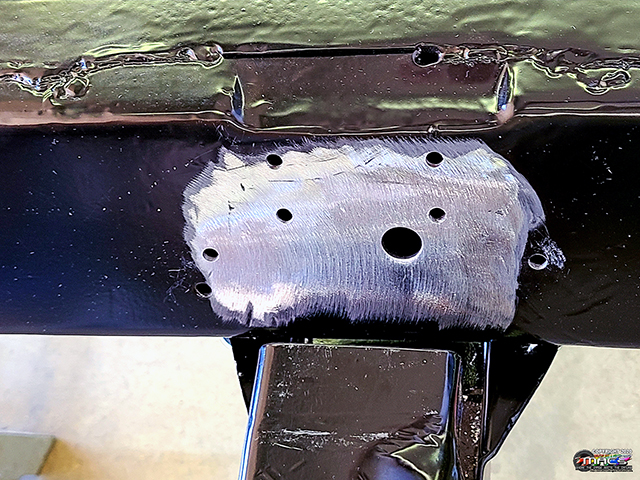
Ground off the old
crossmember bracket
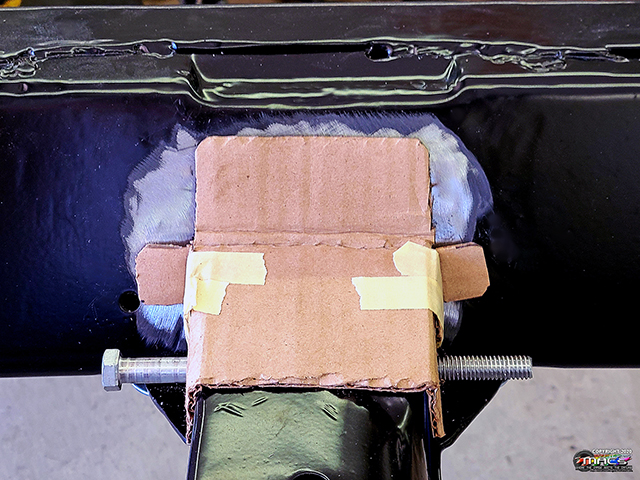
created a
cardboard template
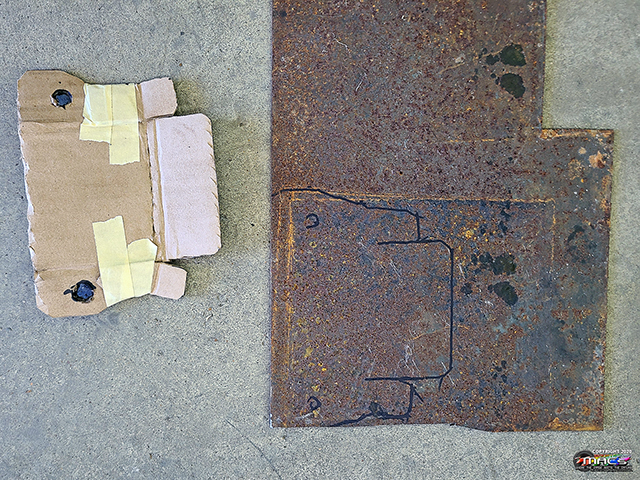
Transferred the cardboard
template to the sheet metal, followed by cutting it out
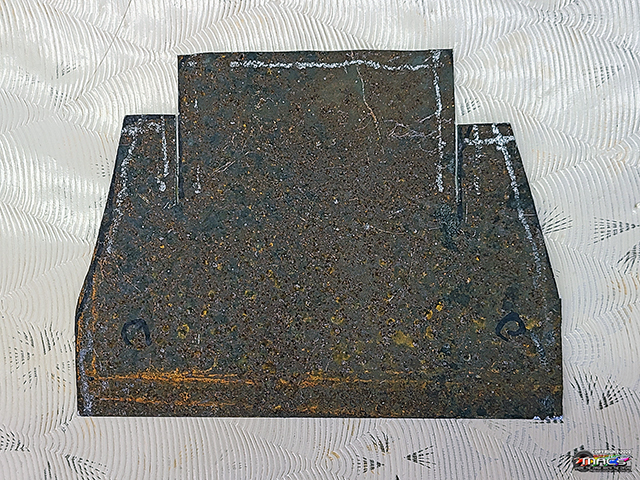
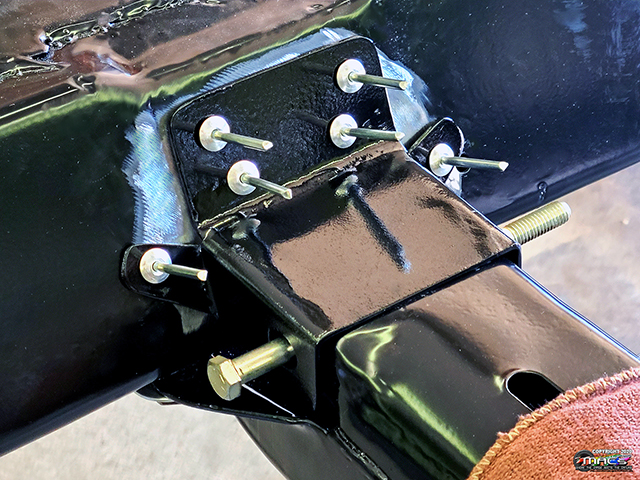
Then a series of
bends and holes to mount the bracket
The bracket has
been blasted and ready for paint
Other than
recoating the frame the bracket is ready for the steel rivets
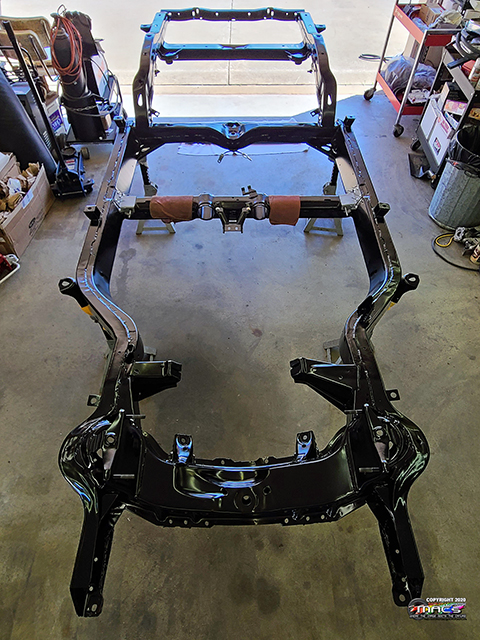
The frame is
taking shape
Started mounting various components on the transmission
crossmember


