Additional Pages
Page 1
2 3
4 5 6 8 9
10 11 12
13 |
|
|
|
|
|
|
CONTINUATION OF THE BUILD |
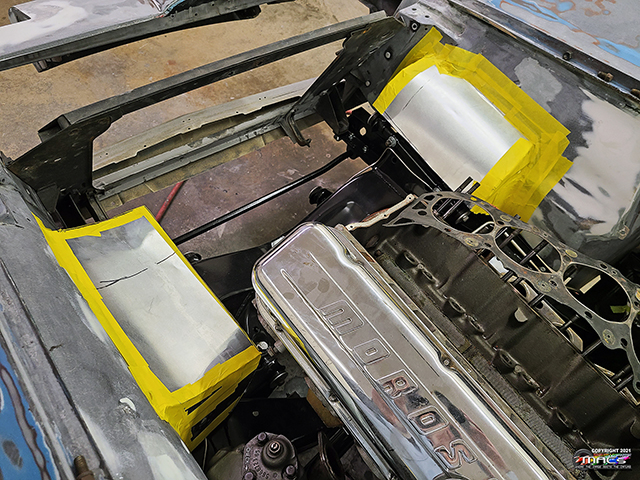
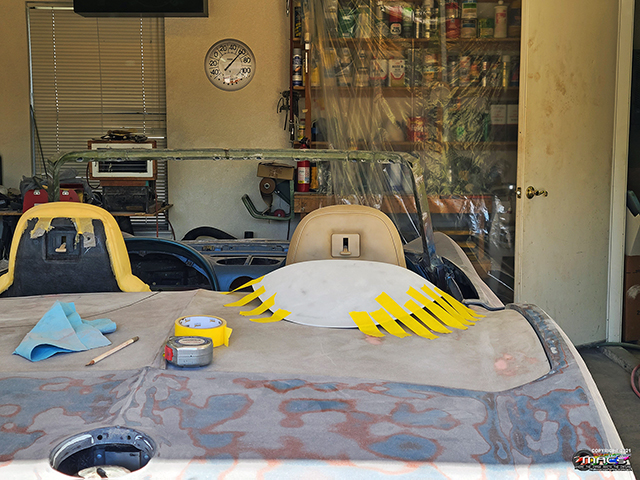
Debating on Building A-Arm
Covers - 2/09 & 2/12 |
 |
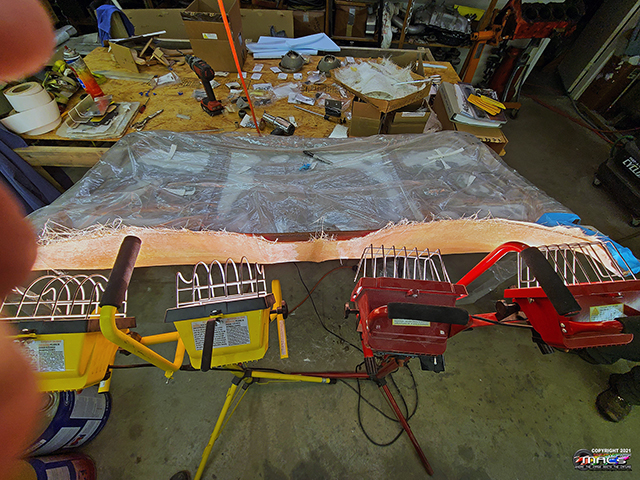
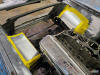
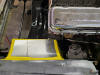
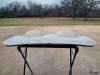
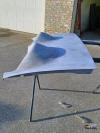
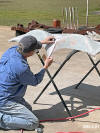
The thought was to build a nice looking cover (with fiberglass)
vs the old ugly stapled rubber dust covers - or at least to
cover those up.
This was thought #1 |
 |
|
|
 |
|
 |
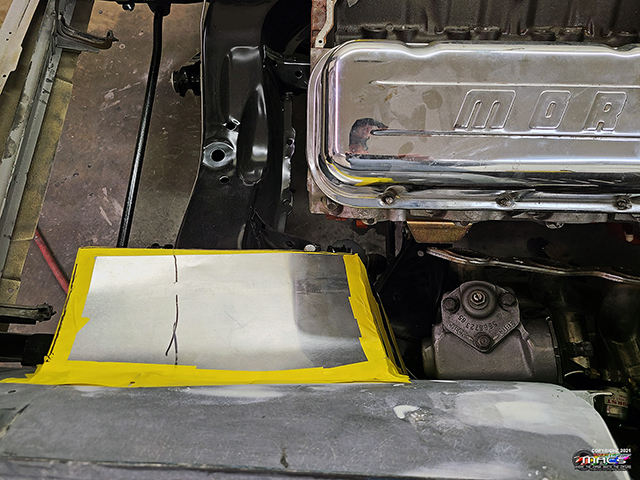
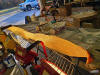
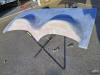
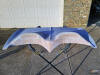
Thought #2 ...don't know that I like it either
Below - thought #1 right, #2 left |
 |
 |
 |
 |
| |
|
|
|
Back after a Week Long Artic
Blast - 2/20 |
 |
The thought was to build a nice looking cover (with fiberglass)
vs the old ugly stapled rubber dust covers - or at least to
cover those up.
This was thought #1 |
 |
|
|
 |
|
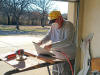 |
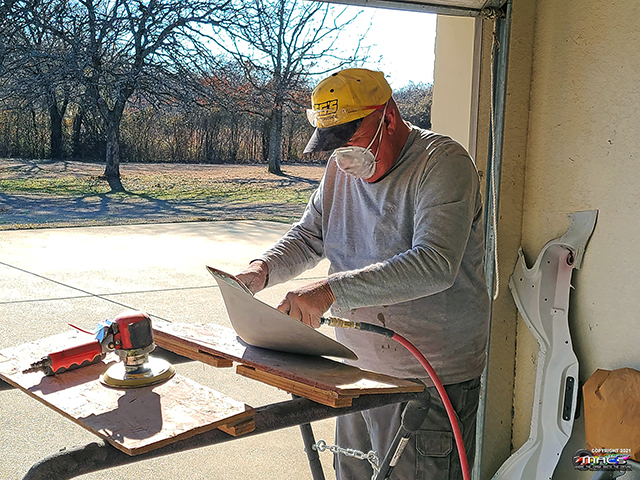
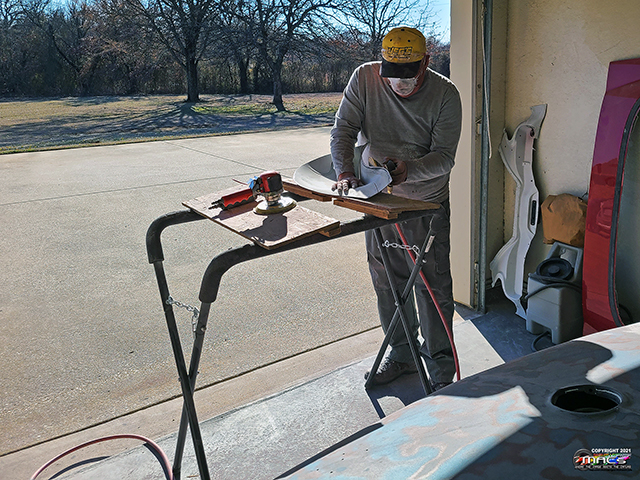
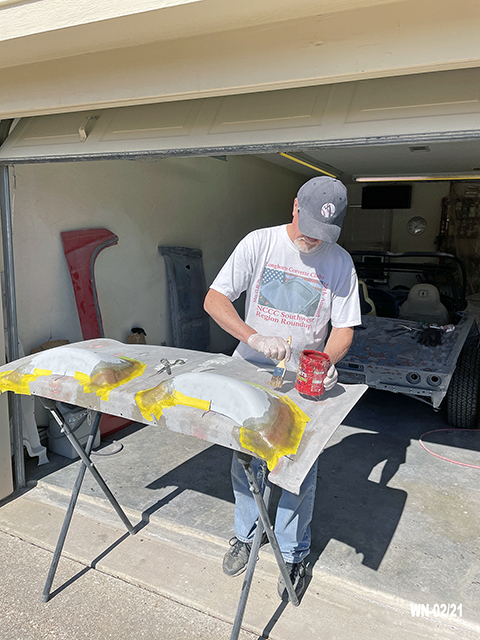
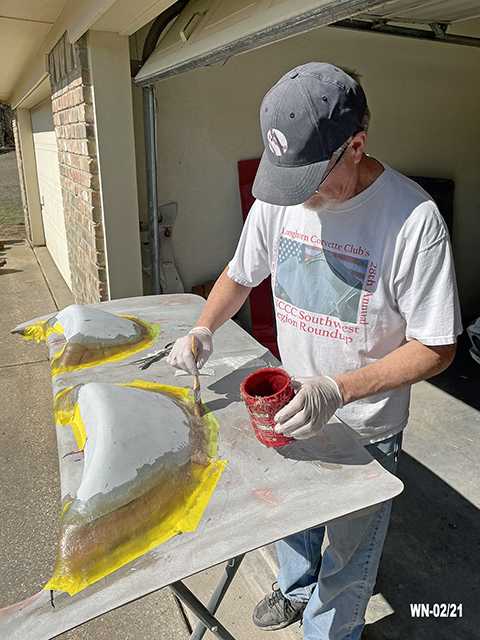
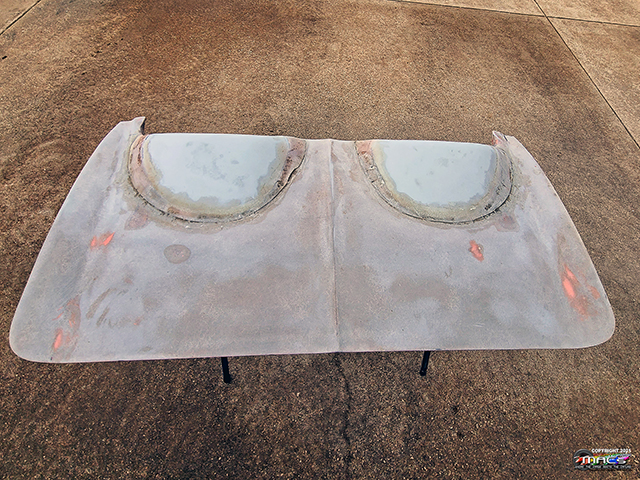
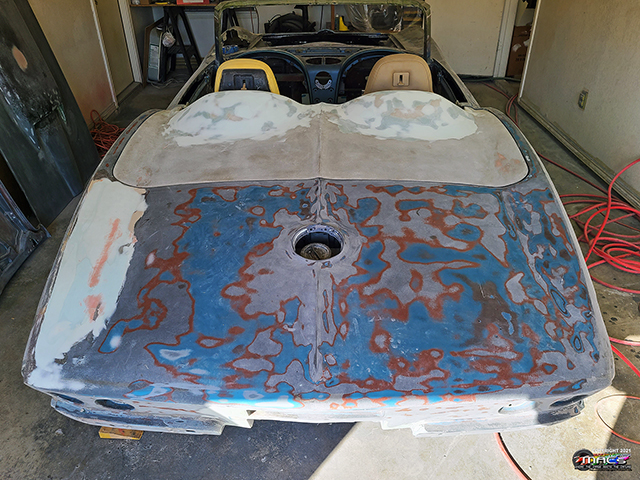
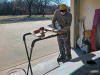
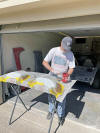
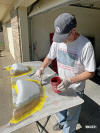
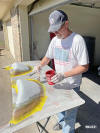
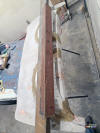
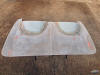
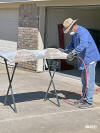
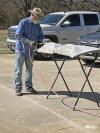
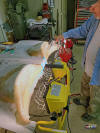
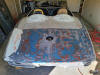
William stripping paint off the C6 decklid humps |
 |
| |
|
|
|
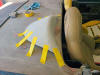 |
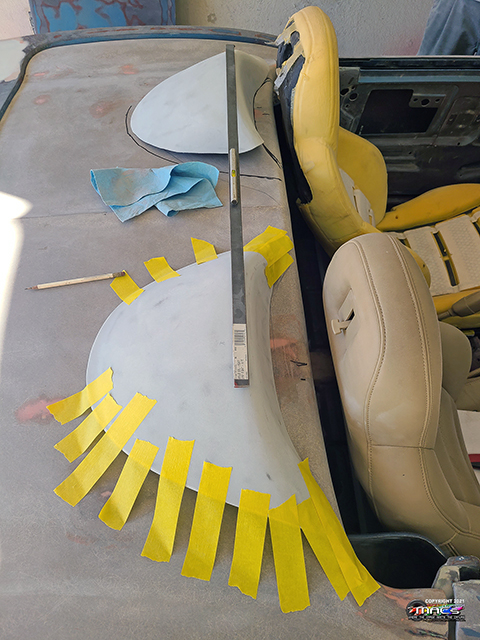
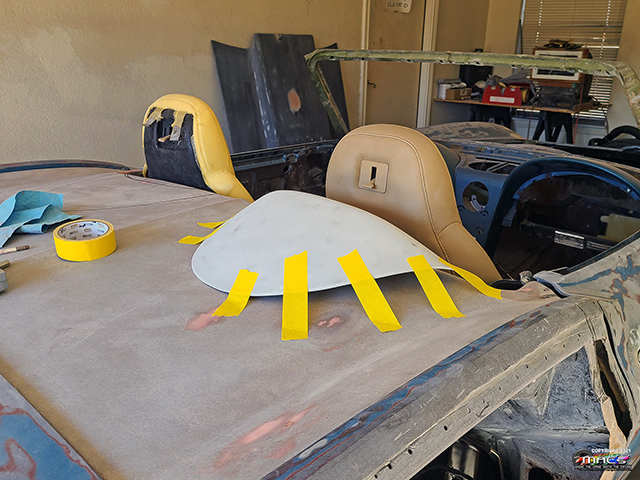
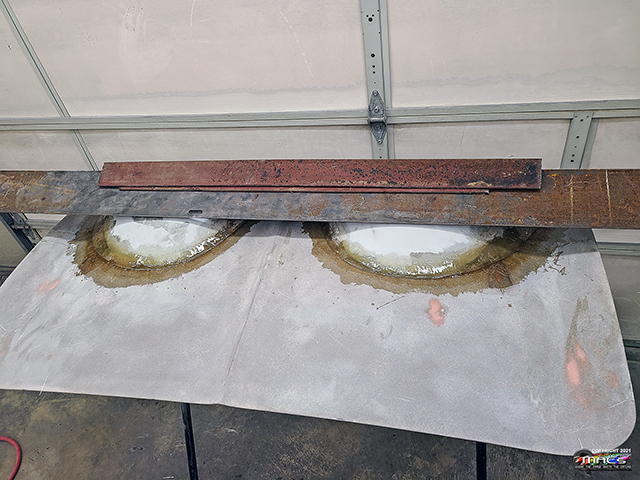
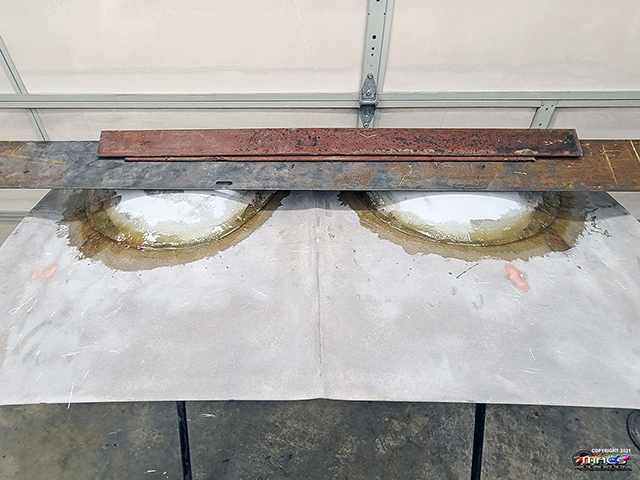
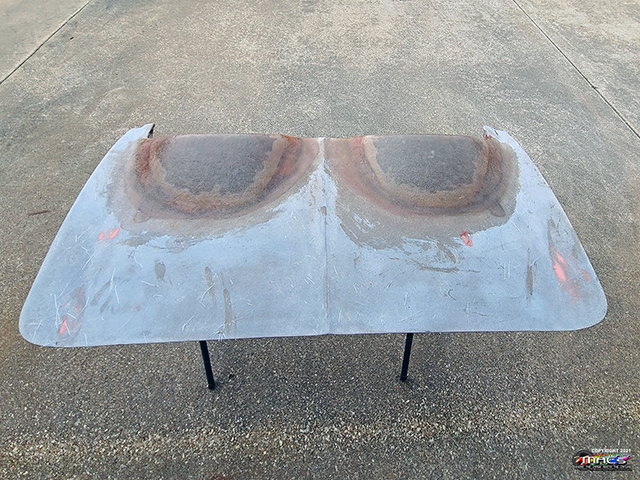
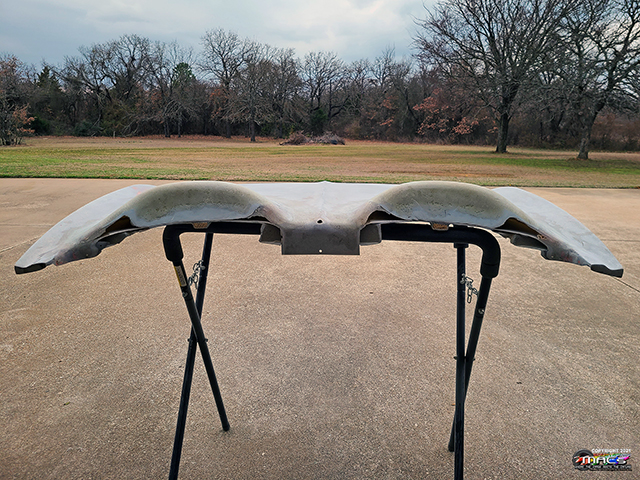
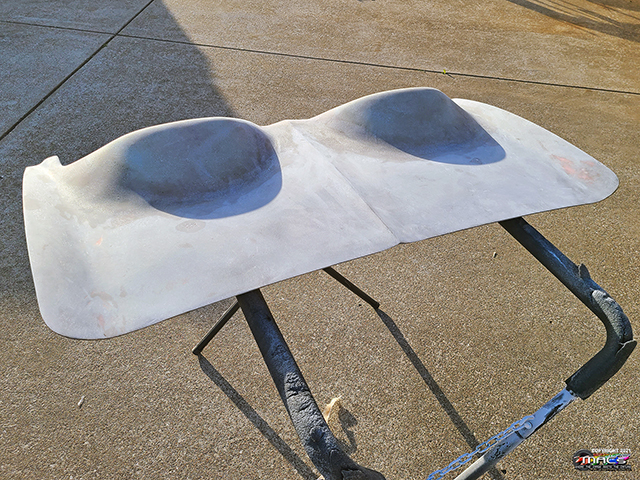
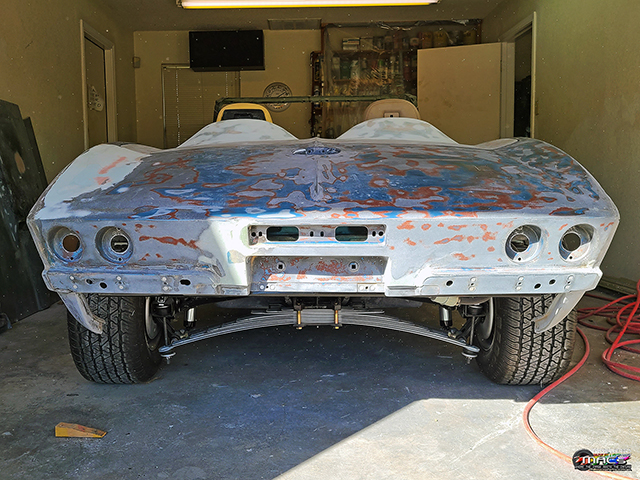
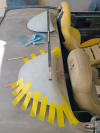
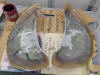
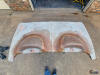
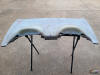
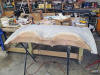
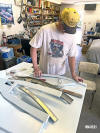
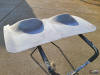
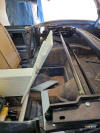
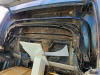
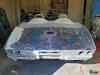
The decklid humps were trimmed, everthing measured and fitted -
to see how the modified shape would look |
 |
| |
 |
 |
|
| |
|
|
|
More Decklid Efforts - 2/21-23 |
 |
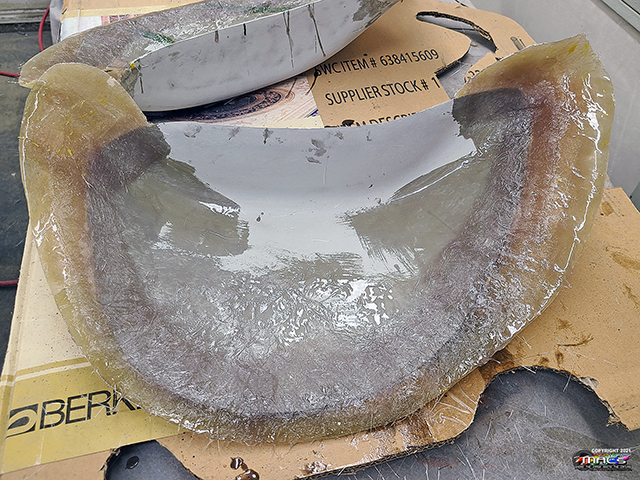
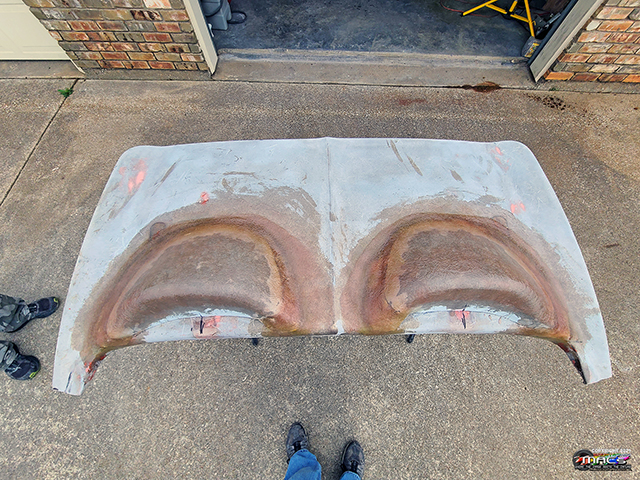
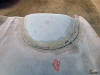
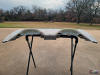
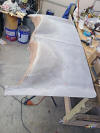
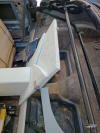
After triming the humps, we extended the sides down to match up
to the deck lid. This was not to affix the humps to the deck lid
- that will come later |
 |
|
|
 |
|
 |
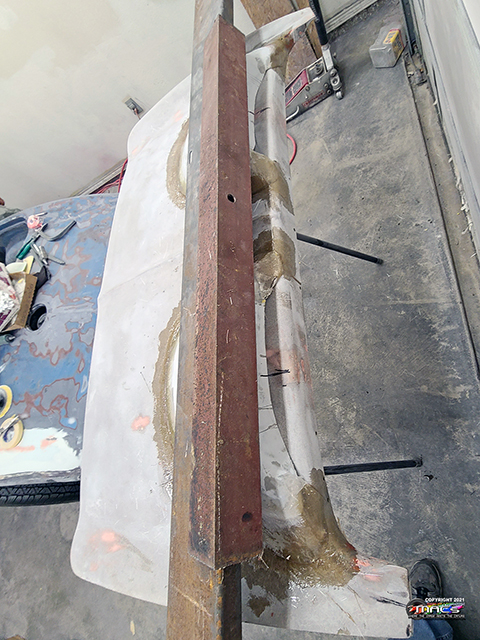
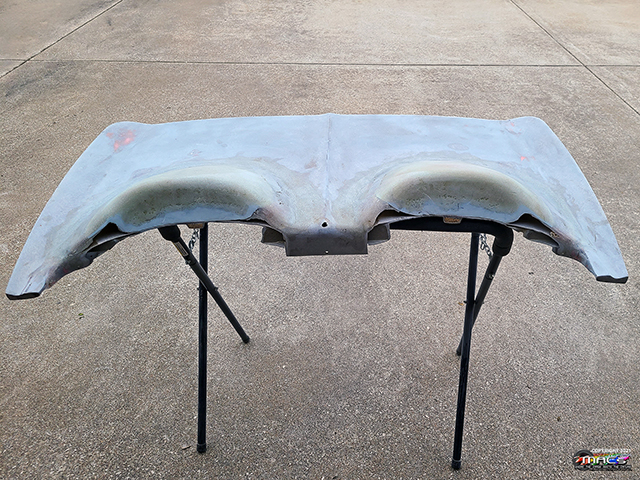
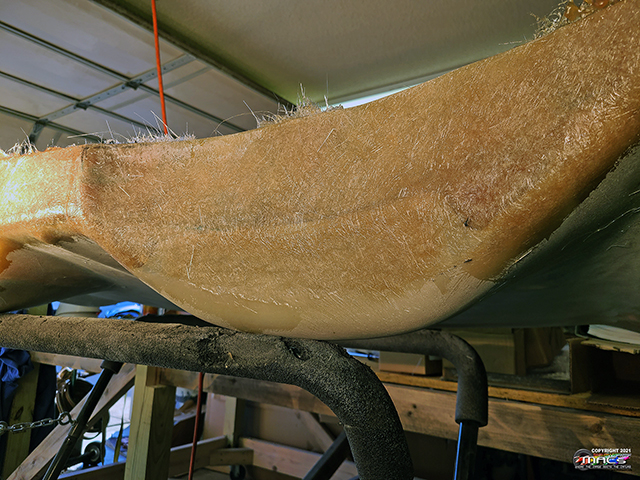
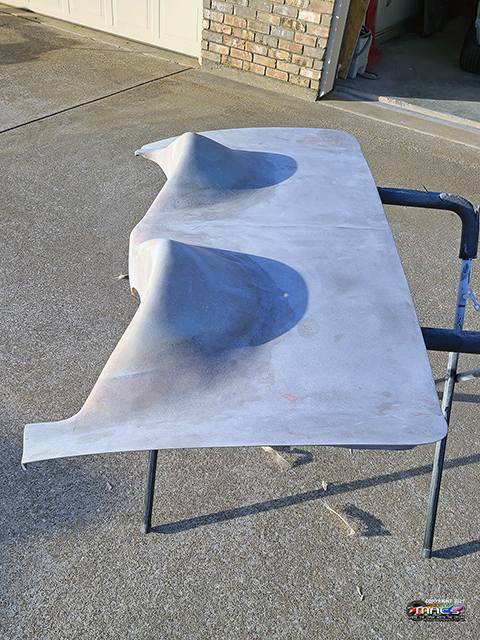
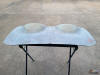
There was a layer of fiberglass added to the inside |
 |
| |
|
|
|
 |
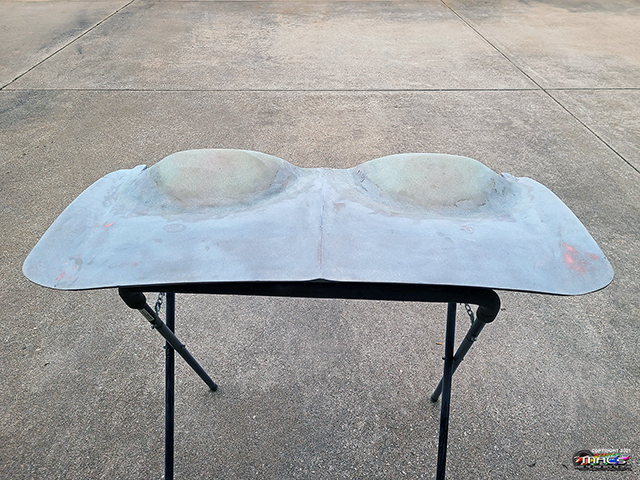
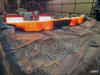
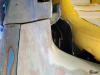
the humps were then
bonded to the decklid |
 |
 |
| |
|
|
|
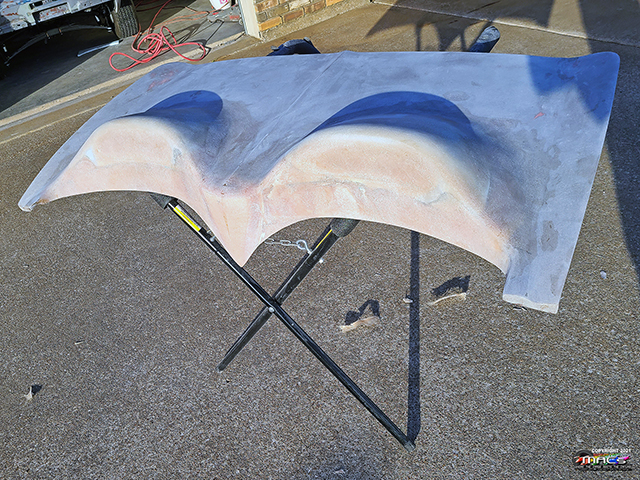
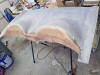
More Decklid Efforts - 2/28 |
 |
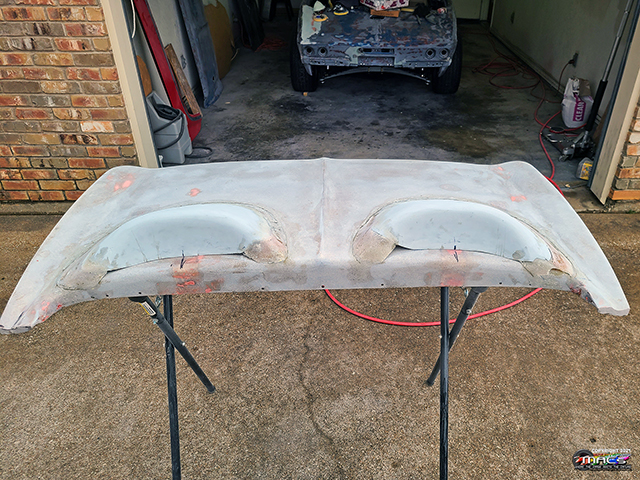
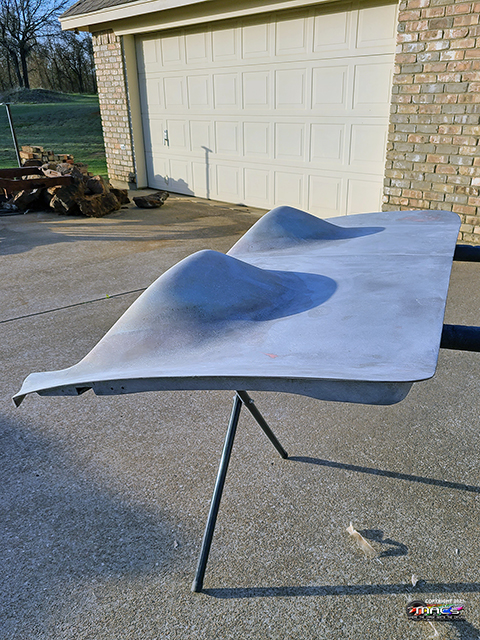
Ground the areas around the humps down to start with layering
fiberglass on top |
 |
 |
|
|
|
|
 |
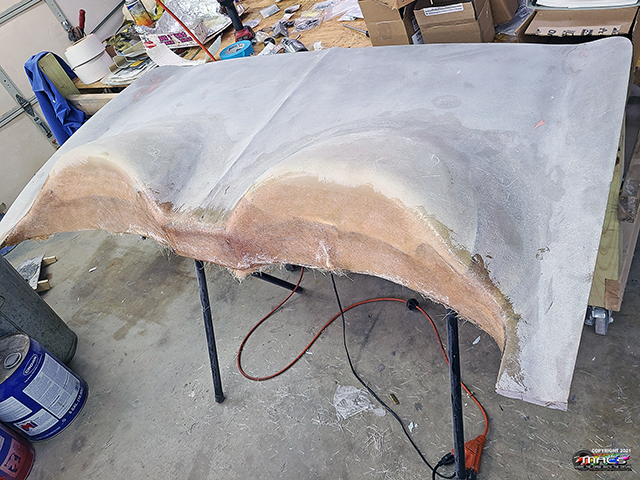
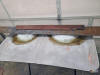
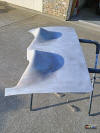
The first layers of fiberglass are layed on top of the humps &
decklid
...the areas in front of the humps will be removed |
 |
| |
|
|
|
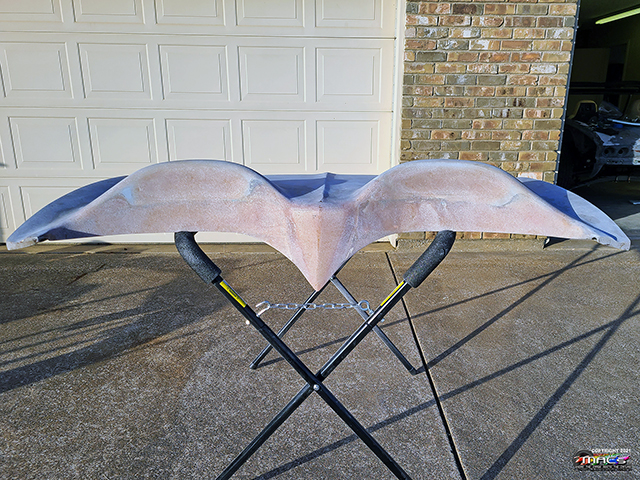
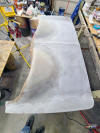
More Decklid Efforts &
Console Modeling - 3/7 |
 |
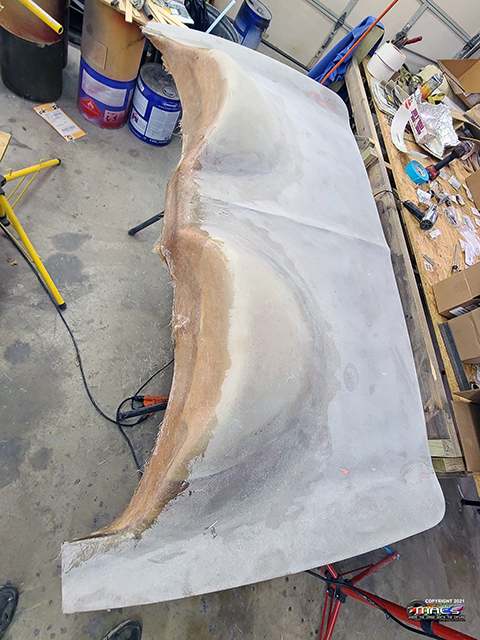
time to grind off the exposed rough areas from attaching the
humps to the decklid |
 |
|
|
|
|
 |
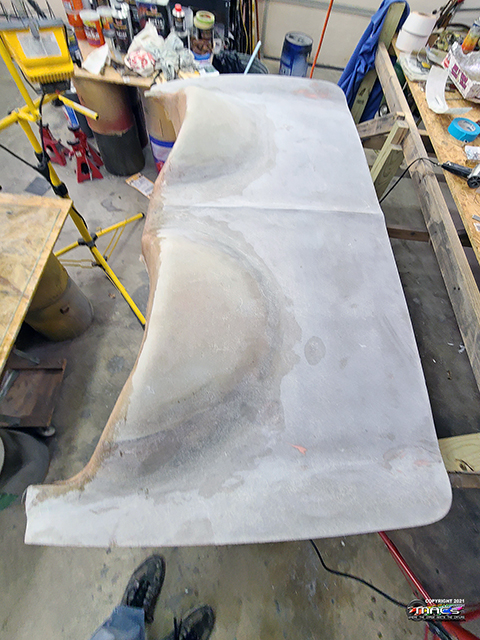
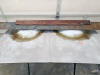
The first layer of fiberglass is ground - you can start seeing
the shape of the finished decklid |
 |
|
|
 |
 |
|
|
|
|
|
 |
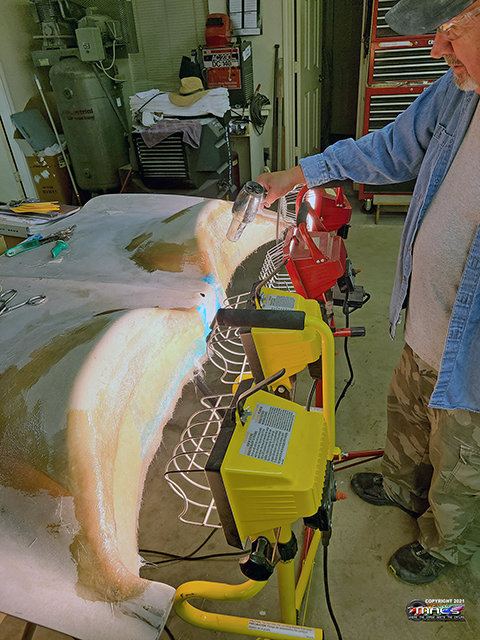
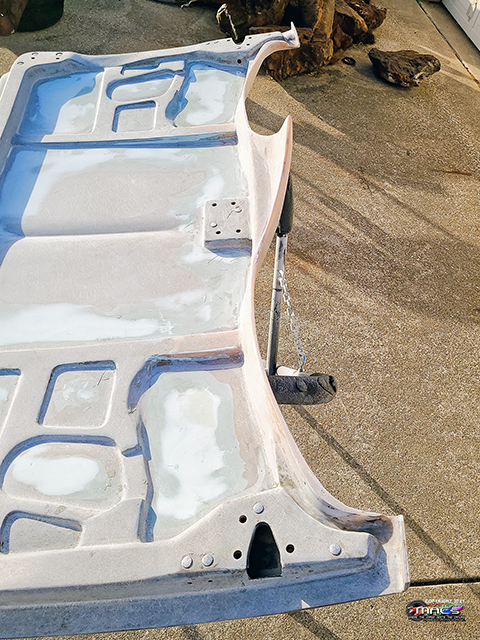
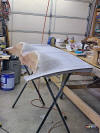
we laid the initial fiberglass on the backside of the
decklid and put the heat lamps on it |
 |
|
|
|
|
 |
More griding and glass work on the hump faces |
 |
 |
 |
 |
 |
 |
|
|
|
|
 |
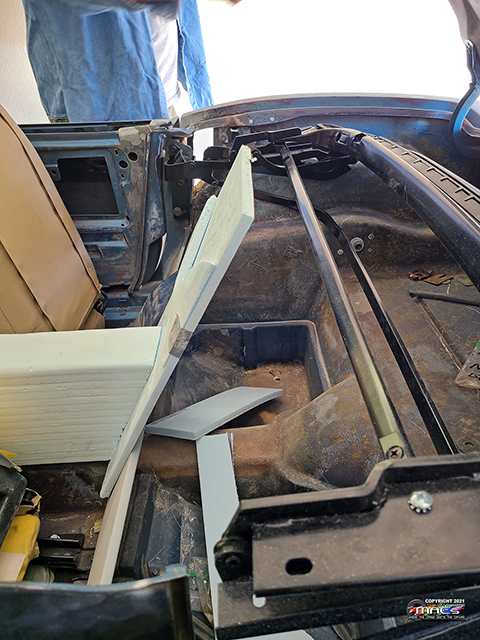
While
the next layers of fiberglass is drying, we turned our attention
to building foamboard mockups of thoughts I had for the console |
 |
| |
|
|
|
 |
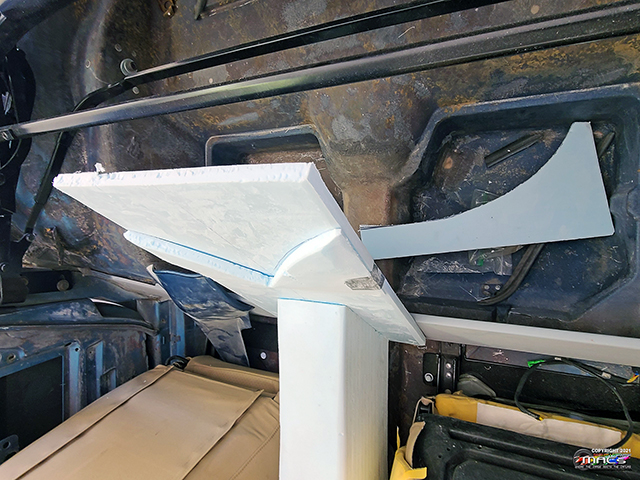
Very rough shapes - from the dash console area, the armrest
console and a waterfall up to the decklid |
 |
 |
 |
 |
| |
|
|
|
More Console Modeling &
Decklid Efforts - 3/8 |
 |
Additional shaping of the center console mockup |
 |
|
|
 |
|
 |
the next layers of fiberglass have been added to the back of the
hump faces |
 |
| |
|
|
|
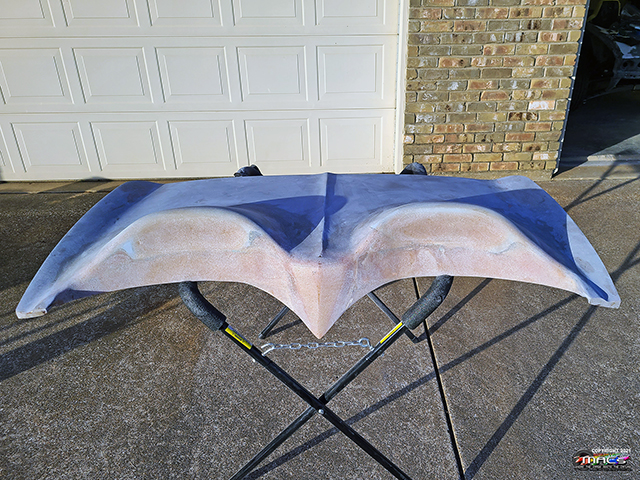
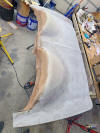
More Console Modeling &
Decklid Efforts - 3/9,12,14,15 |
 |
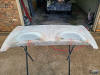
The decklid is taking shape ...the humps are moulded in, the
front is smoothed aout and flowing into the lip that will
overlap with the waterfall |
 |
 |
 |
 |
 |
 |
the front comes to a peak which was moulded off the nose peak |
Under the decklid is flowing nicely |
 |
|
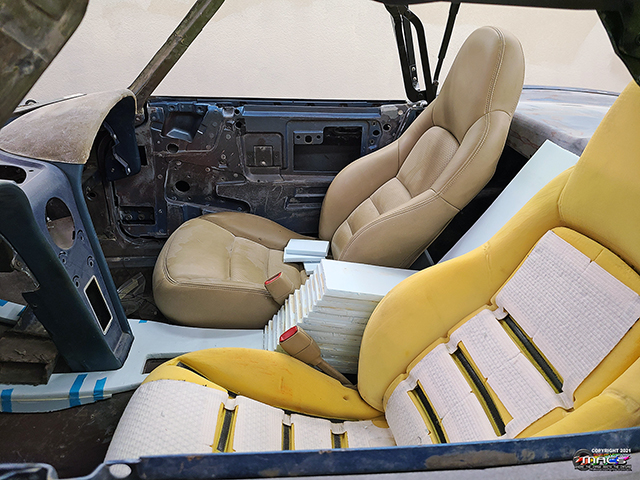
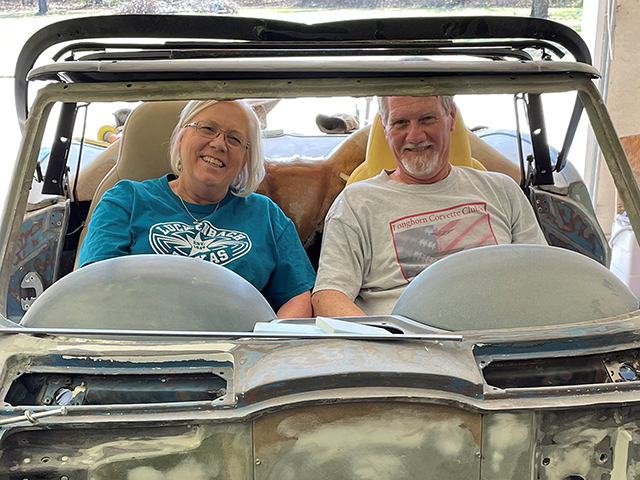
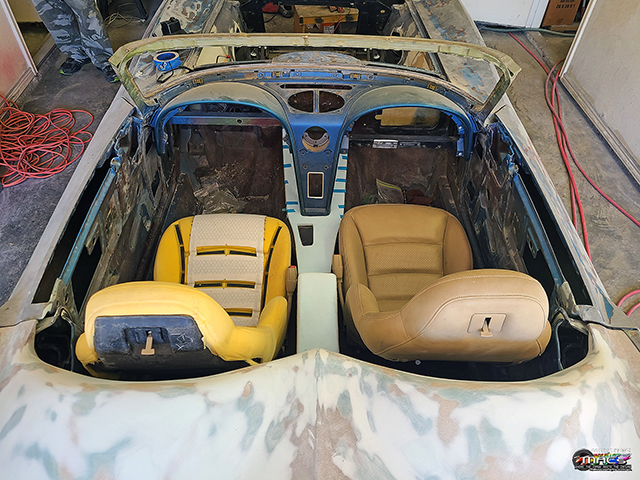
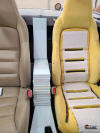
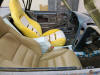
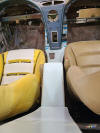
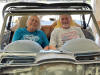
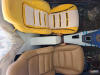
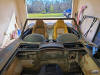
Glenda & Doug test fitting the cockpit |
 |
 |
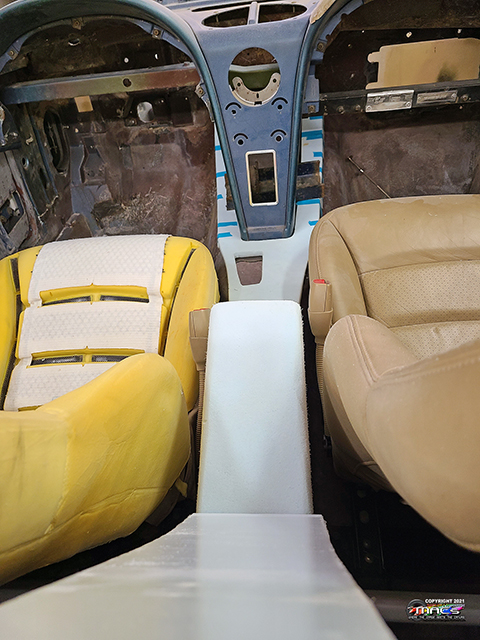
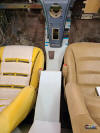
A
mockup of the console flowing into the waterfall & console |
| |
|
|
|
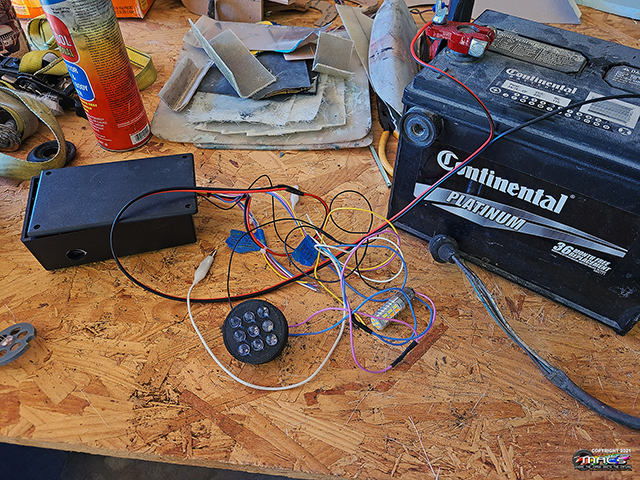
Front Driving / Turn Signal
Light - 3/18 |
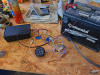 |
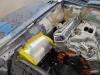
Our good friend Kevin Anthony has been doing his magic to design
and build a turn signal replacement assembly and computer that
will be a driving light, until the turn signal comes on -
prototypes shown here |
 |
|
|
|
|
|
|
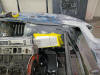
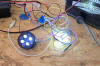
This is a "test program" that he used to simulate the driving
light, until the turn signal was activated |
 |
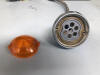 |
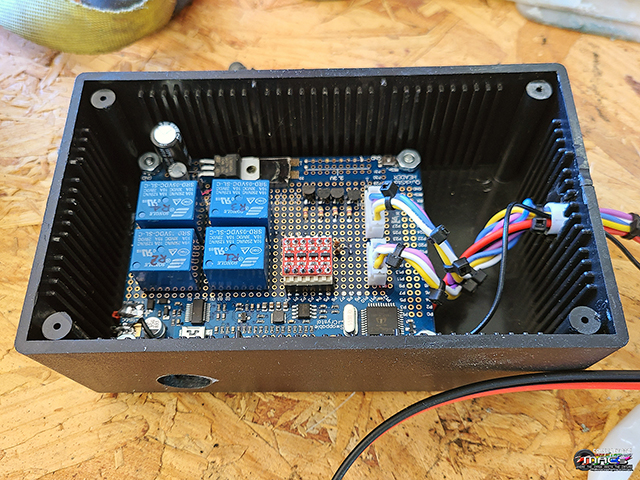
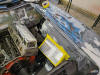
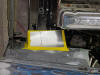
Kevin took the assembly and built a new bulb housing on a 3D
printer |
|
|
|
|
|
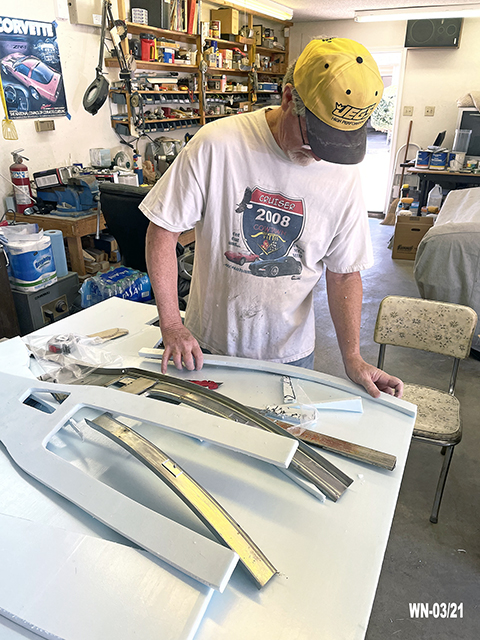
Back on the Decklid - 3/21 |
 |
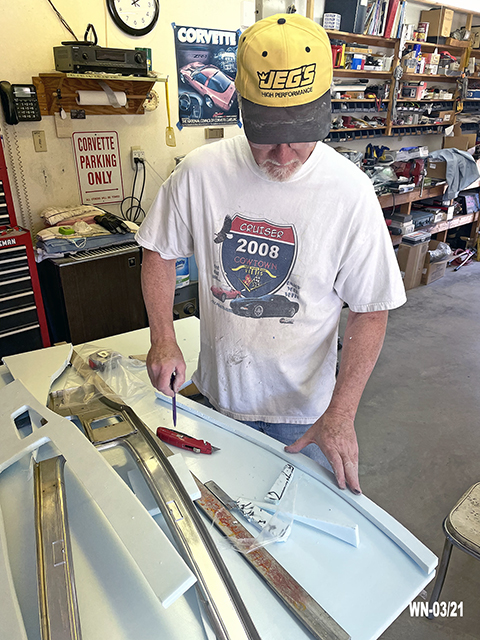
Detail work on the front of the decklid ...measuring and marking
the shape.
The point on the decklid face is a replica of the point on the
nose of the C2 |
 |
|
|
|
|
|
|
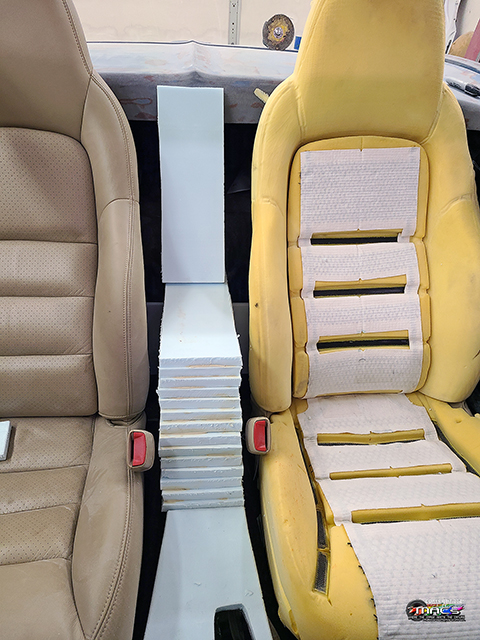
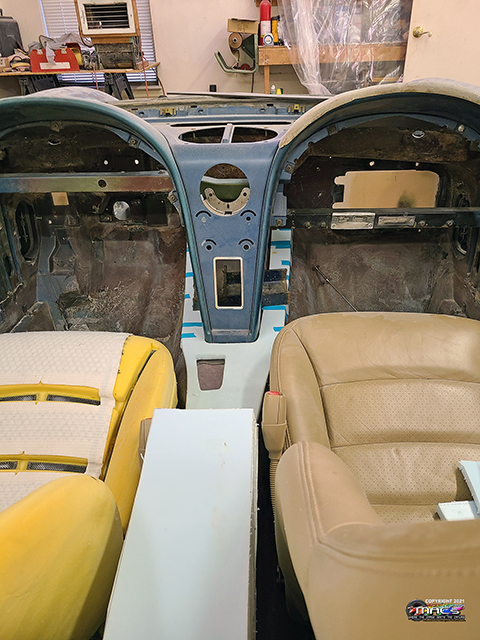
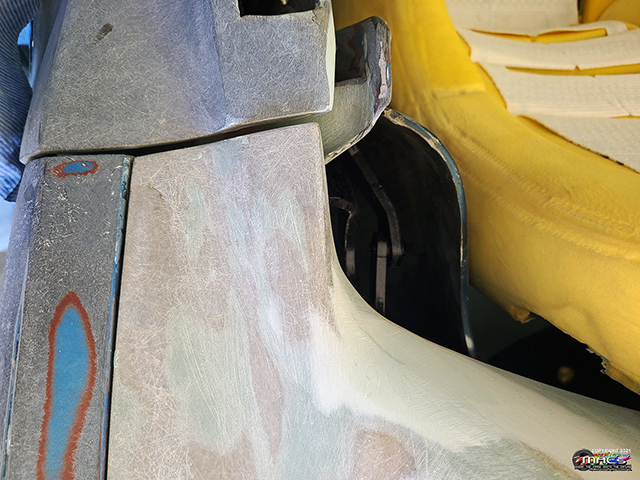
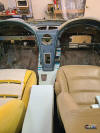
A view down from the top view ...with the proposed waterfall &
console |
 |
 |
A view of the console from above the decklid |
|
|
|
|
|
 |
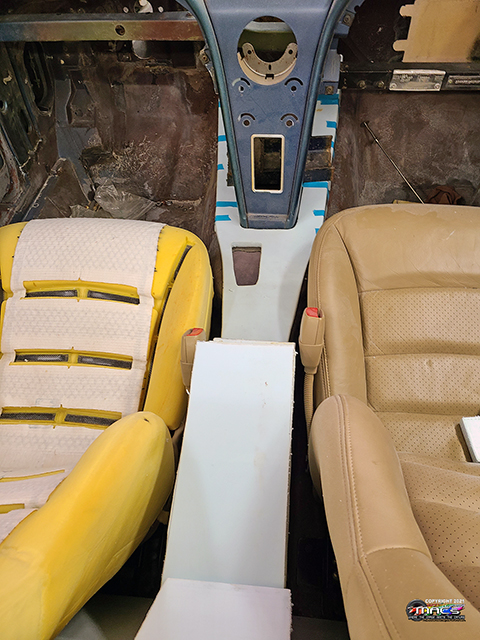
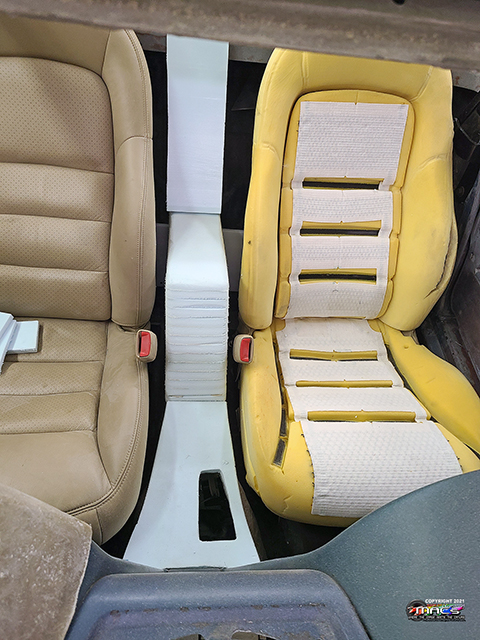
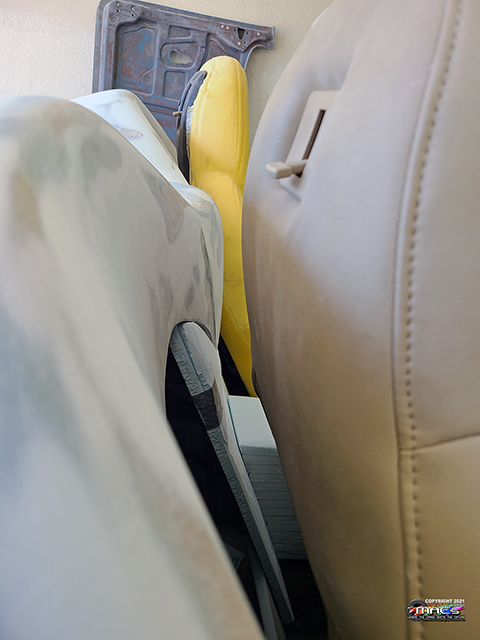
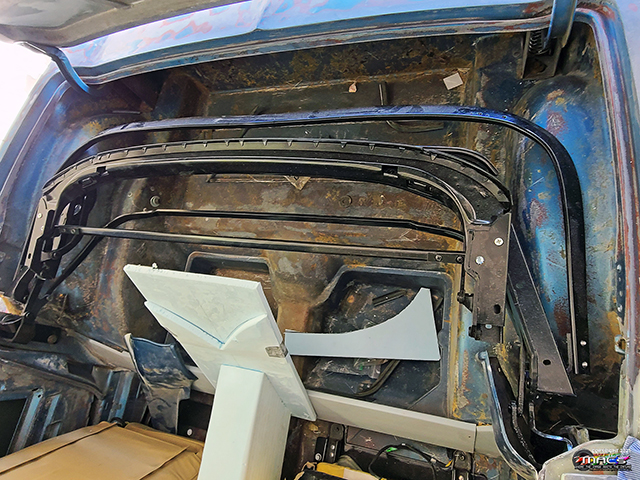
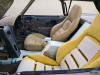
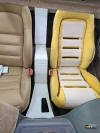
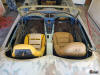
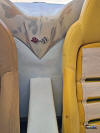
A view of the decklid humps - the
spacing behind the seat to show clearance. Nice to have the
extra space to slide the seat back |
 |
 |
 |
 |
 |
| |
|
|
|
 |
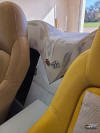
The simulated waterfall,
beind the console
the decklid would actually have the latch mechanism that will
lock the decklid in place |
 |
| |
 |
 |
|
| |
|
|
 |
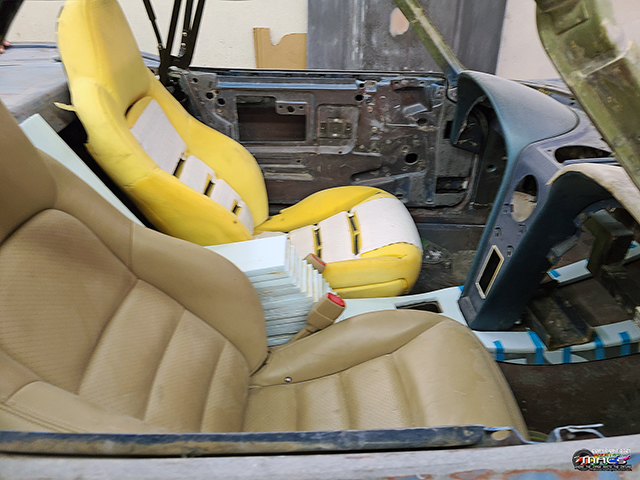
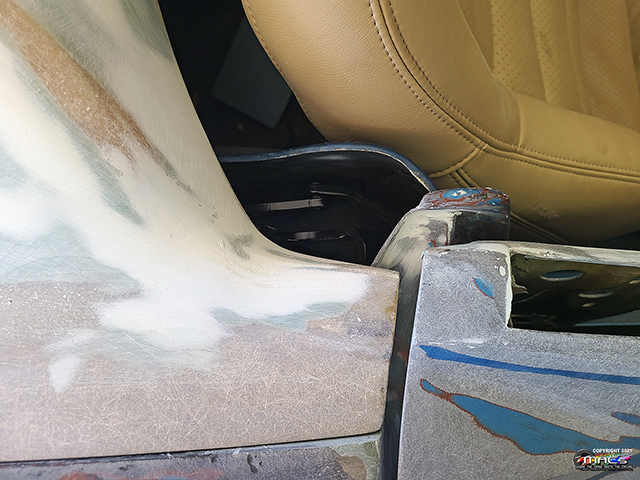
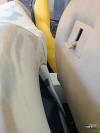
The decklid has some gap
and line-up issues that will need to be addressed |
 |
| |
|
|
|
 |
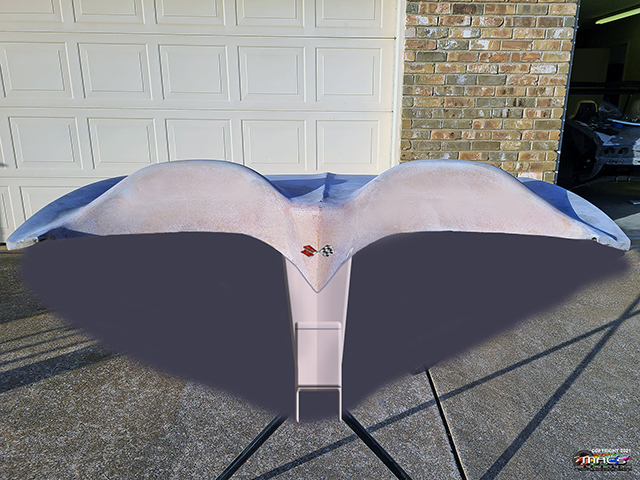
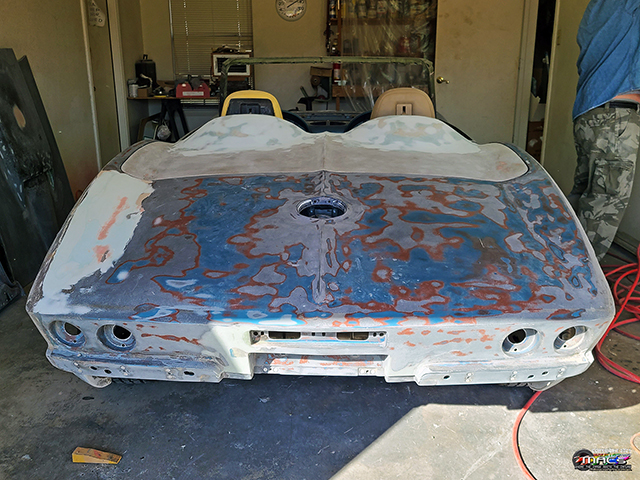
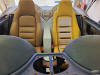
A view of the decklid &
humps from the rear of the car |
 |
 |
| |
|
|
|