Additional Pages
Page 1
2 3
4 5 6 7
8 9 10 11 12
13 |
|
|
|
|
|
|
CONTINUATION OF THE BUILD |
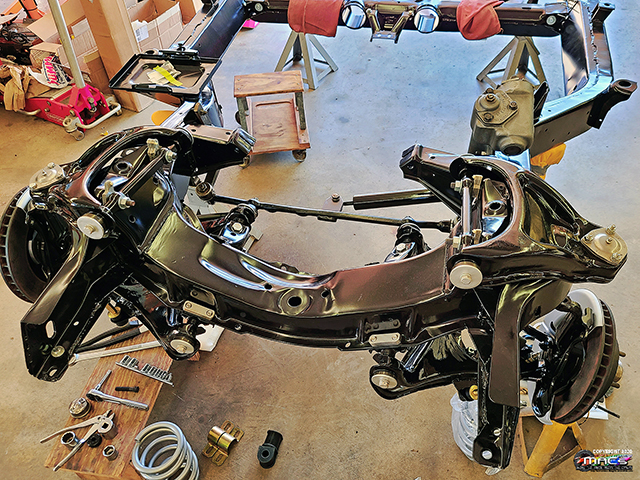
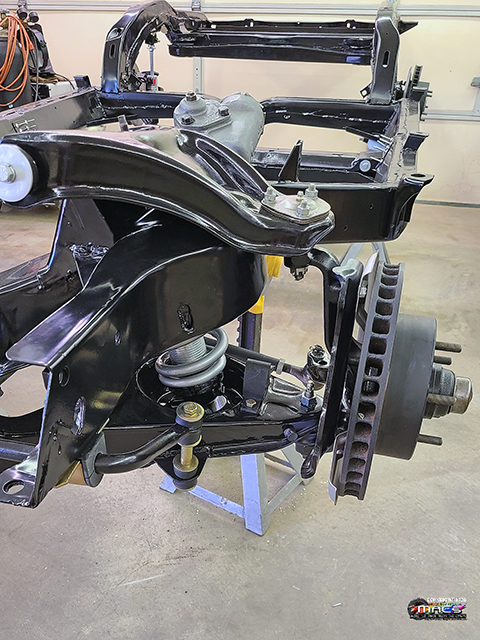
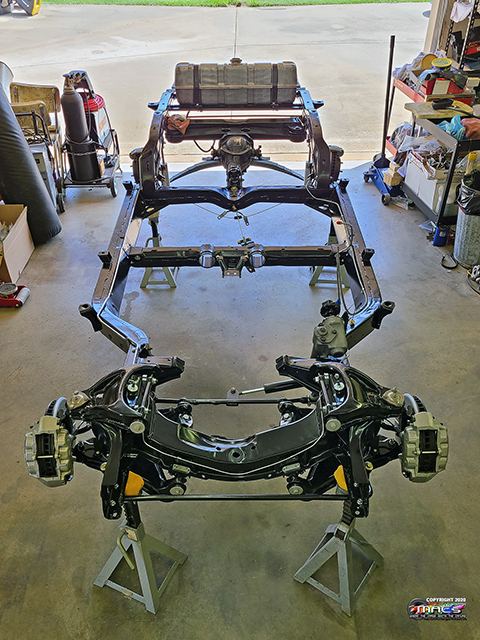
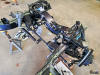
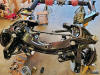
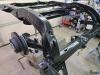
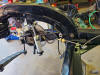
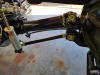
Front Suspension coming along
- 6/15 |
 |
 |
Eventually we would like tubular control arms and some enhanced
suspension compontents - those can be done later with the
body on. |
 |
|
|
|
|
|
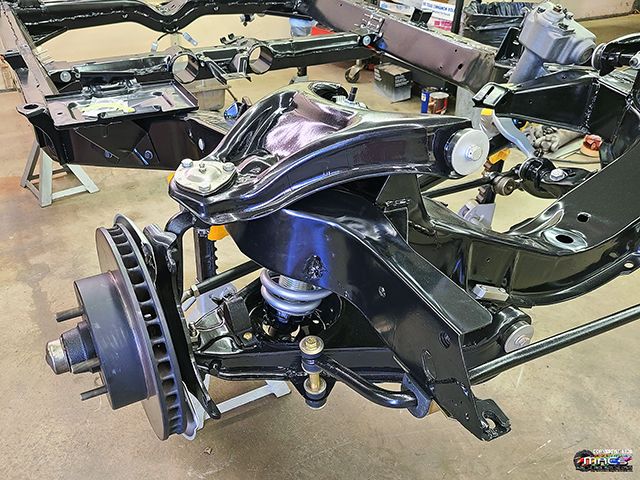
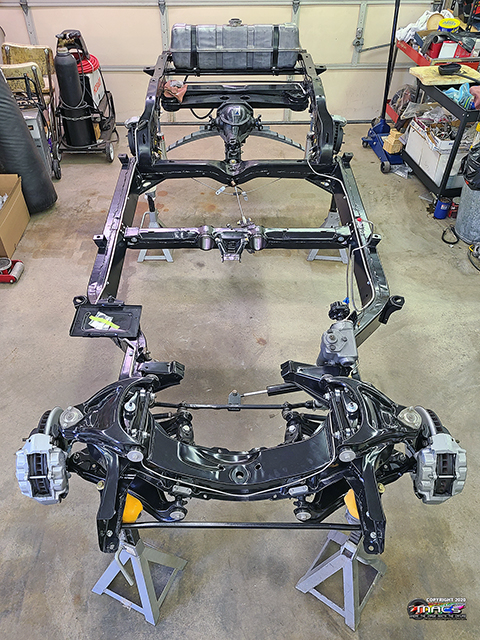
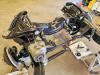
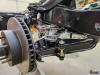
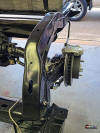
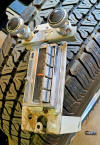
More work on the front ...QA1
Coil-overs, etc. |
 |
 |
 |
 |
|
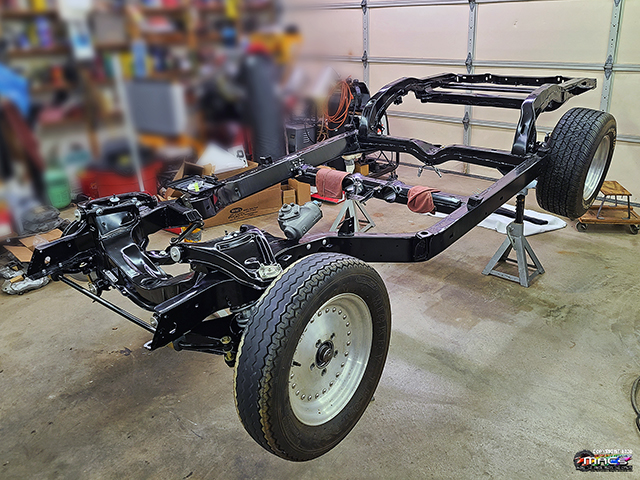
Wheel / Tire Mock-Up ;) |
QA1 Coil-Overs Mounted |
Front Suspension almost complete |
|
|
|
|
|
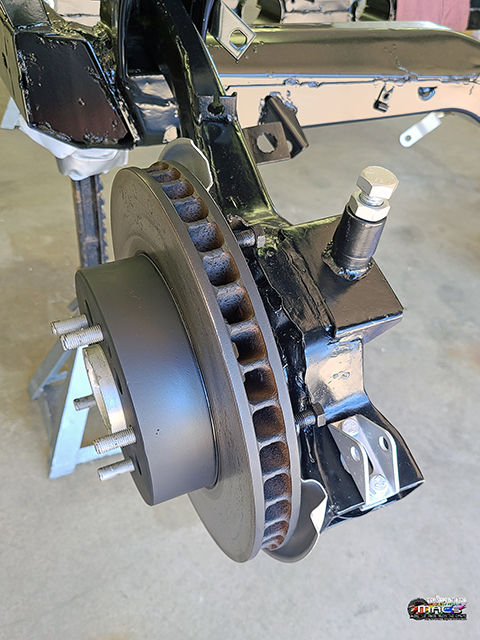
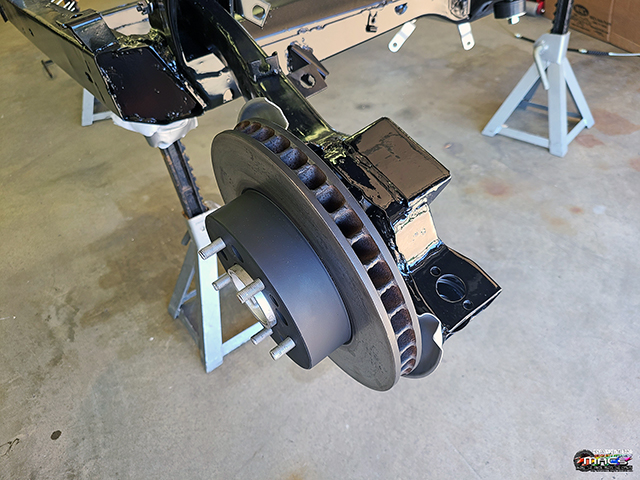
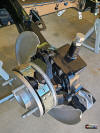
Rear Brakes / Trailing Arms |
 |
 |
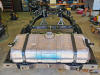
Time to remove the old Drag-Race solid bump stop so
"stock" bump stops could be utilized |
 |
|
1st time in a lot of years the car had emergency brakes ;) |
|
Bump Stop removed |
|
|
|
|
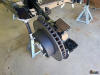
Installed
the emergency brake components & trailing arms - 6/18 |
|
|
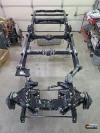 |
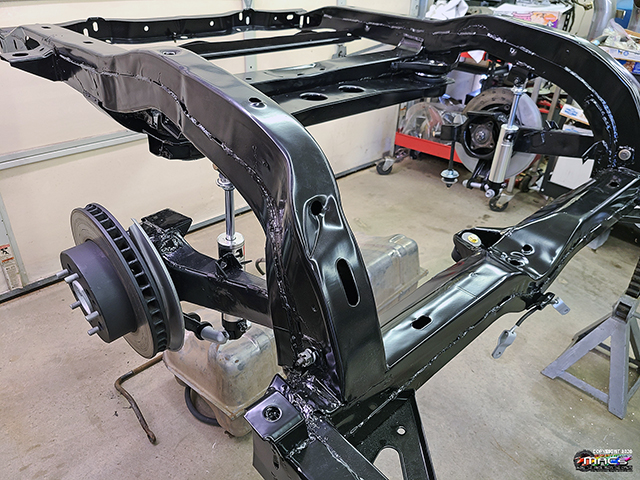
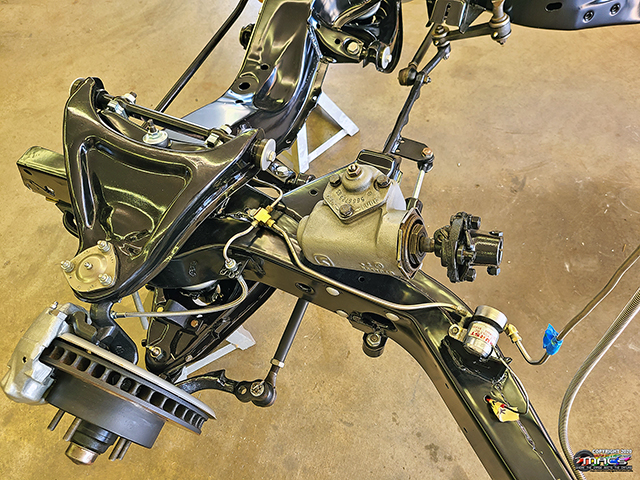
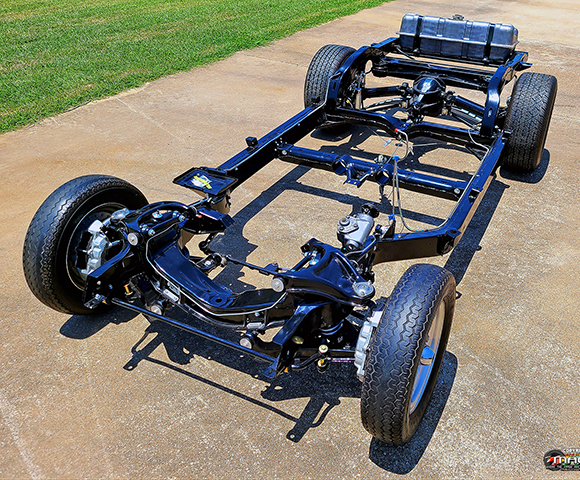
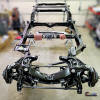
The frame is chassis is coming along
nicely |
|
|
|
|
|
|
 |
 |
 |
 |
|
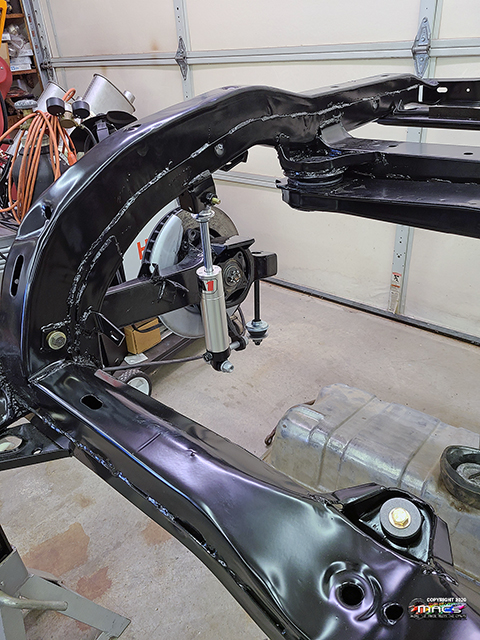
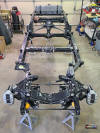
Upper A-Arm bump stops installed |
QA-1 Rear Shocks Mounted |
| |
|
|
|
Continued
work on chassis / gas tank - week of 6/29 |
 |
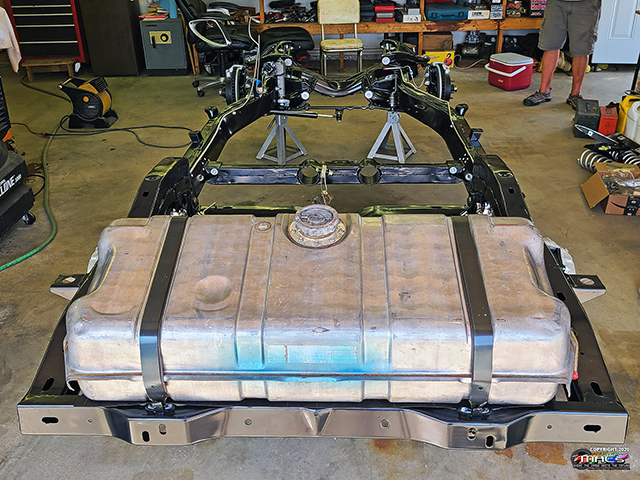
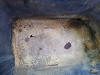
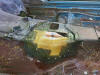
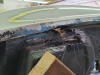
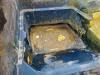
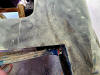
Gas tank was cleaned
...left the sticker original as the letters would be destroyed |
 |
 |
| |
The gas tank
has been replaced - couldn't make out the full date |
|
 |
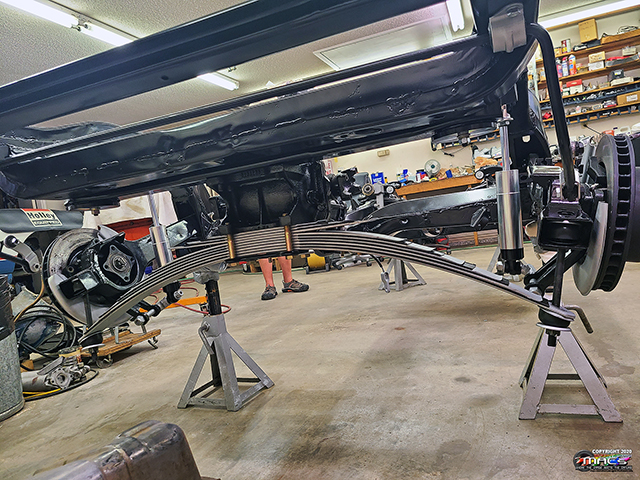
Rear spring was cleaned,
painted and reassembled
leaf spring liners, etc. were installed |
 |
| |
|
|
|
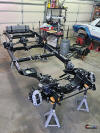 |
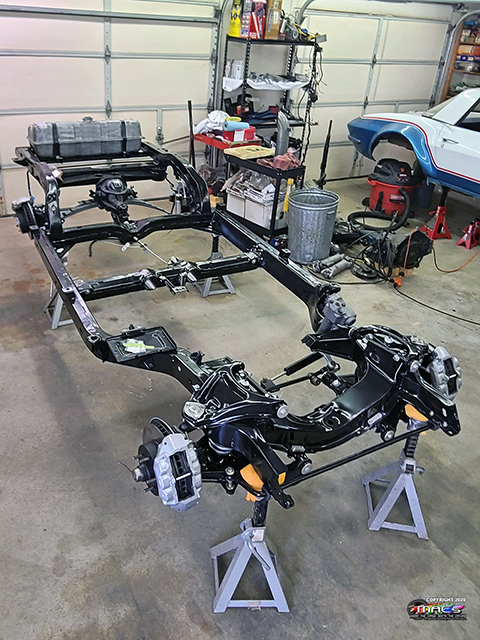
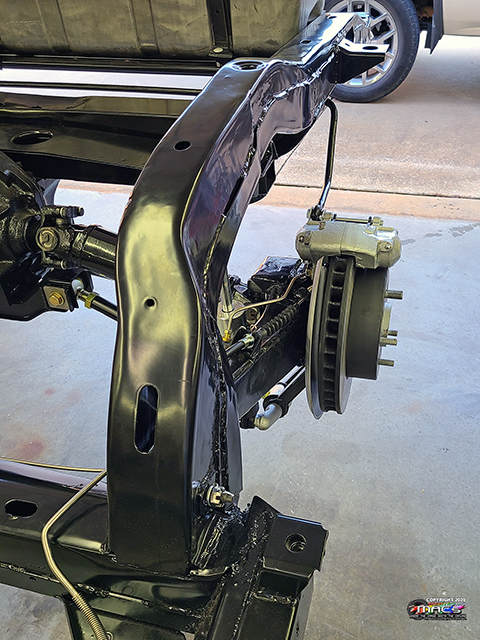
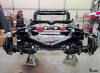
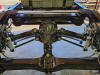
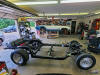
The chassis is
nearing completion; about time to torque bolts and put it on the
ground |
 |
 |
| |
|
|
|
 |
 |
Fuel & brake lines
almost complete - 1 brake line on each rear side remain |
 |
| |
|
|
|
| |
Finished the
transmission crossmember brackets now the brake & fuel lines are
complete |
 |
|
| |
|
|
|
| |
 |
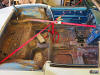
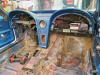
Started work on
the inside floorboard - stipping carpet |
|
| |
|
|
|
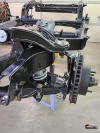
Continued
work on chassis / Struts - Half-Shafts - 7/6 and week of 7/13 |
 |
The parts finally came in
to complete the half-shaft and strut rod installation - what a
bear!!! |
 |
 |
 |
 |
| |
|
|
|
 |
 |
 |
 |
| |
|
|
|
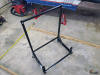
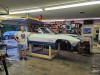
| built a hardtop
cart |
 |
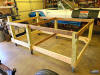 |
built a body dolly |
| |
|
|
|
 |
 |
removed two steel
plates from the rear that weighed 220# |
 |
| |
|
|
|
| |
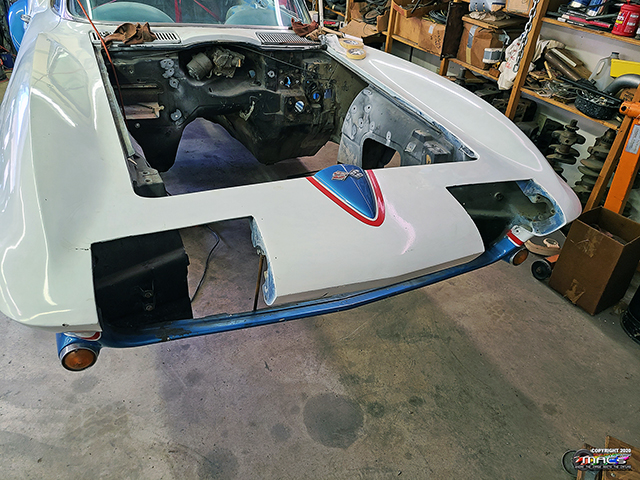
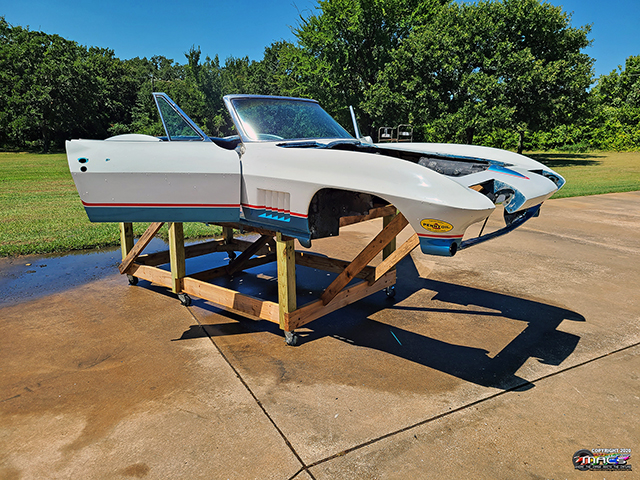
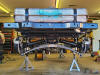
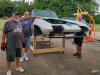
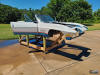
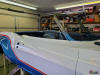
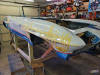
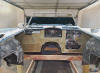
a mock up (almost
ride-height) of the frame and body |
 |
|
| |
|
|
|
| |
 |
William Nolan &
Don Wells helping with removing the carpet, glue and padding |
|
 |
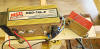
removed the drag racing MSD
setup from the glove box |
 |
| |
|
|
|
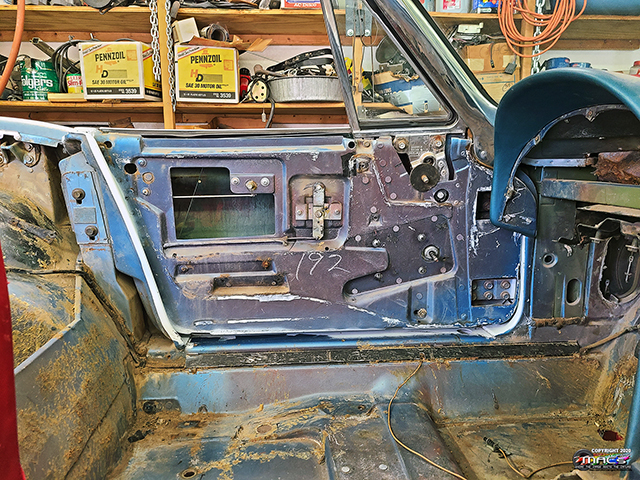
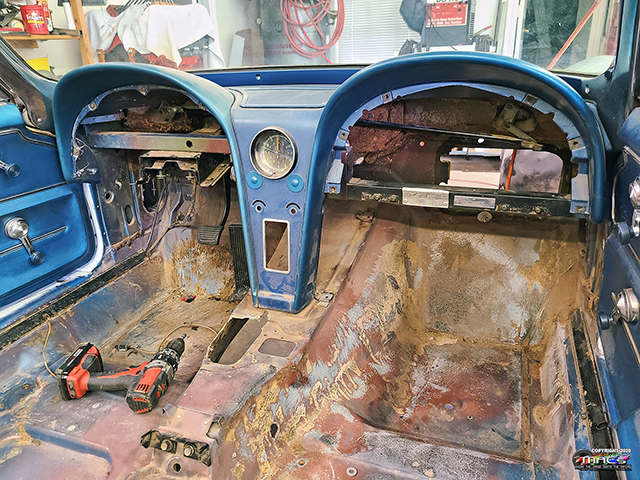
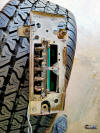
More
Interior Work & Analysis - 7/25 |
 |
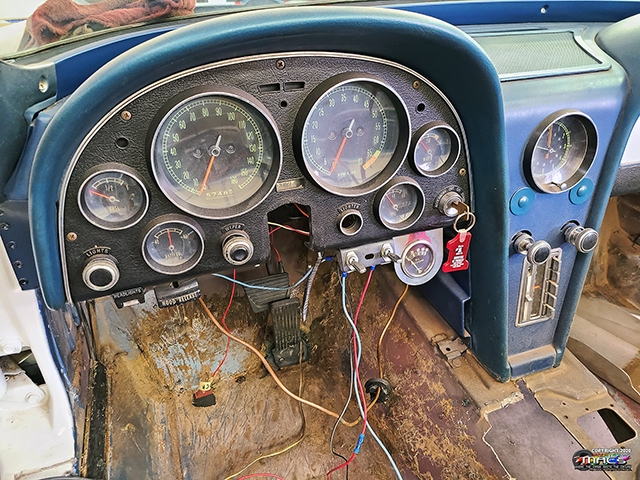
Removed the gauge cluster and glove box |
 |
| |
|
|
|
 |
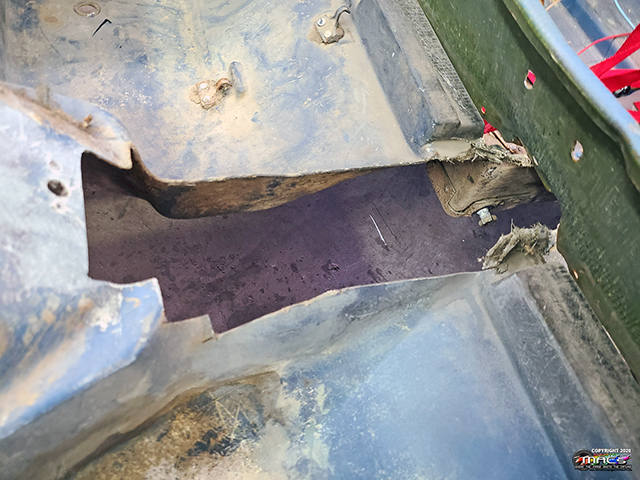
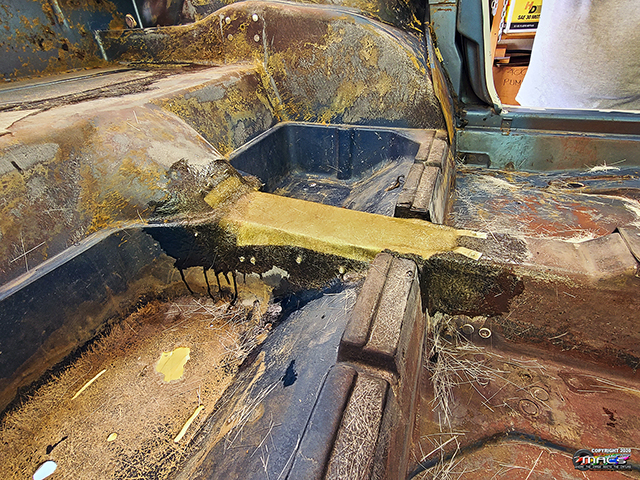
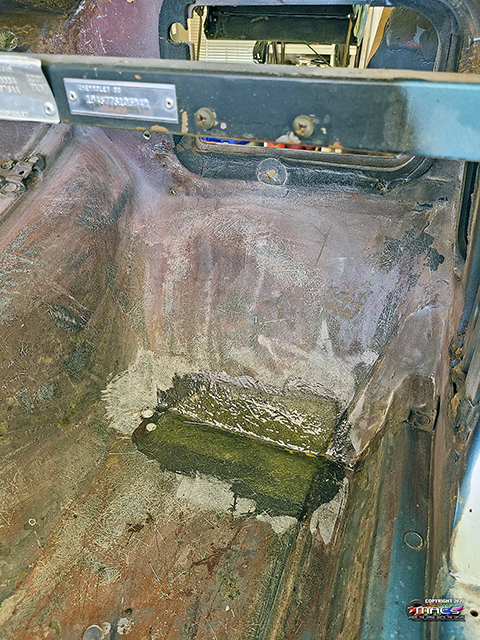
analyzed several
areas that need attention - with fiberglass hole patching. The
driveshaft tunnel is the worst area but holes in the storage
compartment along with the driver's floorboard |
 |
| |
 |
 |
|
| |
|
|
|
| |
Removed the
headlights - all the areas around them have stress cracks |
 |
|
| |
|
|
|
 |
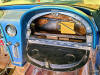
What we thought
was an original radio, ended up being a dumbed down faceplate -
nothing behind it of value |
 |
 |
| |
|
|
|
More
Interior Work - week of 7/27 |
 |
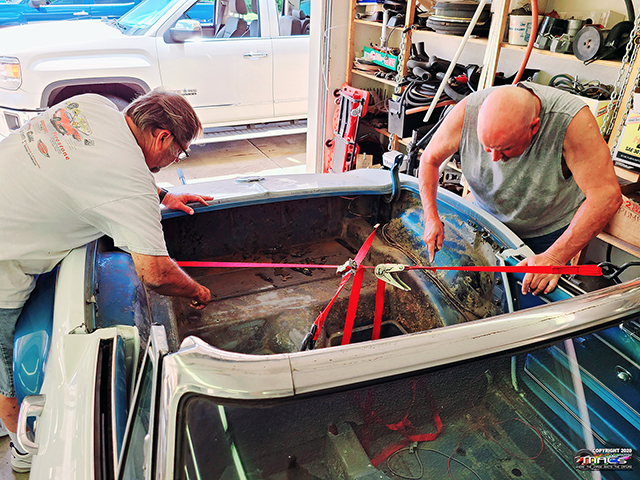
Many THANKS to Walt,
William & Don for coming over to help put the boddy on the dolly |
 |
| |
 |
|
| |
|
|
|
 |
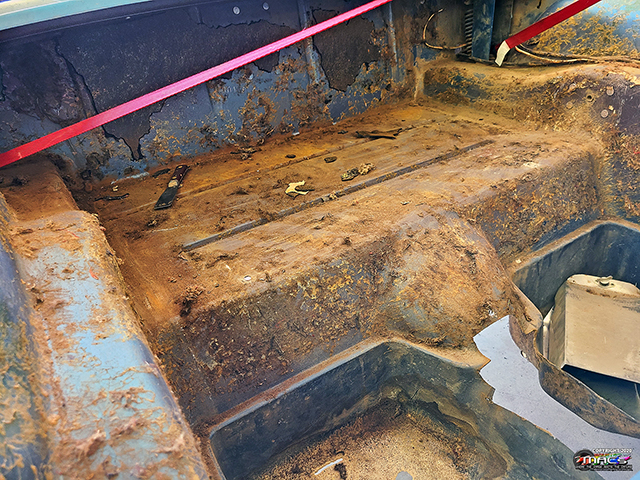
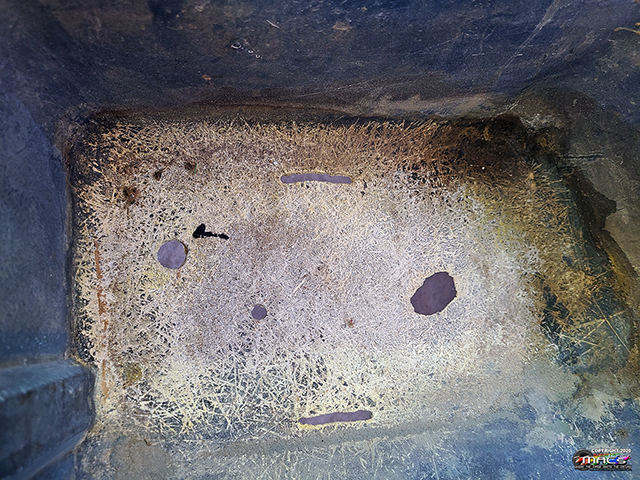
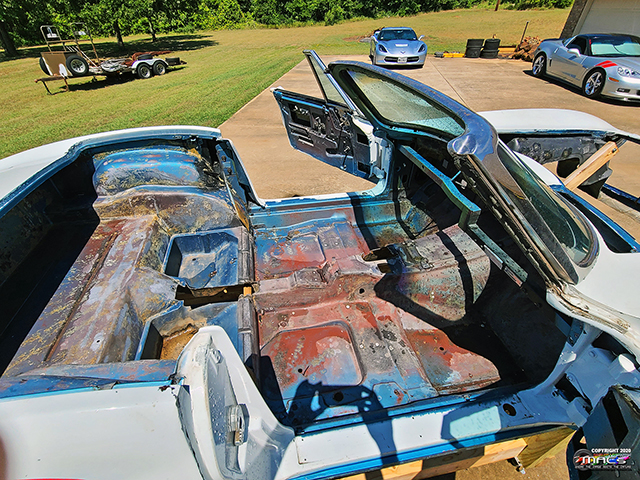
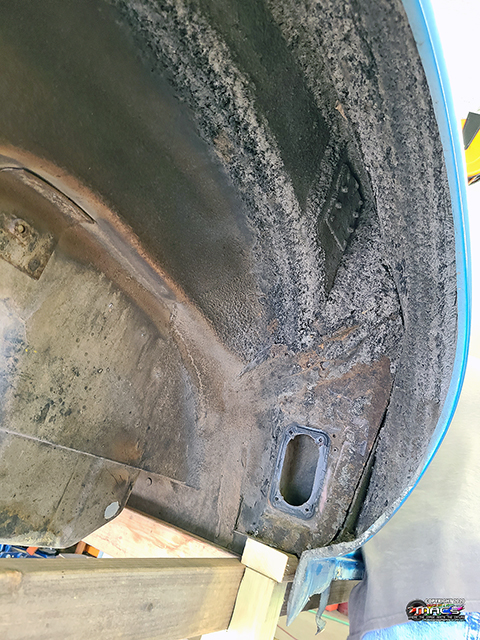
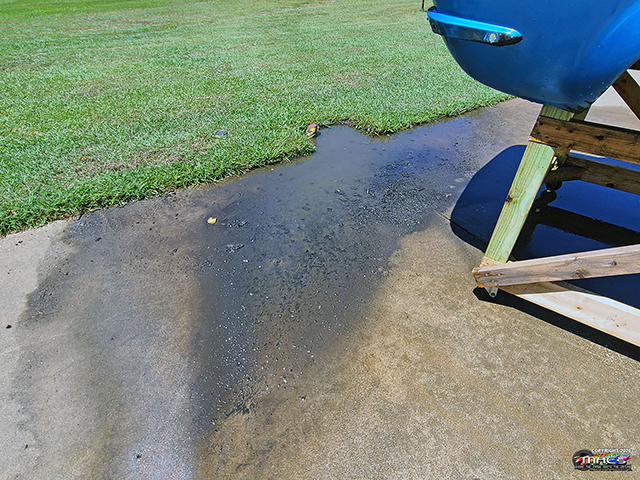
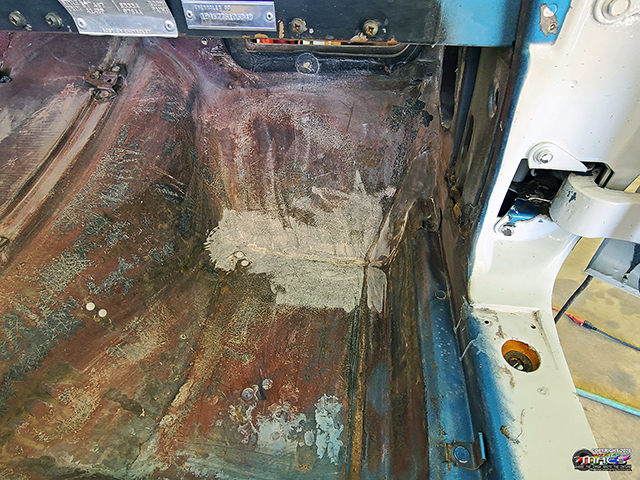
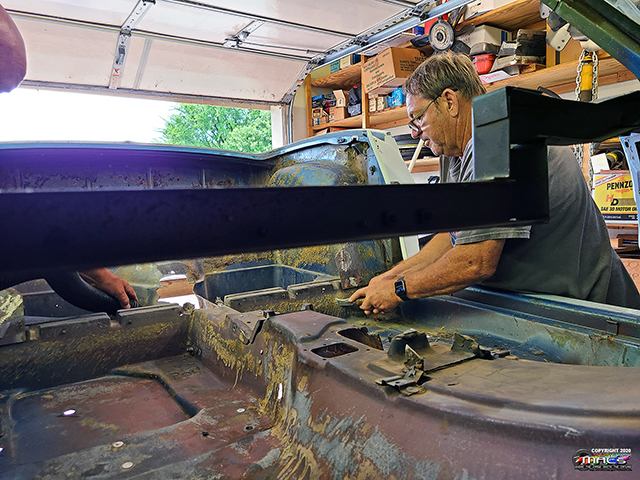
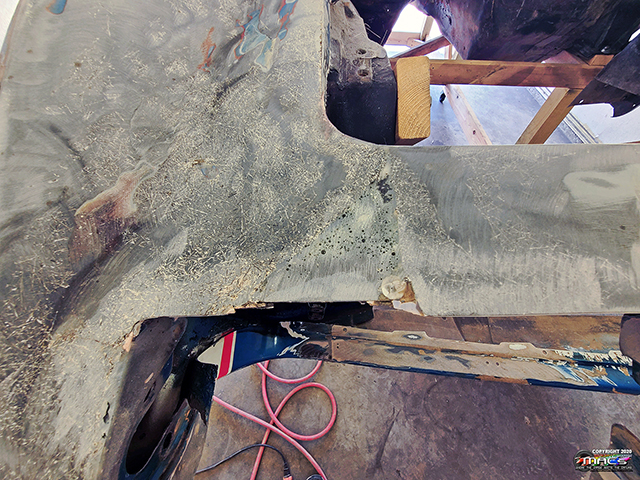
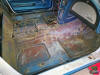
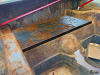
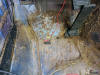
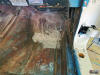
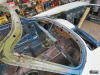
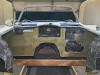
Took the body out back and
spent a couple hours power washing inside and under it -
pictures below show years of tire rubber from burnouts |
 |
| |
 |
 |
|
 |
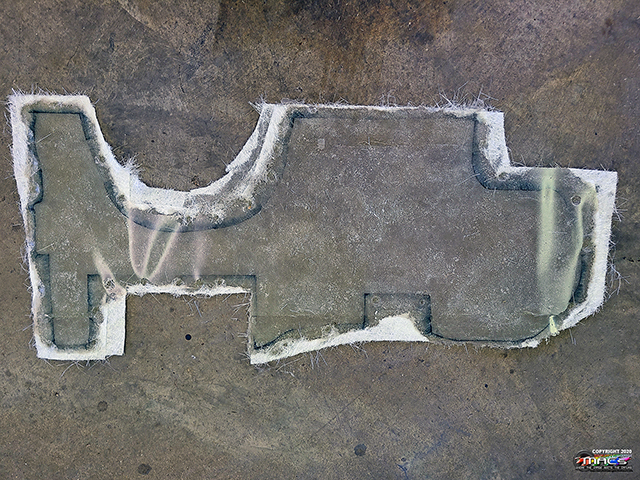
Removed the door panels,
gauge cluster and glove box which allowed removal of all the old
insulation that was full of dust |
 |
| |
|
|
|
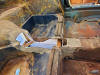 |
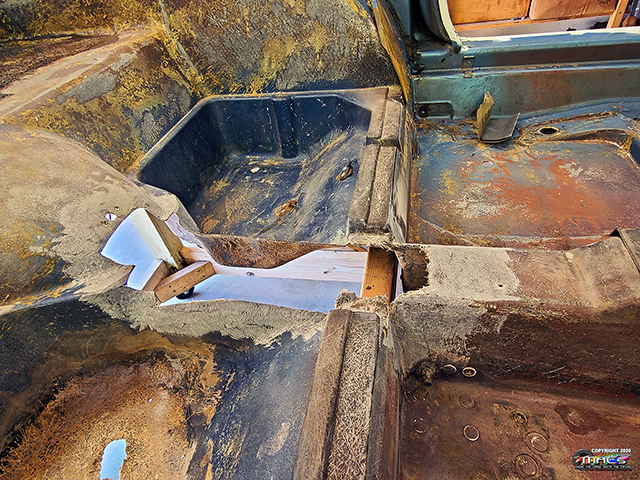
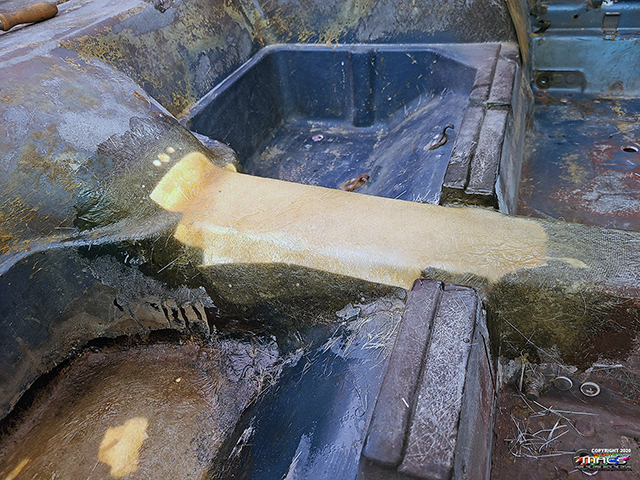
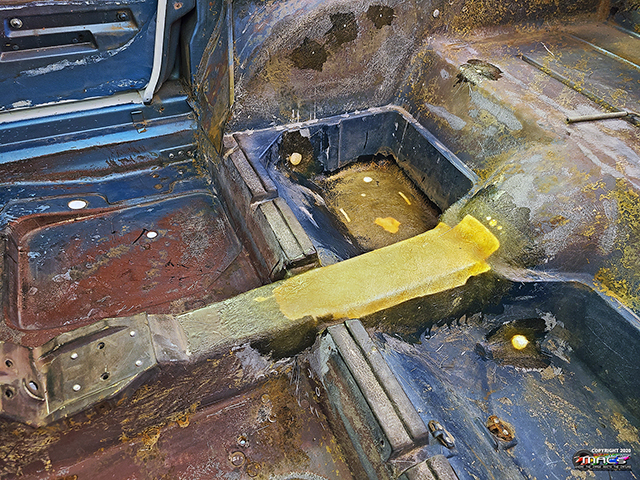
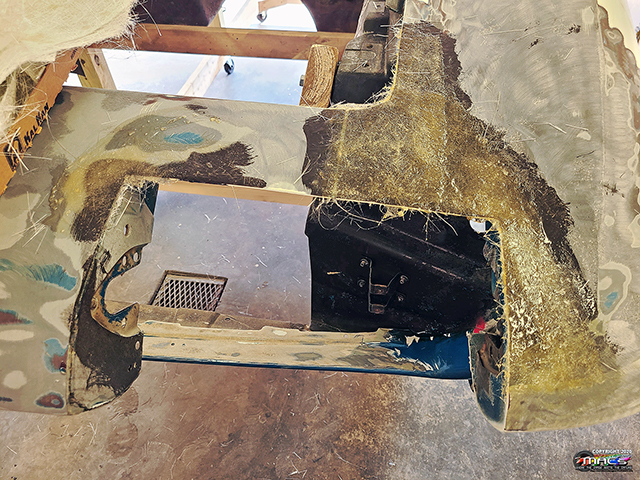
Started the
rebuild of the driveshaft tunnel, after the bulkhead metal panel
was removed
...made an aluminum support structure while fiberglassing the
tunnel - now it just needs glassed on the bottom |
 |
| |
|
 |
 |
 |
| |
|
|
|
 |
Lots of small
areas needed attention, like these holes and floorboard cracks |
 |
 |
| |
|
|
|
 |
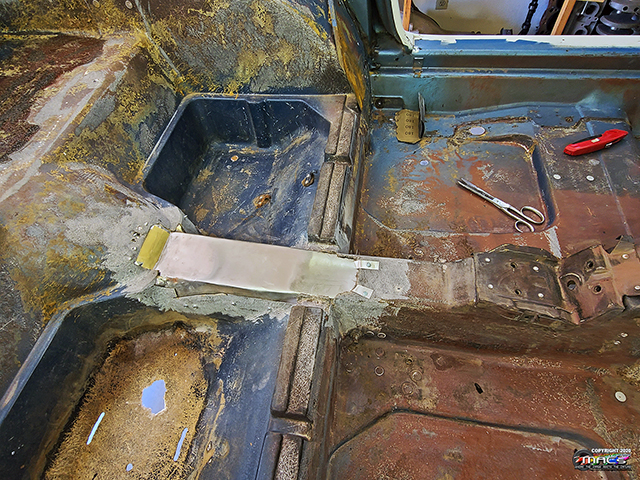
Rebuilt the area around the
shifter hole - not complete here but the topside only needs
ground and one more coat of glass to finish it - along with
trimming the hold to shape |
 |
| |
|
|
|
 |
un-needed holes in the
fenderwells have been glassed ...along with some crackes in them |
 |
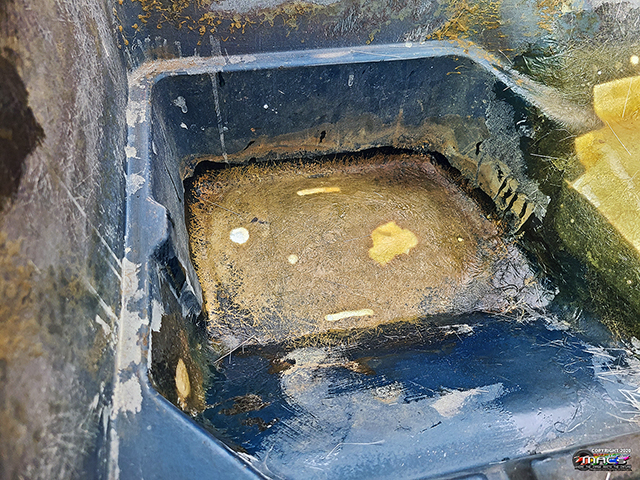
| |
the right compartment had numerous holes from recolated battery |
 |
|
 |
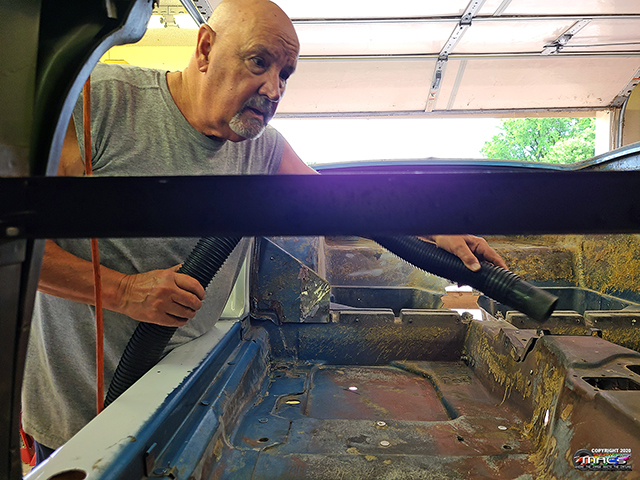
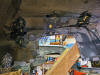
Don cleaning glue
off the interior |
William vaccuming
after removing glue |
 |
| |
Interior is gutted
and getting its first thourough cleaning in 53 years |
 |
|
 |
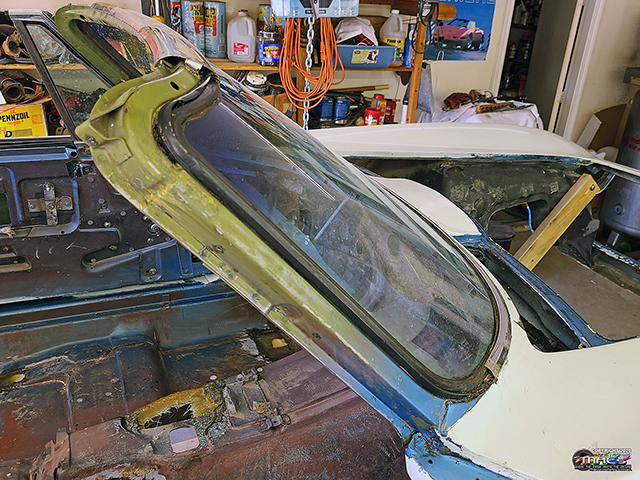
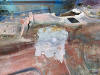
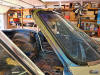
Started removing the
stainless trim from the windshield area |
 |
| |
|
|
|
Test Fit of
Parts and Engine Compartment Thoughts - 8/4 |
 |
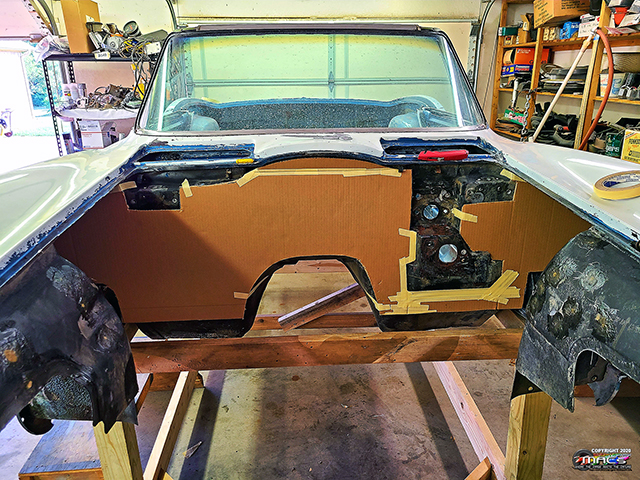
The new
bulkhead
panel arrived and it was time for a test fit |
 |
 |
| |
|
|
|
 |
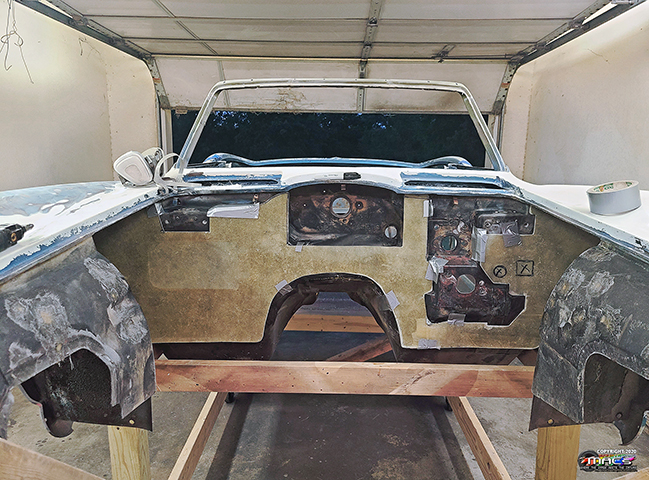
Decided to play
with my thoughts on the flattened firewall |
 |
 |
| |
|
|
|
 |
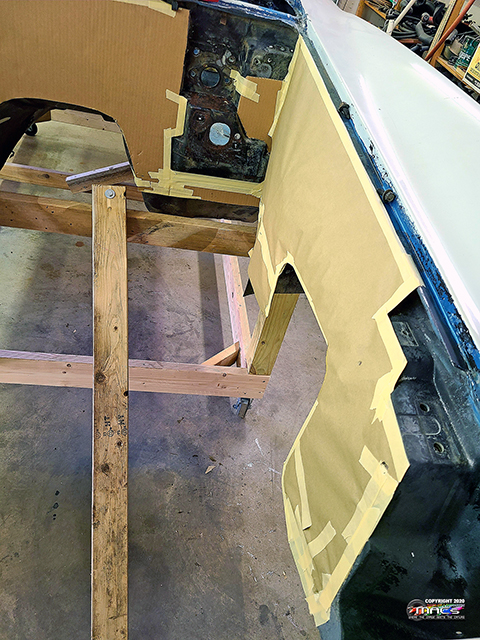
Pondering if the same
should be done to the fenderwells - mixed thoughts on if and how |
 |
Progress on
the '67 will Slow Down now |
|
I was very thankful to have only
been 50% furloughed from work the past 5 months. More thankful
now that I am off furlough and working 5 days a week - it is
VERY WELCOME!
Returning to work will mean slower
progress on the Vette, since I don't have every-other-week
(every day) to work on it. Now it is limited to a few nights a
week and weekends.
|
Stripping it
Further - 8/16 |
 |
we were still in the
process of gutting / stripping the Vette - today, it was time to
remove the door glass, along with the window and locking
assemblies ...inside the doors even needs vaccumed out! |
 |
| |
|
|
|
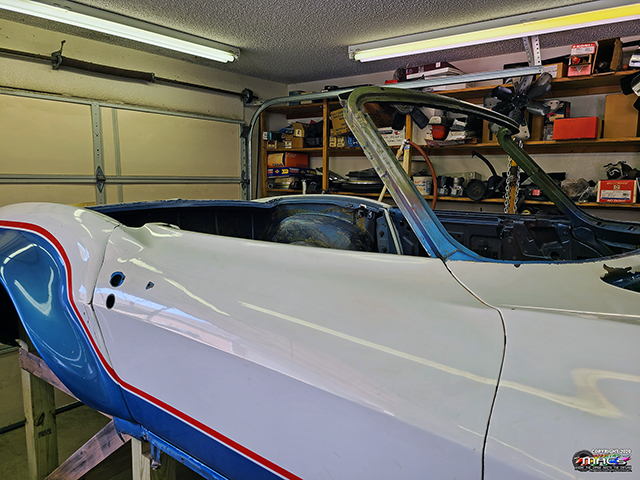
| I kind of like the
look without the vent window - maybe I'll look for a conversion
kit??? |
 |
 |
The windshield is
out - that was the nastiest gooey mess I've ever dealt with |
| |
|
|
|
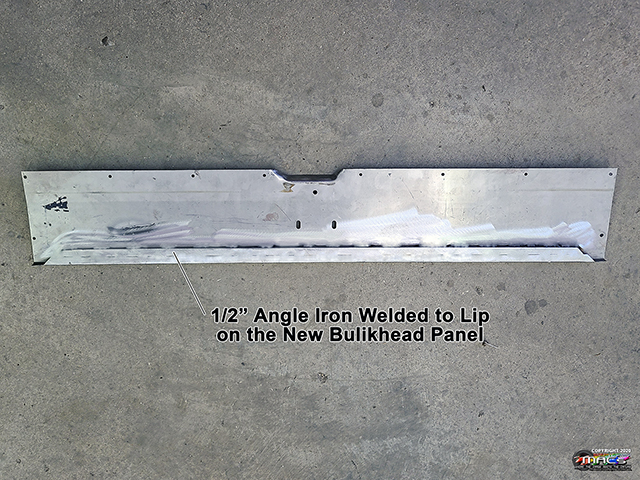
 |
Paragon Corvetterecommended that a 1/2" piece of angle iron
be added to the backside of the bulkhead panel |
 |
| |
|
|
|
 |
Thankful that the
biggest spot of birdcage rust was found - barely even surface
rust! |
The new bulkhead
has been strengthened and test fitted - need to finish interior
fiberglass now |
 |
|
|
|
|
|
Investigation - 8/18 |
 |
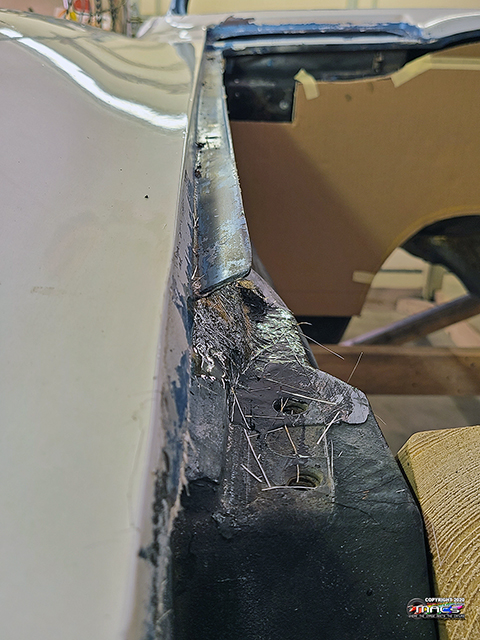
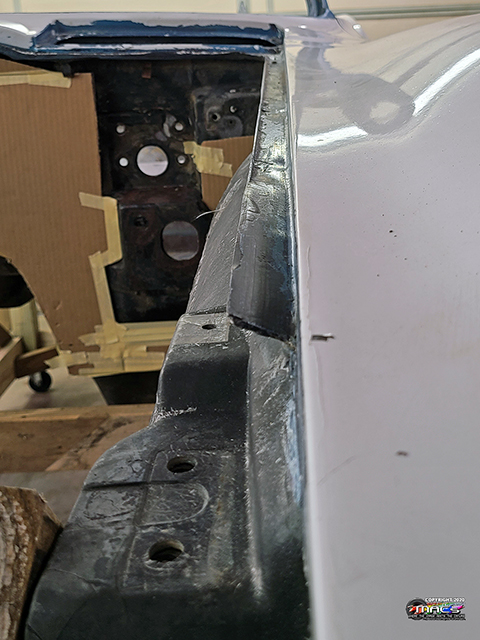
Looking at the lips inside
the fenders, they have been damaged over time and they will need
considerable work to get them back in the right configuration |
 |
| |
|
|
|
 |
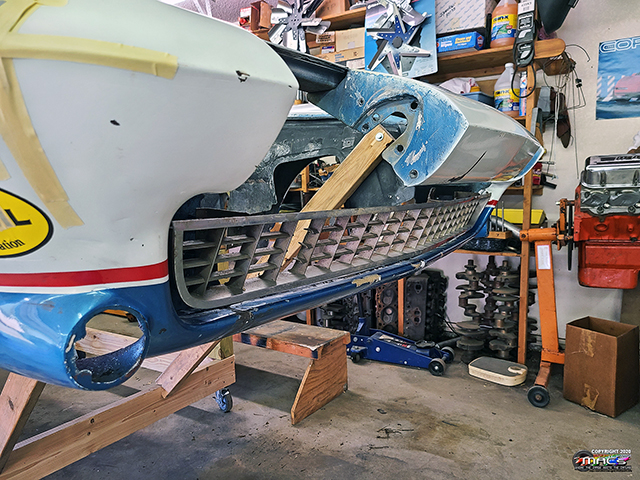
Thanks to Gary & Gwynne
Hanna, we have a '67 grill to use in the car if desired - it is
in less than desired condition however it was nice to see a
grill in there |
 |
| |
|
|
|
Pondering
Some Ideas - 8/16 |
 |
 |
Pondering flaring
the front fenders for wider front tires - nothing decided
yet - just pondering |
 |
| |
|
|
|
 |
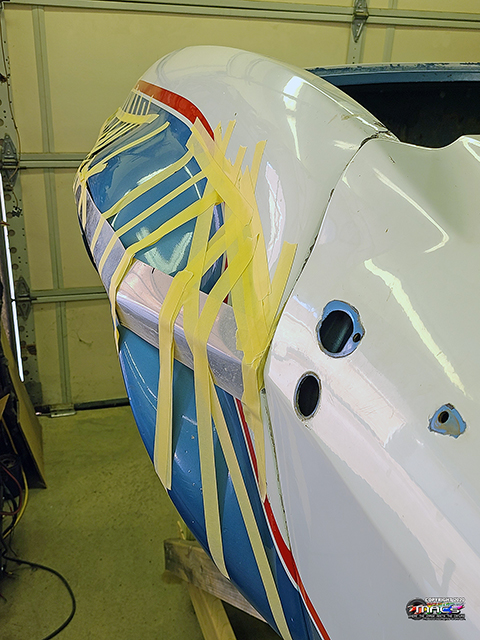
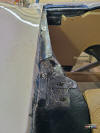
With the severe
rear body damage some pondering on how to flare the rear while
removing the old-school flares |
 |
 |
| |
|
|
|
Custom Part
Fabriction Starts - 8/18 |
 |
 |
William Nolan
creating his first custom fiberglass part - this will be the
wiper motor cover for the custom firewall |
 |
| |
|
|
|
Custom Part
Fabriction Continues - 8/21 |
 |
 |
Additional
firewall smoothing panels are glassed |
 |
| |
|
|
|
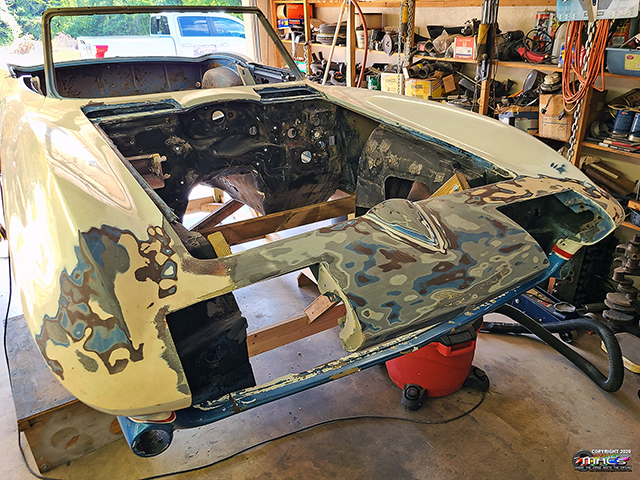
Start of the
Working on the Body - 8/21-29 |
 |
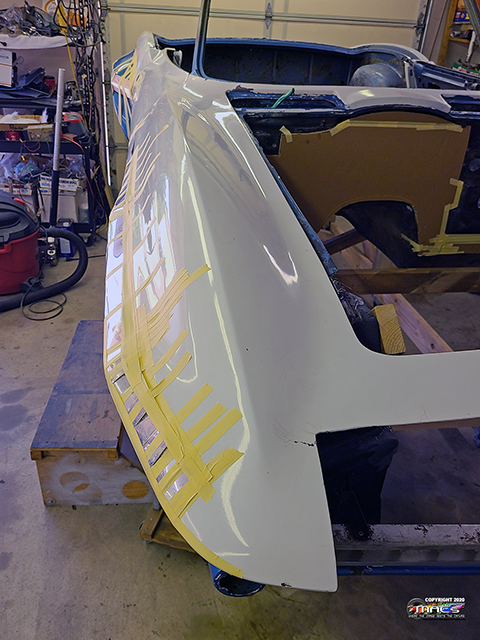
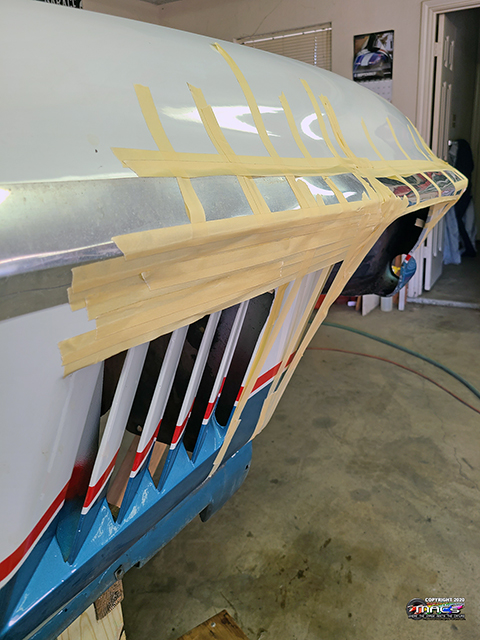
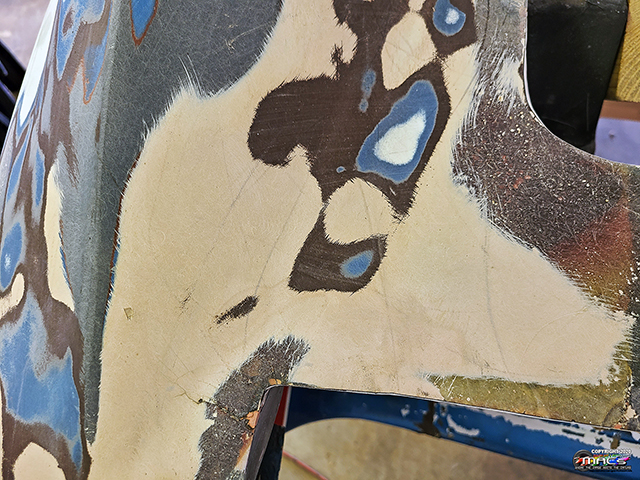
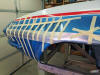
Started stripping the body - finding lots of cracks and areas to
repair at the nose |
 |
 |
| |
|
|
|
 |
 |
 |
 |
| |
|
|
|
 |
After stripping out the bad
repair work (over the years) - shown above
...we laid new fiberglass repairs on those areas. |
 |
| |
|
|
|
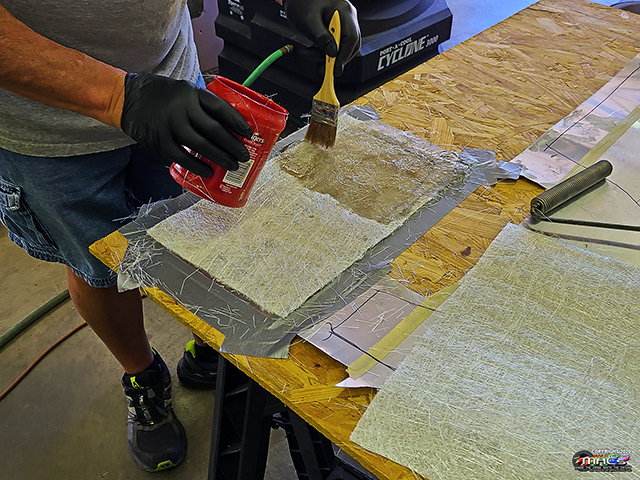
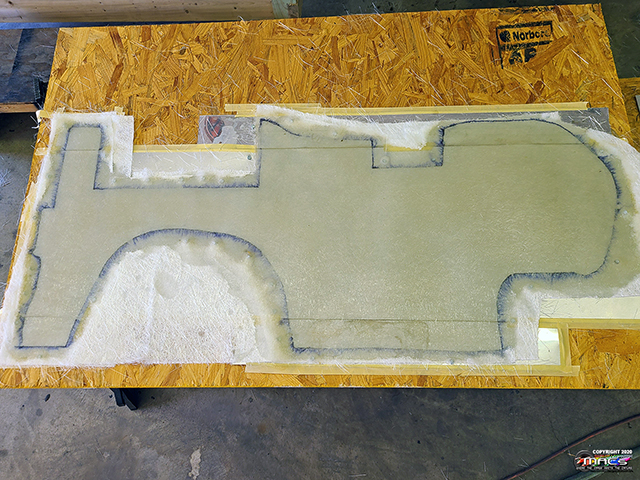
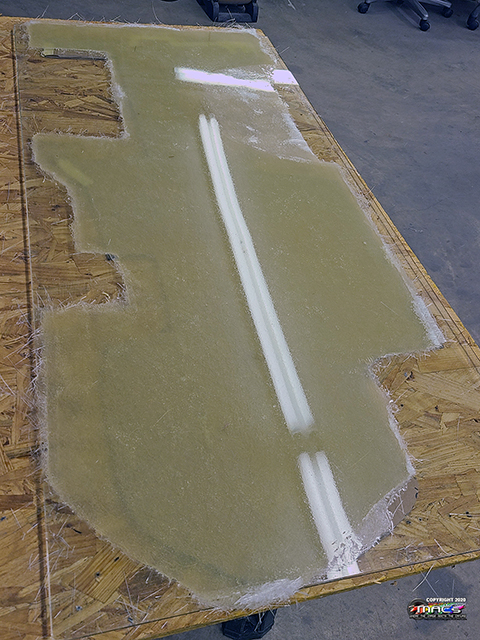
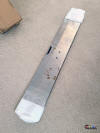
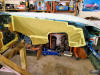
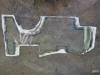
| The originally
laid part warped and was unusable |
 |
 |
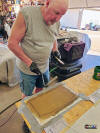
We laid up a new
piece on GLASS so it couldn't warp. |
| |
|
|
|
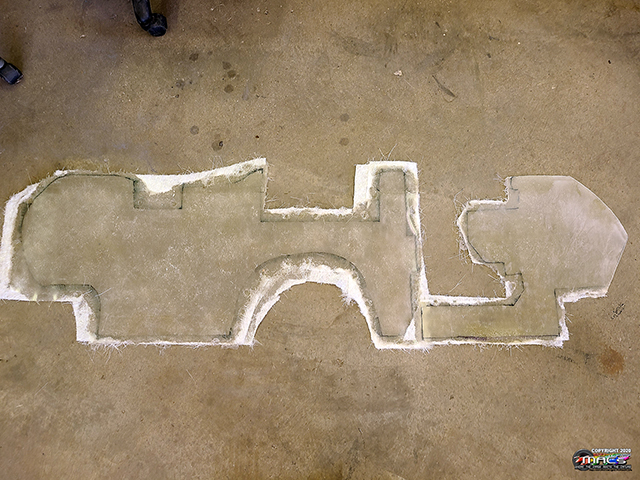
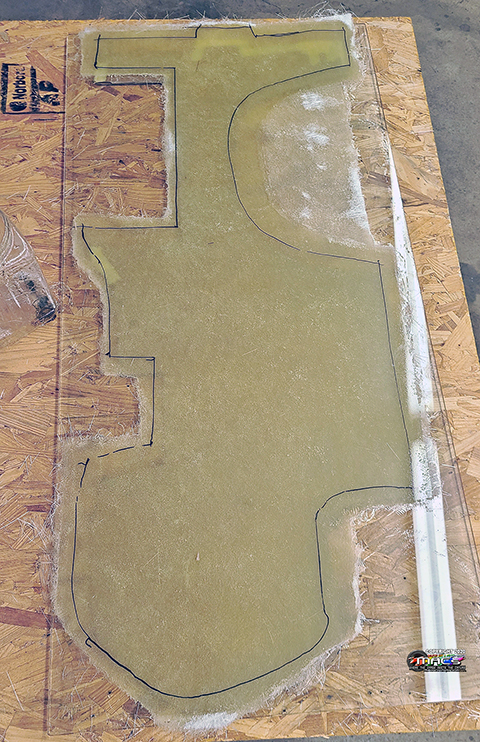
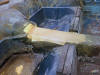
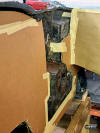
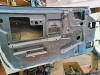
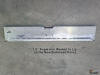
Firewall
Flat Panel - 9/1 |
|
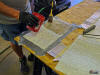
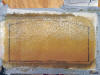
The glass-side of the part is perfectly smooth and it will be
the engine facing side |
 |
 |
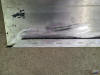
using the cardboard template, the cut lines were transferred to
the rough-side of the new part. |
|
|
|
|
|
 |
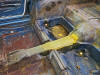
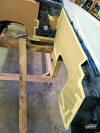
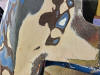
With both flat panels wer taped in place, it was time to
fiberglass them together (to the right of the transmission
tunnel) - it will be glassed on the back later |
 |
| |
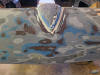
The center (wiper tunnel)
also has a piece that will be finished out and attached (will be
removable) |
|
| |
|
|
|