Additinonal Pages
Page 1 2 3 4 5 6 7 8 9 10 11 12
13 |
|
|
|
|
|
|
CONTINUATION OF THE BUILD |
|
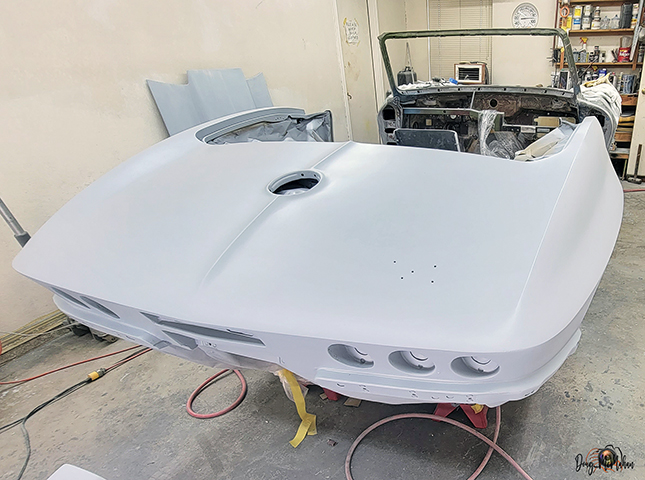
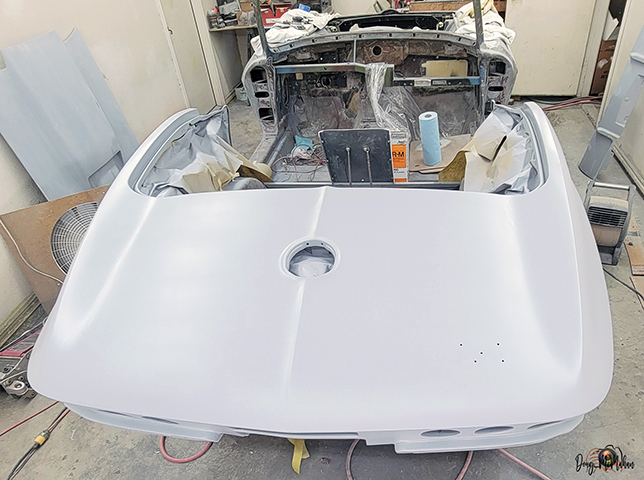
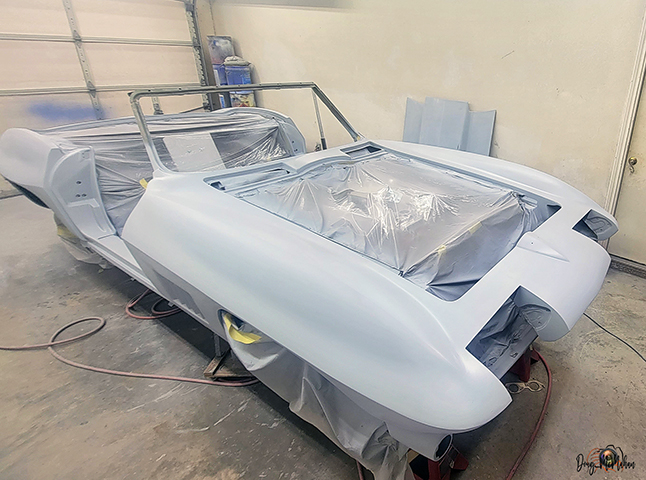
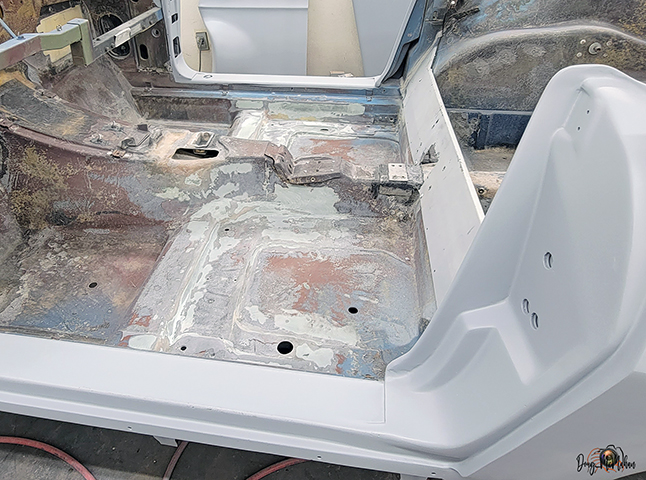
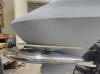
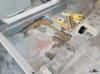
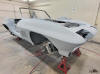
Rear Body - 9/16-21 |
 |
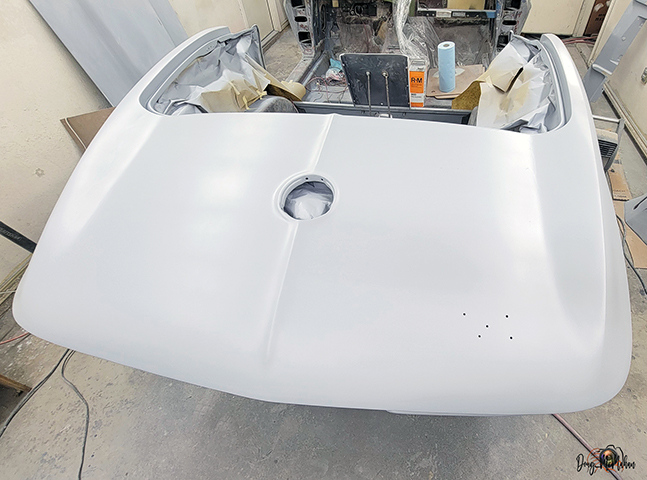
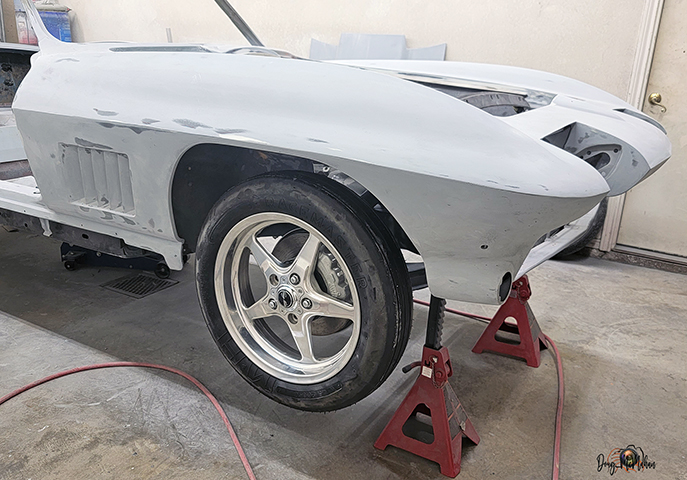
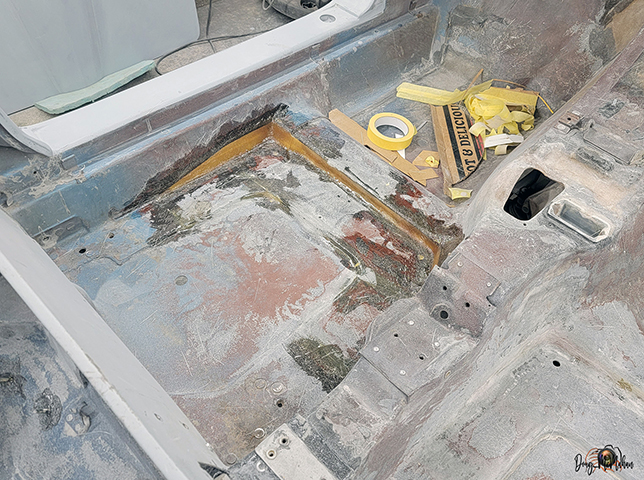
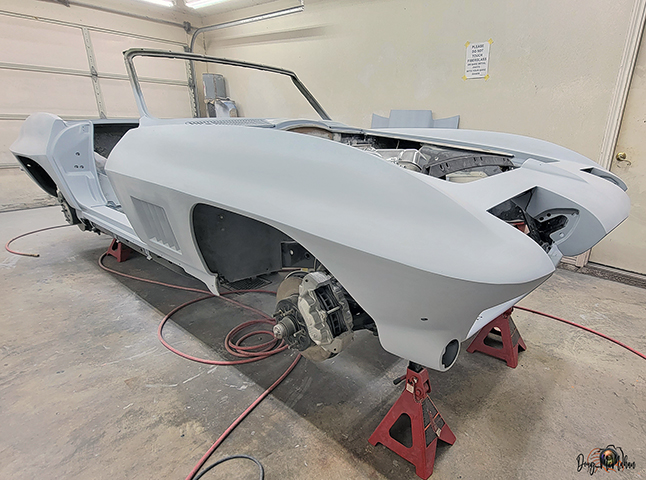
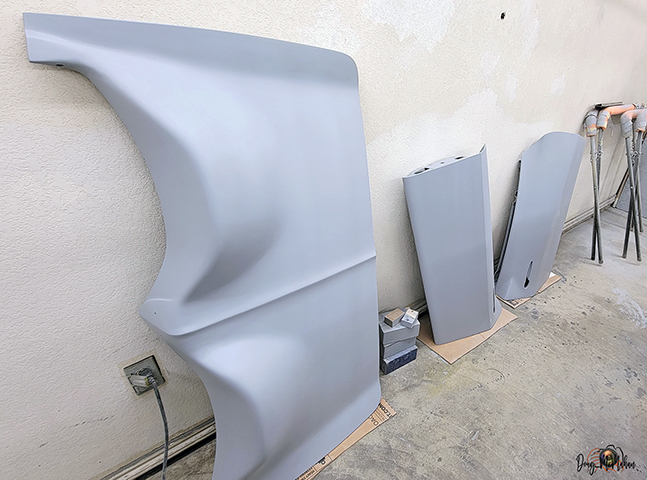
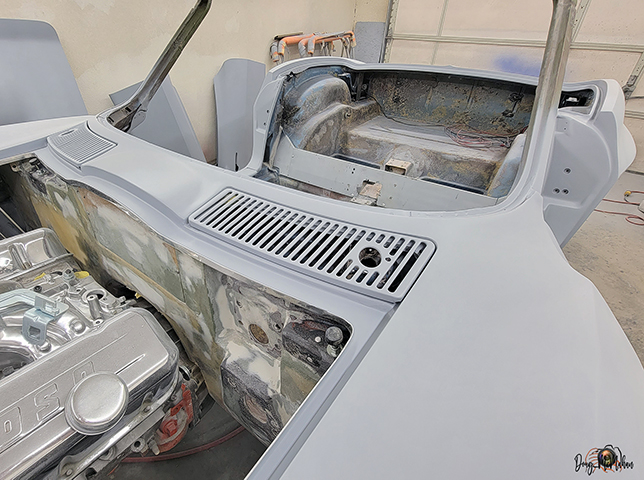
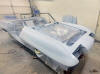
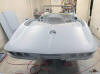
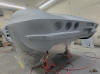
Sealed and 2K primer applied |
 |
 |
 |
 |
|
|
|
|
|
 |
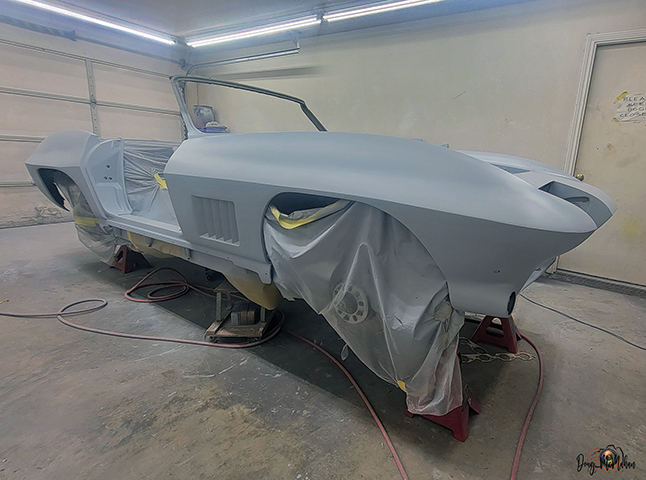
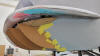
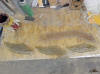
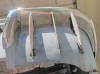
Guide Coat sprayed, ready for blocking |
Blocking turned out great |
 |
|
|
|
|
|
 |
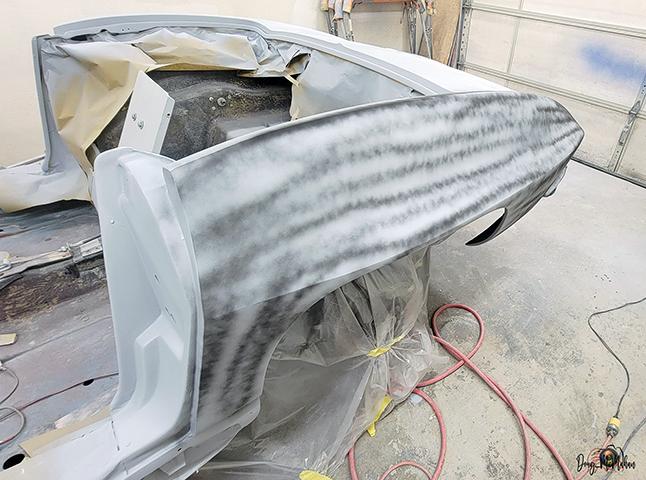
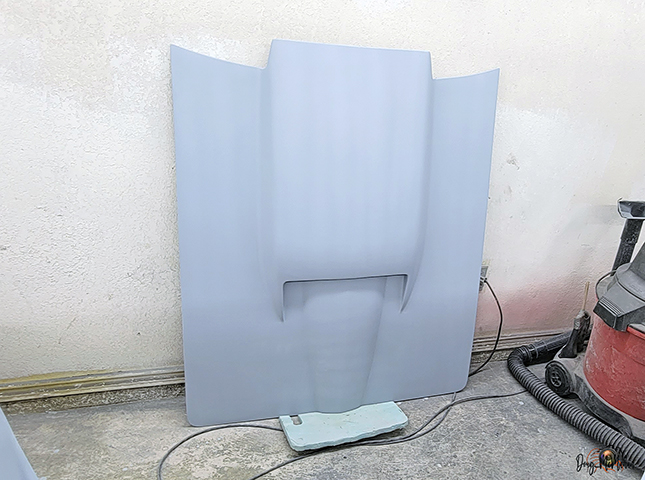
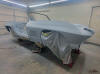
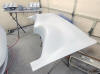
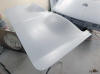
2K primer applied, now it is time to guide-coat the deck lid then
block it out |
 |
|
|
|
|
|
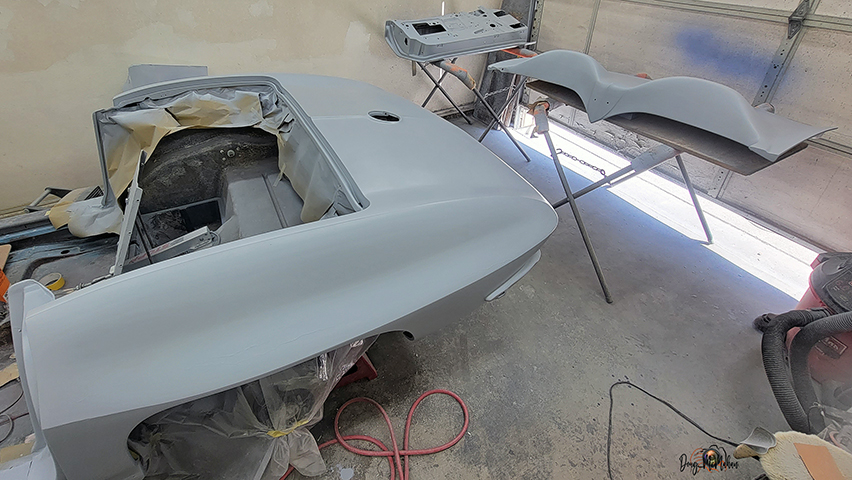
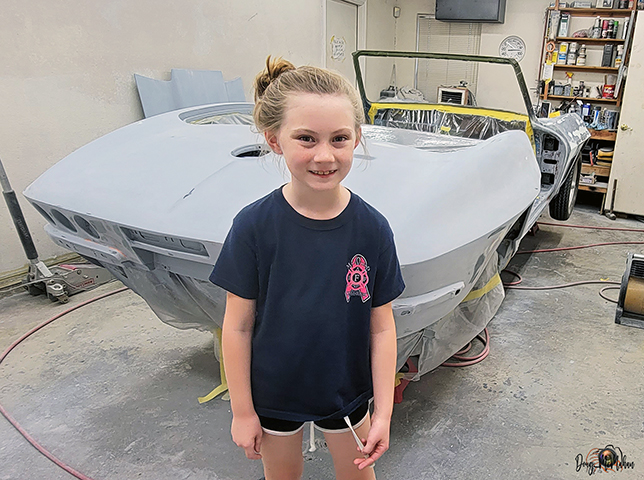
Rear Body - 9/25-27 |
 |
Sadie, our youngest granddaughter wanted to come out to the shop
to help on the '67.
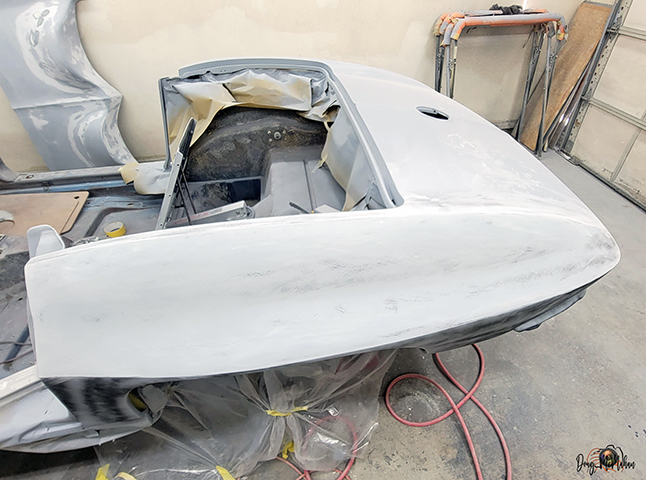
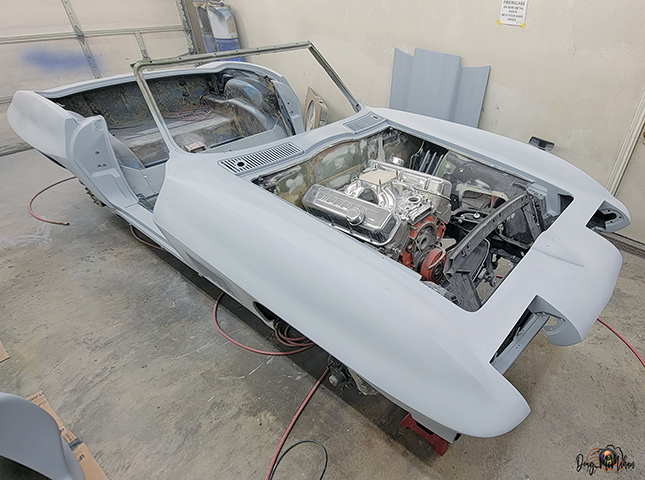
The whole car is now sealed and in 2k primer |
 |
|
|
 |
 |
|
|
|
|
|
|
 |
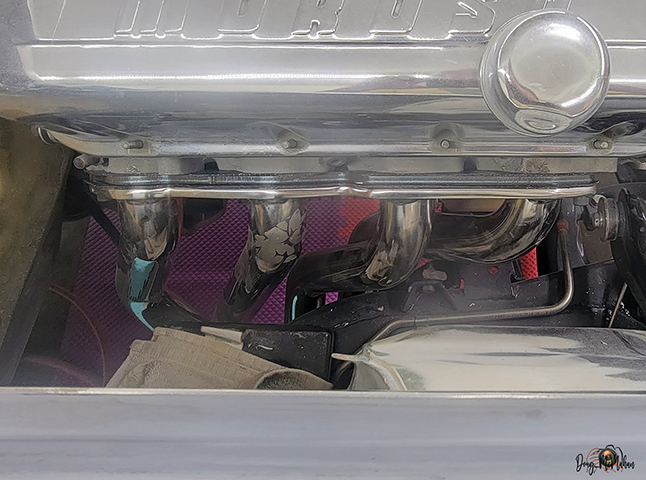
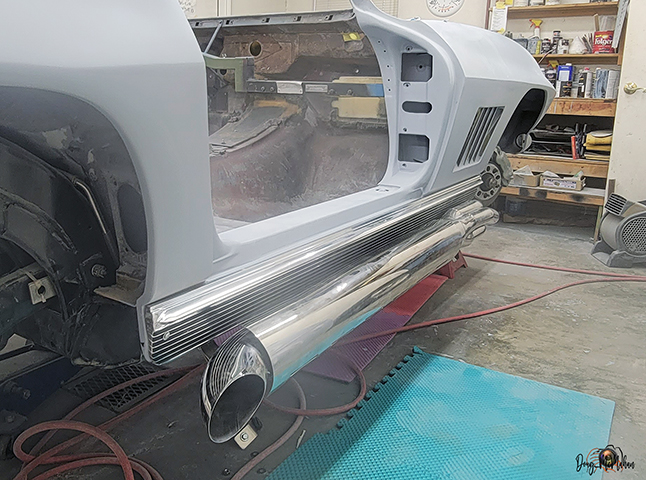
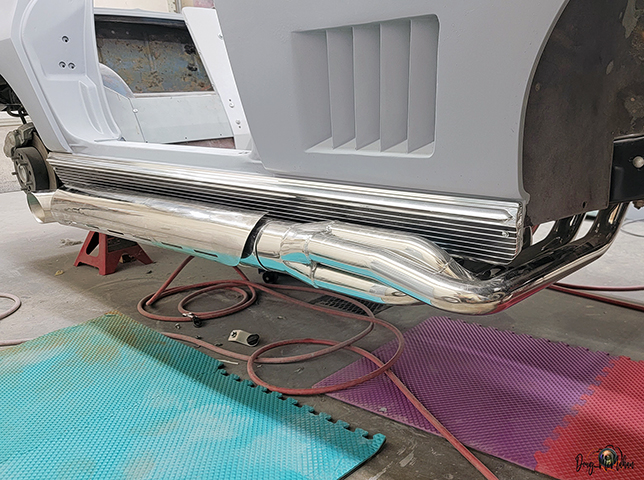
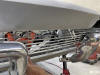
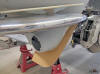
The custom-built header spacers arrived, the testing of
Header/Sidepipe clearance on the full rocker is a success |
 |
 |
|
|
|
|
|
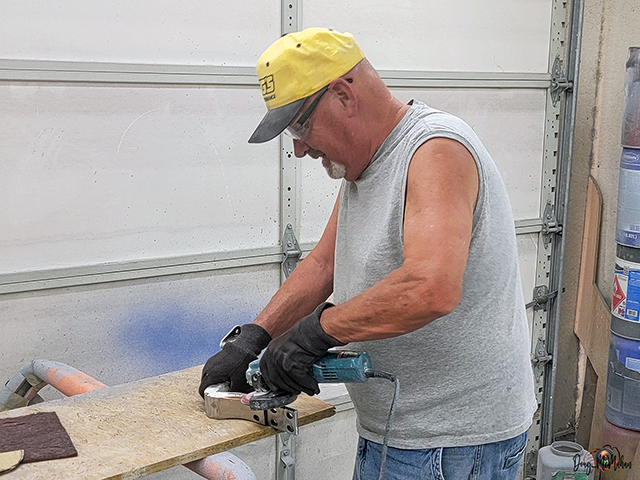
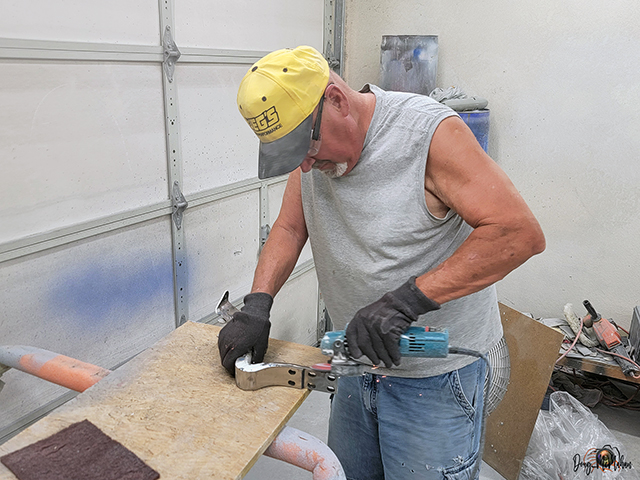
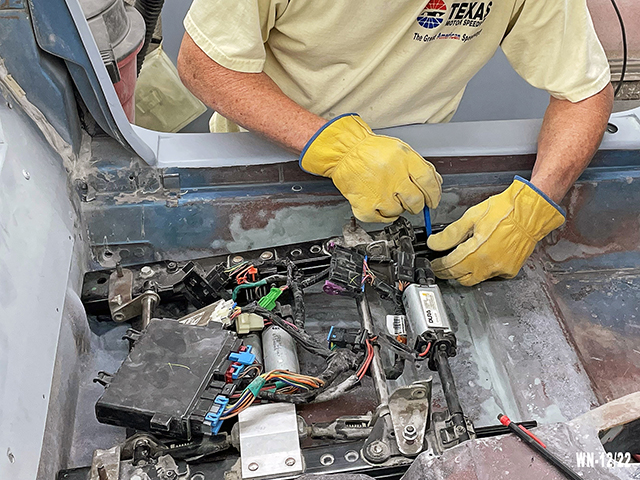
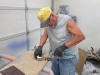
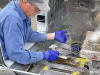
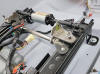
Door Hinges - 9/26-28 |
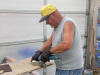 |
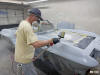
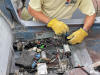
William cleaning up and preparing the door hinges for paint |
 |
|
|
|
|
|
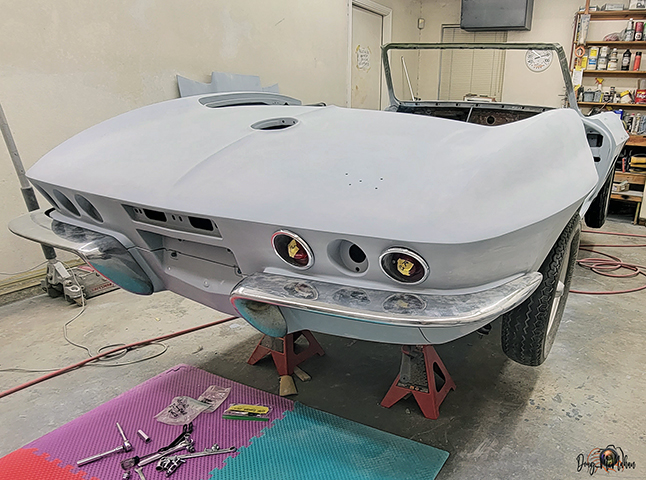
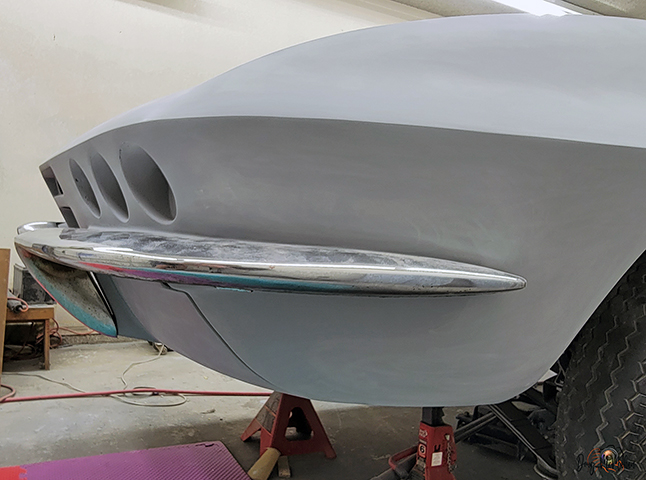
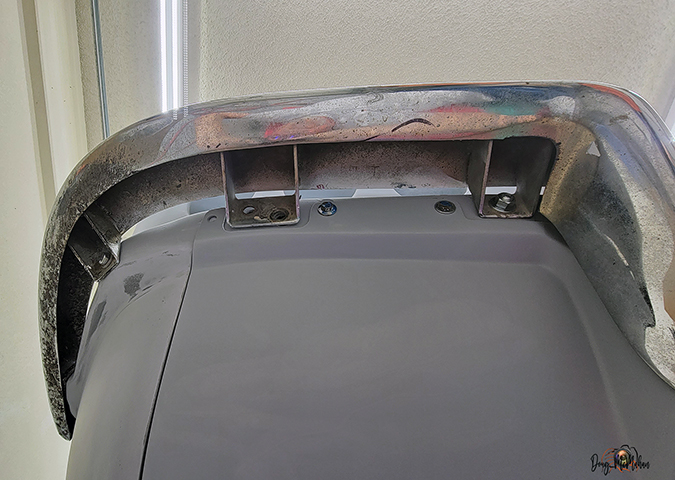
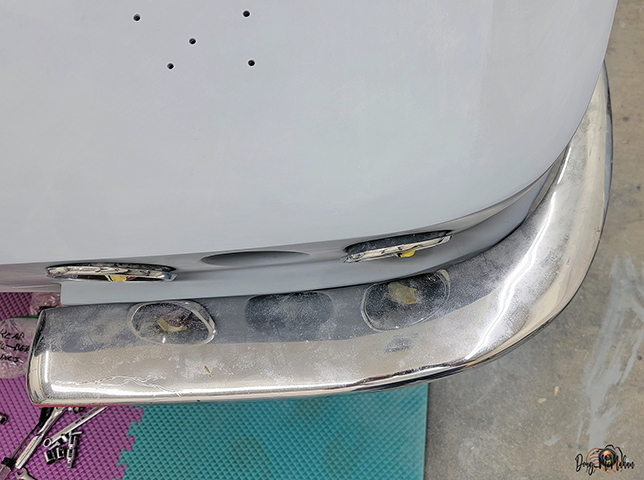
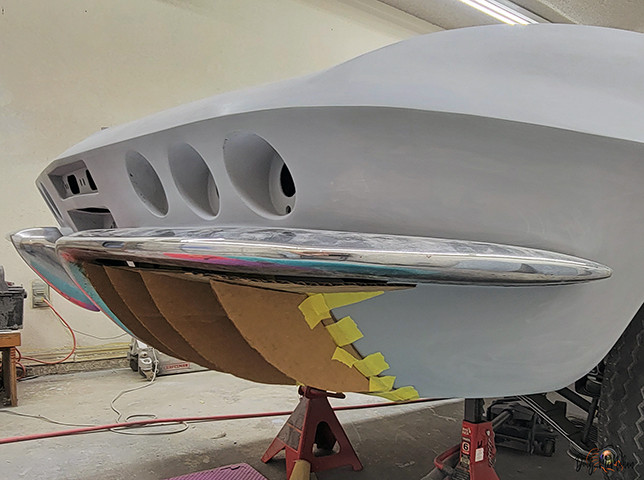
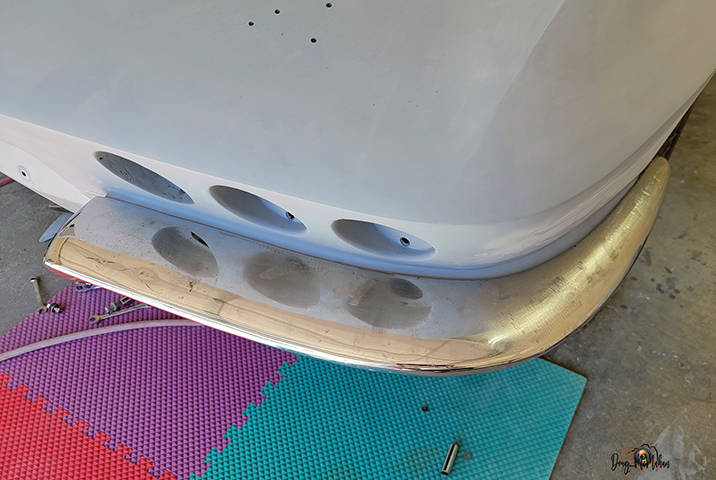
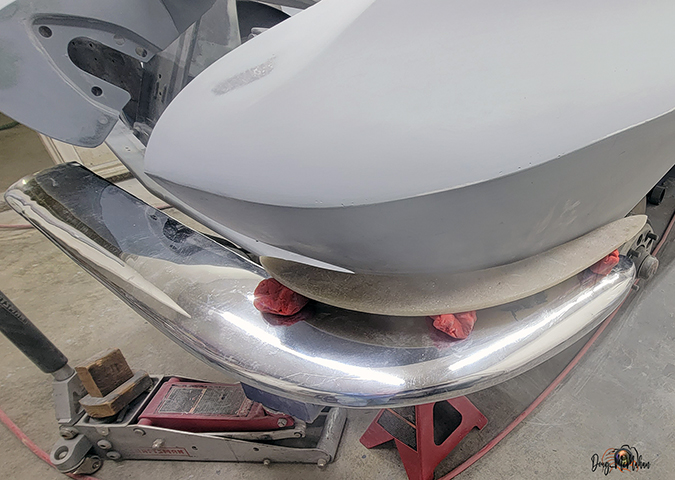
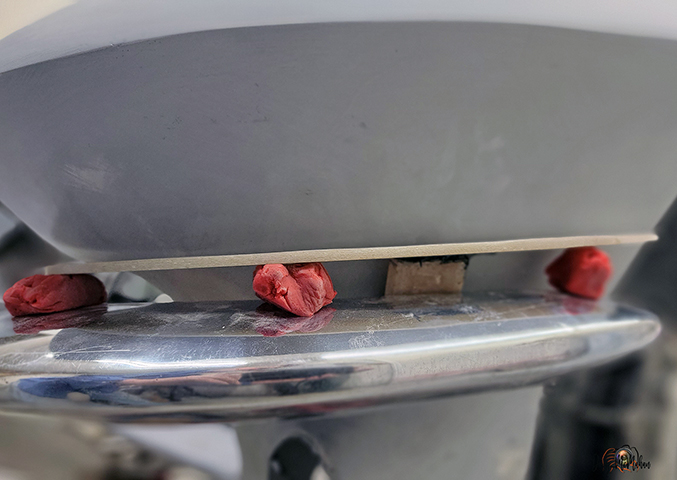
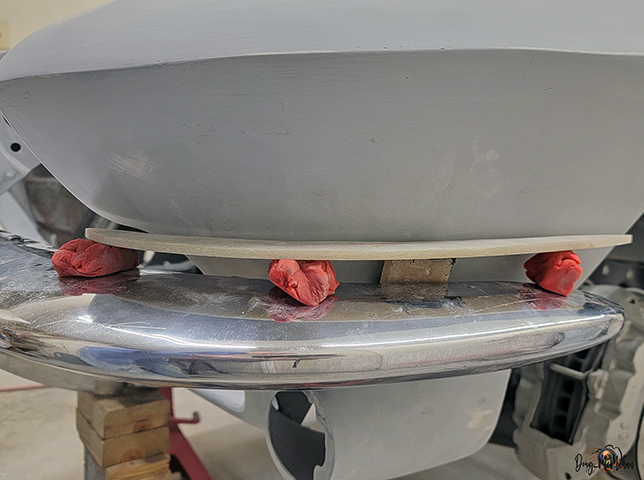
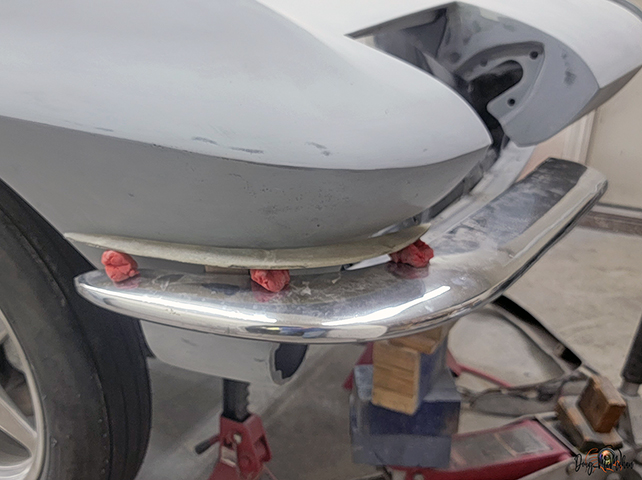
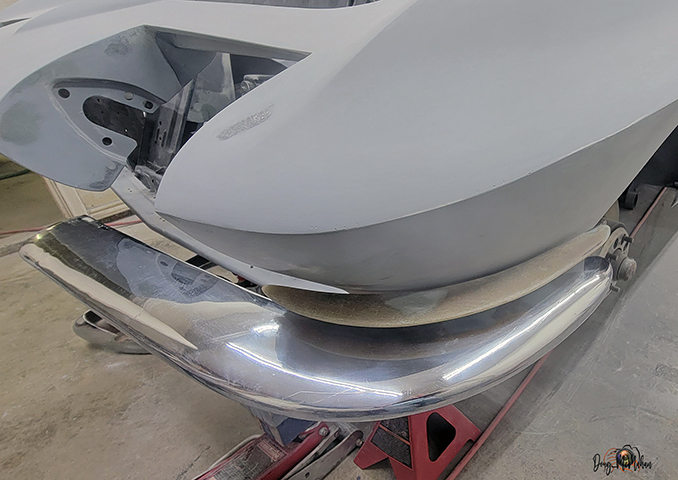
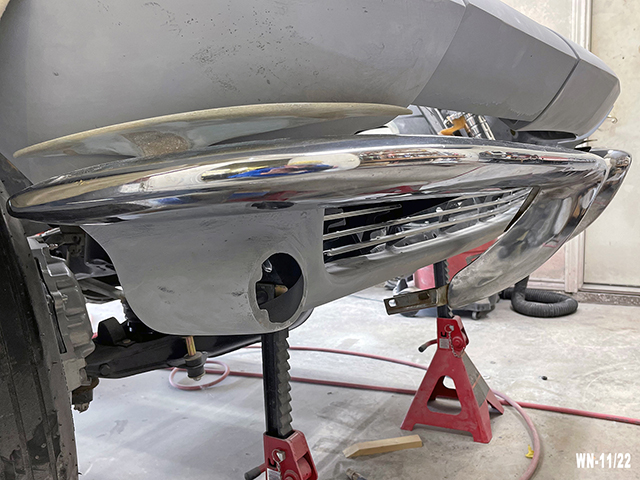
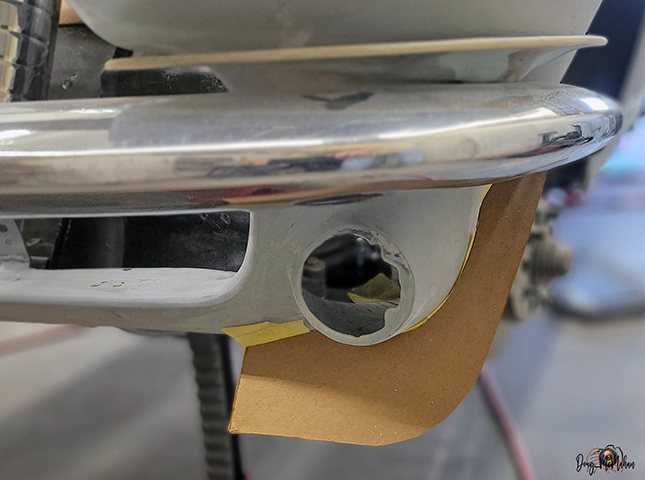
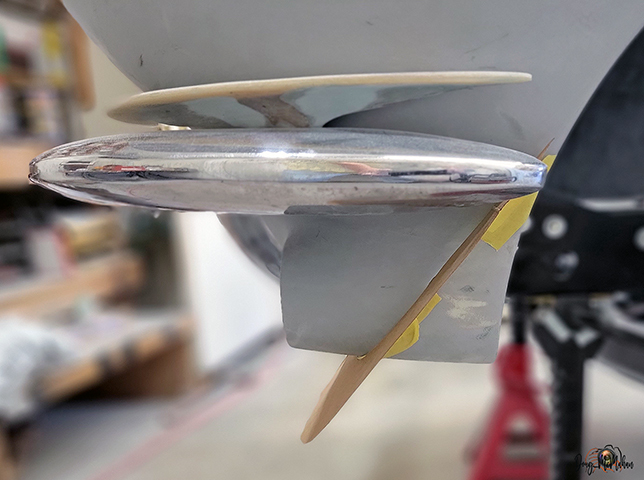
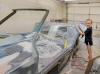
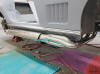
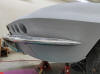
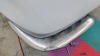
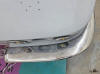
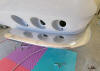
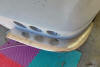
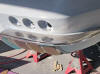
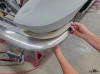
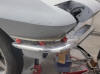
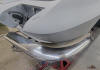
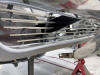
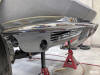
Test Fit of the Rear Bumpers - 10/18 |
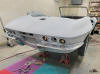 |
Checking the fit of the rear fascia and bumpers
...can you say 10' looks good - up close does not :( |
 |
 |
 |
 |
|
|
|
|
|
|
|
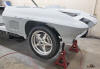
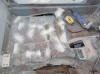
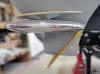
Needed another pair of skinny wheels to roll the '67 around -
these are from our '93 |
 |
|
|
|
|
|
|
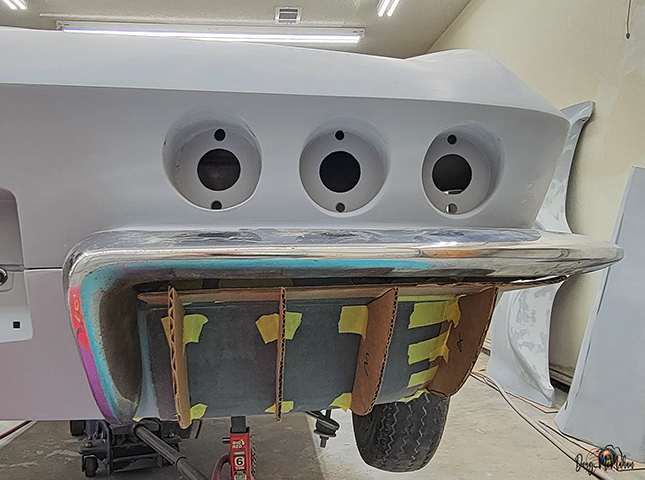
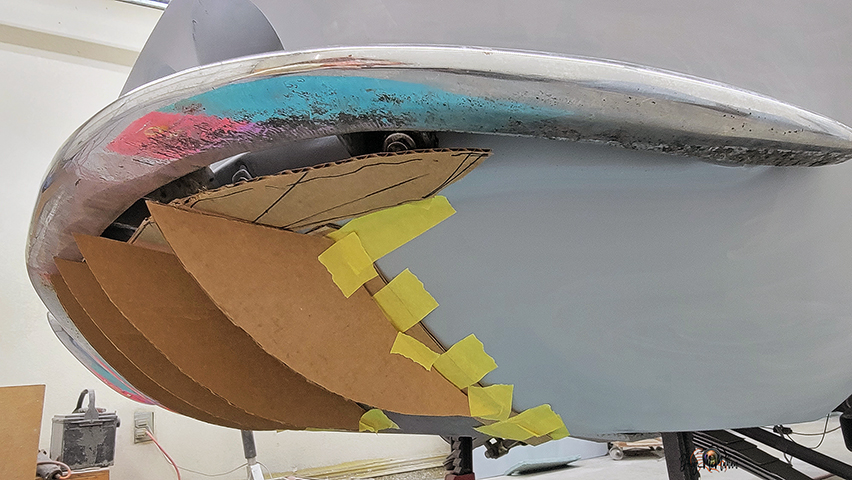
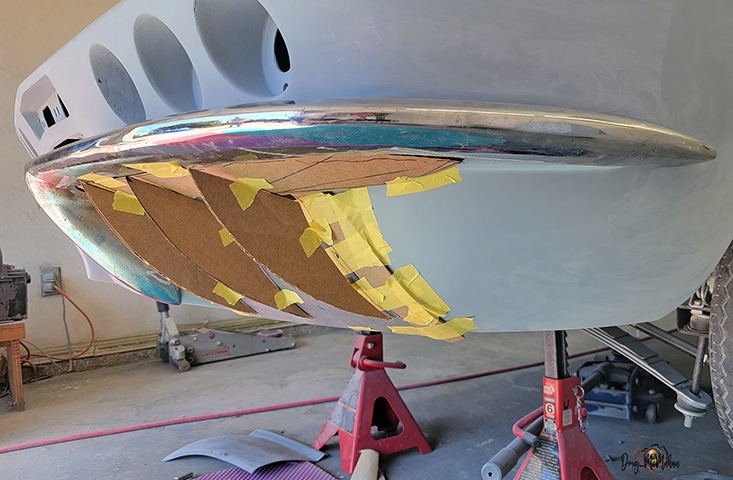
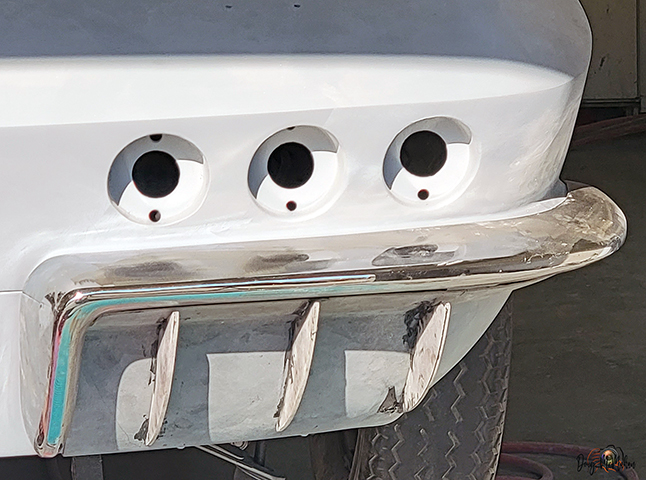
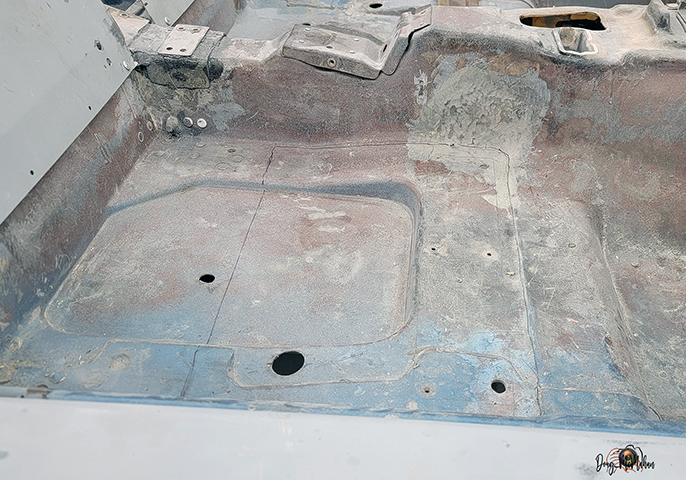
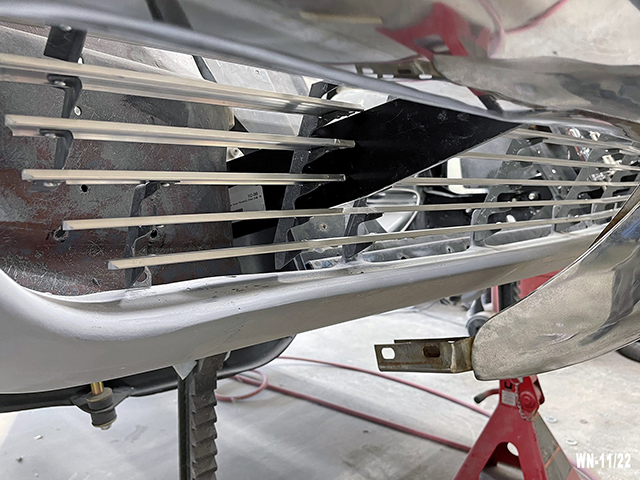
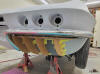
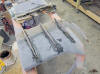
Tinkering with an Idea - Rear Diffusers - 10/19-30 |
 |
Wanting to hide the ugly under the bumpers (see picture above)
...and came up with an idea of a rear diffuser to hide that area
- this version has 4 diffusers |
 |
|
|
|
|
|
 |
 |
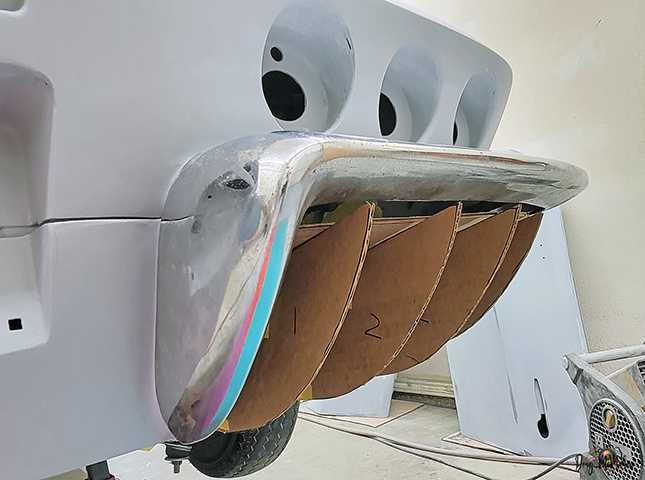
The top piece of the diffuser would fit the edge of the bumper
once the bumpers are tucked 3/4" |
 |
|
|
|
|
|
 |
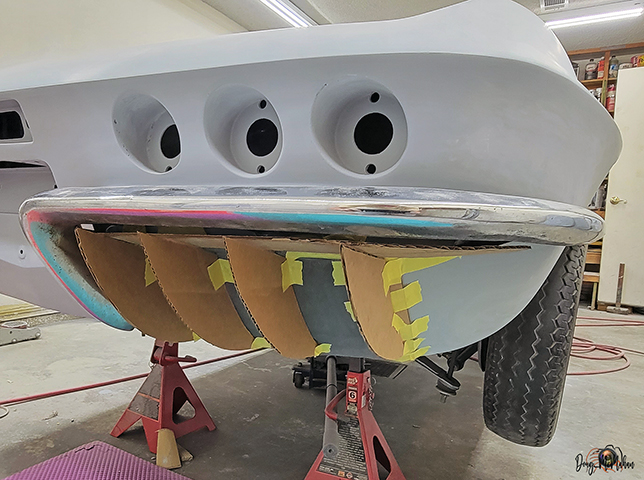
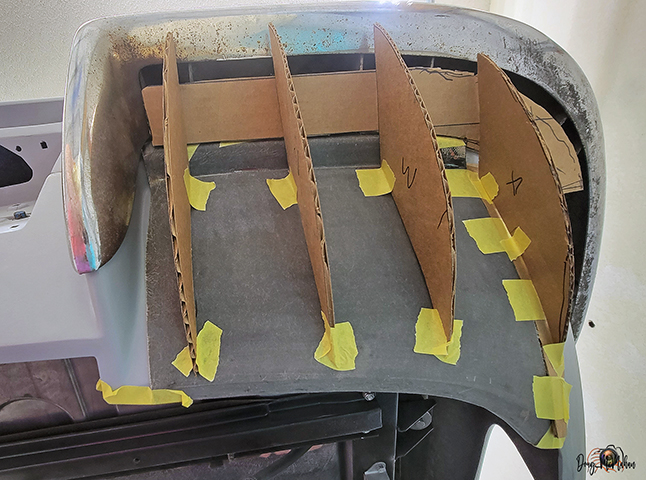
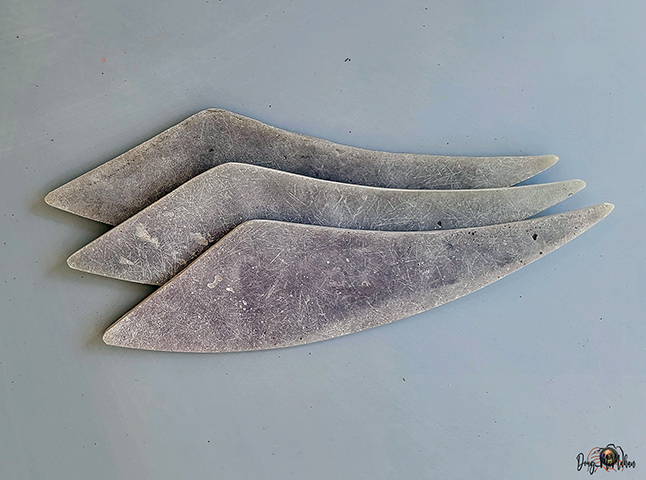
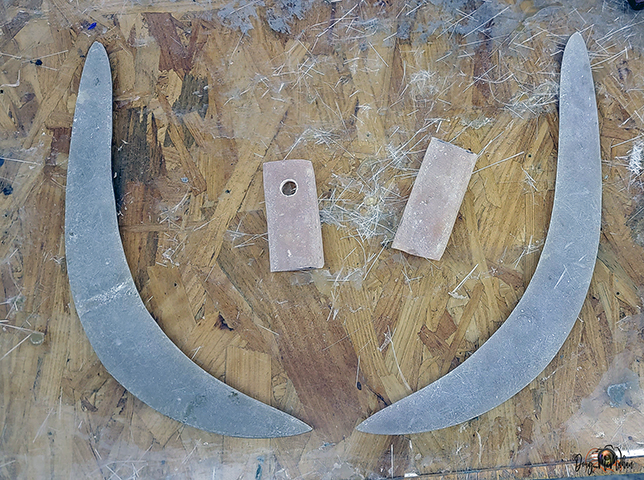
This version has 3 diffusers to match the number of taillights |
 |
 |
|
|
|
|
|
 |
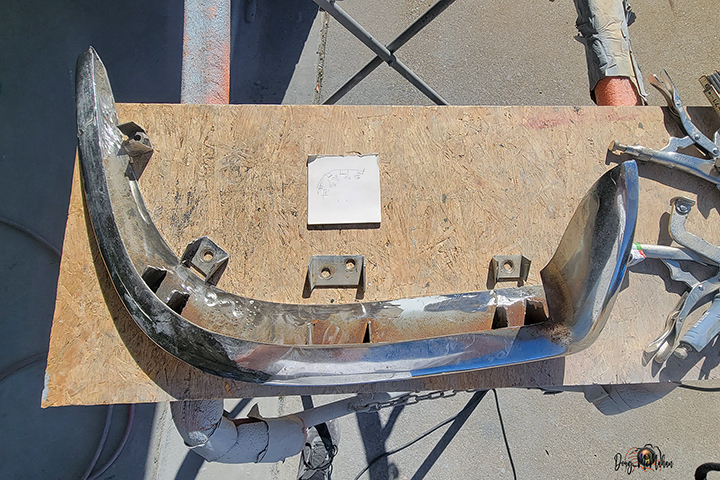
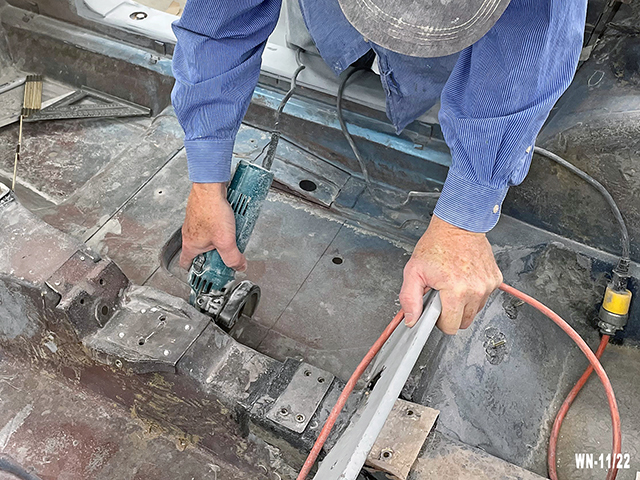
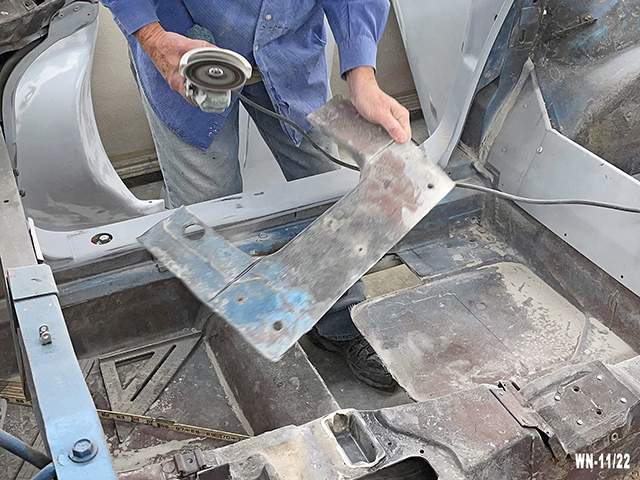
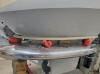
Time to tuck the bumpers
Cut all the mounting tabs off, metal to be removed, then weld
'em - nice tuck -->> |
 |
 |
|
|
|
|
|
 |
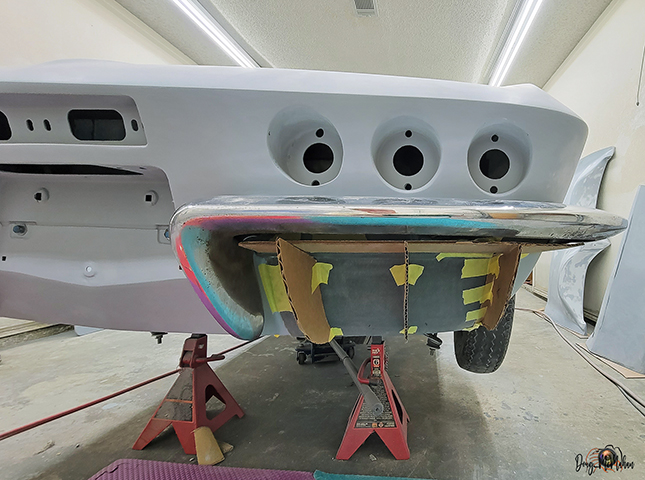
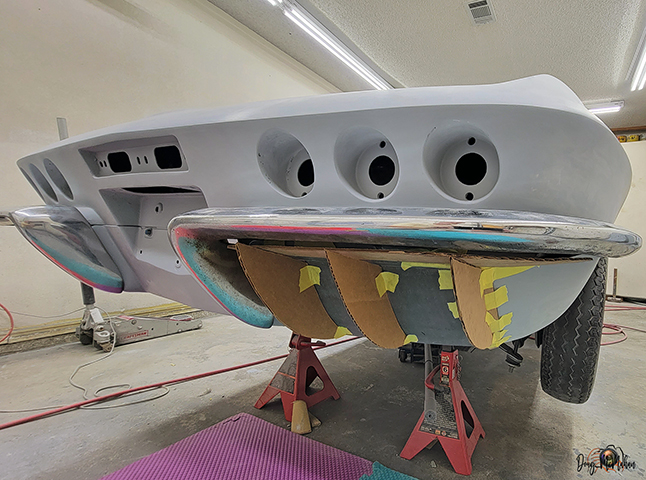
Now the final mock-up can be done on the diffuser panel
the design hides the ugly bottom side of the bumper |
 |
|
|
|
|
|
 |
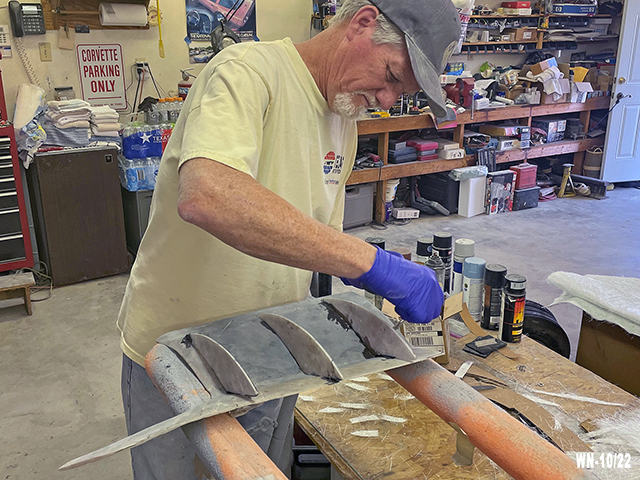
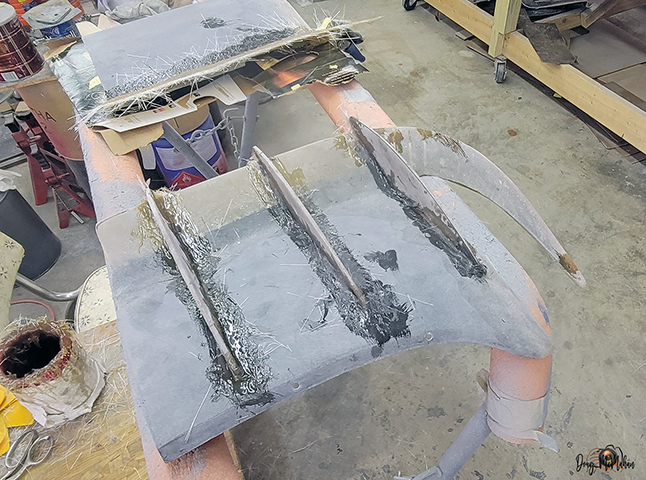
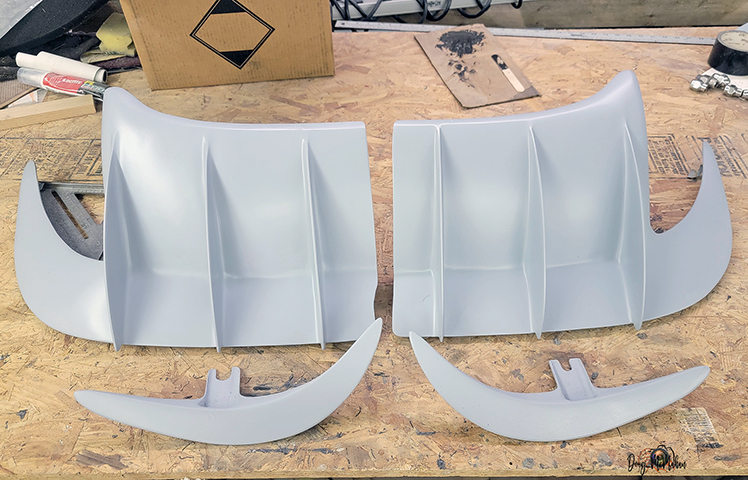
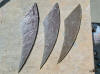
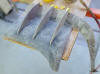
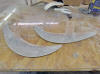
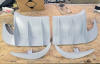
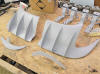
The 3 phases of diffuser fin creation - lay glass, cut shape
then grind/same smooth |
 |
 |
|
|
|
|
|
 |
 |
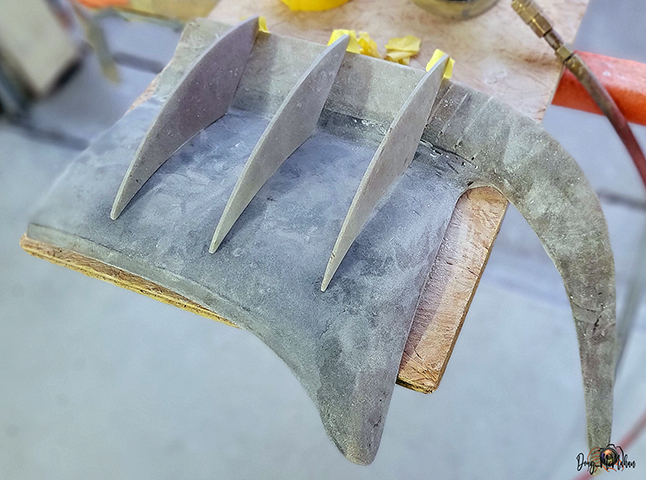
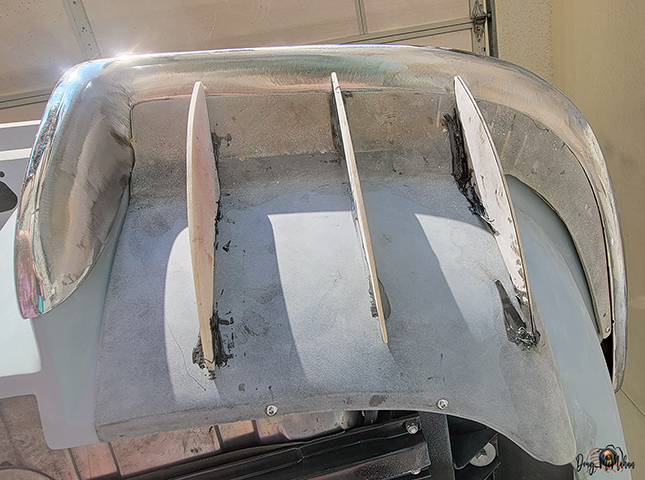
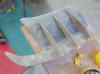
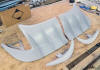
the backing plate is pretty much finished, test fitting the
diffuser fins |
 |
|
|
|
|
|
|
|
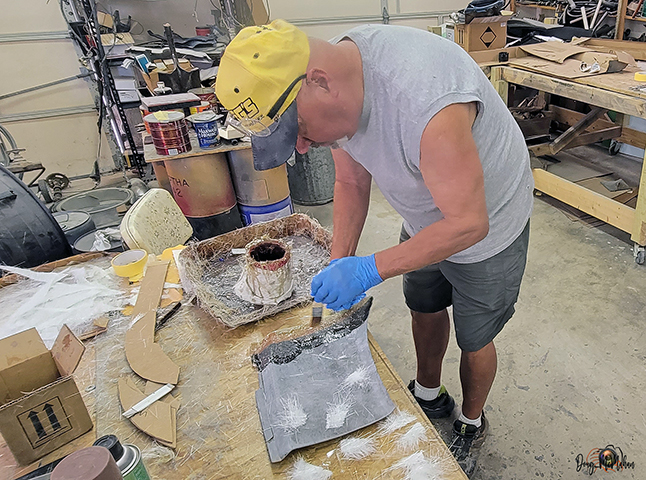
The left side diffuser fins and bumper modesty panel is laid up
in fiberglass |
 |
|
|
|
|
|
|
 |
used a long bolt, some thin wire w/weights to allow us center
the diffuser fins with the center of each taillight |
 |
|
|
|
|
|
 |
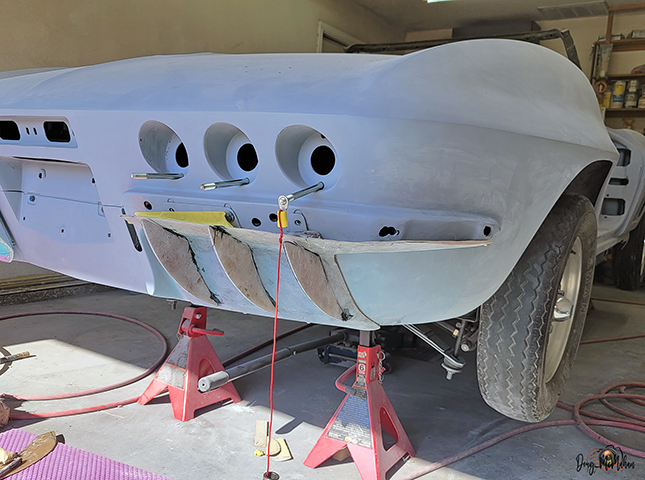
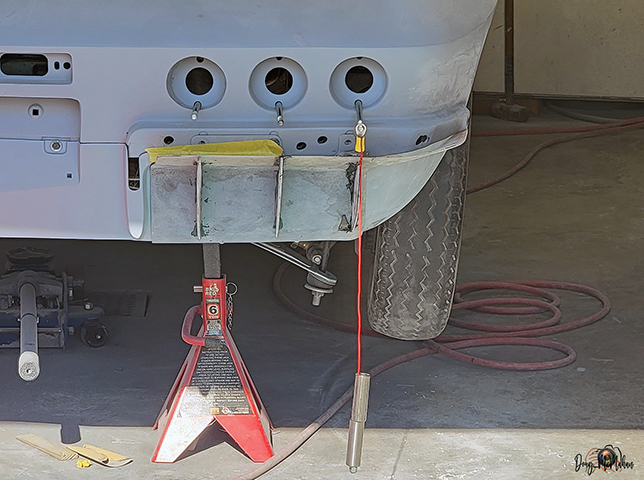
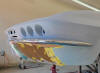
The right diffuser fins are bonded to the backing panel, allow
us to see how the end-game panel will look |
 |
|
|
|
|
|
 |
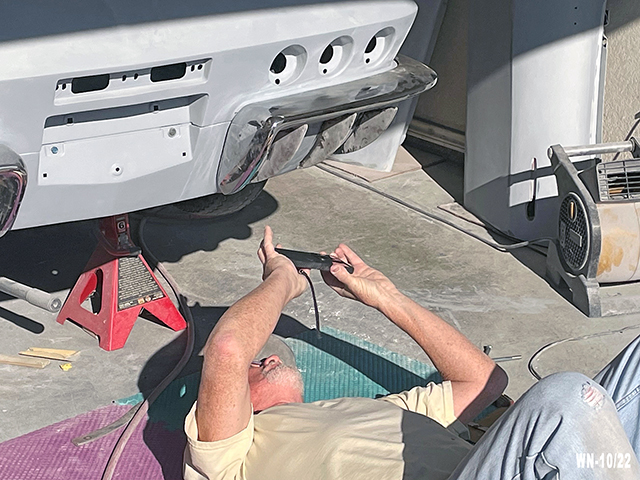
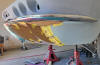
Doug documenting the progress from below - completely hiding the
ugly underside of the bumpers |
 |
 |
|
|
|
|
|
 |
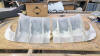
laying the 1st layer of glass to permanently bond the fins to
the backing panel |
1st layer of glass down - now to sand a nice radius and fill any
small voids |
 |
|
|
|
|
|
|
|
 |
William laying glass to extend the edge of the Left backing
panel, then to do all this again |
|
|
|
|
|
|
 |
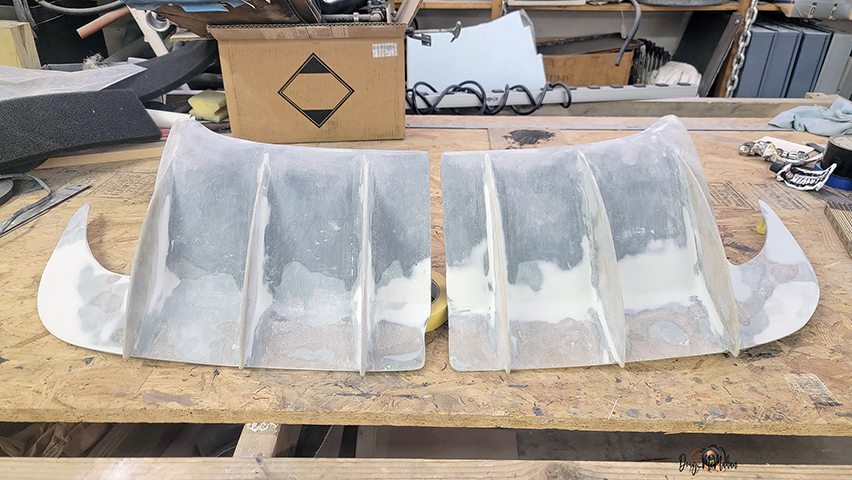
The rear diffusers are complete, waiting on a warm day to lay
the sealer and first coat of primer |
 |
|
|
|
|
|
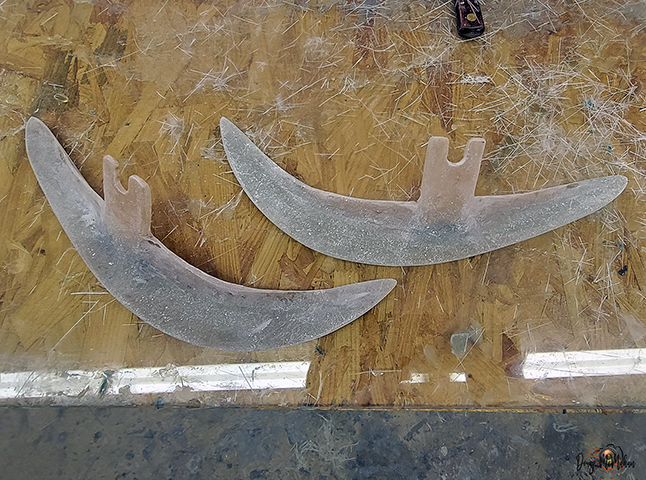
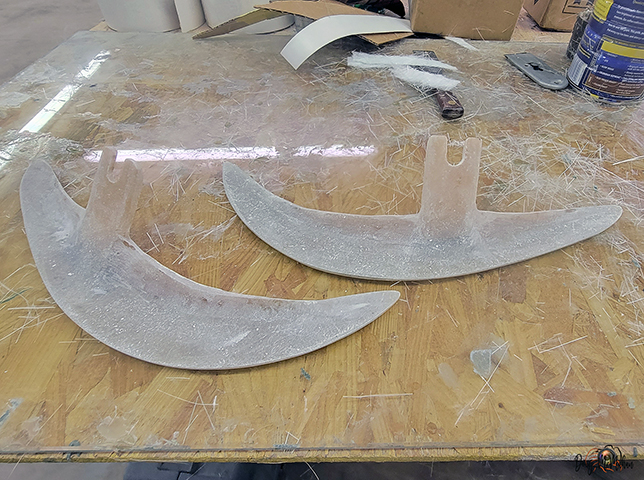
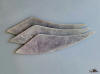
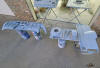
Tinkering with another idea - Front Wind Wings - 11/19-23 |
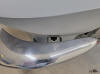 |
A pet peeve of mine is the ugly brackets on the front bumpers -
there are 2 choices, cut & move the brackets in which requires
one to narrow the bumpers ...or design and build a front
diffuser type fin that we see on numerous race cars. |
 |
|
|
|
|
|
 |
The decision was to build the fins first and see how we liked
them - we are liking it! |
 |
 |
 |
 |
 |
|
|
|
|
|
 |
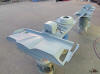
The fins will attach to the front outer bumper bolt - it is
rigid enough there won't be any bounce or the possibility of
touching the body. |
 |
|
|
|
|
|
 |
accomplishes two issues - covers the ugly bumper bracket - it
also carries a sports car theme to front of the '67 |
 |
|
|
 |
 |
|
|
|
|
|
|
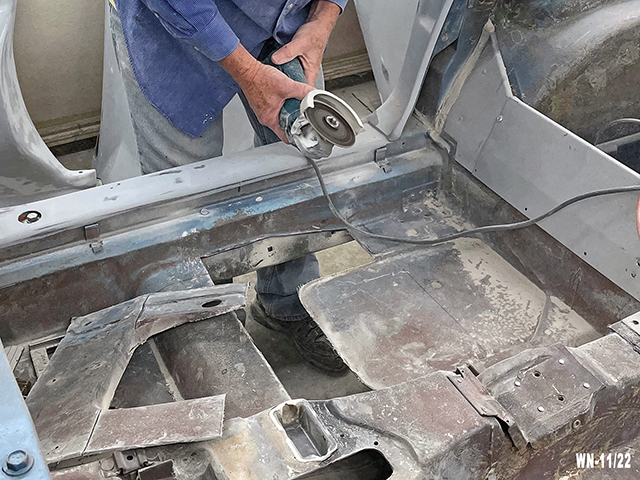
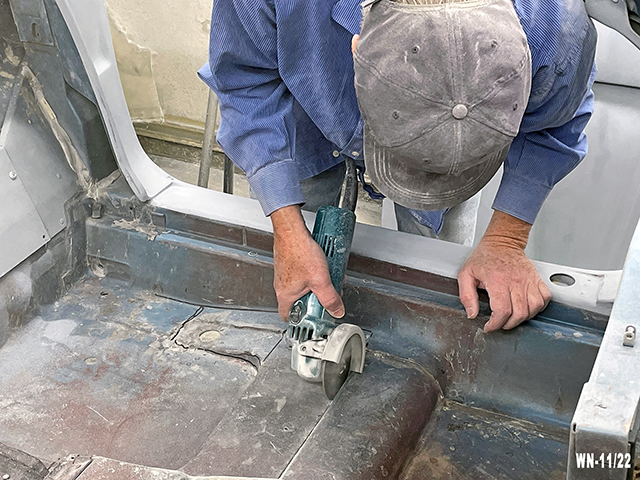
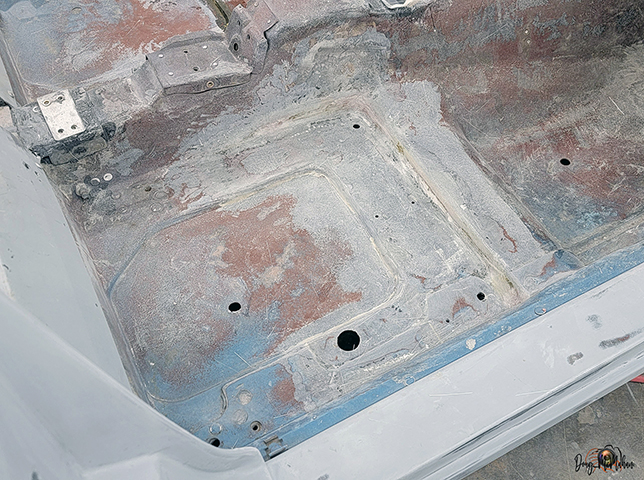
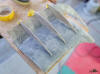
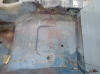
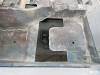
Tinkering with another Idea - Lowering the floors- 11/23-27 |
 |
Another bothersome area ...the front of the C6 seats sitting too
high due to the electronics, not only unattractive but they just
didn't fit like I wanted them to. |
 |
|
|
|
|
|
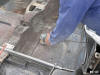 |
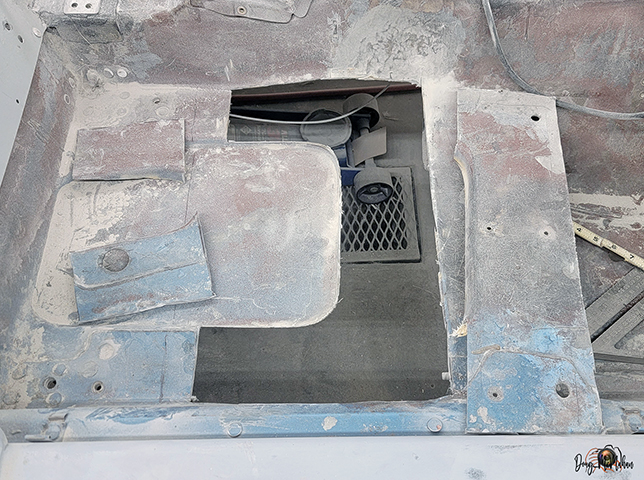
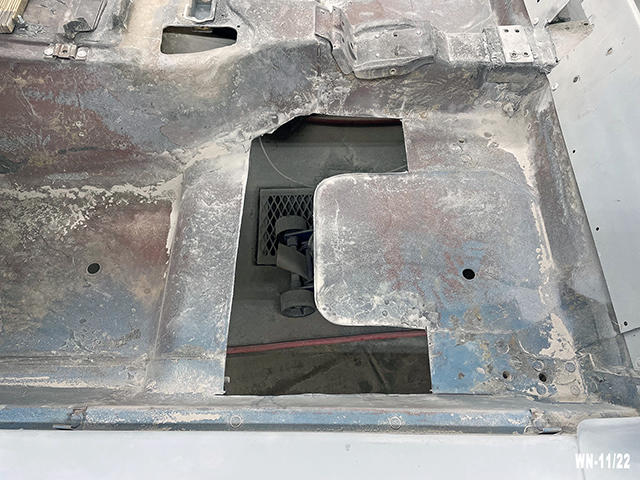
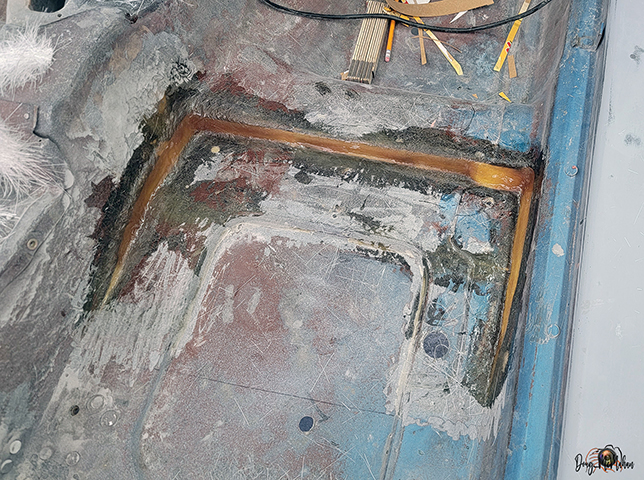
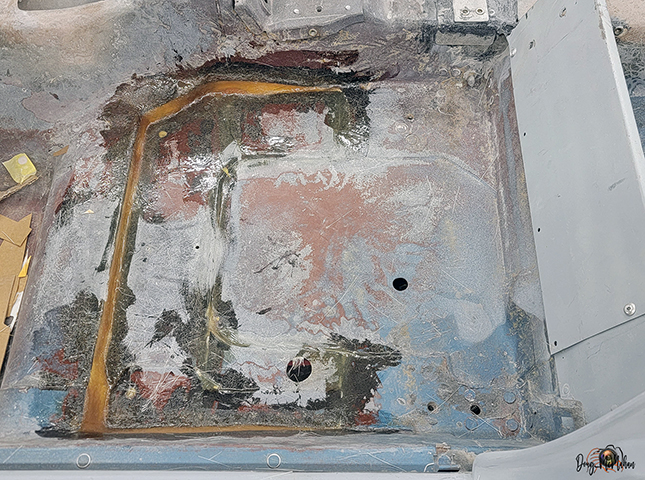
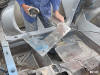
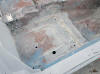
measure twice, cut once ...cutting out the area that will be
lowered to match the rear of the floorboard |
 |
 |
 |
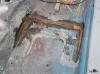
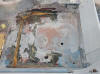
it always looks ugly before it looks awesome |
 |
|
|
|
|
|
|
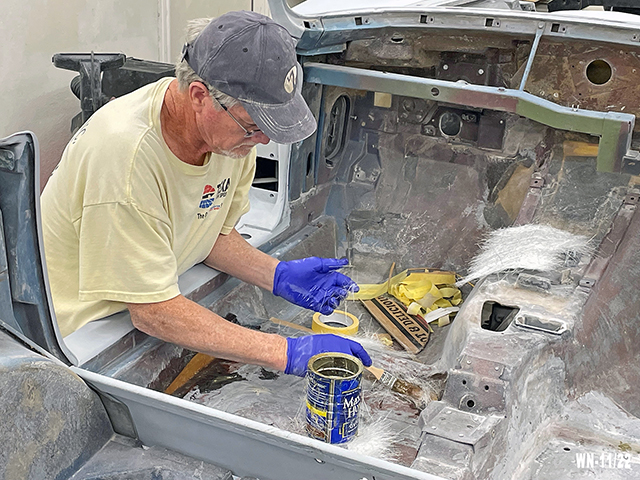
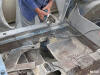
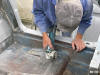
Measure, and set the level, with tape to hold the panel in place |
 |
 |
then fiberglass patches are used to attach it in that location |
|
|
|
|
|
 |
<- William applying a little heat to kick start drying
...then on to the driver's side -> |
 |
 |
|
|
|
|
|
 |
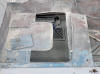
The remaining areas of the passenger's side was completed |
 |
 |
|
|
|
|
|
 |
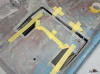
<- torn pieces of fiberglass, ready for being bonded
fiberglass resin to bond the driver's side to complete it - > |
 |
|
|
 |
 |
|
|
|
|
|
|
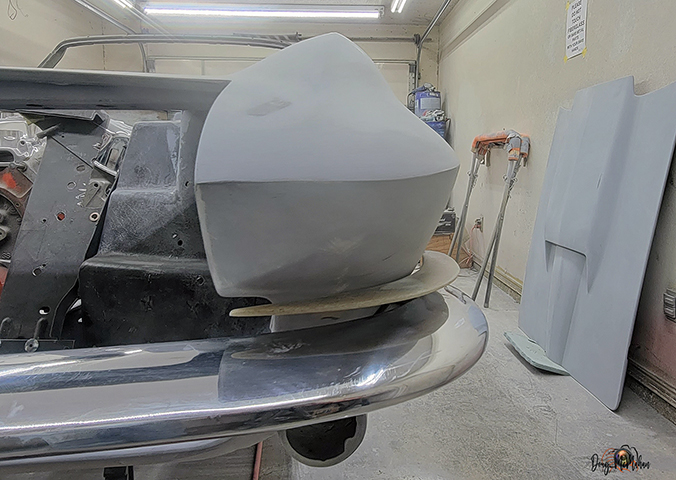
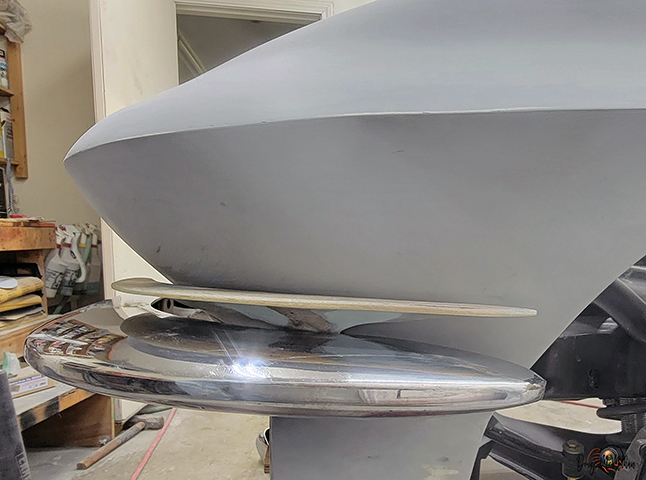
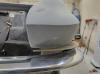
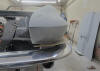
Test Fit of the Bumpers & Grill - 11/27 |
 |
to full test and finish the front winglets, we needed to test
fit bumpers - then altering the '64 grill, etc. |
 |
 |
|
|
|
|
|
Another Thought - Front Spoiler - 11/28 |
 |
Can't really do this until we have a ride height determined -
but getting ideas |
 |
 |
|
|
|
|
|
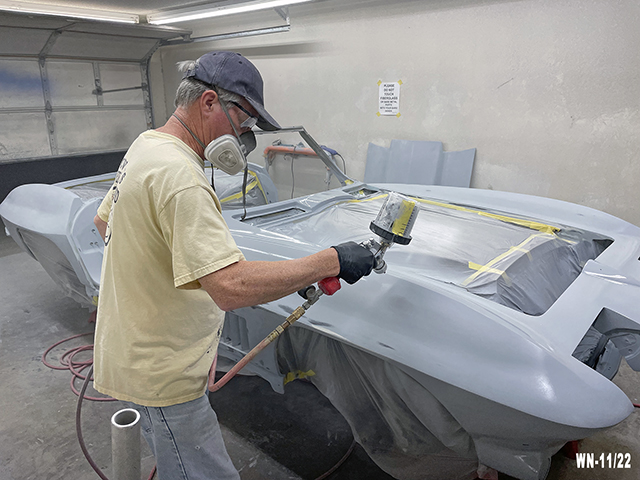
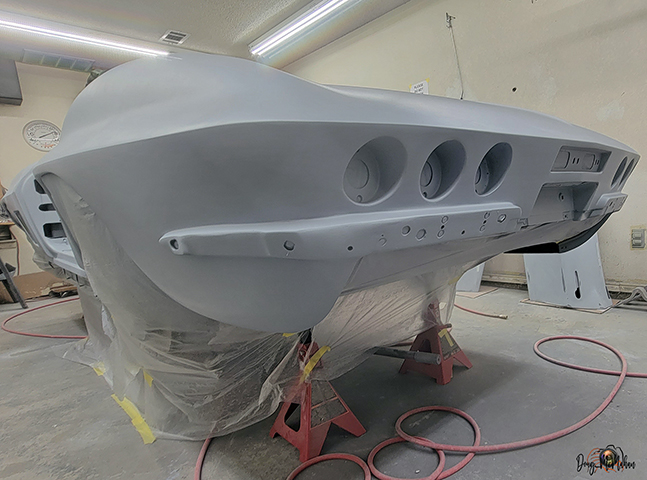
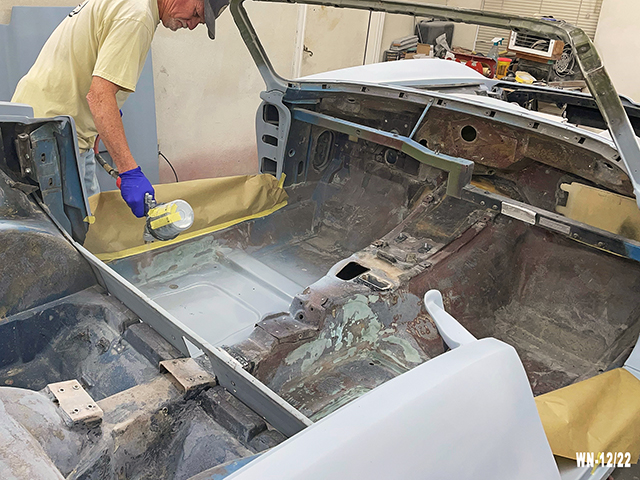
Time to Prime - 11/29
& 12/05-06 |
 |
We had a day that was in the upper 70s today - time to lay the
next coat of primer on the '67 |
 |
|
|
 |
 |
|
|
|
|
|
|
 |
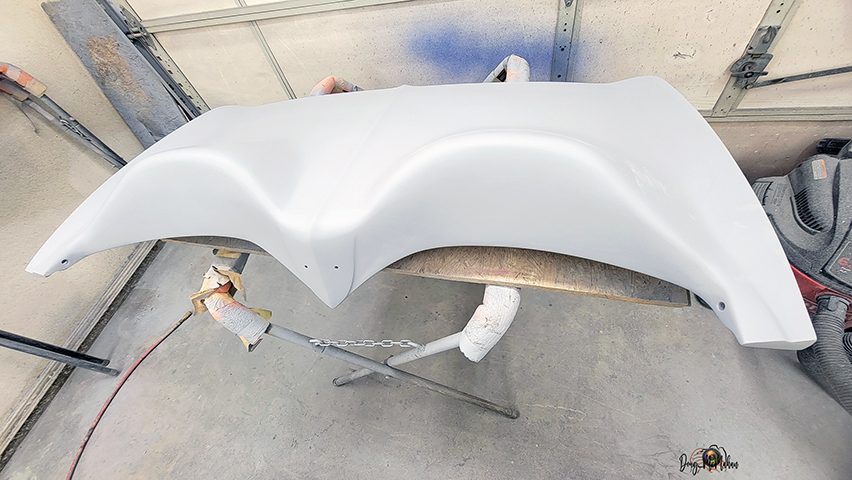
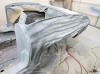
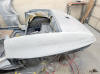
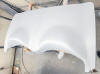
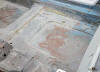
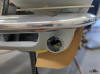
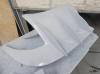
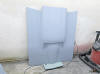
This customized decklid has come a long way
this is the before picture of this decklid |
 |
|
|
|
|
|
 |
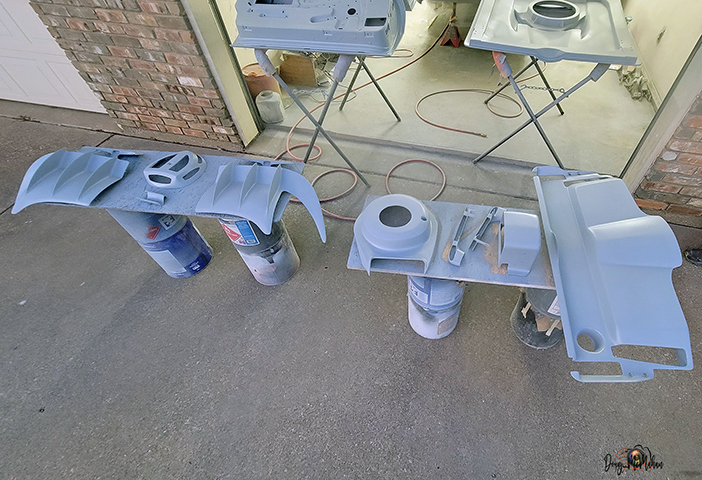
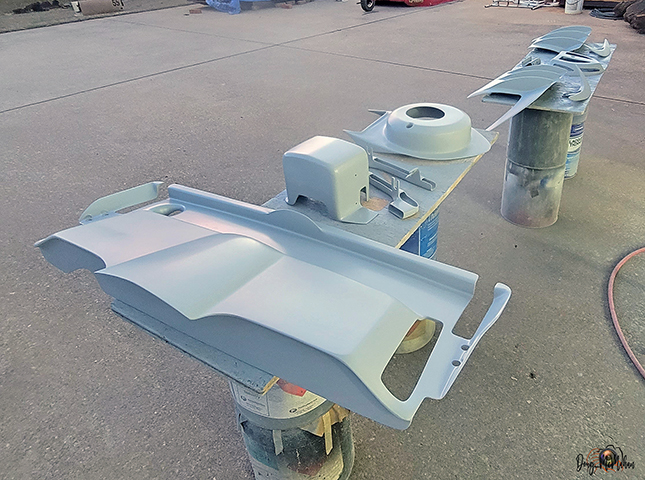
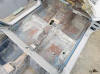
1st sealer & heavy coat of primer on the rear diffusers &
winglets |
 |
 |
|
|
|
|
|
 |
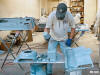 |
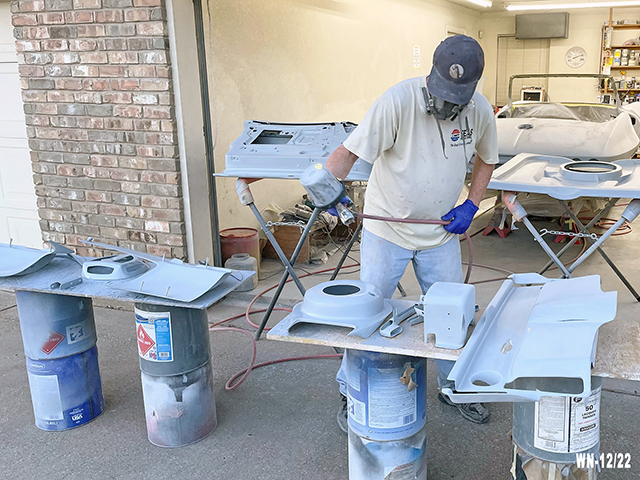
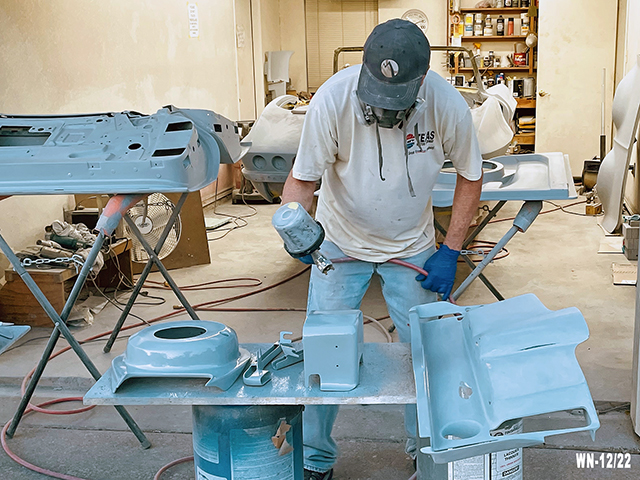
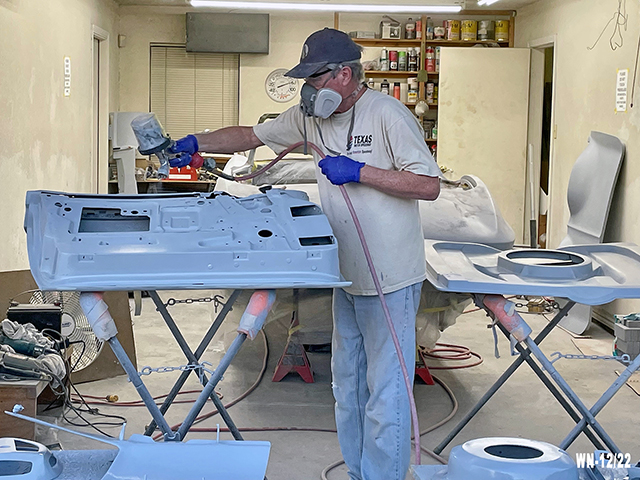
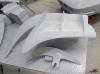
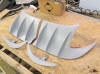
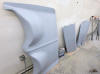
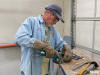
Spraying numerous one-off custom parts that have previously been
primed, then blocked |
 |
|
|
|
|
|
 |
parts are looking good ...almost paint ready |
 |
|
|
|
|
|
 |
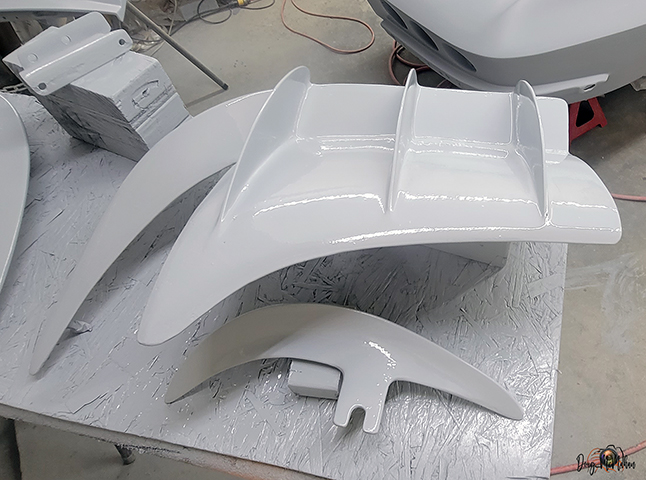
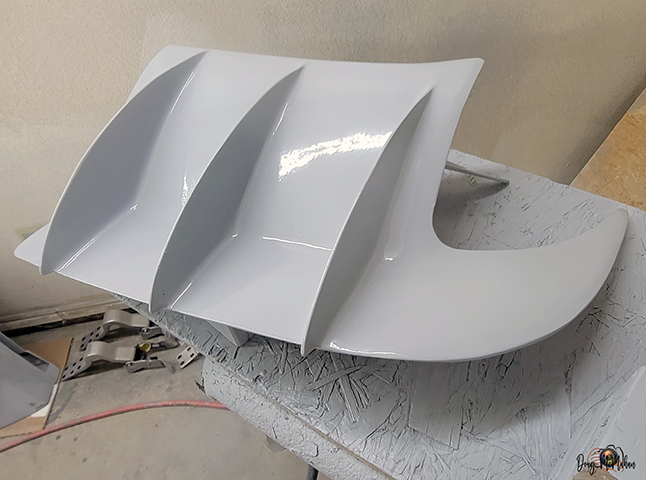
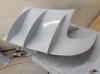
The rear diffusers and front winglets are turning out great |
 |
 |
|
|
|
|
|
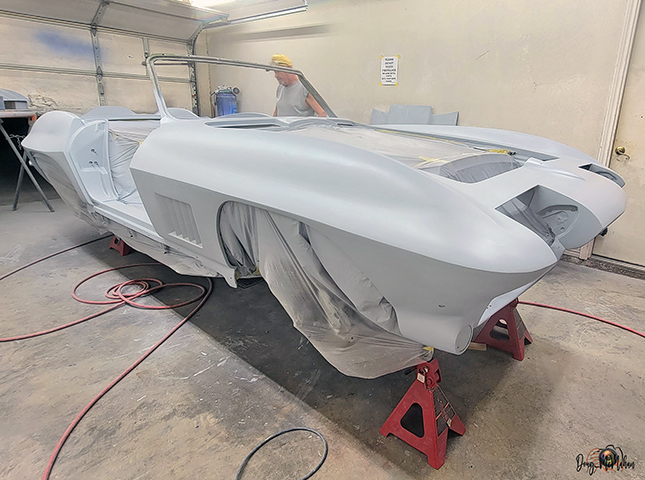
Things are Looking Good
- 12/09 |
 |
Panels & the body have been gapped and blocked numerous times.
It will enjoy this primer coat until after the bottom side
totally finished and the body is put back on the frame for the
last time |
 |
 |
 |
 |
 |
|
|
|
|
|
 |
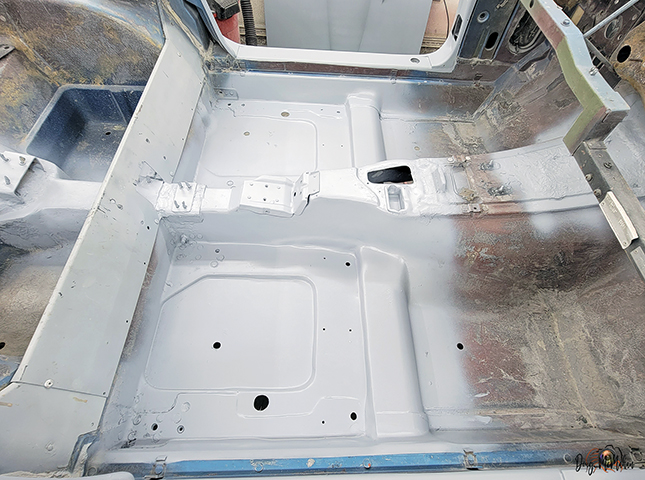
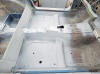
The dropped floorboards are ready for the HOK KD3000 sealer & 2k
primer |
 |
|
|
|
|
|
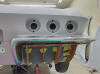
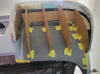
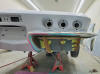
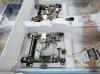
Finished Floorboard & Seat Frame Modifications
- 12/27-31 |
 |
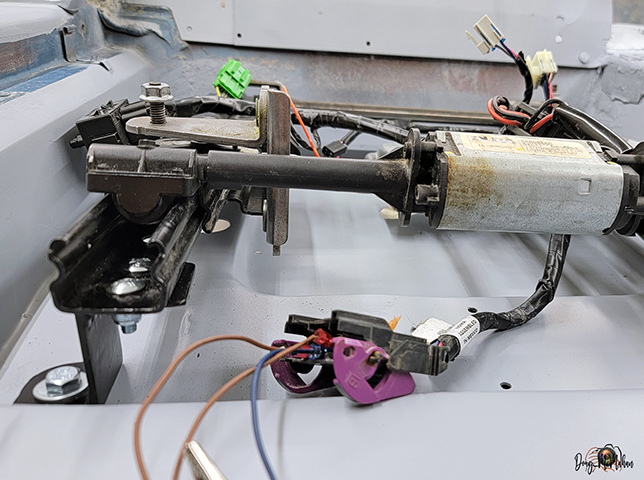
Building & Test Fitting the new front seat brackets |
 |
|
|
|
|
|
 |
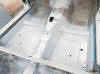
Priming the finished floorboards |
 |
 |
|
|
|
|
|
 |
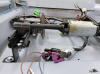 |
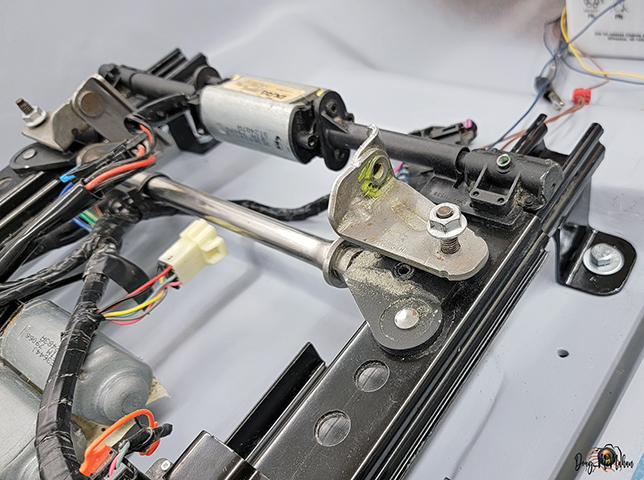
Final Test Fit of the modified seat frames with their new
brackets |
 |
|
|
|
|
|