Additional Pages
Page 1 2
3
4 5 6
7 8 9 10
11 12
13 |
|
|
|
|
|
|
CONTINUATION OF THE BUILD |
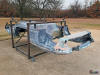
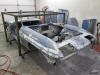
More Underbody & Deck Lid Work - 12/28-29 |
 |
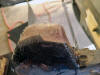
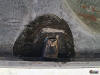
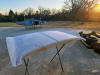
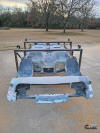
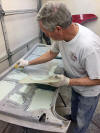
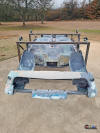
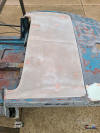
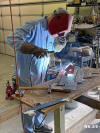
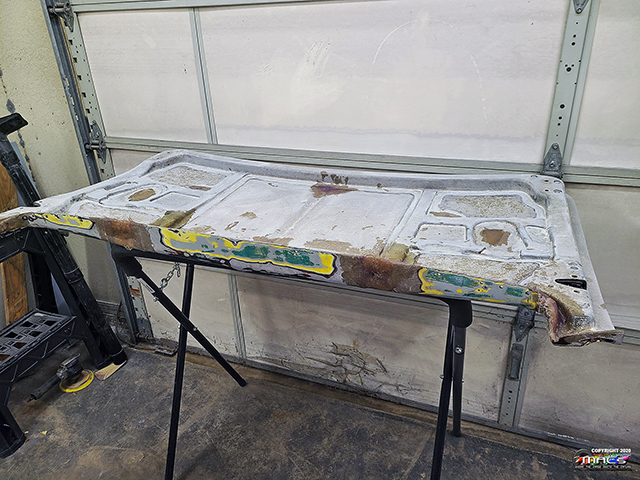
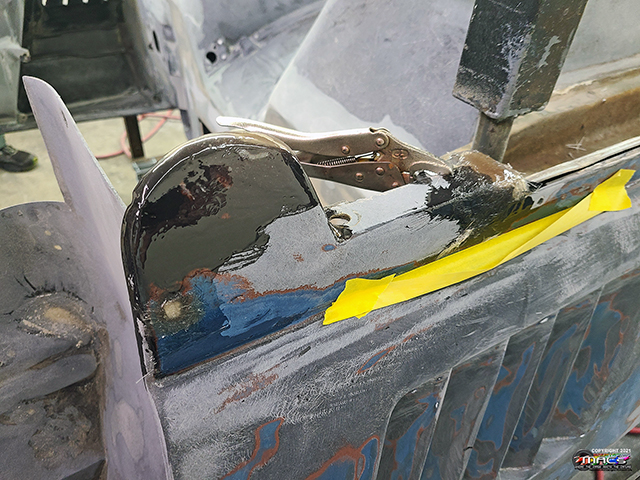
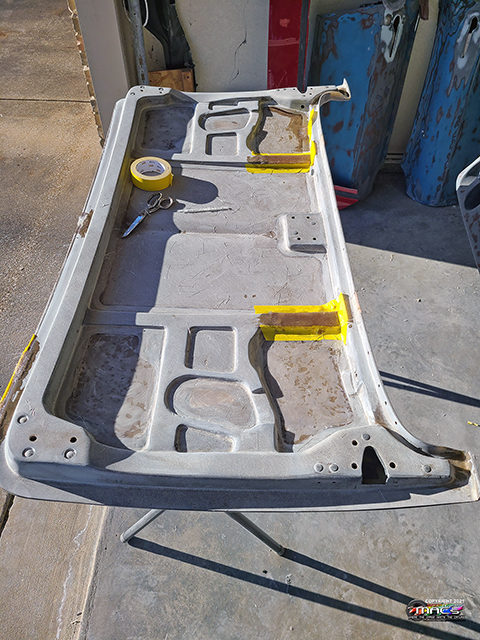
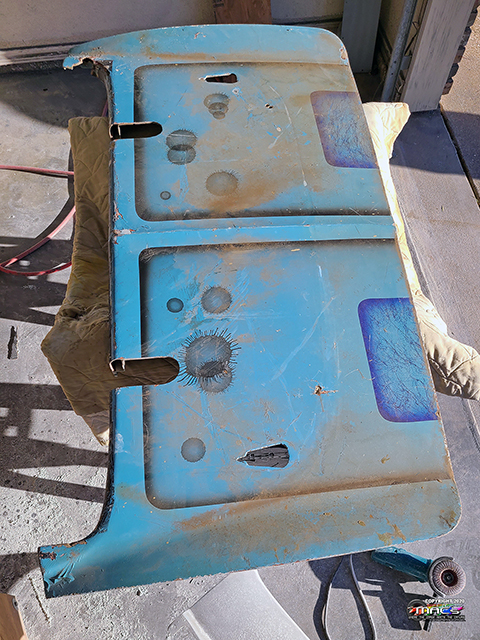
William is making great progress on the molested deck lid - the
cutouts for the roll bars are patched and smoothing the
underside is underway - only glass at this time |
 |
|
|
|
|
 |
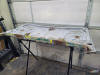
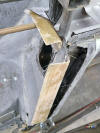
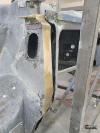
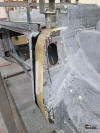
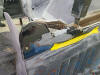
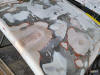
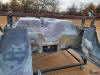
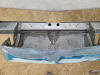
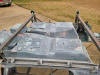
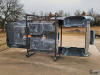
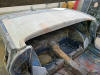
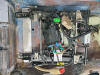
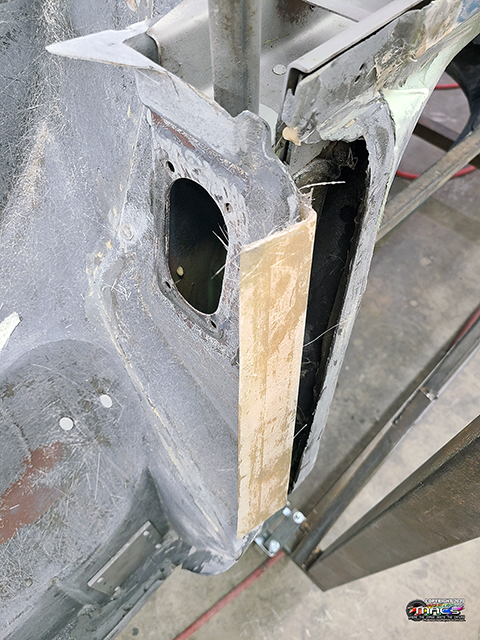
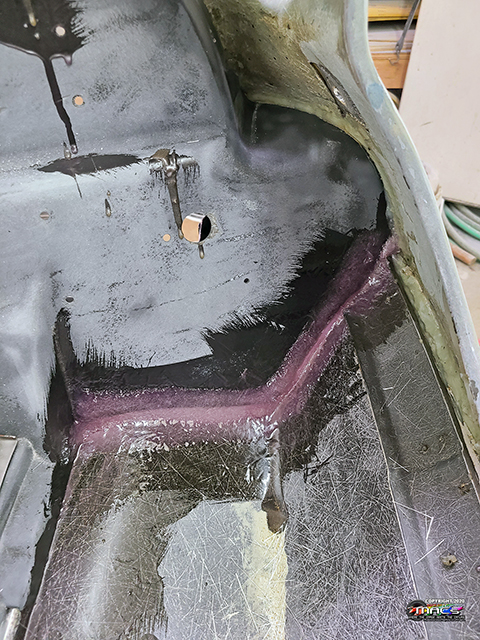
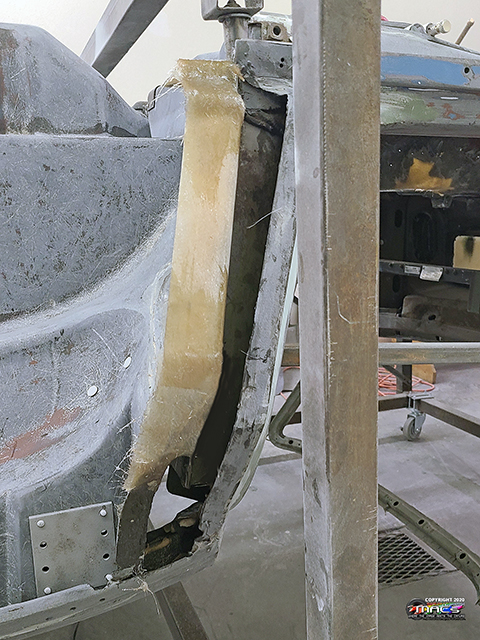
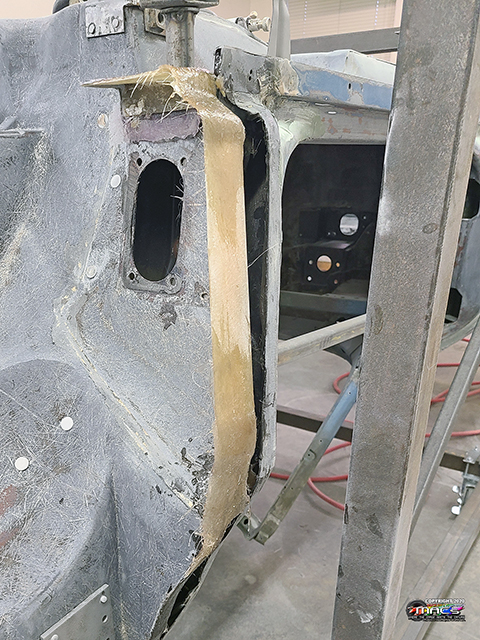
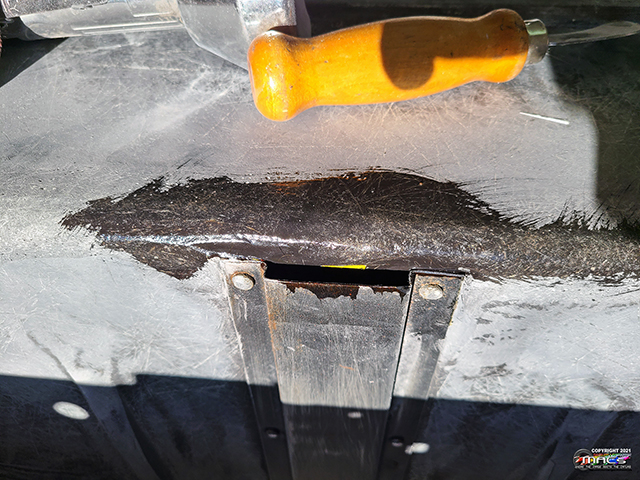
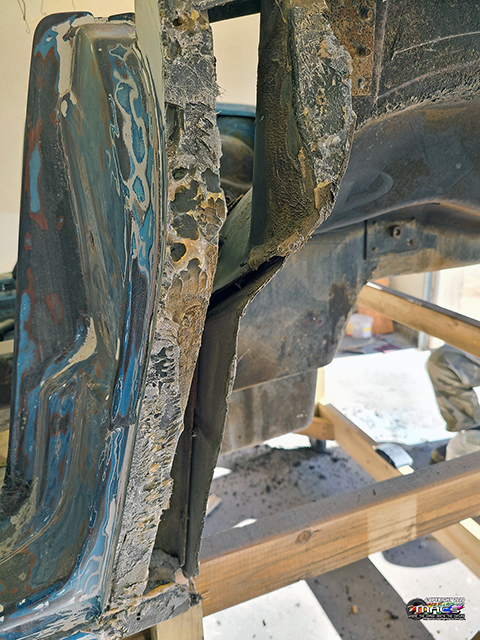
Here, we are rebuilding the mid-bonding strips for the rear
quarter panels -
see
before pic. This has to be done a section at a time, the
connecting them so it takes time |
 |
|
|
|
|
|
 |
 |
 |
 |
| |
|
|
|
|
|
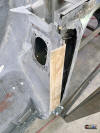
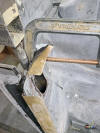
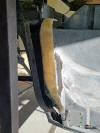
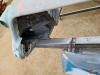
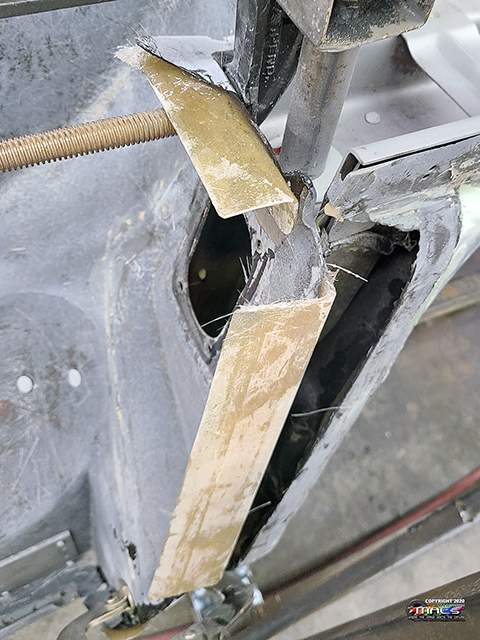
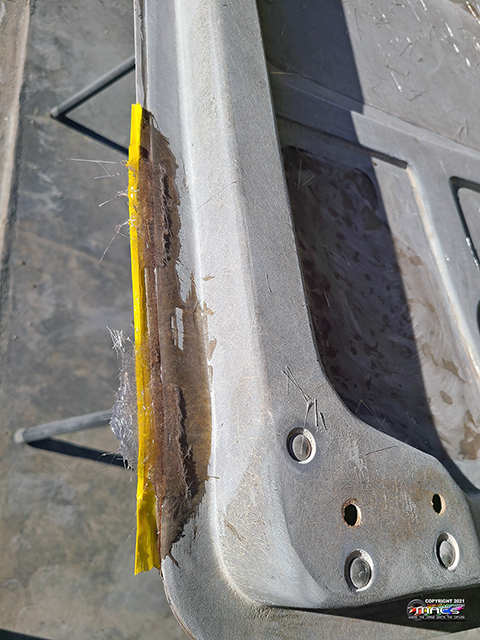
built some additional fiberglass angle which will be cut and
used to create the missing sections of the bonding strips |
 |
|
 |
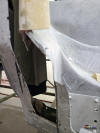
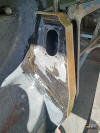
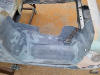
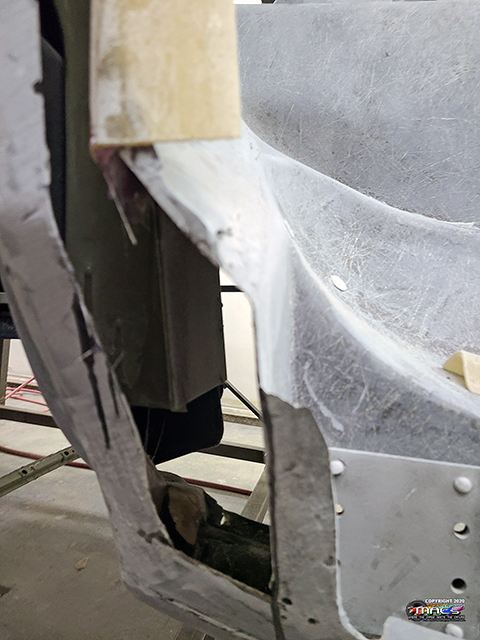
we are bonding the rest of
the fenderwell to body joining areas rather than replacing the
old rubber pieces - this is what is typically done on restomod /
replacement fender wells |
 |
| |
|
|
|
 |
 |
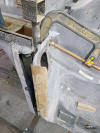
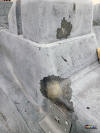
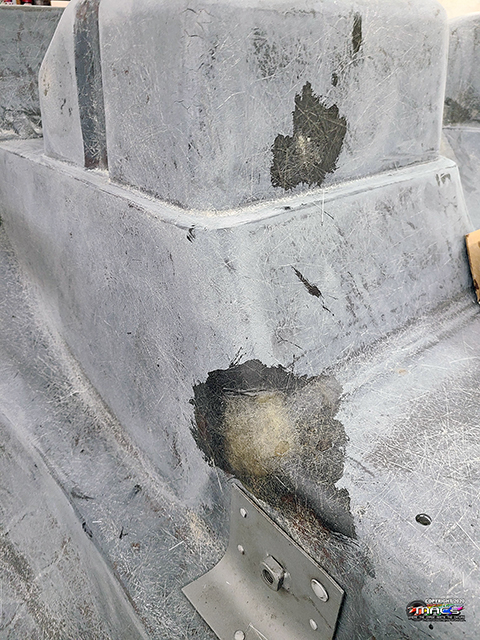
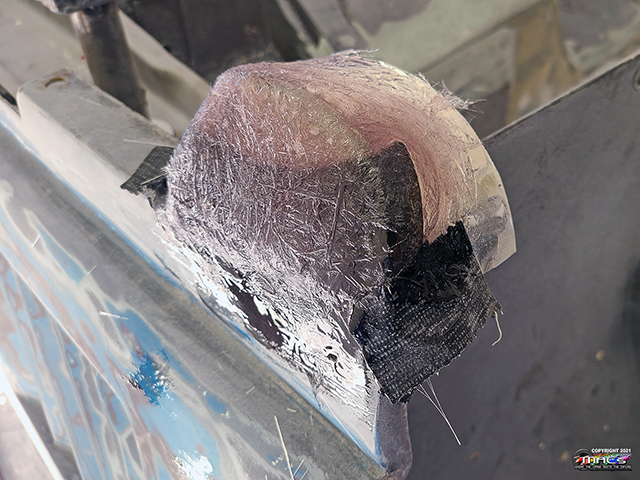
Several areas of
fiberglass repair were found during the last sanding - so
continued work on them |
 |
| |
|
|
|
More Underbody & Deck Lid Work
- 01/01 |
|
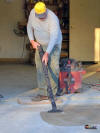
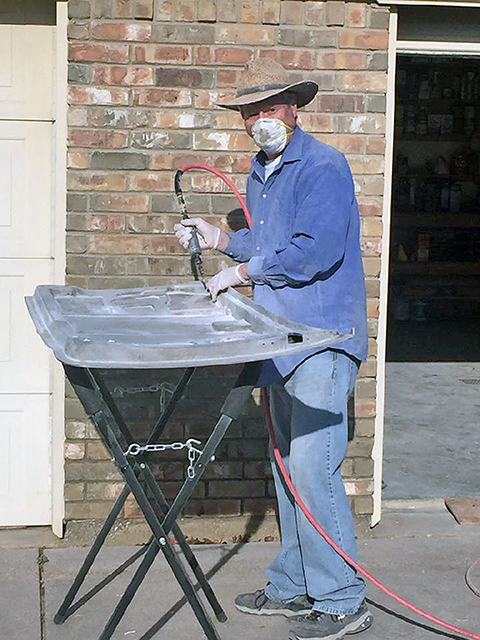
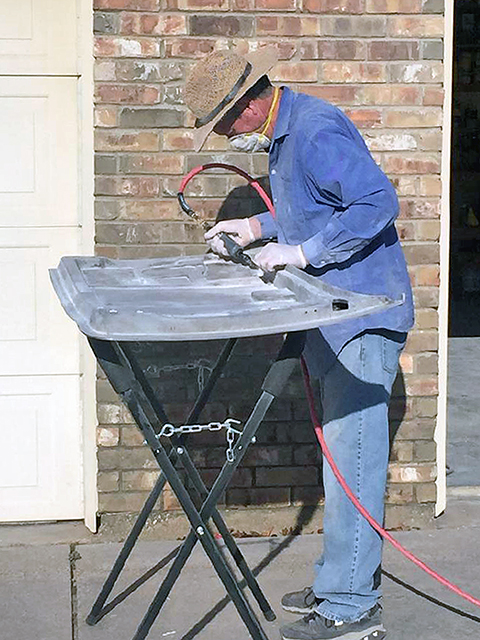
I hadn't planned going to the shop today but decided I had a
couple of hours available mid-day; even though it was a cold (39
degree day with drizzle). I needed to do some of the worst part
of working on a Corvette Body - GRINDING & SANDING
FIBERGLASS. So I closed off the paint room door from the
main shop, opened the overhead door, turned on the fan at the
front of that room and started grinding & sanding. After a few
hours, the cold and the fan, I was fairly cold - but I got it
finished - warmed up and then laid a little more fiberglass |
 |
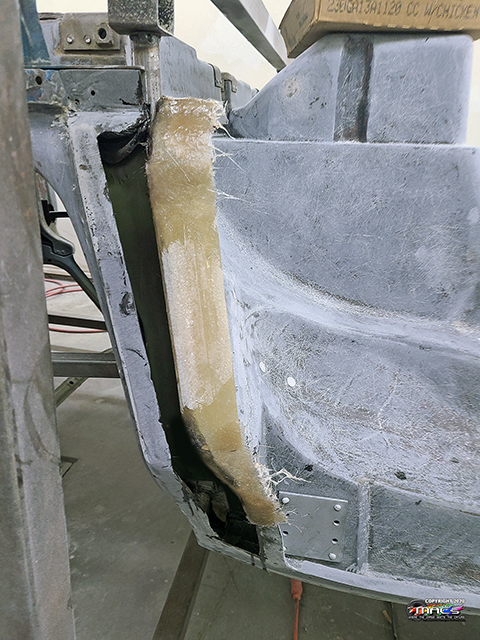
Almost completed the rebuilding of the mid-bonding strips for
the rear quarter panels - the fiberglass is still curing, then a
little grinding & trimming will wrap them up. |
 |
|
|
 |
 |
|
|
|
|
|
|
|
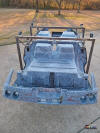
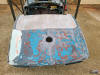
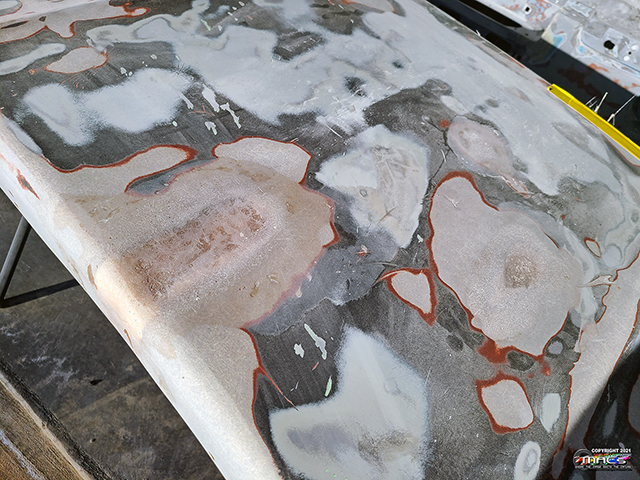
Ground & sanded both sides of the molested deck lid - it is
getting very close |
 |
 |
A VERY DIRTY & ITCHY JOB ...but someone has to do it |
| |
|
|
|
More Underbody & Deck Lid Work
- 01/03 |
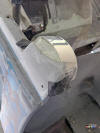 |
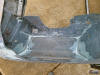
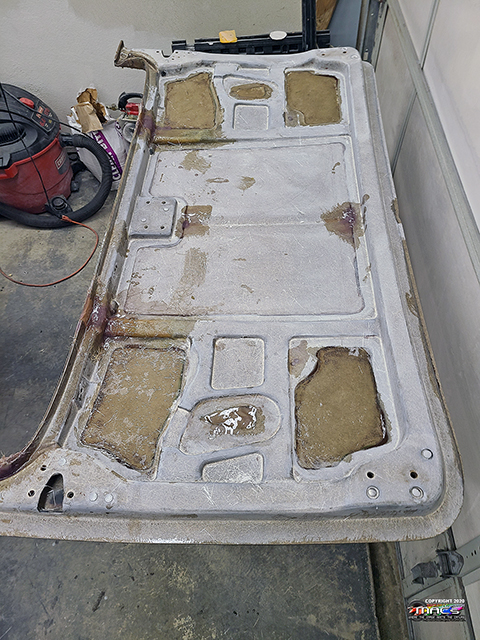
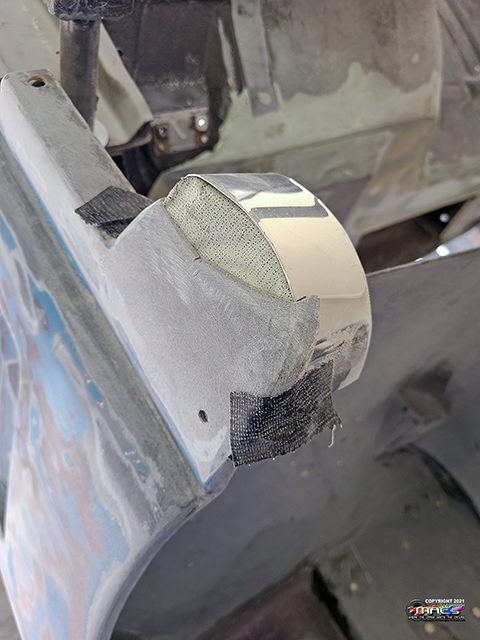
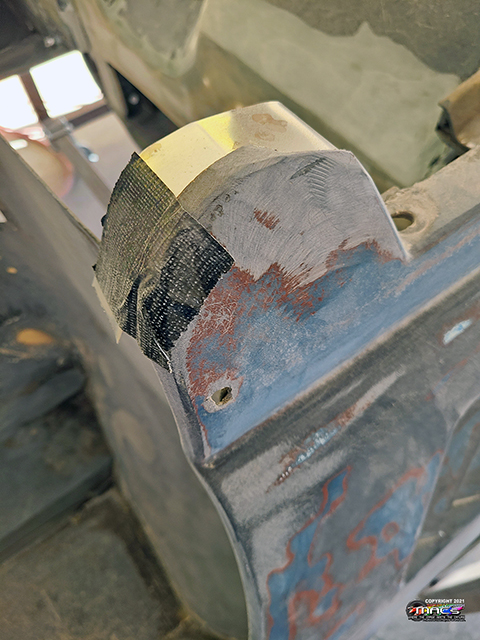
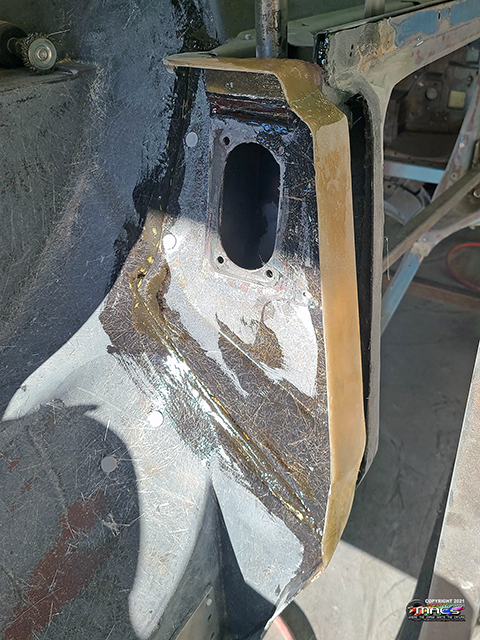
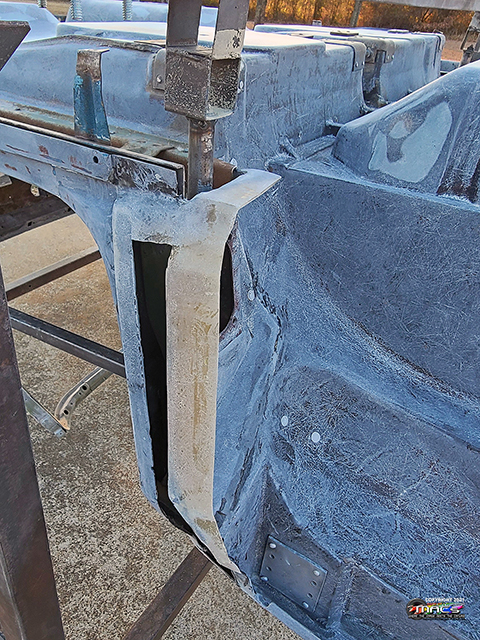
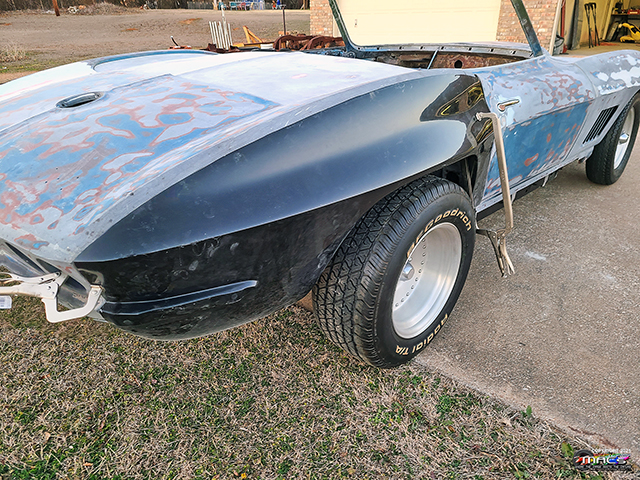
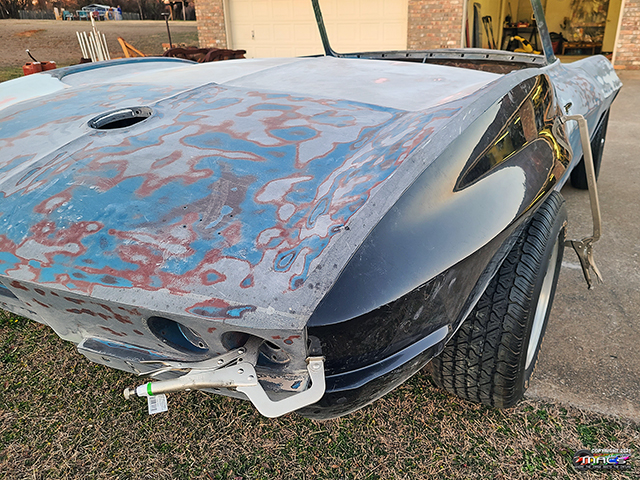
Over the years, someone
cut the bottom of the front fenders ...started the rebuild of
those areas today. After sanding it down, a smoothing layer of
resin was applied |
 |
 |
 |
 |
 |
| |
|
|
|
 |
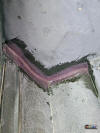
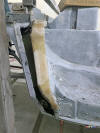
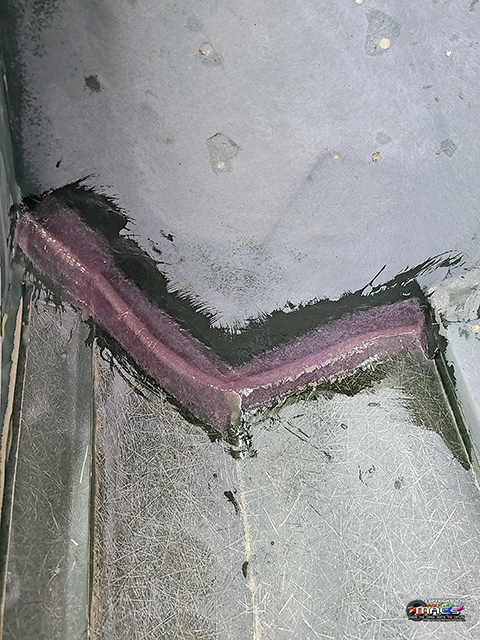
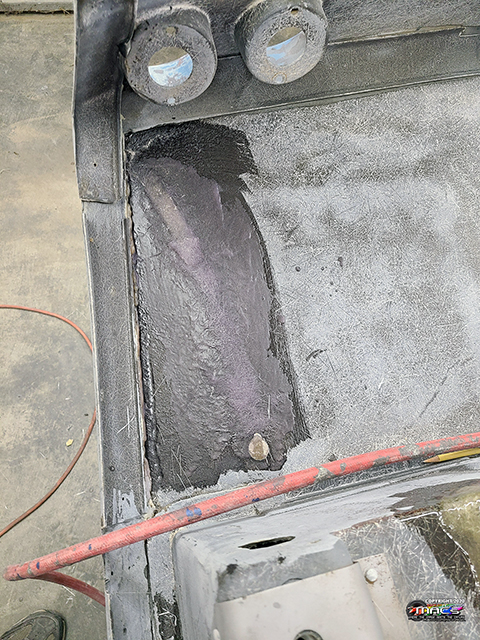
The bonding strip rebuild
is complete for now - we are sure that there will be additional
trimming will be required, once we start bonding the quarter
panels |
 |
| |
|
|
|
 |
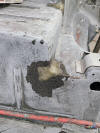
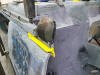
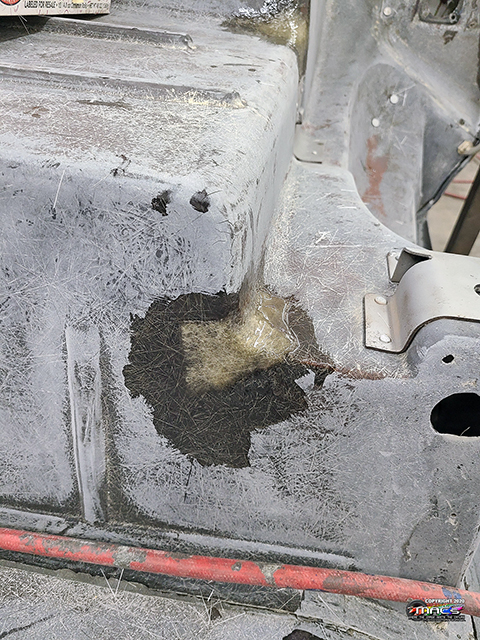
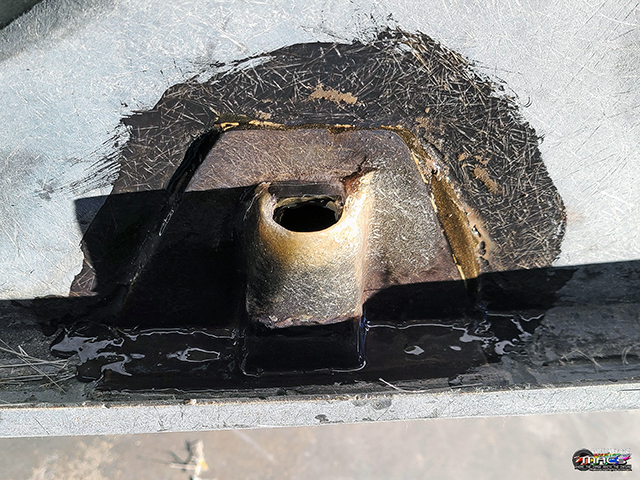
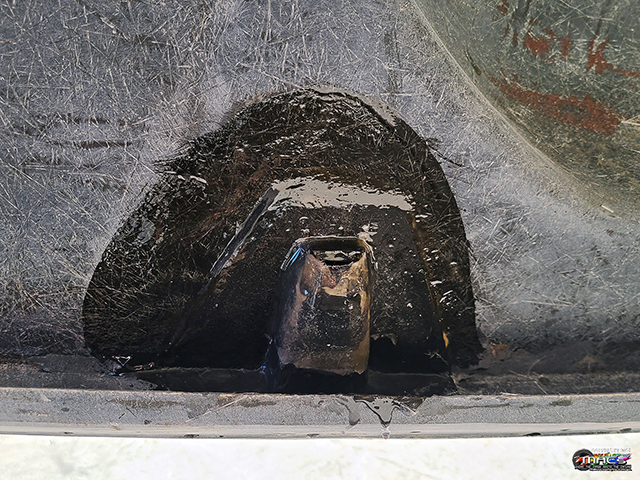
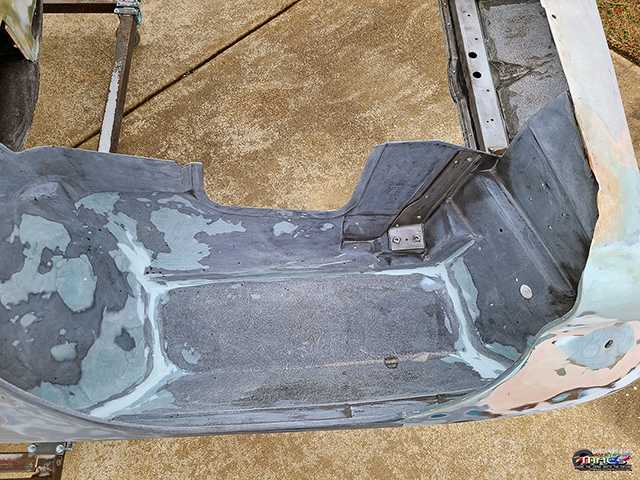
Rebuild / cleanup of the
drain portals and cracks in the back of the storage compartment |
 |
 |
| |
|
|
|
 |
 |
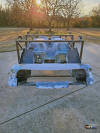
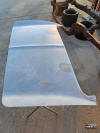
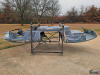
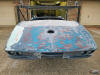
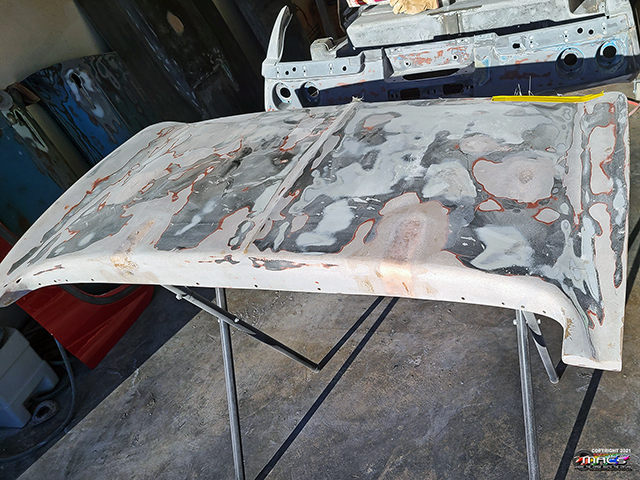
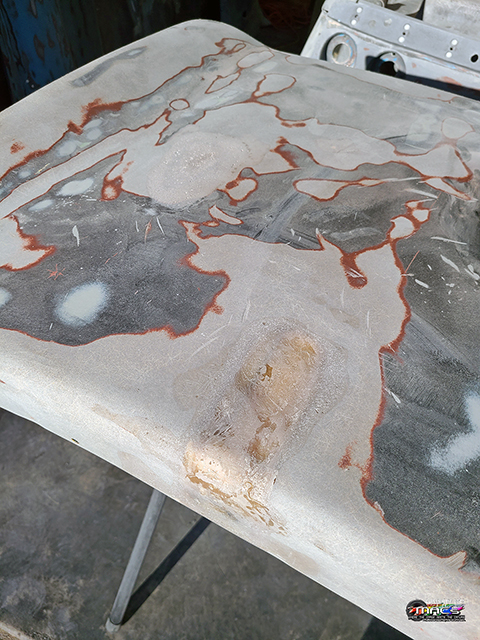
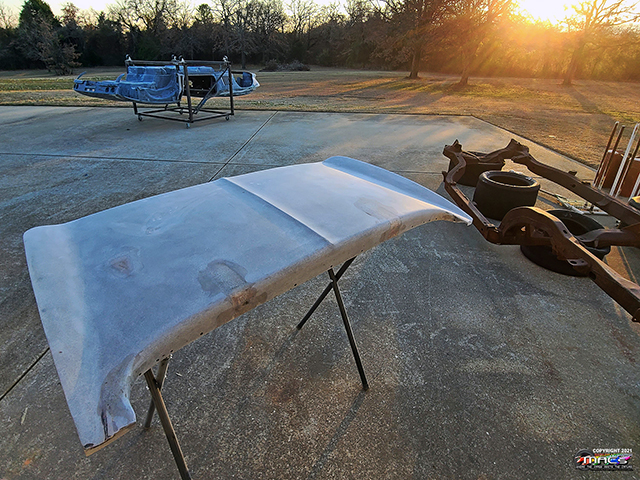
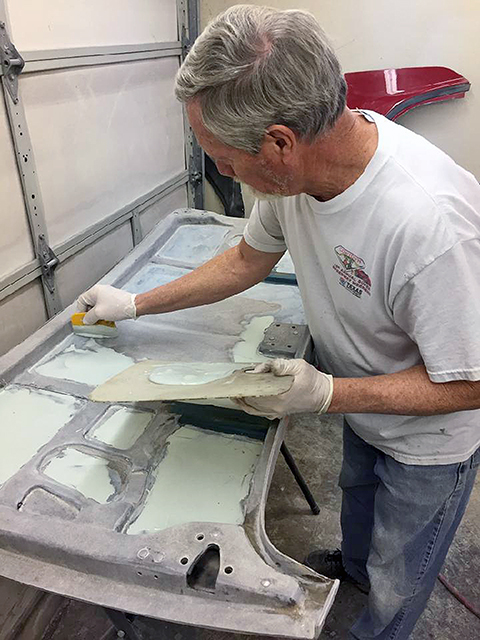
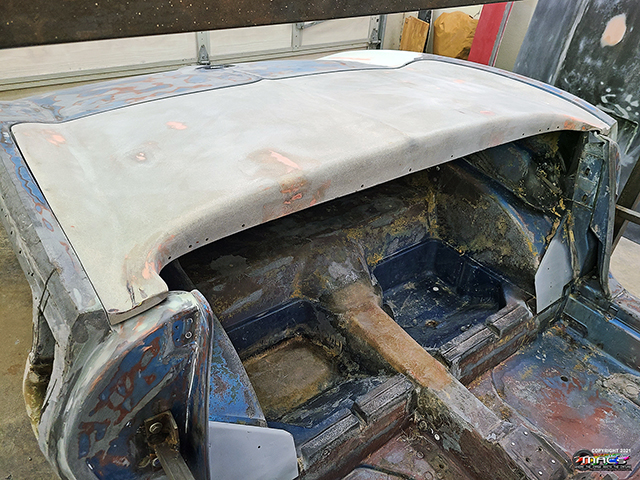
Final stages of
fiberglassing the molested deck lid underside ...and chips along
the edge |
 |
| |
|
|
|
 |
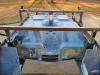
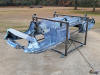
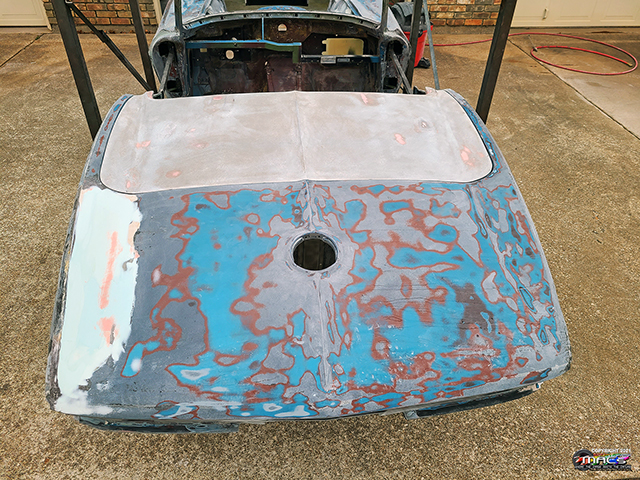
The top of the deck lid
is almost complete - additional fiberglass thickness is needed
to fill the hollow |
 |
 |
| |
|
|
|
More Underbody & Deck Lid Work
- 01/09 |
 |
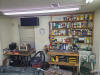
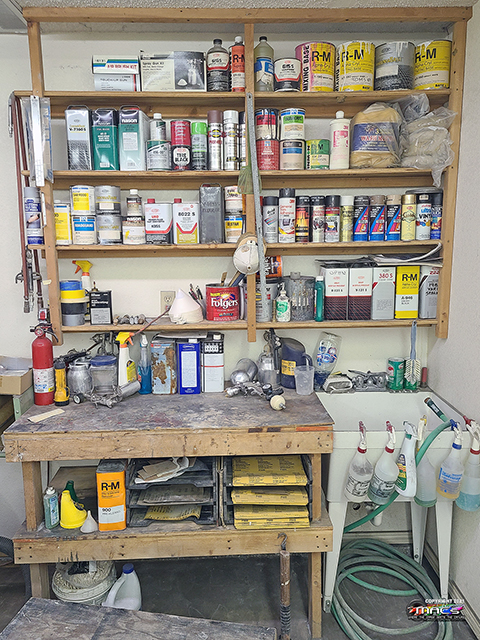
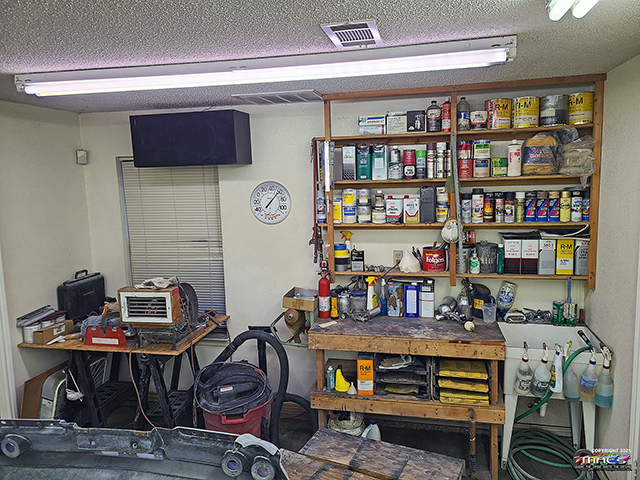
William did an awesome job cleaning
and reorganizing the paint bench and shelves |
 |
 |
| |
|
|
|
 |
 |
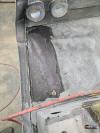
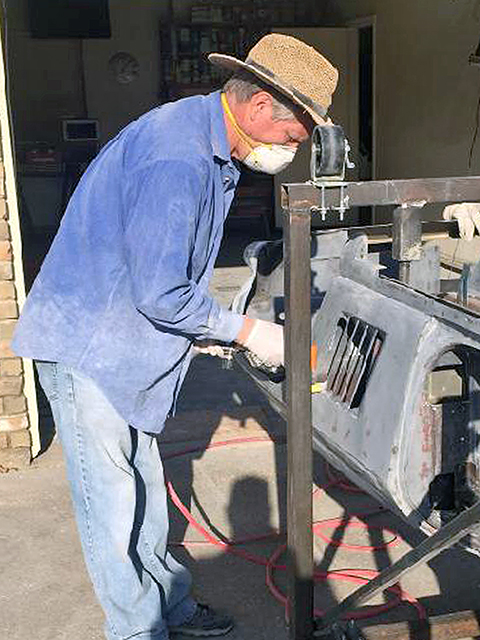
William snapped a couple of pictures
of me working on the deck lid and rebuilding the side vents
(were they were cut for breather tubes) |
 |
|
|
|
|
|
 |
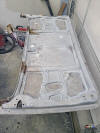
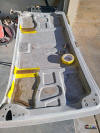
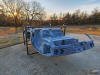
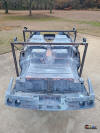
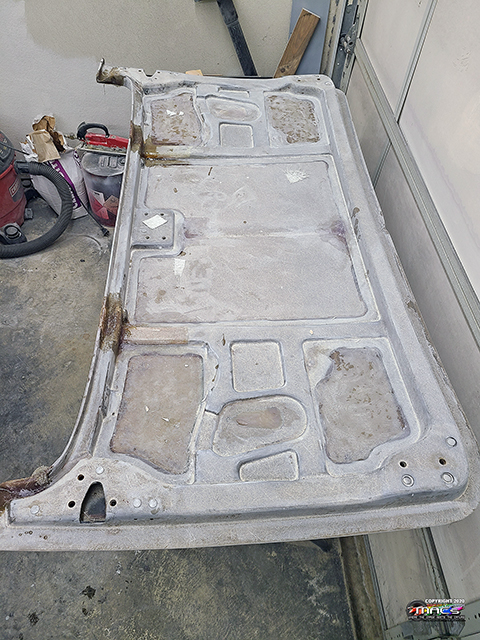
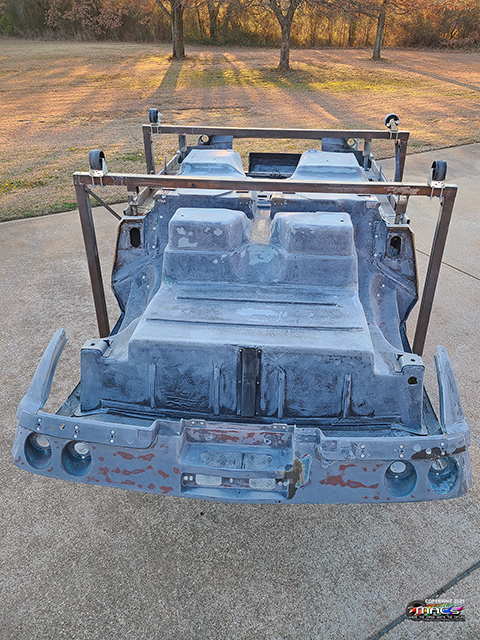
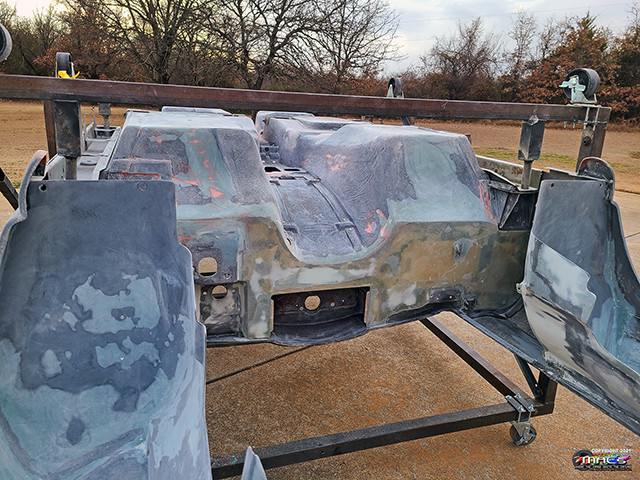
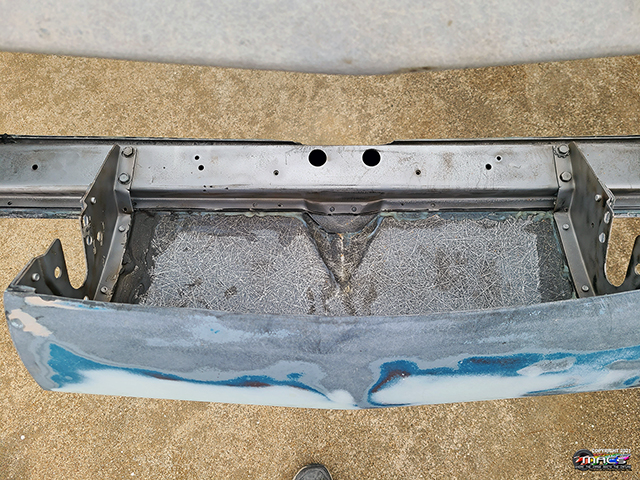
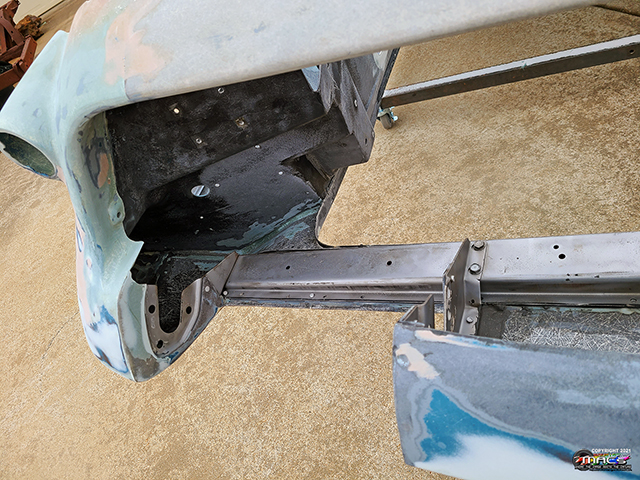
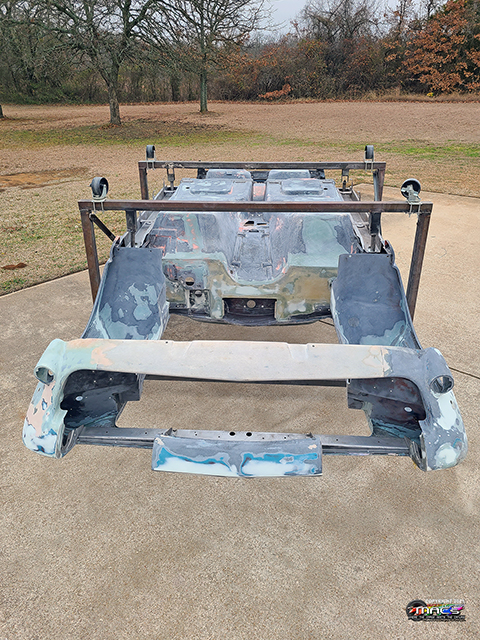
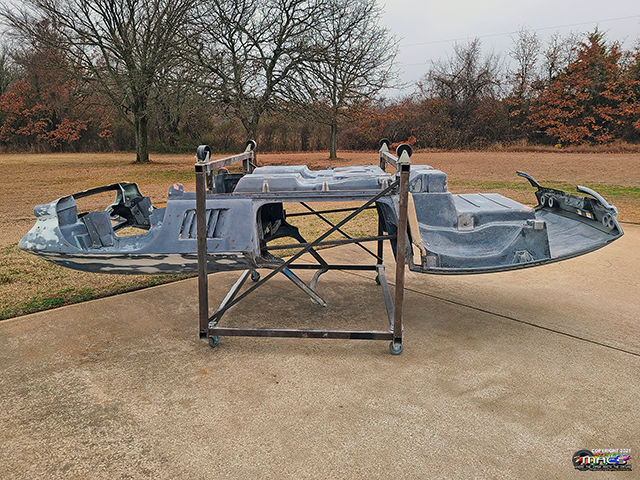
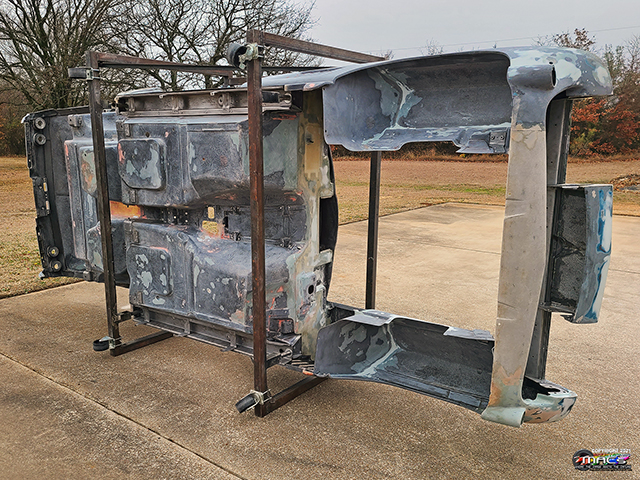
The
bottom of the car is nearing completion ...there was a lot of
holes cut over the years, not to mention some damage from
u-joints coming apart, etc. |
 |
|
|
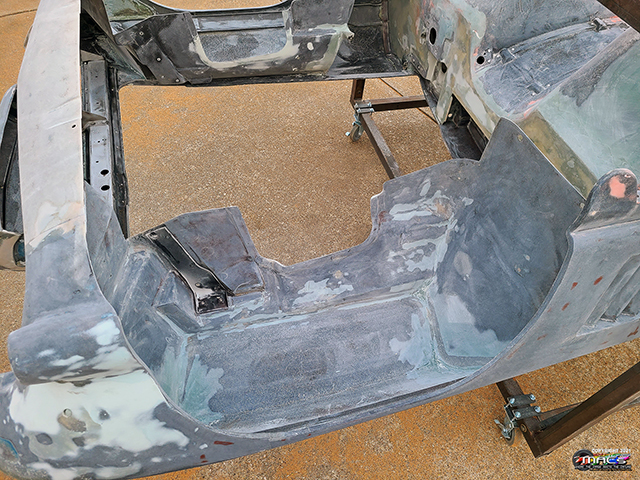
The
flattened firewall blends nicely into the floor pan |
|
 |
 |
 |
 |
|
|
|
|
|
|
|
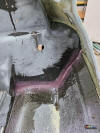
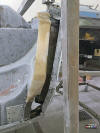
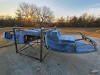
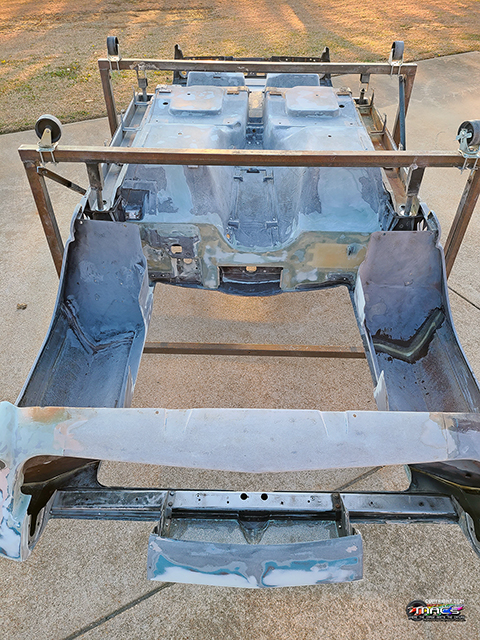
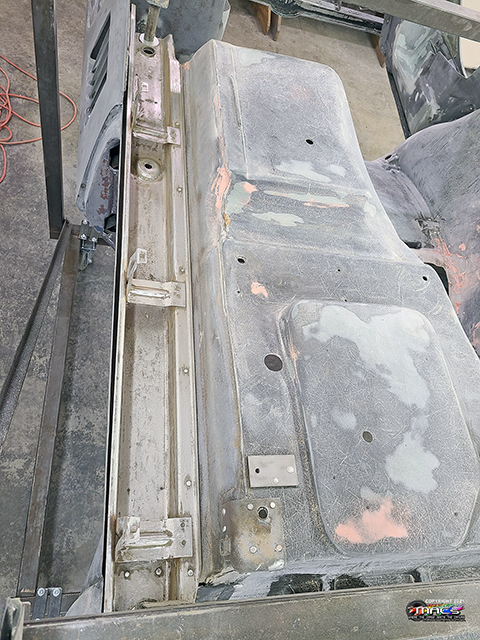
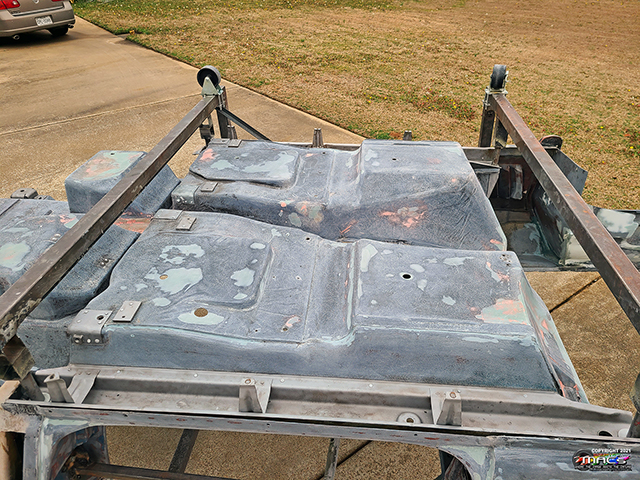
The
rear quarter-panel bonding strips are repaired on both sides -
they will need further trimming during final test fit of the
quarters |
 |
|
|
|
|
|
|
 |
 |
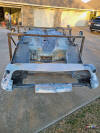
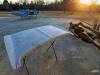
The
previously "molested
deck lid" is looking great ...almost ready for the humps to
get molded on. |
 |
| |
|
|
|
 |
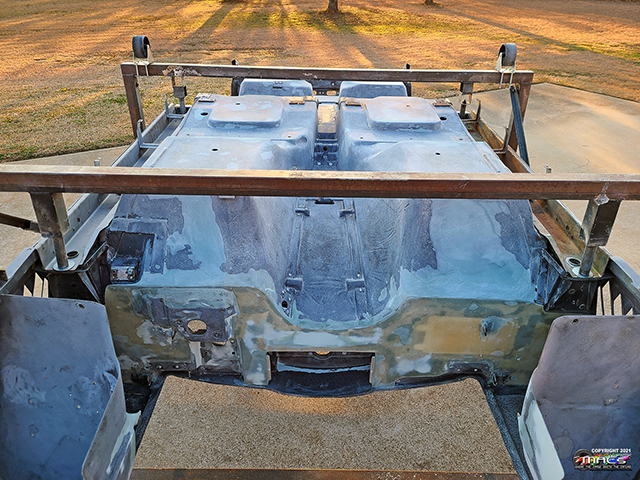
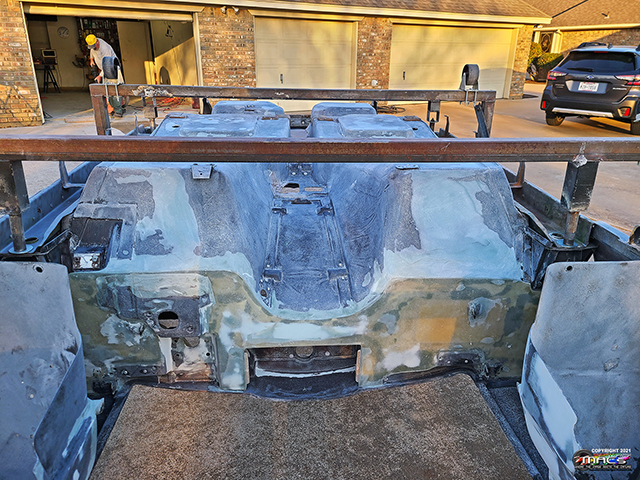
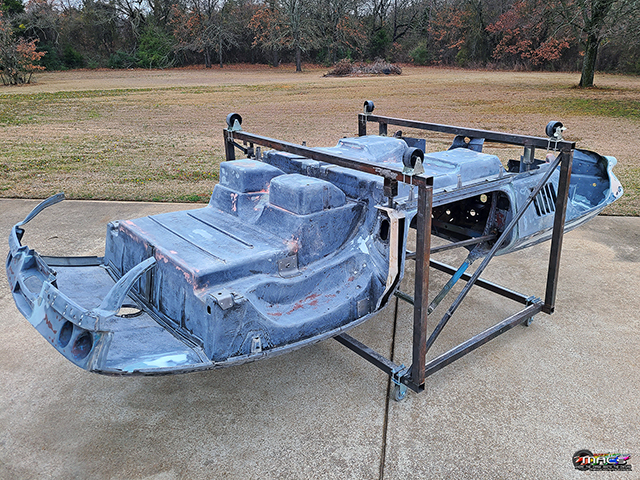
The bottom
is looking really nice ...will be painted with Raptor tinted the
color of the body |
 |
 |
|
|
|
|
|
| |
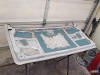 |
The
bottom of the "molested
deck lid" is being customized as well - eliminating edges |
|
|
|
|
|
|
|
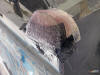
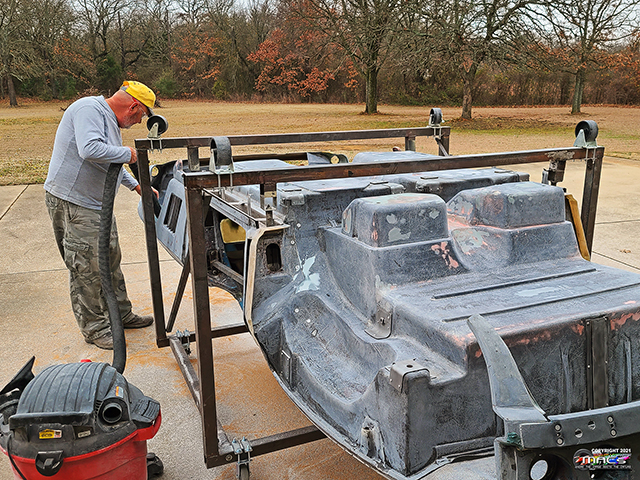
William vacuuming
up the sanding and grinding mess we made |
 |
|
| |
|
|
|
More Underbody & Deck Lid Work
- 01/11-12, 14 & 16 |
 |
Continued work underneath the body, in the front fender wells,
and the deck lid - almost ready for primer sealer. |
 |
|
|
|
|
 |
 |
 |
 |
| |
|
|
|
 |
William cleaned the bottom of the
birdcage almost clean enough to eat off of |
a
thin layer of filler to finish off the seam removal |
 |
| |
|
|
|
More Underbody
Efforts & Deck Lid Fittment
- 01/18, 22 & 23 |
 |
spent a little time blasting with fine walnut shells in some
tough to reach areas. Then it was time to change to blasting
powder and hit a few metal pieces |
 |
|
|
William vacuuming up the walnut and sandblast powder from the
car |
 |
|
 |
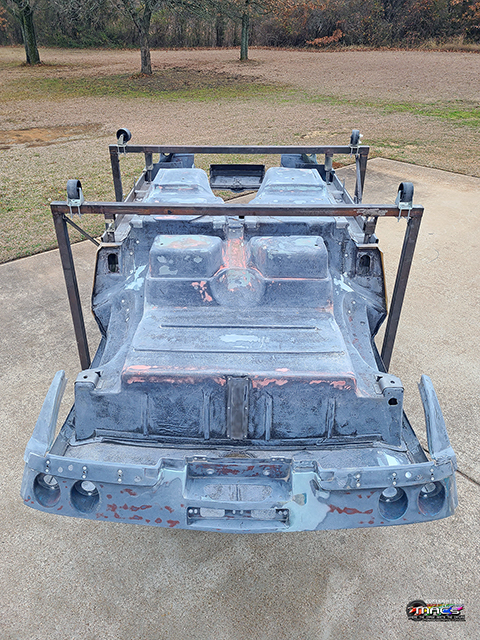
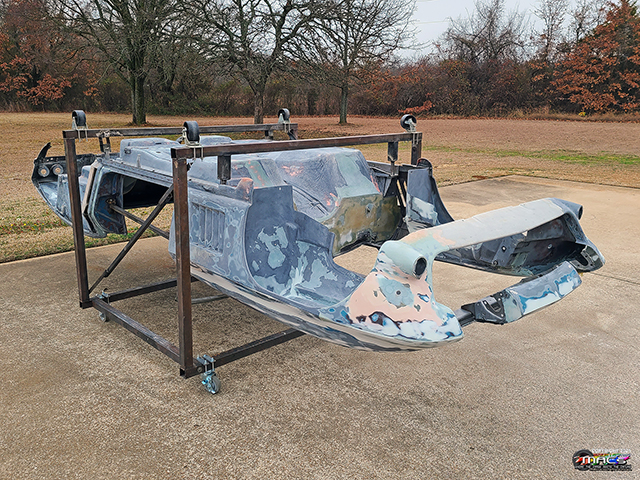
after months of efforts underneath the body, with it being 95%
ready to seal, prime and paint, it was time to do a little
cleaning and flip the body over |
 |
 |
 |
 |
 |
 |
 |
 |
 |
| |
|
|
|
 |
The seams on the front fenderwells are now moulded and ready for
sealer, primer and paint |
 |
|
|
|
|
|
 |
Flipped her back over - time to continue with work on the top
side. The underside is in a holding pattern until such time that
the transmission can be test fitted to the stock transmission
tunnel |
 |
|
|
|
|
|
 |
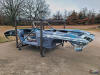
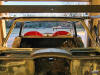
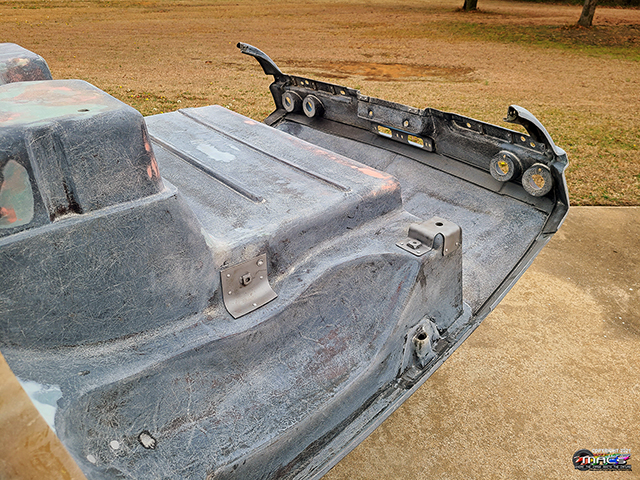
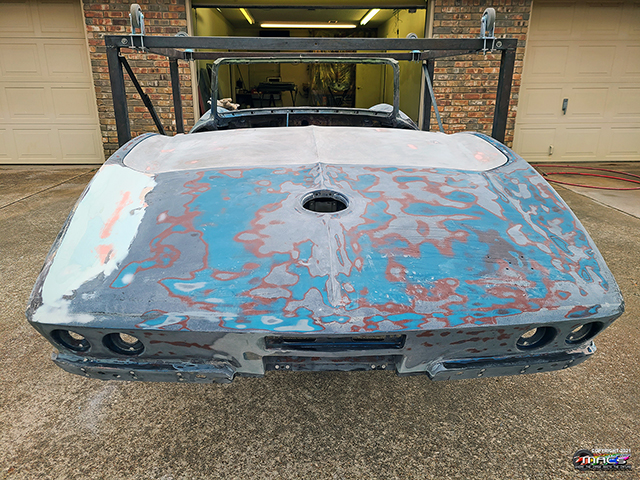
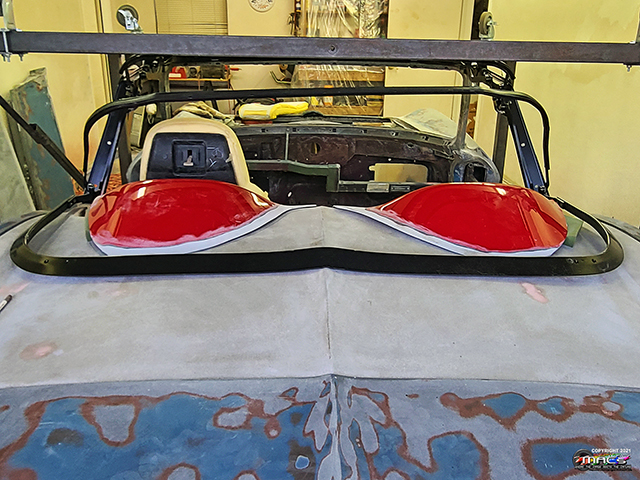
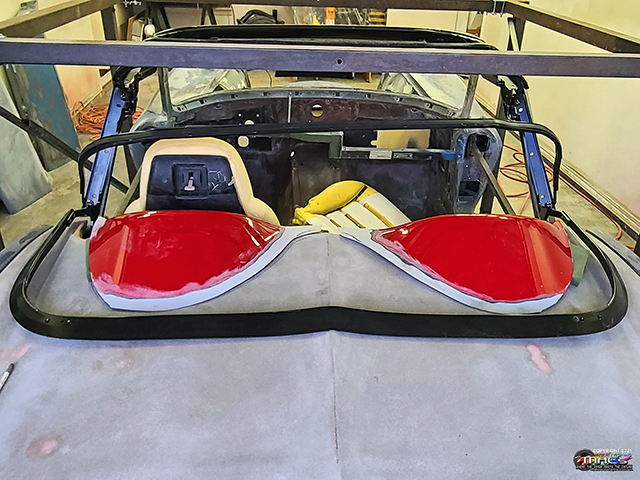
Test
fit of the repaired (molested
;) deck lid - the fittment looks really good - need to attach
the C6 "humps" to it now - which will complete the deck-lid
modifications |
 |
|
|
 |
 |
|
| |
|
|
|
|
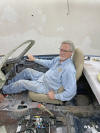
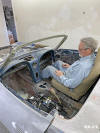
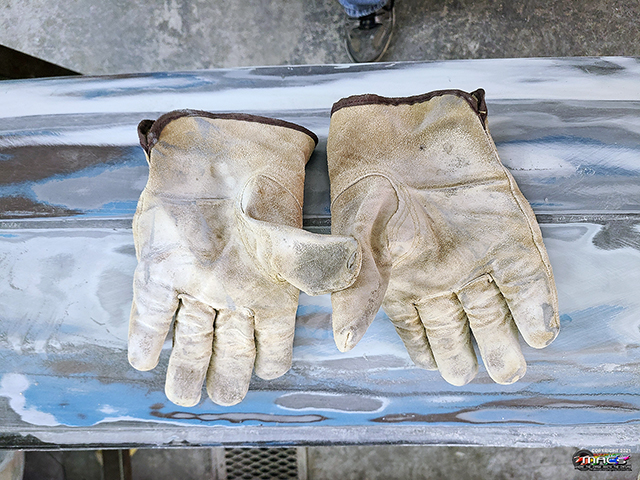
Back in the bay until next time we are out working |
 |
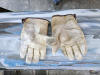 |
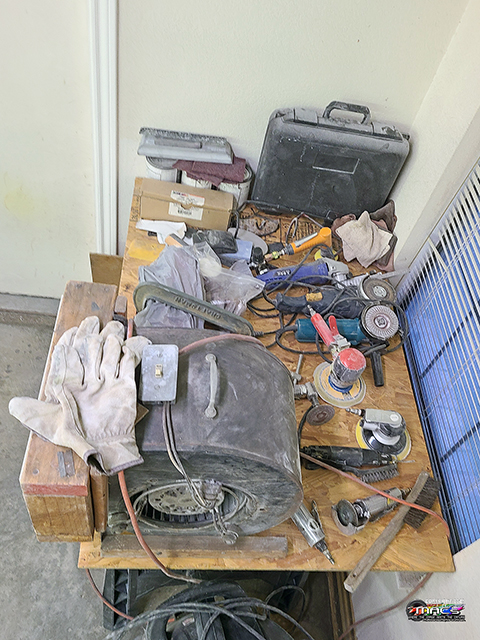
These old leather gloves are about used up |
| |
|
|
|
|
|
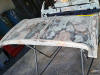
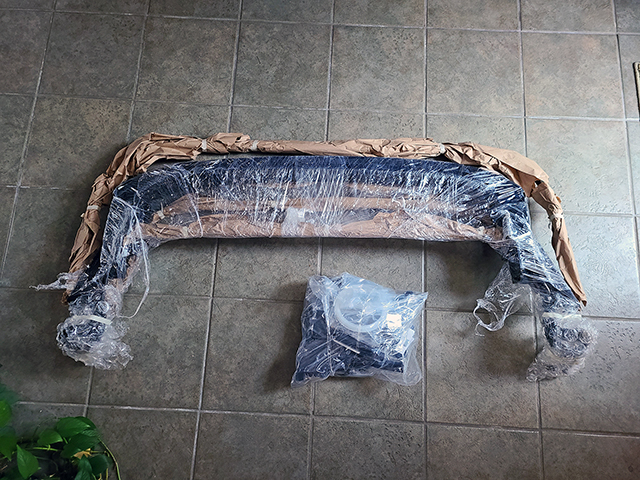
Returned home tonight to find the new convertible top frame had
arrived |
 |
|
| |
|
|
|
More Underbody
Efforts & Deck Lid Fittment - 01/25 |
 |
spent a little time blasting with fine walnut shells in some
tough to reach areas. Then it was time to change to blasting
powder and hit a few metal pieces |
 |
 |
 |
 |
| |
|
|
|
| |
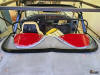
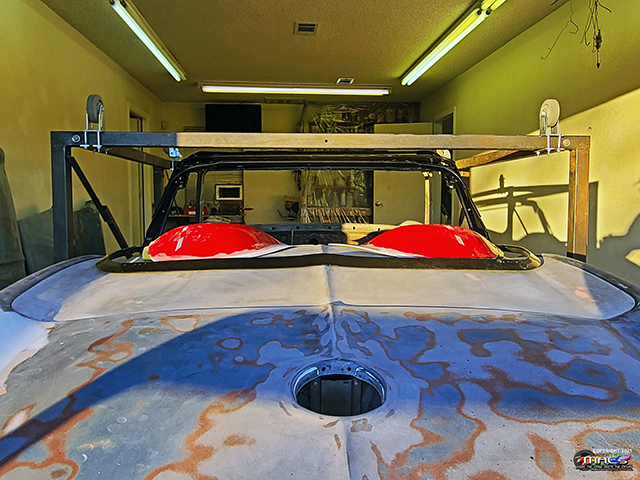
Looking down on the deck-lid, seat and hump |
 |
|
 |
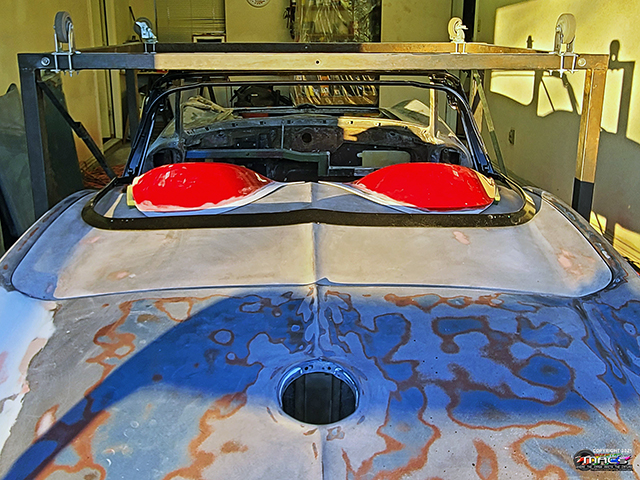
A look down on the
convertible top frame with the hump, deck lid, etc. - a little
more detail |
 |
| |
|
|
|
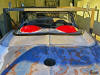
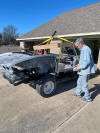
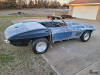
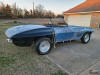
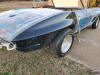
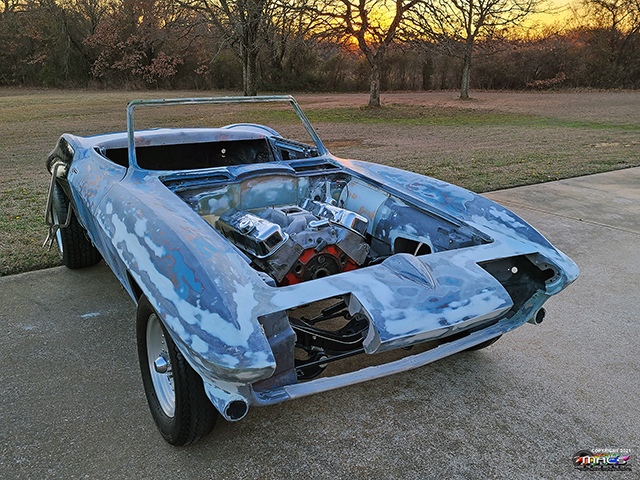
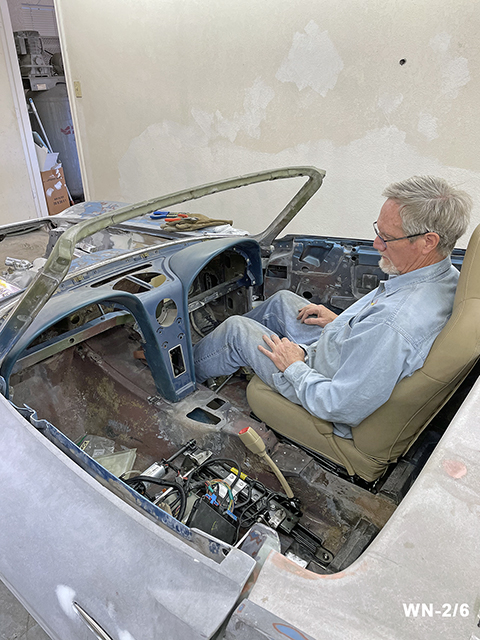
Time to Mock-Up - 01/31 |
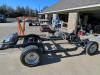 |
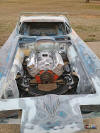
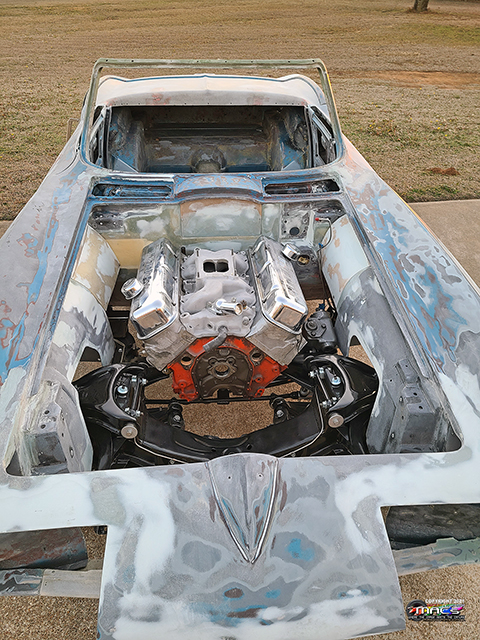
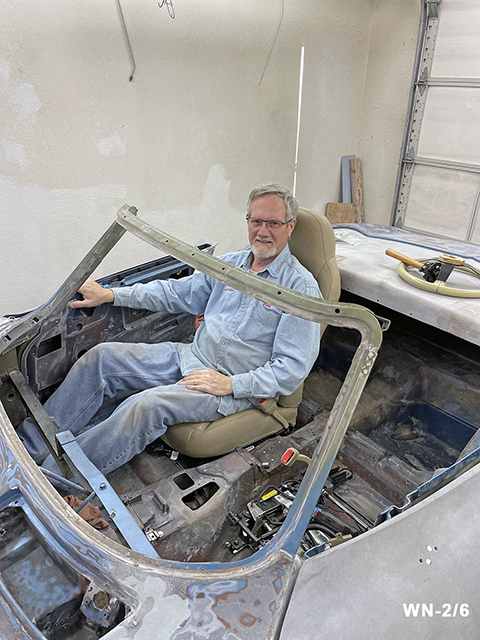
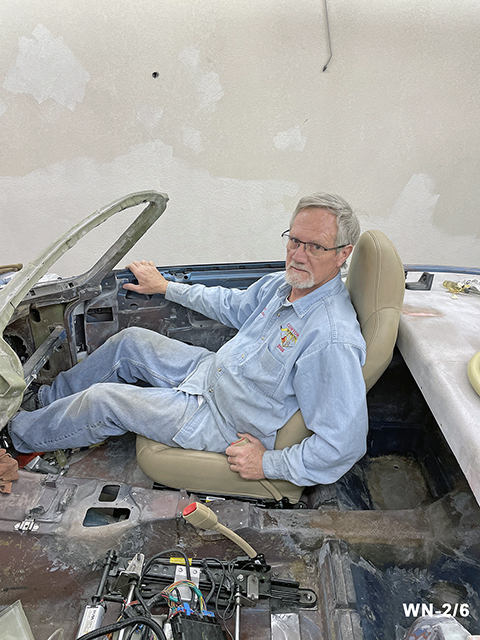
It was time to put the body on and check a few things before
anything has been sealed and primed
we mocked up an empty block to the old power-slide; both of
which will be rebuilt and replaced |
 |
|
|
|
|
 |
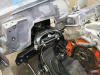
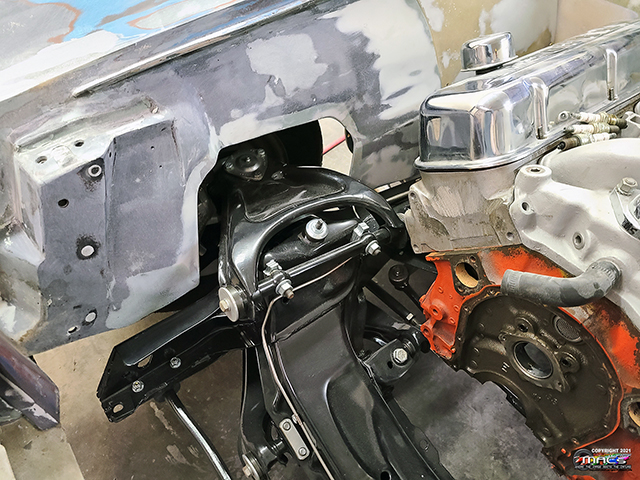
This allowed us to check clearances on the custom panels in the
engine compartment |
 |
 |
|
|
|
|
|
 |
 |
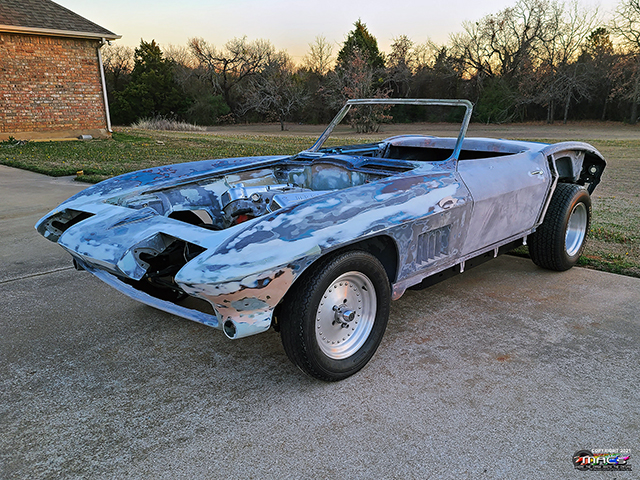
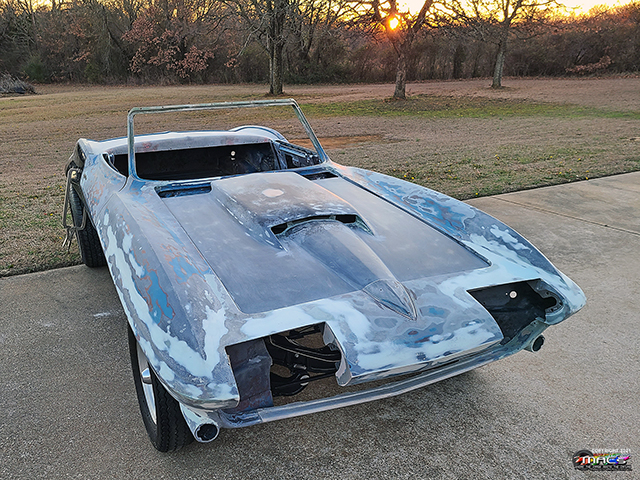
laid the hood and deck lid on just to visualize |
 |
| |
|
|
|
|
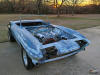
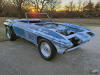
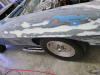
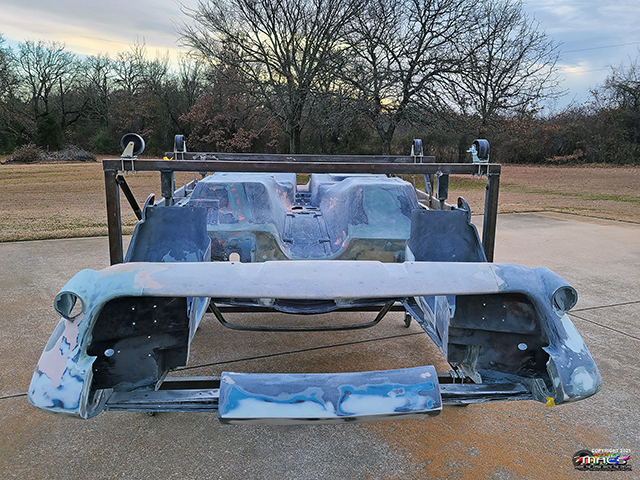
clamped the right quarter panel on just for visualization |
 |
 |
| |
|
|
|
 |
 |
Liking the lines of the new widened
quarter panel |
 |
| |
|
|
|
 |
looks like all the custom panels are
going to work great. Need one to cover the A-Arms though |
 |
 |
| |
|
|
|
 |
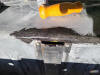
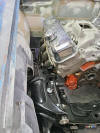
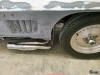
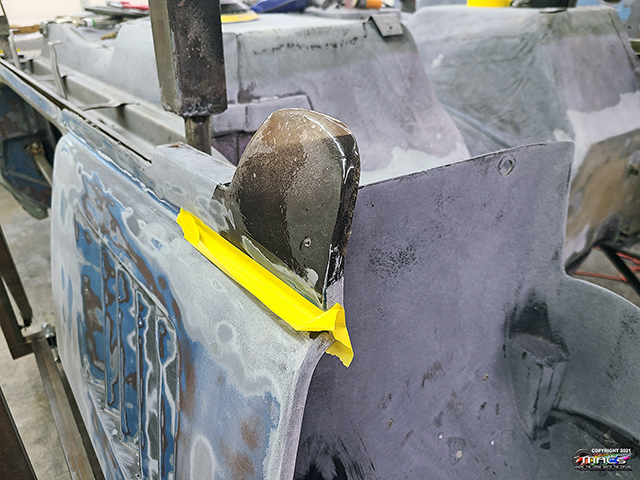
pulled out the "vintage" (rusted) old
Hooker Headers for a test fit on the lower fender that had been
rebuilt - all will work good - it will receive new headers
later. |
 |
| |
|
|
|
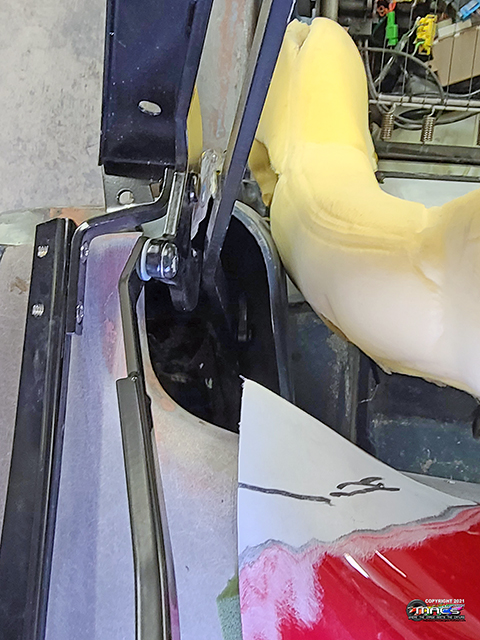
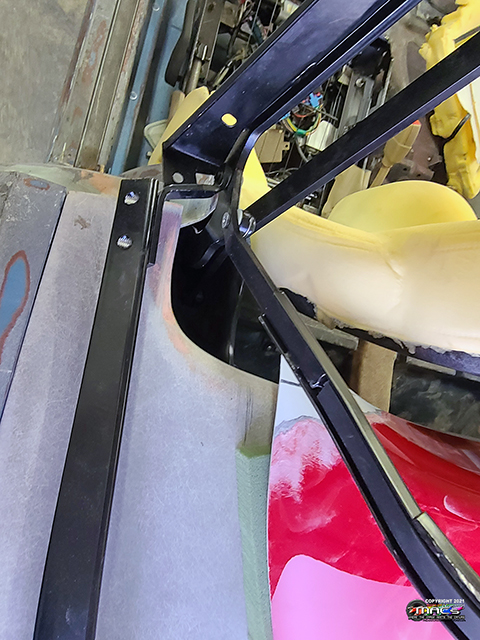
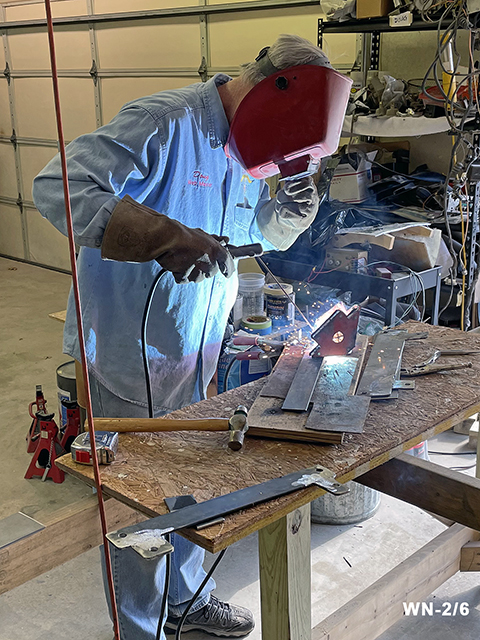
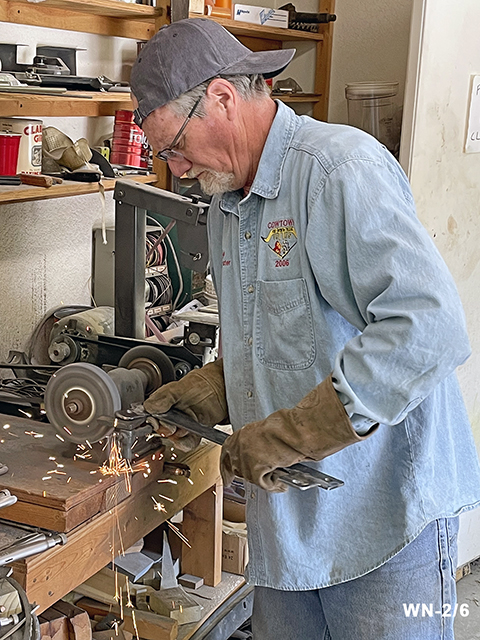
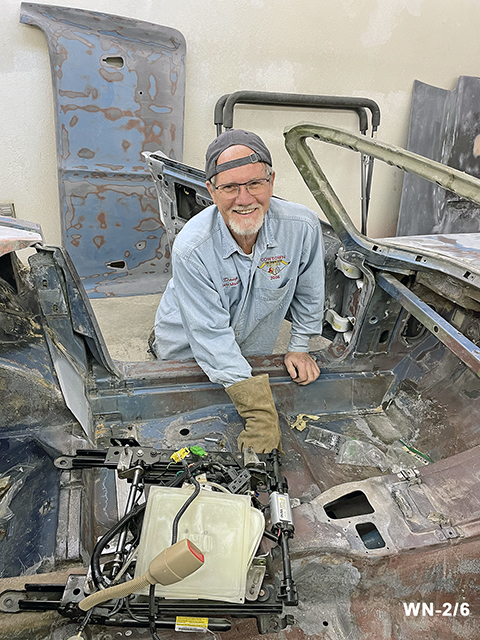
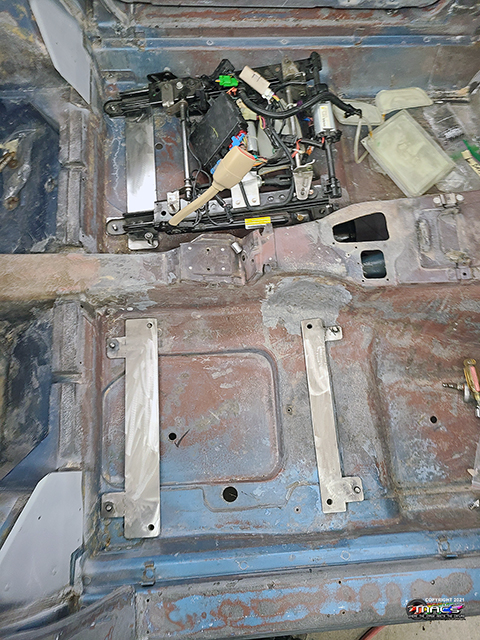
Seat Mounts / Adapters - 02/06 |
 |
After numerous iterations of measuring and layout out of paper
seat bracket adapters, it was time to build them |
 |
|
|
|
|
 |
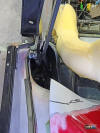
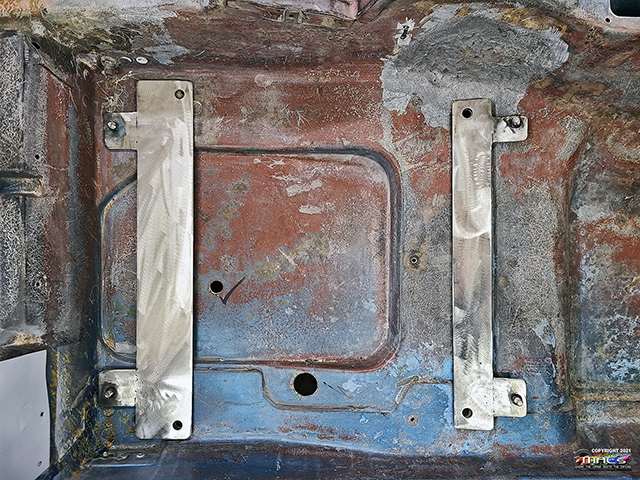
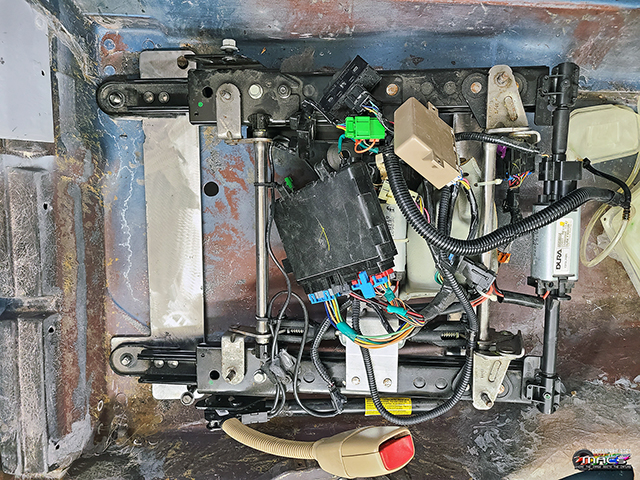
Mounting them to the original C2 mount points
They have studs welded to the adapters for the C6 seat brackets
to bolt to |
 |
|
|
 |
 |
|
| |
|
|
|
 |
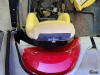
The C6 seat brackets
still need a little shortning but this will work - these are
comfortable! |
 |
 |
| |
|
|
|


