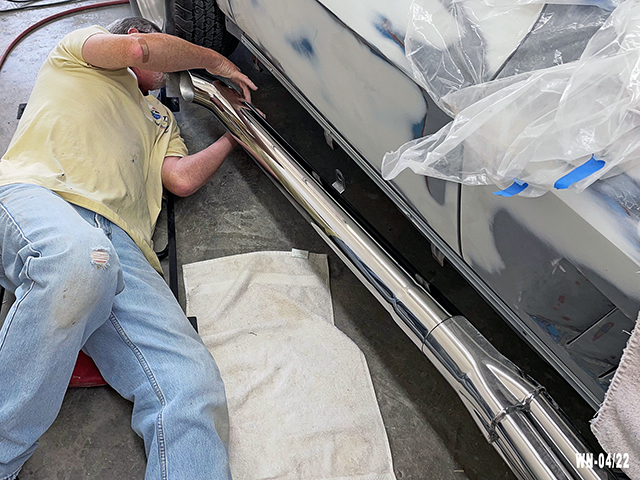
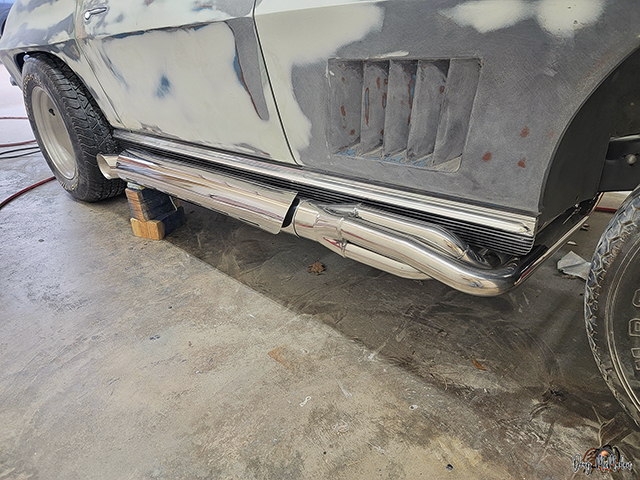
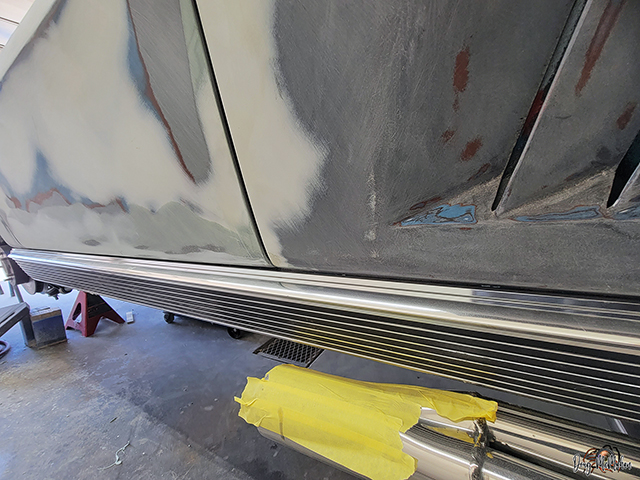
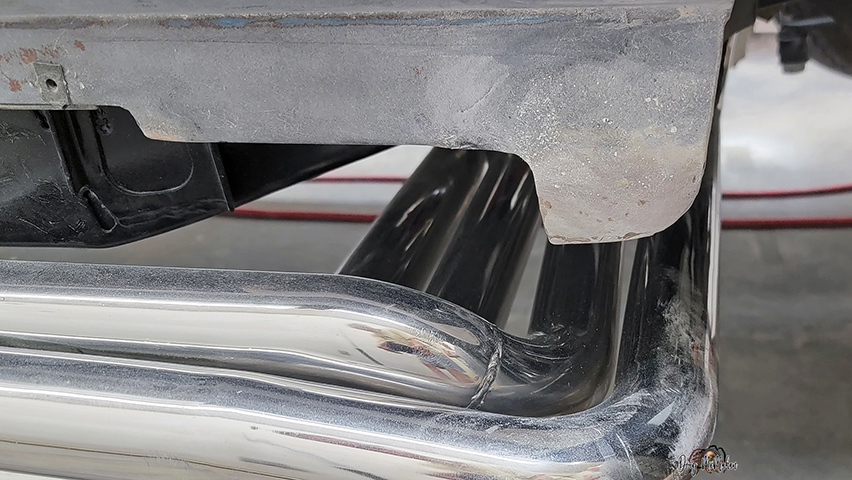
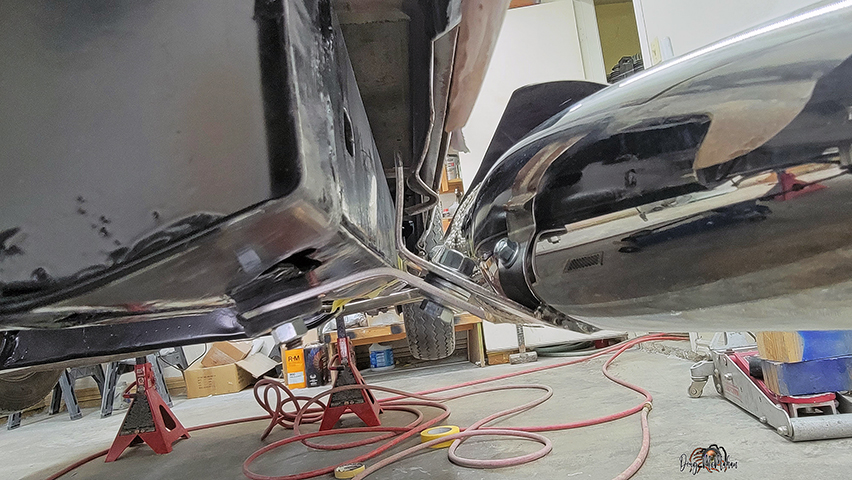
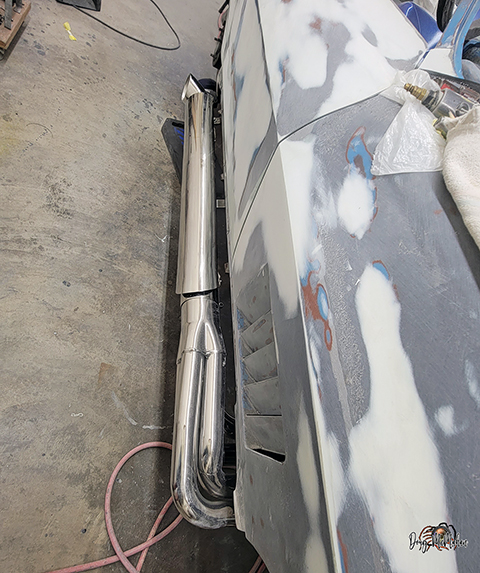
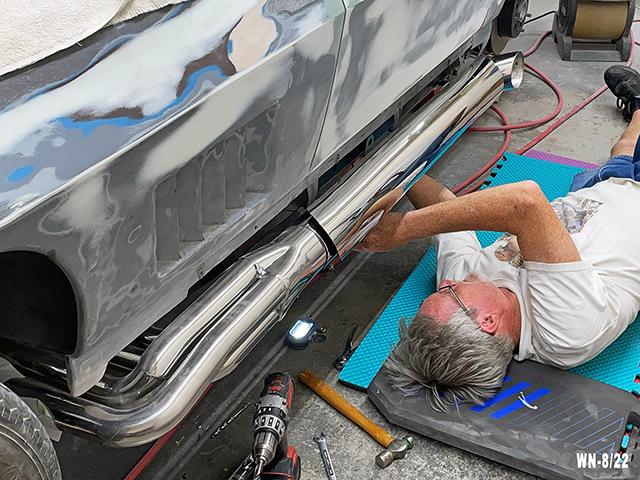
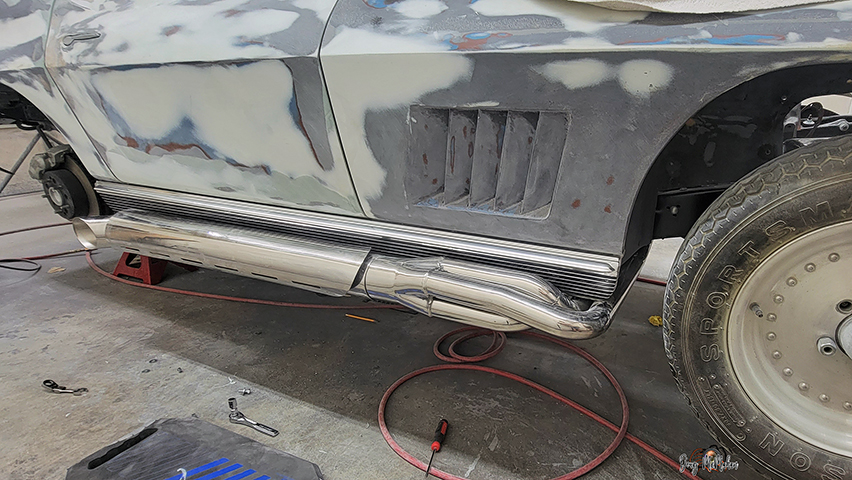
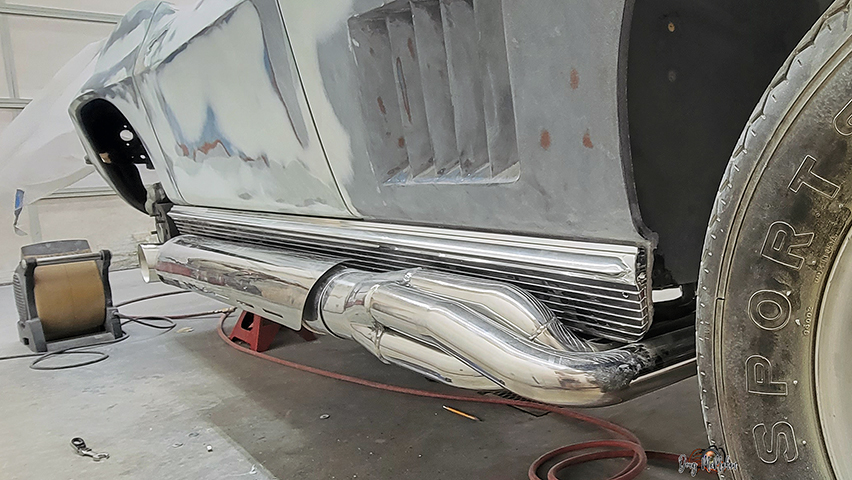
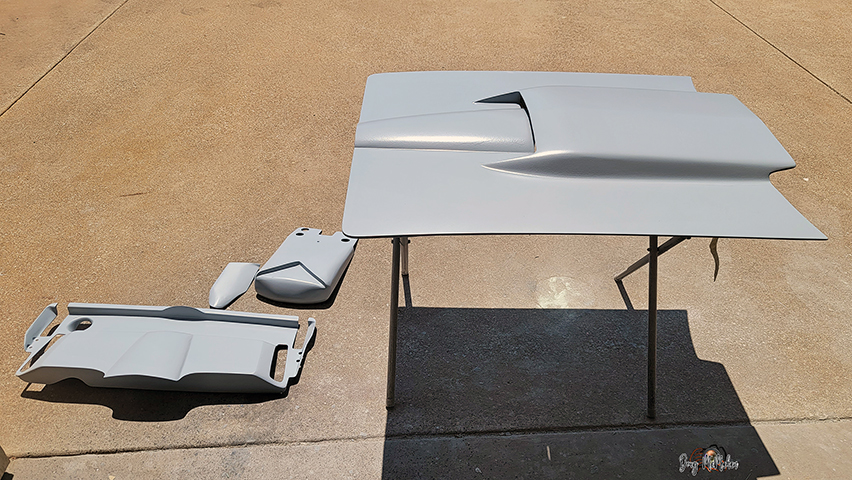
Test fitting the sidepipe and cover with the rocker panel
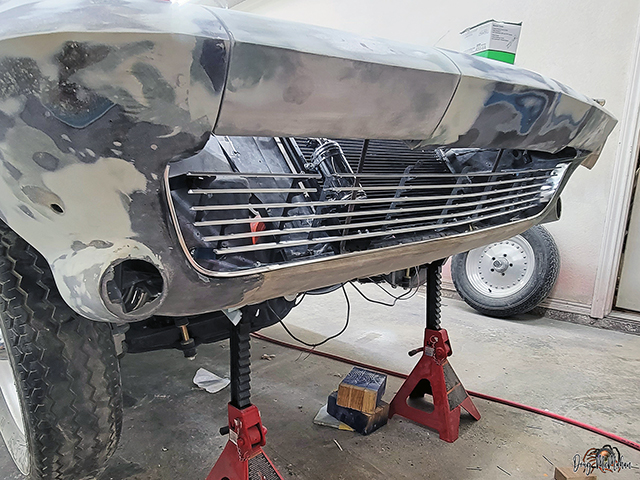
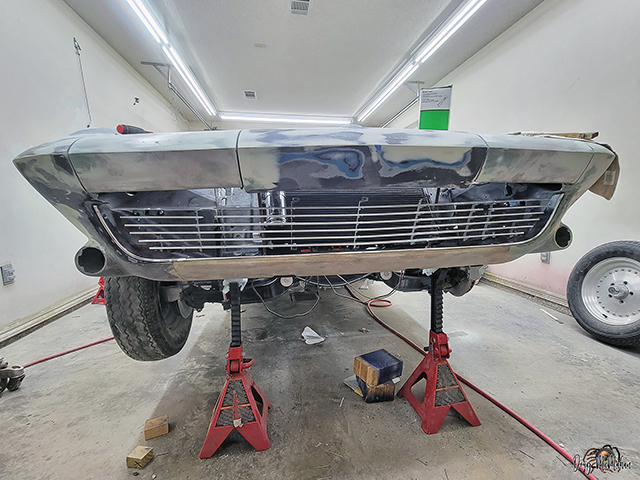
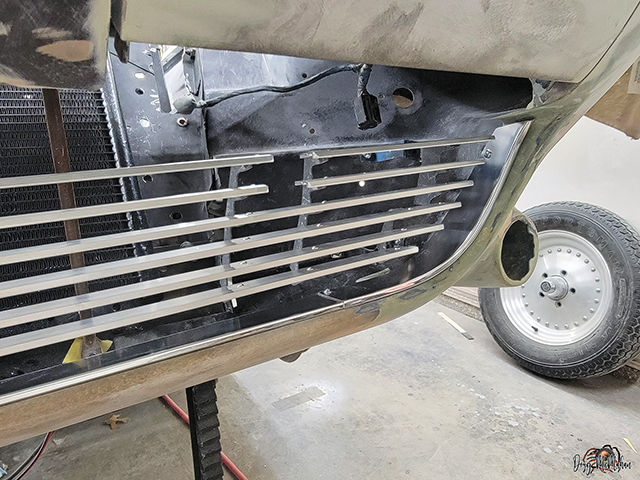
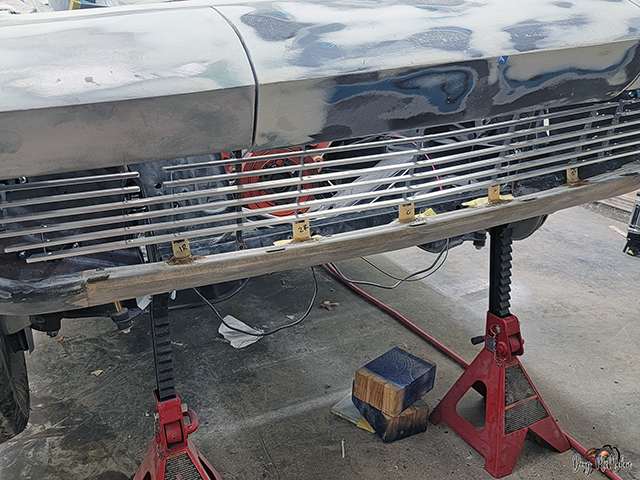
Grill & Surround Test Fit - 5/7
Ok - it is a '67 and we selected to install a '63-64 grill in it
- we like the look better
Started the install and realized someone cut off all the grill
mounting tabs on the lower body panel - time to build some new
ones - they worked well
Also fabricated some slip joint pieces to lock the top of the
fenderwell covers in place
Test-Fit of Door Windows - 5/12
We finalized the testing for the Electric Door Windows - we did
select a kit made to add power windows to non-power-window
Vettes (using new technology)
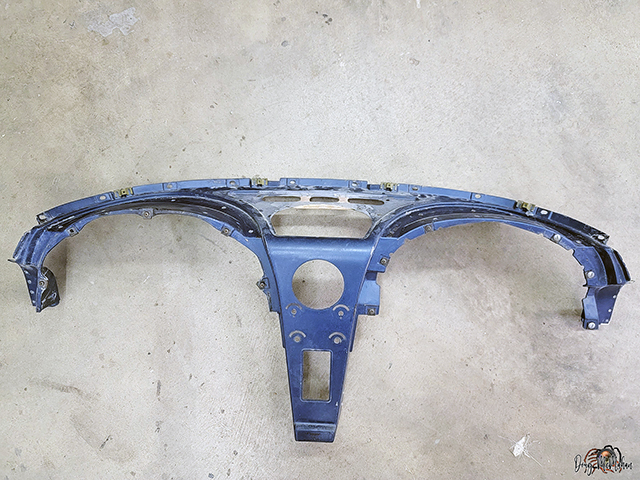
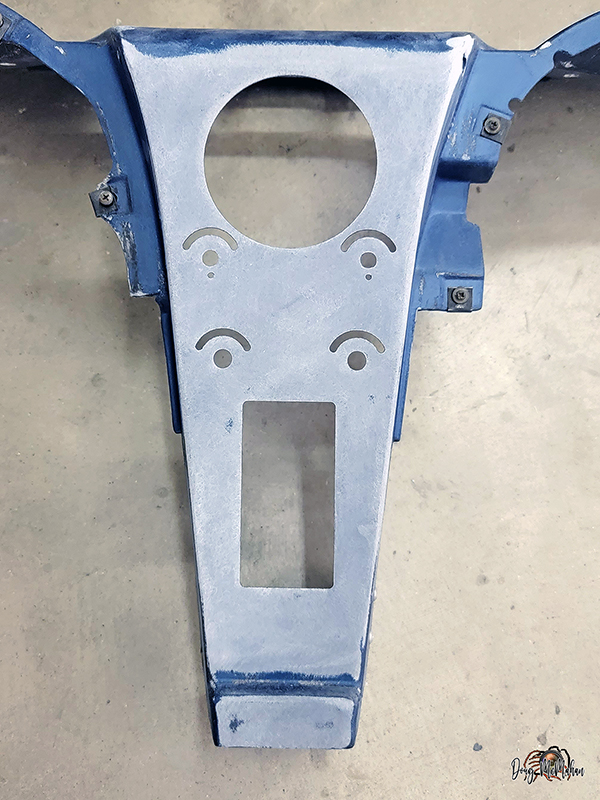
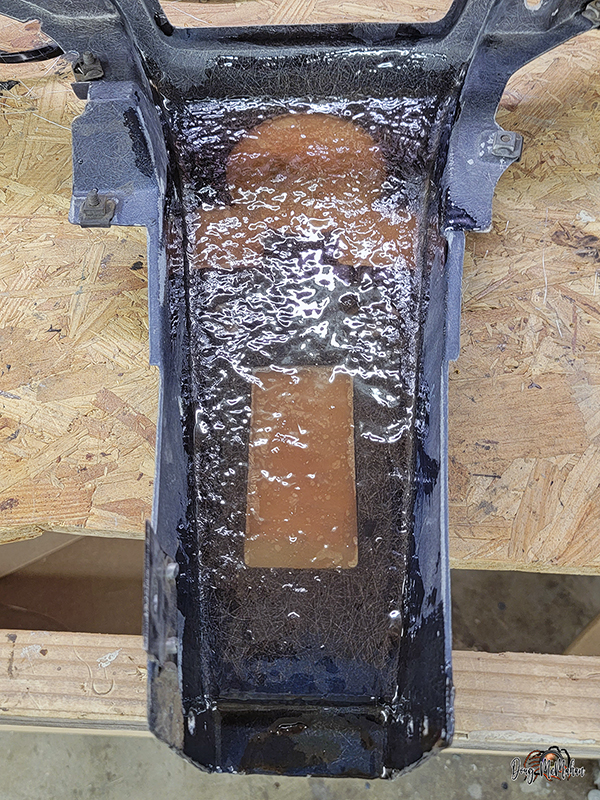
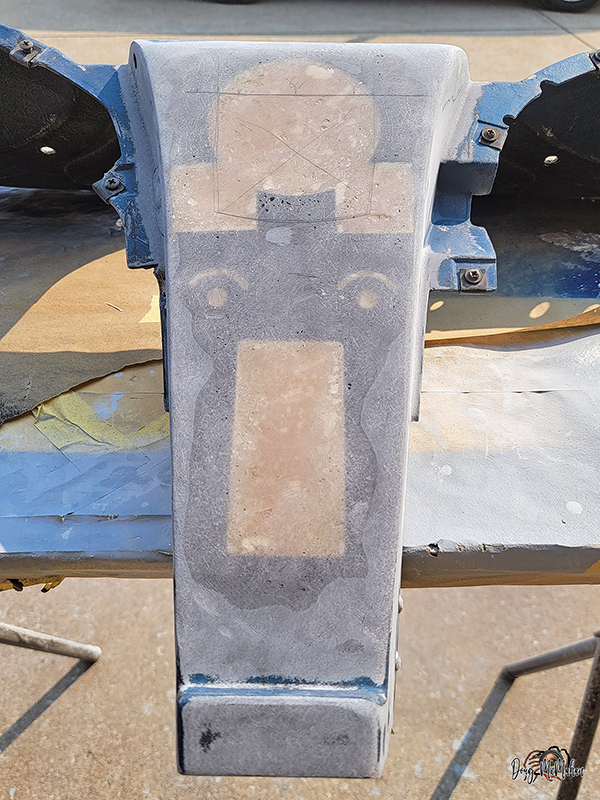
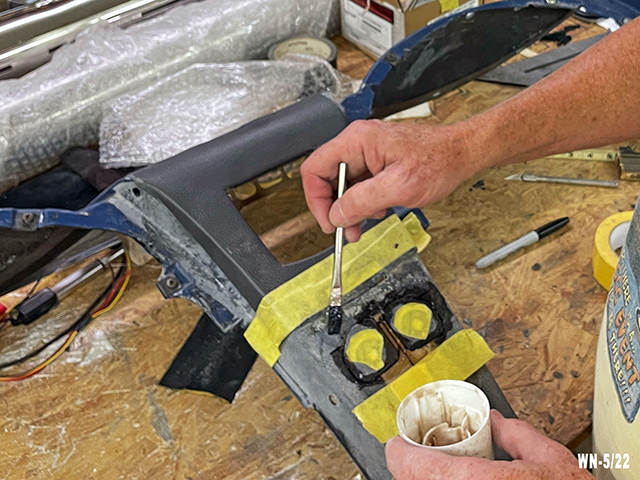
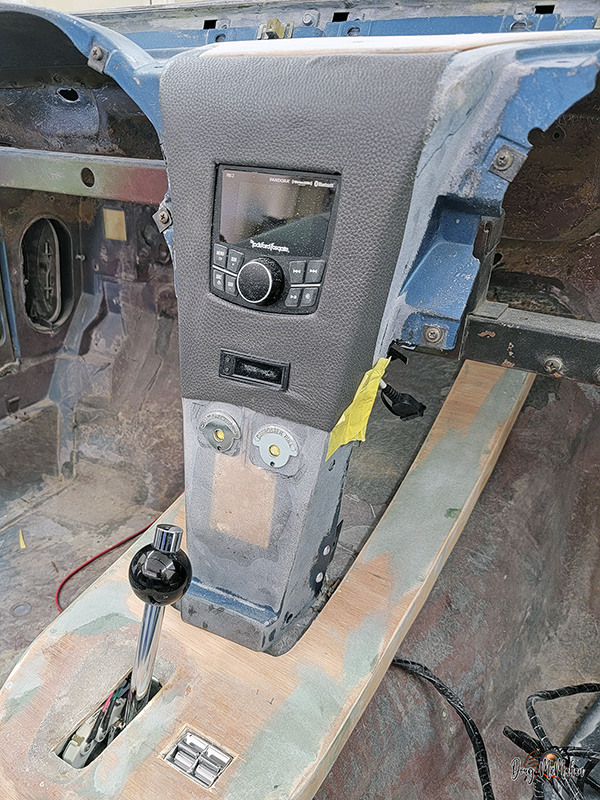
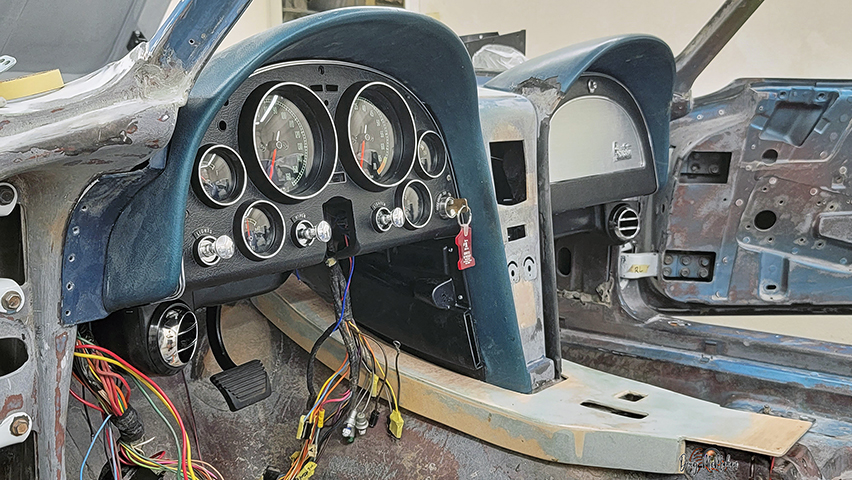
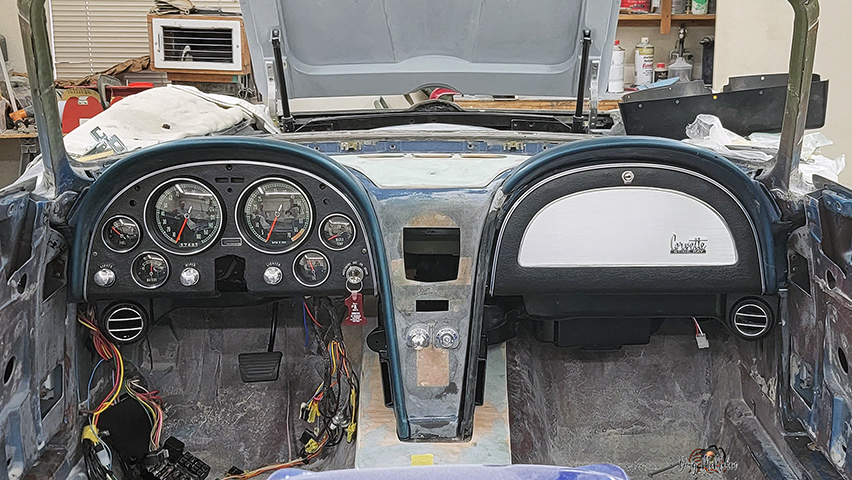
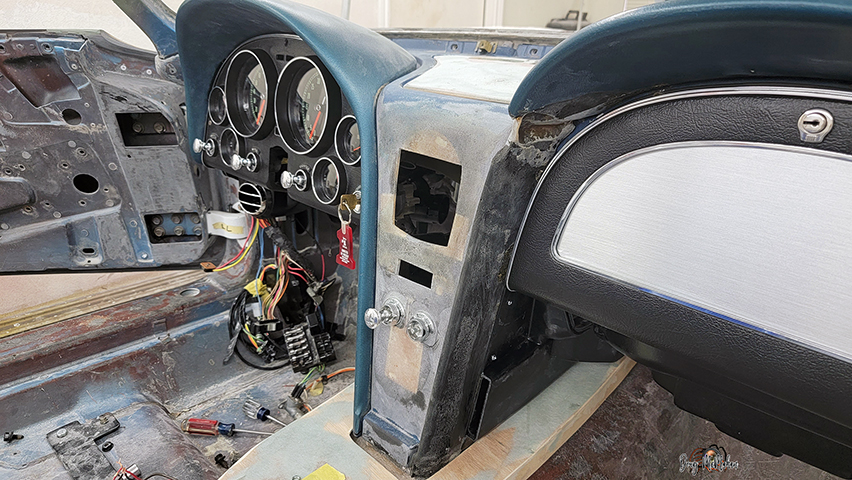
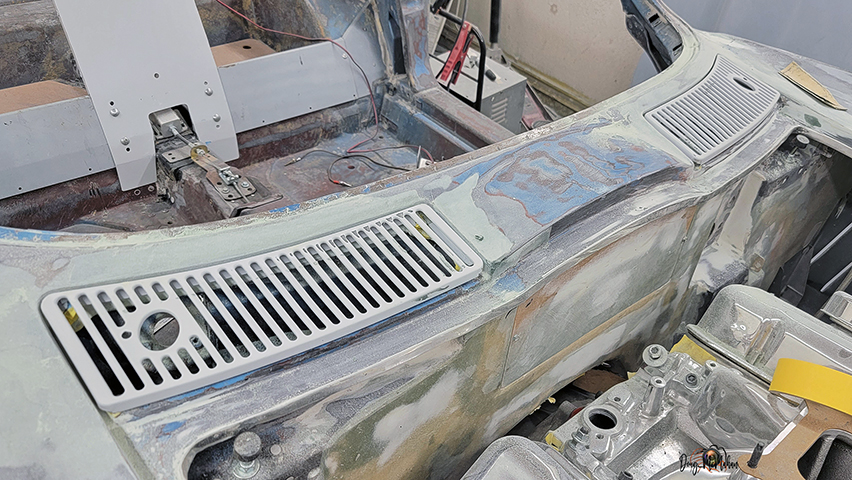
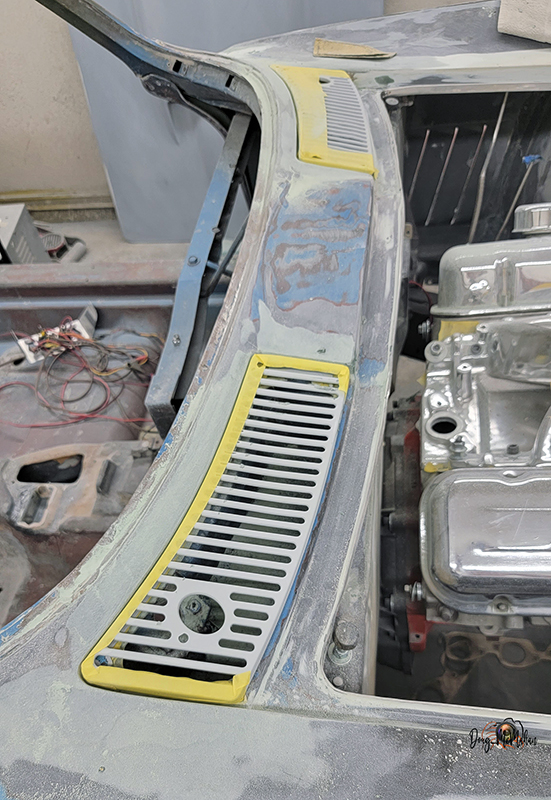
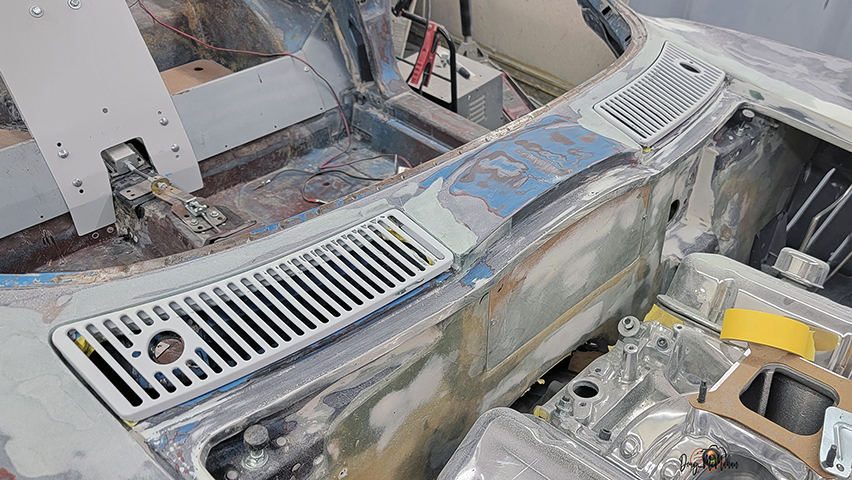
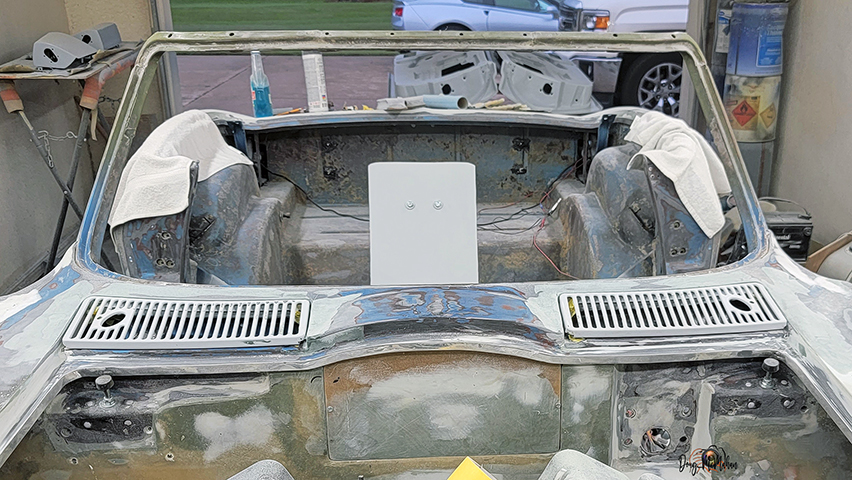
Dash & Console Customization - 5/13-20
The dash was stripped of the pads and other items for the
modifications - tape is in place to lay fiberglass on the
outside -->
<- The fiberglass was laid on the outside and inside
Then it was sanded smooth ->
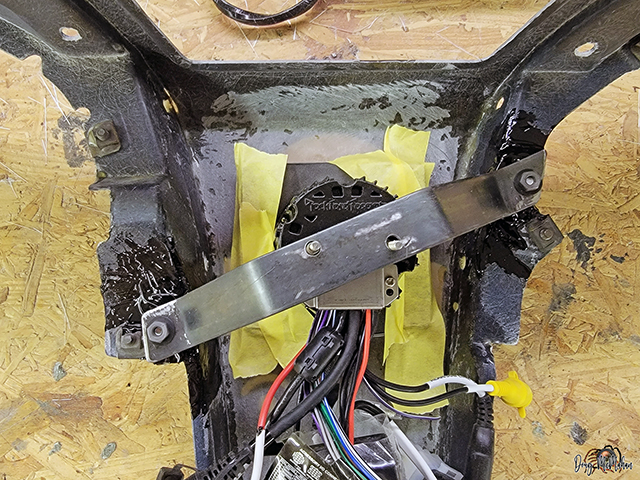
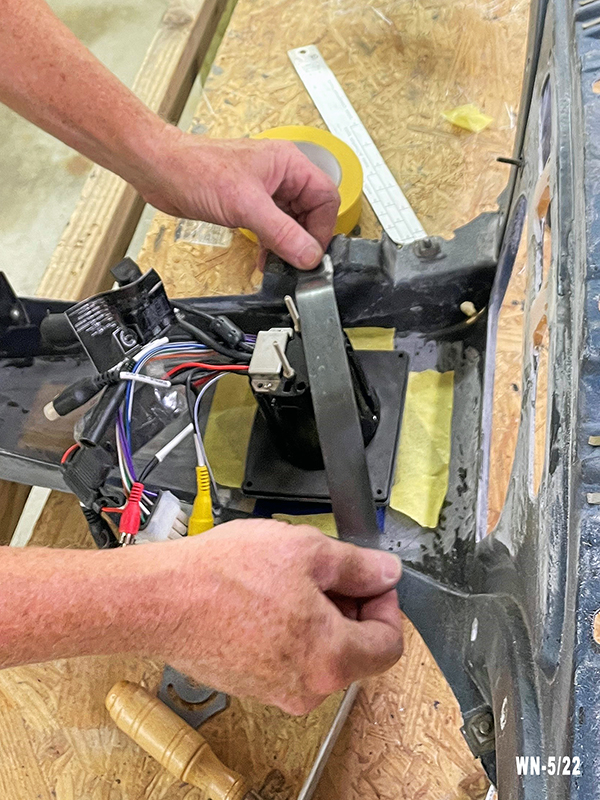
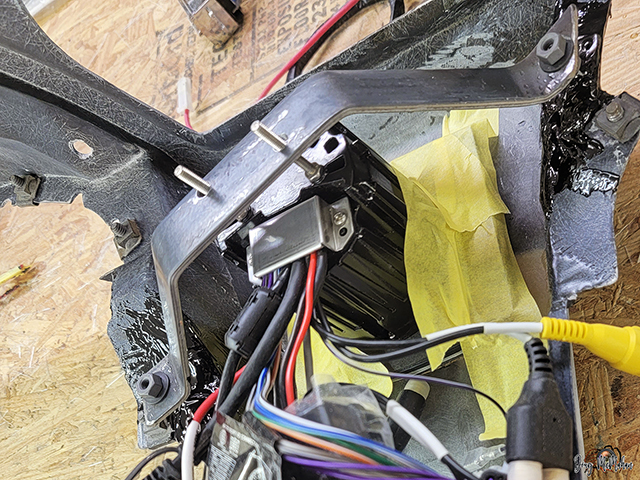
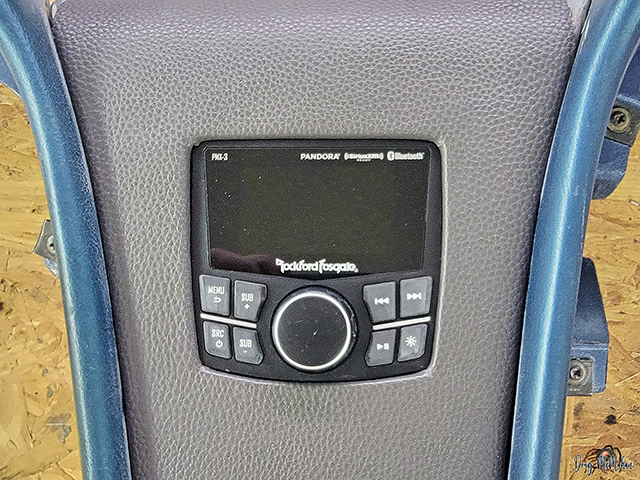
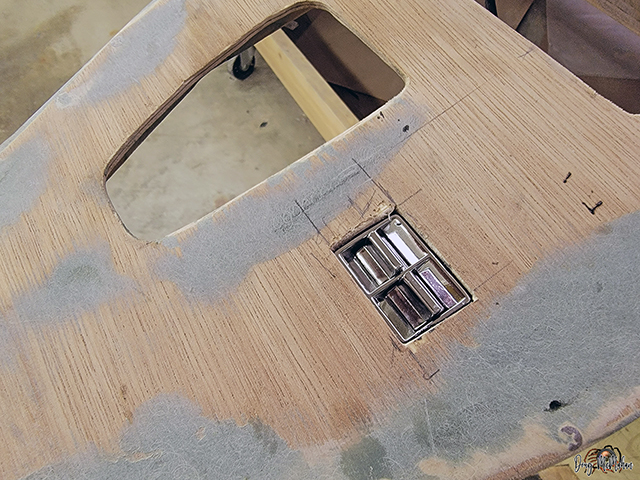
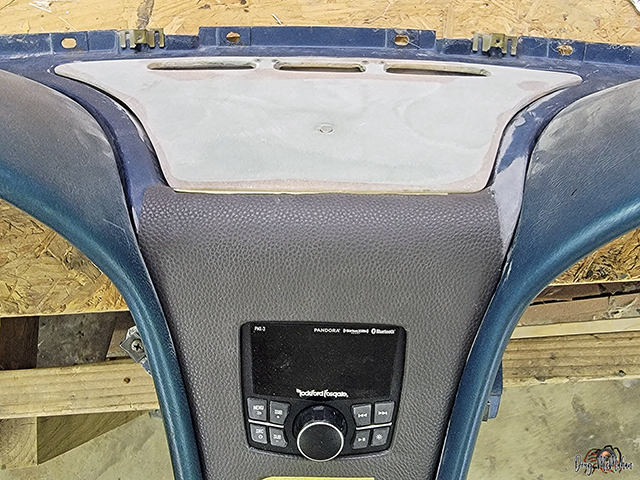
The hole was cut for the Rockford Fosgate M3 to be flush with
the outside. Then a support bracket was fabricated to hold it.
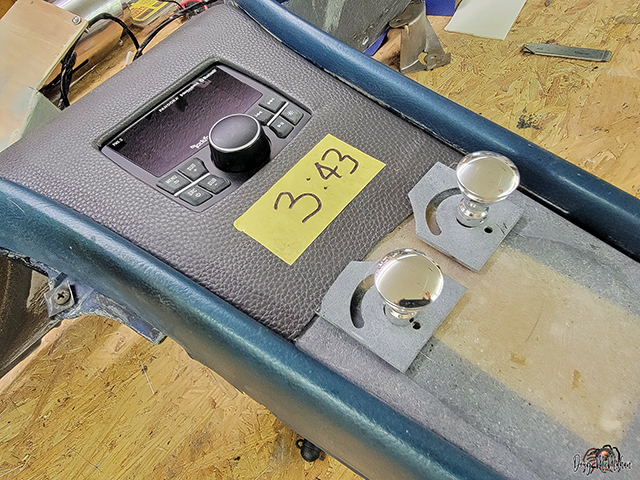
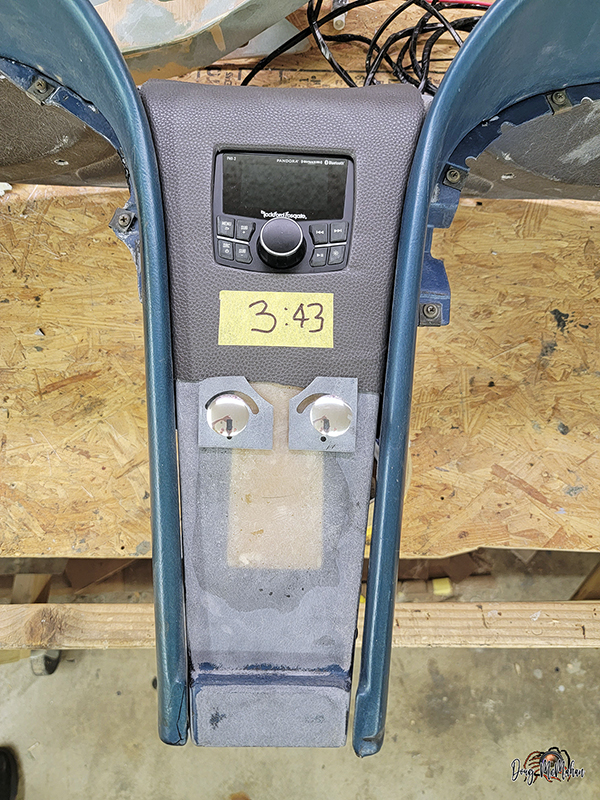
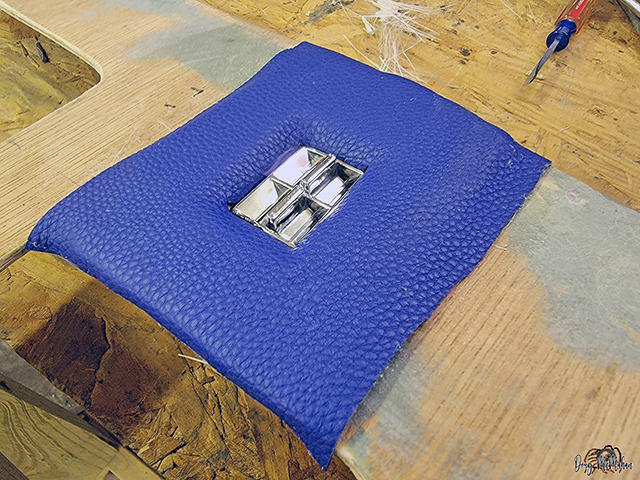
A mock-up using scrap leather to see how the radio, "simulated
clock" and AC switches will look
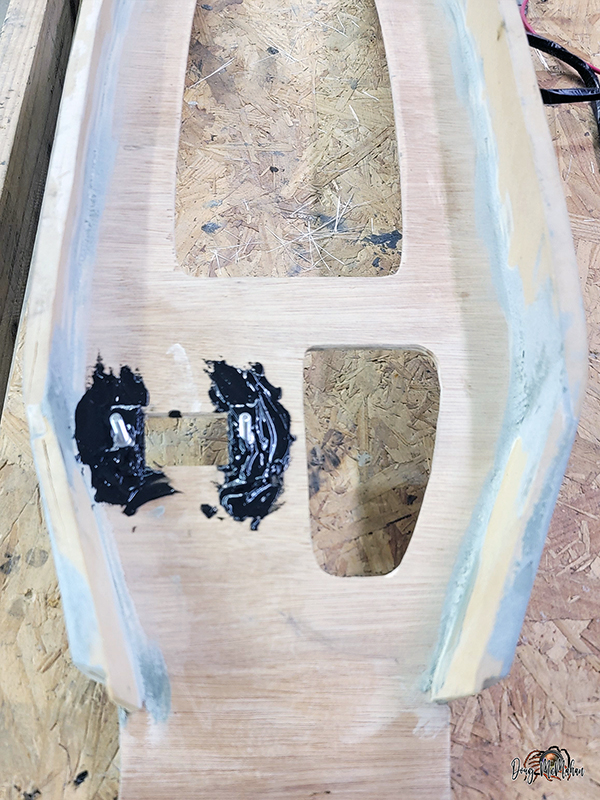
Adding electric windows to the car also includes the need to
mount the switches to the console
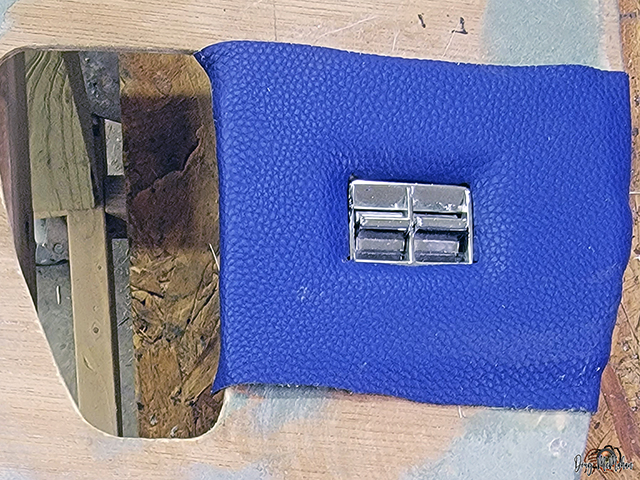
A mock-up using scrap leather to see how the console / switches
would look with padding (beveled) and leather wrapped around it
Never was happy with the outer ears on this panel - curvature
wasn't correct
Today was the day to rework those ears to make them fit
correctly
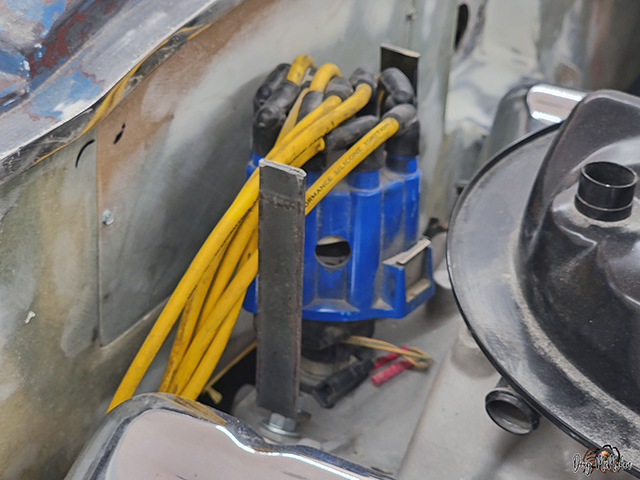
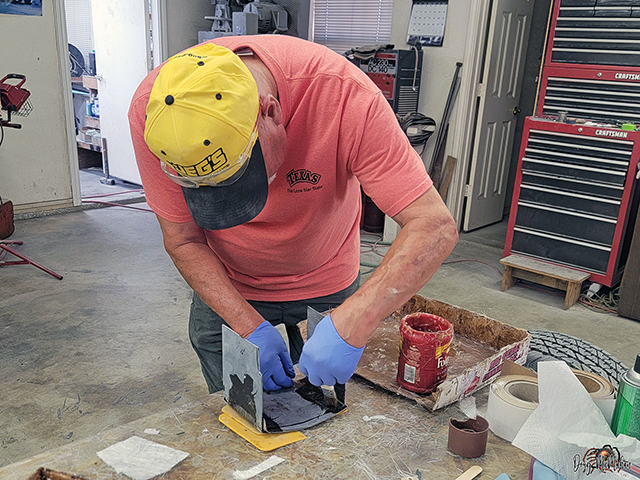
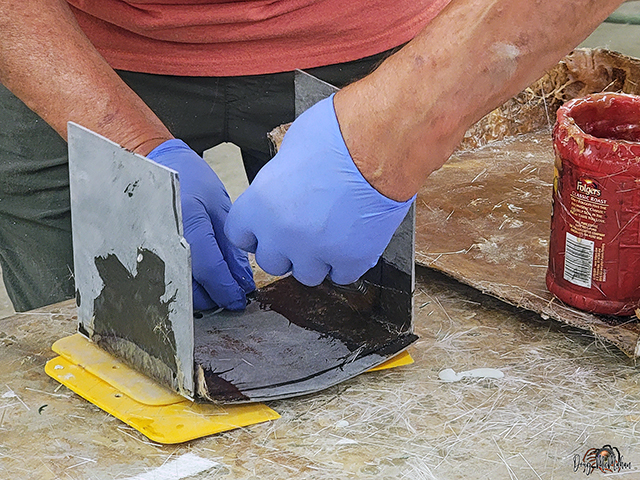
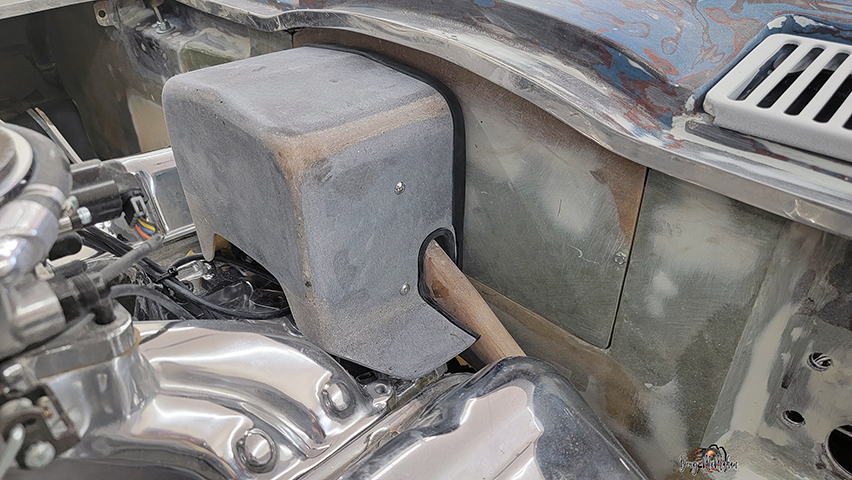
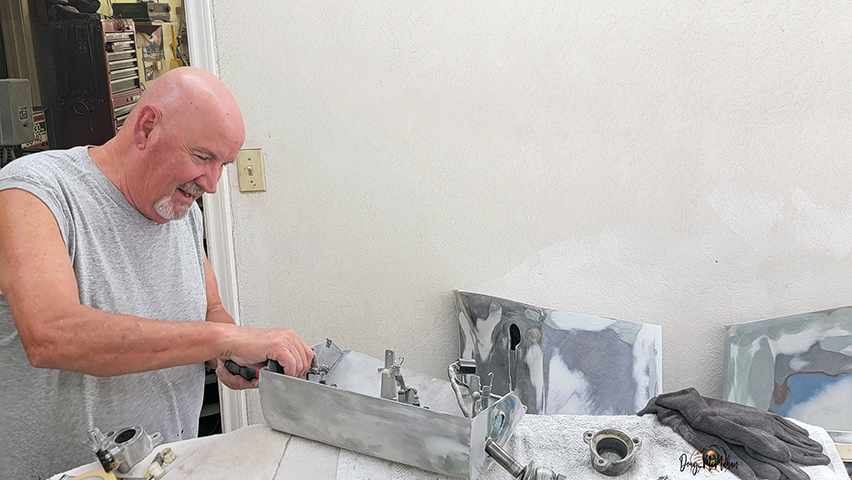
Custom Ignition Shielding - 5/24-30
A Restomod doesn't have to include the
original ignition shielding - so we set out to design & build
one that fit the theme of this build - this is the very first
stage to building it - vertical supports in place & glass the
sides to the top
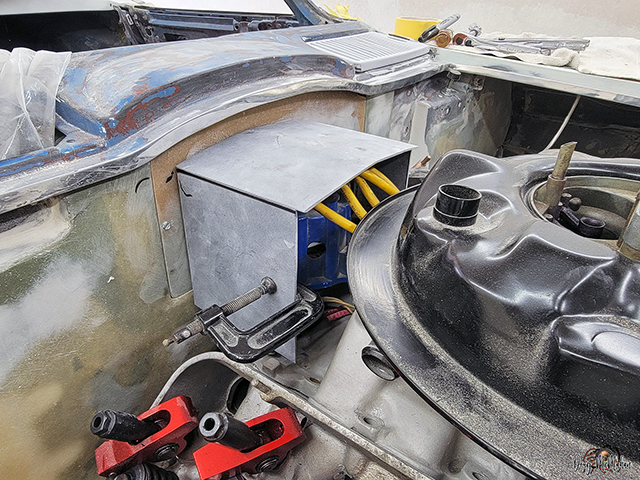
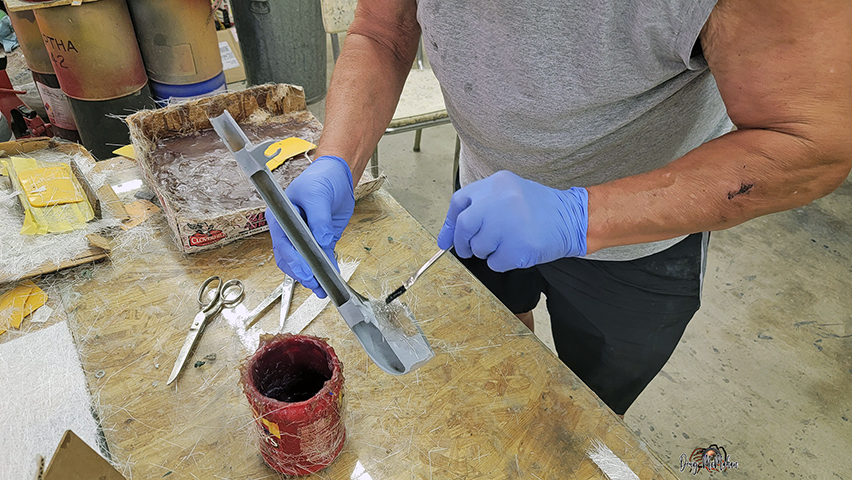
William laying the 1st layers of fiberglass inside the structure
- several layers need to round the corners
Additional fiberglass on the inside corners allowed rounding the
structure for looks
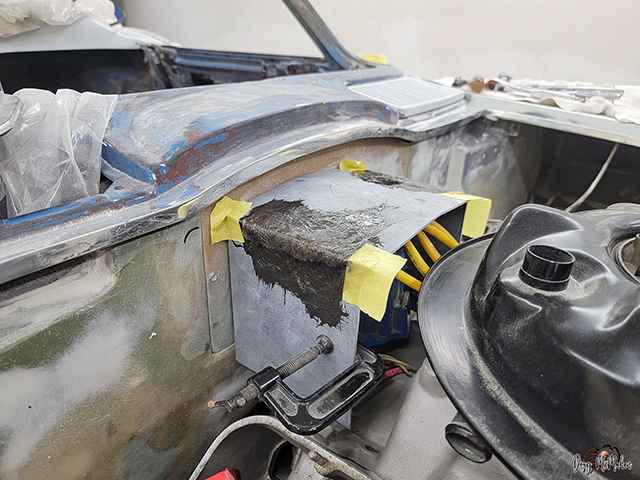
...checking clearances & more bonding
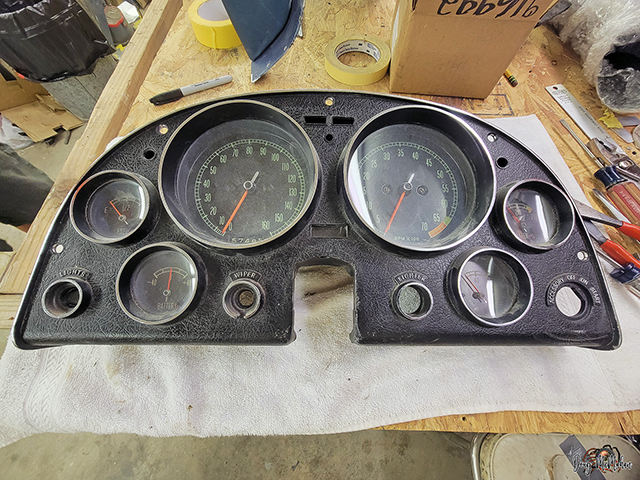
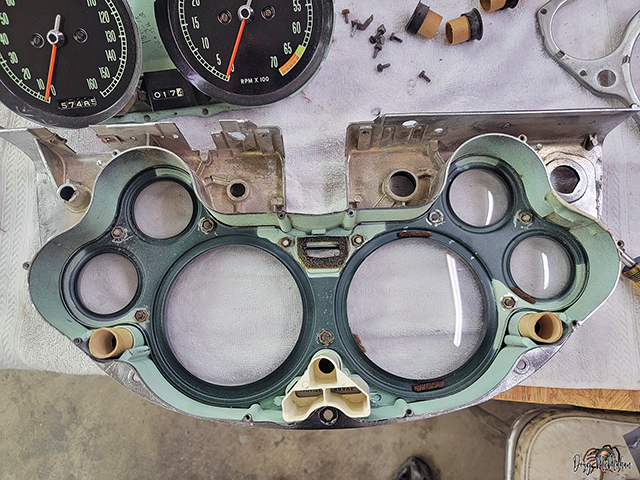
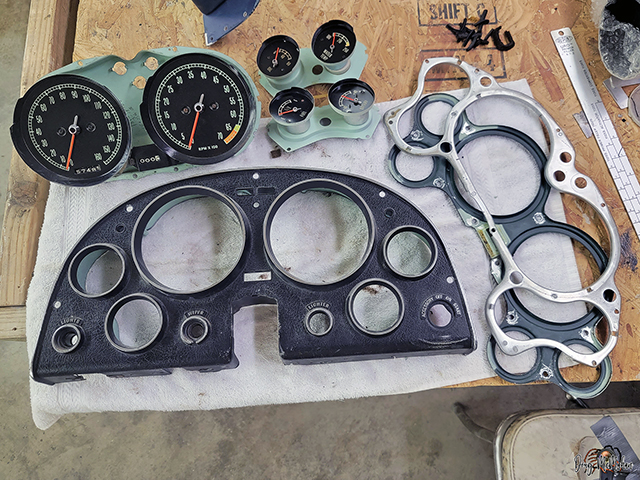
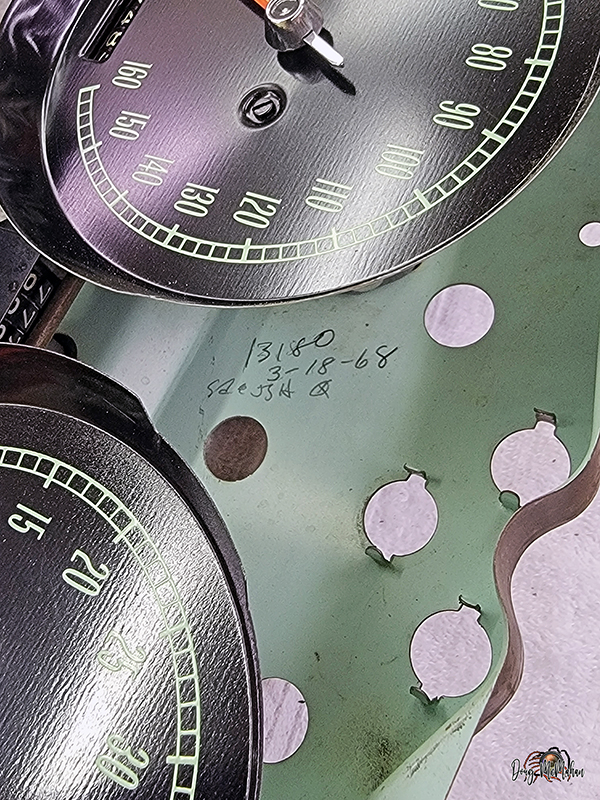
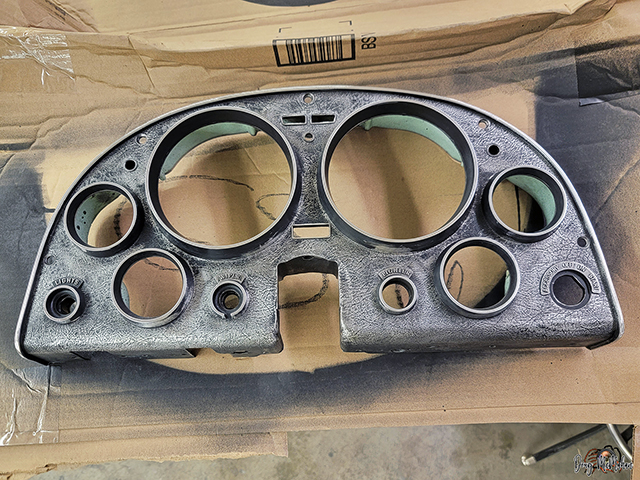
It starts with the careful disassembly of the cluster
<- never know what you will find - here a mileage & date
paint almost completely removed and then repainted
tedious removal of the paint from the letters afterwards
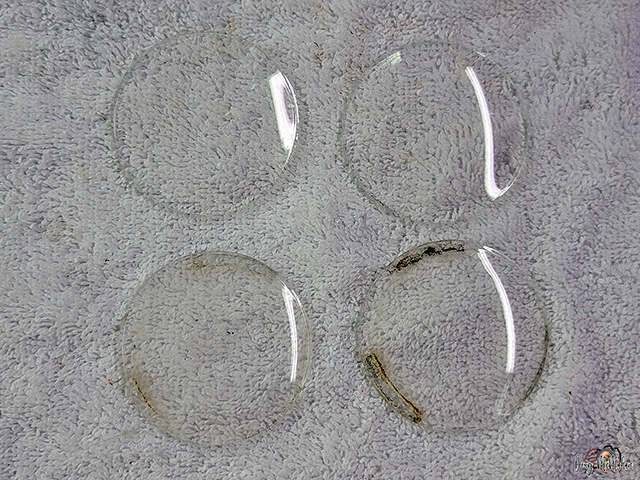
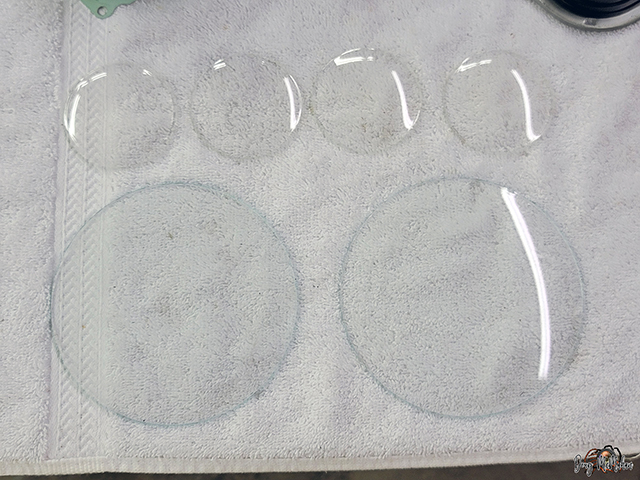
top lenses clean
bottom lenses not
All 6 lenses cleaned
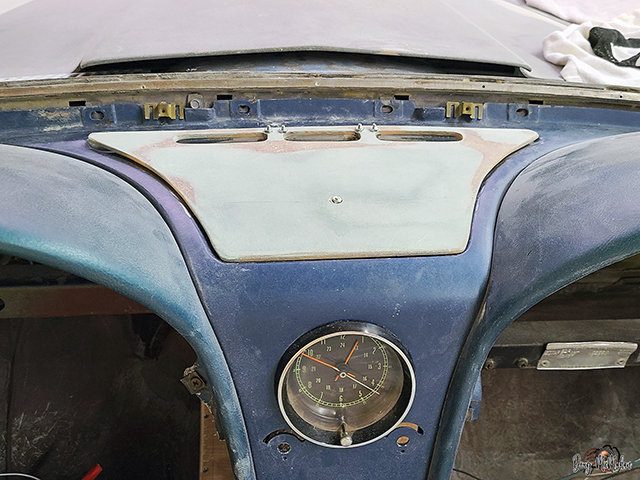
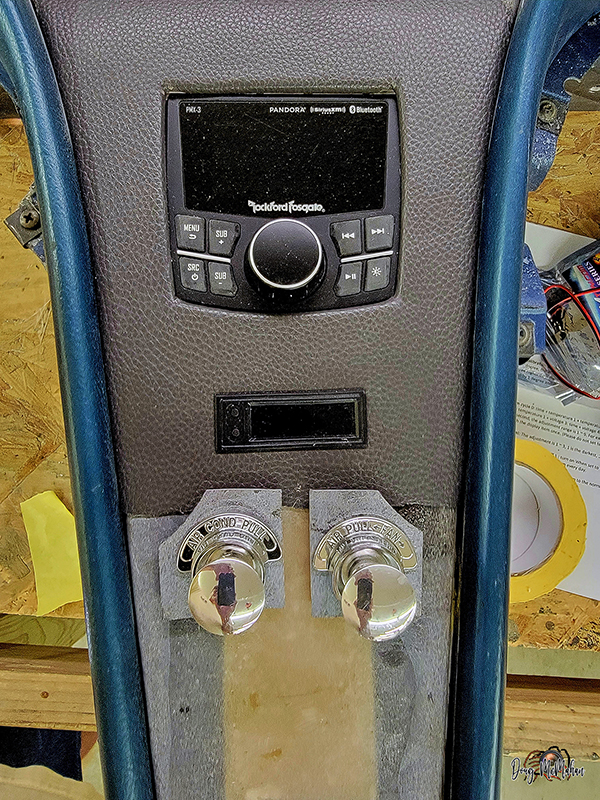
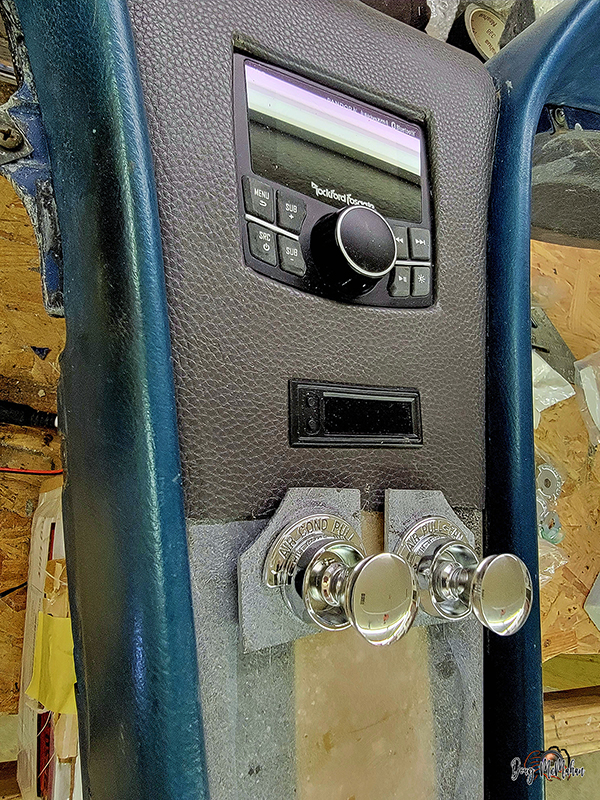
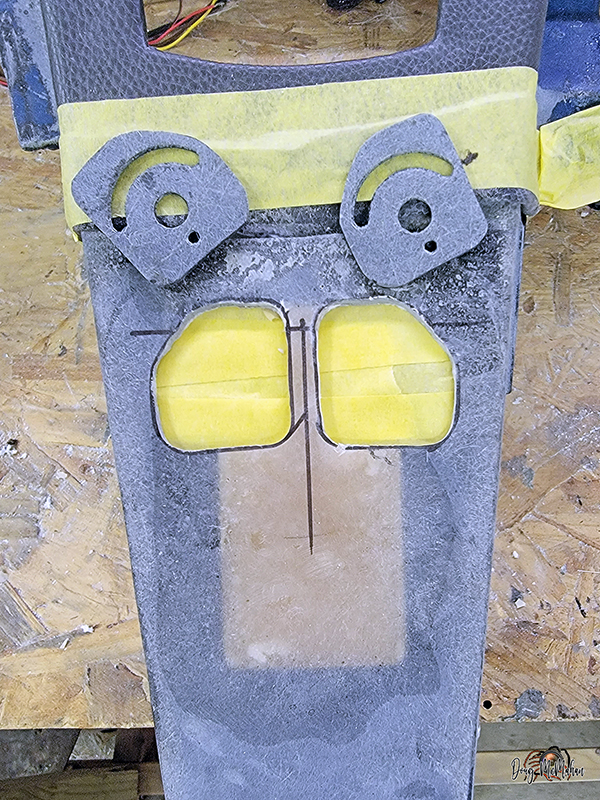
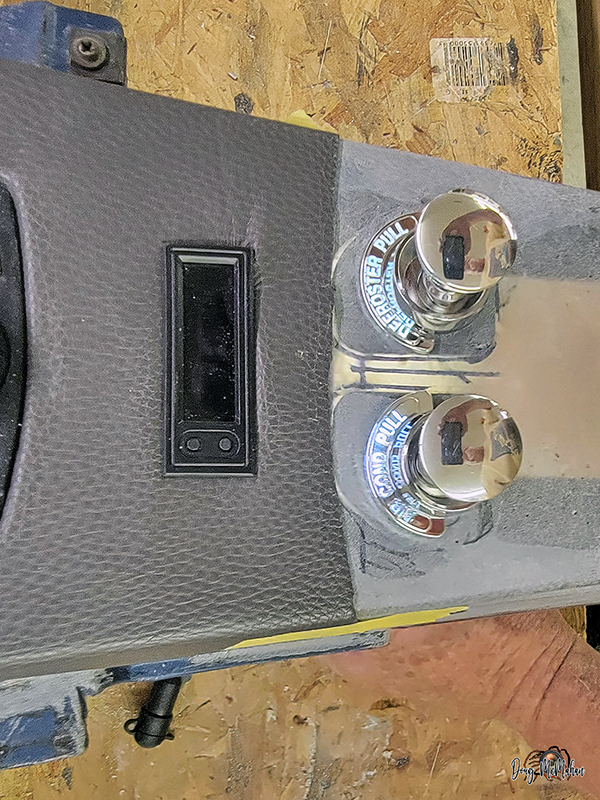
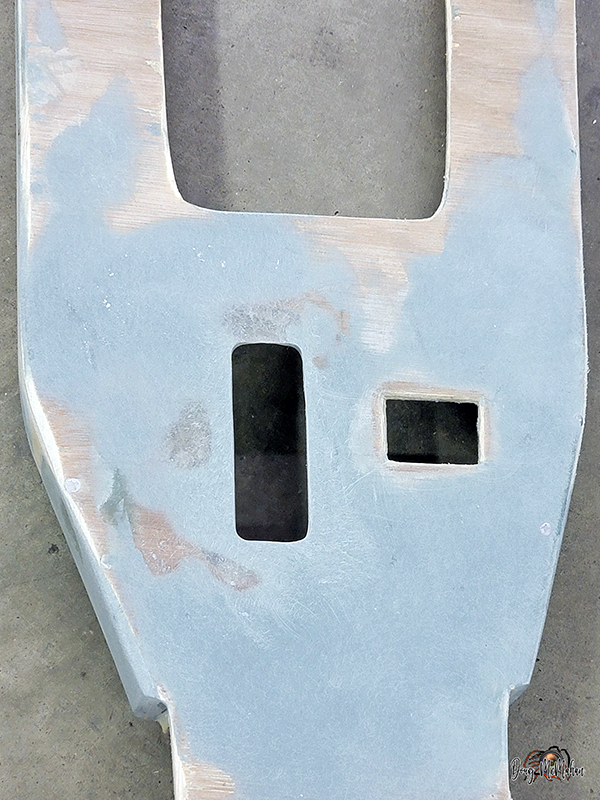
Tinkering with the center dash layout ...all that is left is the
AC switches - new backing plates look good
Cut the holes in the center dash, below the clock - a tight fit
so the stock piece can then be grafted back in
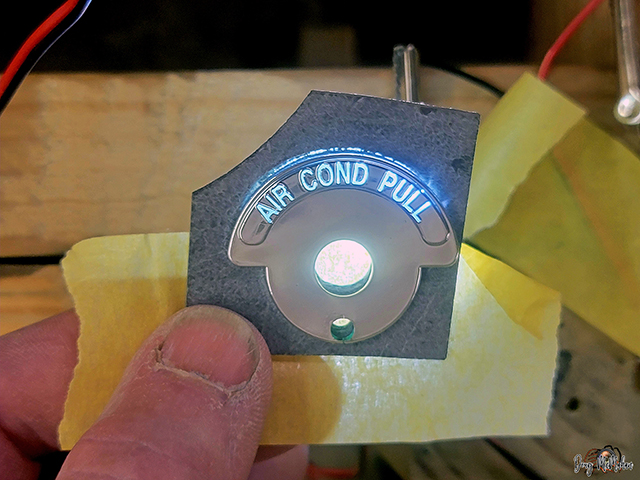
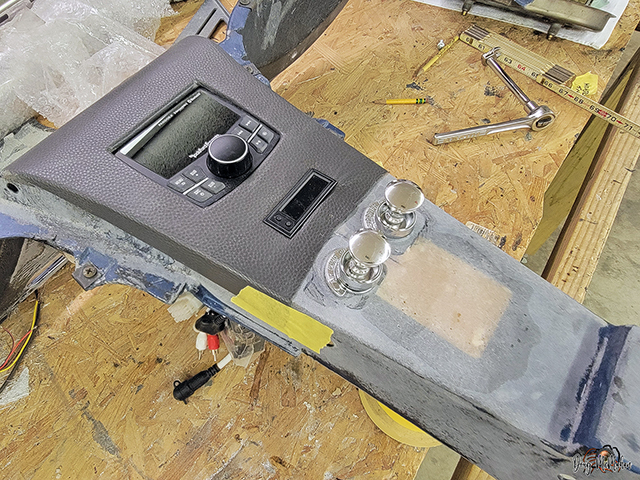
The stock fiberglass control section was grafted in, sanded
smooth. The lighted indicator panels fit nice and light up at
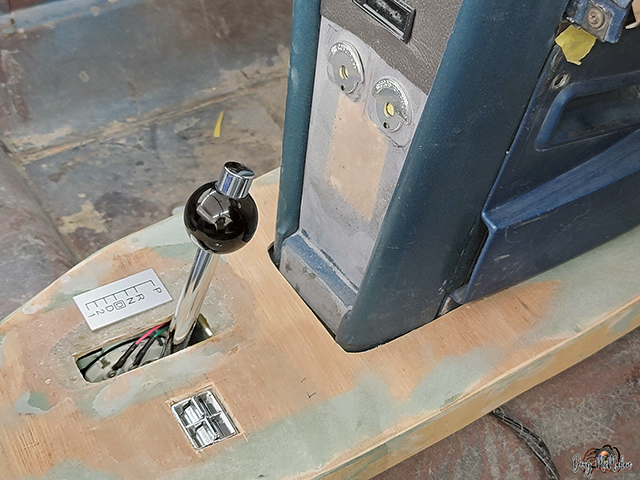
night. We also test-fit the "Shiftworks" shifter to validate
clearance on the AC knobs.
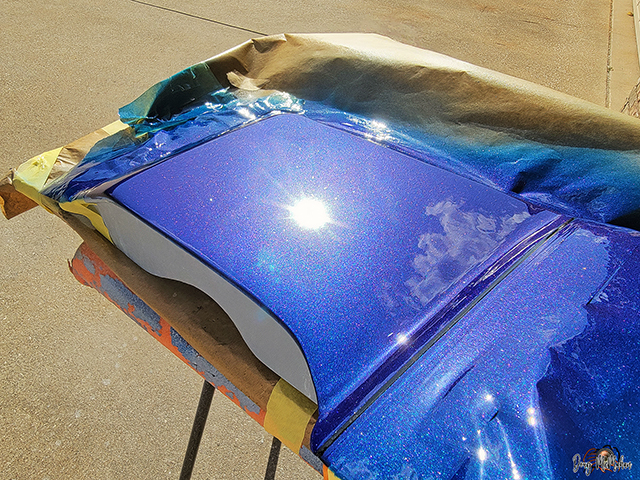
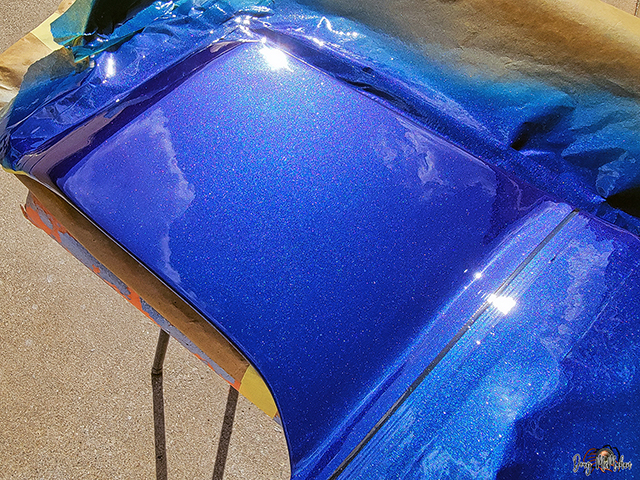
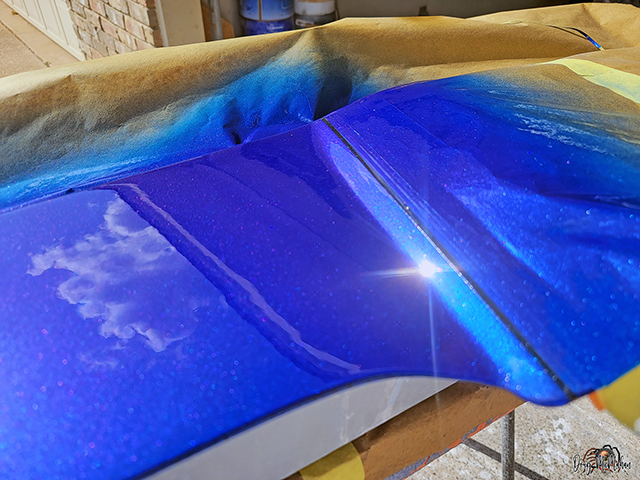
Test Paint Color #18 - 5/31
Freshly sprayed - HOK Stratto Blue w/Colorshift Purple to Blue &
White Diamond Pearl
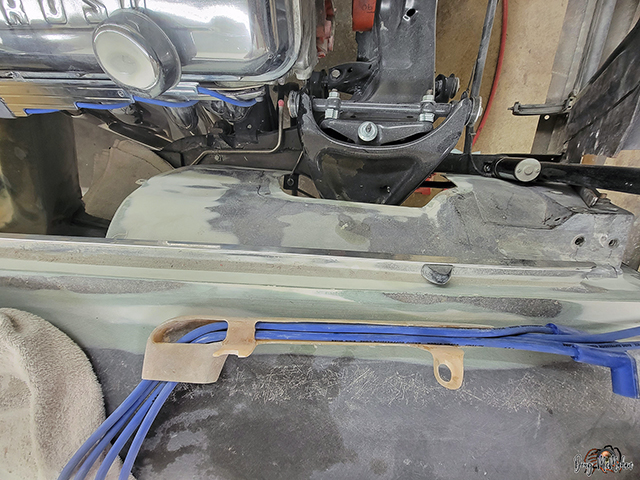
Electric Window Wire Looms & Dash Pad Repair - 6/4
We first had to patch a hole in the door jamb & door from a
previous wire loom installation.
Then carefully cutting the hole for the factory electric window
wire loom brackets
The right dash pad had a crack in the covering - further
investigation led to knowing the fiberglass structure was
cracked. Time to peel back the vinyl, padding and repair the
fiberglass
William did a great job of preparing and painting the grill
mounting hardware
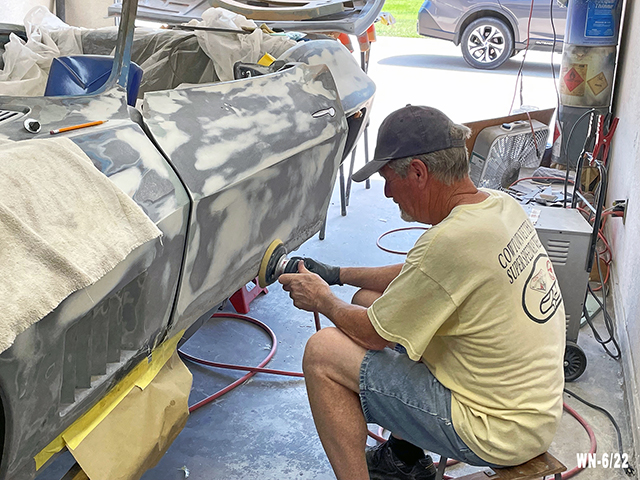
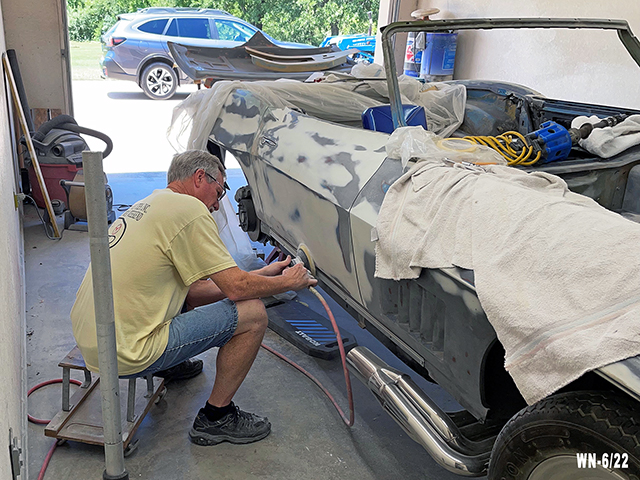
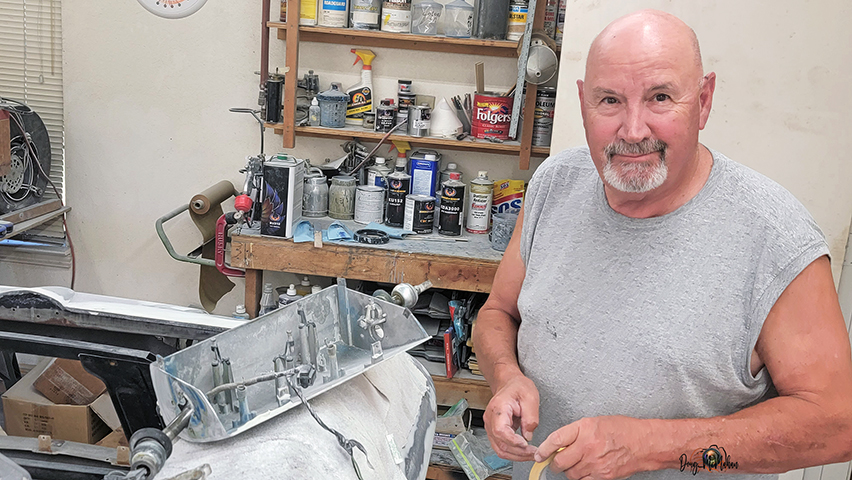
Brake Assembly & Door Repair - 6/4-6
William took on the brake assembly apart, prepped & painted it
all
brake assembly looks great after he finished and put it back
together
It takes a lot of time to gap, level and fix years of damage on
doors ...usually the bottom is the worst area - as was in this
one. had to add fiberglass at the bottom, grind it down, then
finish it
When you do it right, the gap at the bottom of the door to the
rocker panel is 3/16"
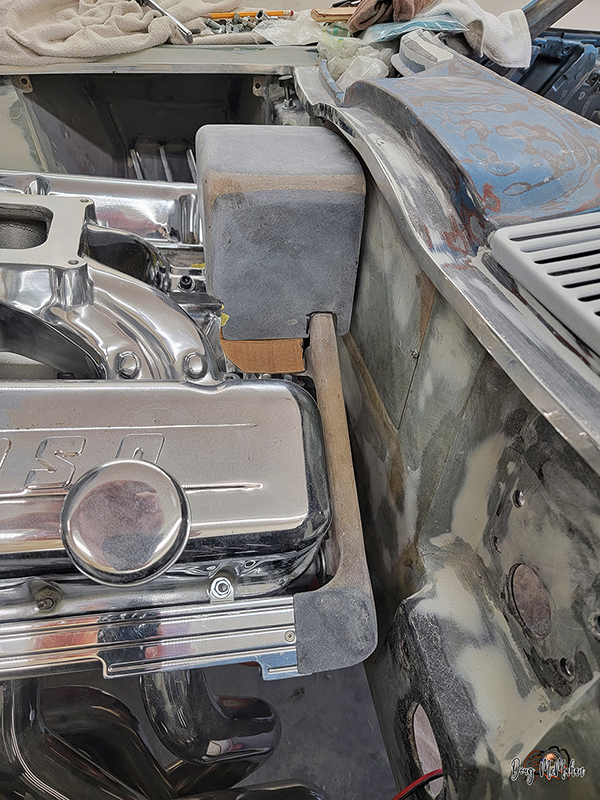
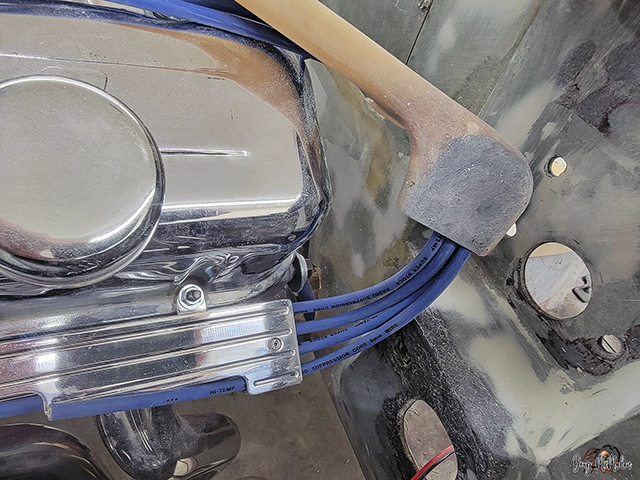
Spark Plug Wire Looms - 6/19
more efforts to conceal as much of the distributor / spark plug
wires as possible - slow but getting this intricate part
designed & built
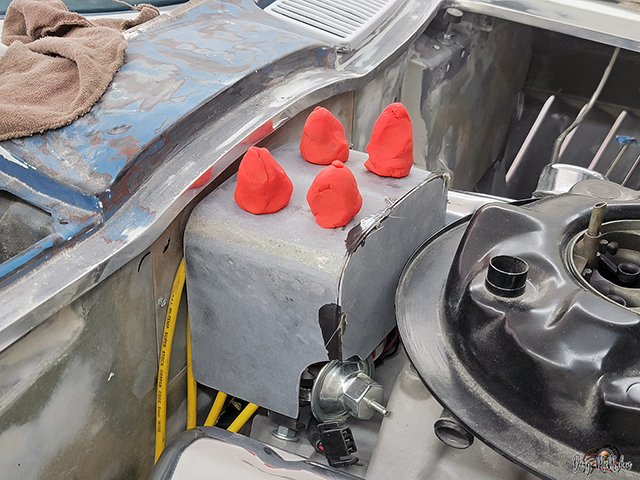
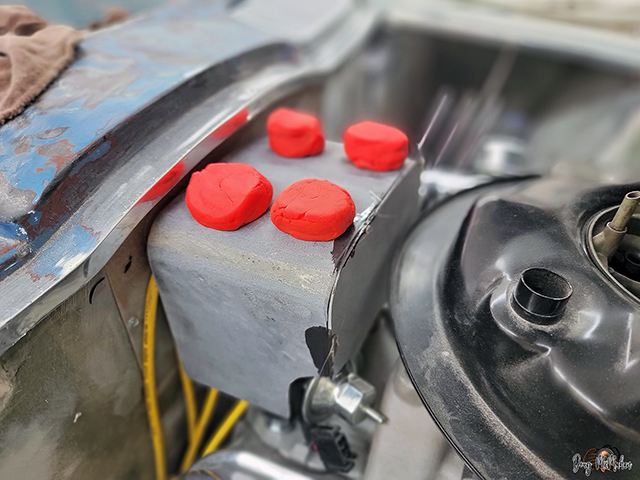
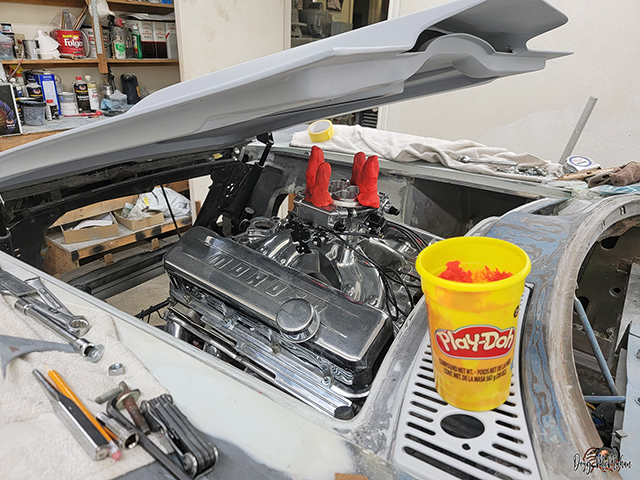
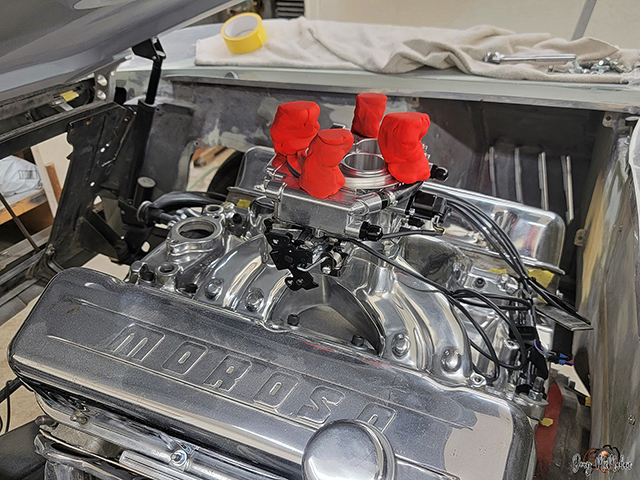
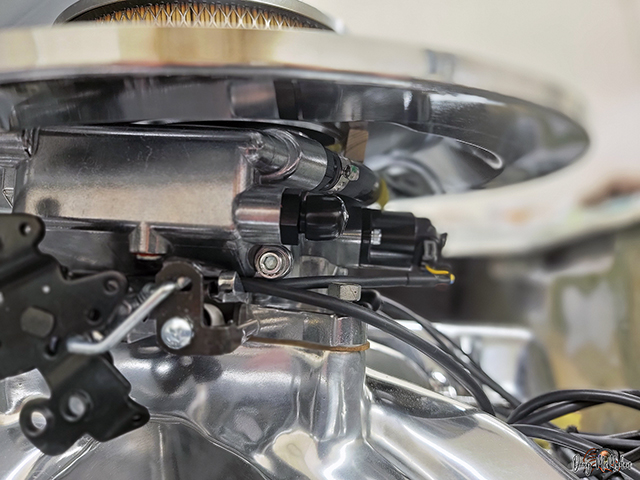
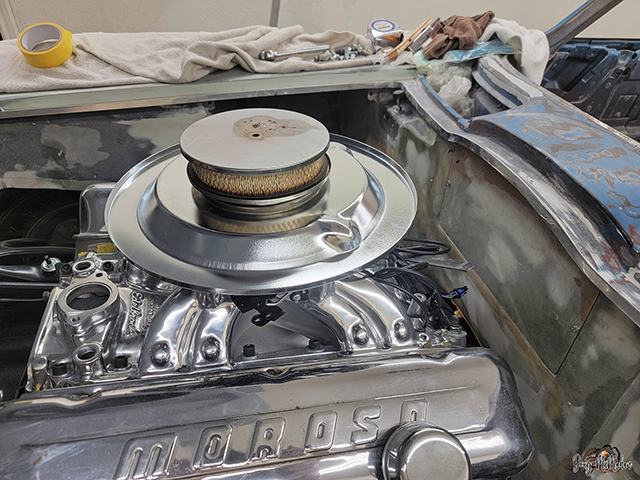
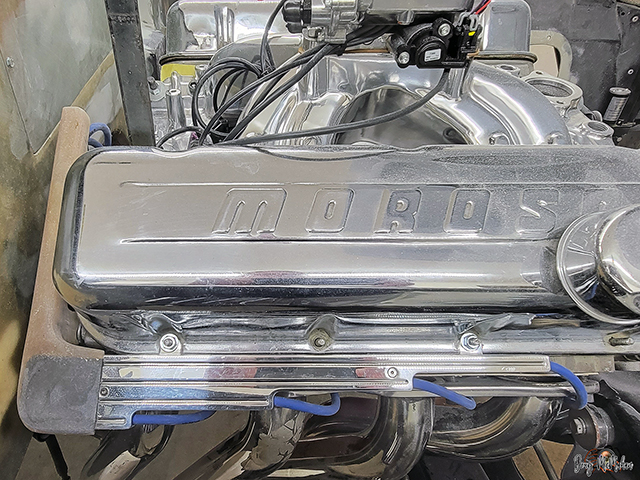
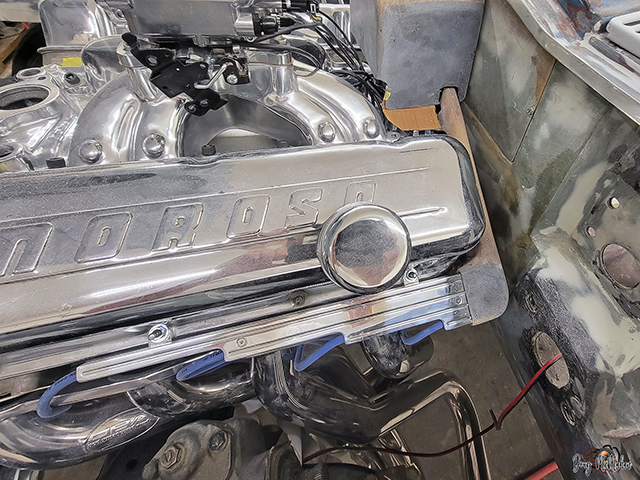
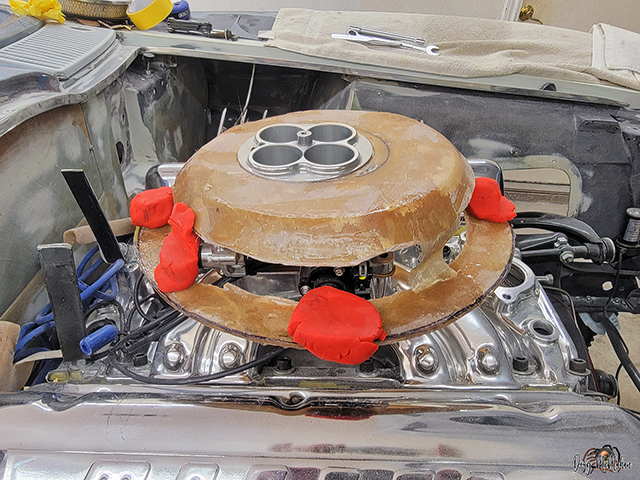
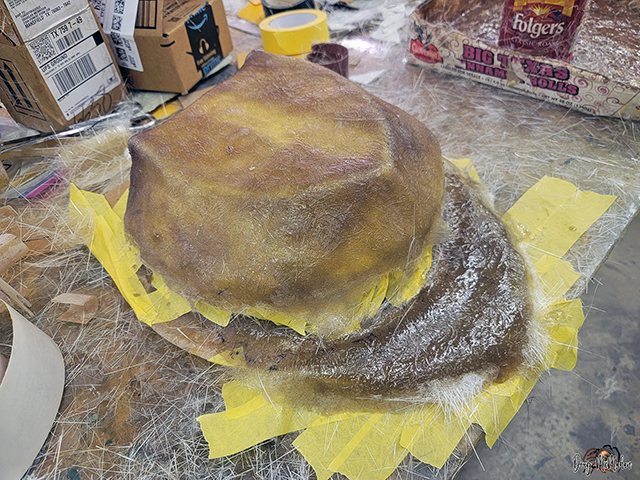
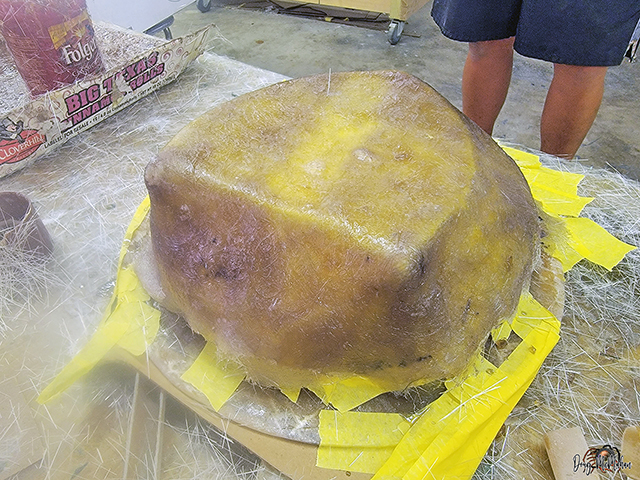
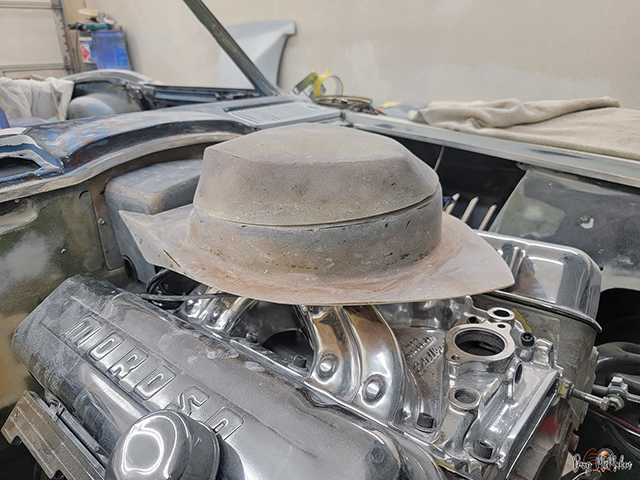
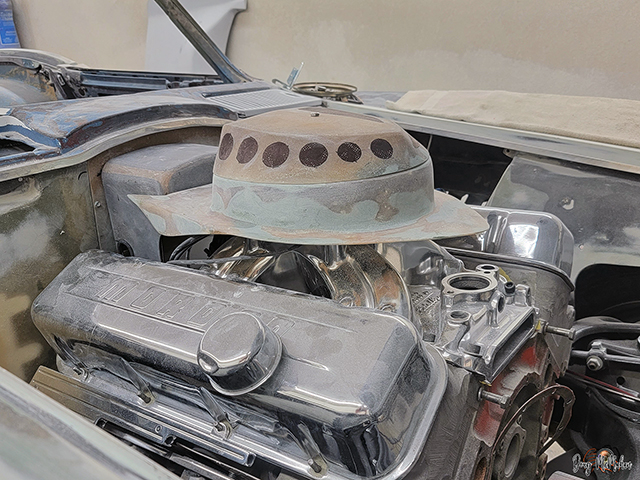
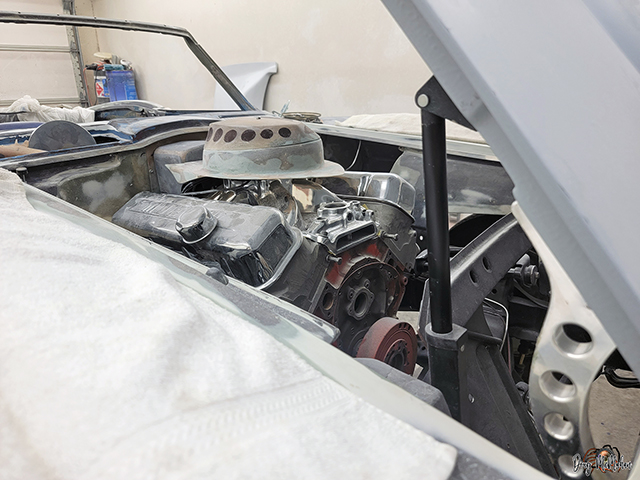
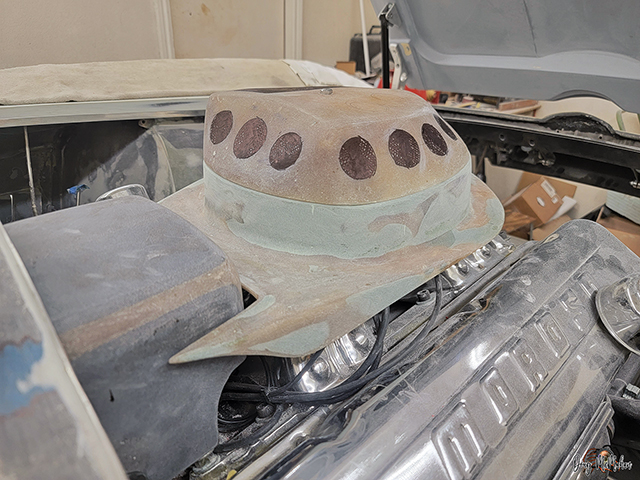
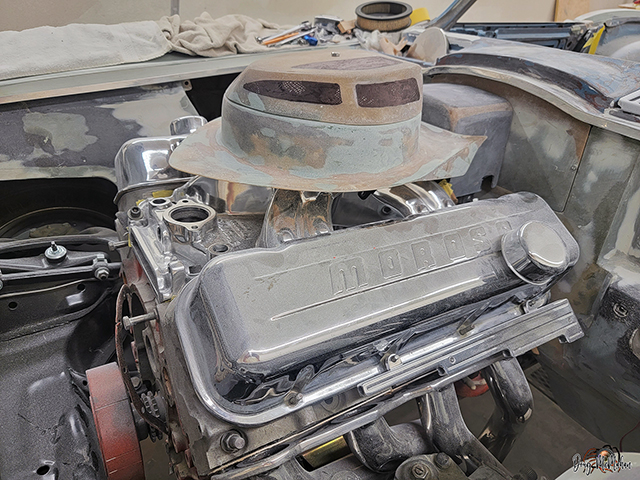
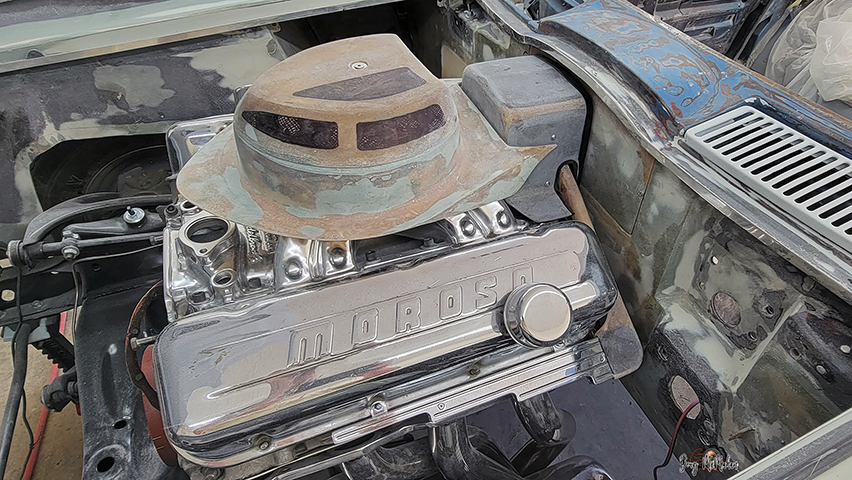
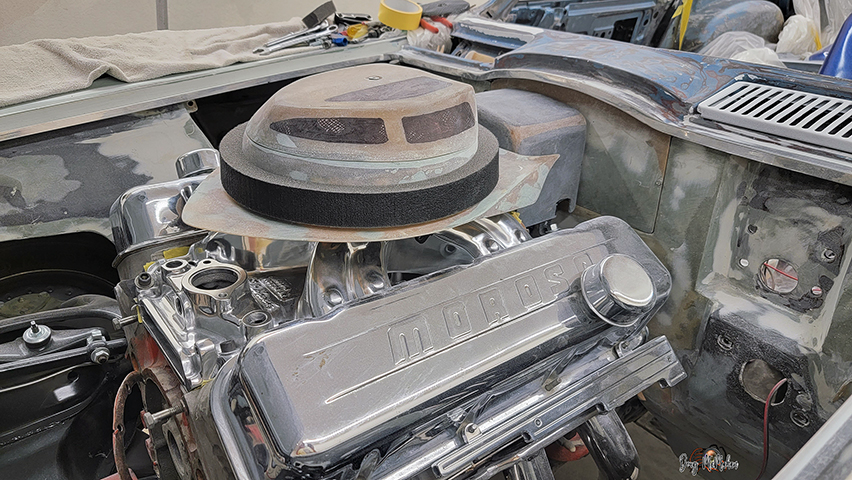
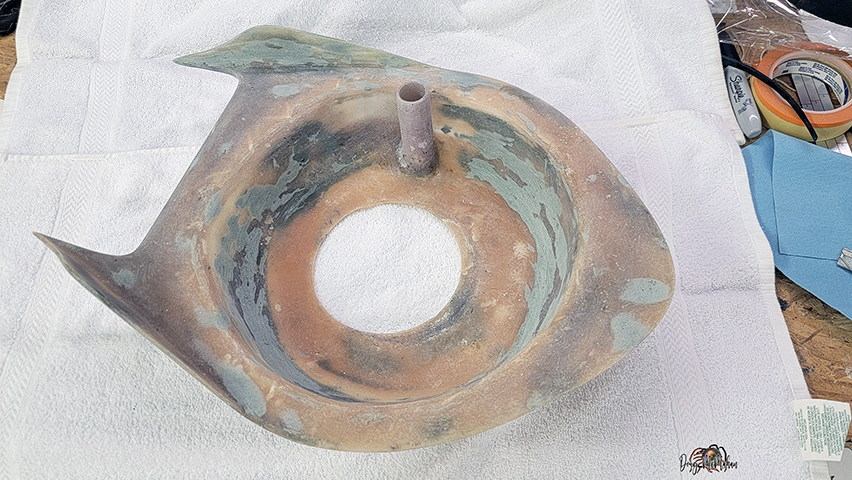
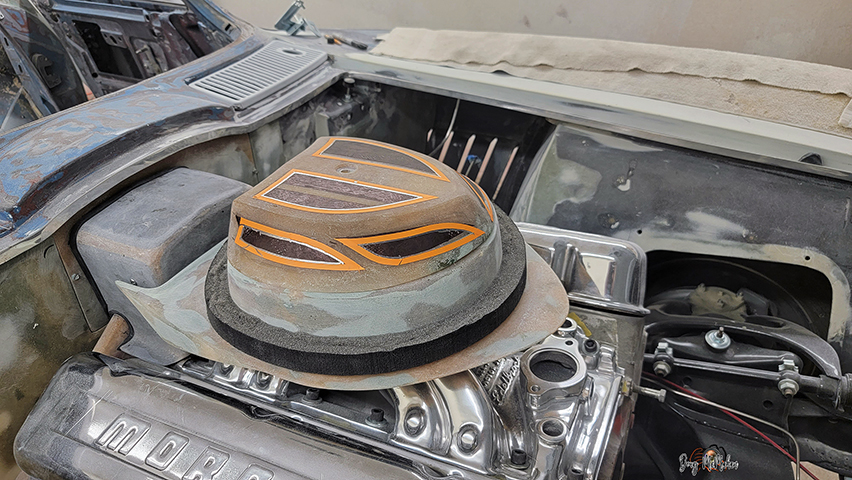
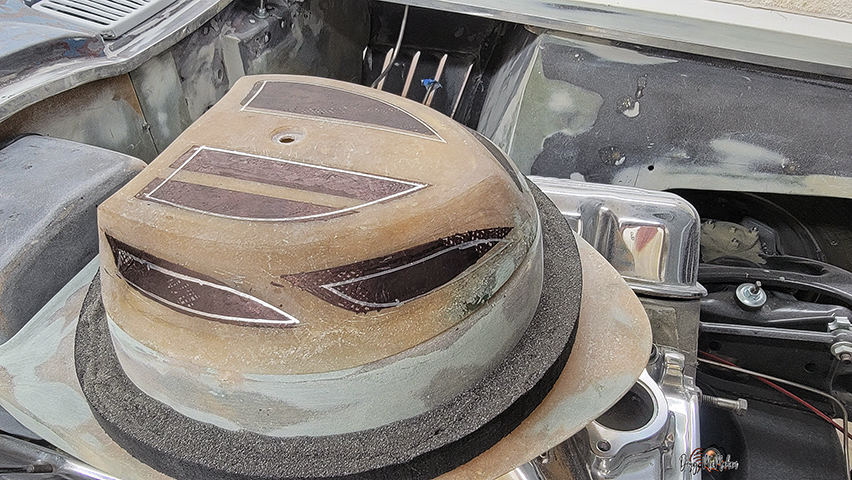
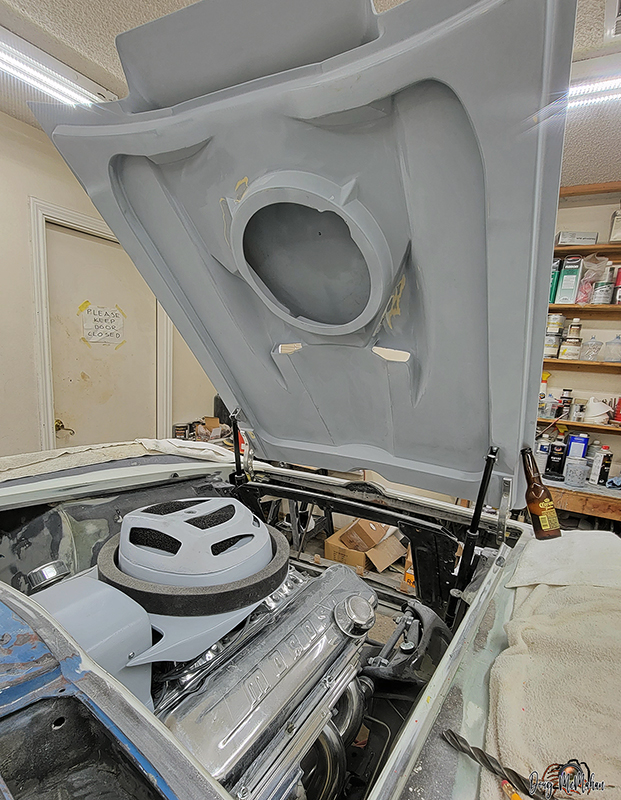
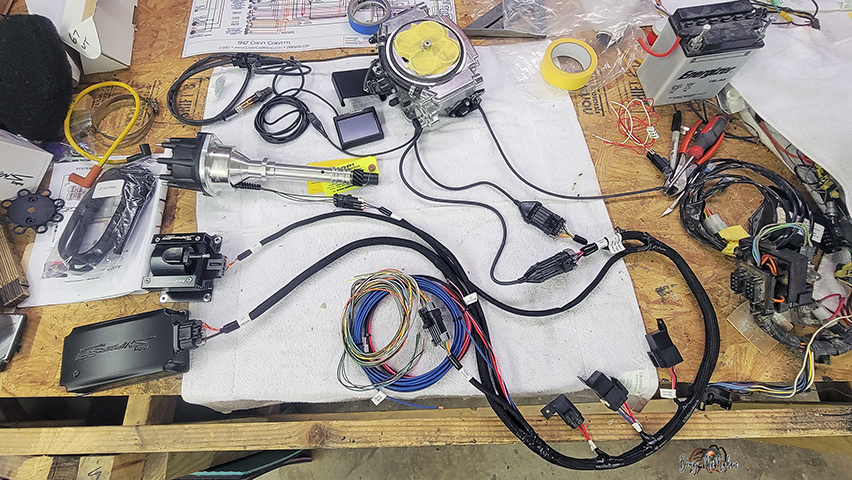
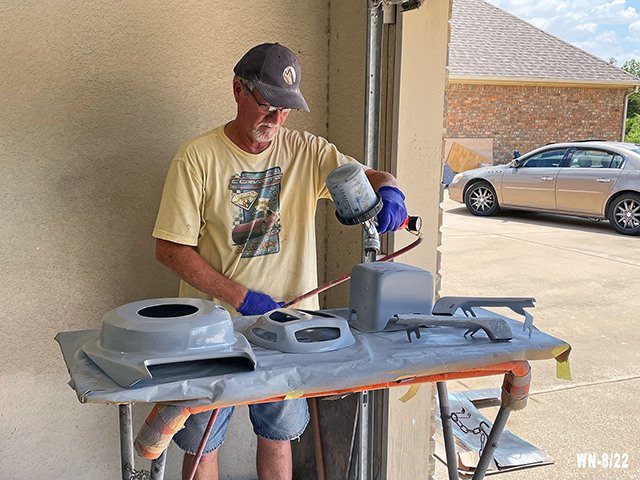
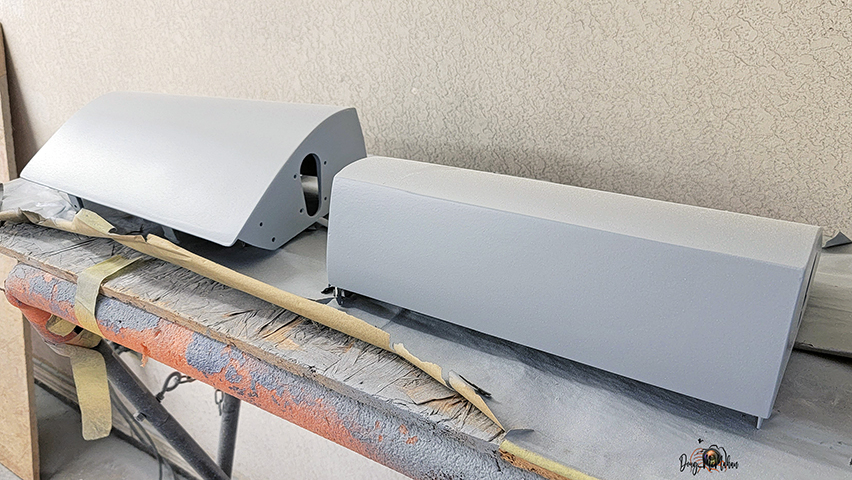
Air Cleaner Top-hat Mock-Up - 6/22
The Holley Sniper Kit came in ...time
to mock it up and see how things are looking. My favorite method
(Play-Doh) to check clearances - this time from the air-cleaner
mount to the inside of the hood scoop
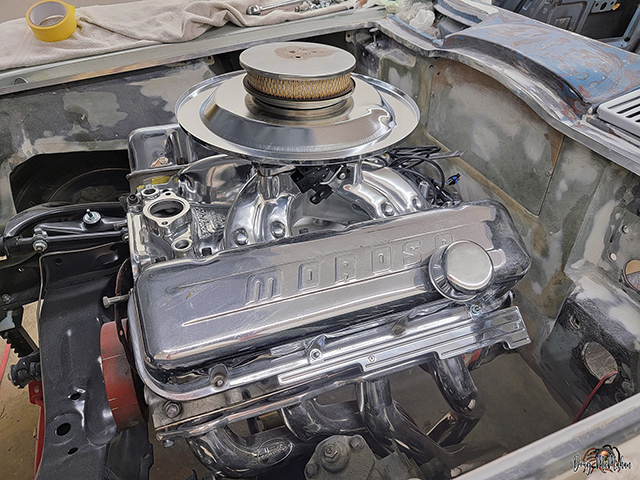
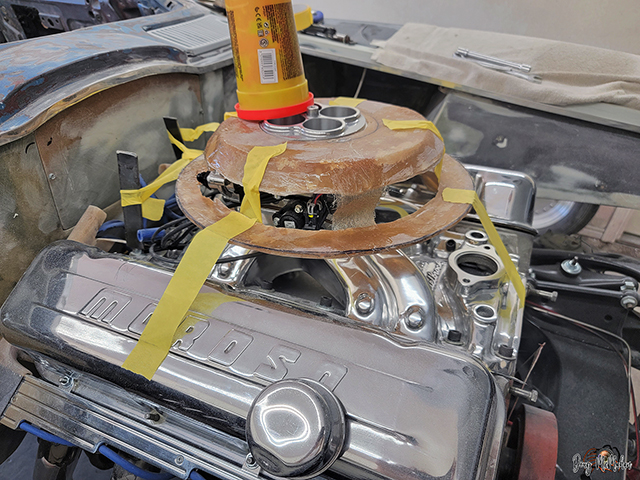
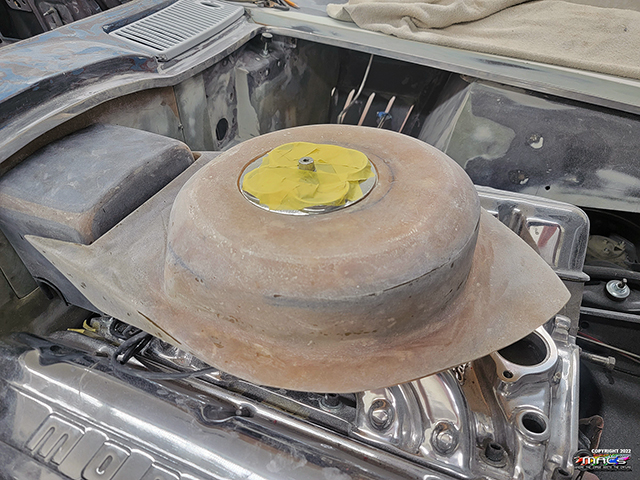
Looks good however the hood won't close :( ...not to mention it
hits in front not level
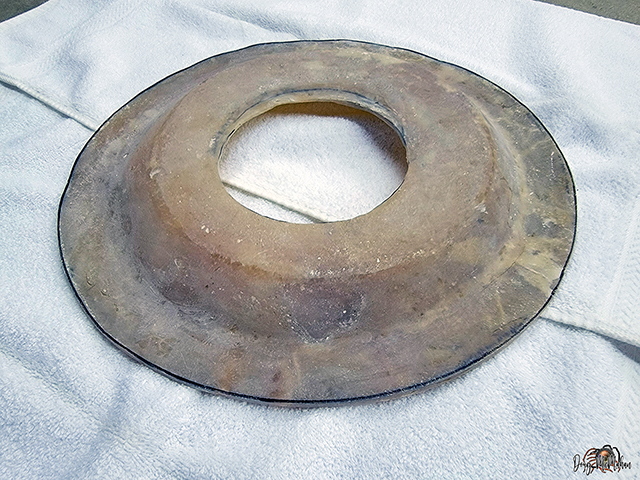
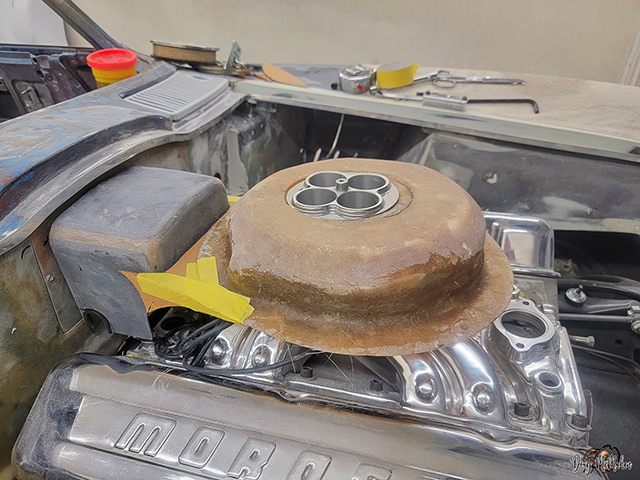
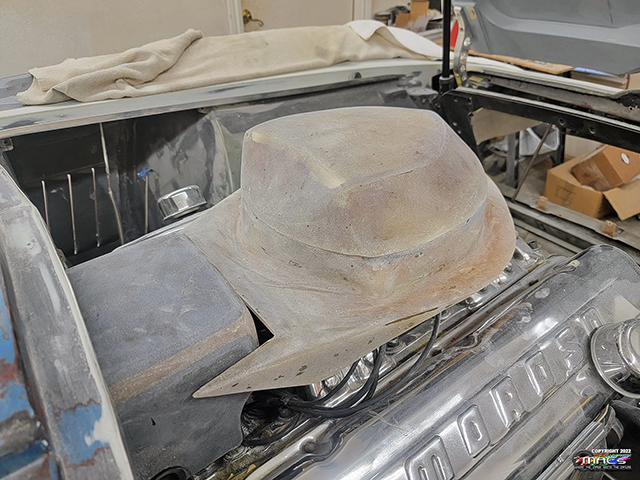
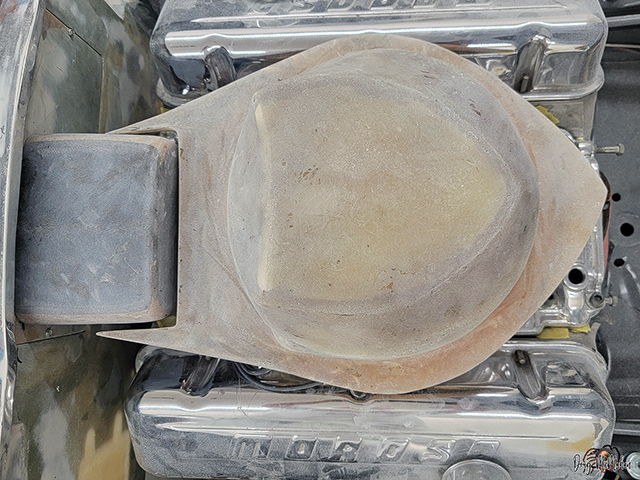
The stock intake had about a 1/2" difference in the front & rear
carb mount - unlike this intake
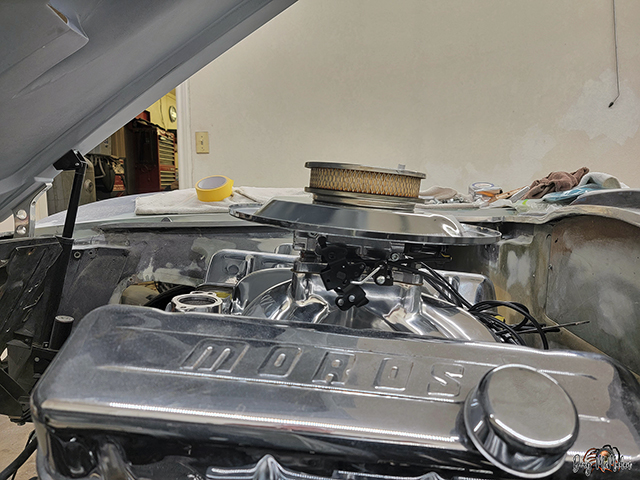
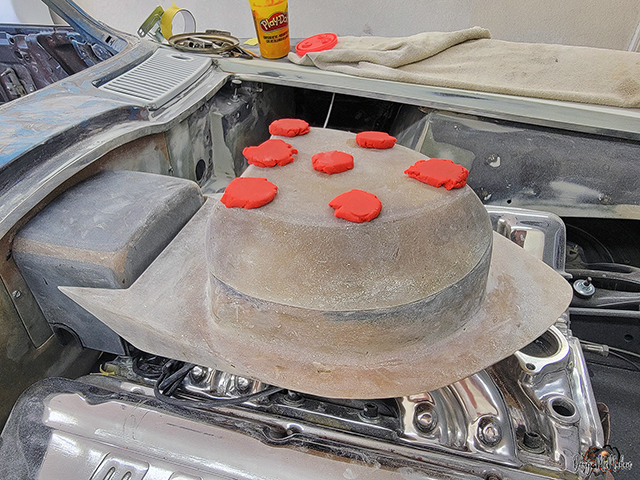
Used a 9/16" thk piece of wood block & stock Sniper base to
start designing a new air cleaner base
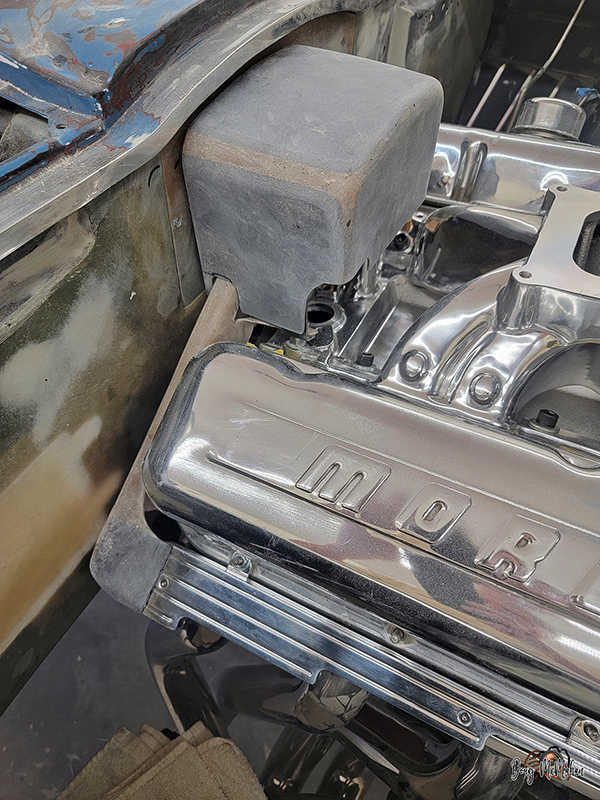
Spark Plug Wire Looms &
Air Cleaner Top-Hat - 6/24-25
Test fit of the new Spark Plug Wire Looms - combining BS
Polished Alum and hand-built
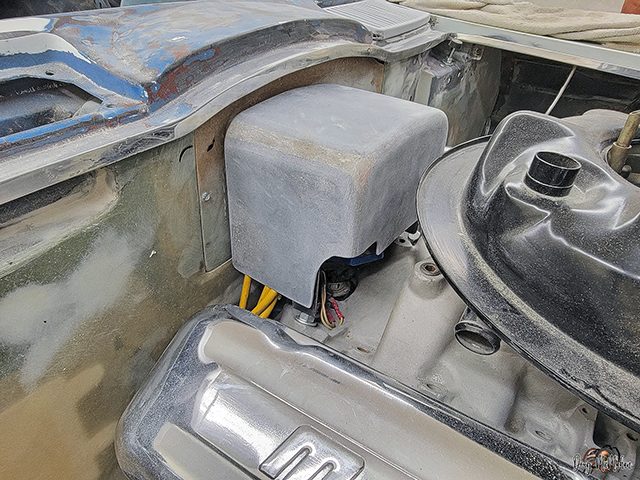
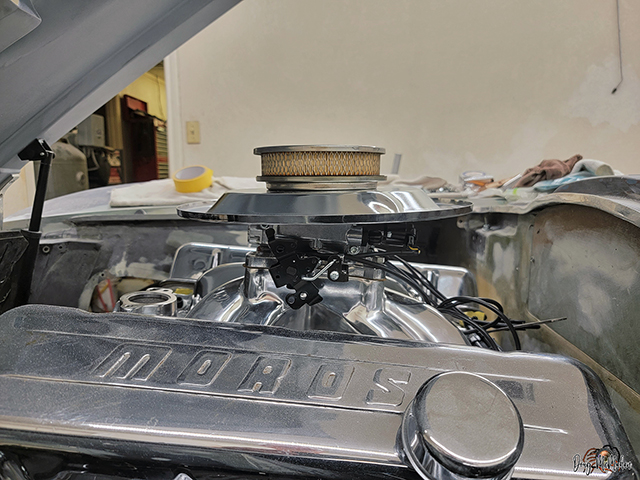
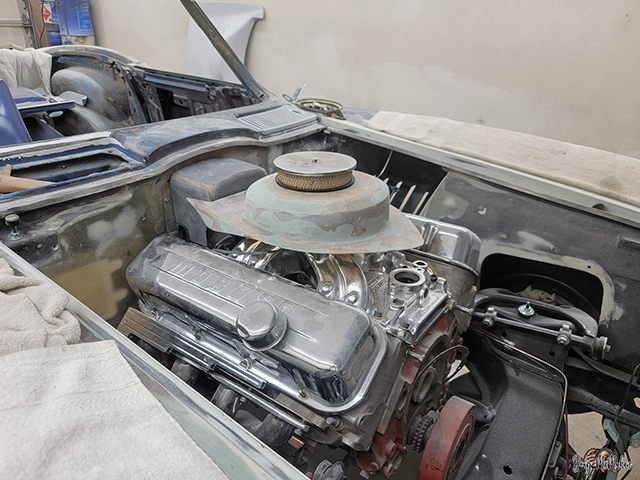
The stock Sniper top-hat didn't work w/the L88 hood so it is
time to fab a fiberglass one
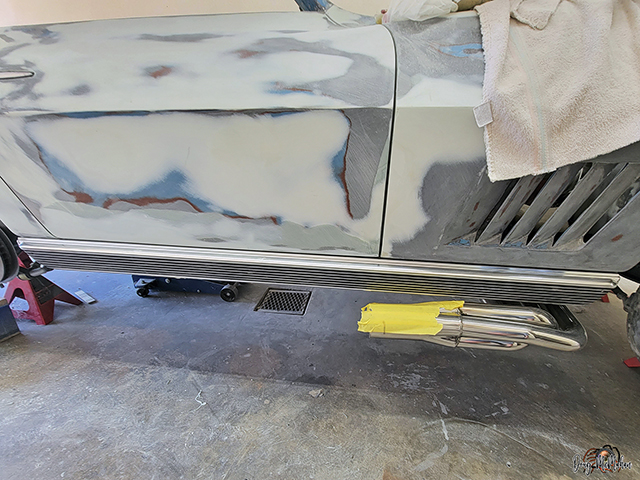
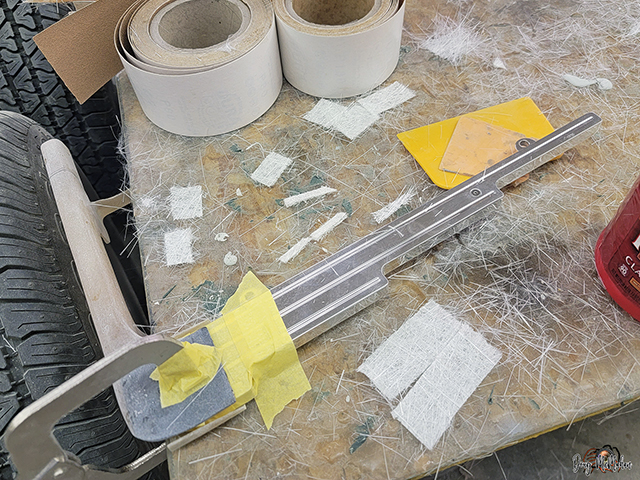
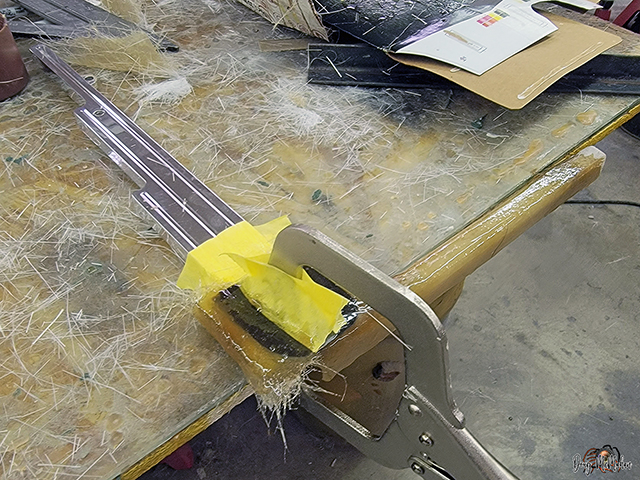
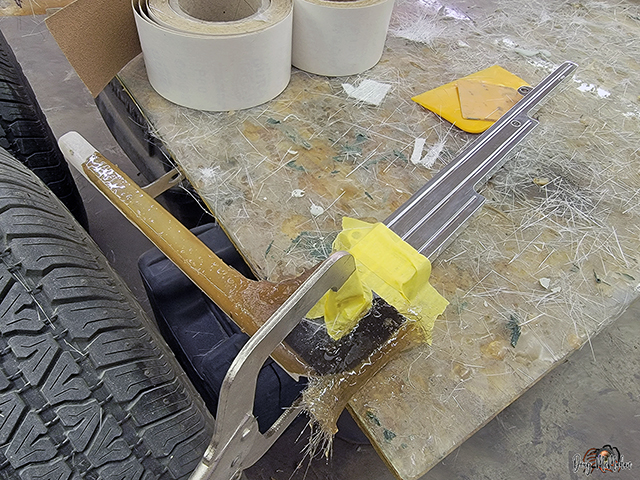
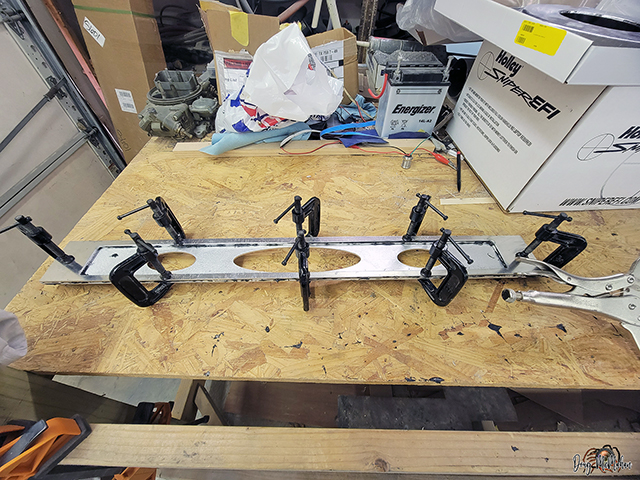
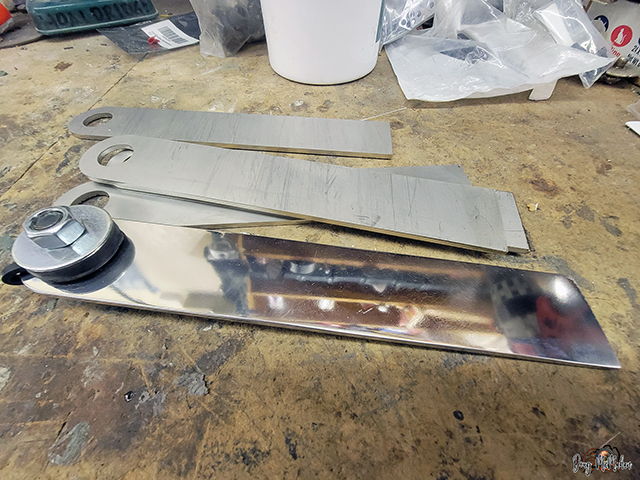
Permanent bonding of the 3 Alum pieces that will form the custom
Door Sills
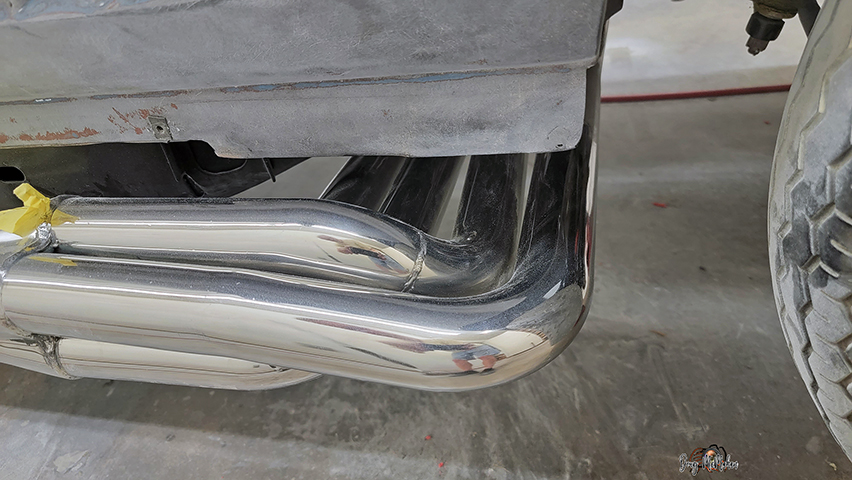
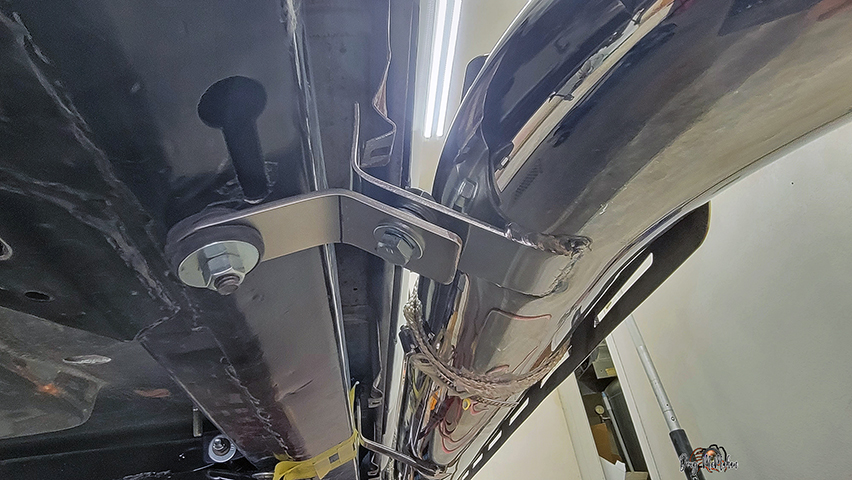
Rec'd the SS Exhaust brackets back from M&M Manufacturing - one
was test polished
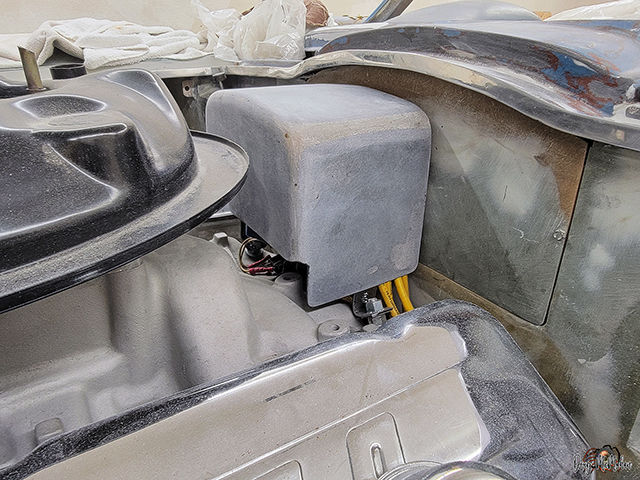
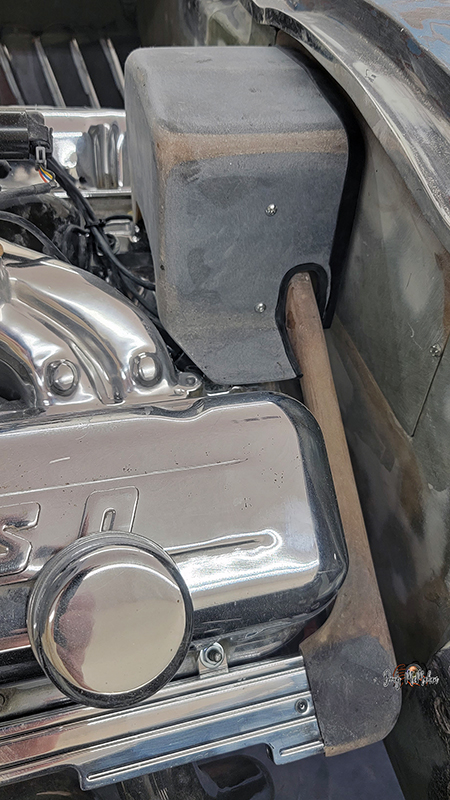
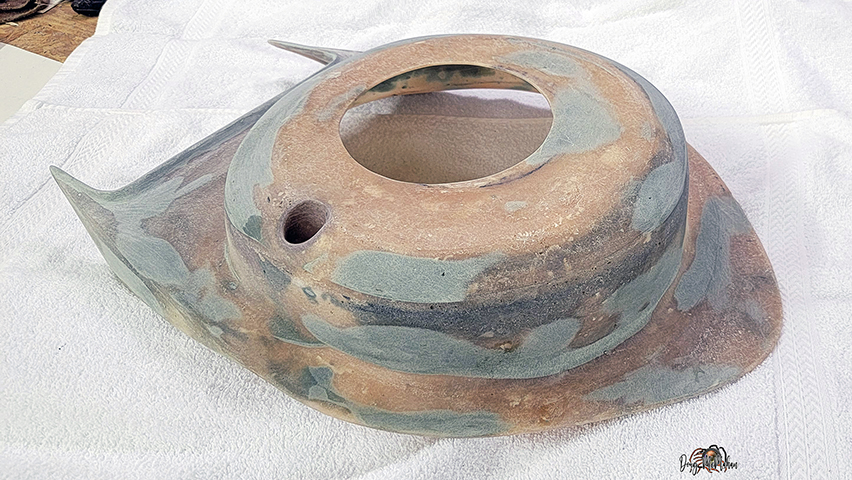
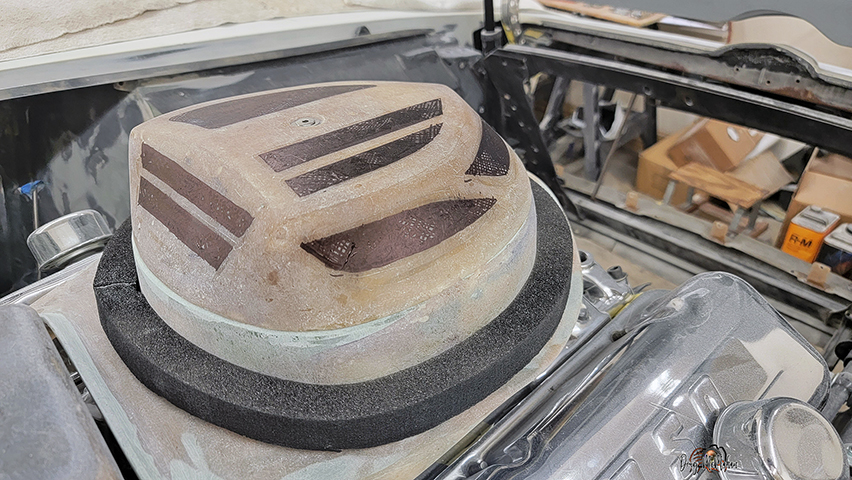
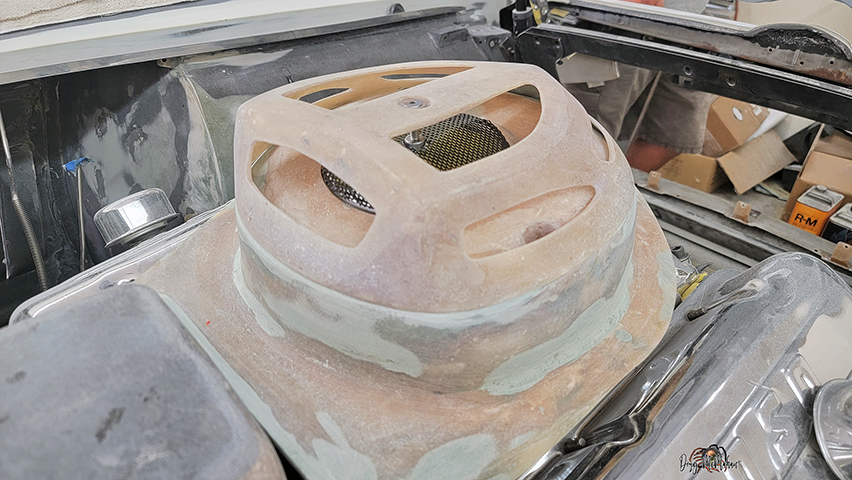
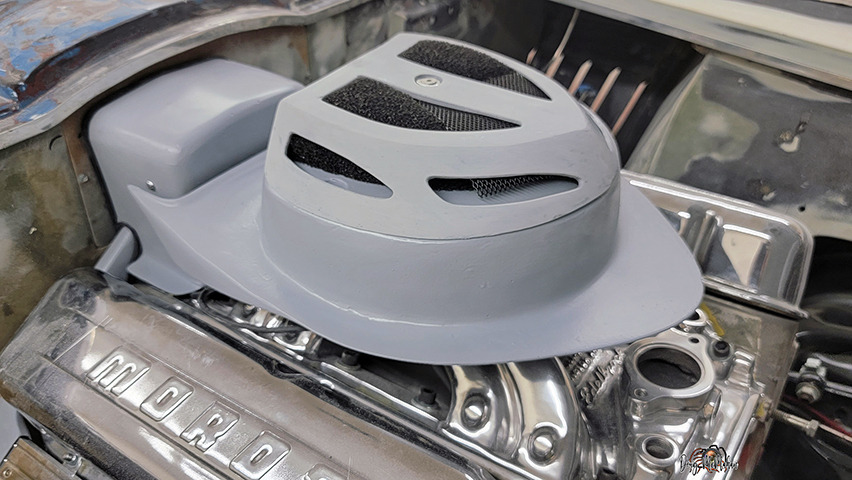
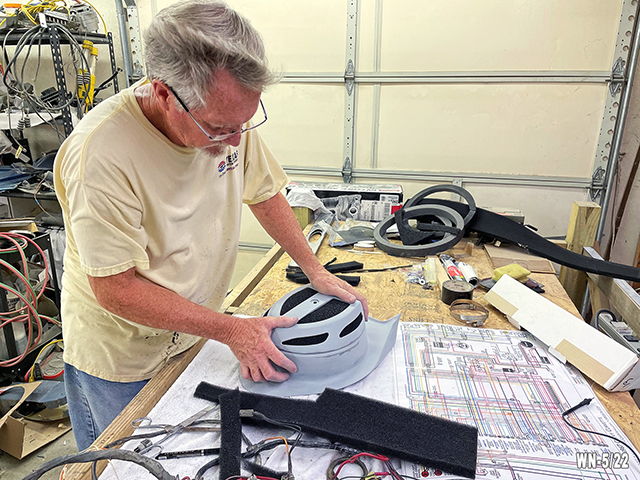
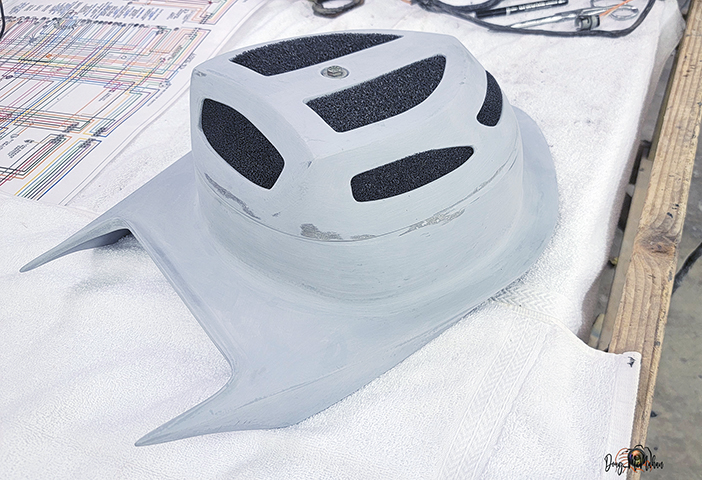
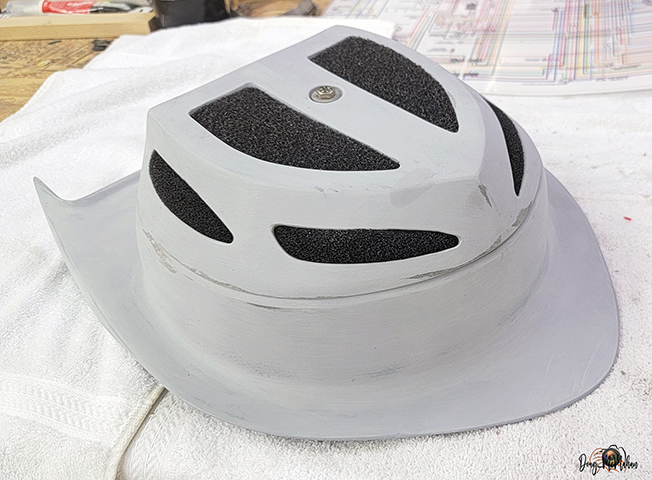
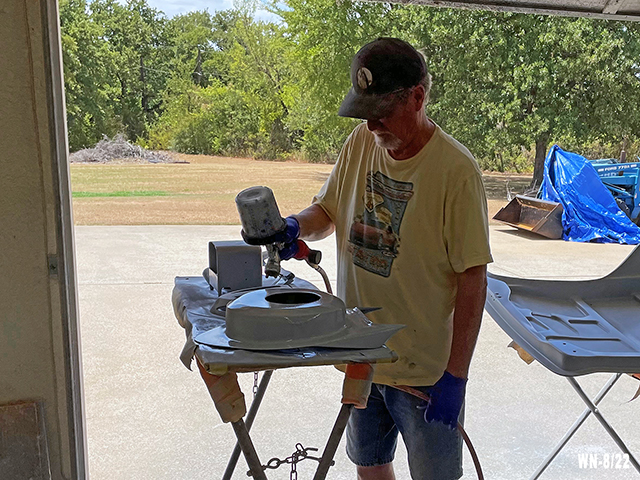
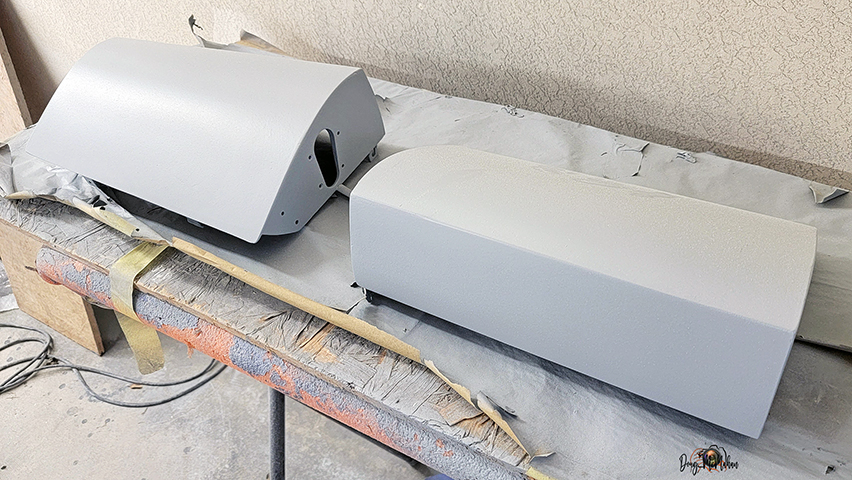
Air Cleaner Top-Hat & Cover - 6/28 - 7/12
The side was extended and work started on an Air Cleanter top
Air Cleaner top piece almost complete
The filter will go inside this piece - there will be holes cut
in it for air to come in
Clearance check with the hood & the top-hat fully bolted
together
Pondering what the small air cleaner would look like - similar
to the L88 look
What if we used holes in the air cleaner lid to replicate the
round holes in the hood hinge?
or we could cut slots in the top of the air cleaner lid to give
it a totally different look
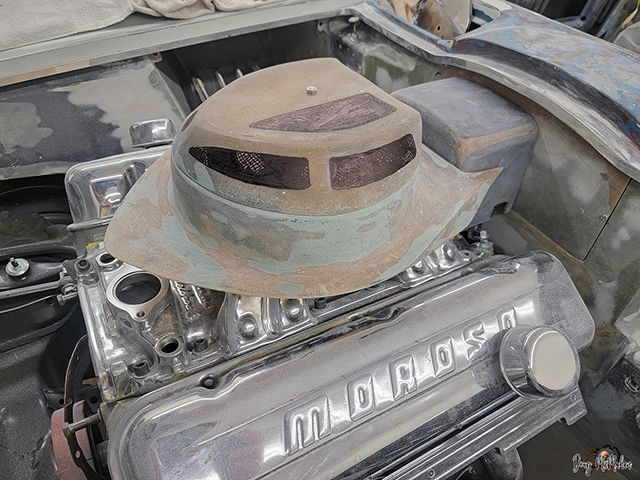
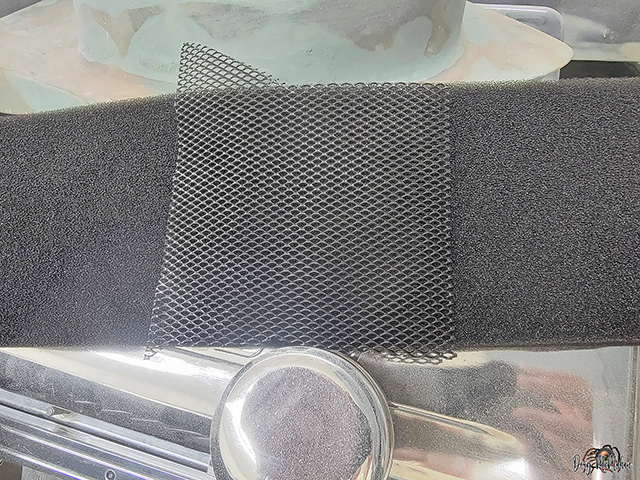
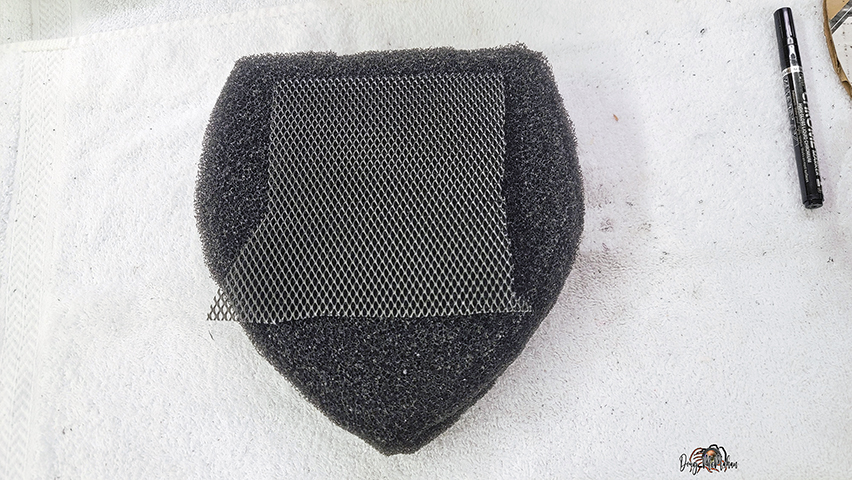
this is what would be behind any cutout in the air cleaner lid -
a screen and black filter media
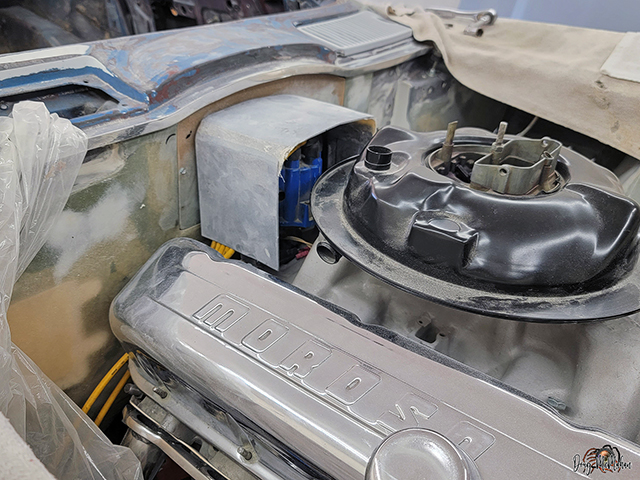
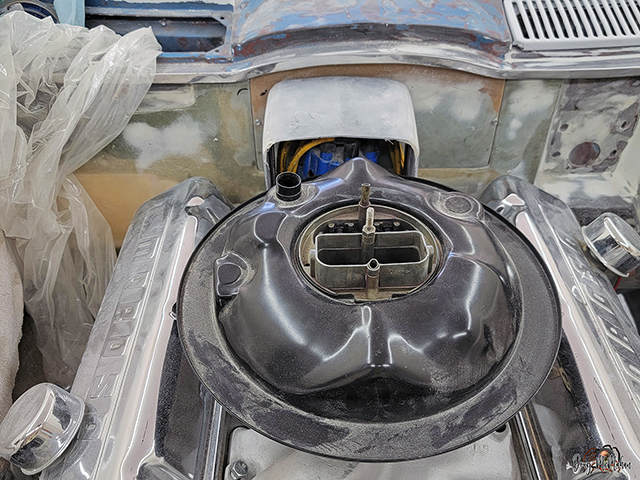
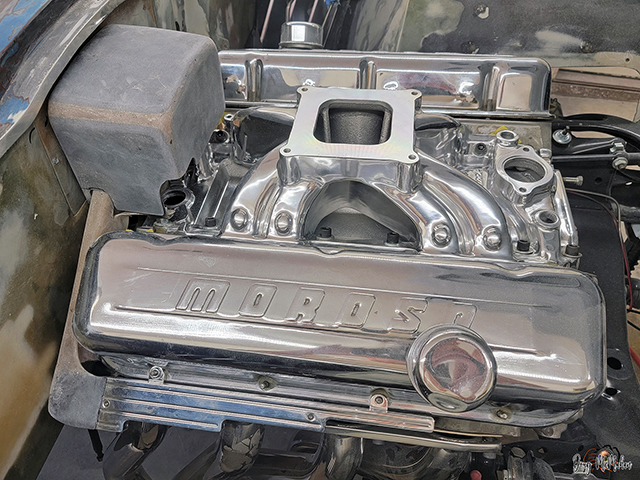
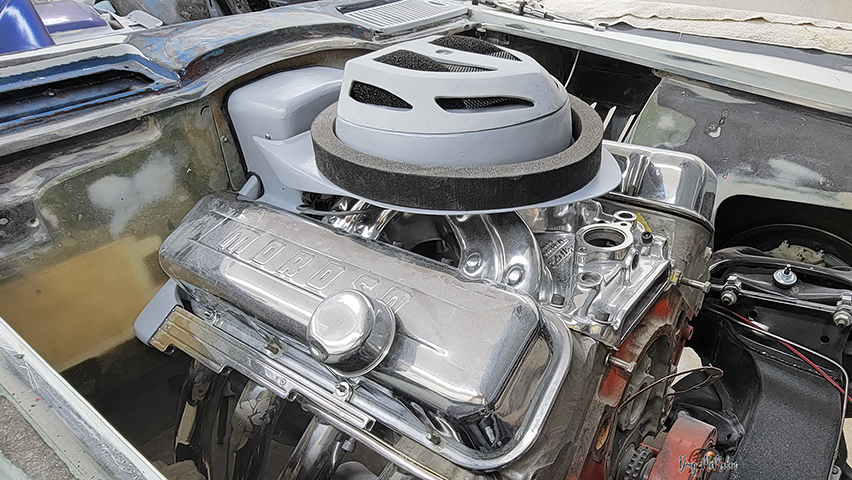
Engine Compartment Custom Pieces - 7/16
The distributor cover is now mounted along with the spark plug
wire covers
Taking shape - lots of hours in these pieces
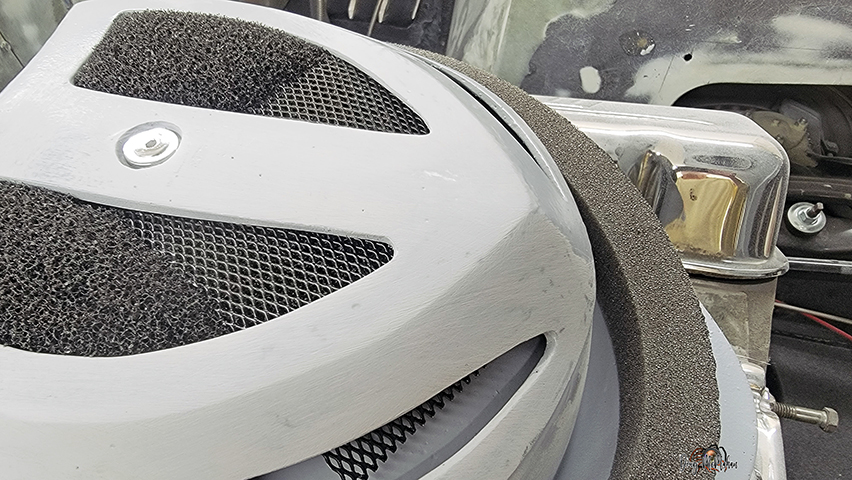
The L88 foam seal ring mocked-up on the air cleaner
Top-Hat / Bonnet Mods & Lighting - 7/17-7/29
Needed a PCV Valve inlet in the Top Hat - so we fabricated one
Still testing designs on the air-cleaner cuttouts
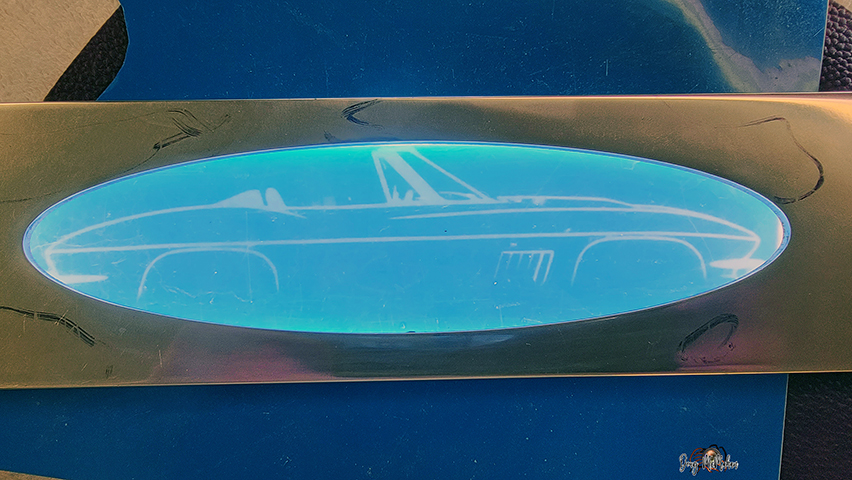
Testing the lighted C2 custom image (too large) in the door sill
center section with new lights and backgrounds
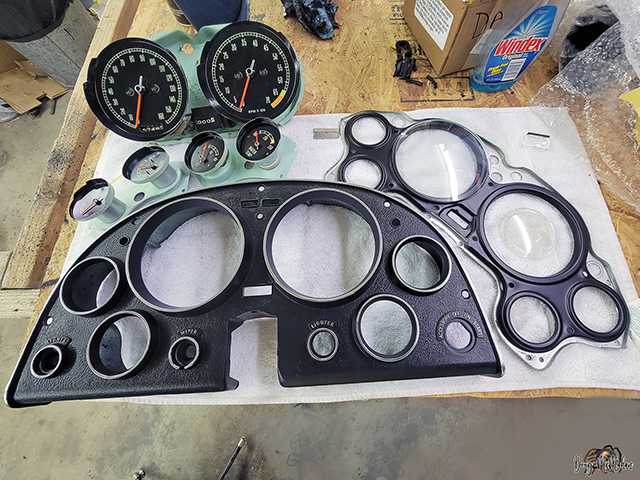
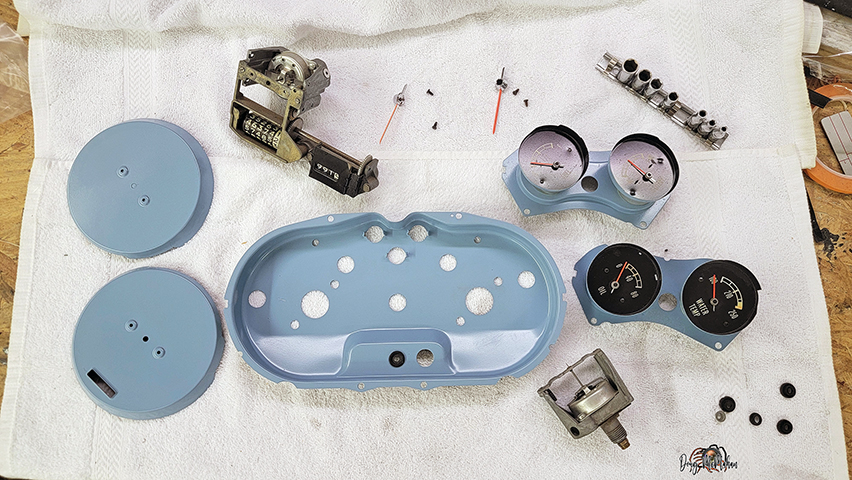
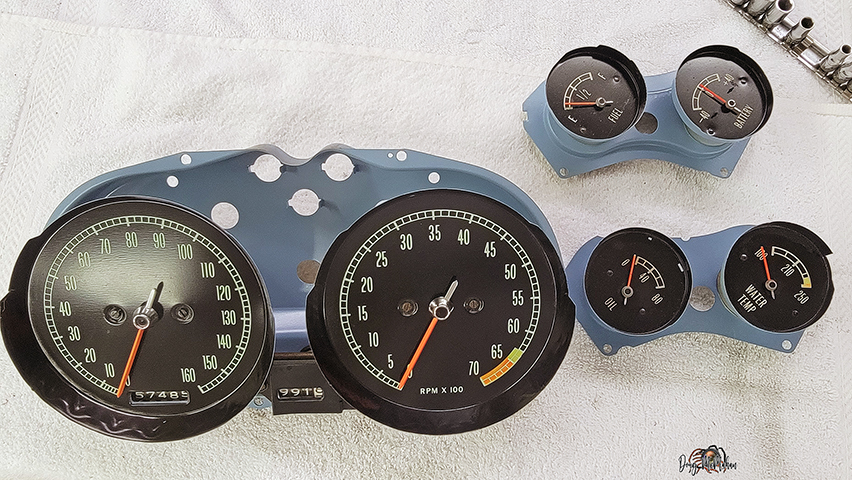
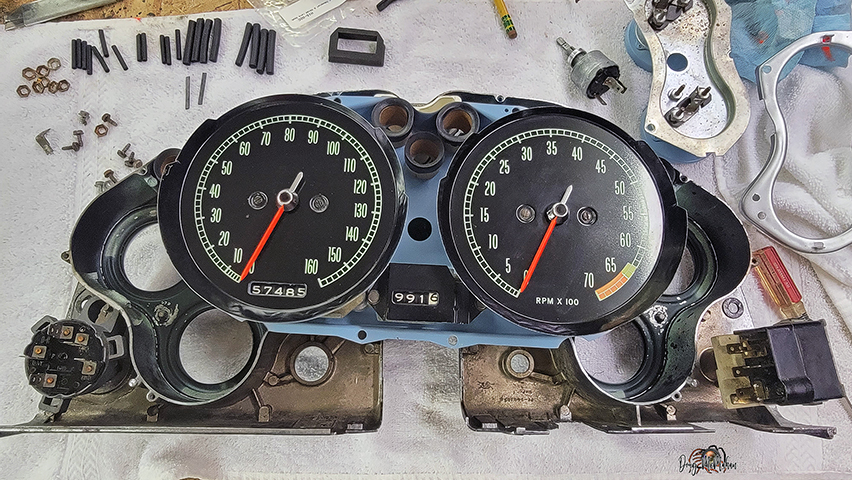
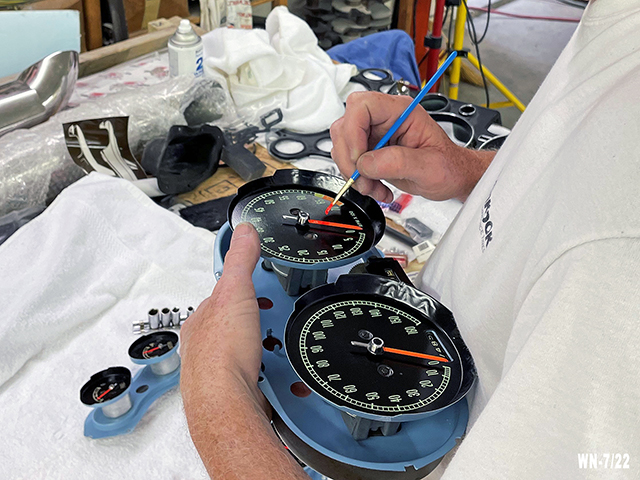
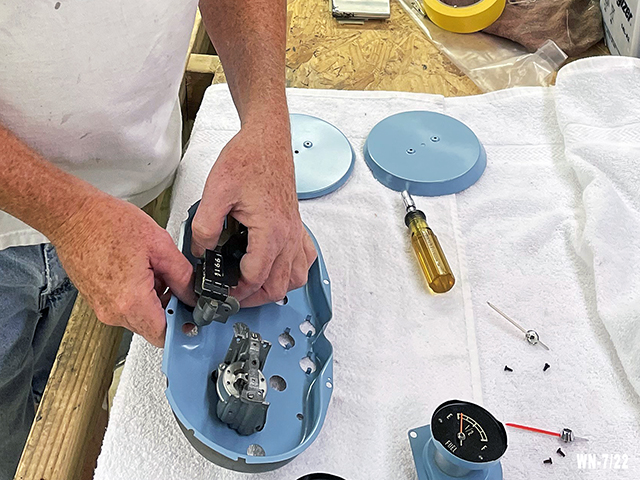
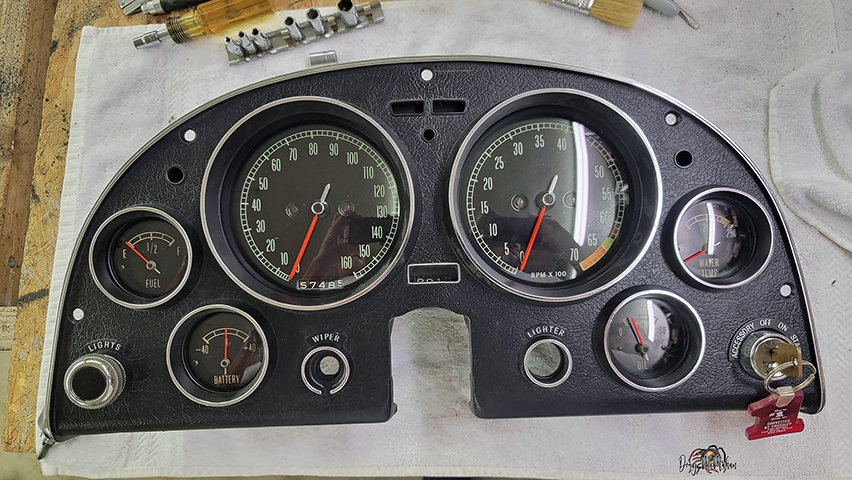
Back to the Instrument Cluster - 7/18-22
Gauges were disassembled and the background painted
Painting the needles on the gauges
Reassembly of the instrument cluster
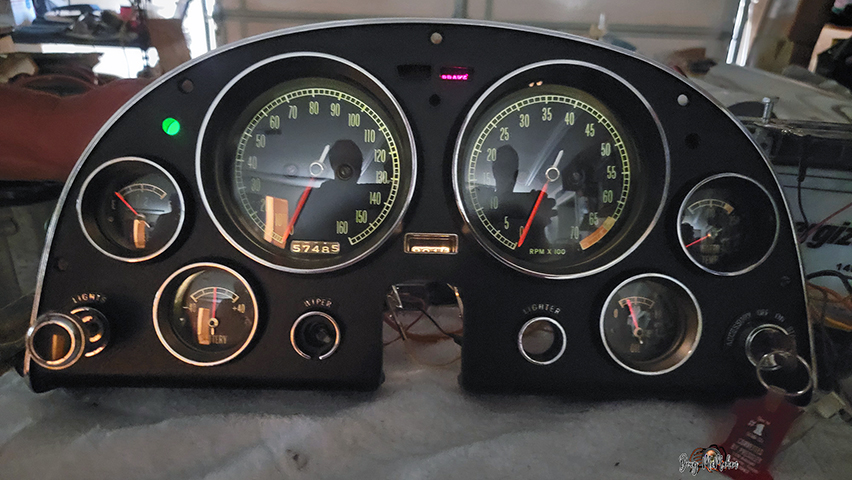
Assembled instrument cluster - numerous new parts, the rest
cleaned, painted, etc.
Not happy with the lighting though - LED Bulbs on order
The Blue LED bulbs look great - we think
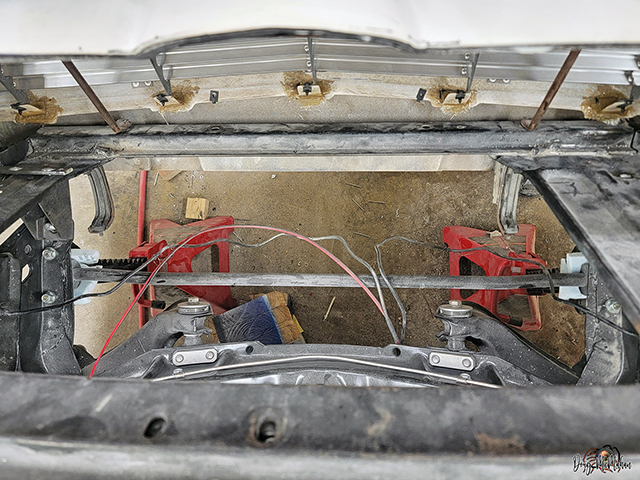
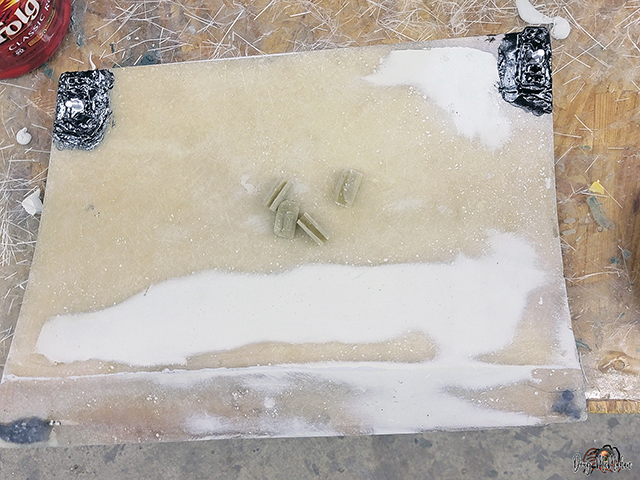
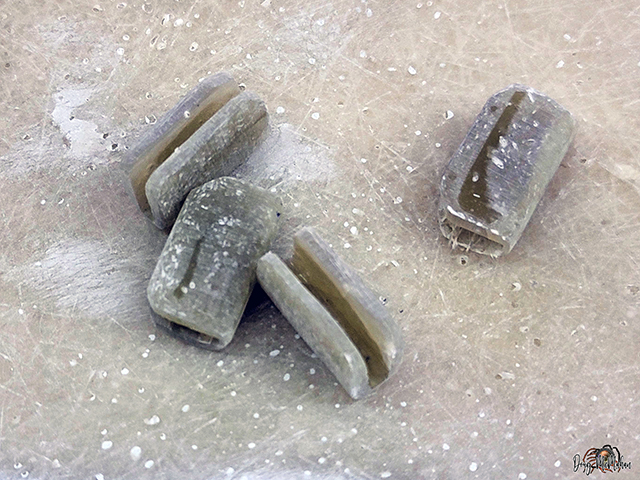
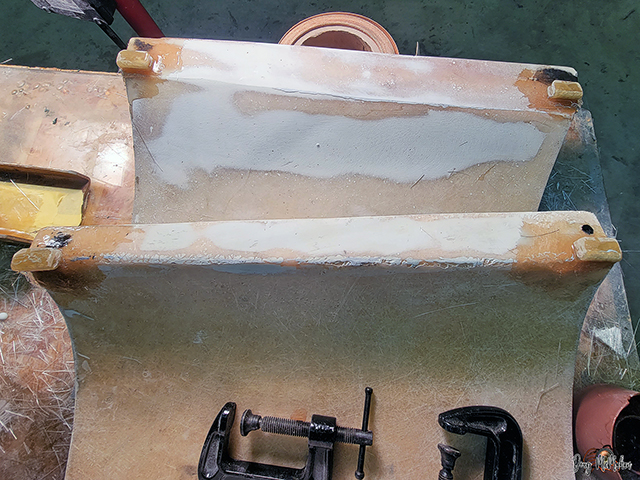
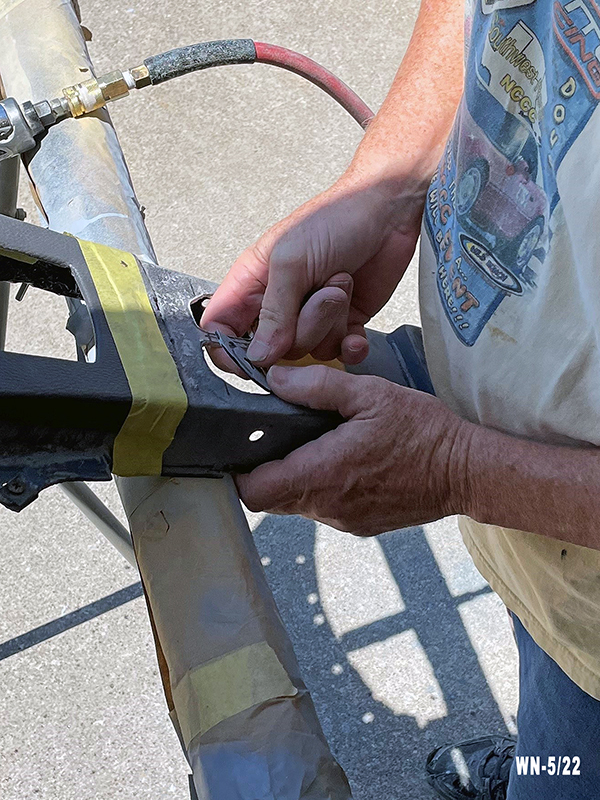
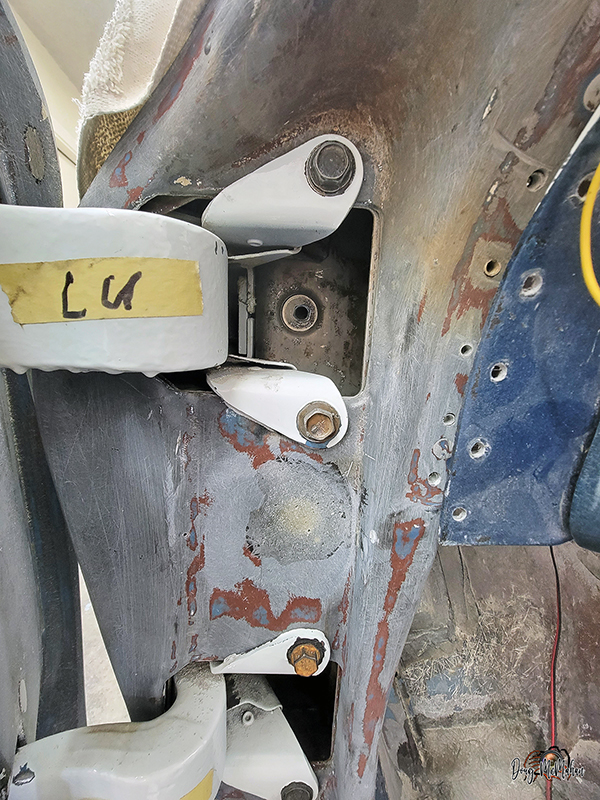
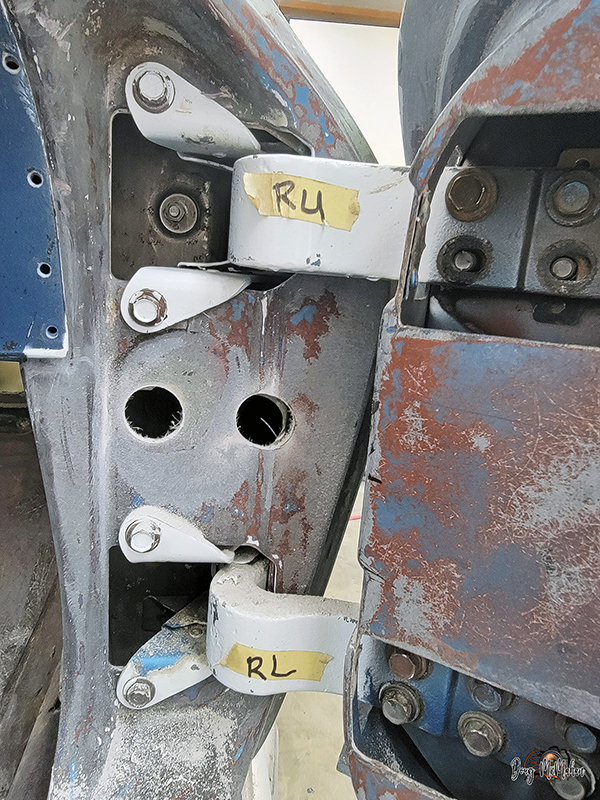
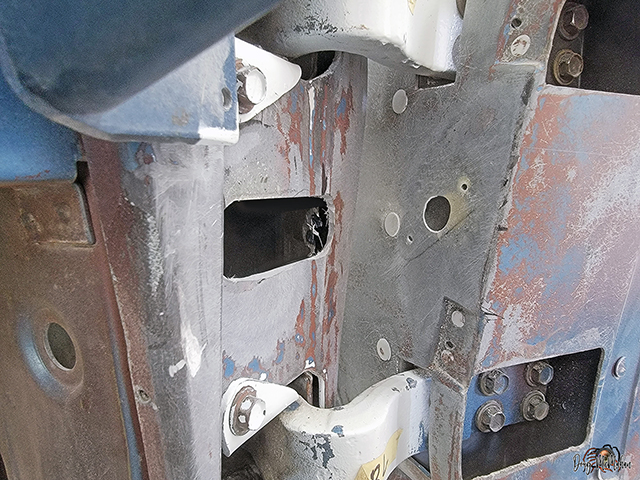
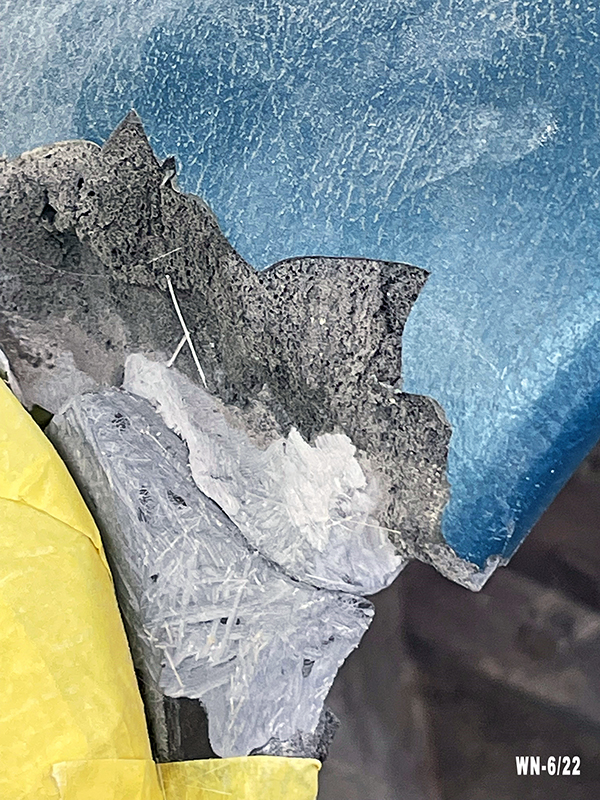
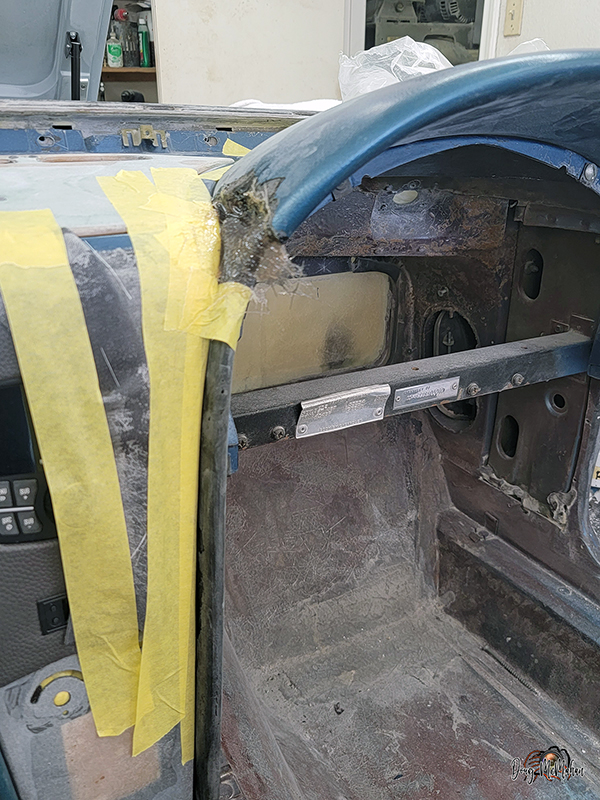
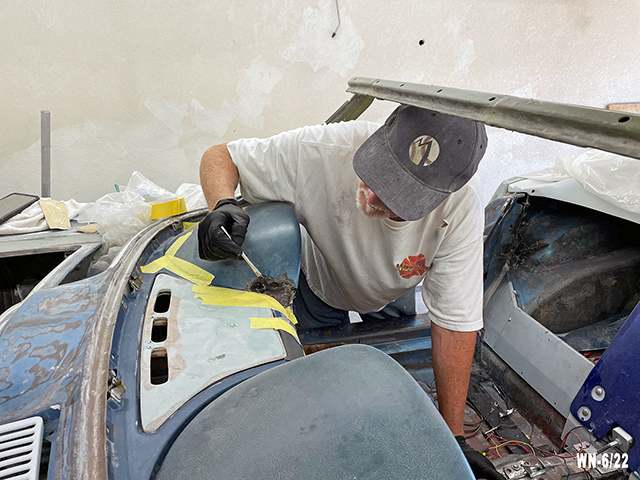
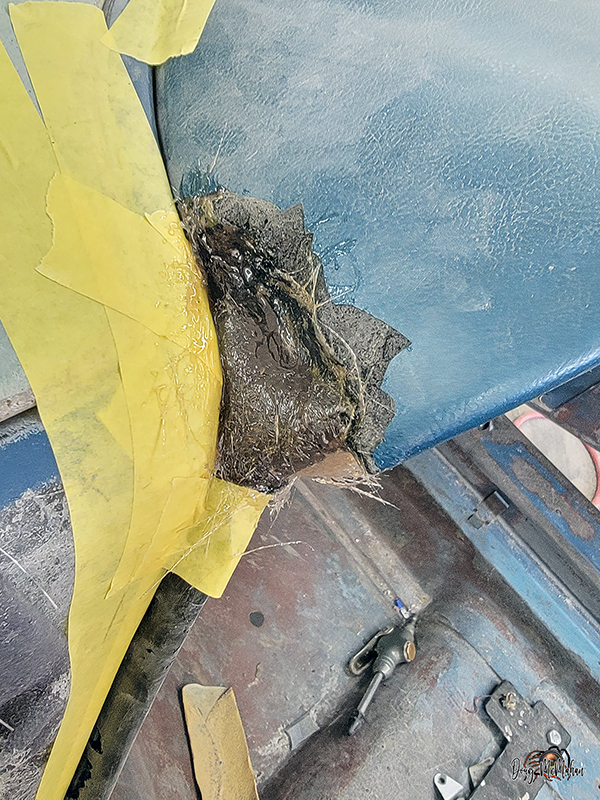
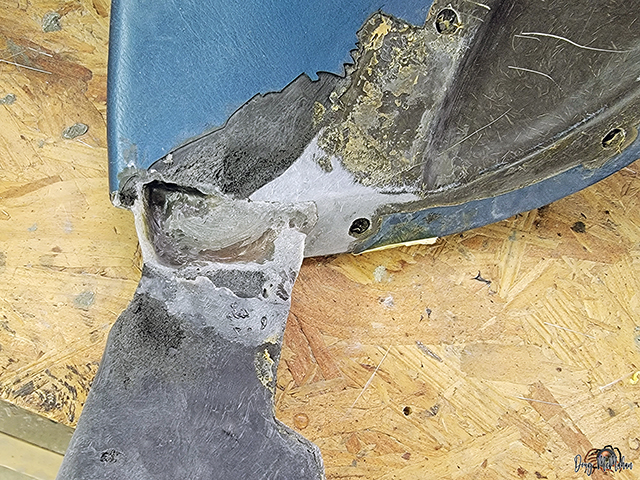
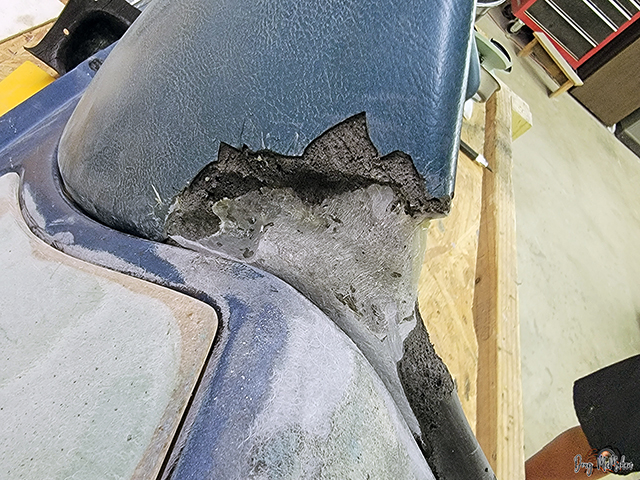
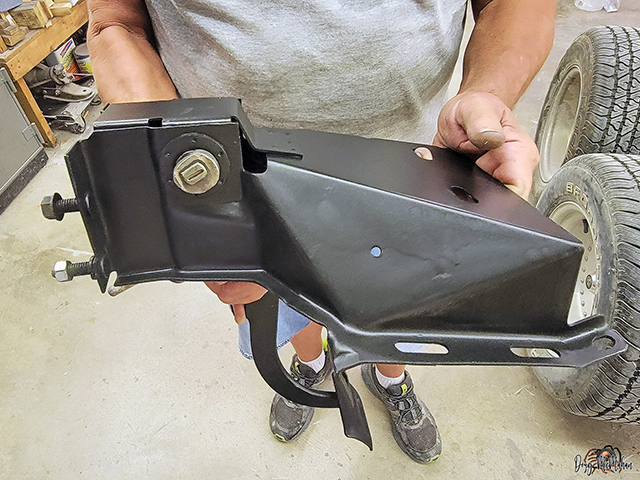
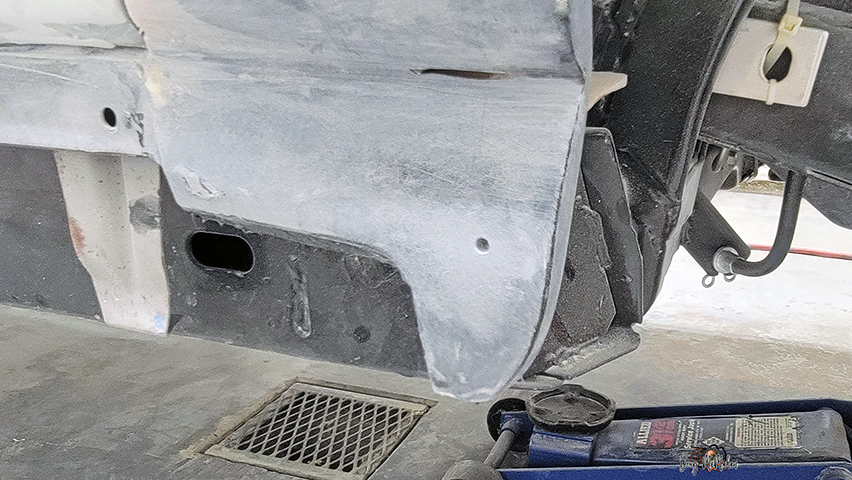
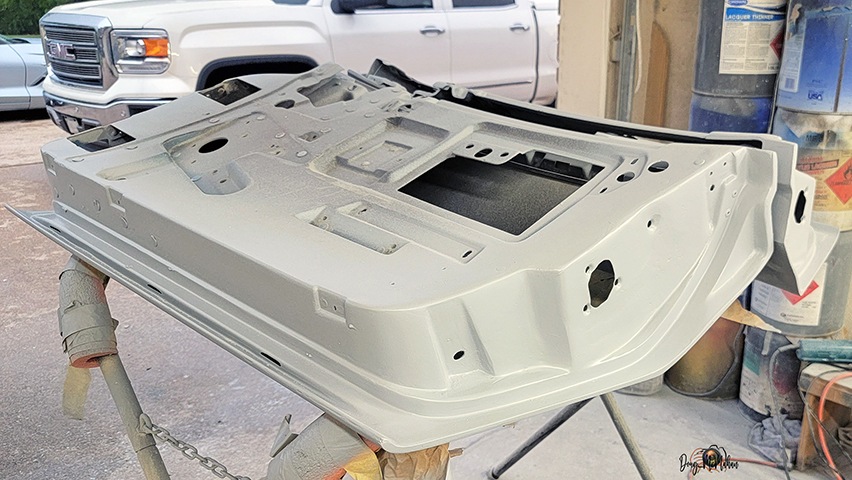
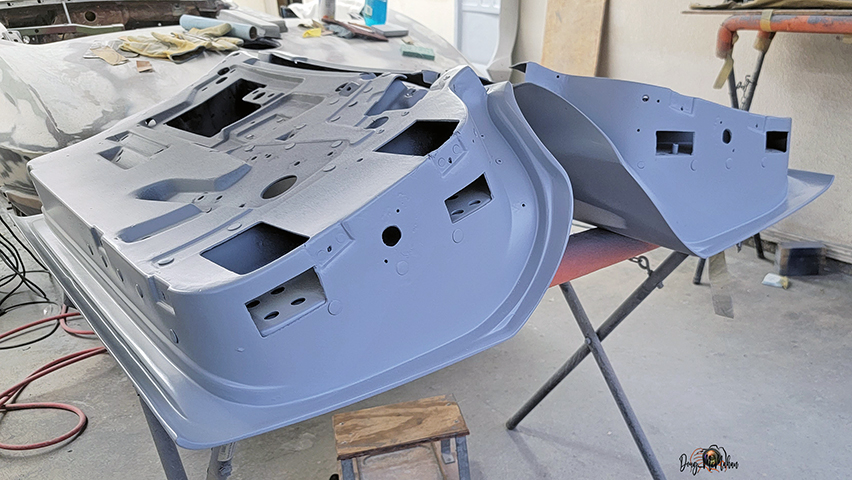
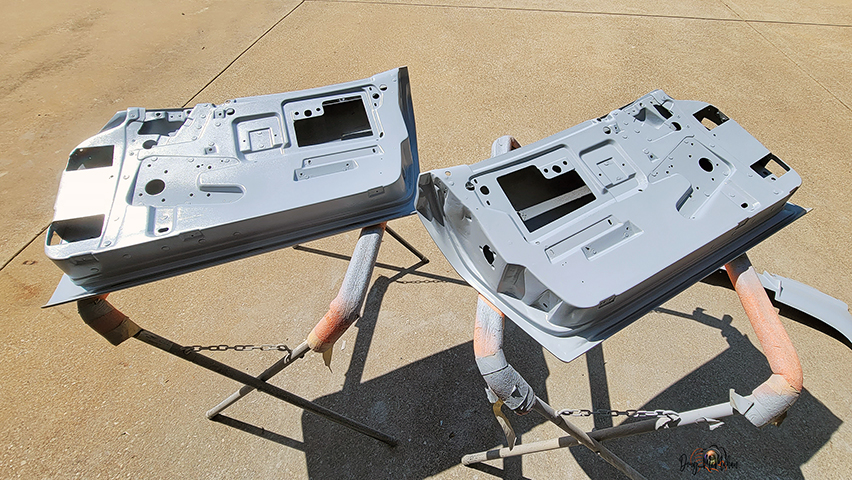
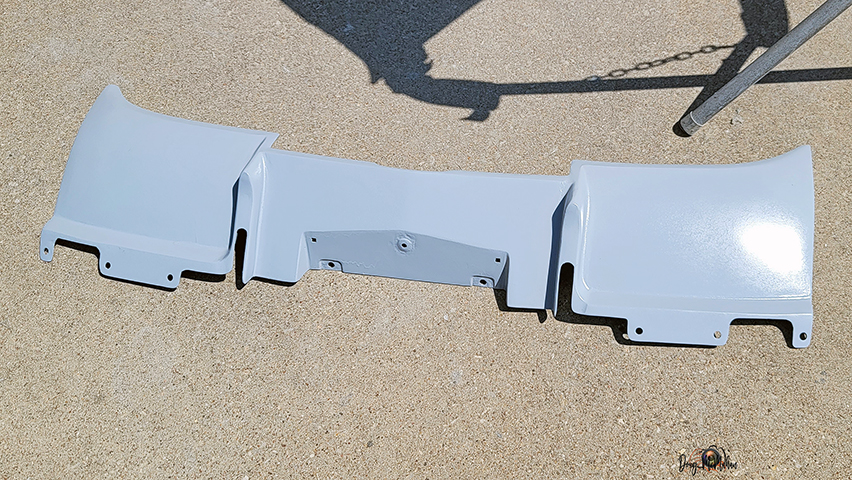
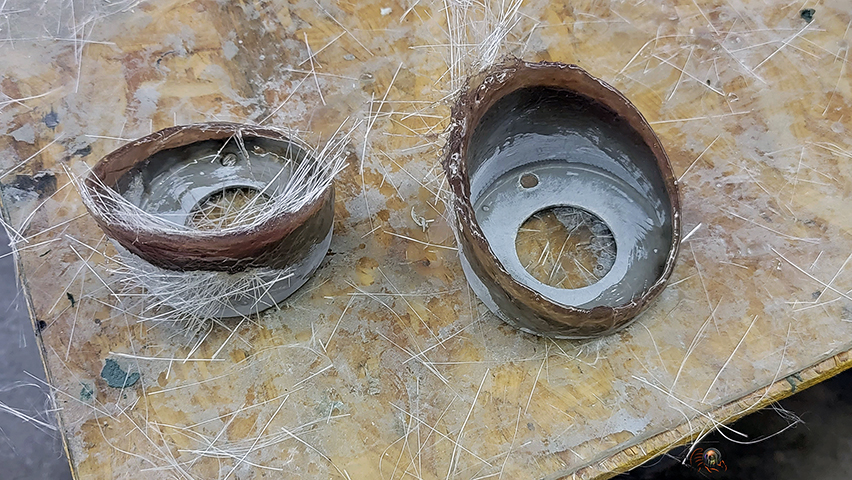
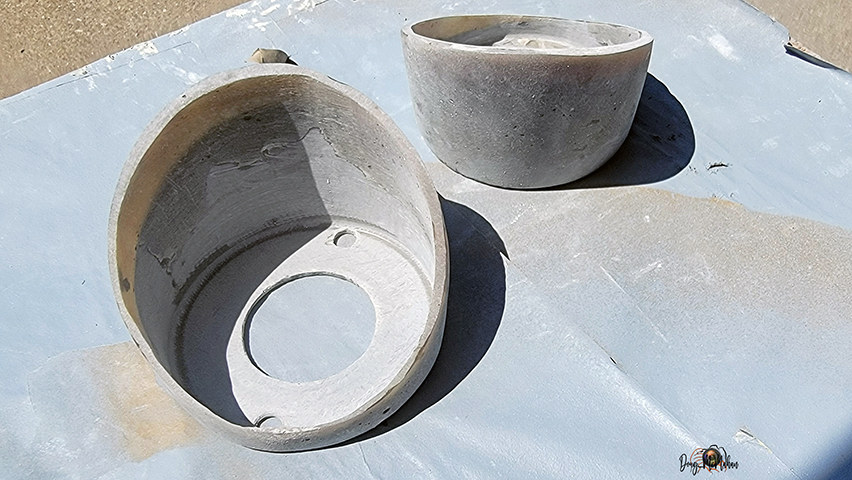
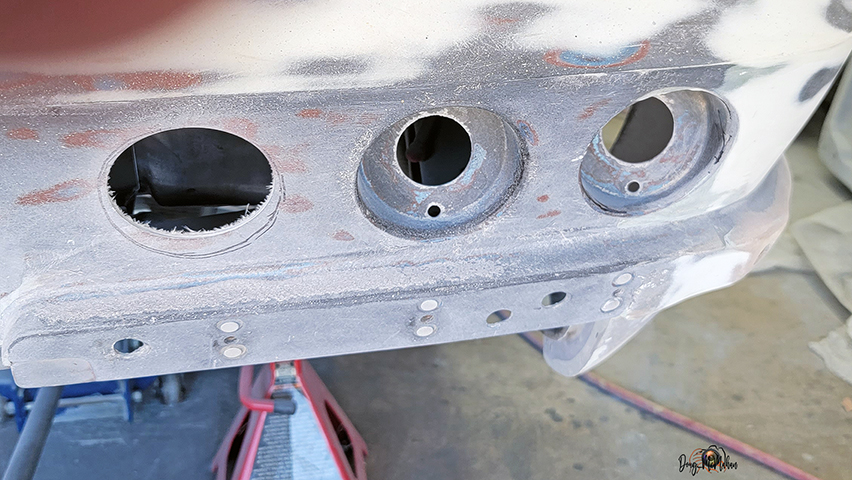
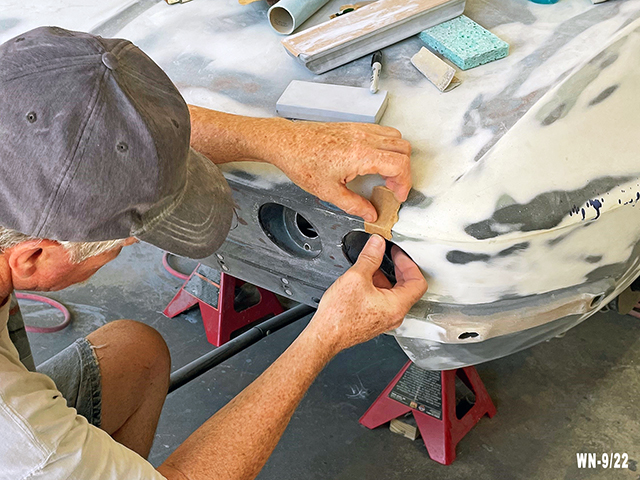
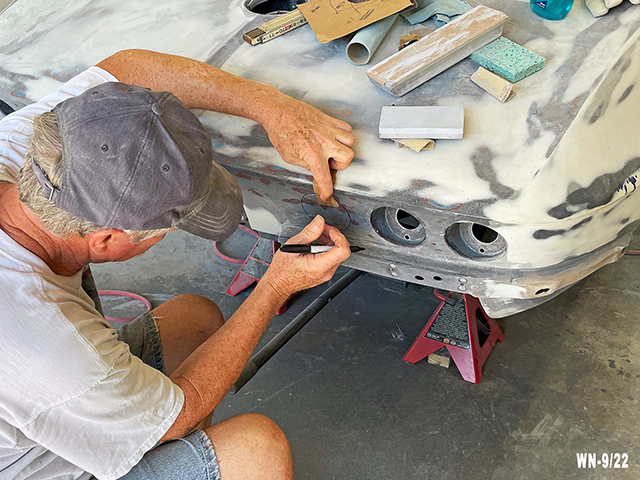
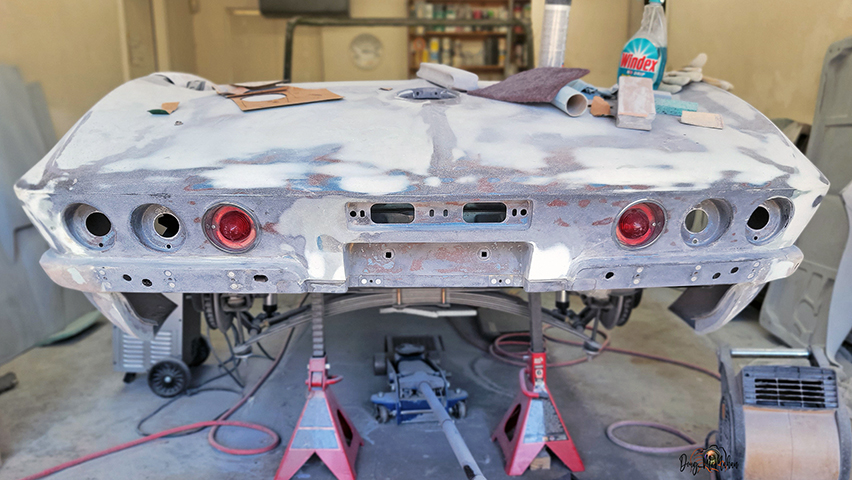
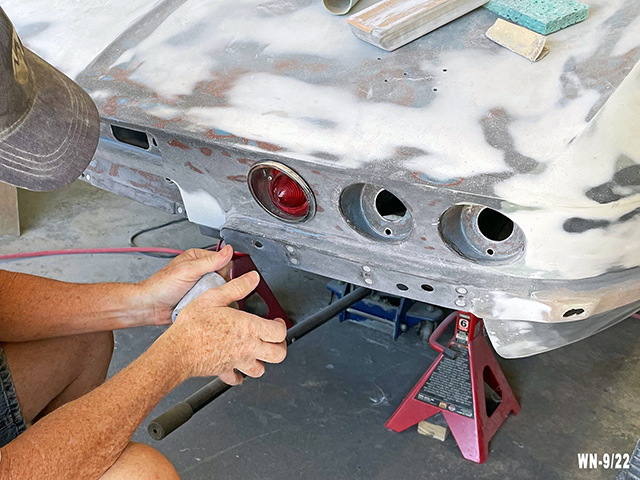
Missing Body Pieces - 7/21-22
3 of the 4 body areas were missing the ears that the rocker
panels bolted to - so we fabricated new ones and fiberglassed
them to the body
Taking shape and they fit the rocker panels great - just need a
little finishing work.
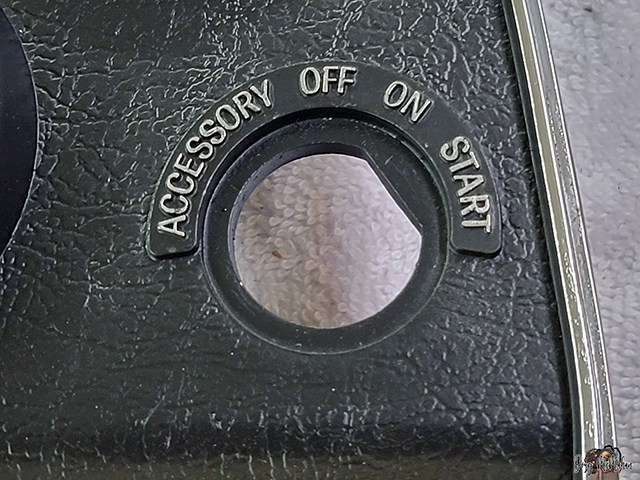
Custom Actuator Switch - 7/27-7/29 We needed a small momentary switch to control the Dash
Switch Panel - finally ended up building a configuration and
placing it in the "Lighter" opening in the instrument cluster.
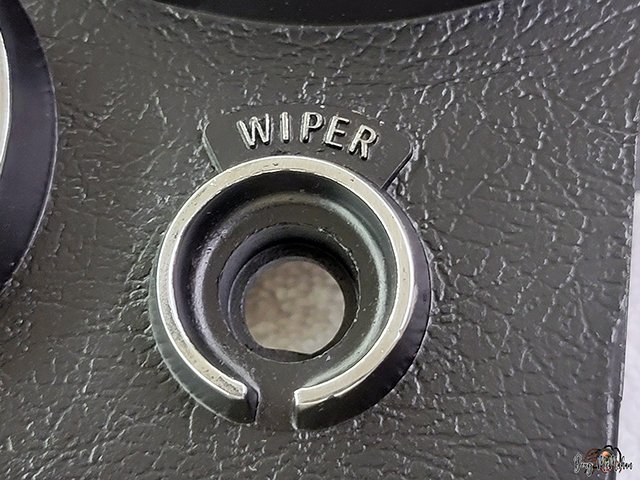
All Dash Knobs were changed out with Lokar Custom Billet
solutions.