Additional Pages
Page 1 2
3
4
5
6
7
8
9
10
11
12
13
14 |
|
|
|
|
|
|
CONTINUATION OF THE BUILD |
|
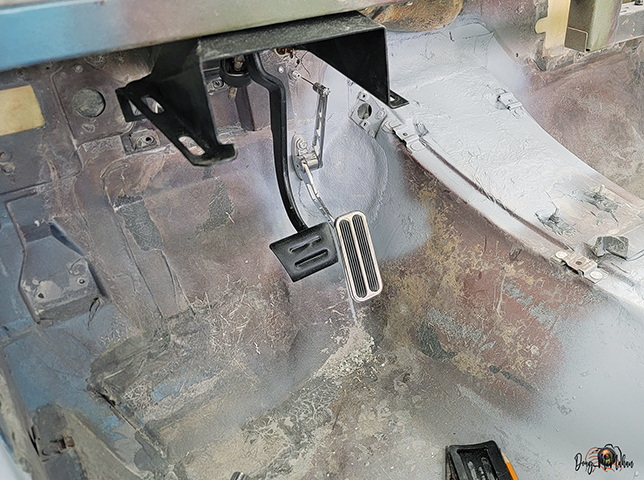
Throttle Pedal & Tweaks to the Air Cleaner Base - 1/22 |
|
|
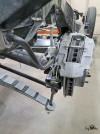
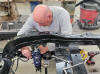
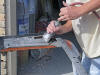
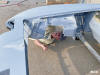
Installed the Lokar Accelerator Pedal "drive by wire". The brake
pad & dimmer switch will match |
 |
|
 |
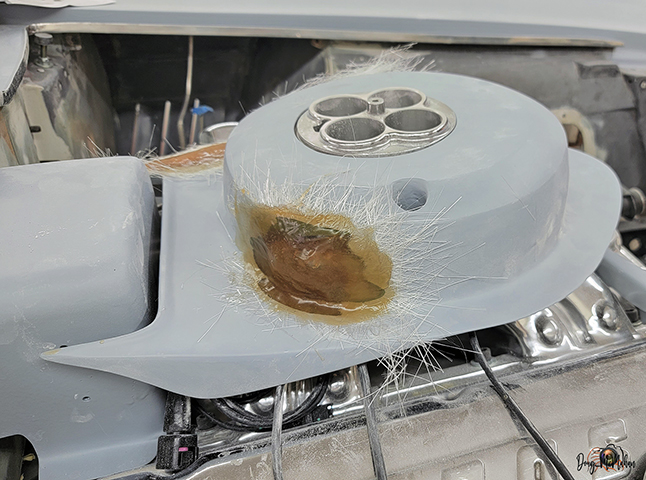
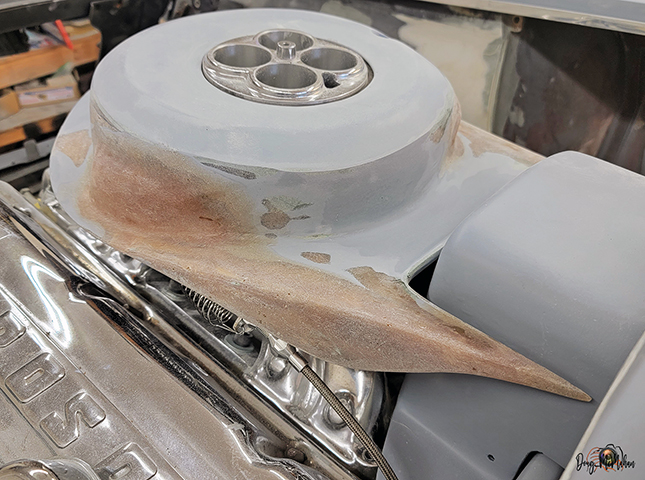
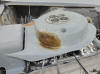
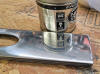
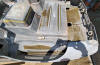
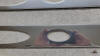
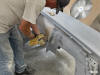
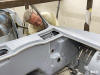
After connecting the Sniper cable linkage, it became clear that
the air cleaner base was going to need more side clearance &
widening the back fins of the Sting Ray ;) |
 |
|
|
|
|
|
 |
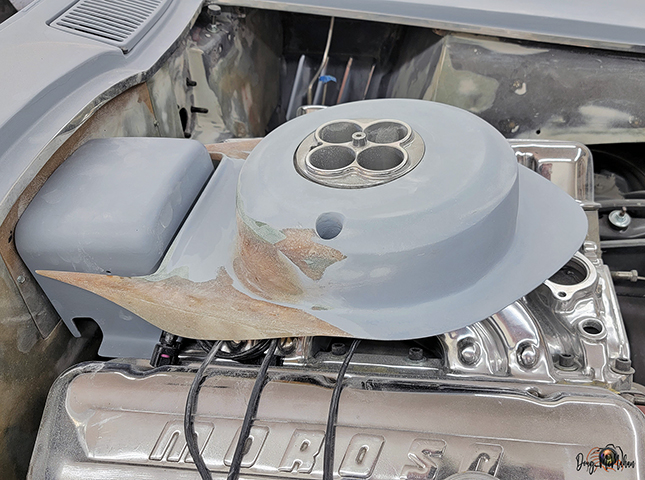
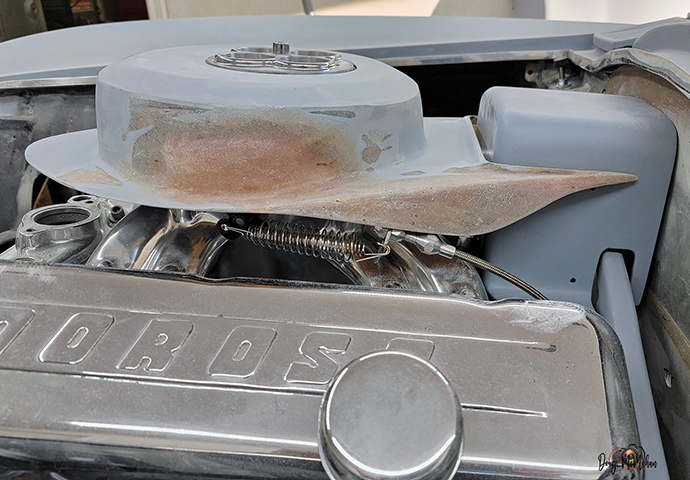
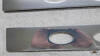
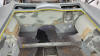
Test fit after the mods - next we will test-fit the hood again &
trim the L88 Hood Seal Gasket |
 |
 |
|
|
|
|
|
|
|
 |
 |
|
|
|
|
|
|
Separating the Body - 2/12-17 |
|
|
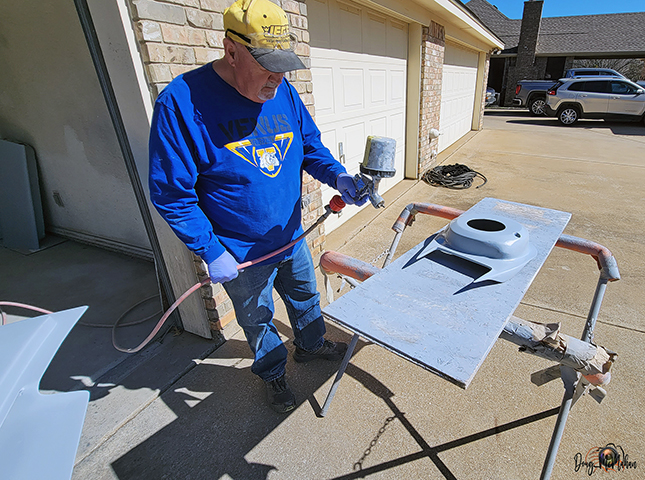
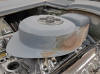
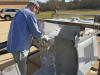
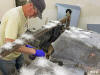
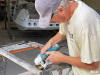
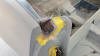
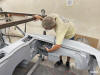
William priming the air cleaner base housing after more
modifications |
 |
|
 |
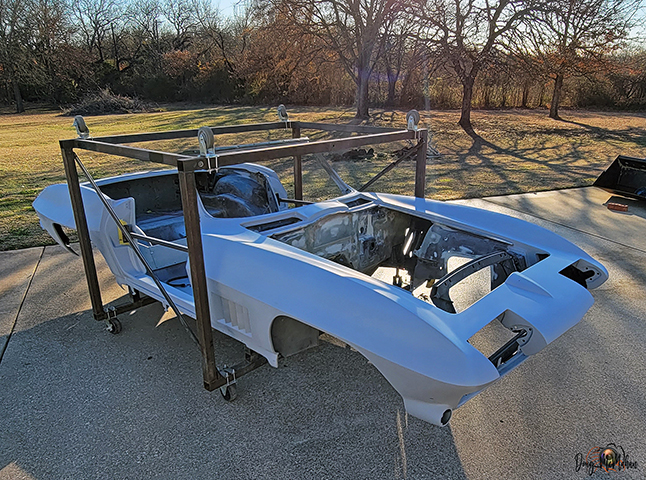
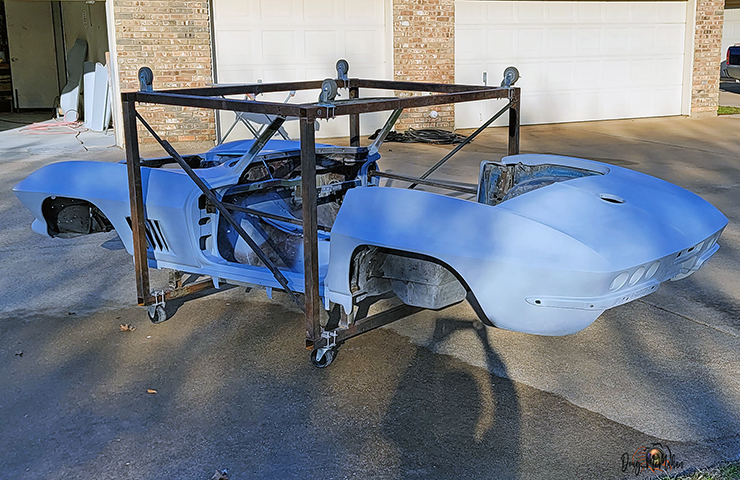
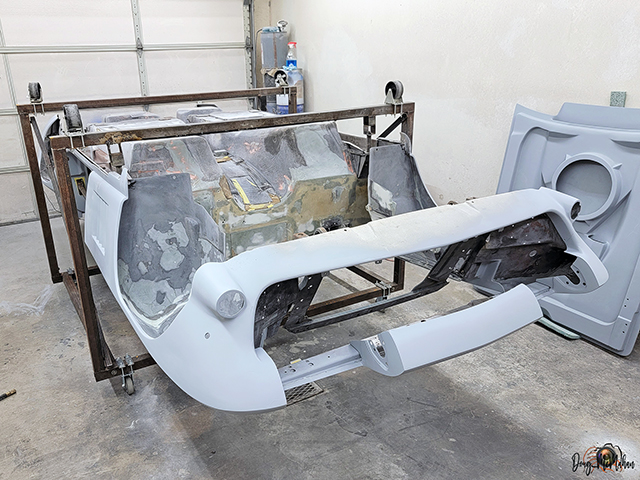
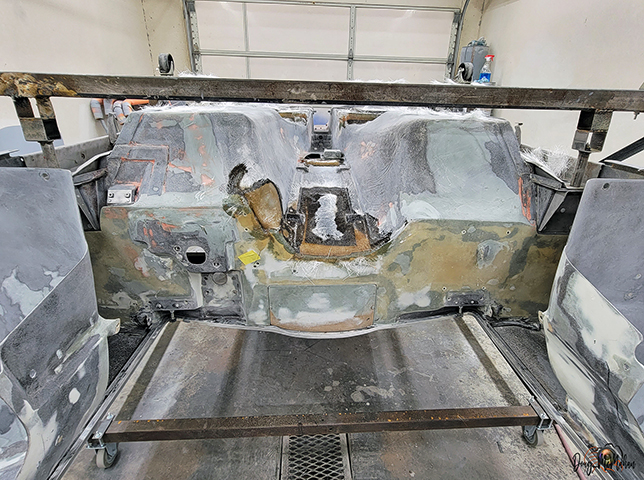
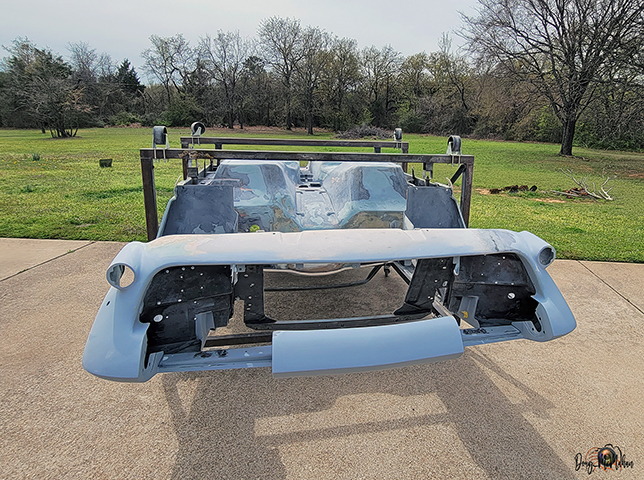
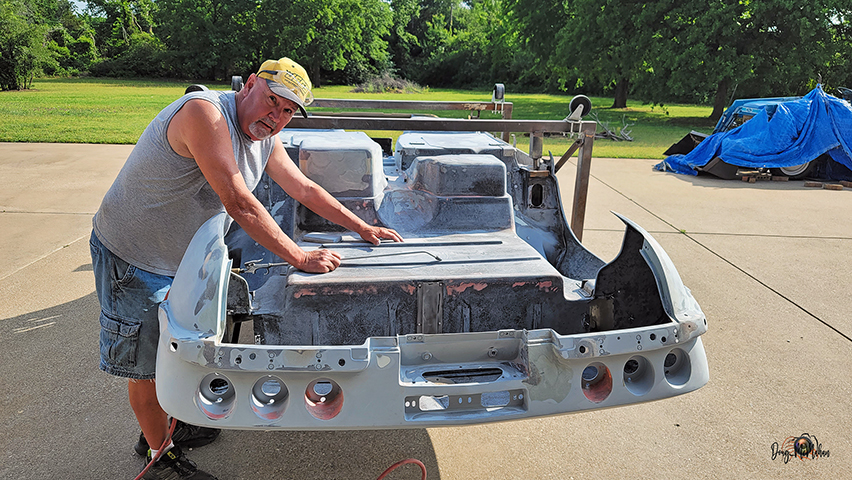
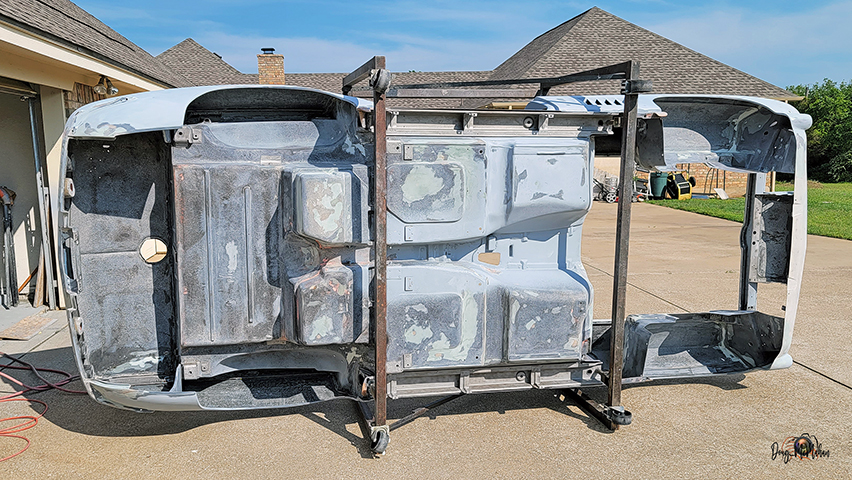
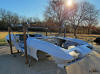
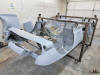
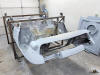
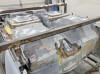
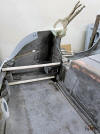
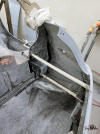
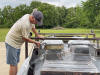
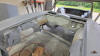
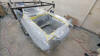
The body is back off the frame for numerous reasons, one is to
change the suspension ...another is to finish up the bottom of
the body and paint it |
 |
|
|
|
|
|
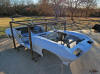 |
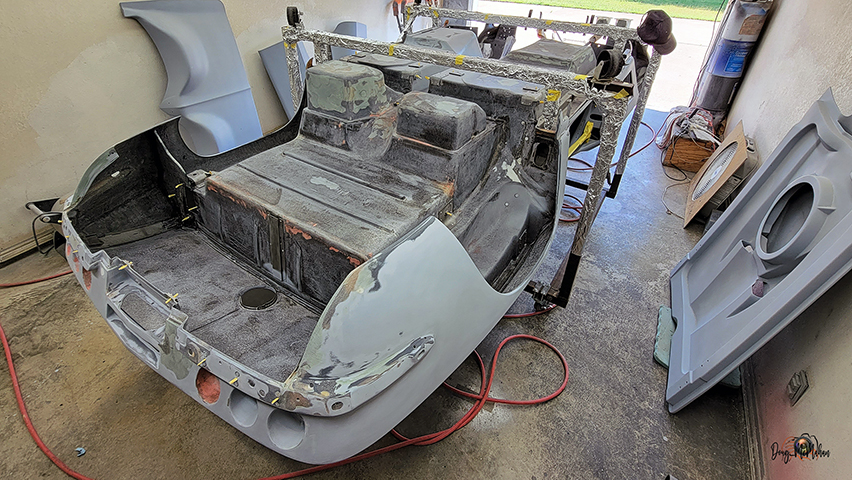
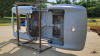
The body is back in the cage and ready to go to the next phase |
 |
 |
|
|
|
|
|
|
|
 |
 |
|
|
|
|
|
|
 |
 |
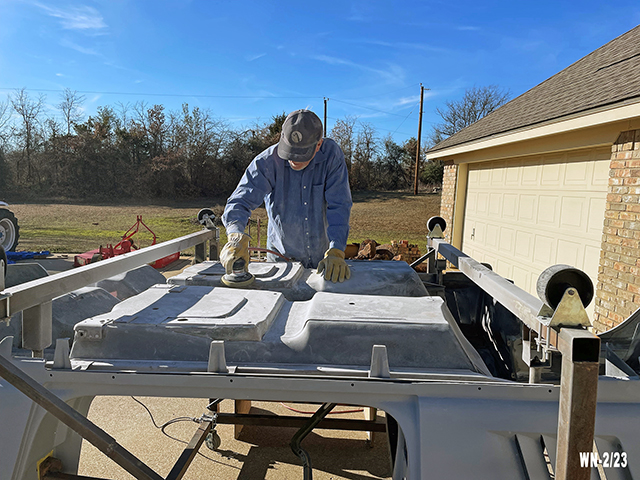
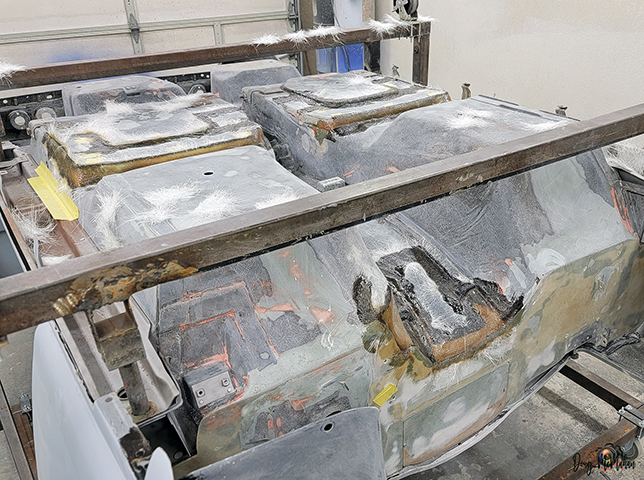
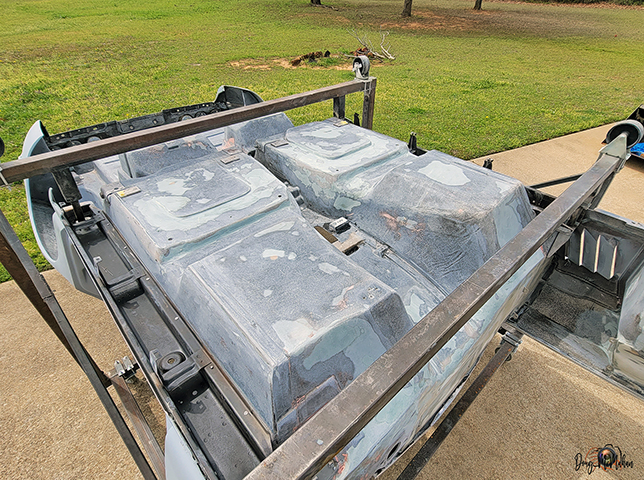
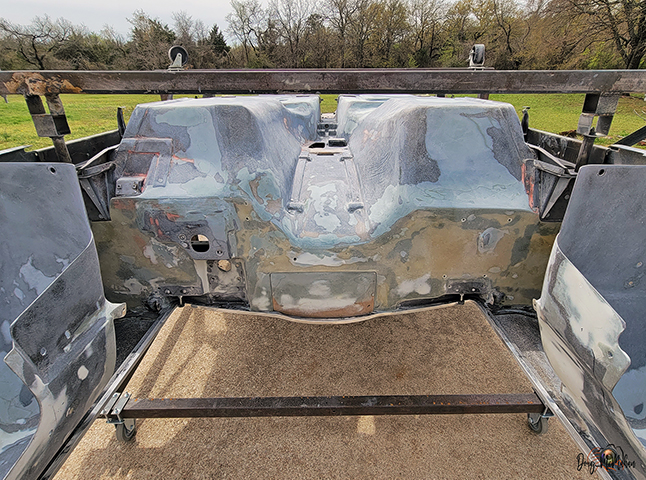
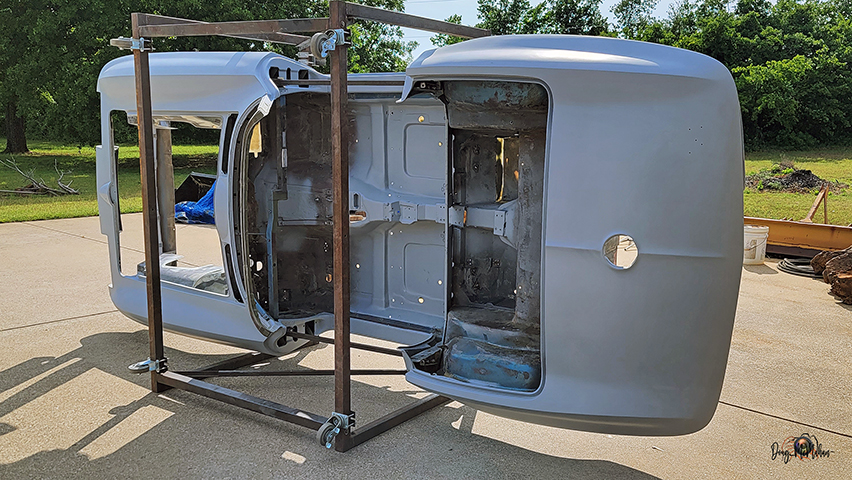
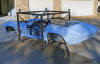
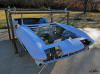
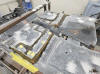
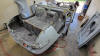
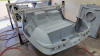
We flipped the body to work on the underside. More custom parts
coming |
 |
|
|
|
|
|
Separating the Body & Install
Splash Panels - 2/12-27 |
 |
Lots of grinding the areas that were modified from the topside |
 |
 |
|
|
|
|
|
|
|
 |
 |
|
|
|
|
|
|
 |
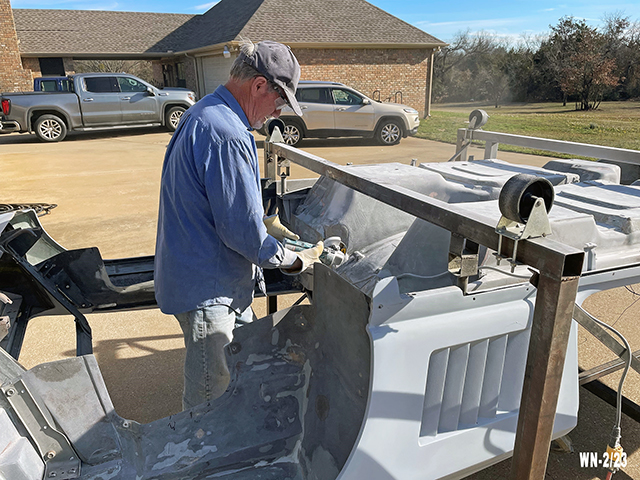
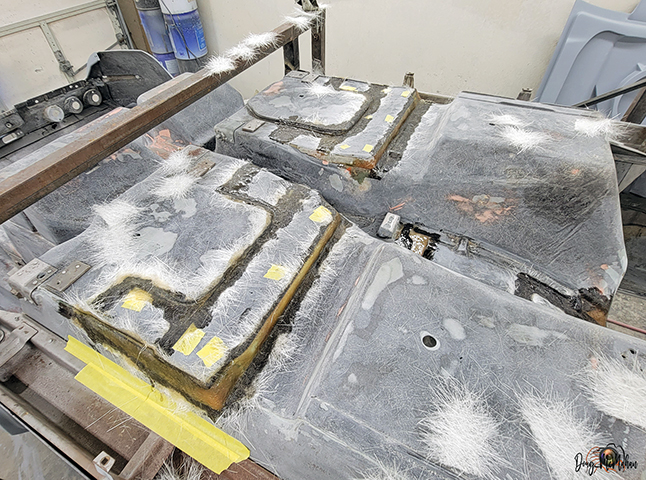
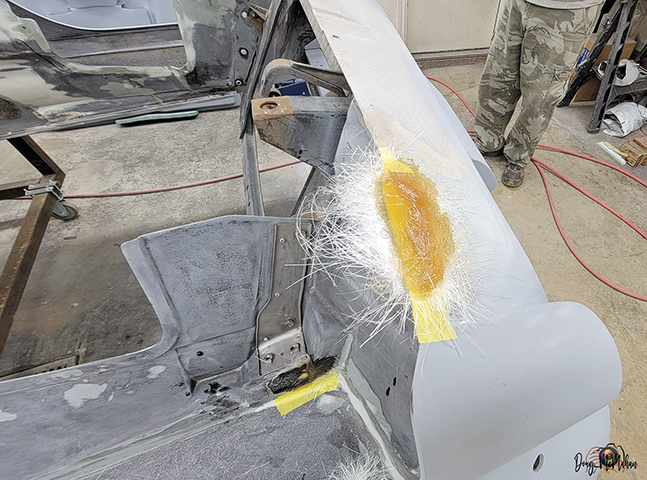
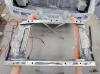
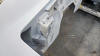
Glassing the area underneath where we lowered the floorboard |
 |
 |
|
|
|
|
|
 |
 |
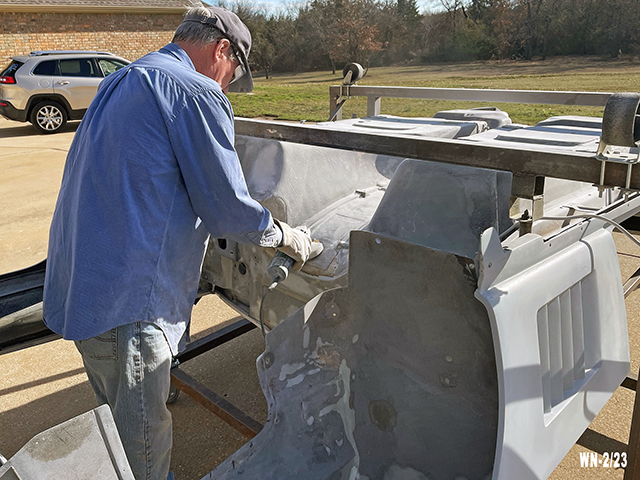
Several other areas that modifications were made on the topside
- bottom side finishing now |
 |
|
|
|
|
|
 |
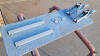
<- Finished up the floor panel 1st glass phase
Installed the quarter panel splash shields -> |
 |
 |
|
|
|
|
|
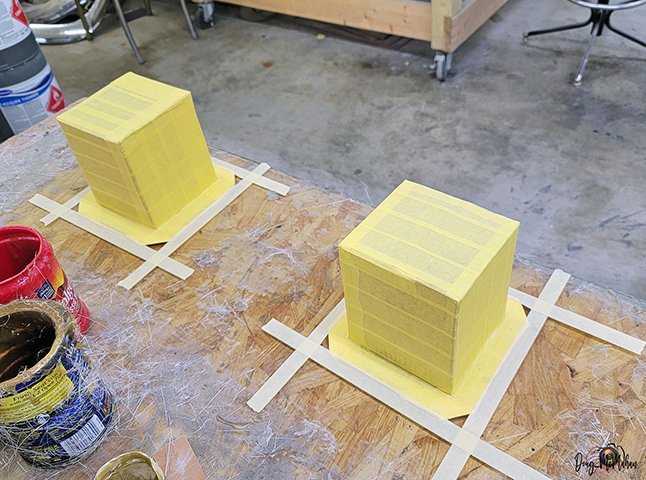
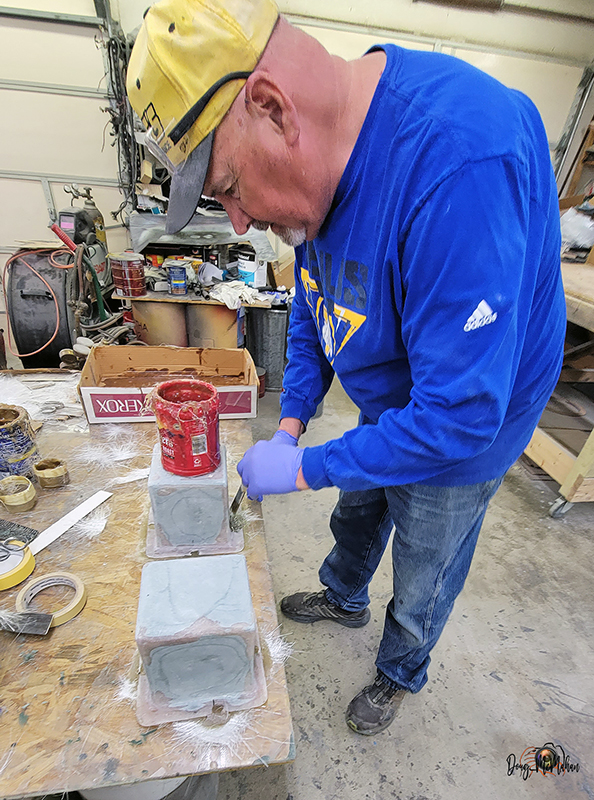
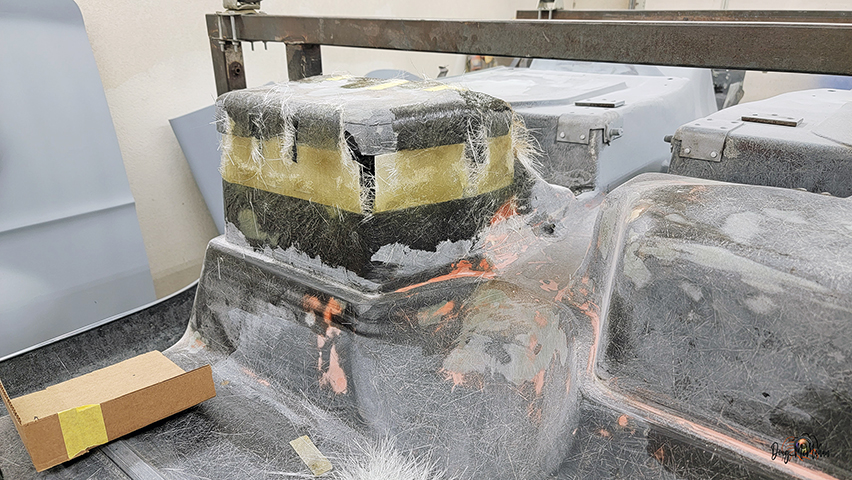
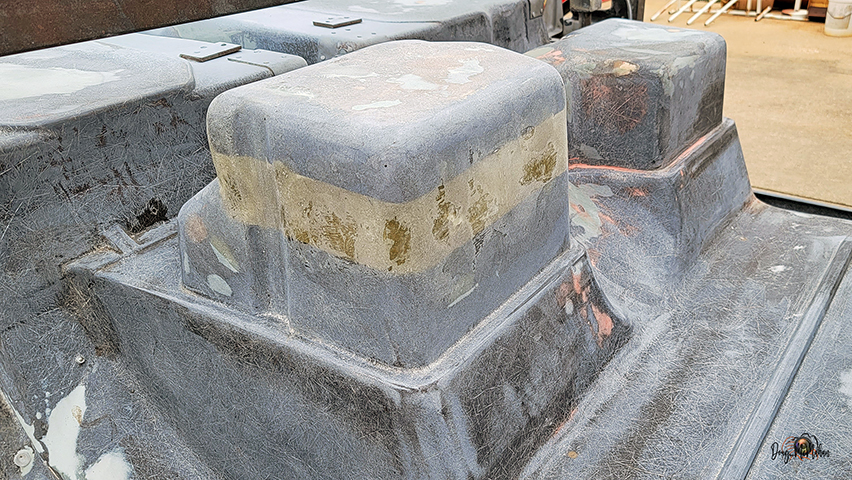
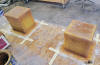
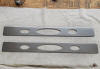
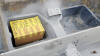
Actuator Cover Boxes - 2/27 |
 |
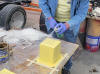
<- Taping of the box
Spray Mold Release ->
Ready for glass - below |
 |
 |
|
|
 |
 |
|
|
|
|
|
|
 |
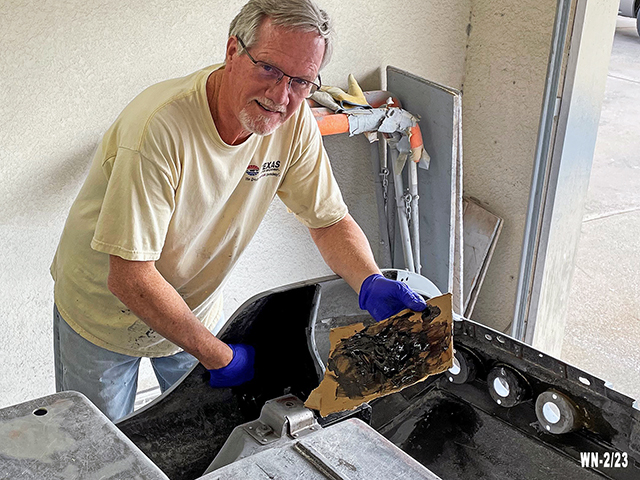
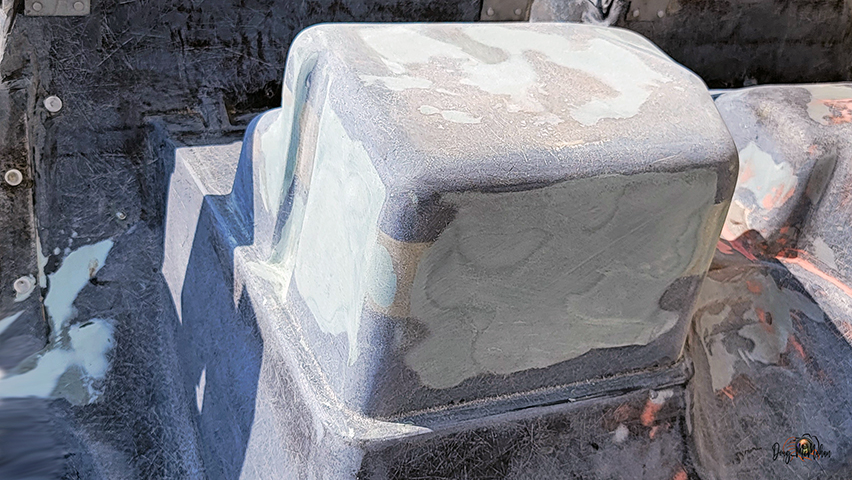
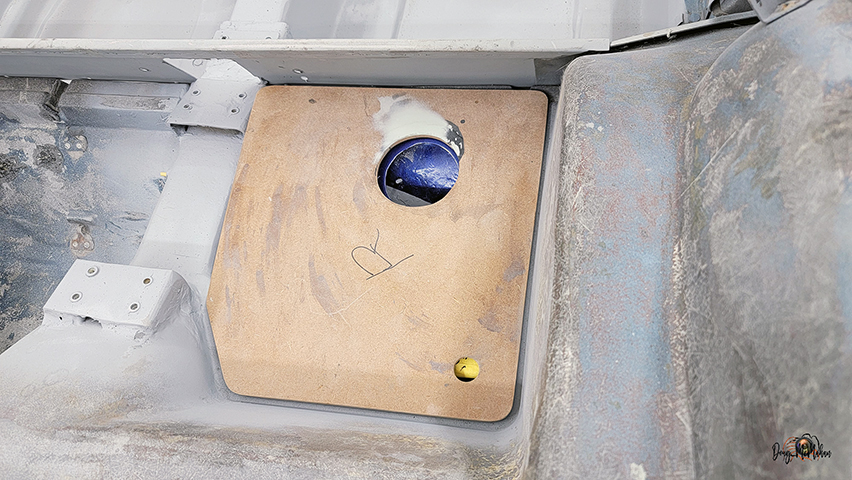
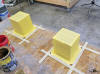
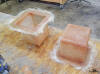
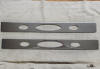
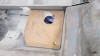
<- Glassing
Let it dry ->
Pull the cardboard puck out ->> |
 |
 |
|
|
|
|
|
|
|
 |
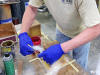
More epoxy on the splash panels now that the clamps are out of
the way |
|
|
|
|
|
|
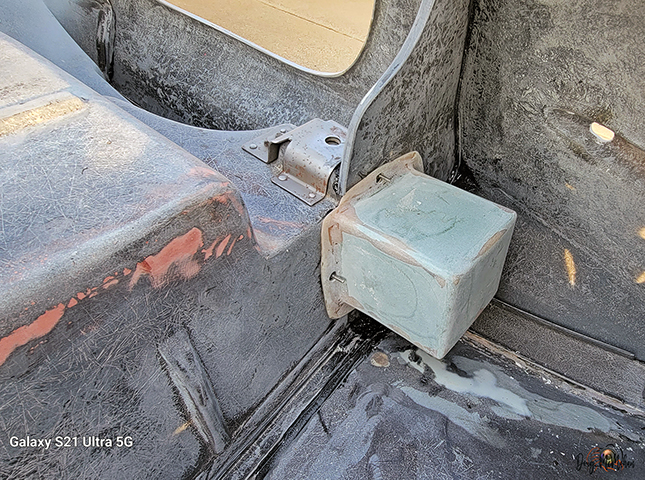
Actuator Cover Boxes & Floor
Modifications - 2/27 |
 |
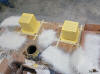
First test-fit of the actuator boxes (in fiberglass)
They still need finished along with mounting lugs |
 |
|
|
|
|
|
 |
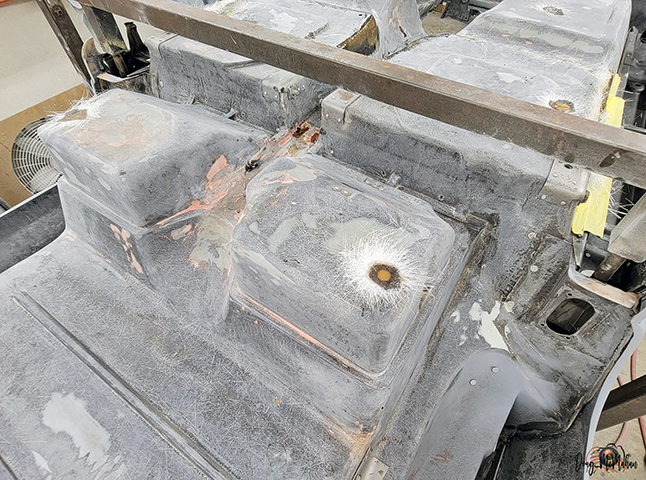
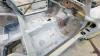
First grinding of the bottom of the floor, where it was lowered
1-1/2" |
 |
 |
|
|
|
|
|
|
|
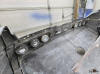 |
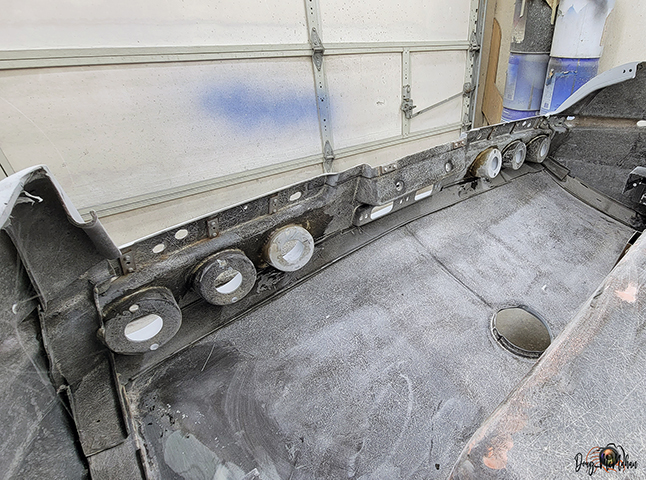
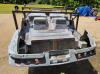
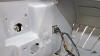
Inside shot of the 3 taillights, done correctly |
|
|
|
|
|
|
Floor
Modifications - 2/27 |
 |
<- William tearing fiberglass mat strands
Closing drain holes -> |
 |
 |
|
|
|
|
|
|
The transmission tunnel modifications are about complete |
 |
 |
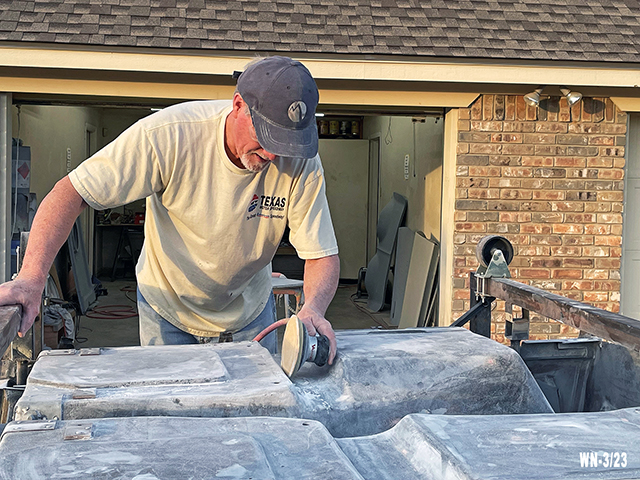
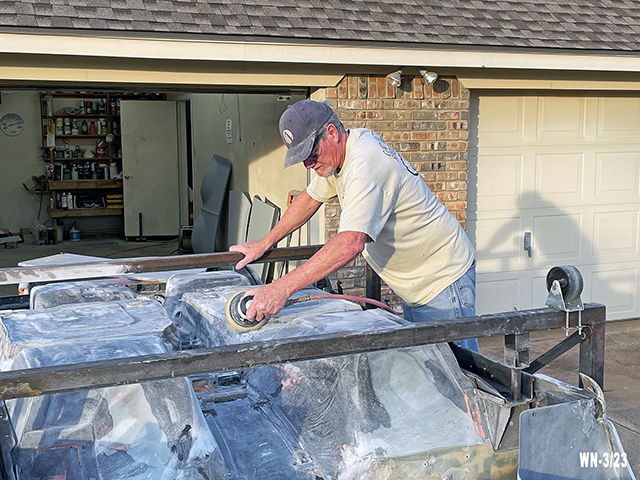
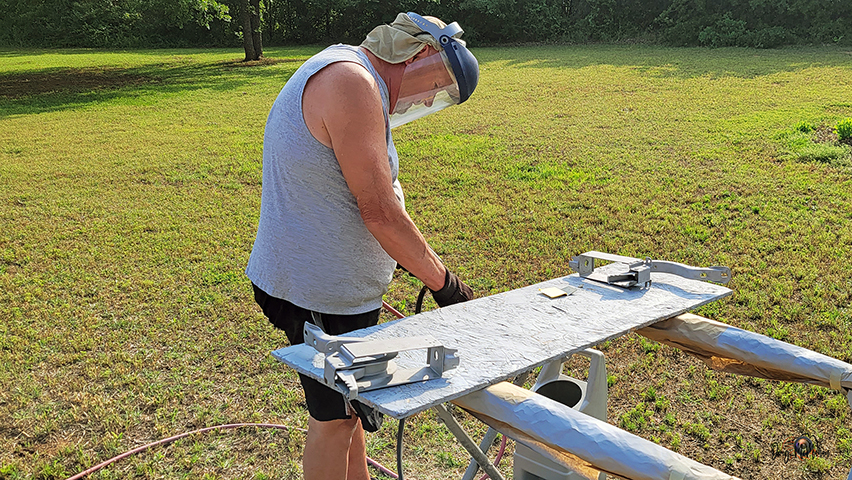
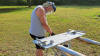
Most of the fiberglass grinding is done outside w/long sleeve
shirt on. |
|
|
|
|
|
Actuator Cover Boxes & Floor
Modifications - 2/27 |
 |
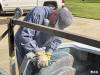
William working on the actuator covers |
 |
|
|
|
|
|
 |
Working on the bottom of the floorboards - getting there |
 |
 |
|
|
|
|
|
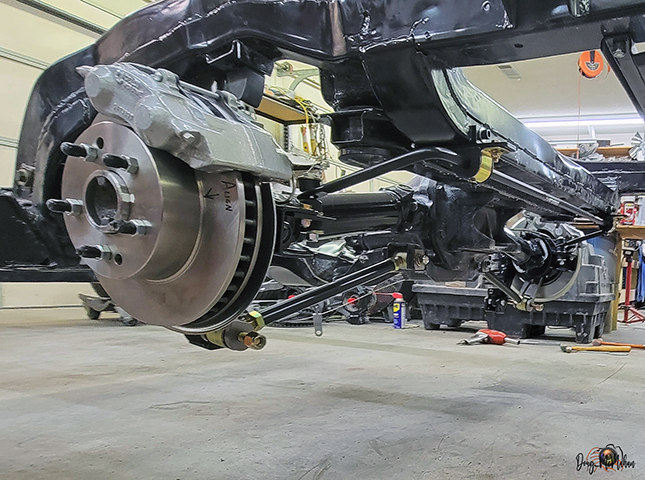
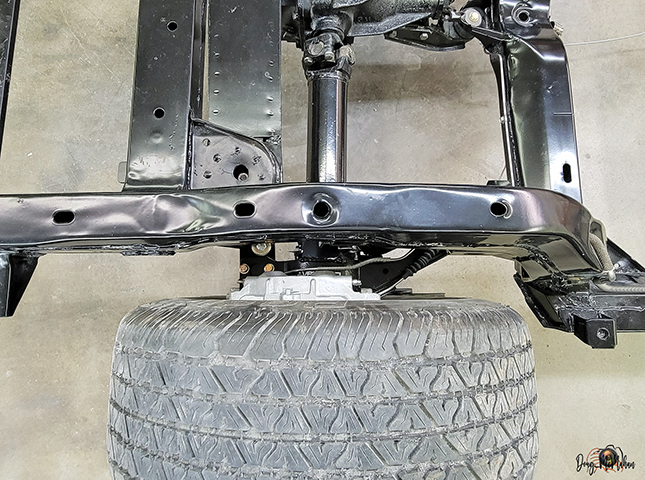
Changing the
Trailing Arms - 2/27-3/17 |
 |
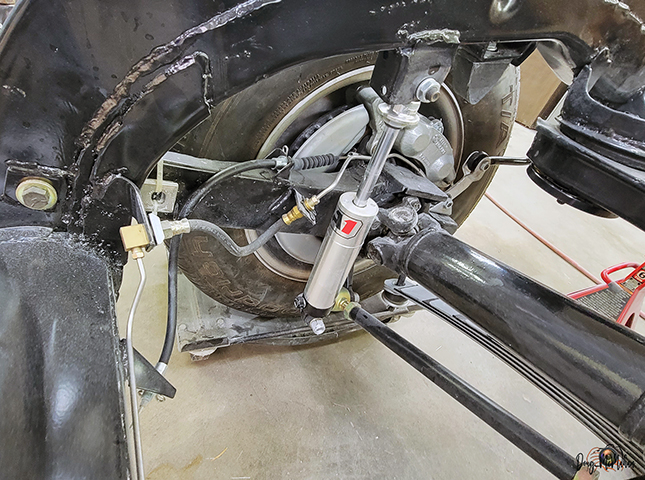
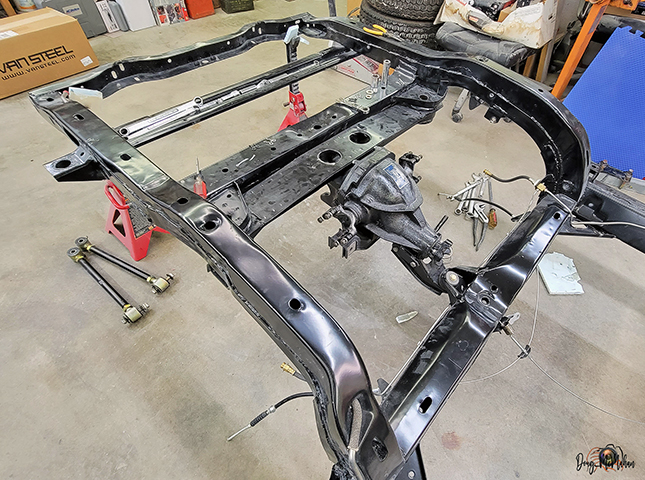
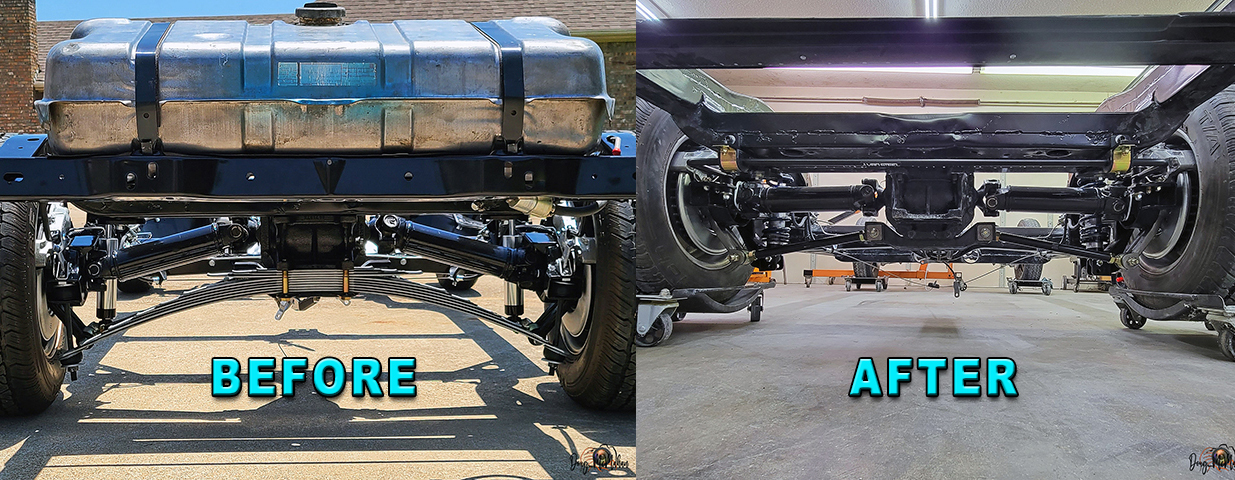
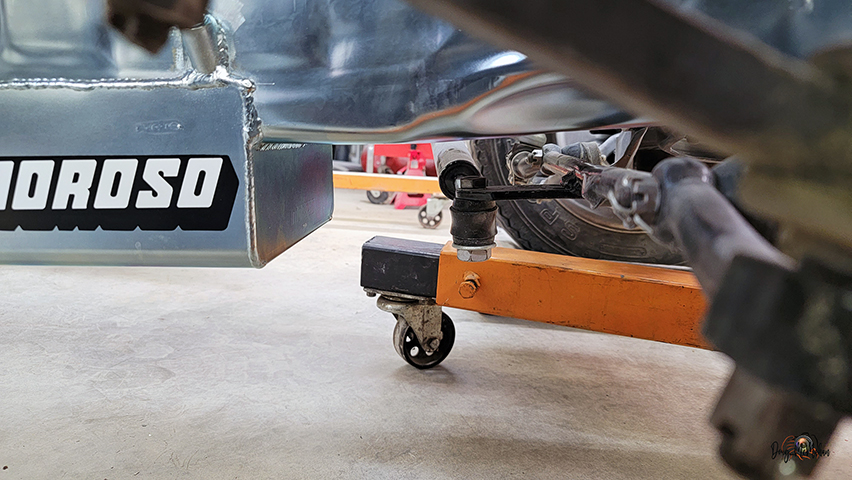
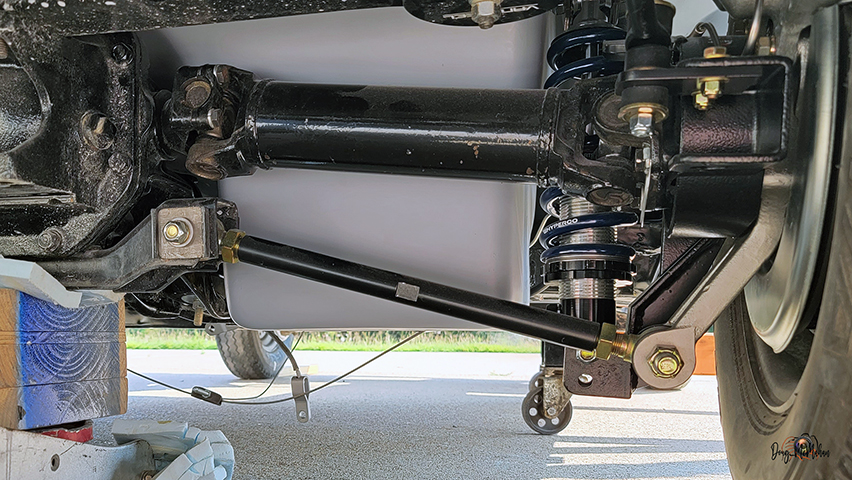
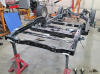
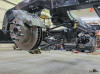
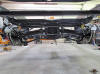
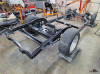
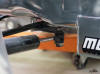
Decided to put offset trailing arms w/coil-over shocks to
provide a better ride and adjustable ride height ...even though
the factory trailing arms had been totally rebuilt. |
 |
|
|
 |
 |
|
|
|
|
|
|
 |
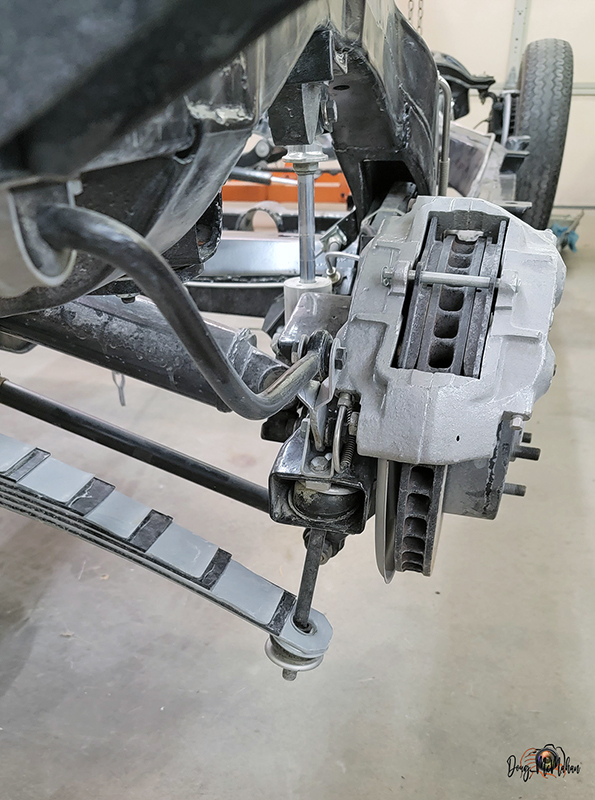
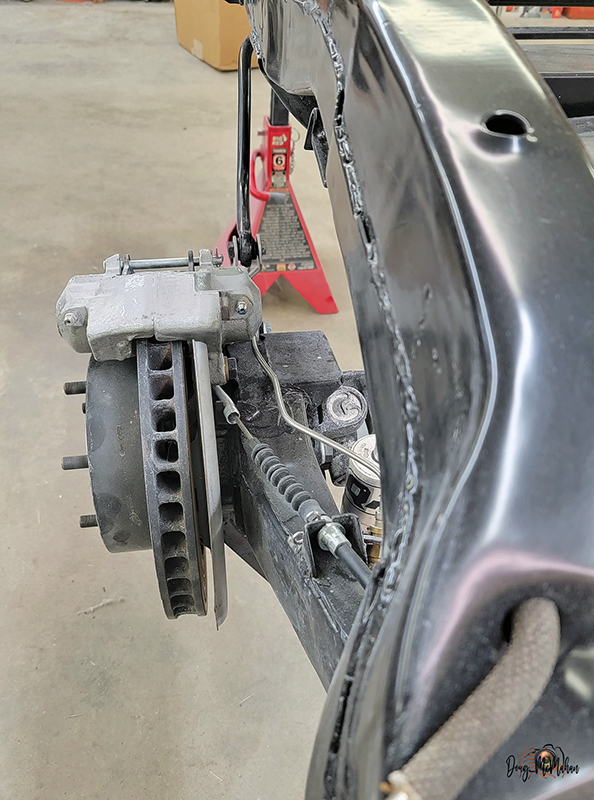
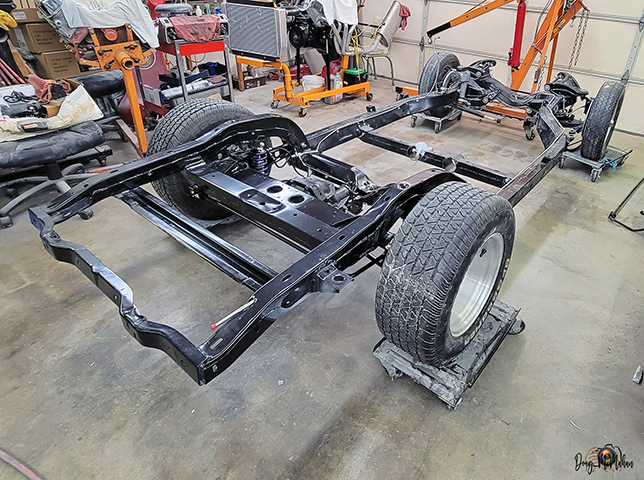
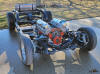
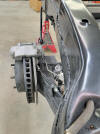
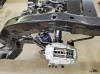
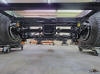
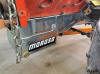
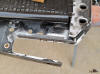
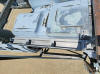
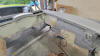
Factory Suspension has been removed ...ready for the new
Van Steel 2" Offset Trailing Arms and
matching sway bar |
 |
|
|
|
|
|
 |
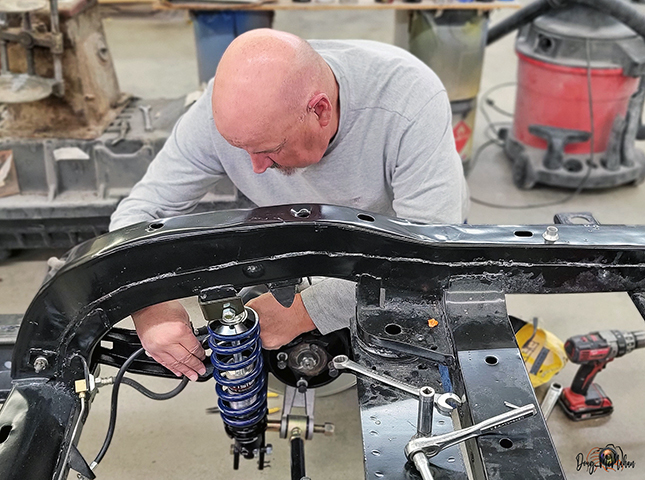
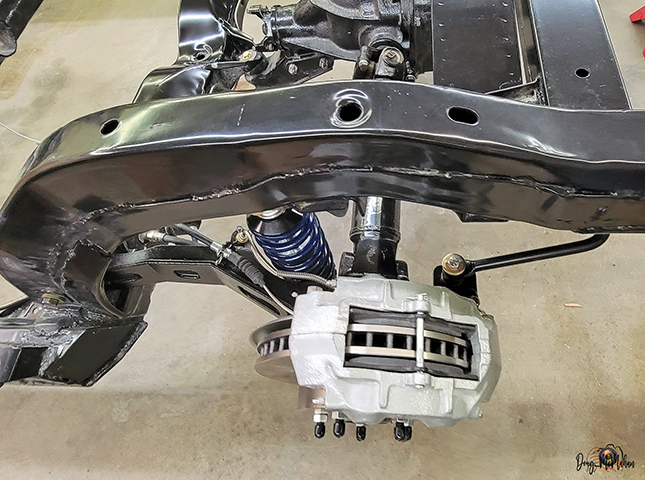
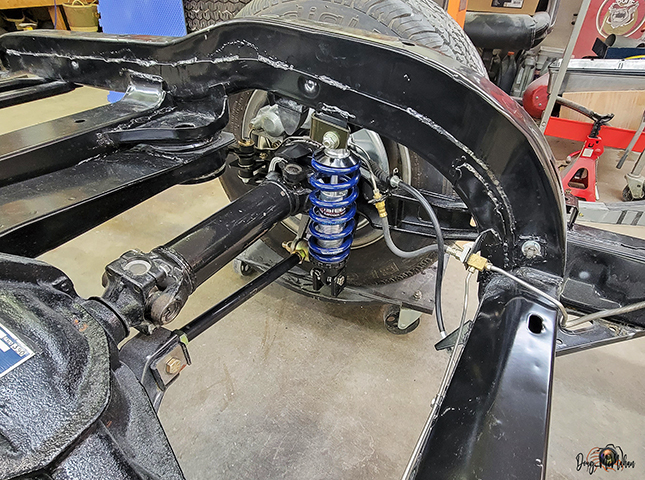
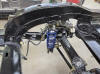
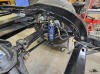
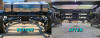
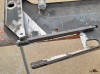
<-William reinstalling the brake line
arms installed with the sway bar in place |
 |
 |
|
|
|
|
|
|
|
 |
 |
|
|
|
|
|
|
 |
 |
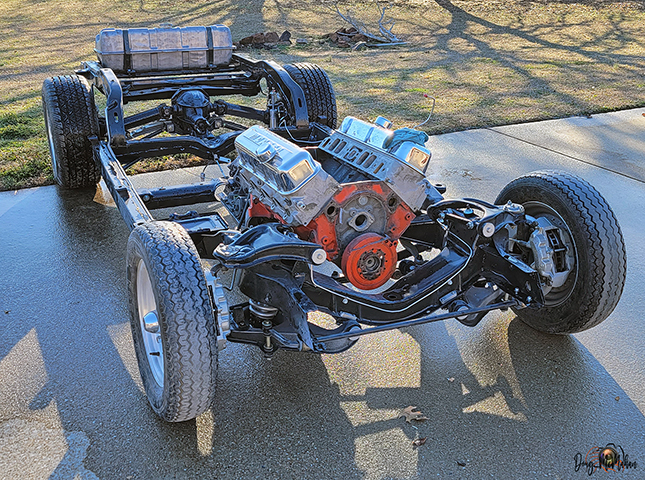
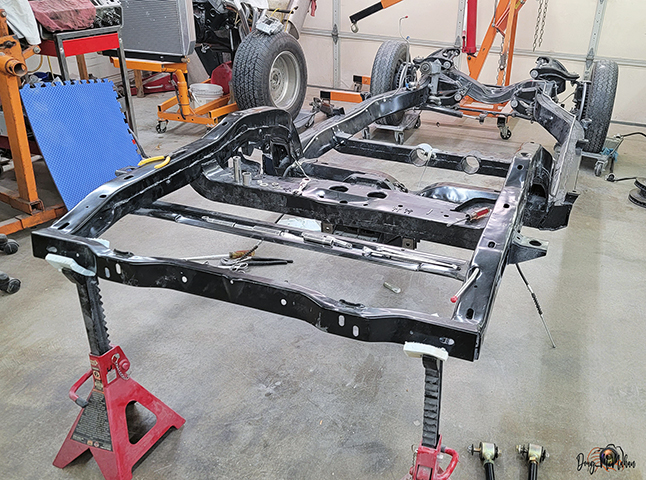
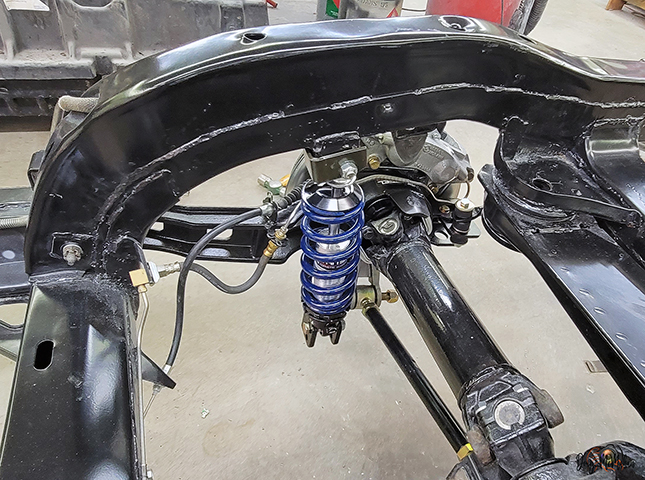
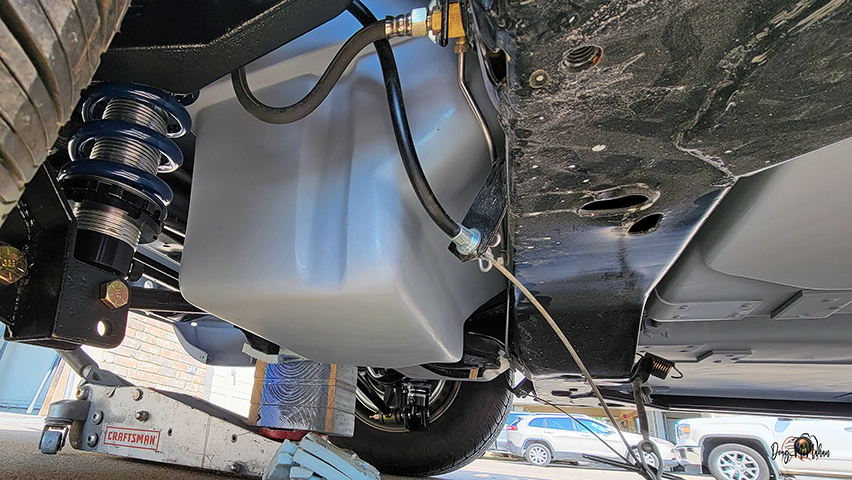
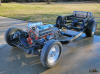
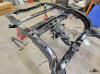
the look is greatly improved and the ride should be as well |
 |
|
|
|
|
|
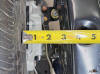 |
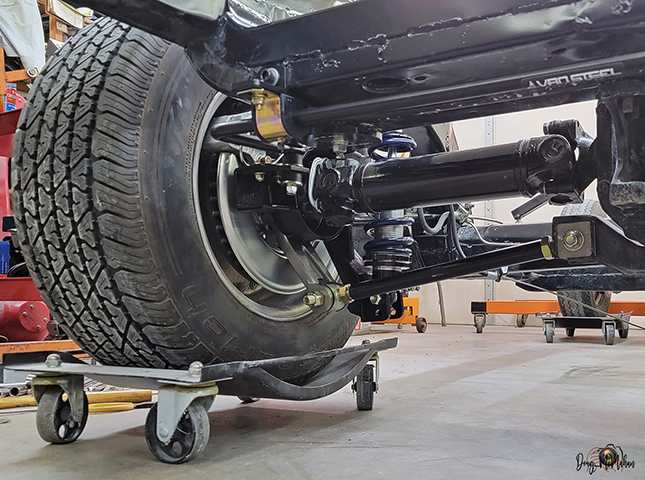
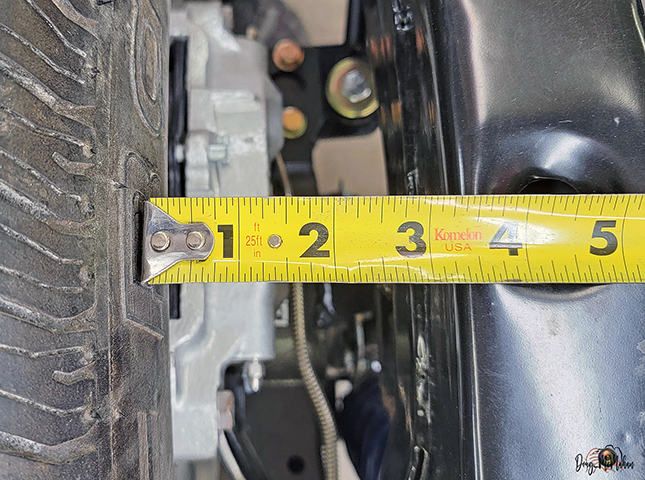
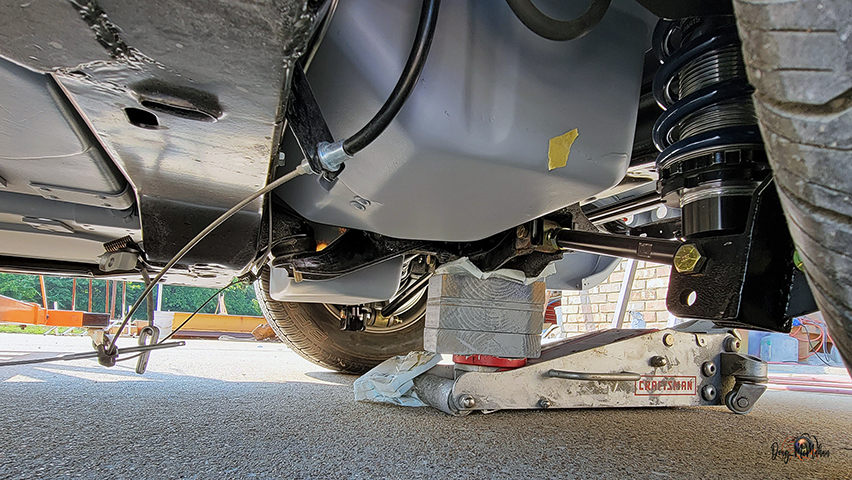
Can gain 2" of tire inside at least |
 |
 |
|
|
|
|
|
|
|
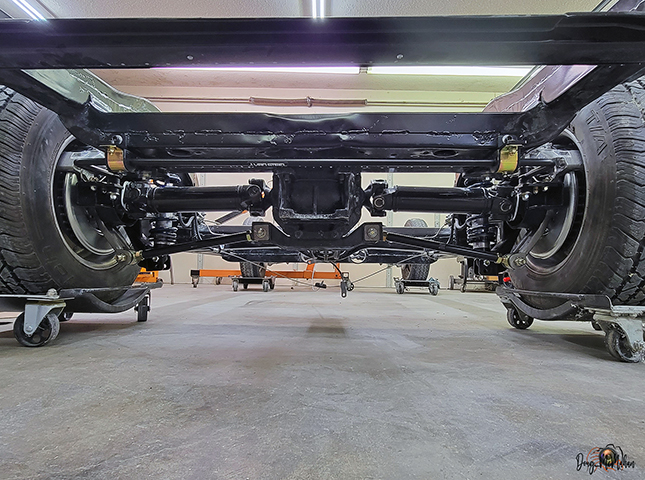
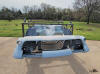
The Before & After shots of the rear suspension |
 |
|
|
|
|
|
Body Components & Finishing -
3/18-4/03 |
 |
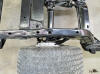
More finishing work on the underside of the body |
 |
|
|
 |
 |
|
|
|
|
|
|
 |
William glassing some areas on the decklid actuator covers |
 |
 |
|
|
|
|
|
 |
 |
Gapping body panels goes all the way to the rear splash panel -
even though that gap will be covered by the diffusers |
 |
|
|
|
|
|
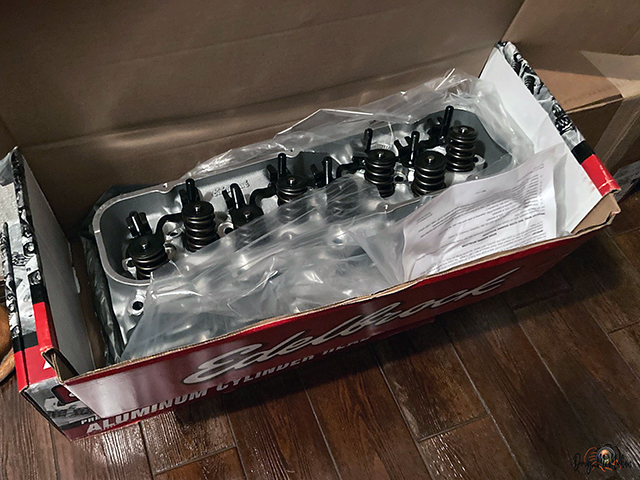
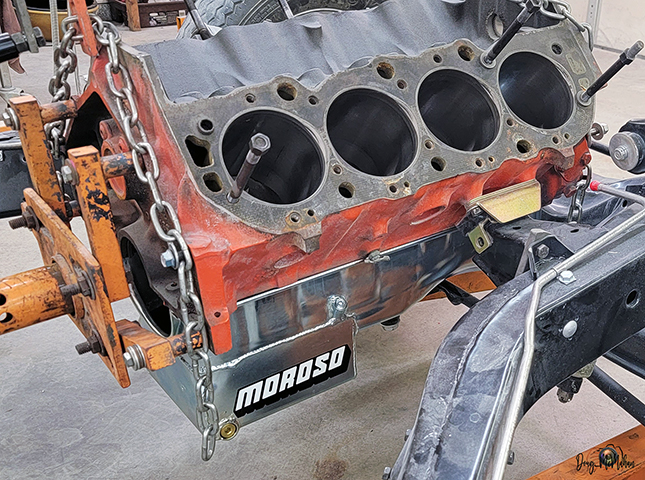
THE POWERPLANT
- 502 BBC - 3/18-28 |
 |
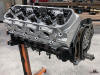
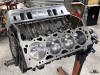
Well, the
Edelbrock 611 HP Top-End Kit ordered on
8/12/21 FINALLY
ARRIVED on 3/18/23! |
 |
 |
|
|
|
|
|
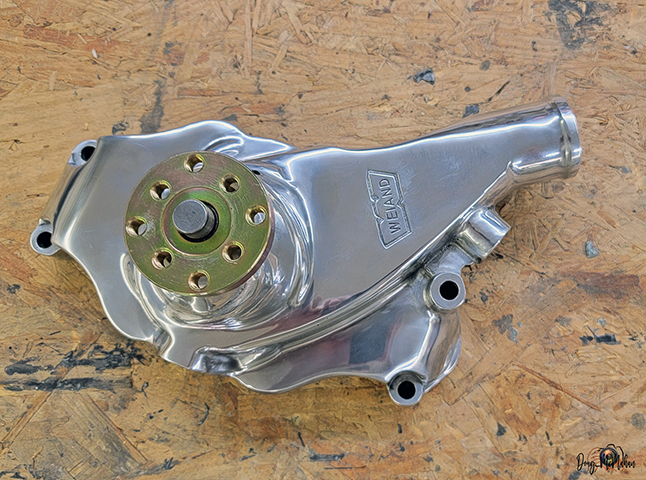
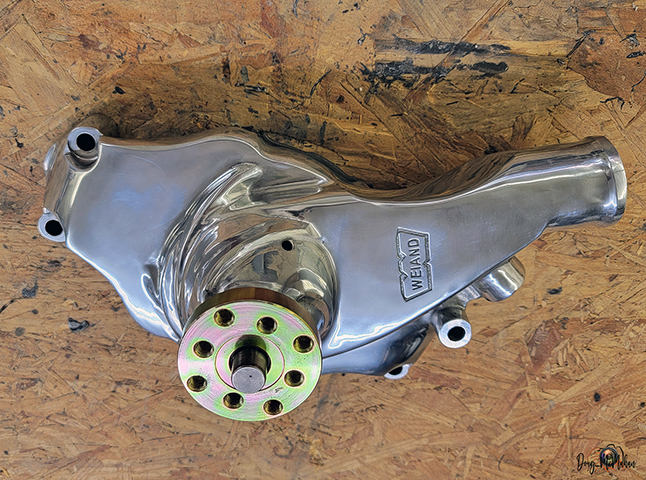
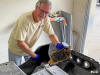
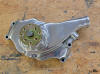
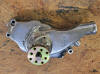
Re-Finishing
the Polished Water pump - 3/31 |
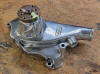 |
Buying a polished water pump left a lot to be desired - this is
after multiple hours of finishing by us |
 |
 |
|
|
|
|
|
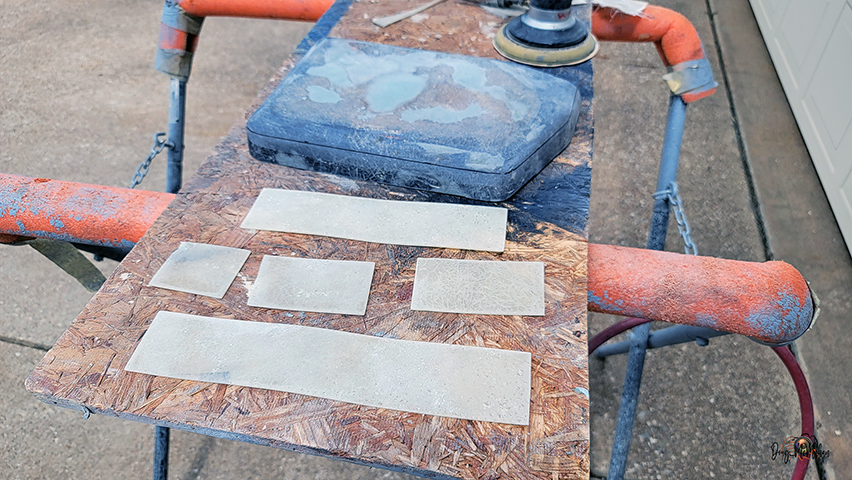
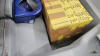
Prime / Engine-Trans Test Paint Swatches -
4/7-12 |
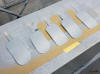 |
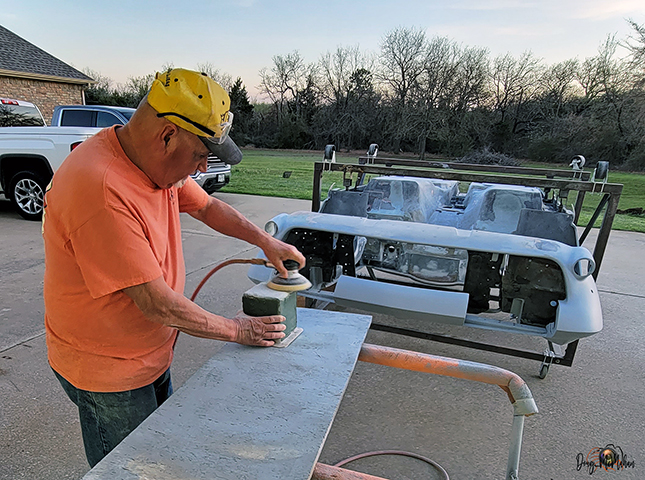
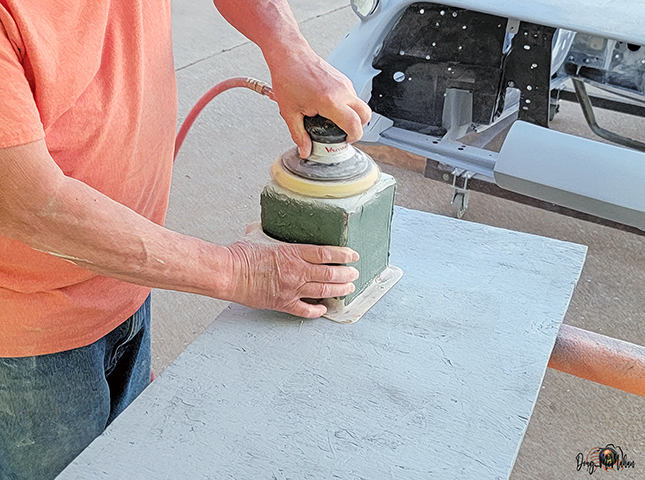
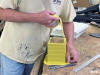
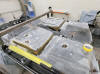
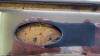
Paint Spray-out Paddles - to test paint colors for the engine &
transmission |
 |
|
|
|
|
|
 |
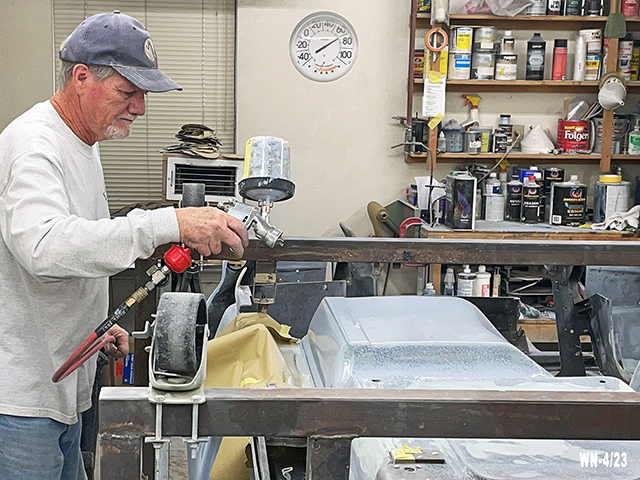
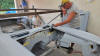
Using the rest of the Primer in the paint gun |
 |
|
|
|
|
|
 |
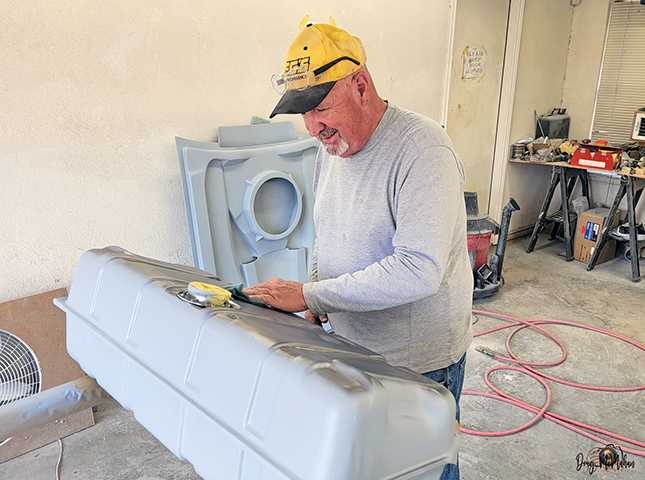
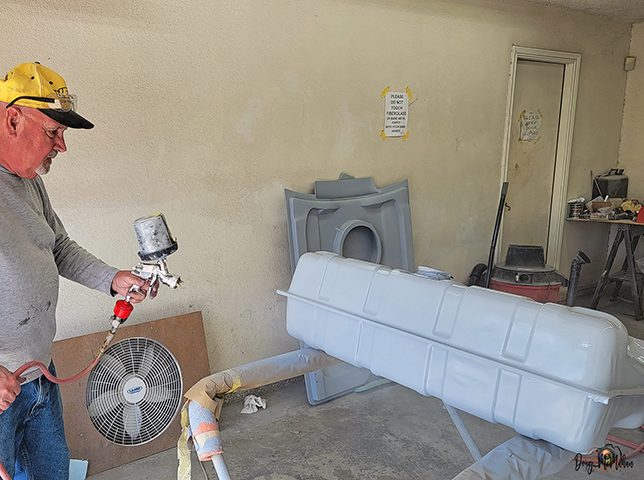
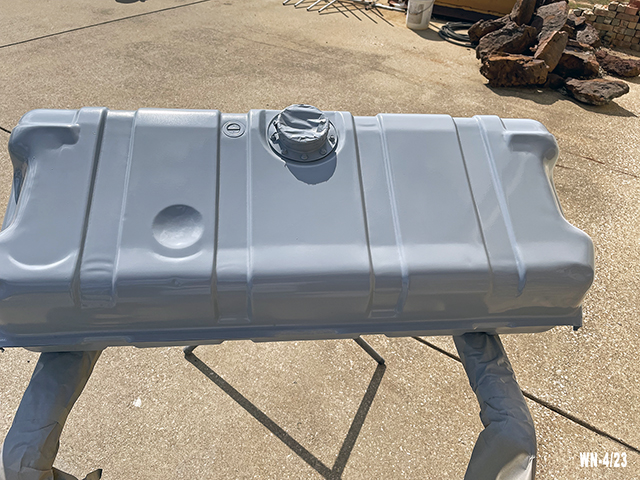
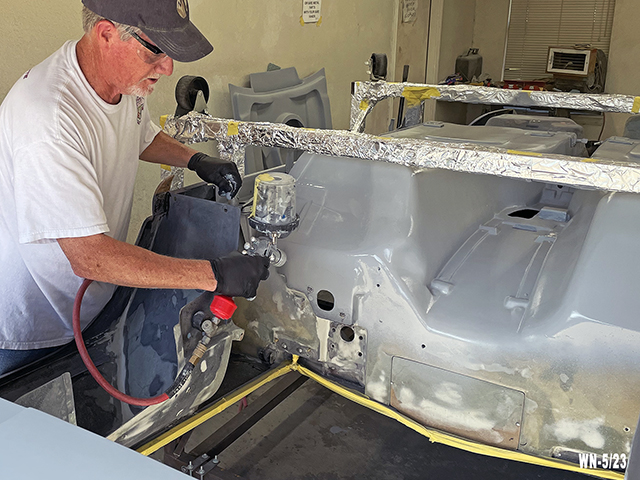
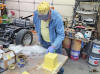
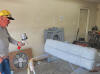
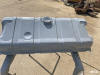
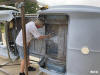
William prepping and priming the gas tank |
 |
 |
|
|
|
|
|
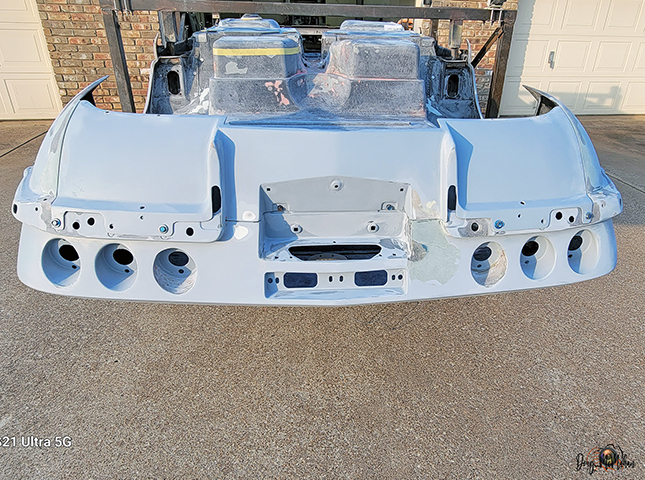
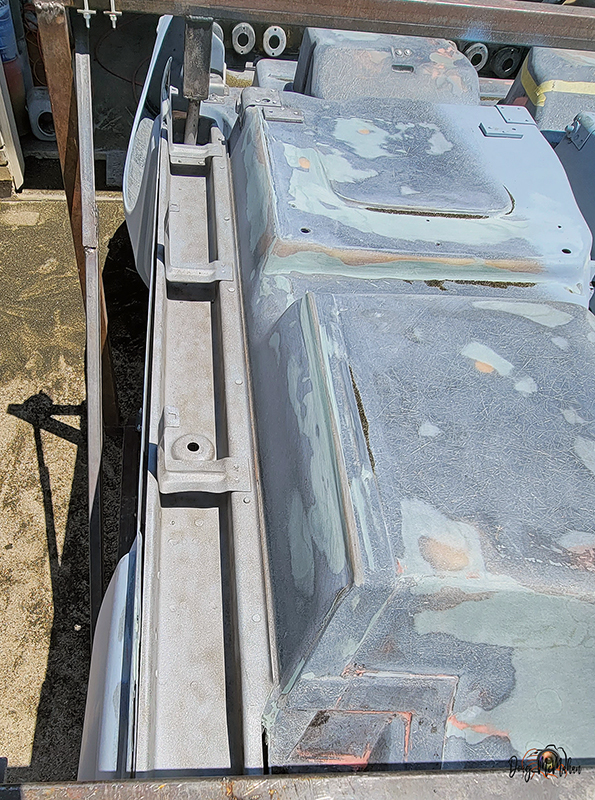
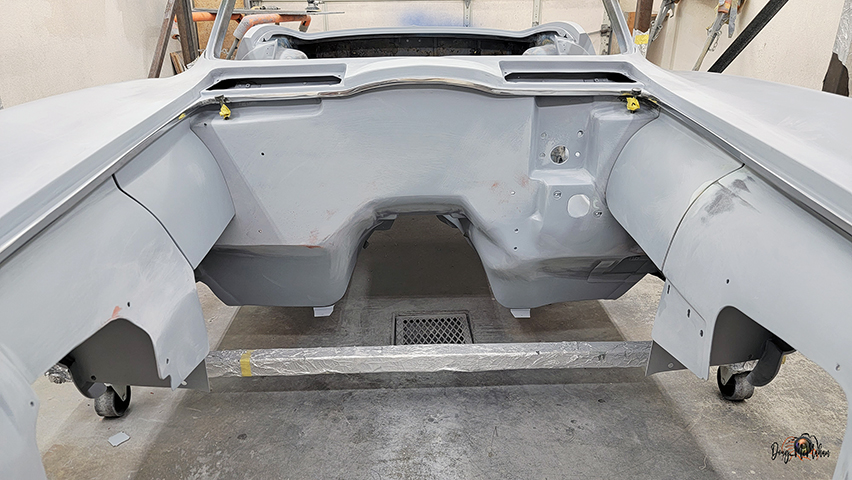
Body Finishing on Underside &
Sanding the Door Sill Plates - 4/20-21 |
 |
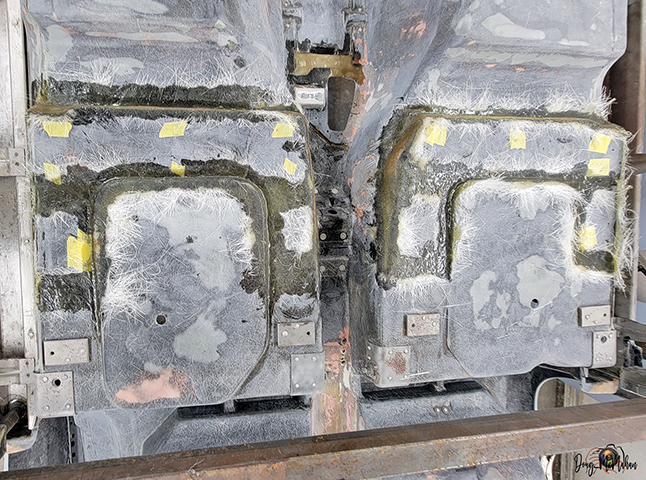
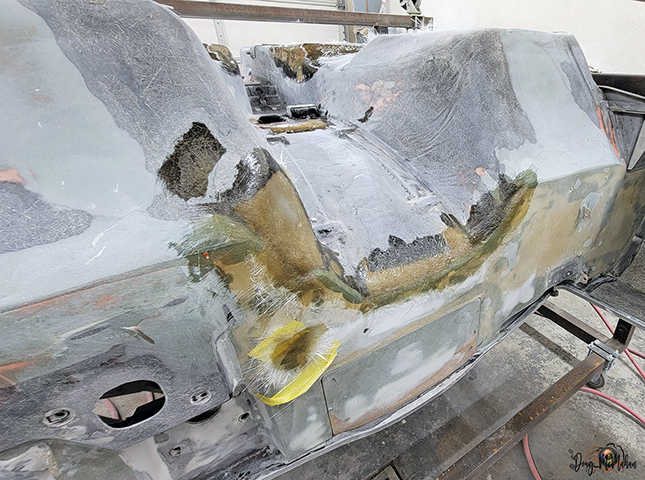
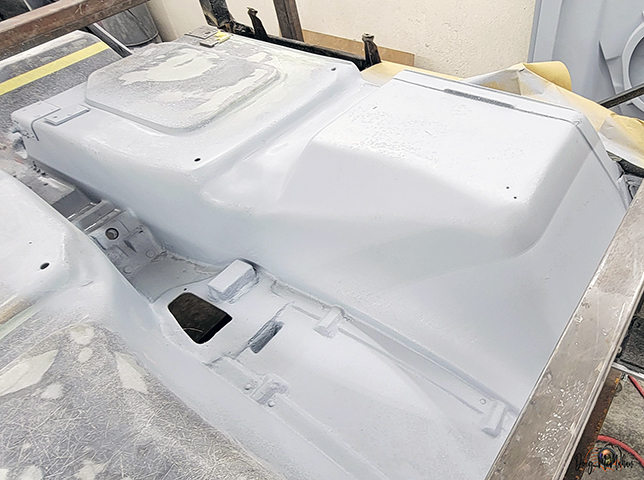
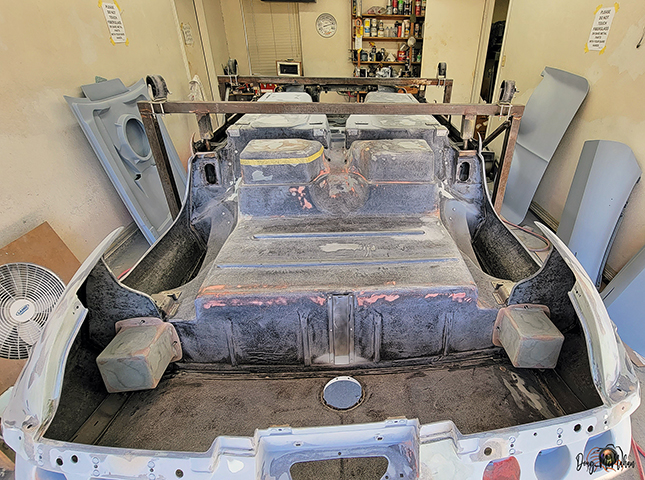
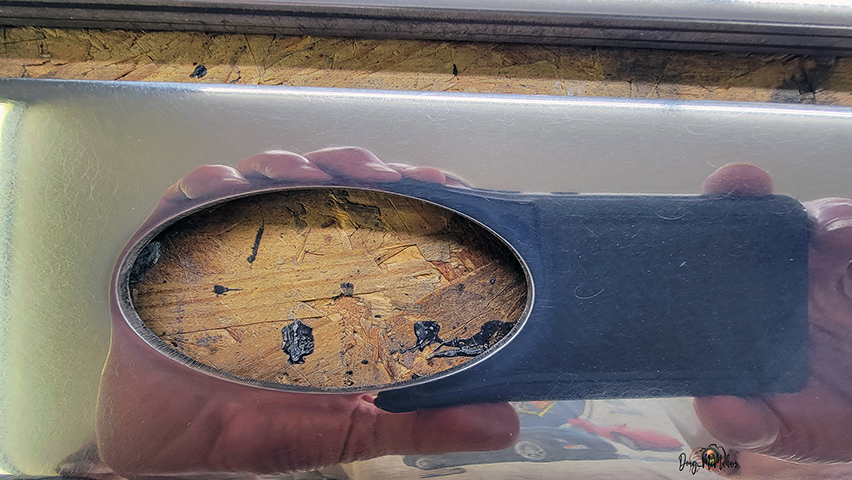
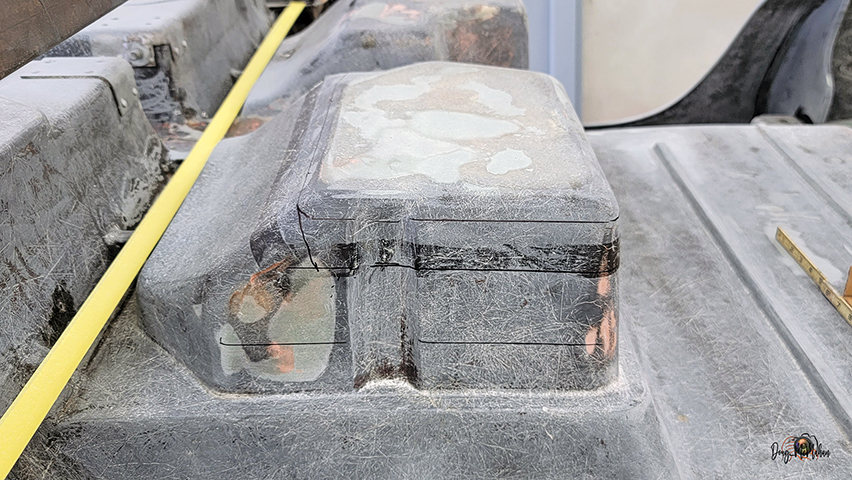
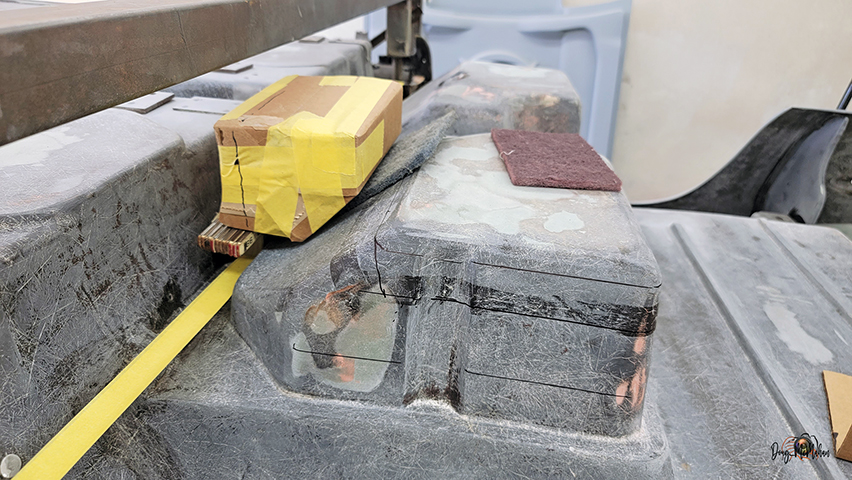
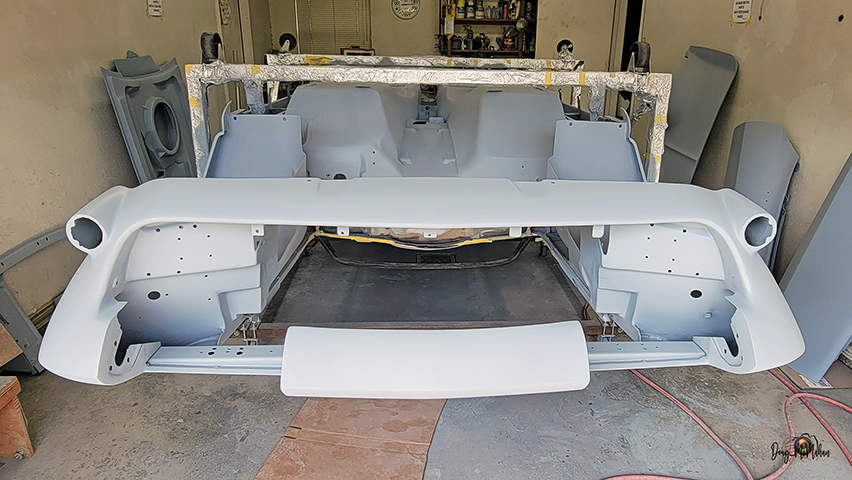
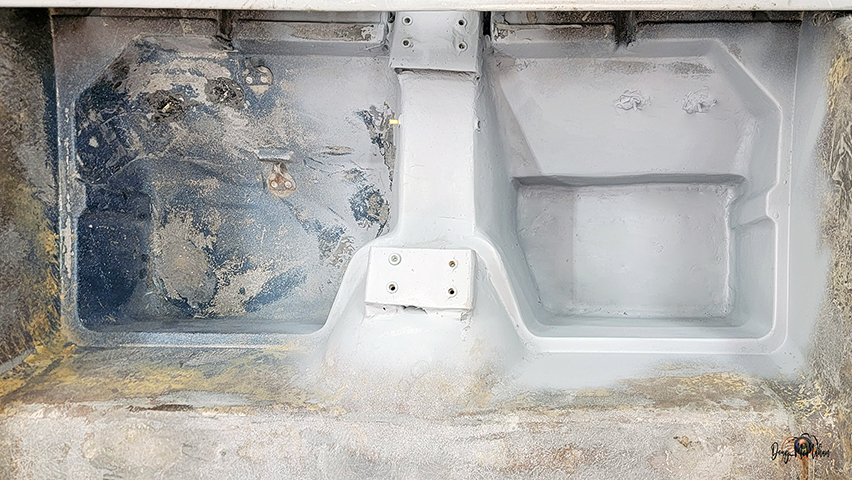
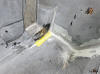
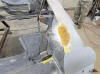
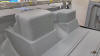
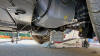
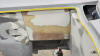
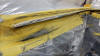
Bottom of the Vette is virtually finished - depending on the
battery decision that might need a deeper tub (where yellow tape
is) |
 |
|
|
|
|
|
 |
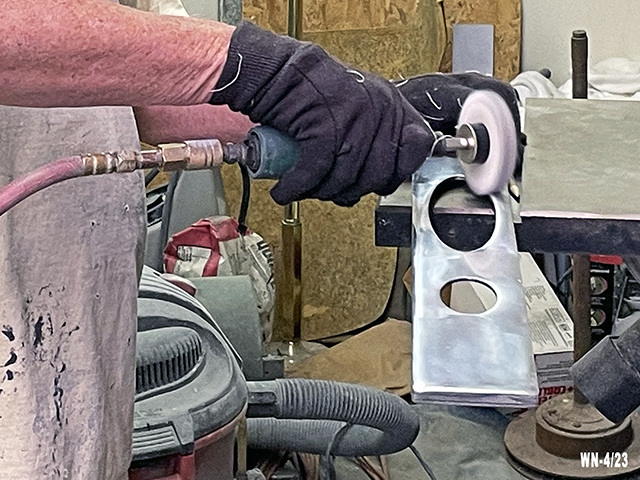
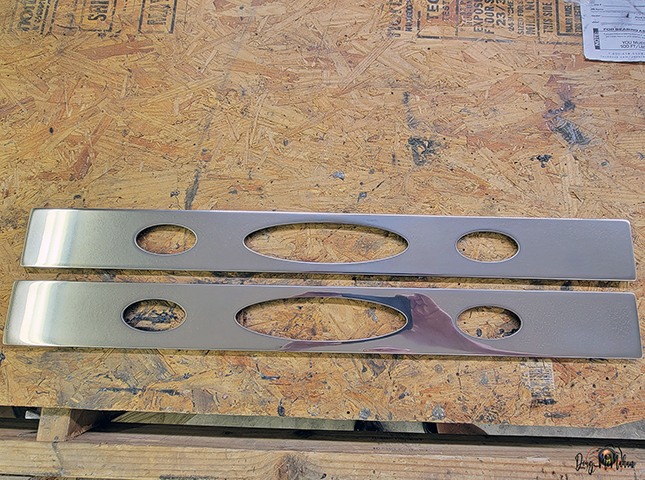
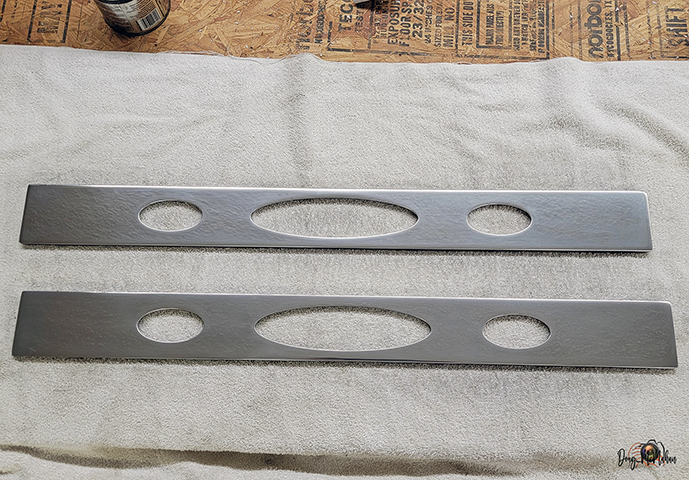
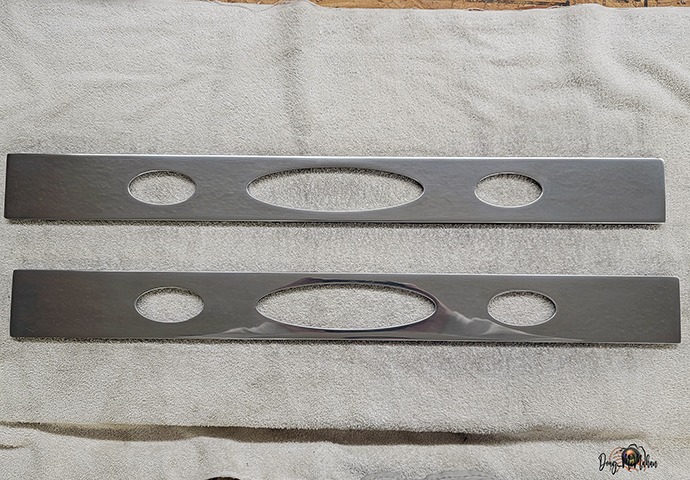
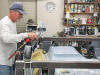
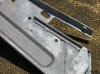
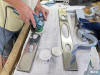
Lots of time spent polishing this raw aluminum - several steps
involved - after the sanding |
 |
 |
|
|
|
|
|
 |
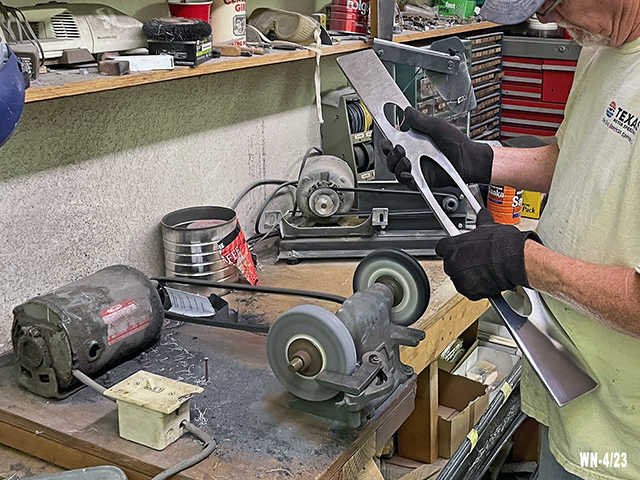
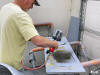
Sanding the SS Door Sill Plates - started with 80, 180, 600,
1500, 3000, 5000 and then 10000
...they aren't
even polished yet |
 |
|
|
 |
 |
|
|
|
|
|
|
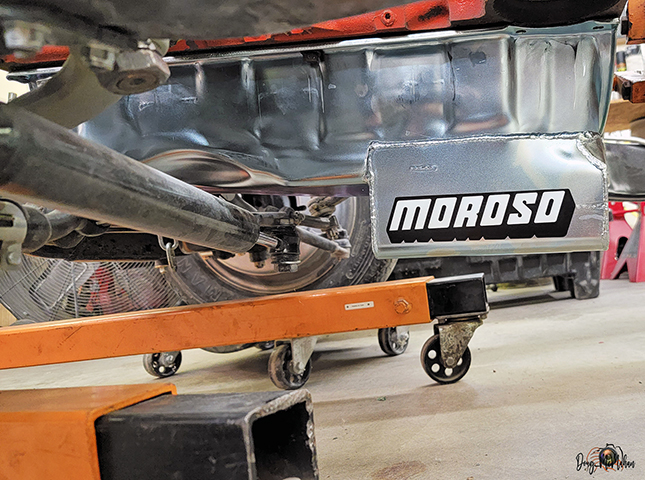
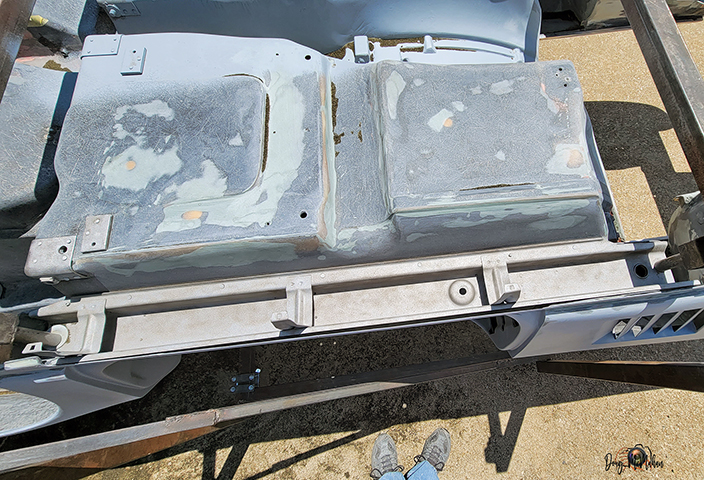
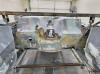
Test Fitting the New Oil Pan
- 4/22 |
 |
Bottom of the Vette is virtually finished - depending on the
battery decision that might need a deeper tub (where yellow tape
is) |
 |
|
|
|
|
|
 |
 |
 |
|
|
|
|
|
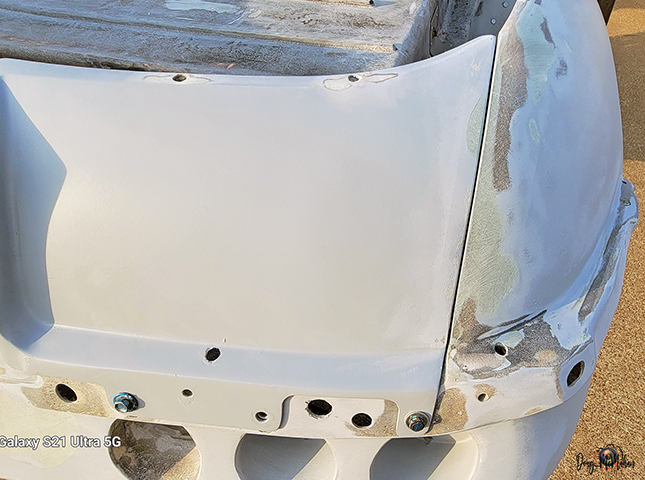
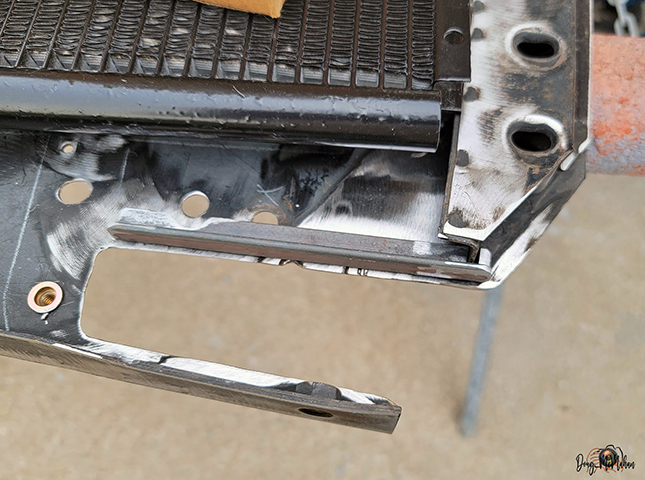
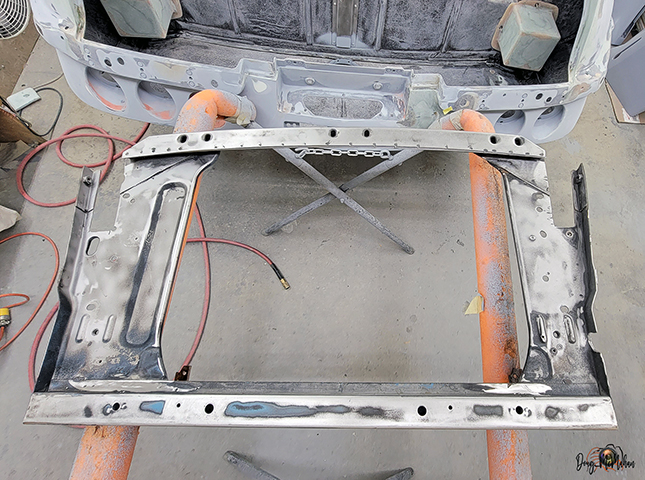
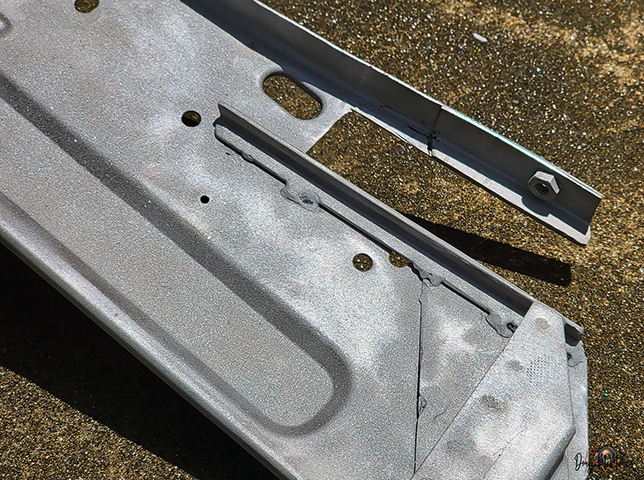
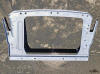
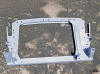
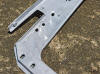
Reworking the Radiator Support
- 4/22-24 |
 |
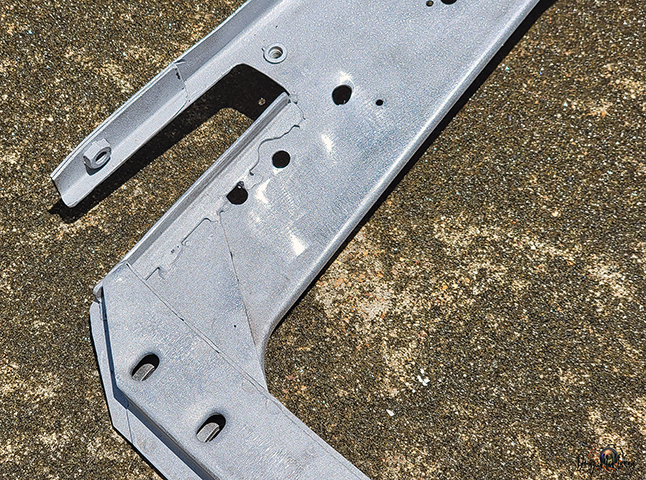
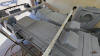
Several areas needed ground, left-over pieces from previous
chops needed removed and cleaned up
then straightening the cutout for the actuators and
re-strengthening the support |
 |
|
|
 |
 |
|
|
|
|
|
|
|
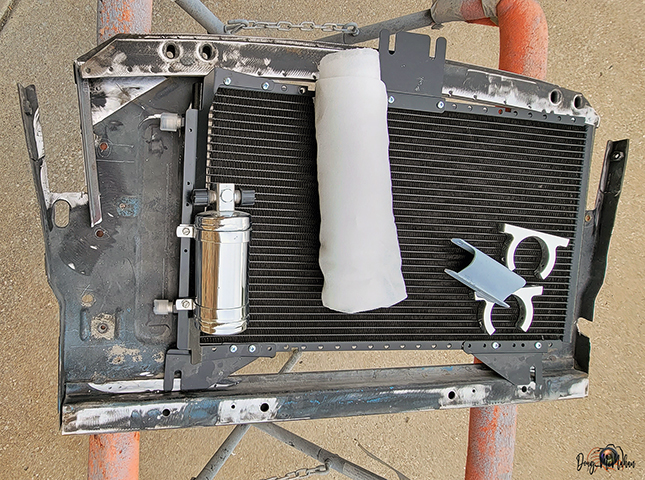
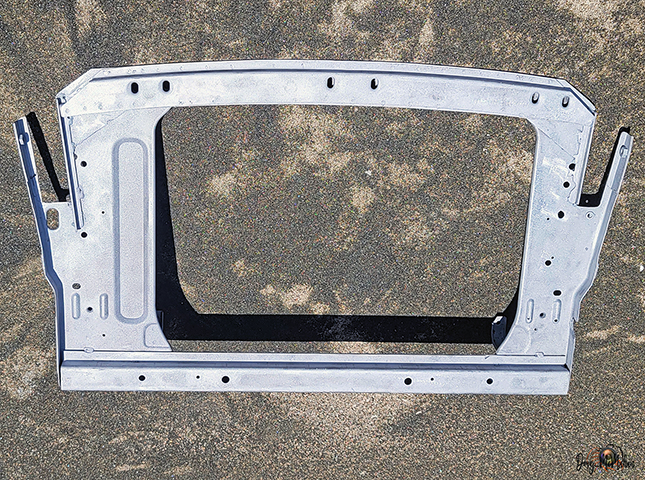
Of course we needed to test fit the radiator and components to
ensure fit |
 |
 |
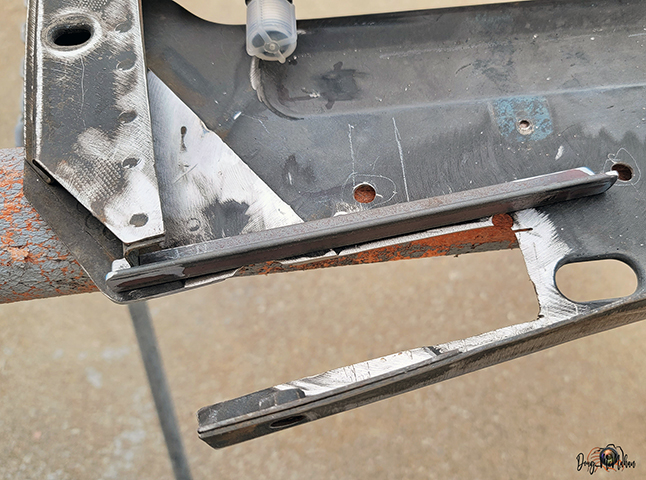
The rough stuff is finished - not for the finishing |
|
|
|
|
|
 |
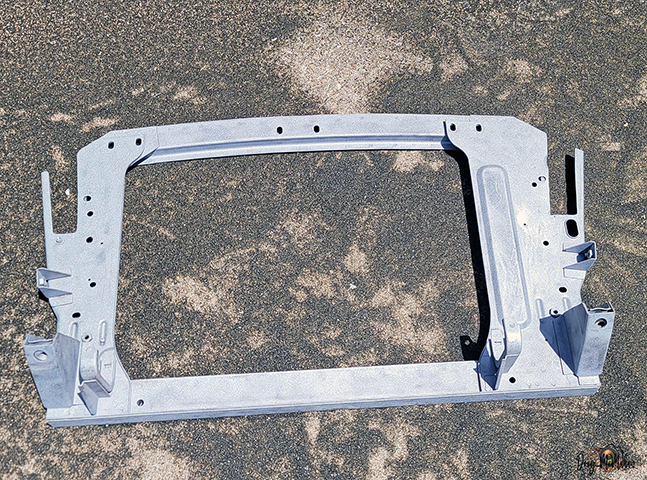
Radiator Support is reworked, sandblasted and ready for primer -
if it is ever off backorder :( |
 |
|
|
 |
 |
|
|
|
|
|
|
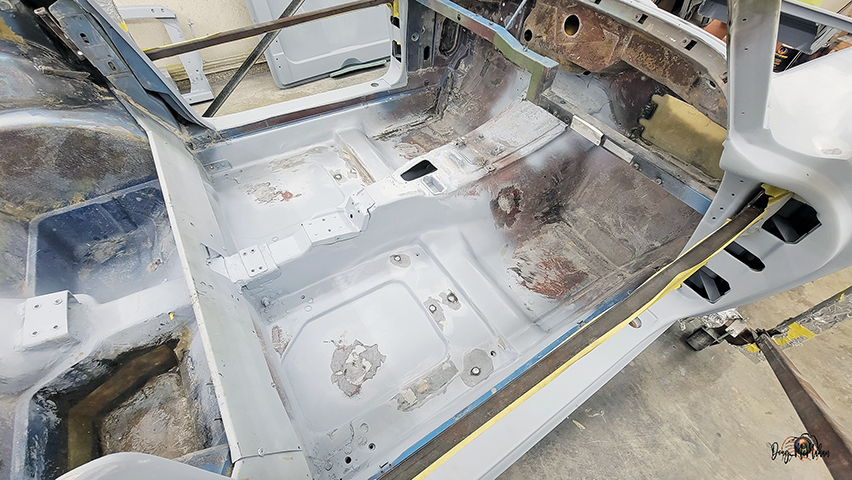
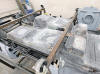
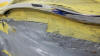
Cleaning up the "Bird Cage" Underside
- 4/29 |
 |
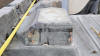
Sandblasted the bottom of the "bird cage" to eliminate the
surface rust - it is ready for primer now
lots of sandblast medium was used - a mess ;) |
 |
|
|
|
|
|
 |
 |
 |
 |
|
|
|
|
|
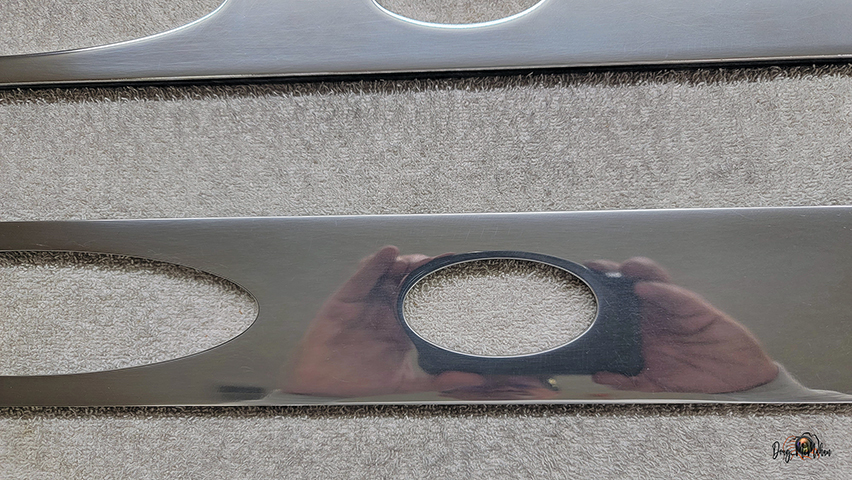
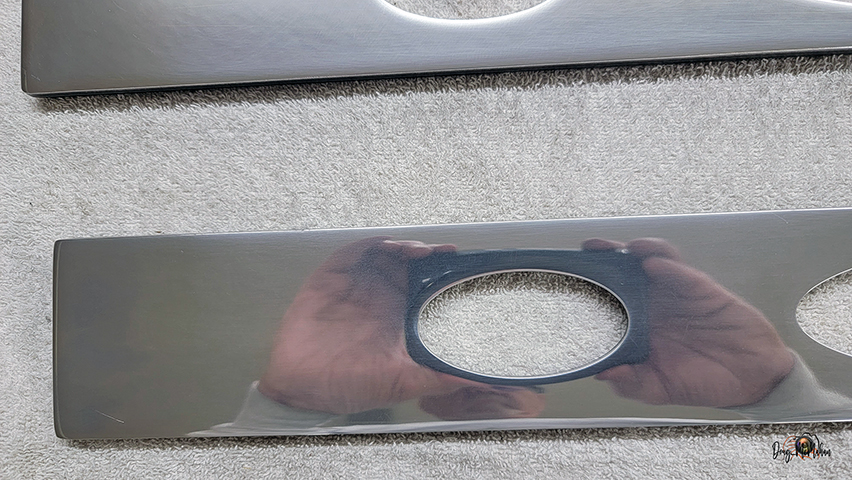
Polishing the Door Sill Plates
- 4/22 |
 |
The door sills are almost to their final luster - lots of
buffing with numerous compounds and different buffing pads |
 |
|
|
 |
 |
|
|
|
|
|
|
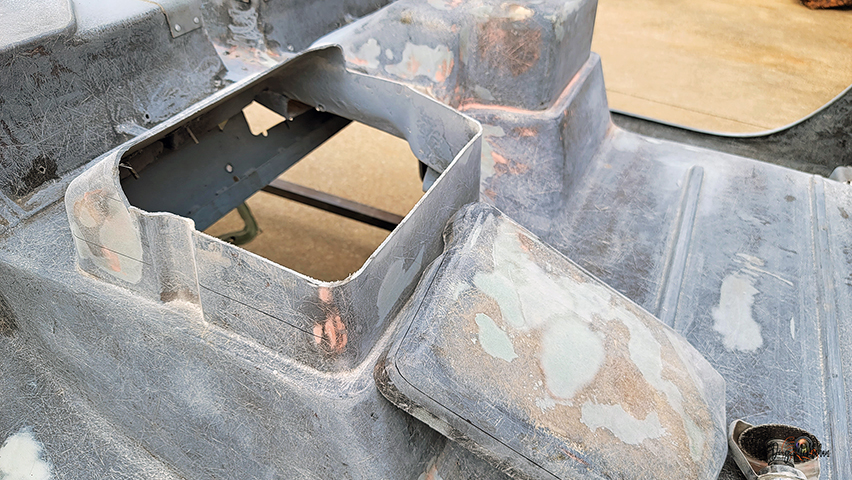
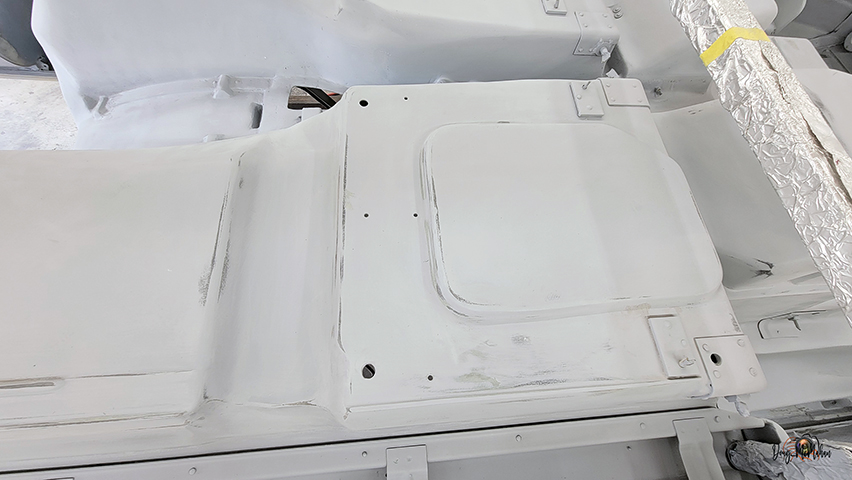
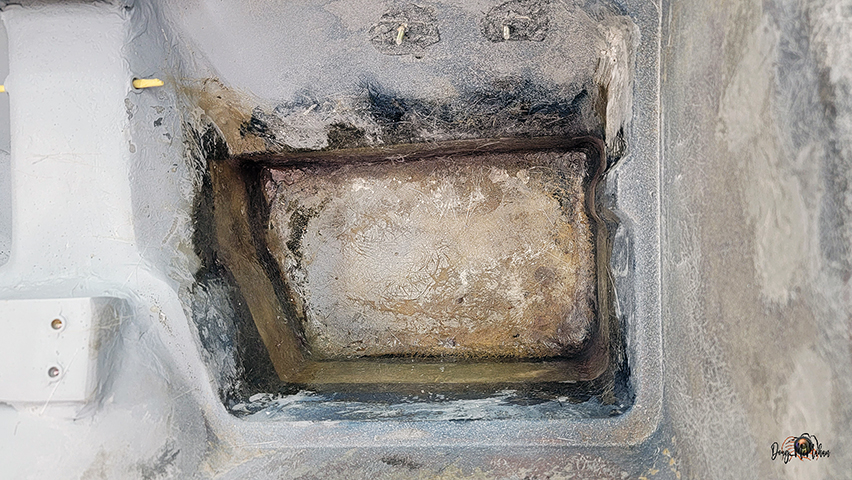
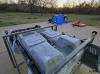
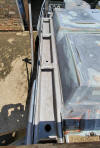
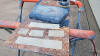
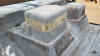
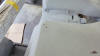
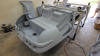
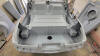
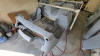
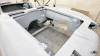
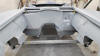
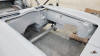
Making the Compartment Deeper for a Battery
- 5/6-7 |
|
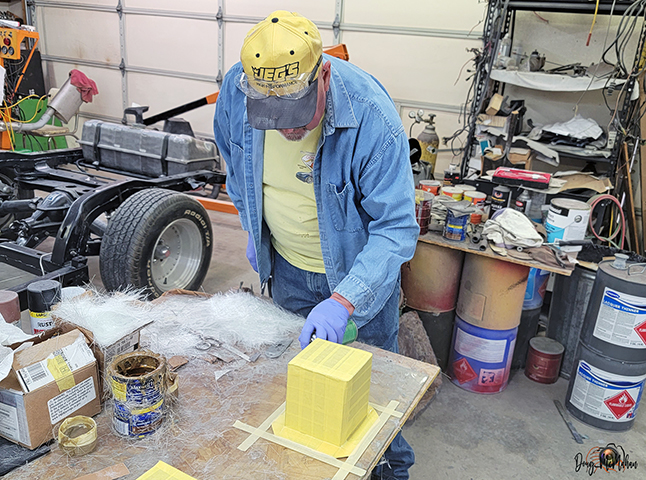
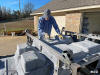
Measure twice - cut once |
 |
 |
Mock-up with a crossmember section made from cardboard |
 |
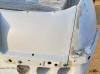
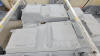
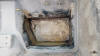
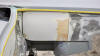
Committed - the lid was removed - going to look ugly before being
pretty again |
needed to make some flat fiberglass filler pieces |
 |
|
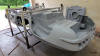
Stage 1 of the compartment build - filler strips |
 |
 |
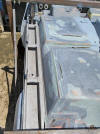
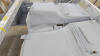
Stage 2 - put the lid back on - had to hold with tape |
 |
Stage 3 - exterior glass almost complete |
Doug grinding the glass from the deepened compartment |
 |
|
more glass grinding - this happens a few times |
 |
 |
Stage 4 - a little Duraglass to slick it out - stage 5 is primer
(see below) |
|
|
|
|
|
1st Coat of HOK KD3000 Primer / Sealer
- 5/9 |
 |
Cleaned the under body the best we could with air - then inside
with a serious Windex wipe followed with tack rags |
 |
|
|
|
|
|
 |
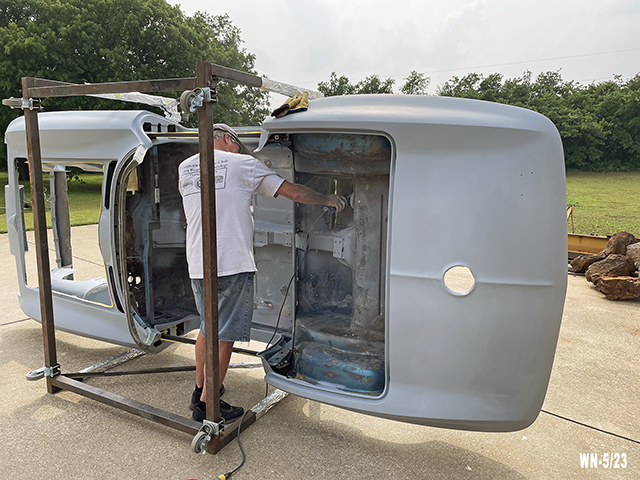
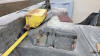
We needed to turn the body on its side to remove more sandblast
media - that stuff gets everywhere - more came out when we set
the body back upside down
We also needed to remove the decklid actuators |
 |
|
|
|
|
|
|
1st coat of HOK KD3000 primer / sealer being laid down |
 |
 |
stopping short on the firewall since we still need to glass in
the wiper compartment |
|
|
|
|
 |
about a half-gallon of KD300 has been laid at this point
...now to block, deal with any little imperfections, then to
scuff it all before the final coat |
 |
|
|
|
|
|
 |
 |
 |
 |
|
|
|
|
|
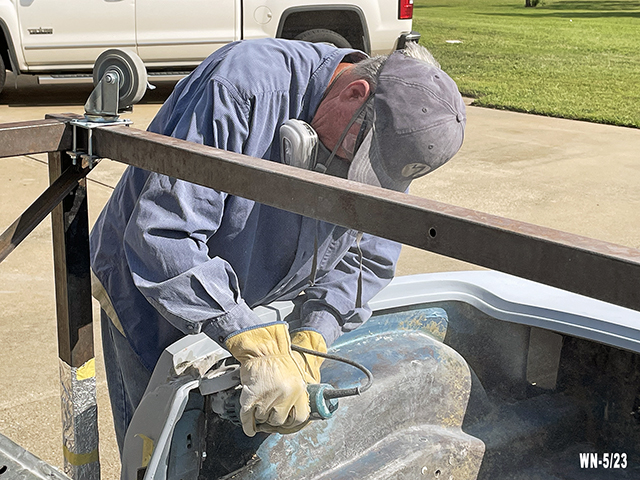
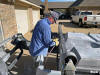
Sandblast & Priming
- 5/11-12 |
 |
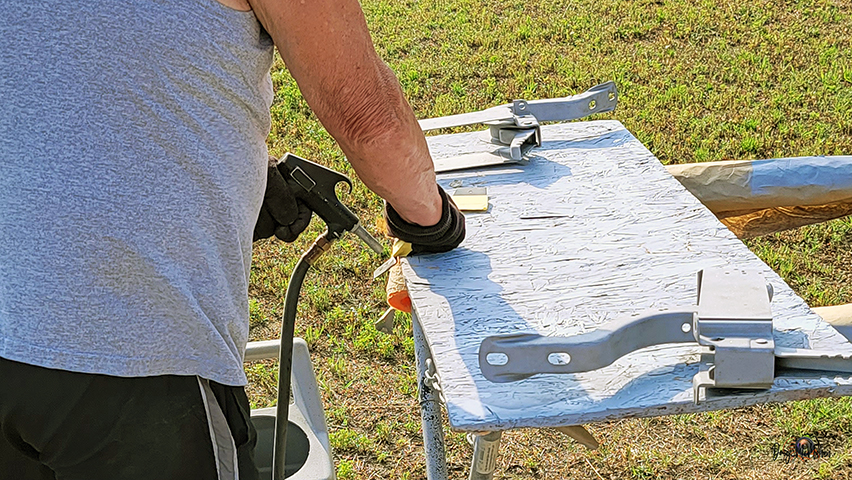
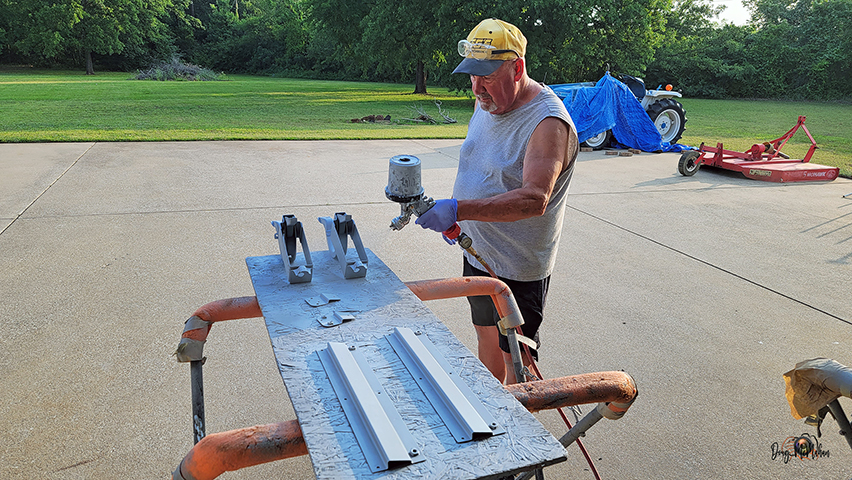
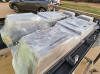
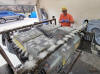
William sandblasting the metal parts for under the body along
with the decklid hinges |
 |
|
|
|
|
|
 |
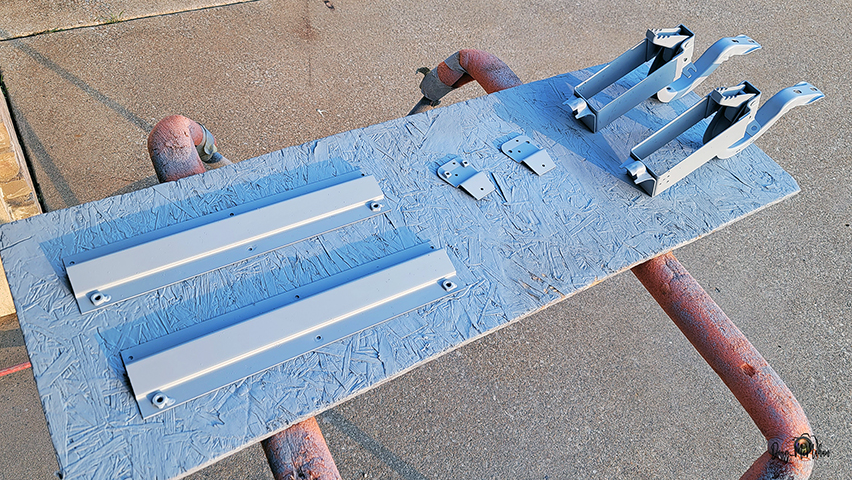
Then it was time for some KD-3000 on the metal parts |
 |
|
|
|
|
|
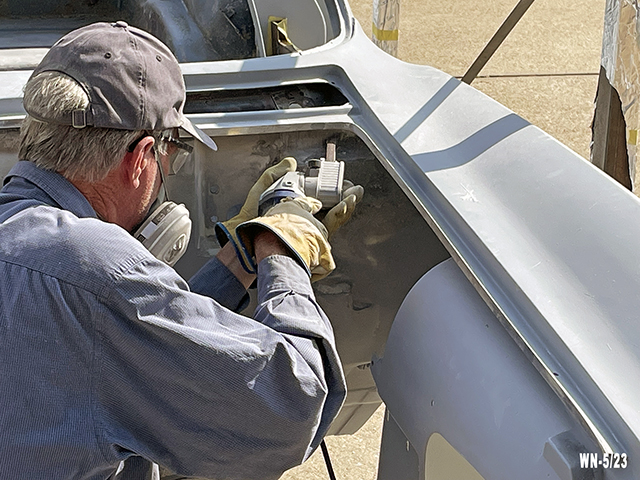
Sandblast & Priming
- 5/11 |
 |
We turned the car on its side so we could put the rivets in,
then decided to do a little fiberglass work in the tub |
 |
|
|
|
|
|
 |
we pulled the metal support pieces off the bottom of the car a
long time ago - to clean, paint and even replace some of them |
 |
|
|
|
|
|
 |
All the pieces are back on now and ready for the final coat of
KD3000, now that the underside has been blocked. |
 |
|
|
|
|
|
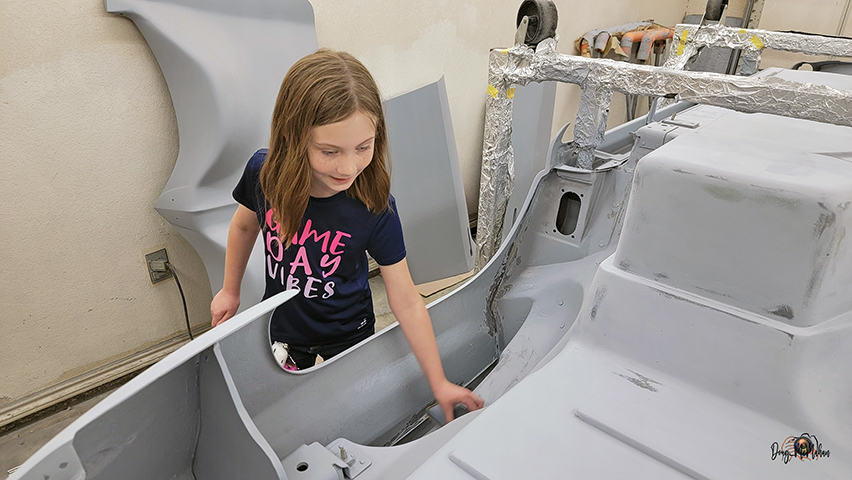
Sanding and Sill Plates
- 5/14 |
 |
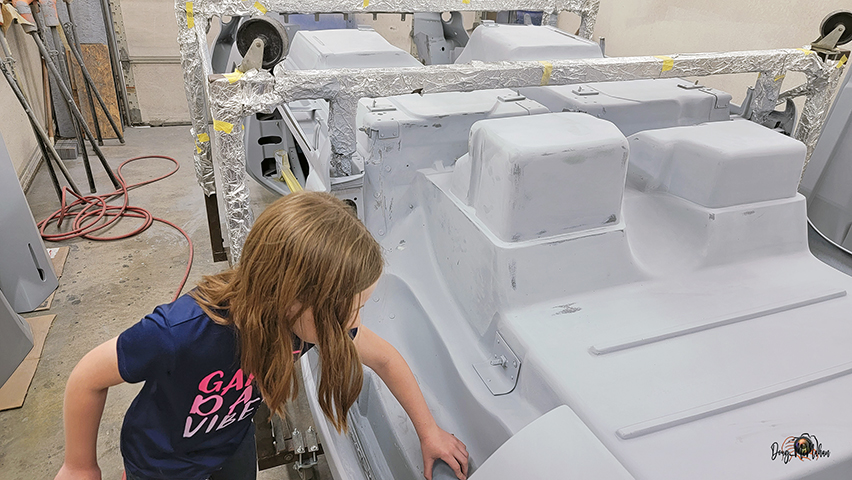
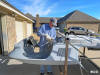
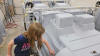
we had a helper in the shop today - our youngest granddaughter |
 |
|
|
|
|
|
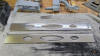 |
Tried some new polishing pads and polish media on the door sill
plates |
 |
 |
|
|
|
|
|
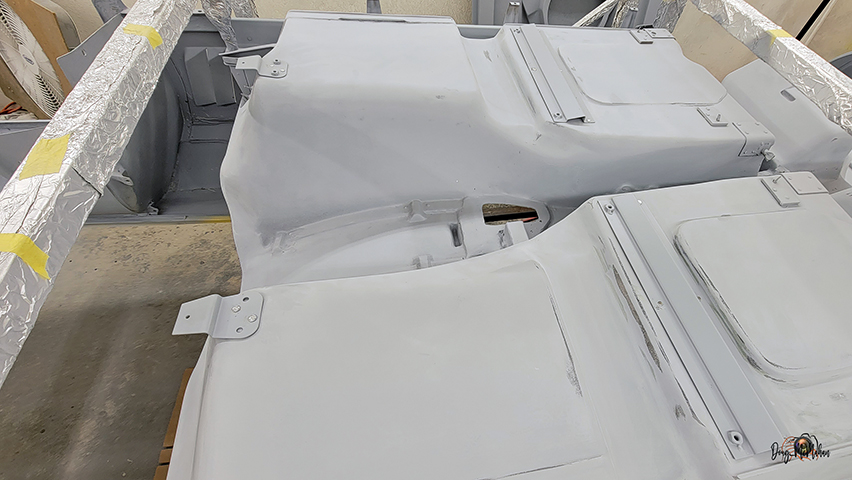
Block & Prime Time
- 5/19 |
 |
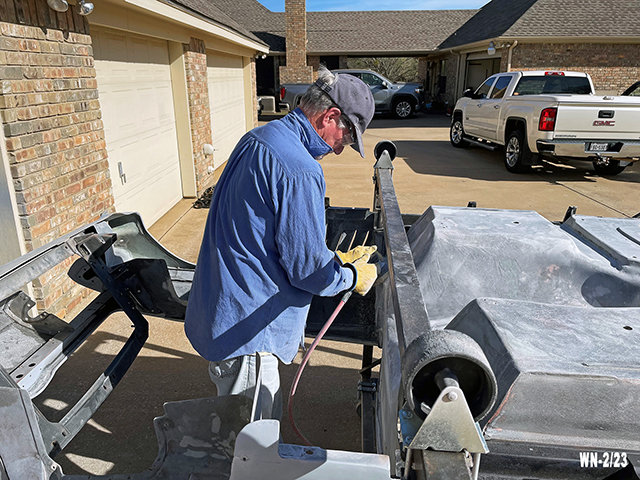
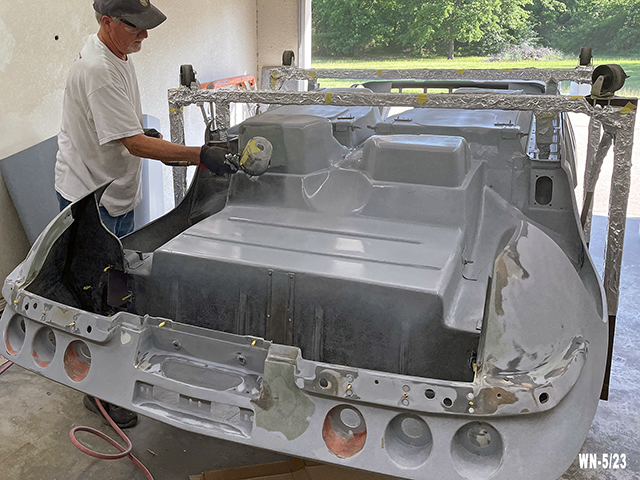
William making sure all the dust is blown off the bottom |
 |
|
|
|
|
|
 |
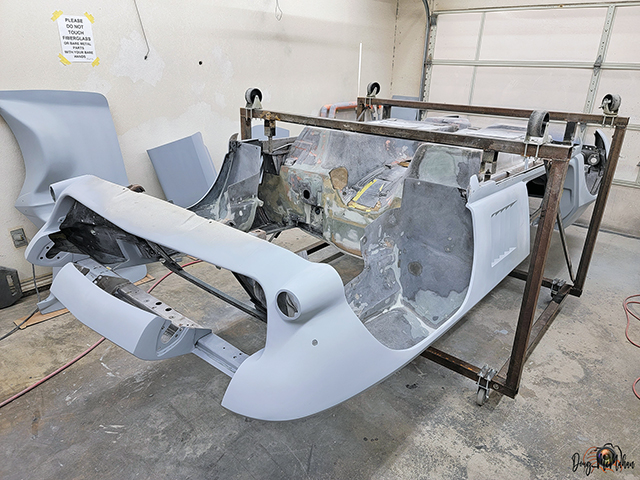
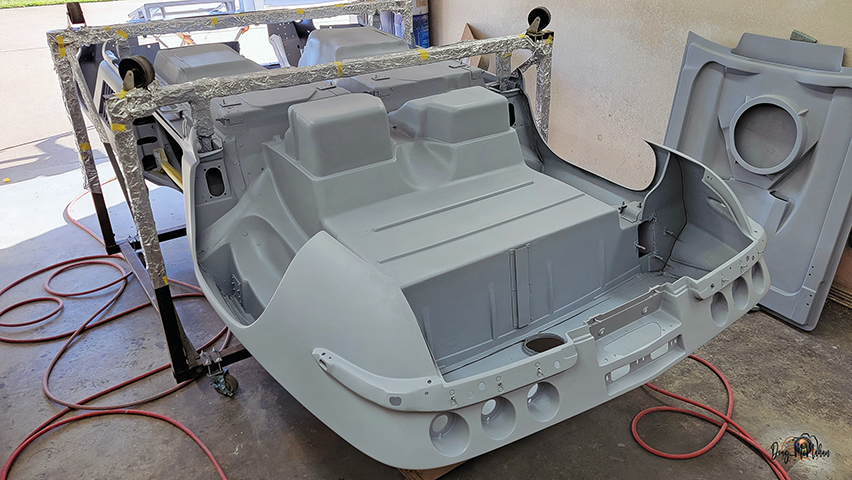
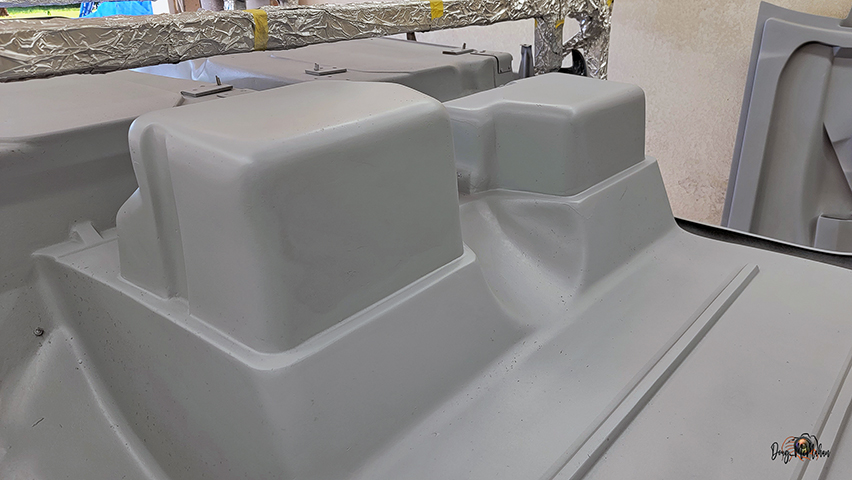
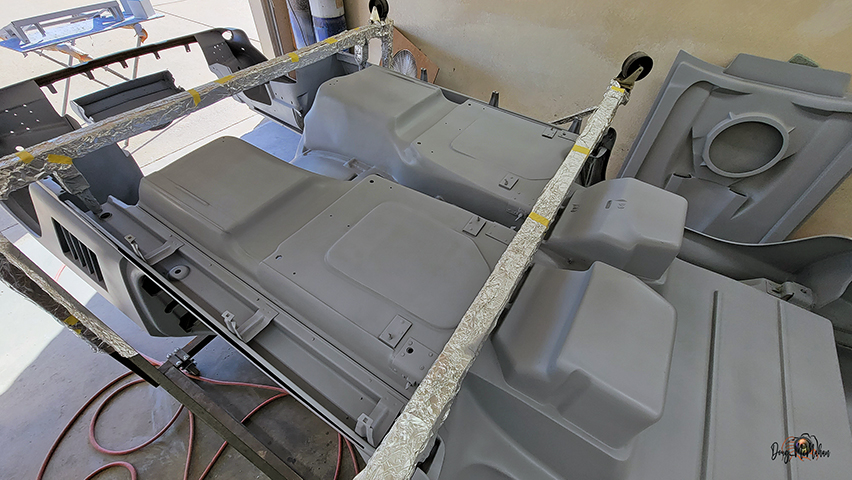
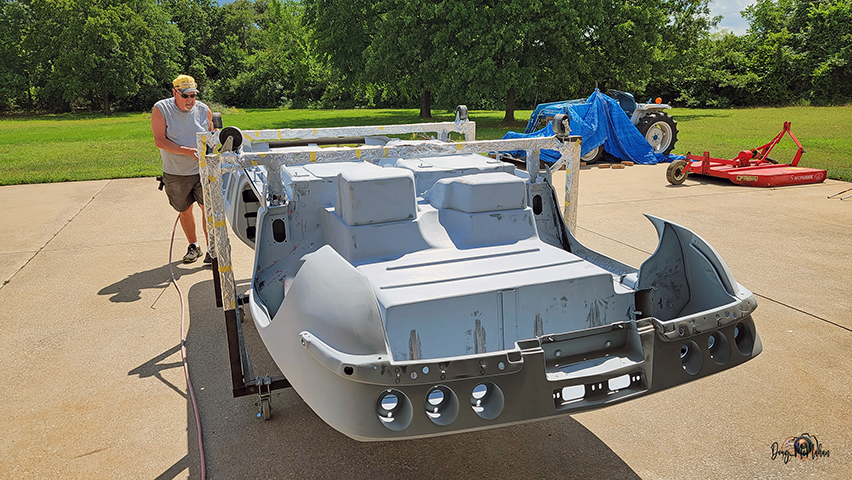
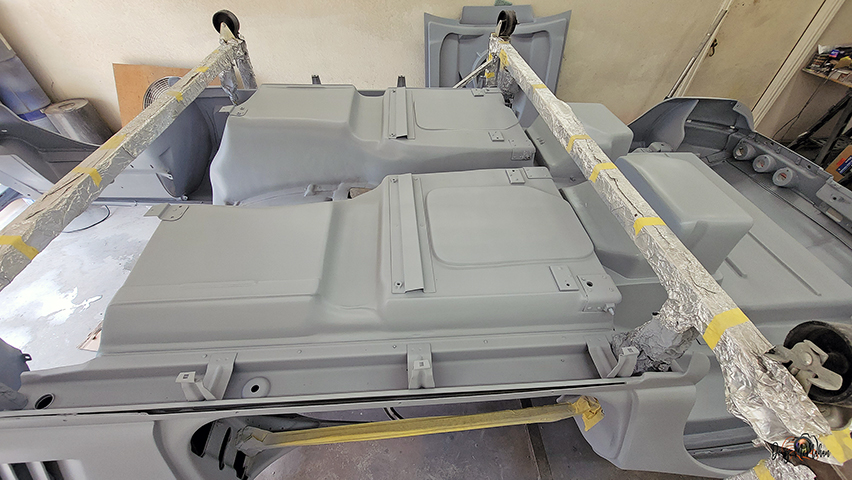
Bottom of the '67 has been blocked / sanded ...and it now has
the 2nd coat of HOK KD3000 Primer laid down |
 |
|
|
|
|
|
 |
 |
 |
 |
|
|
|
|
|
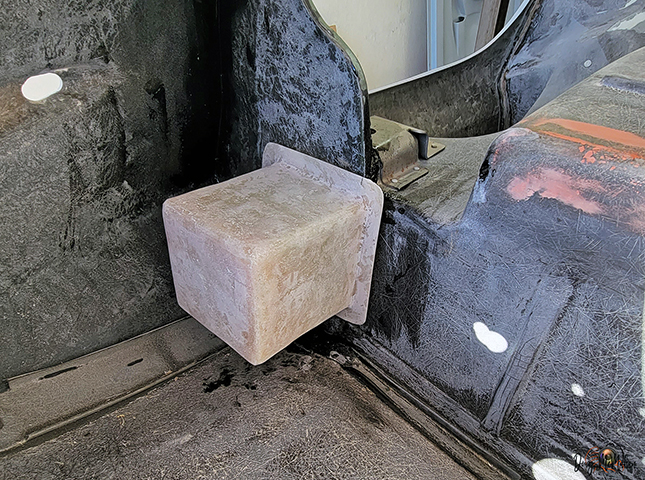
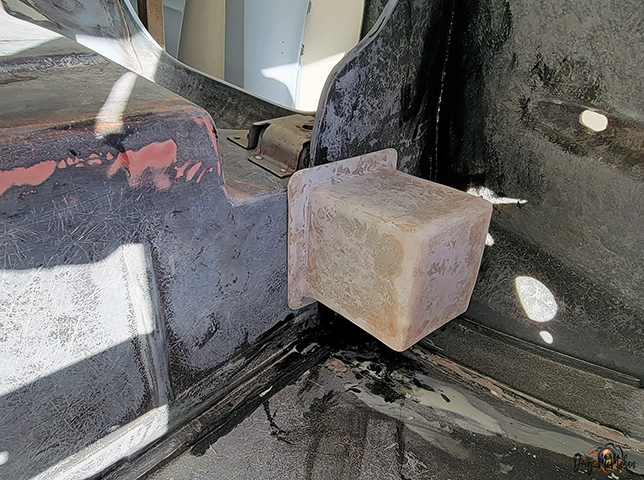
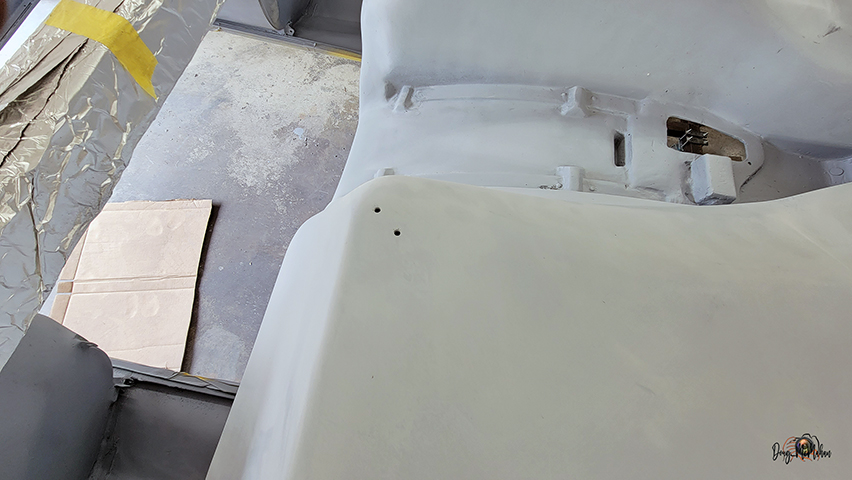
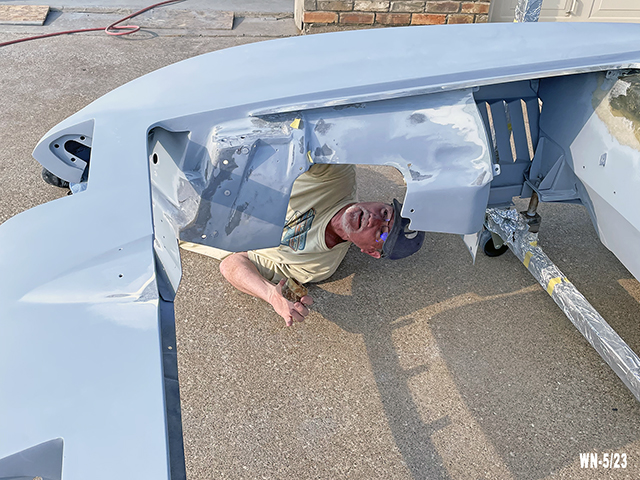
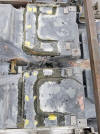
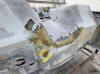
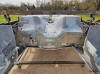
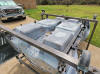
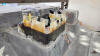
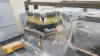
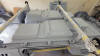
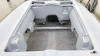
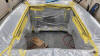
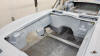
Validating the Battery Well
- 5/22-6/01 |
 |
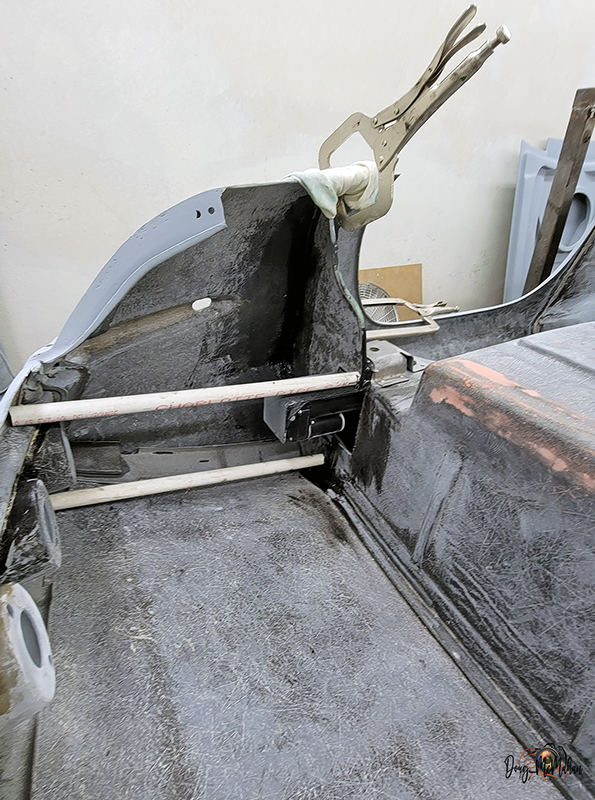
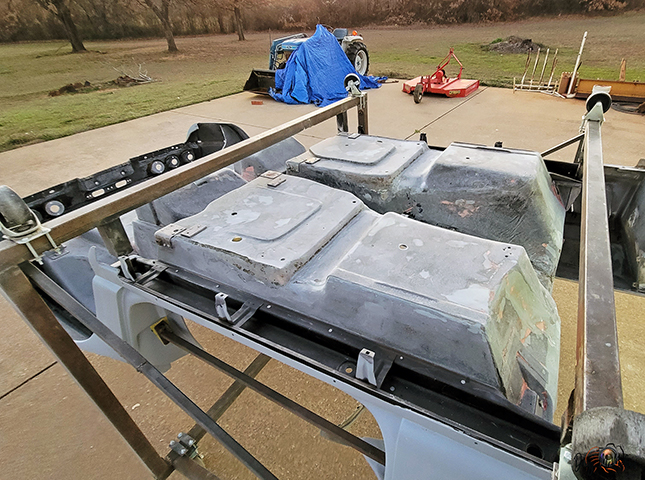
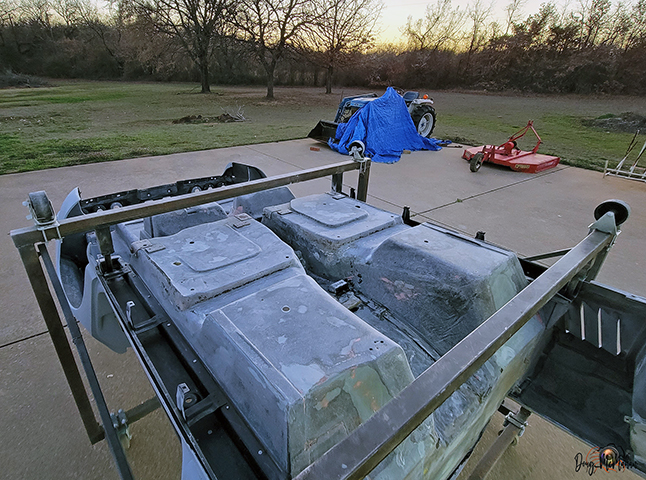
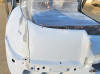
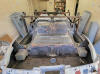
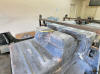
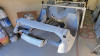
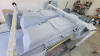
time of truth - put the body back on to validate the clearance
of the battery well |
 |
 |
|
|
|
|
|
 |
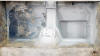 |
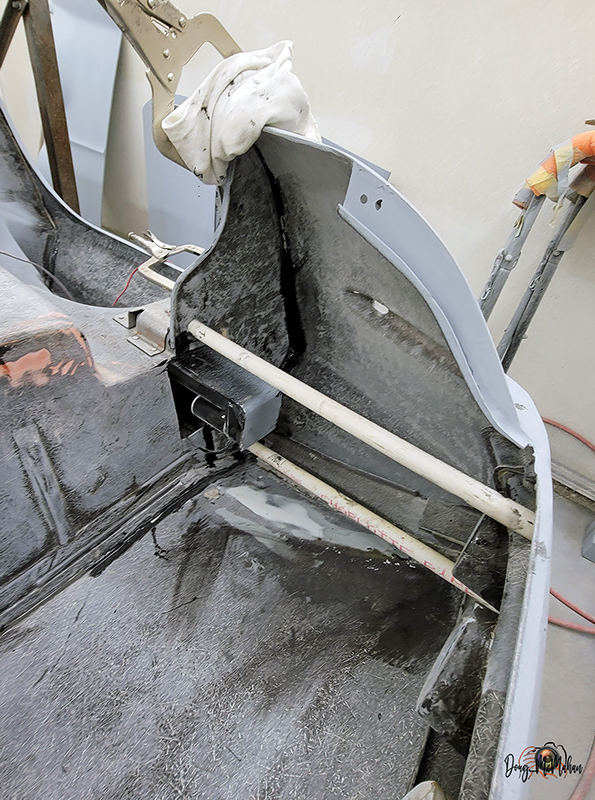
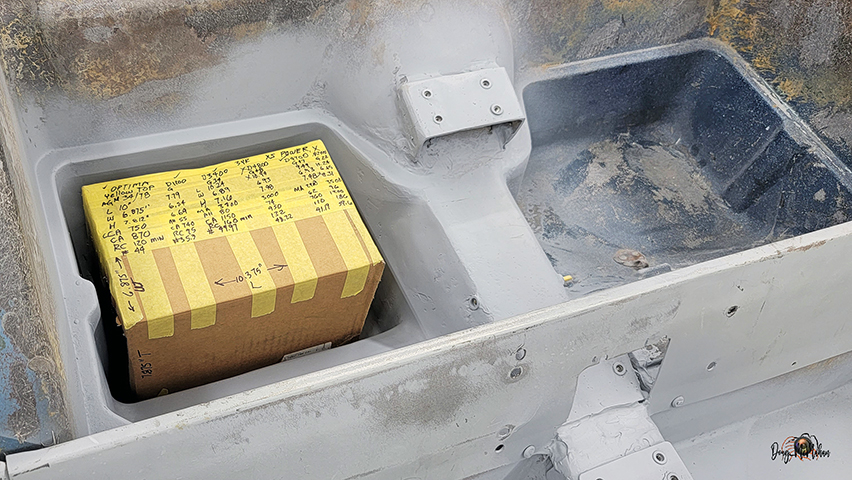
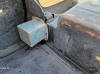
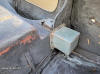
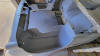
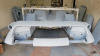
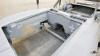
An inside view of the deepened battery well - with mock-up
battery size |
 |
|
|
|
|
|
 |
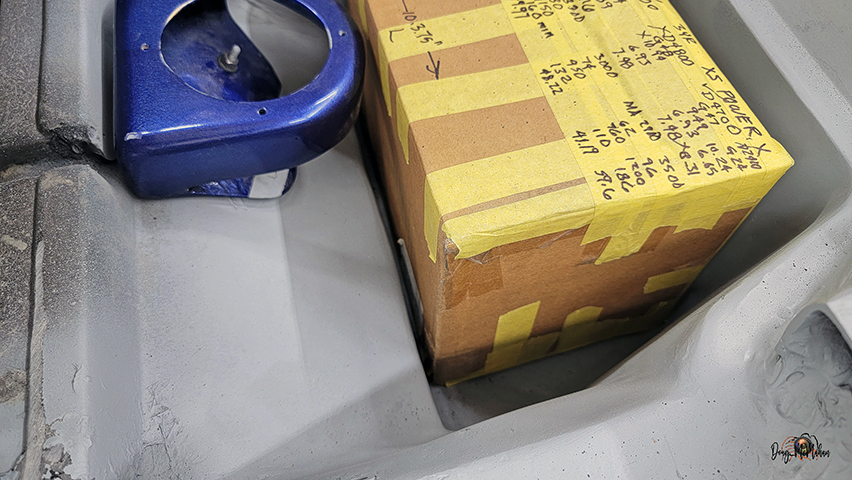
Test fit of the battery mock-up with the Speaker & Compartment
Cover |
 |
 |
|
|
|
|
|
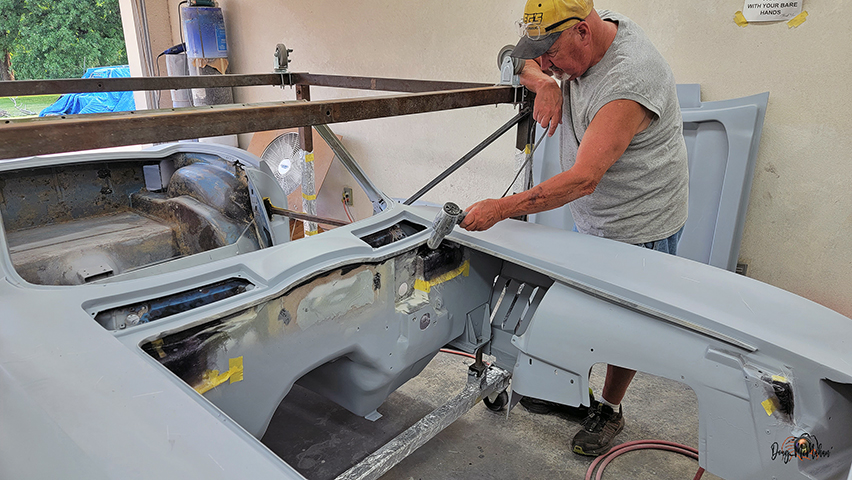
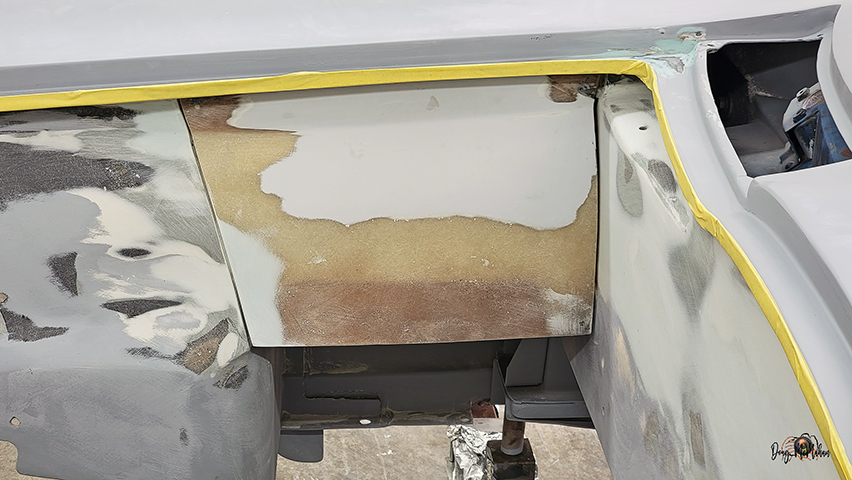
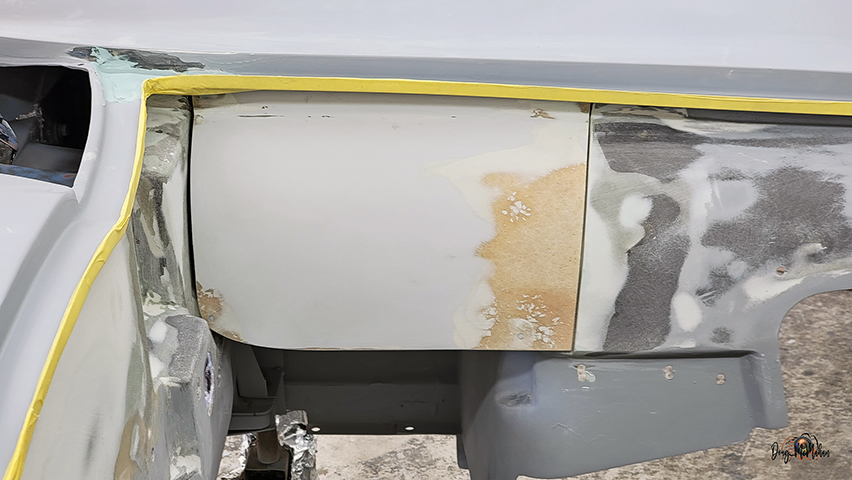
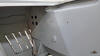
Misc Areas of Repair & Finishing the Firewall &
Modesty
Panels
- 5/24-27 |
 |
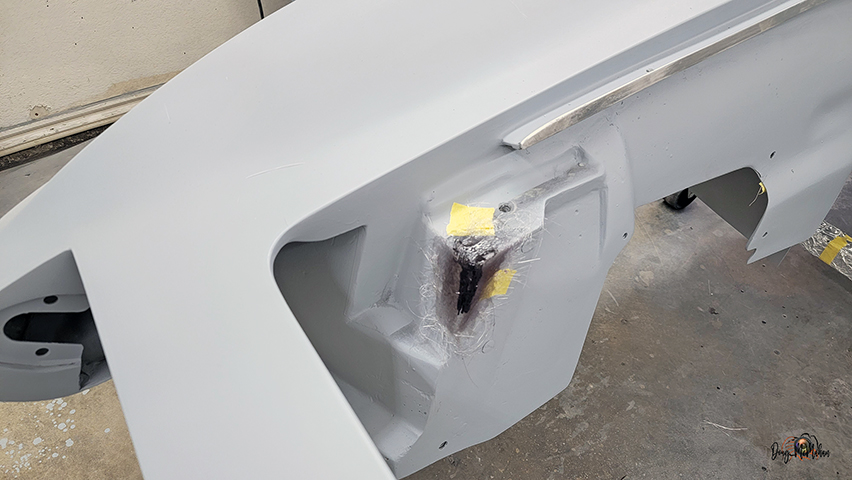
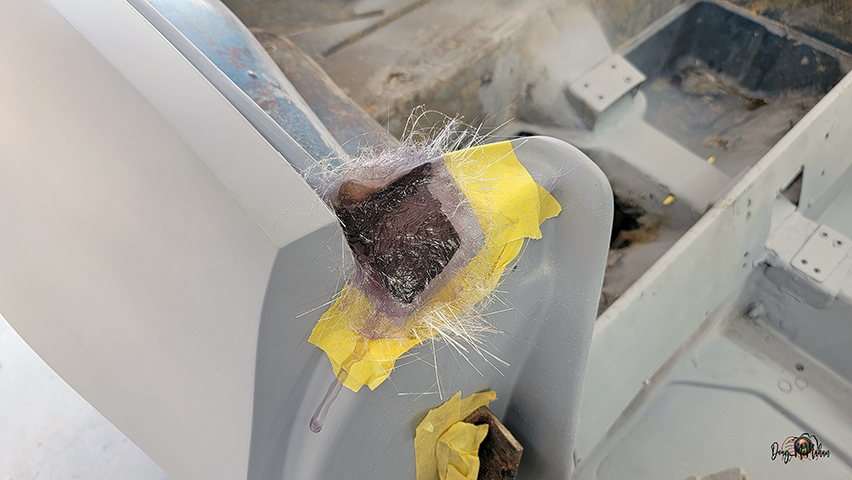
Stress Crack repairs - amazing how these show up when sealer is
applied |
 |
 |
|
|
|
|
|
 |
 |
These minor repairs are coming along well |
 |
|
|
|
|
|
|
lots of tedious small and hard to reach areas to work on |
 |
 |
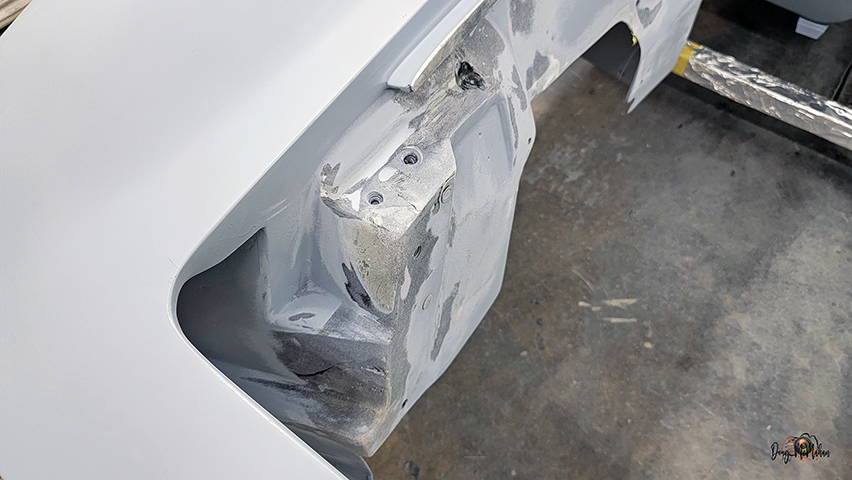
looking it over from all angles |
|
|
|
|
|
 |
Then you see things starting to finalize - it's gonna be slick |
 |
 |
|
|
|
|
|
 |
As I've always heard ...it has to get ugly before it gets
pretty - fixing gaps on the one-off "modesty panels",
leveling the slight imperfections in the firewall, etc. |
 |
 |
 |
 |
 |
|
|
|
|
|
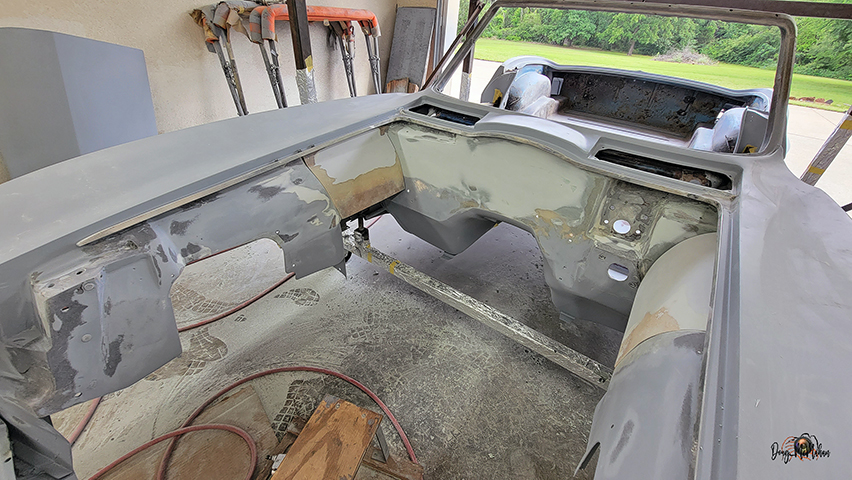
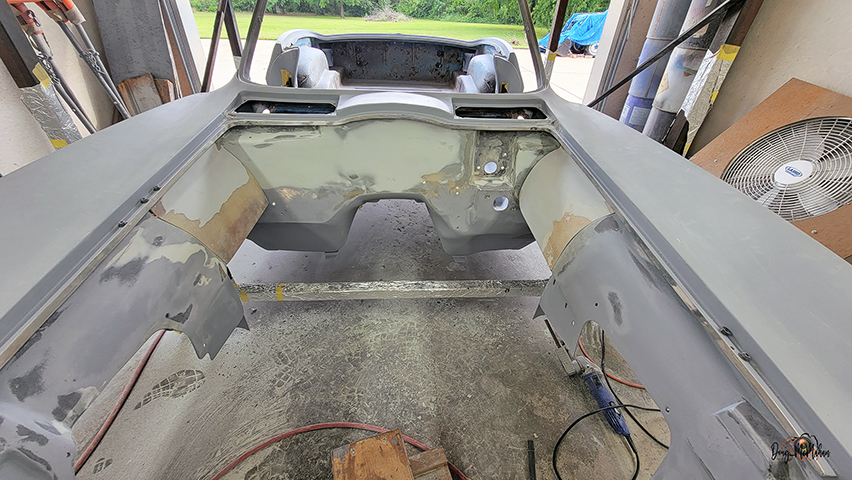
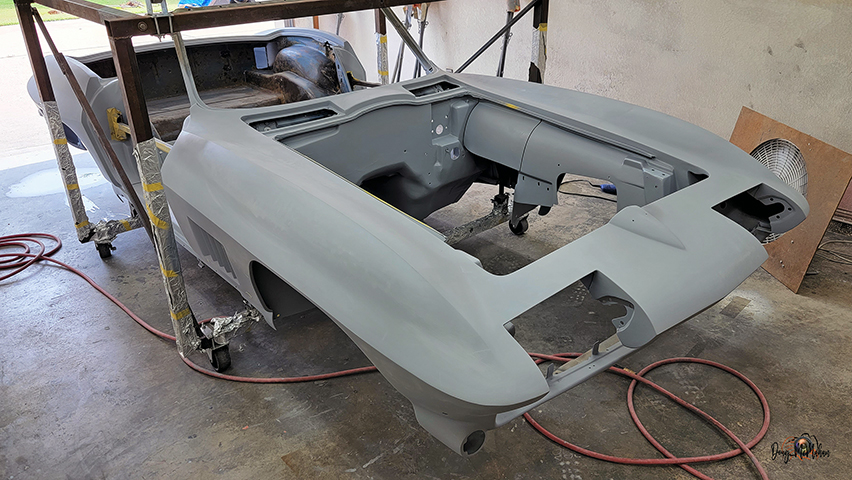
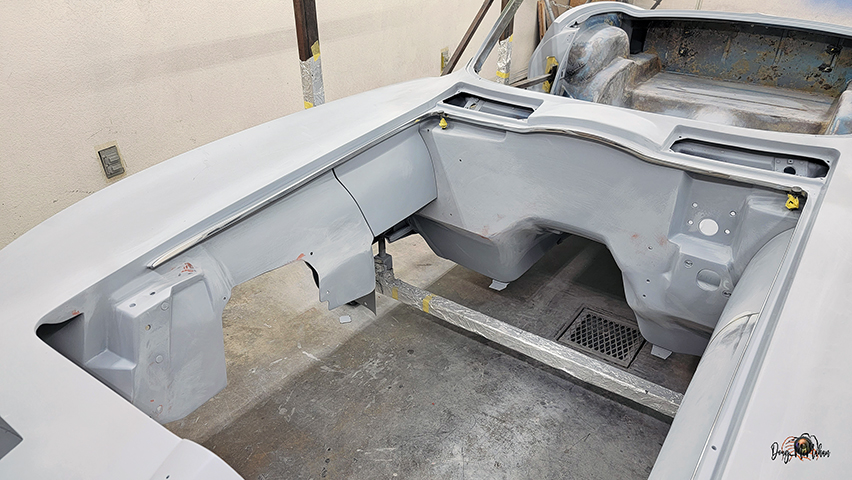
First Sealer/Primer on the Firewall & Modesty Panels
- 5/24-31 |
 |
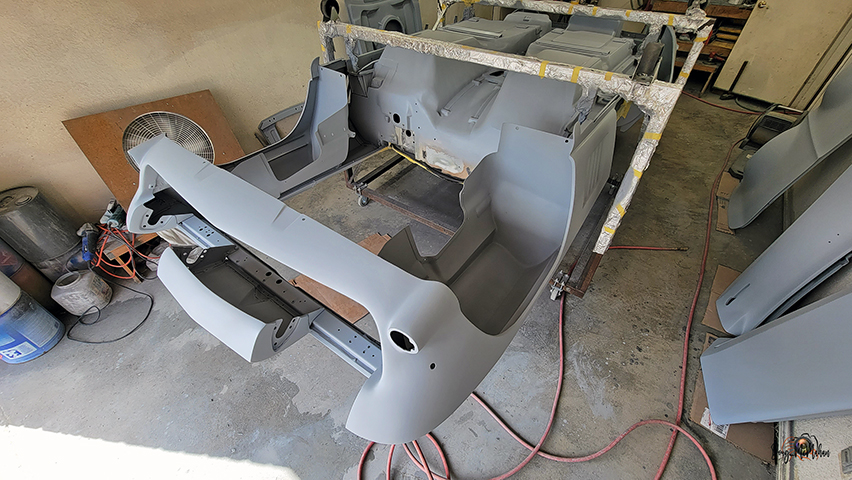
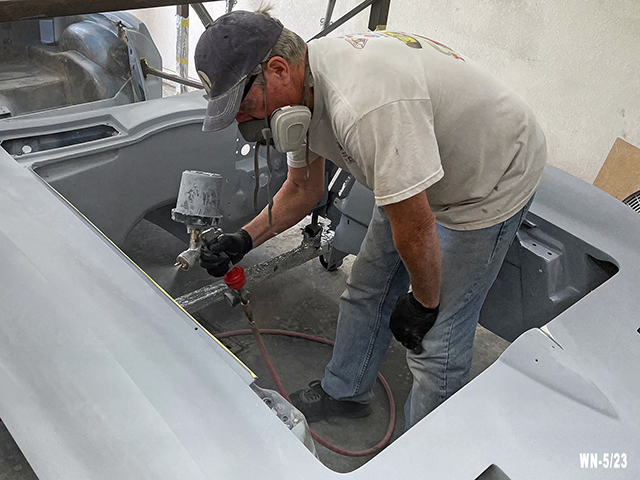
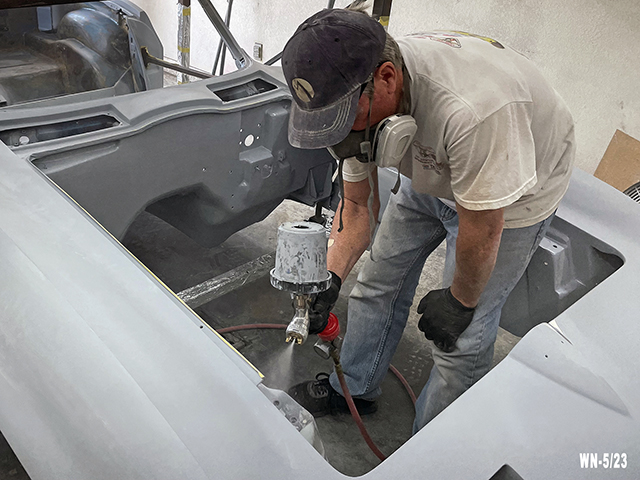
Spraying HOK KD3000 inside the engine compartment - only the
first coat |
 |
|
|
|
|
|
 |
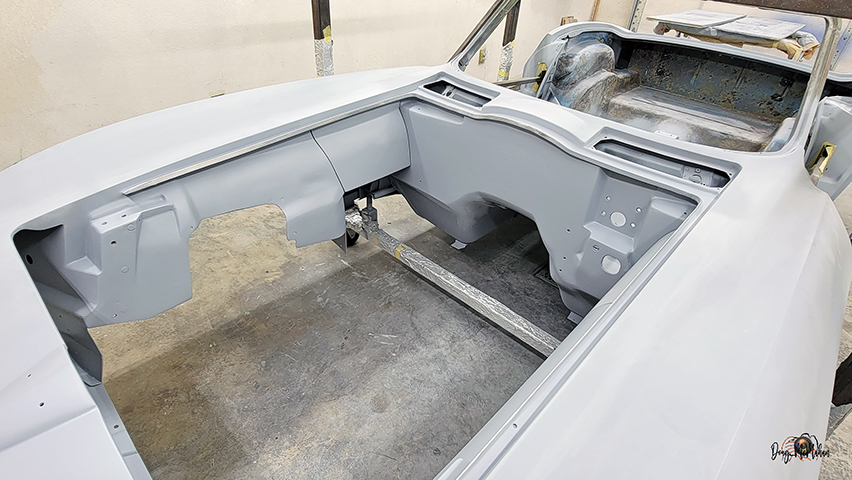
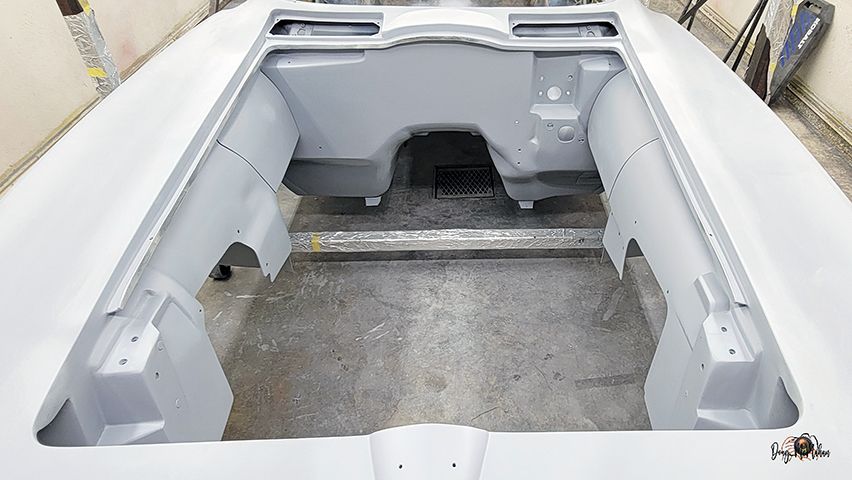
The entire engine bay blocked & has the sealer & primer down |
 |
 |
|
|
|
|
|
|
|
 |
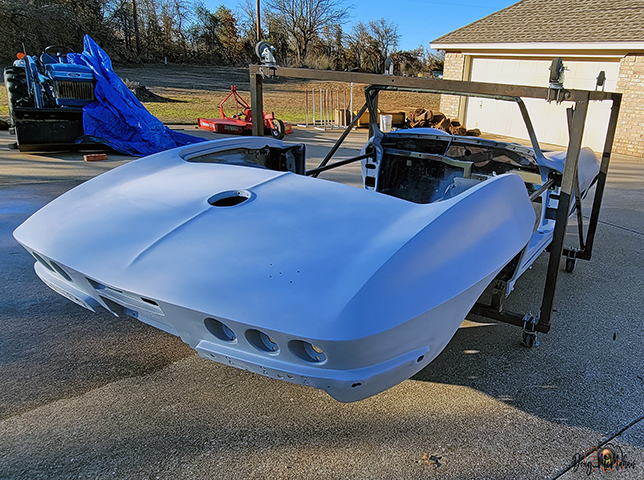
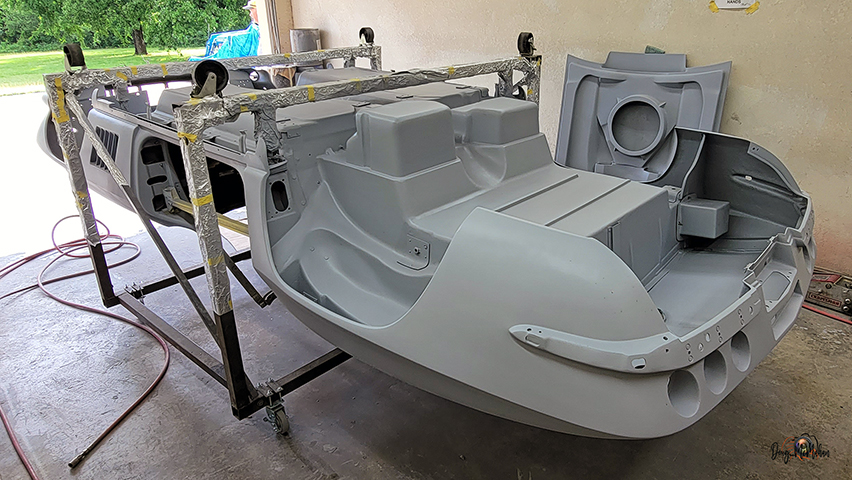
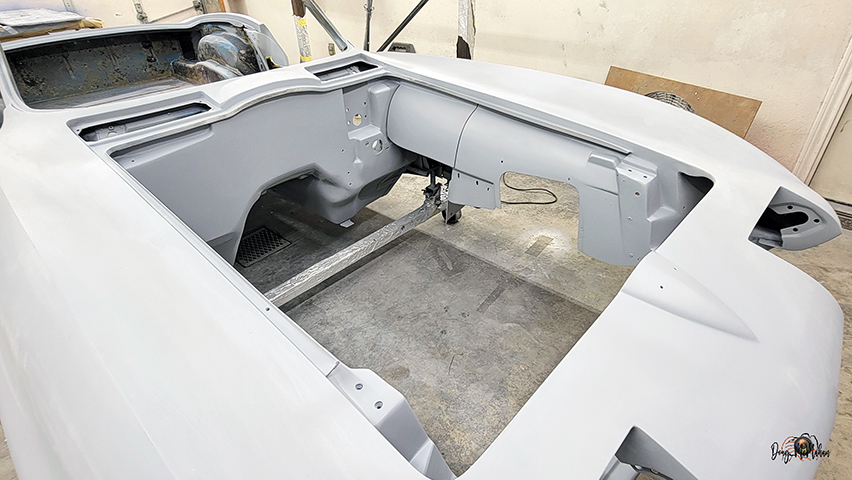
The '67 is one color from the top to the bottom!!! |
|
|
|
|
|
|
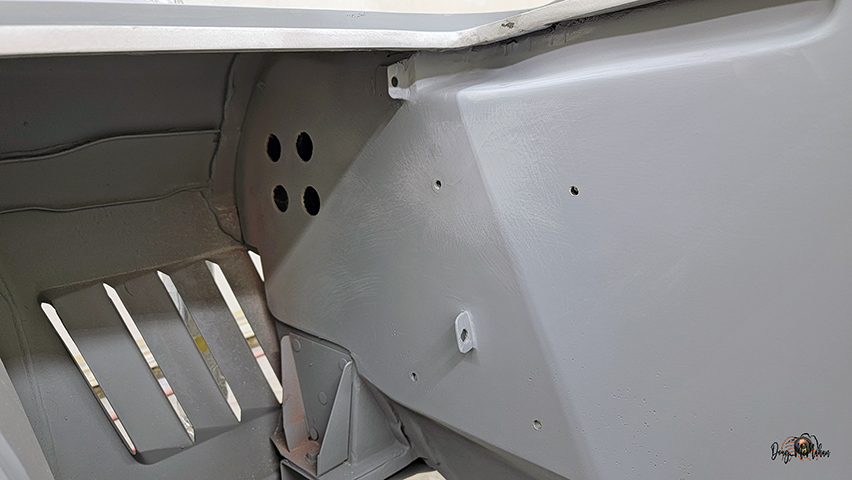
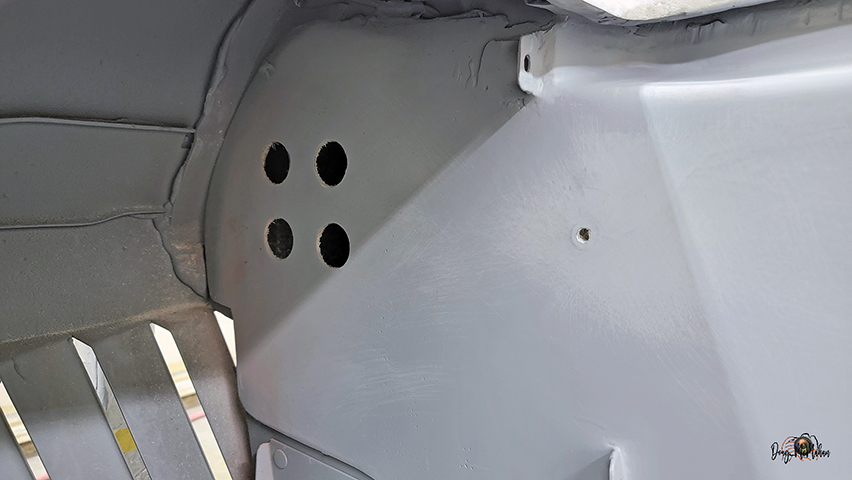
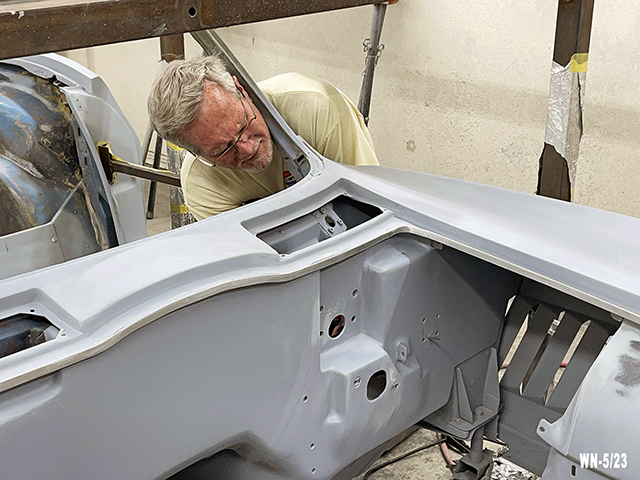
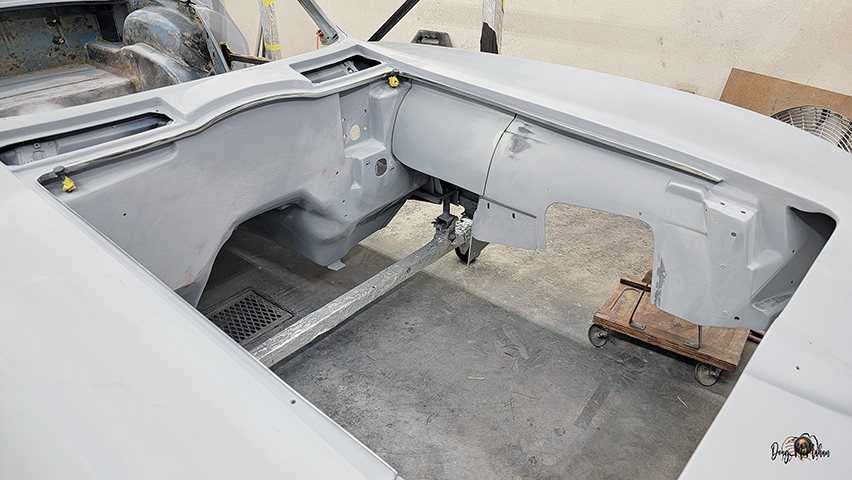
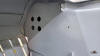
Cut Outs in the Flattened Firewall
- 6/1 |
 |
Had to have holes for the Vintage Air Heat & A/C hoses to come
thru - was tricky to find the right spot |
 |
|
|
|
|
|
 |
 |
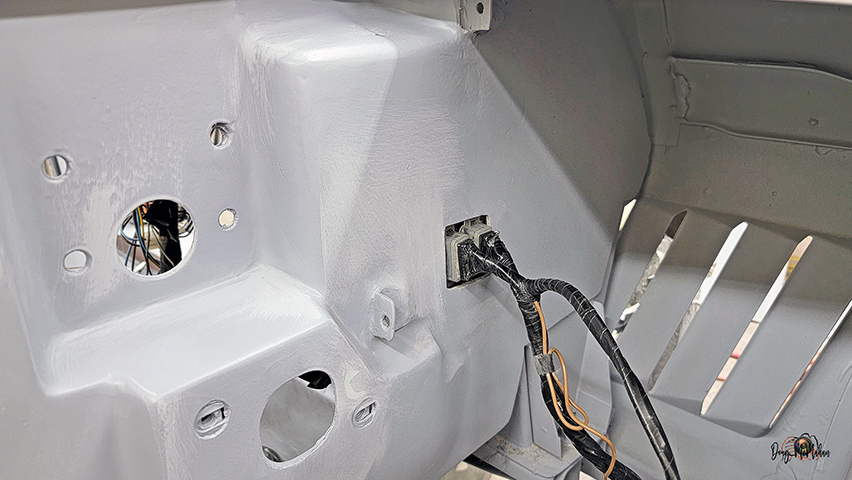
Needed to put an opening for the wiring to connect to the fuse
box |
 |
|
|
|
|
|
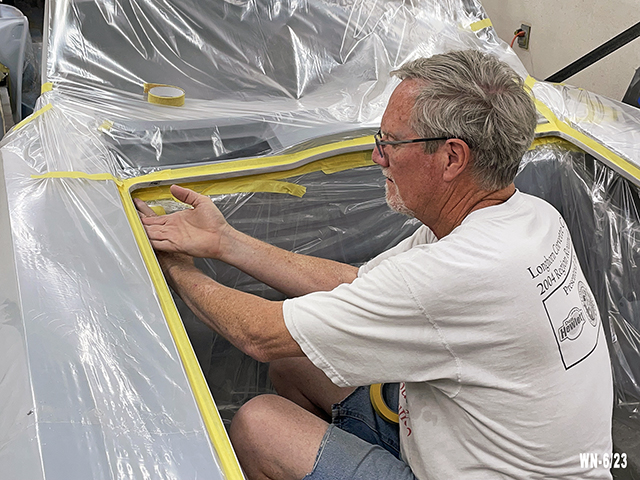
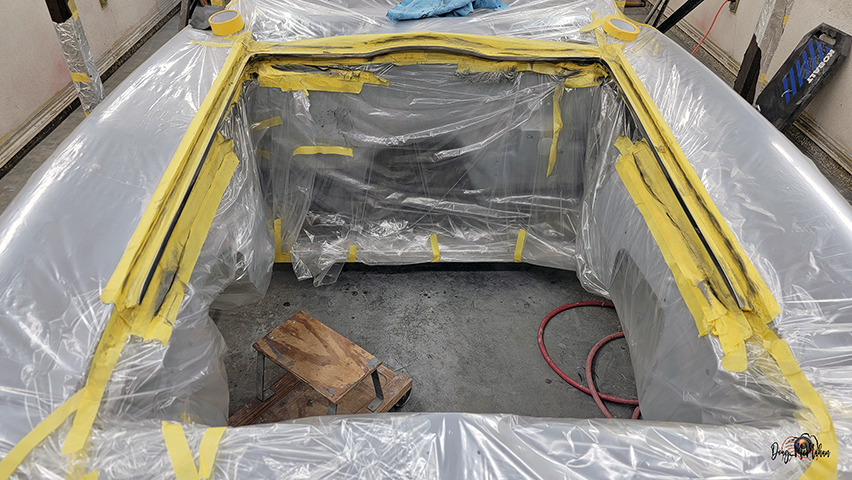
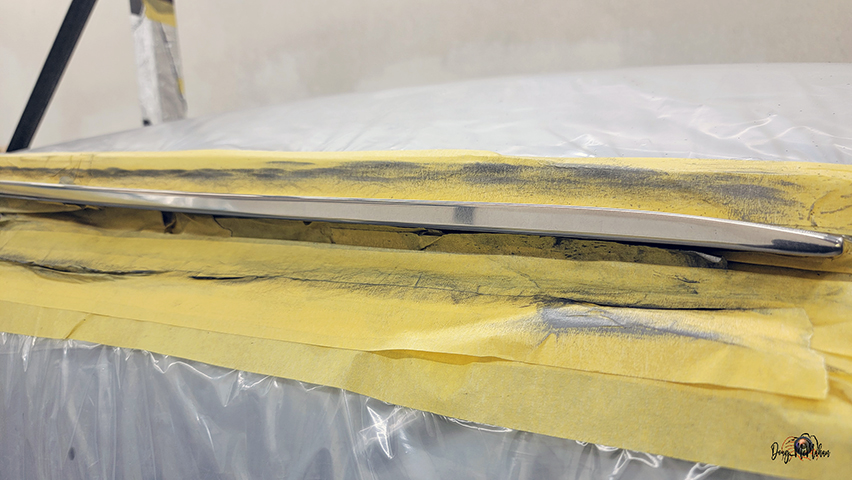
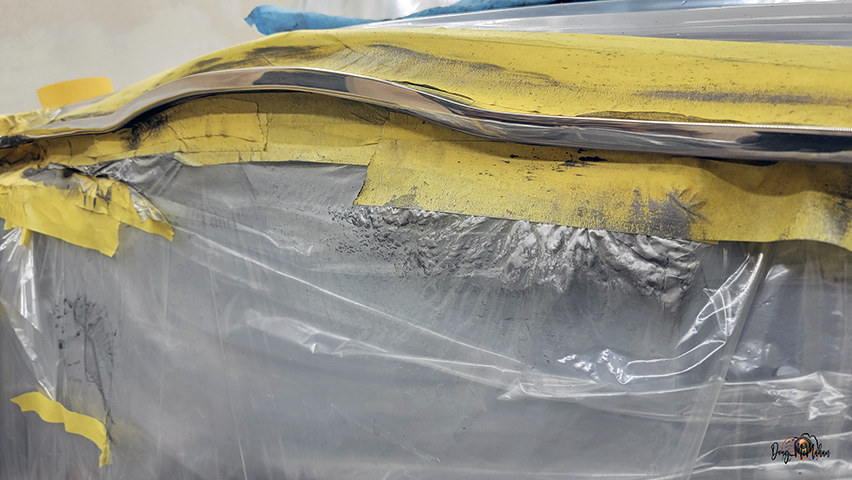
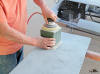
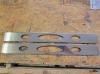
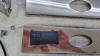
Polishing out the Jewelry Box Trim
- 6/5-6 |
 |
Covering up all the primed surfaces to keep the oils &
contaminates off |
 |
 |
|
|
|
|
|
 |
 |
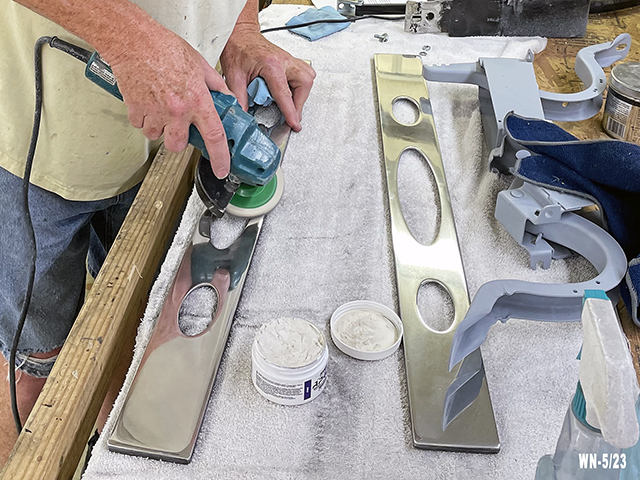
The sanding, using 80, 180, 600, 1500, 3000, 5000, then 10,000
grit sandpaper |
 |
|
|
|
|
|
|
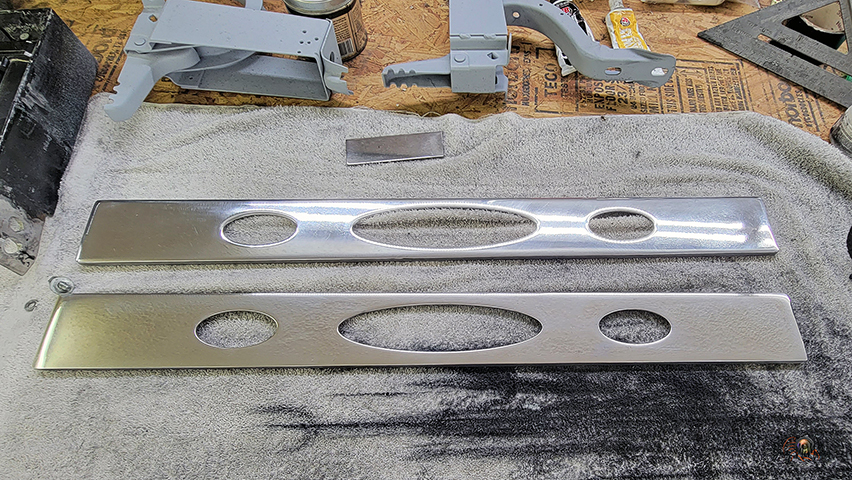
The trim sanded - not polished yet |
 |
 |
Same area after polishing with aircraft grade aluminum polish |
|
|
|
|
|
|
|
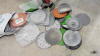 |
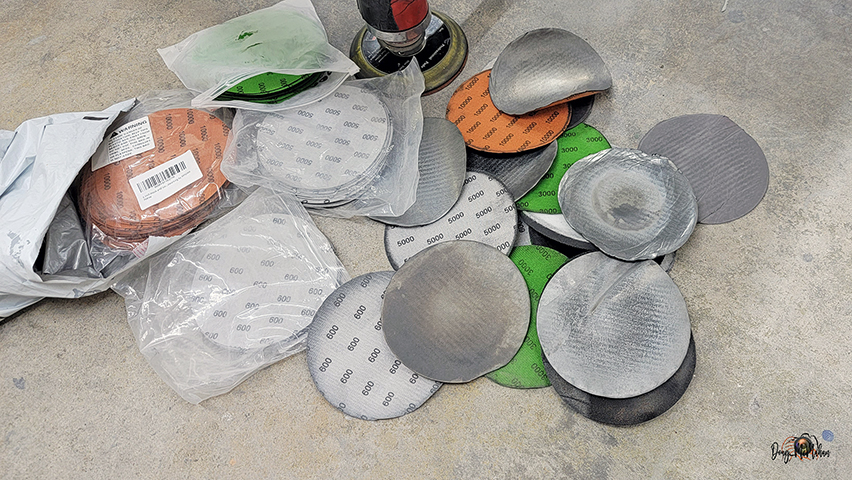
Lots of sandpaper used of each grit - this is a sampling of the
volume |
|
|
|
|
|
|
 |
The trim is pretty much finished ...less some hand work which
will happen later |
 |
 |
|
|
|
|
|