Additional Pages
Page 1 2 3 4
5 6
7 8
9 10 11 12
13 |
|
|
|
|
|
|
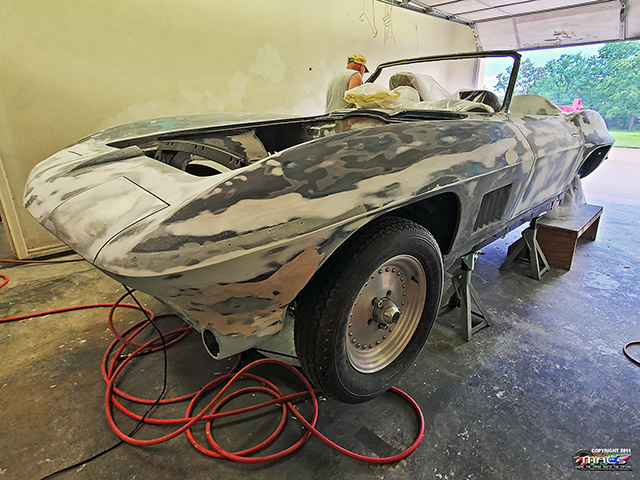
CONTINUATION OF THE BUILD |
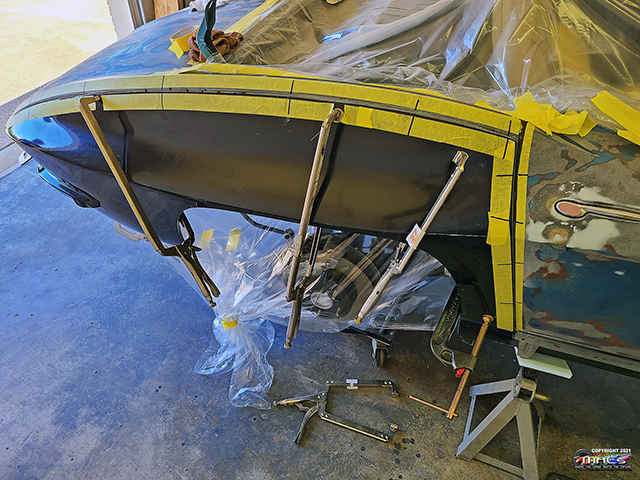
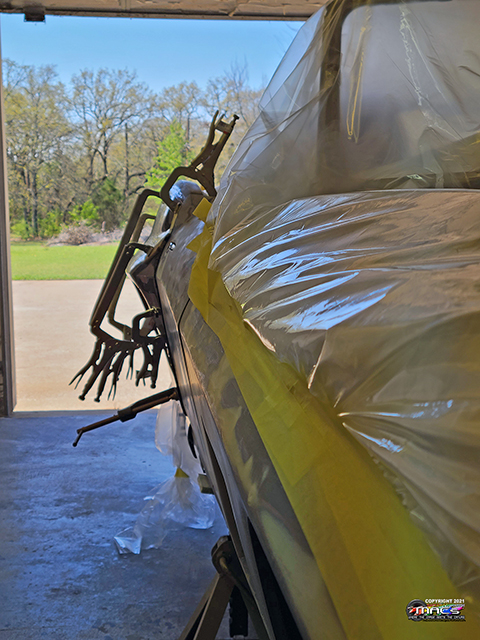
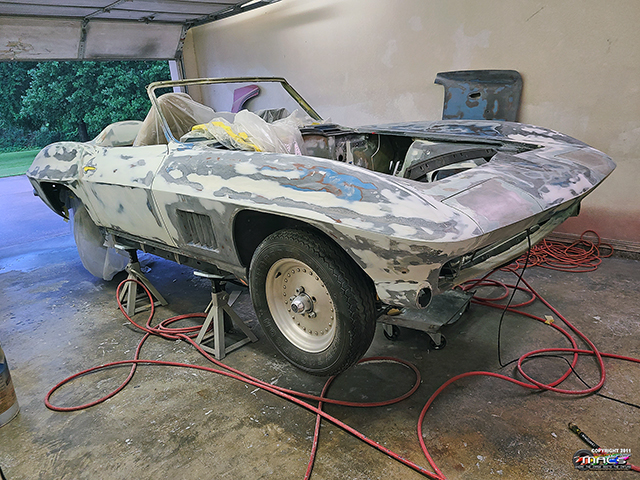
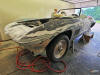
Back on the Decklid - 3/26-4/3 |
 |
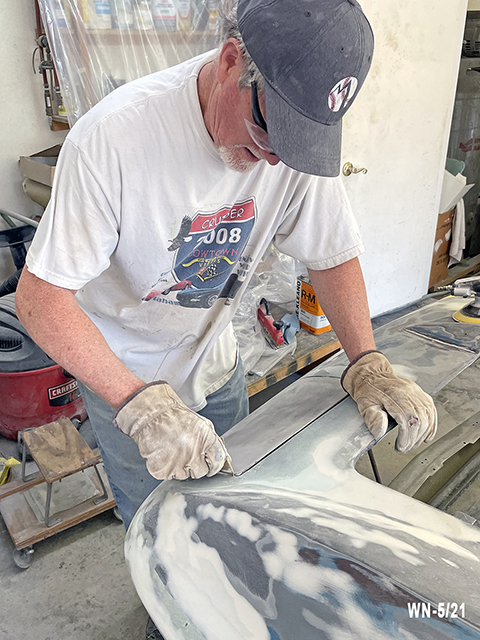
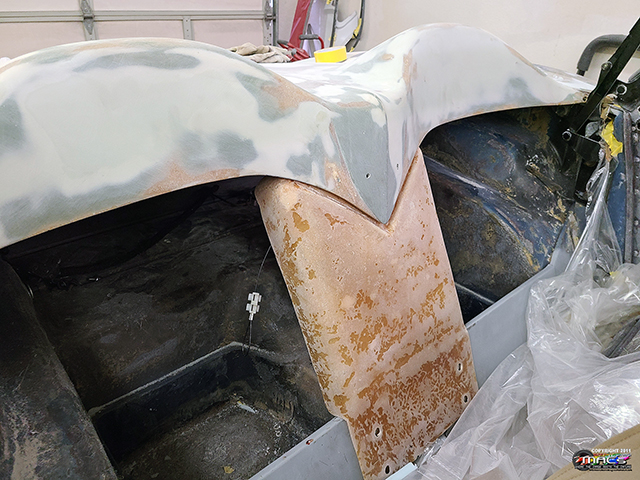
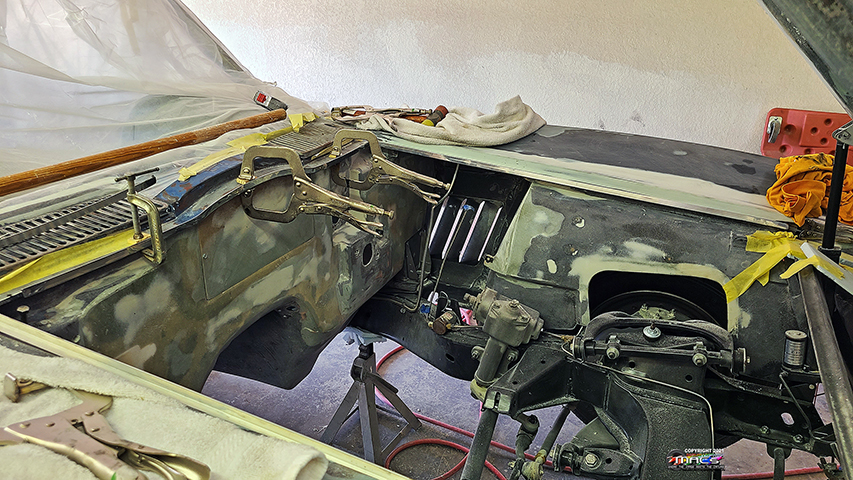
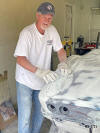
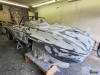
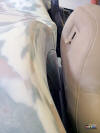
The tedious job of test
fitting the quarter panels - grind & fit, grind and fit |
 |
 |
| |
|
|
|
 |
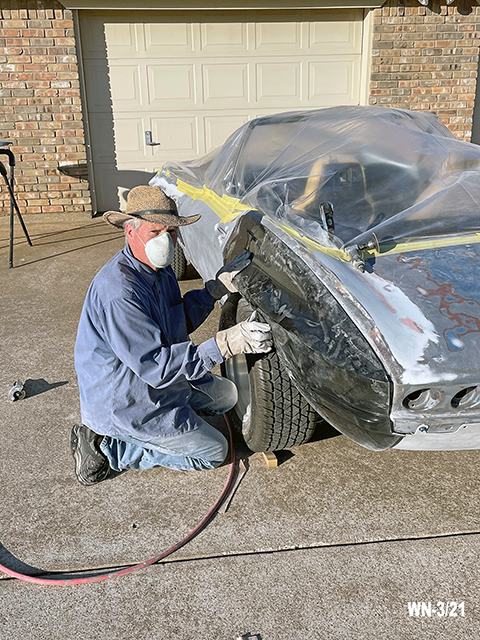
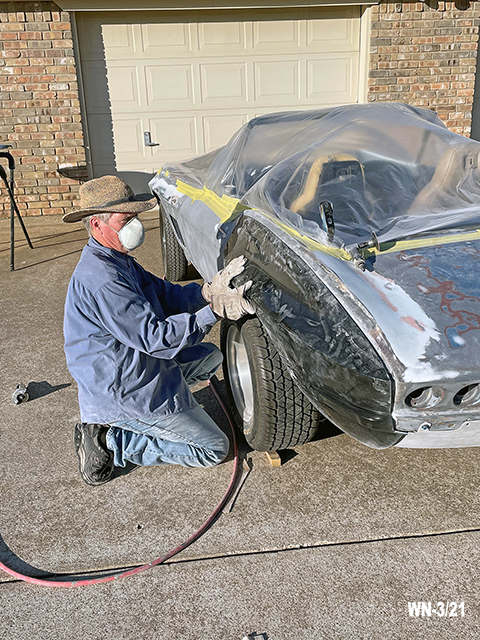
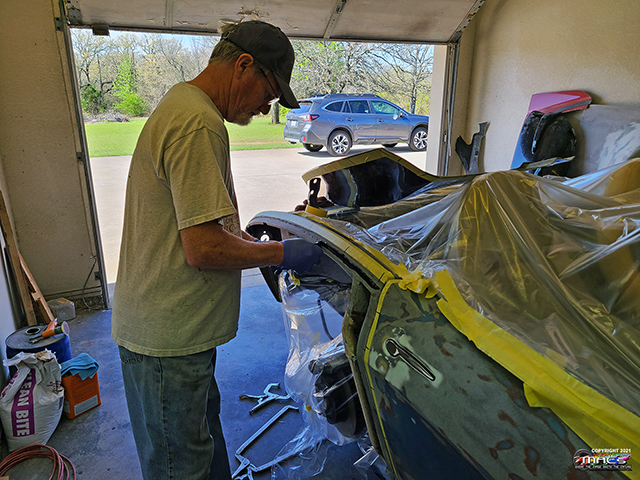
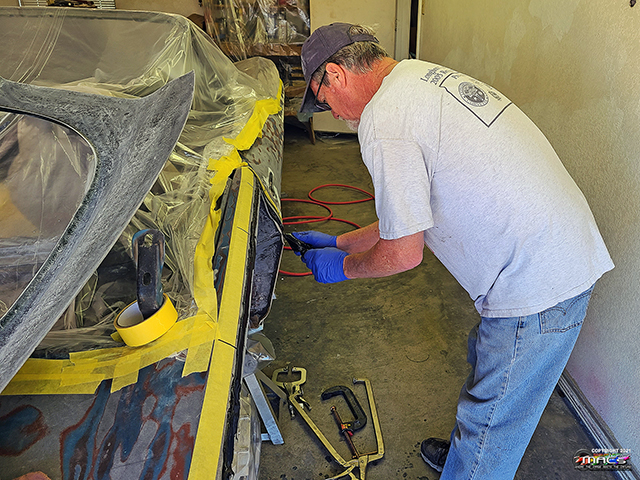
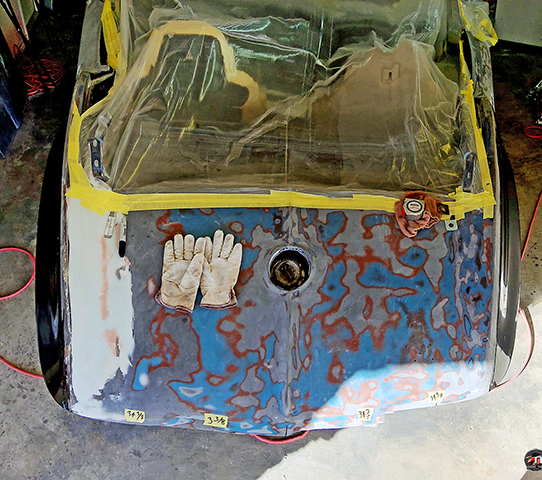
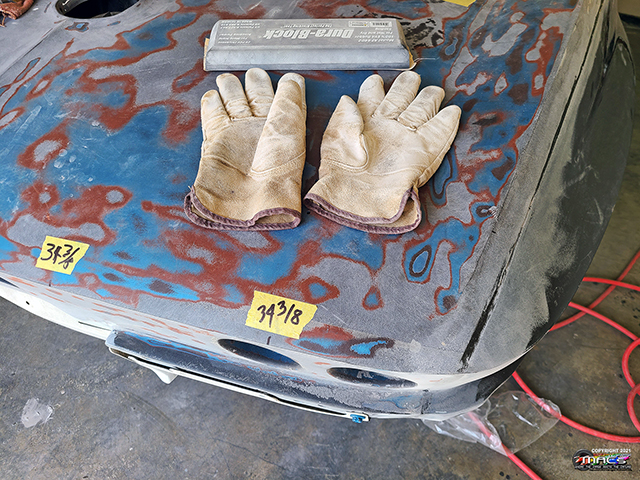
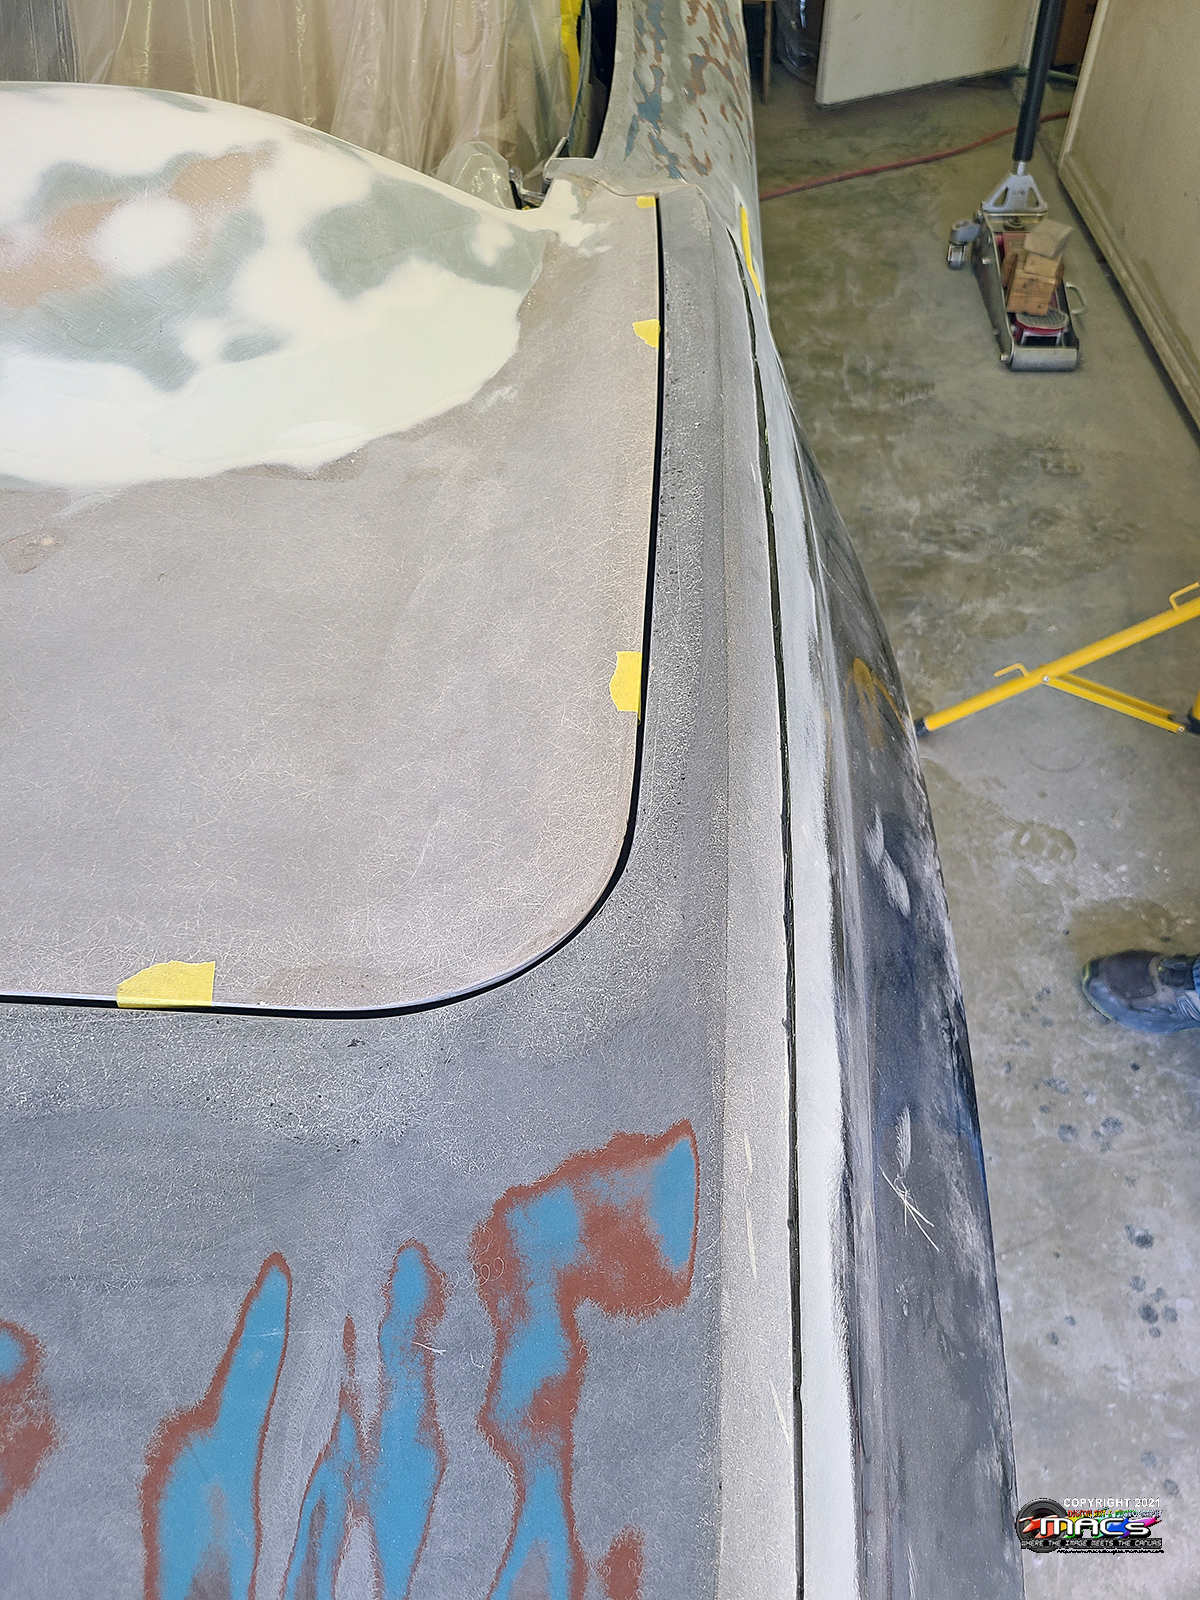
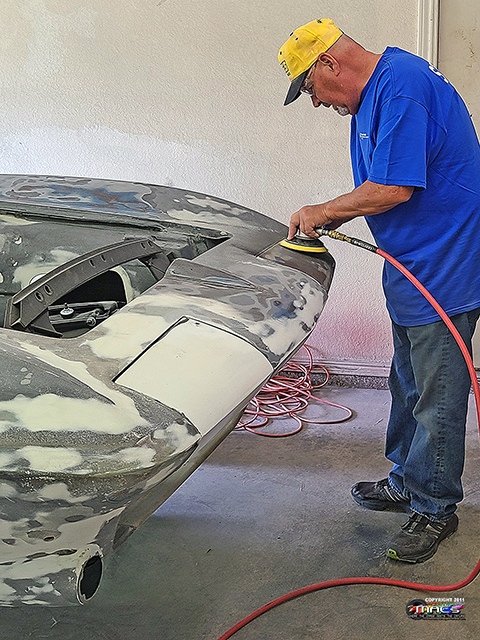
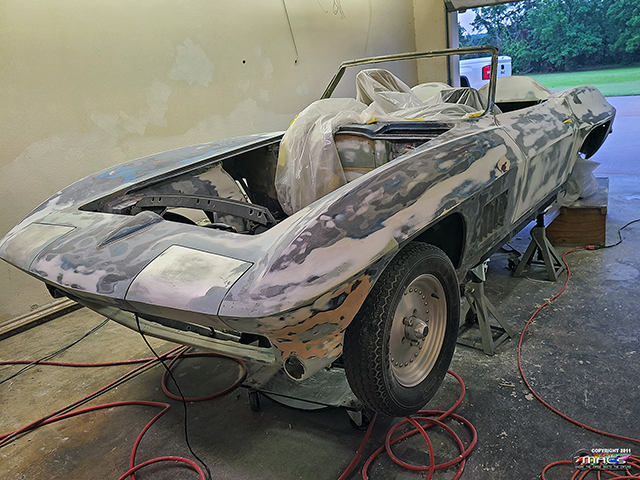
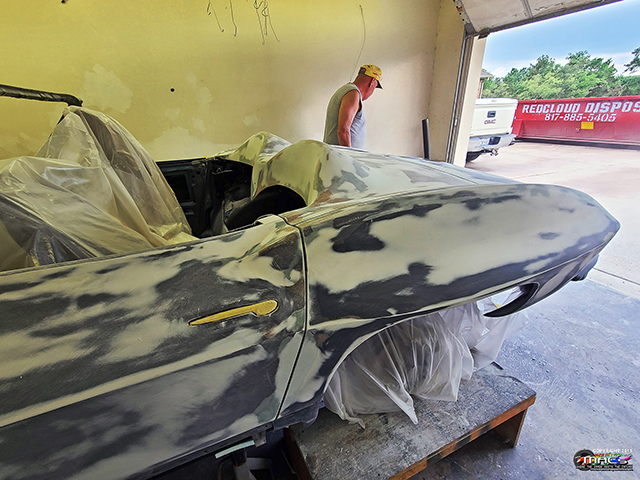
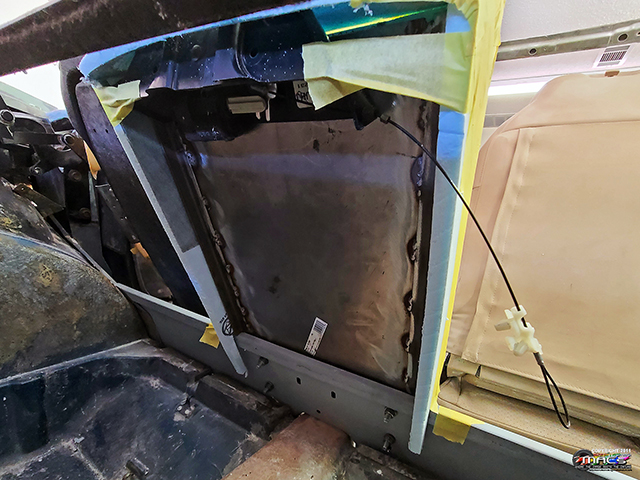
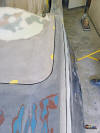
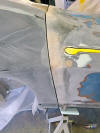
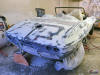
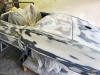
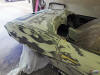
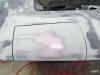
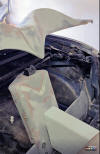
Clean the area good, then
mask off a safety zone
Also taped off under the body where the legacy drilled rivet
holes were |
 |
| |
|
|
|
 |
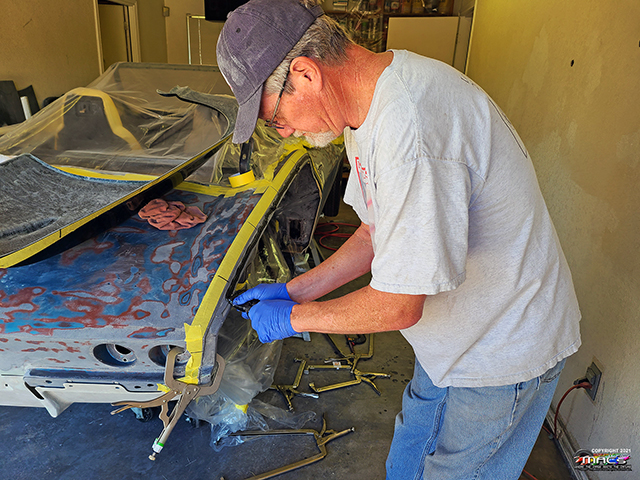
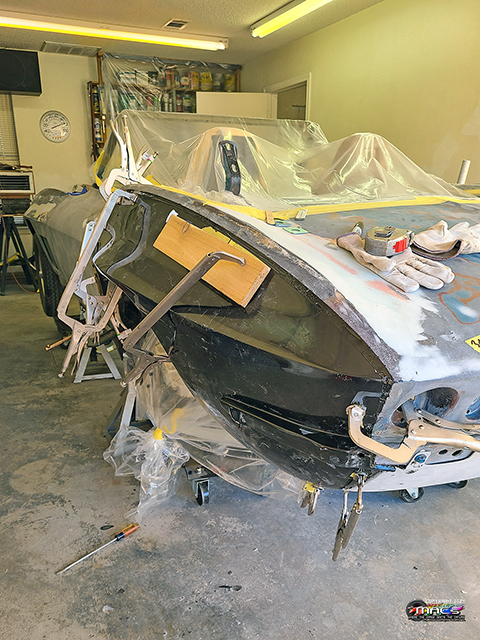
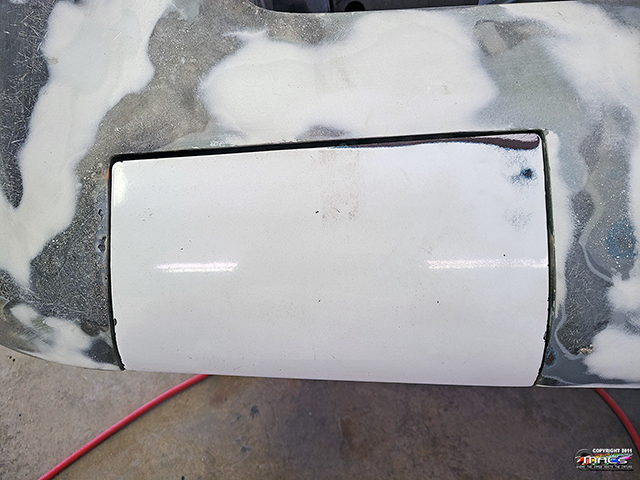
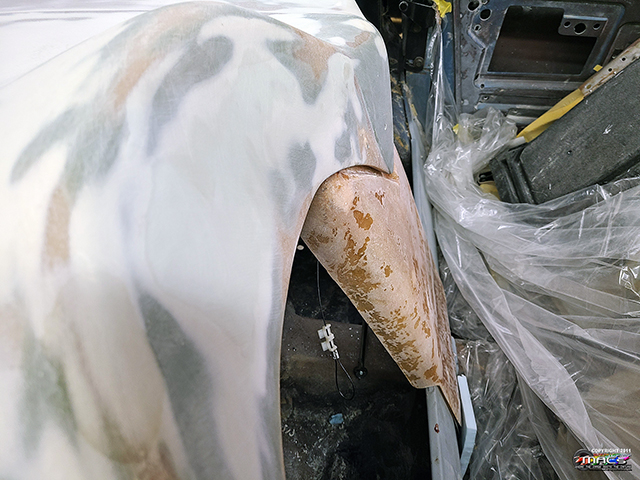
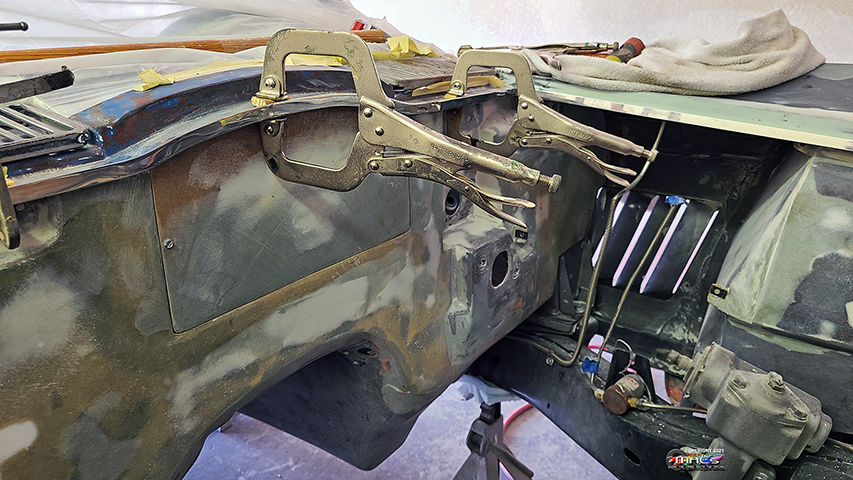
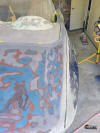
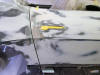
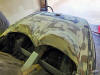
Next was the test fit and
adding fitting marks on the tape |
 |
| |
|
|
|
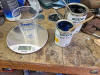 |
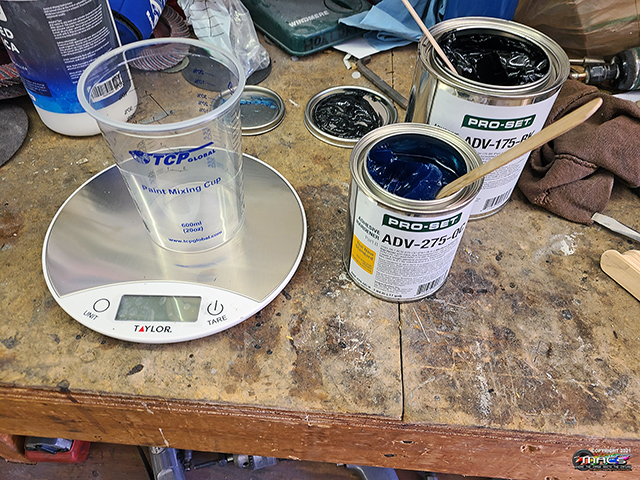
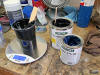
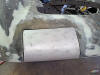
Mixing the Pro-Set Epoxy
using a Gram Scale |
 |
 |
| |
|
|
|
 |
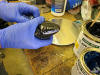
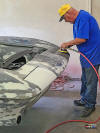
Spreading a healthy layer
of epoxy on the bonding strips |
 |
| |
 |
 |
|
| |
|
|
|
 |
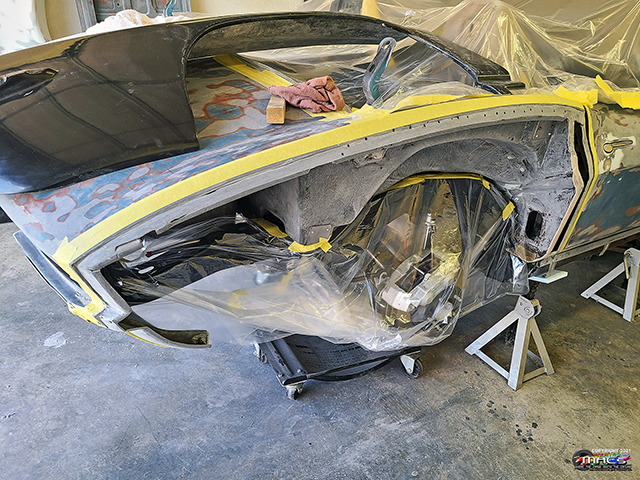
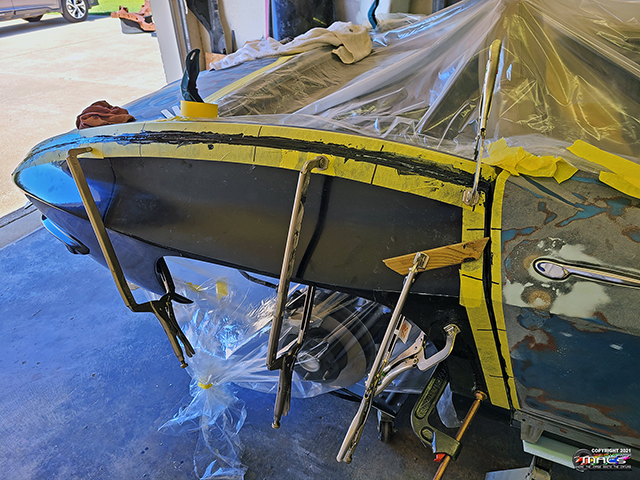
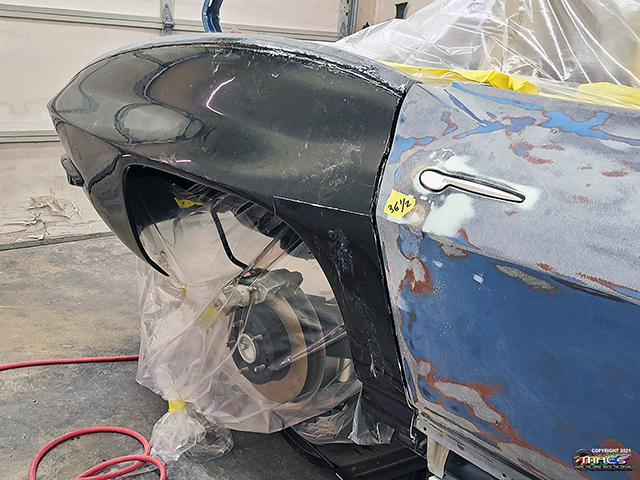
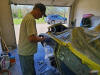
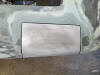
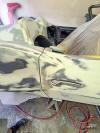
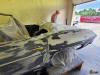
Quarter panel is stuck on
and clamped, after carefully lining up the fitting marks |
 |
| |
|
|
|
 |
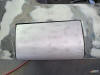
As soon as the fender is
secure, we remove the tape to make cleanup easier after the
clamps are removed |
 |
 |
| |
|
|
|
 |
 |
Repeat for the left
quarter panel |
 |
| |
|
|
|
 |
Clamps are removed and
test measurements were checked |
 |
 |
| |
|
|
|
 |
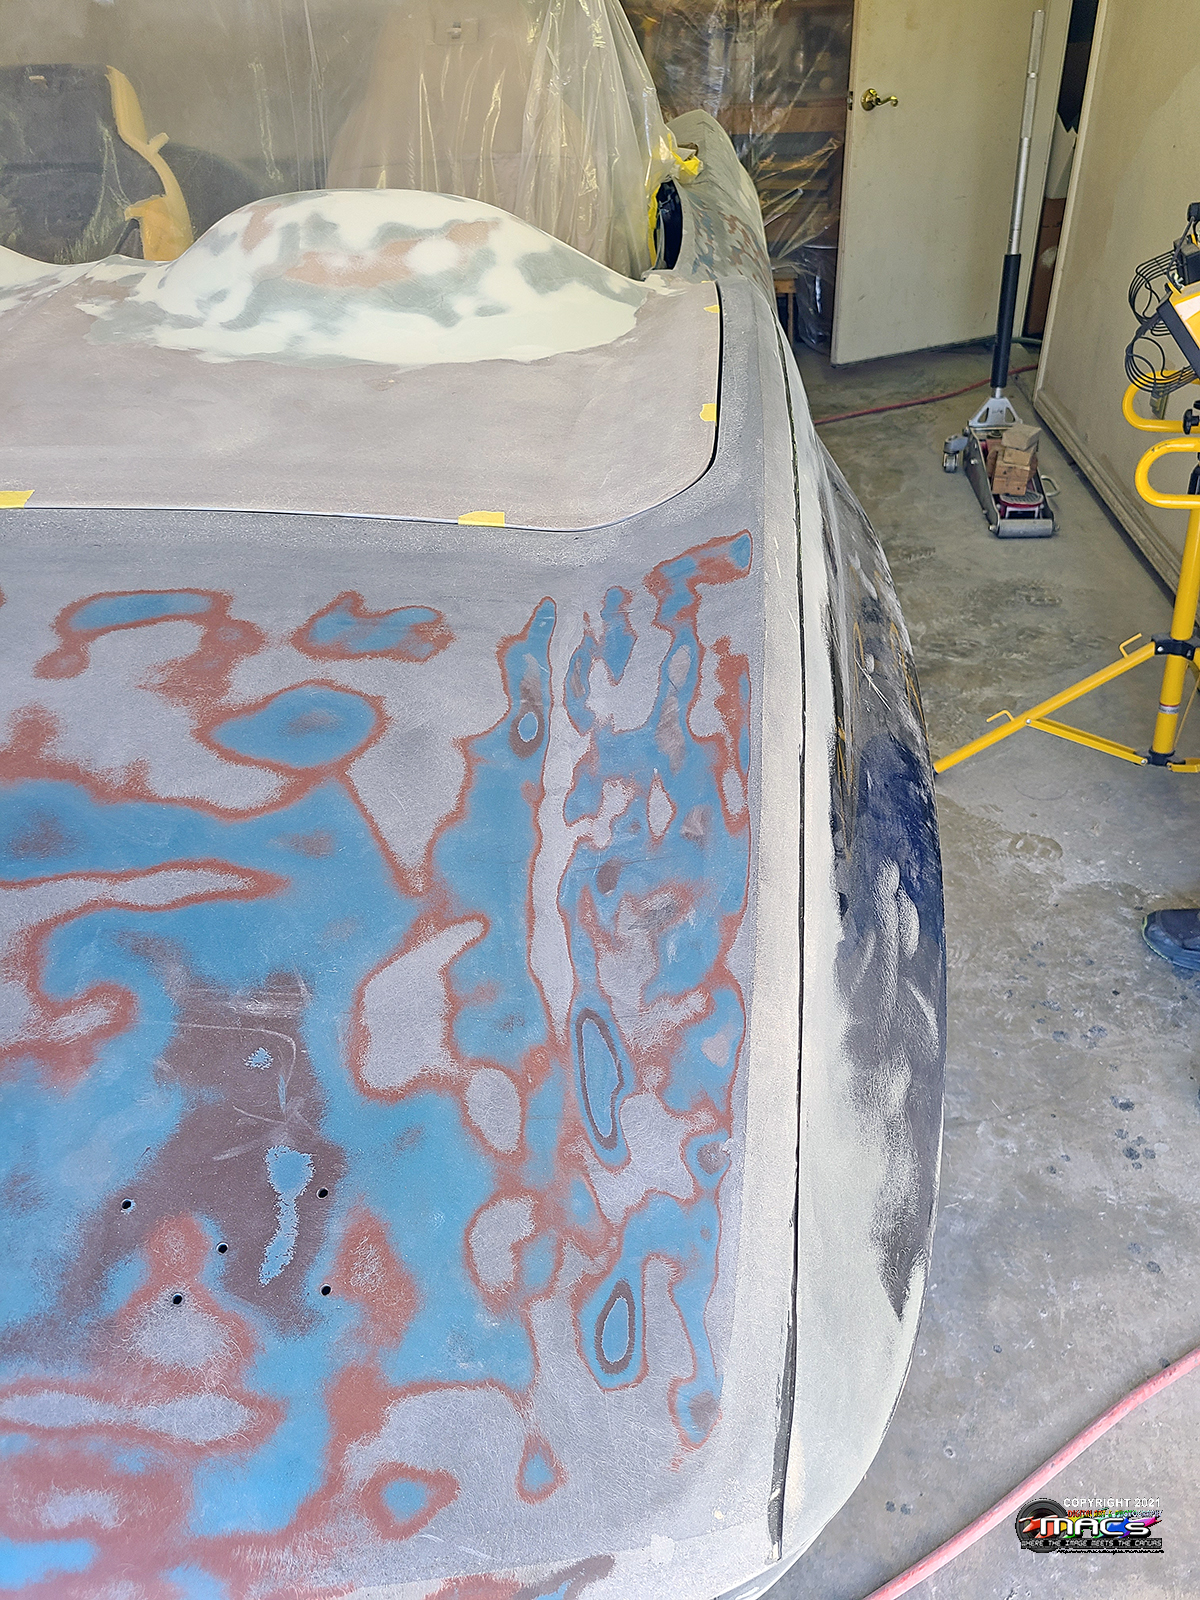
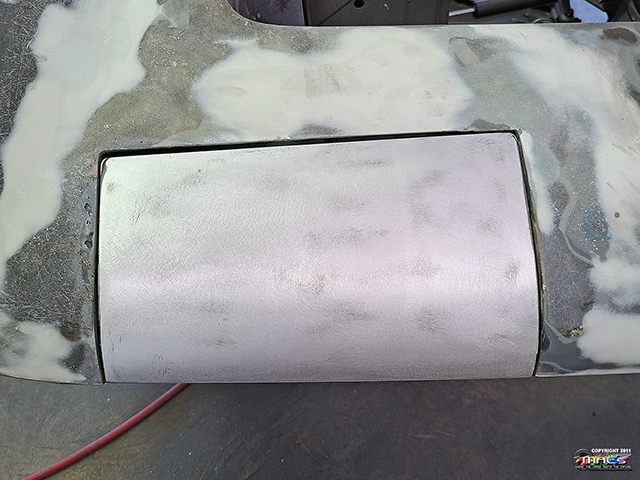
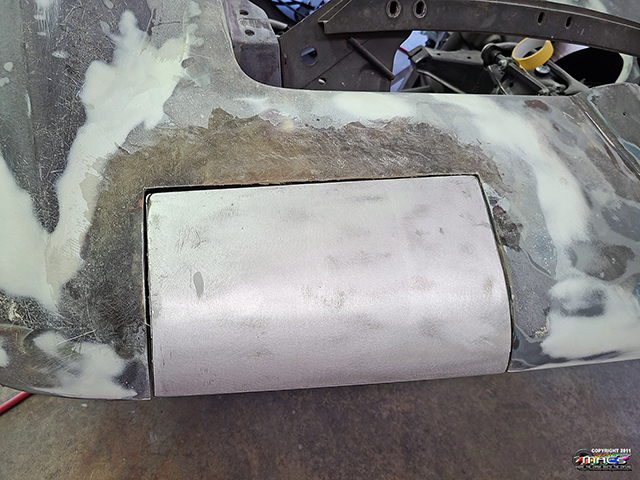
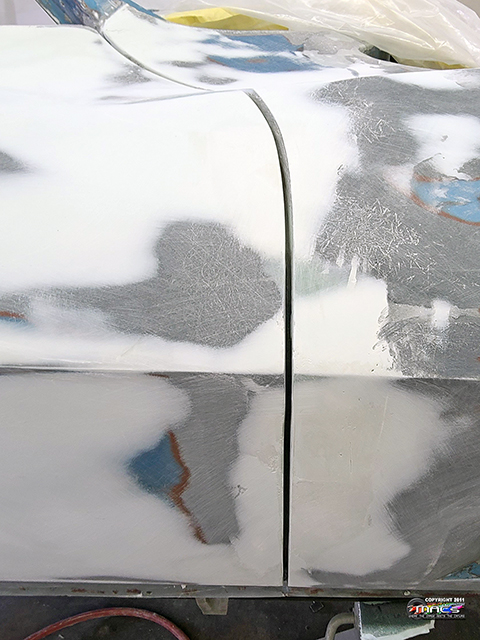
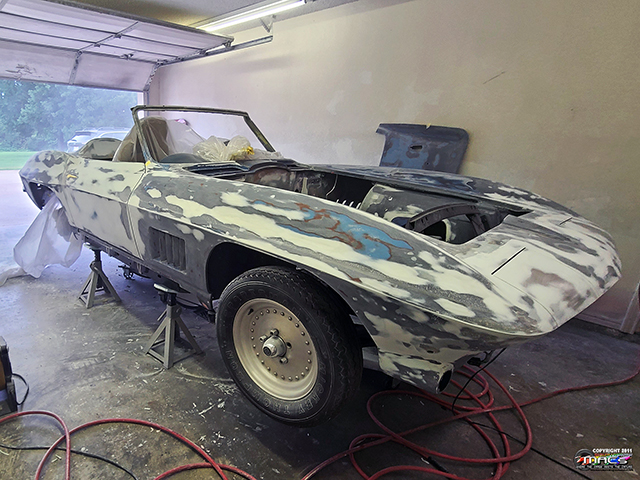
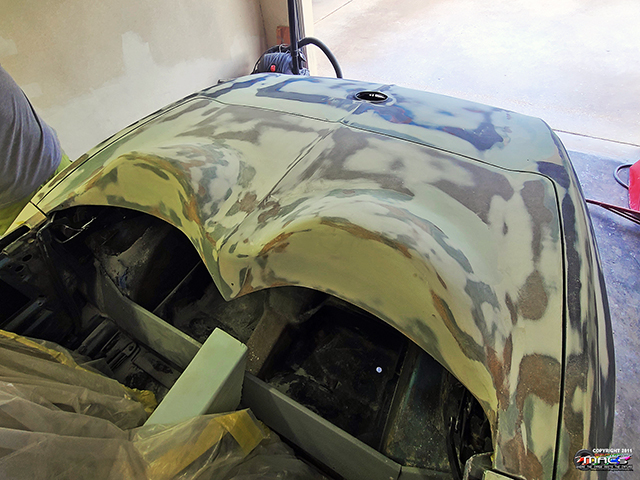
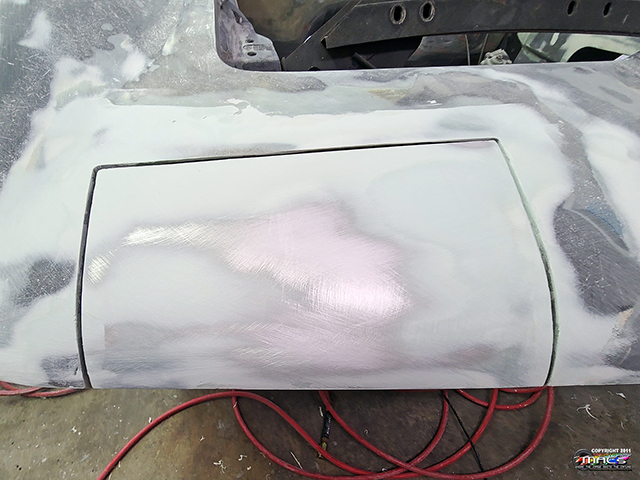
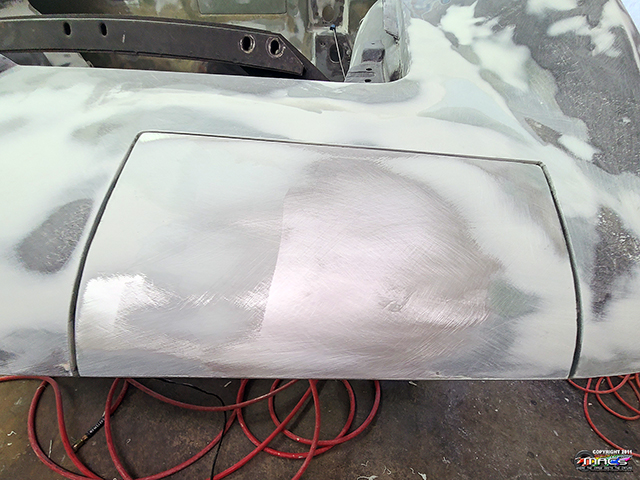
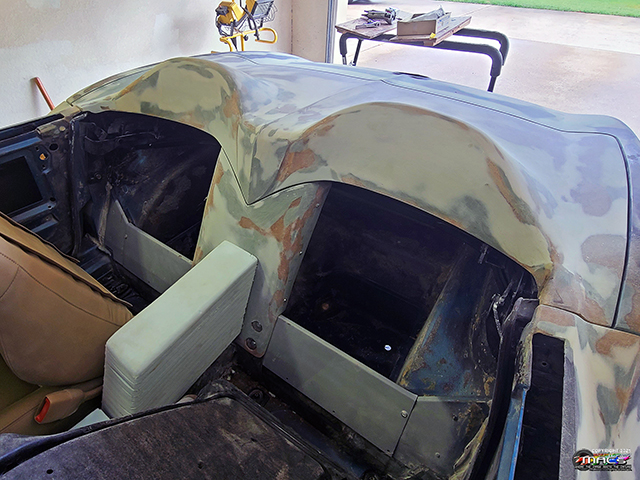
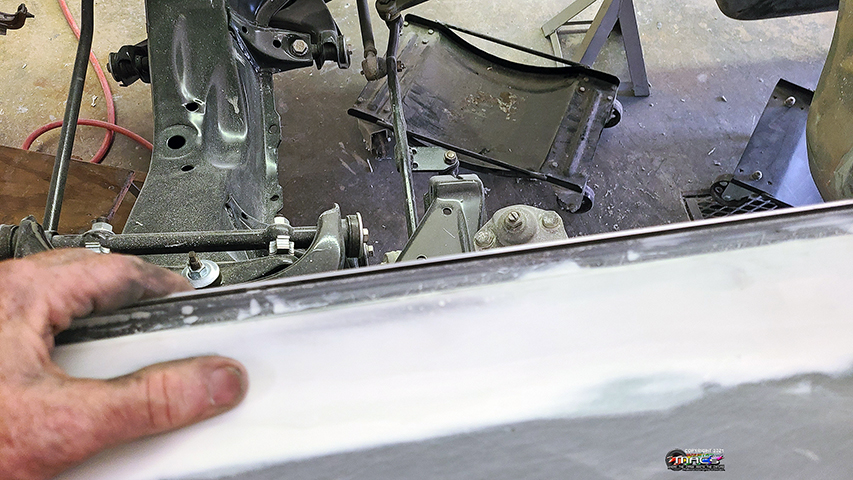
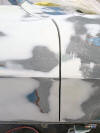
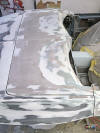
A small amount of test
sanding to see how the curvature was - looking good! |
 |
| |
 |
 |
|
| |
|
|
|
|
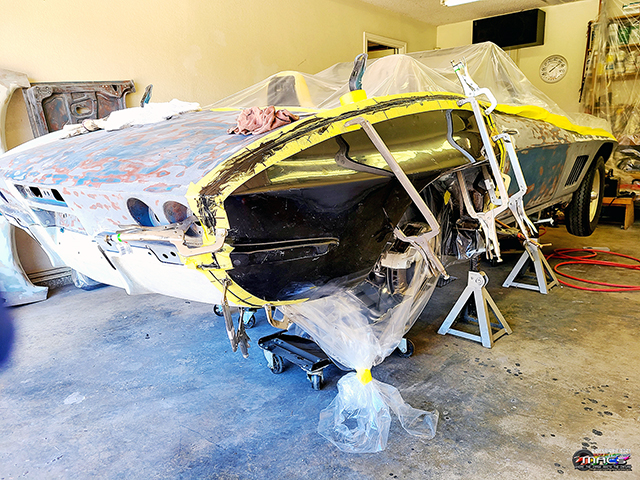
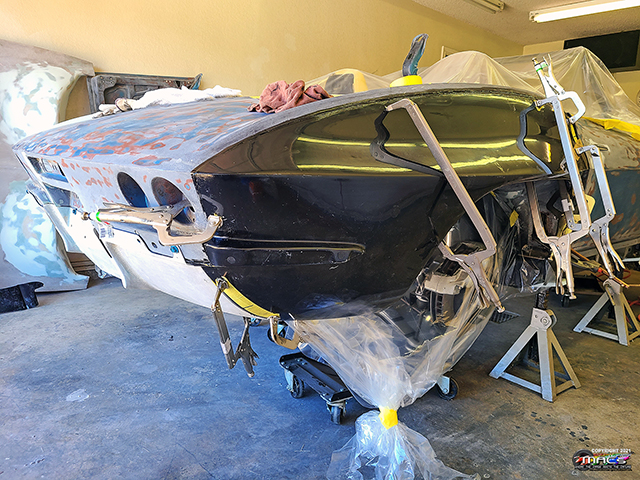
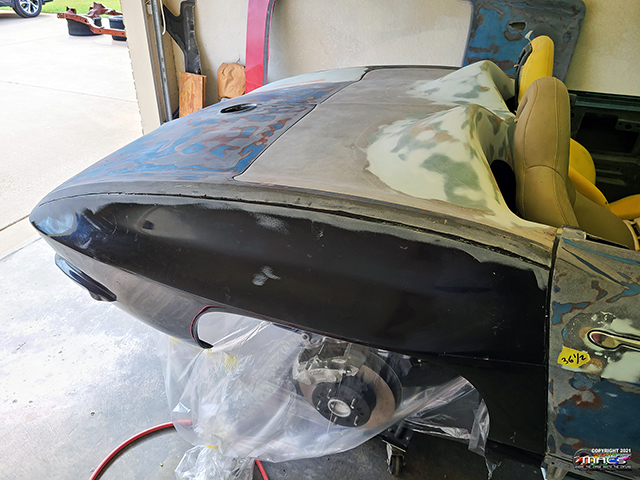
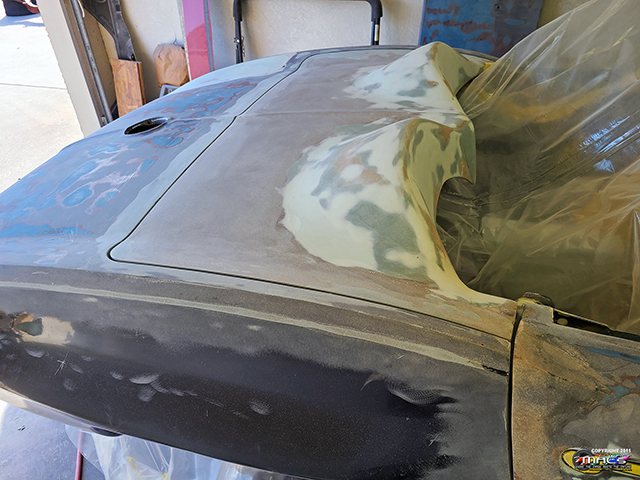
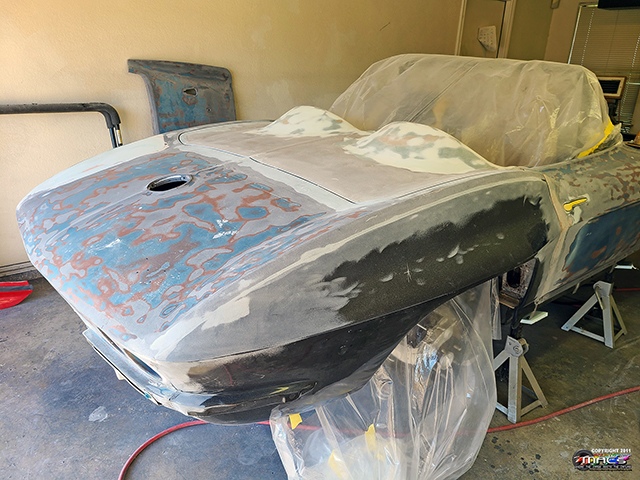
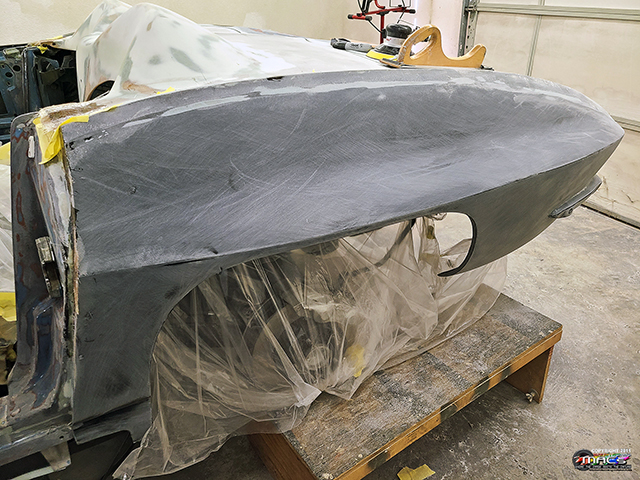
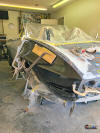
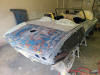
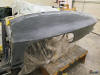
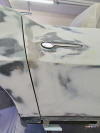
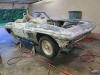
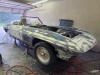
First time to see the custom decklid with the widened quarter
panels |
 |
 |
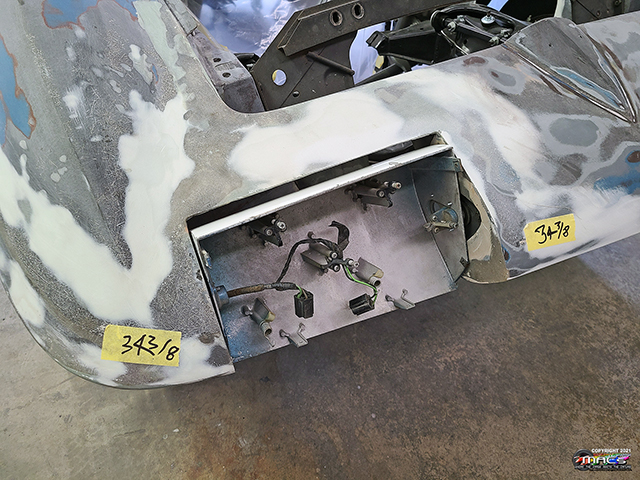
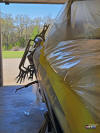
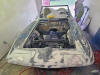
Worked with the headlight assemblies to get them mounted and
installed |
| |
|
|
|
Took a Few Weeks off to Work
on the Engine in the '56 Corvette |
| |
|
|
|
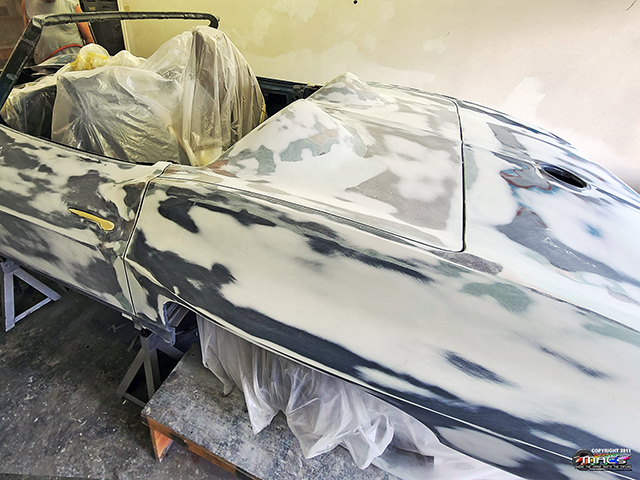
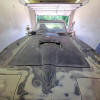
Back on the Body & Decklid -
4/25 |
 |
We spent most of the day working on
the gaps for the decklid - still more to go - but looking good
Also worked on door alignment and adjustment |
 |
| |
 |
 |
|
| |
|
|
|
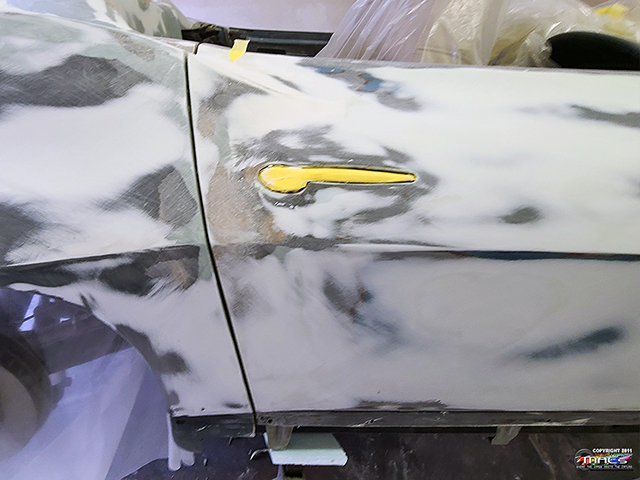
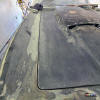
Body Gaps - Decklid &
Headlights -
5/3 |
 |
The gaps and panel adjustments / leveling are coming along
nicely on the decklid - just takes time and patience |
 |
| |
|
|
|
|
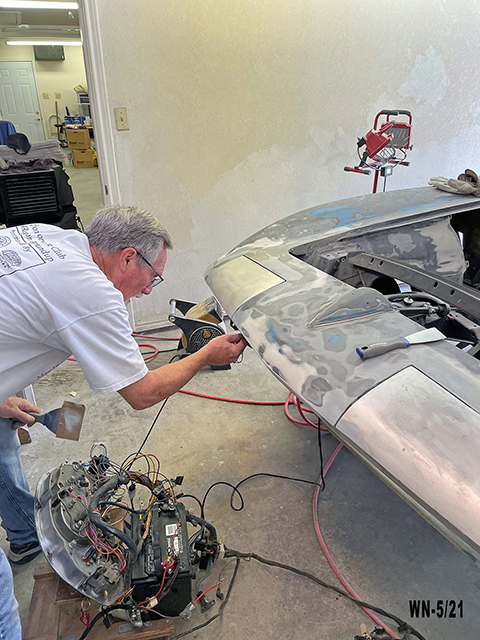
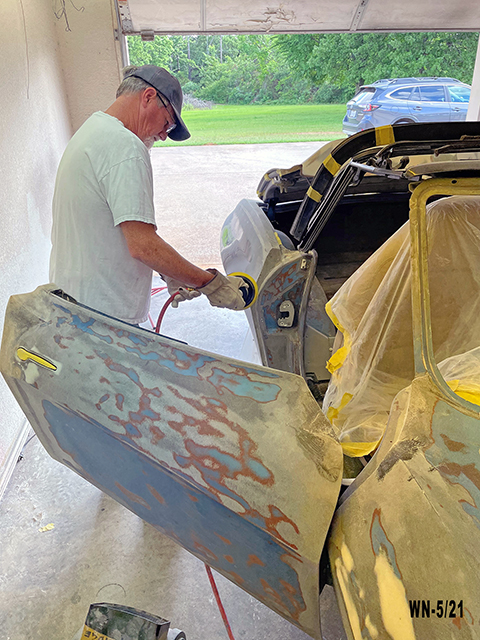
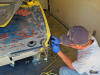
William stripping the paint off the headlight buckets |
 |
 |
This is how they started and how bad the gaps were |
| |
|
|
|
 |
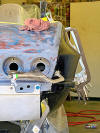
Strip the paint,
fiberglass the edges so that we can 1) properly repair the
damage and 2) so we can properly gap the panels to the
headlights. Then a little Duraglass to allow leveling and
gaping. |
 |
| |
 |
 |
|
| |
|
|
|
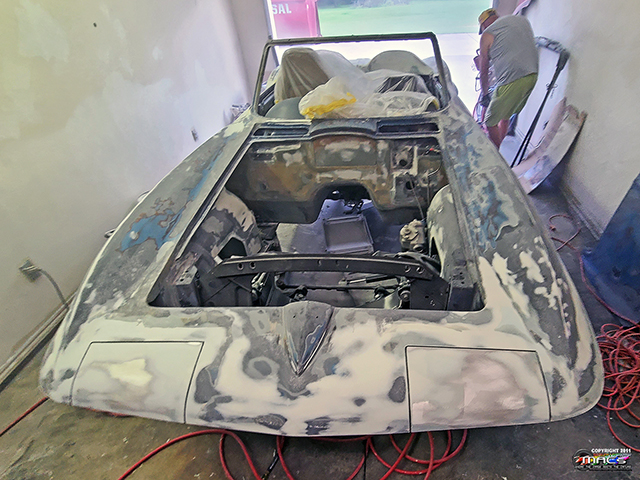
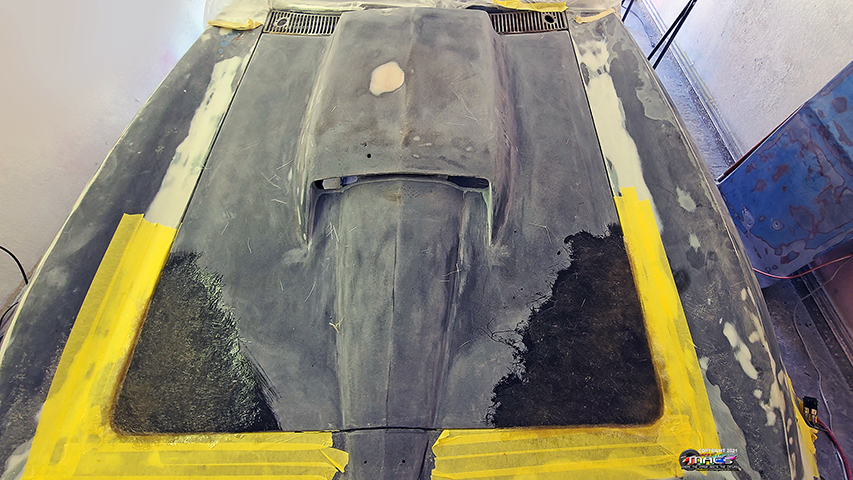
Body Gaps - Decklid &
Headlights -
5/18-23 |
 |
<<<< Some gaps are too tight
some gaps are too wide >>>>
our goal - to make them all just right ;) |
 |
| |
|
|
|
 |
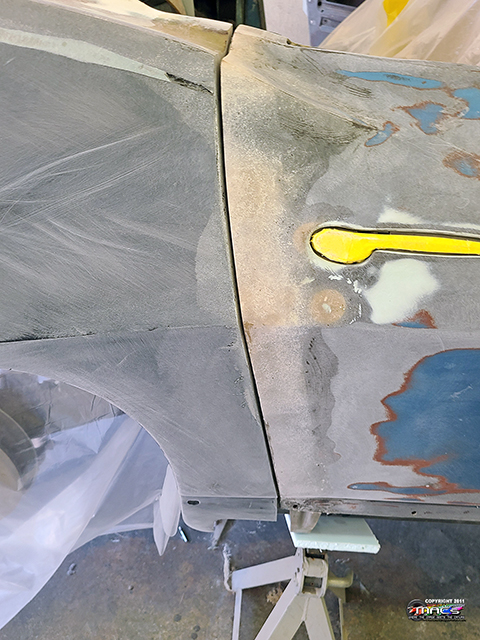
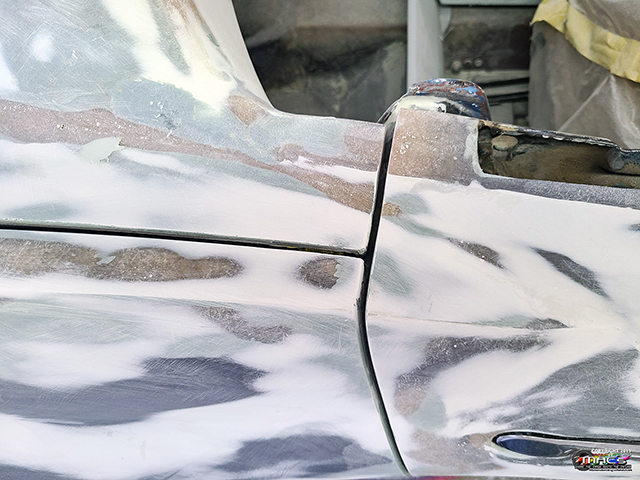
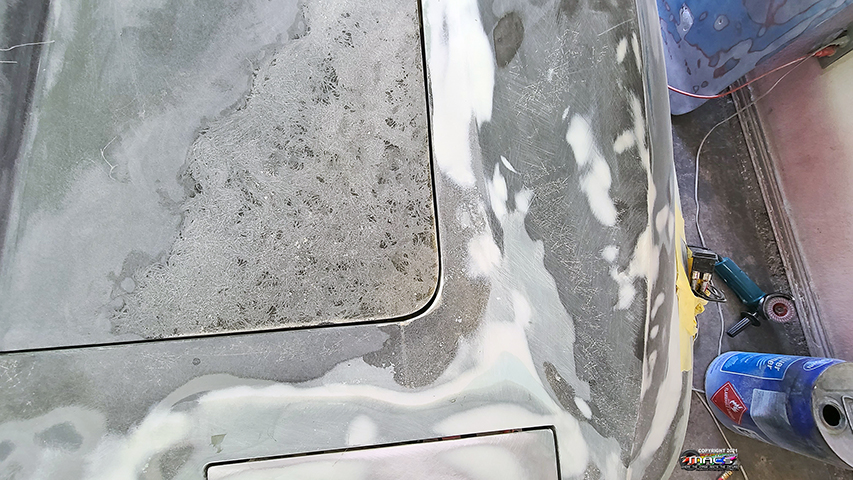
When you have a gap that is too wide, you have to add more
fiberglass to one or more of the panels |
 |
 |
|
|
|
|
|
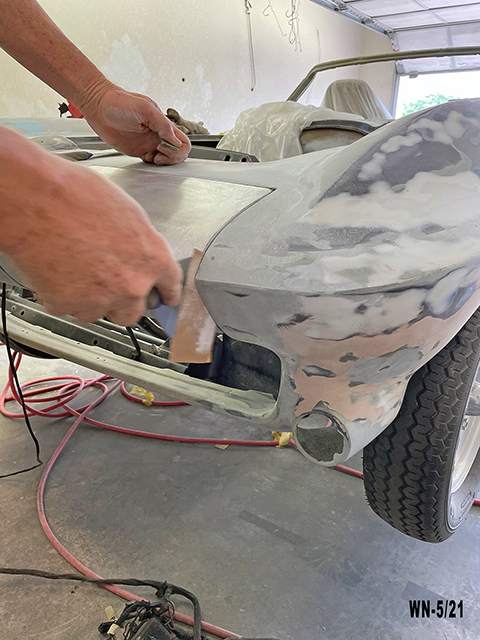
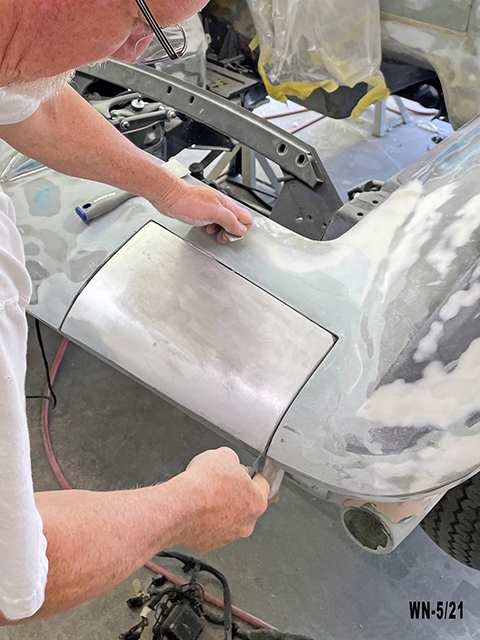
 |
Fixing gaps on the headlights is a pain - sandpaper stuck to a
putty knife is the best tool |
 |
 |
|
|
|
|
|
|
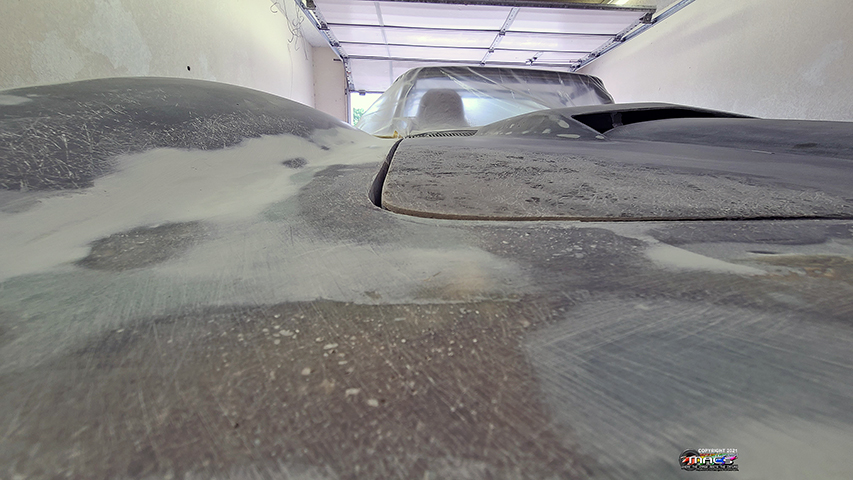
not only do you have to fix the gaps, we have to level the
panels |
 |
 |
It is much easier to fix gaps when you can open the door and
work inside the jamb |
|
|
|
|
|
 |
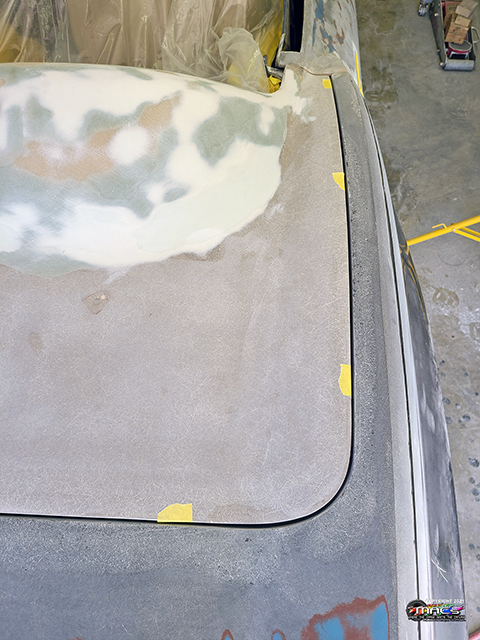
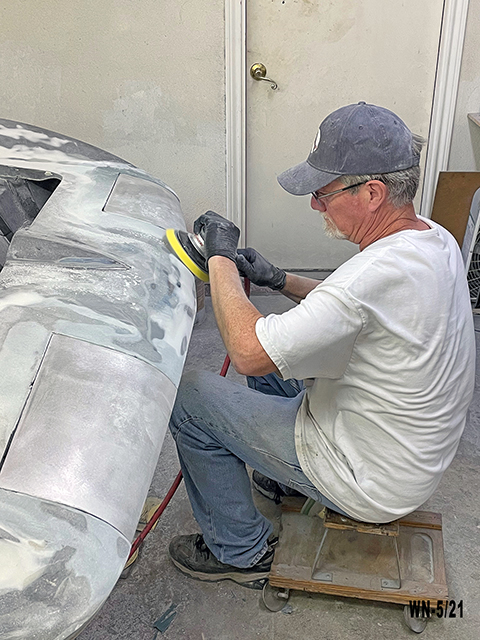
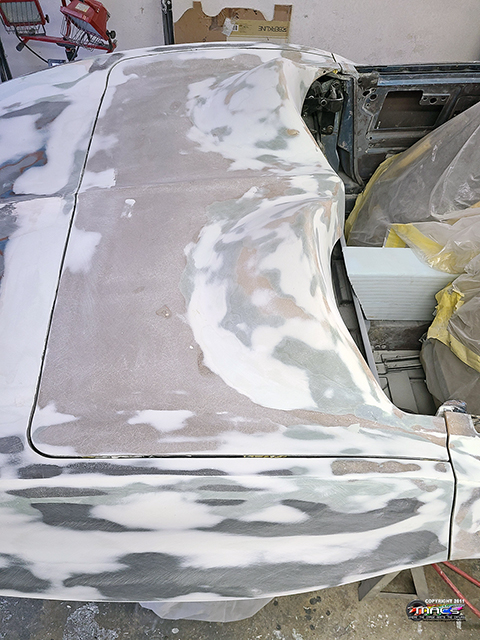
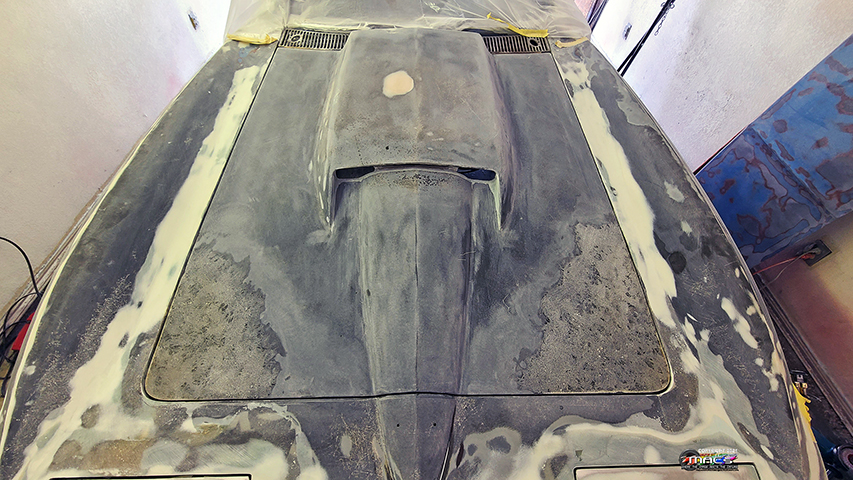
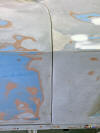
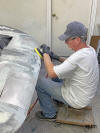
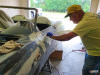
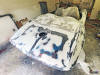
William blocking the gelcoat on the widened quarter panels |
 |
 |
| |
|
|
|
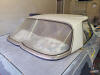 |
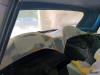
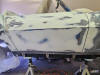
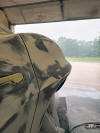
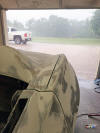
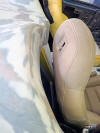
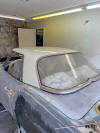 |
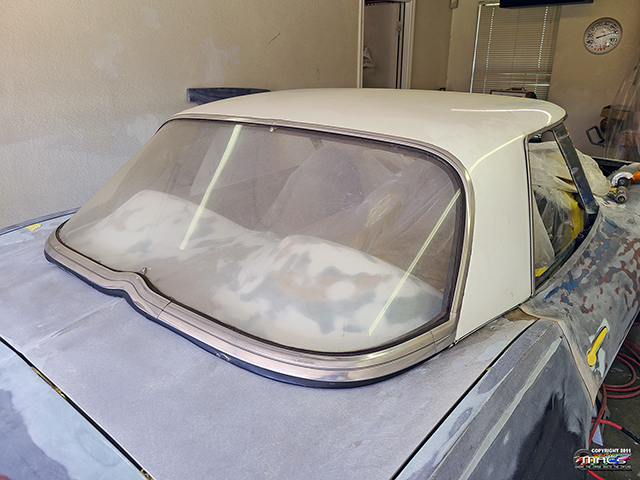
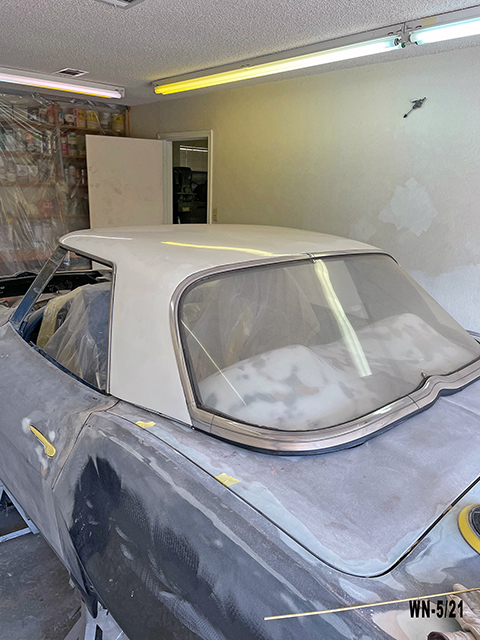
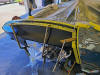
the
first test fit of the hardtop after the body mods have taken
place on the decklid |
 |
| |
|
|
|
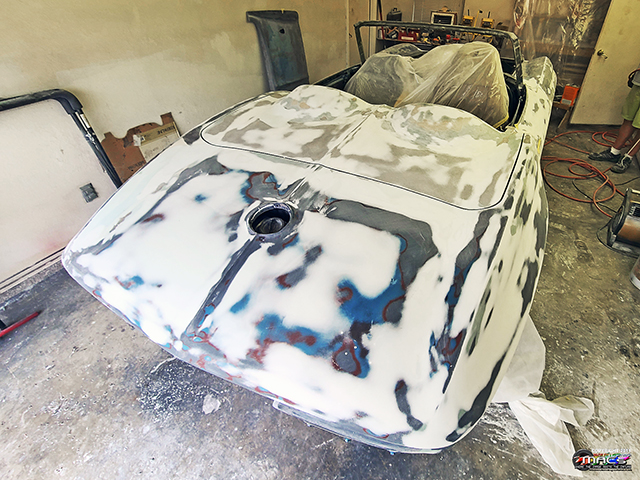
Body Gaps - Decklid &
Headlights -
5/27-31 |
 |
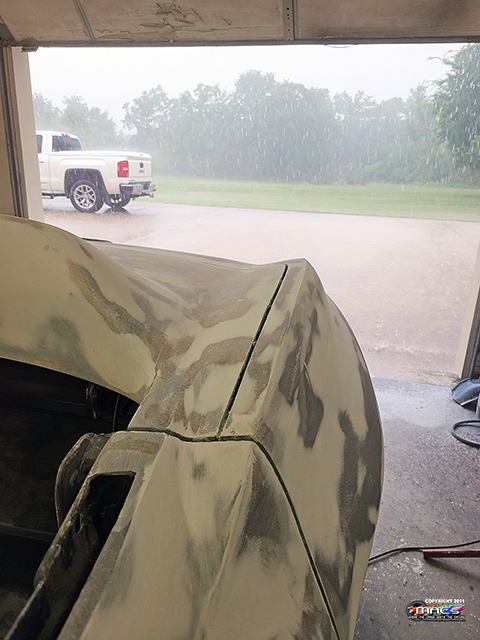
Gaps are really looking good now - both sides of the car is
complete with gaps and most of the blocking |
 |
| |
 |
 |
|
| |
|
|
|
 |
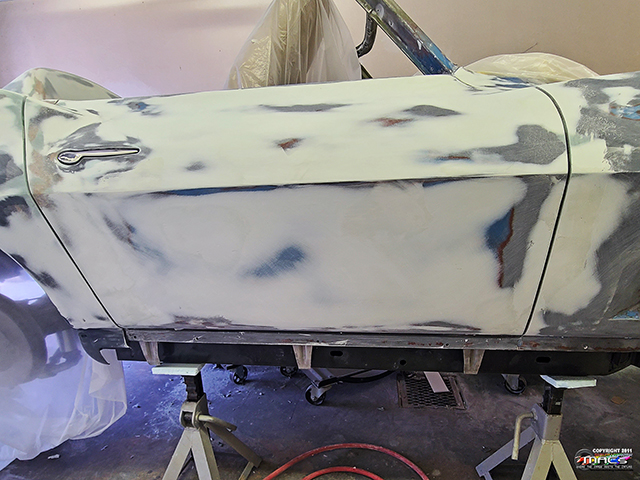
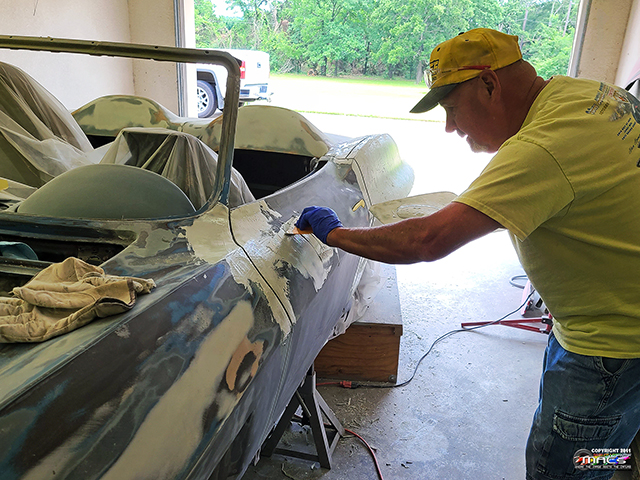
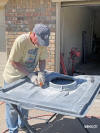
William trying his had at applying the thin layer of bondo to
level low-spots |
Doug blocking on some complex curves |
 |
| |
|
|
|
 |
The gaps and body lines are looking great - starting to really
look like a car again |
 |
 |
 |
 |
 |
 |
| |
|
|
|
Body Gaps - Decklid &
Headlights - 6/4 |
 |
Pre-Sealer gapping and blocking is complete, other than the the
rear filler, lower quarters, hood and hood surround - need to
build the custom hood hinges next |
 |
 |
 |
 |
 |
| |
|
|
 |
 |
 |
 |
| |
|
|
| |
 |
 |
|
| |
|
|
|
| |
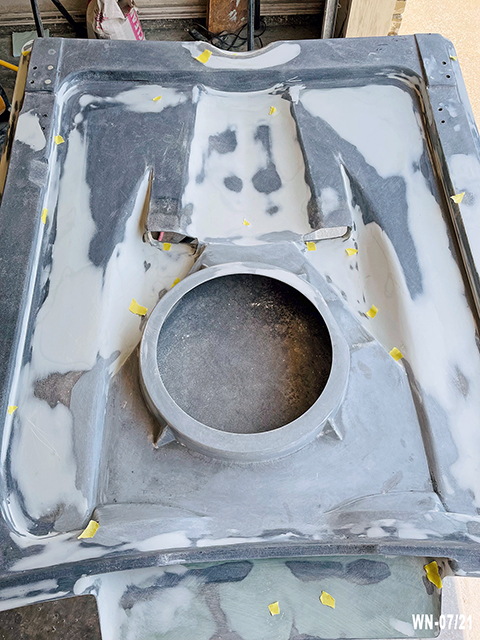
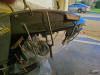
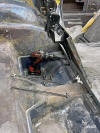
Next, it was time to work on the underside of the L88 hood -
grinding a lot of rough - added fiberglass |
 |
|
| |
|
|
|
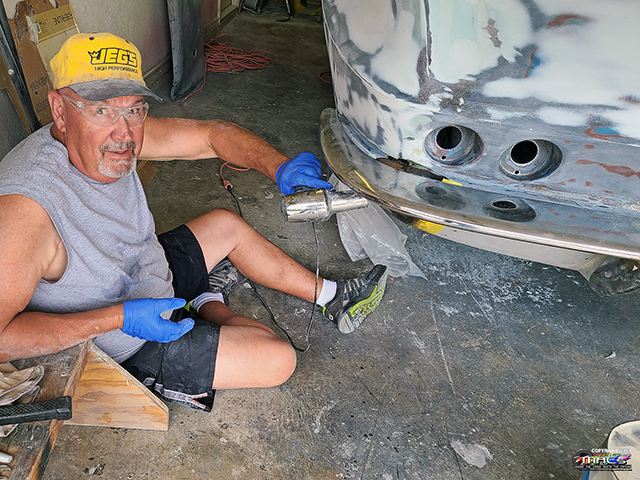
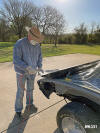
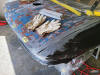
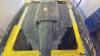
Bumper Fitment - 6/6 |
 |
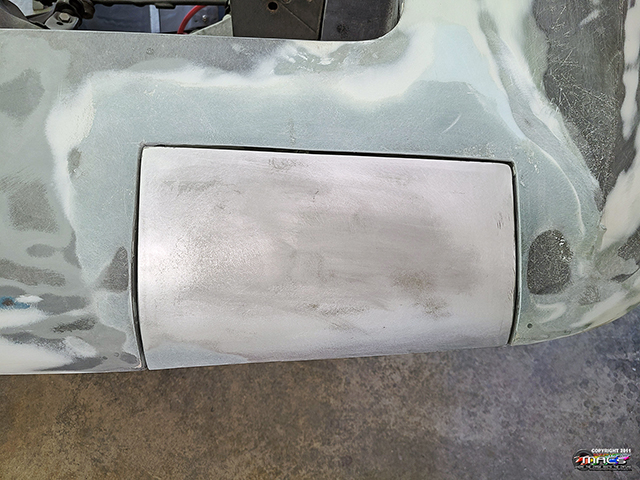
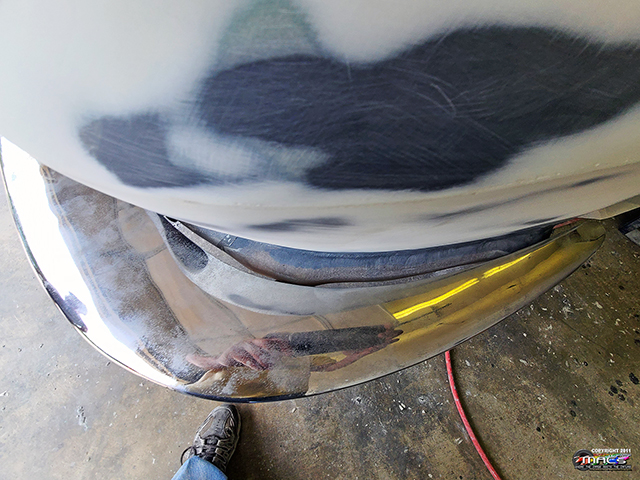
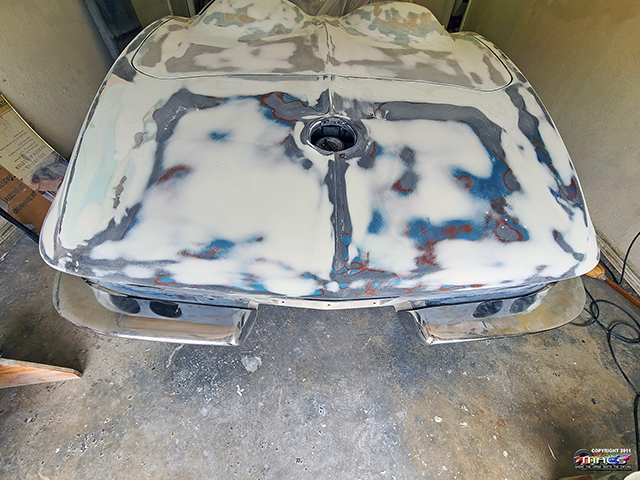
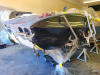
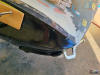
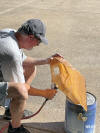
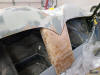
It was time to test fit the rear bumpers on the widened body
The factory gaps on the bumpers to the body leave a lot to be
desired |
 |
| |
|
|
|
 |
 |
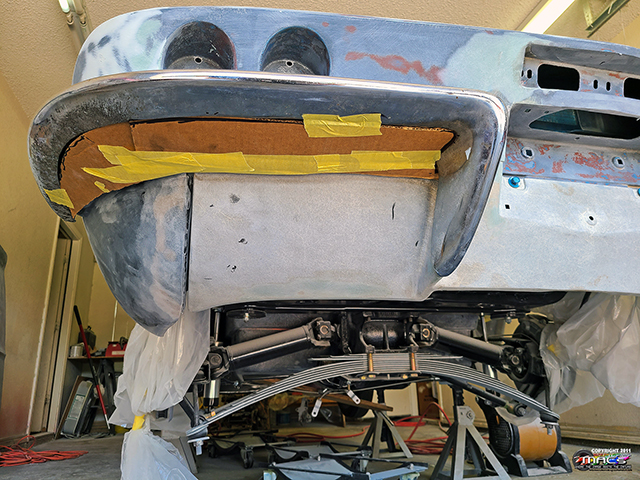
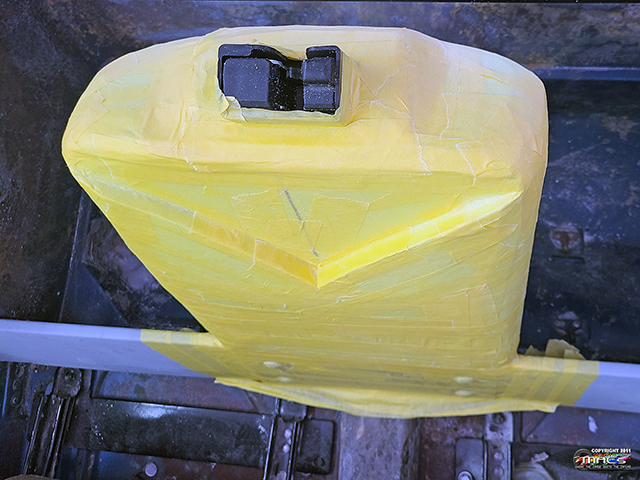
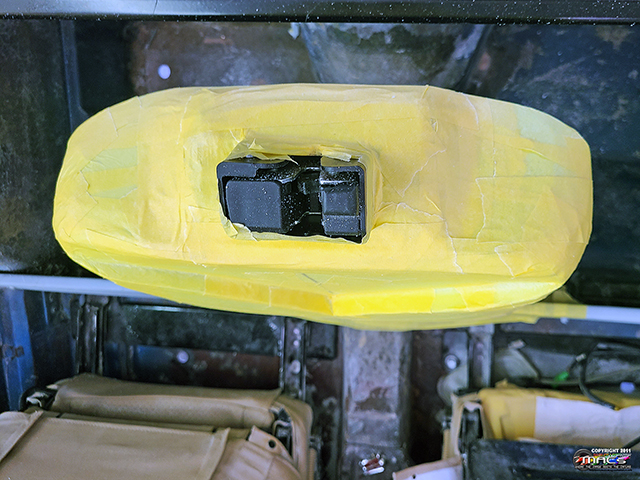
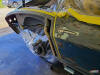
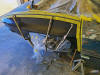
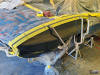
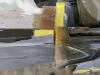
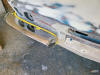
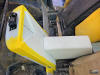
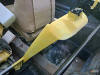
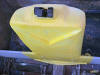
The cardboard/yellow tape represents sheet steel that needs
added to the bumpers before we rechrome |
 |
| |
|
|
|
| |
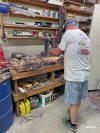
...even found William sitting down on the job ;) |
 |
|
| |
|
|
|
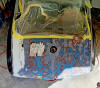
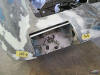
Decklid / Waterfall
Structure & Mock-Up - 6/7 |
 |
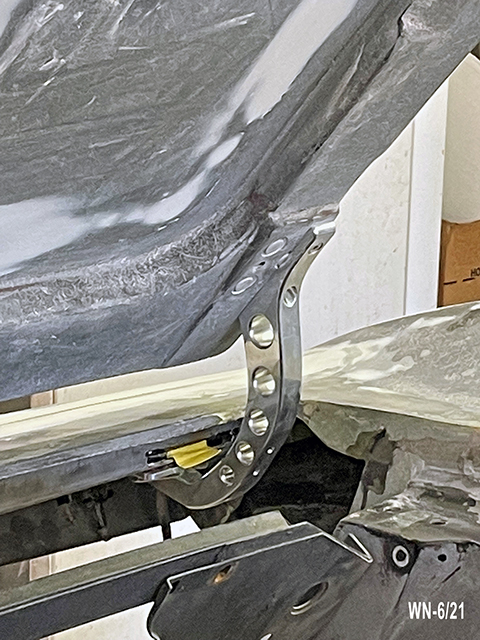
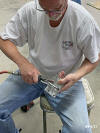
Building the latch hook that will close down in the trigger
mechanism to hold the decklid down |
 |
 |
| |
|
|
 |
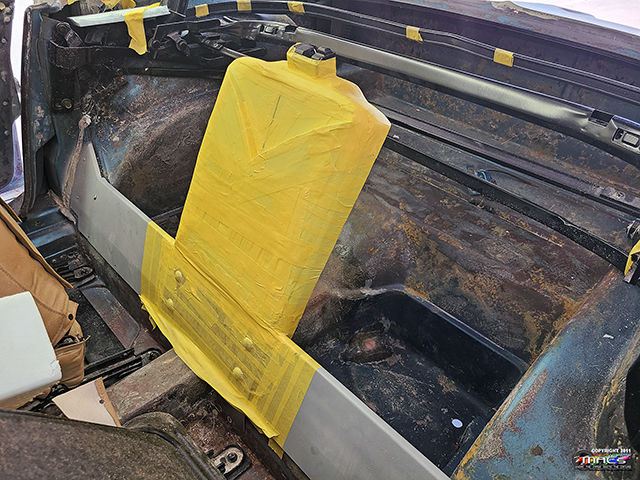
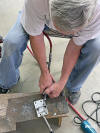
Building the decklid / waterfall structure, out of steel
the mechanism is from a C6 Convertible Decklid |
 |
| |
|
|
 |
The structure is bolted to the steel Cargo Tray |
 |
| |
|
|
 |
 |
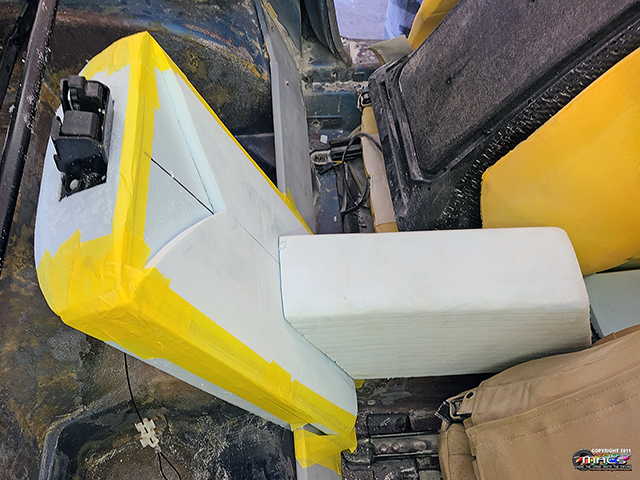
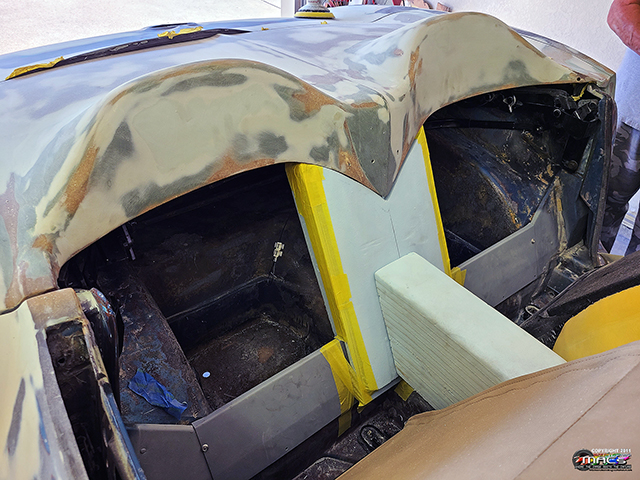
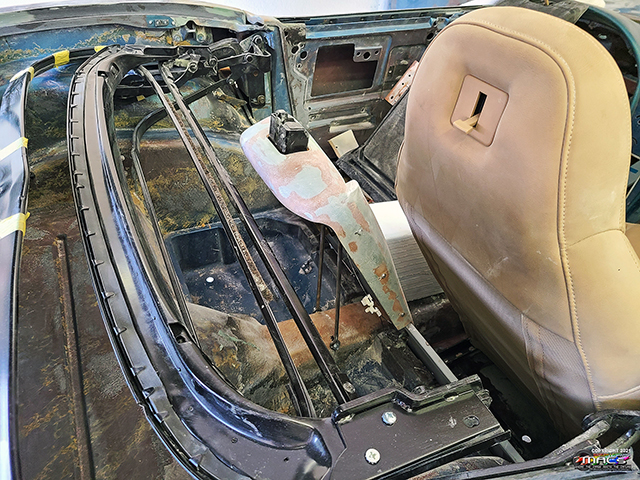
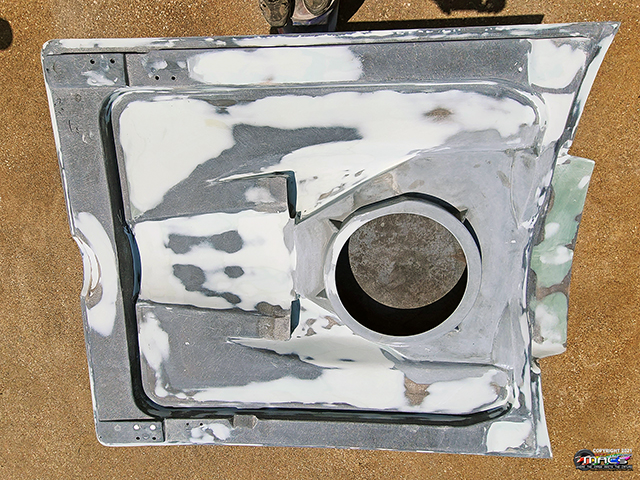
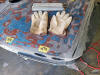
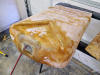
We added foam to rough-out the shape
of the waterfall cover |
 |
|
|
|
|
|
 |
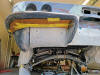
The
decklid closes properly and the point joins to the waterfall |
 |
 |
| |
|
|
|
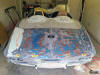
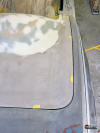
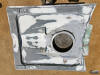
Decklid / Waterfall
Decorative Cover Fine Tuning - 6/8 |
|
|
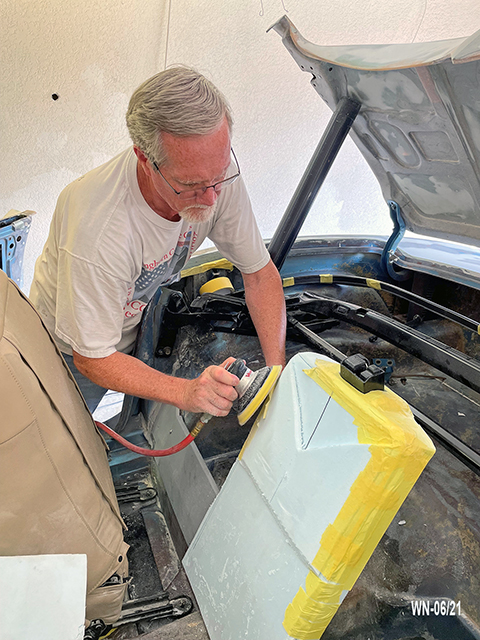
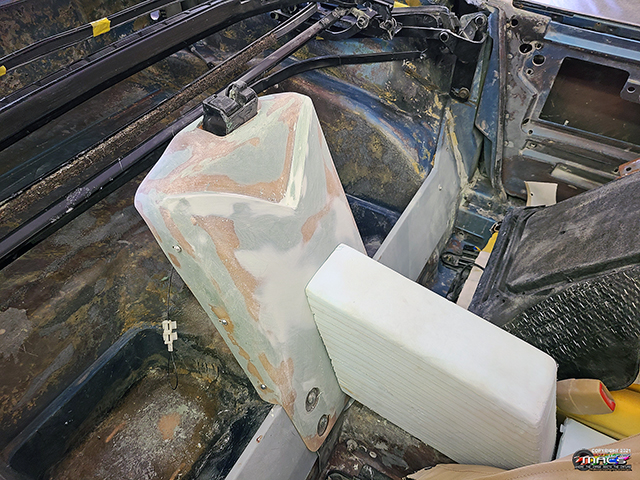
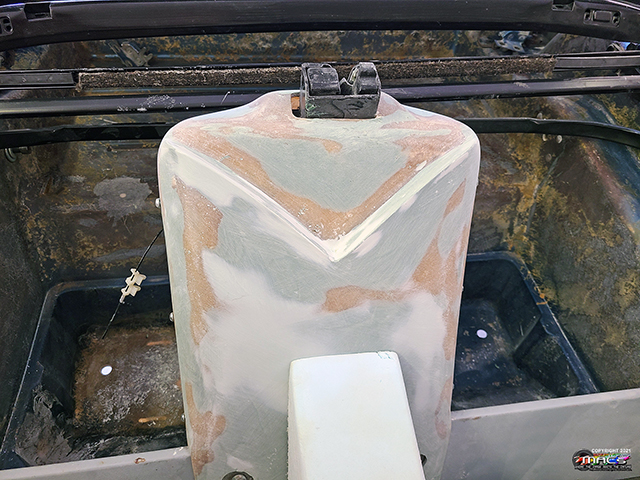
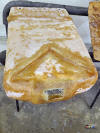
Shaping the foam to a more desirable shape |
 |
|
 |
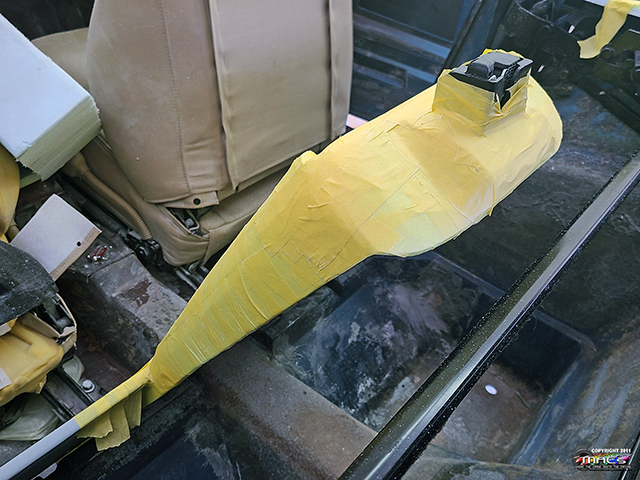
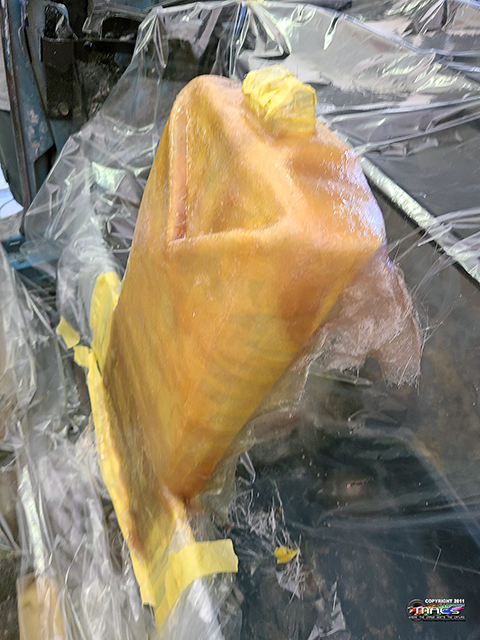
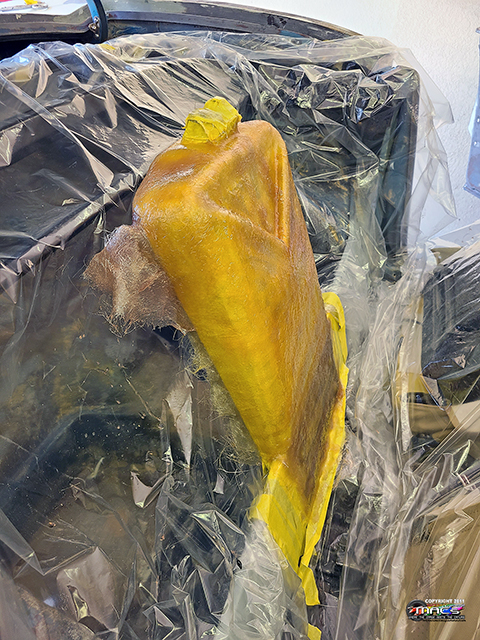
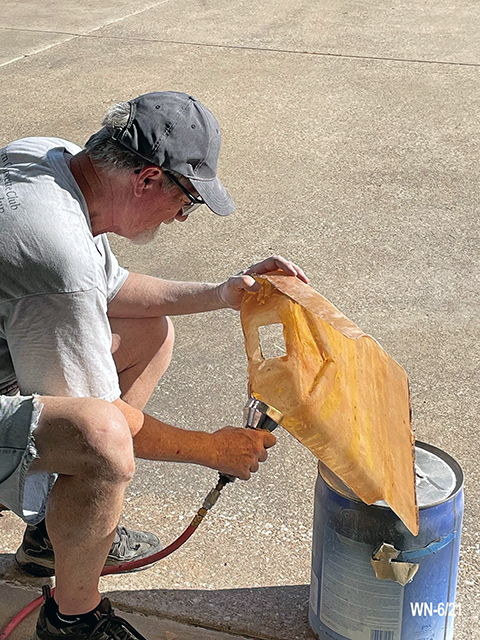
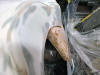
The shaped foam has been covered with tape so the fiberglass
resin doesn't eat the foam. We will spray mold release on it
prior to laying the wet fiberglass. |
 |
|
|
 |
 |
|
| |
|
|
|
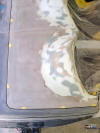
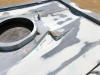
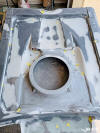
Decklid / Waterfall
Structure - 6/11 |
 |
Shaping the foam to a more desirable shape |
 |
 |
| |
|
|
|
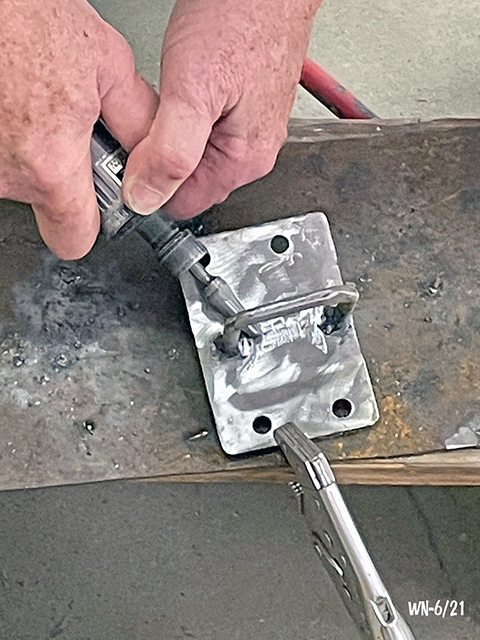
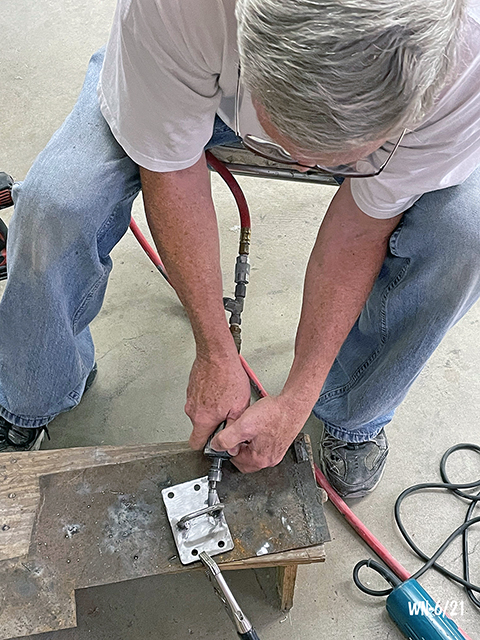
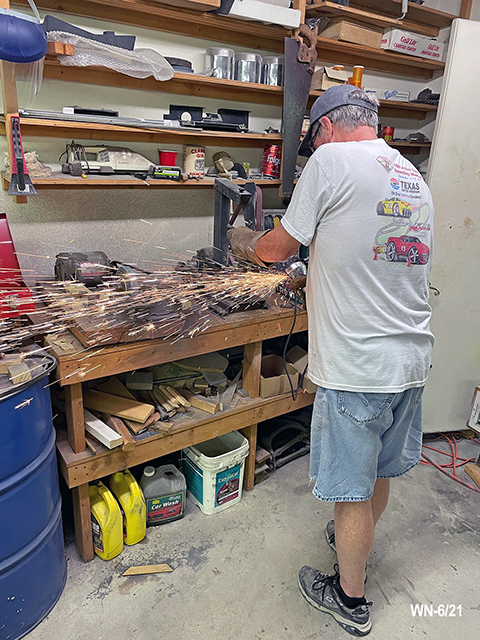
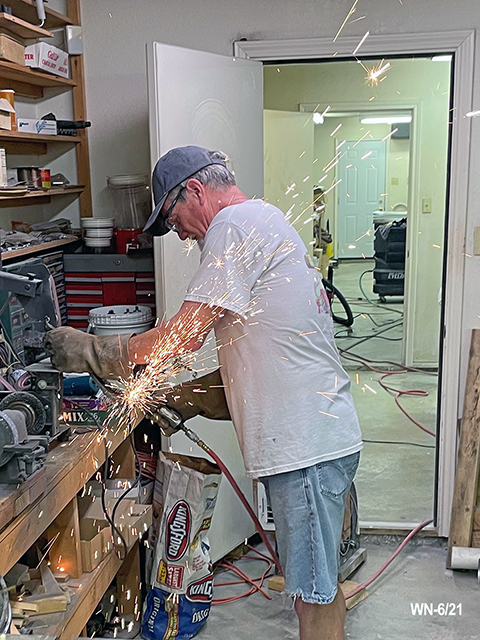
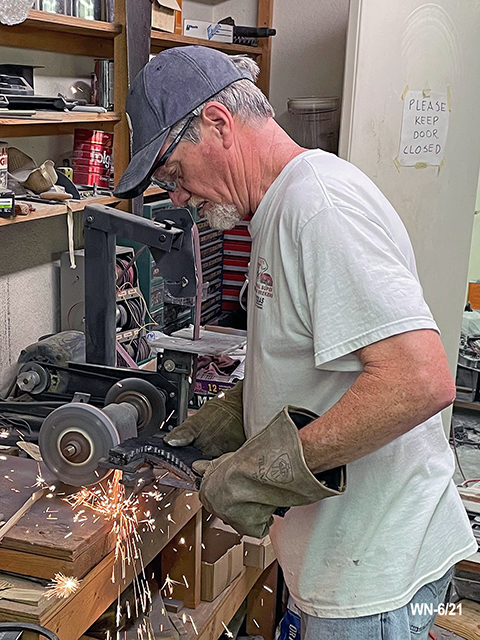
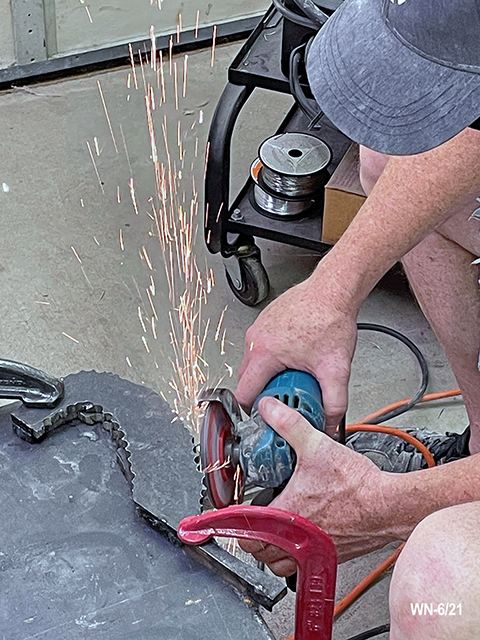
Hood Hinges -
6/20-2? |
 |
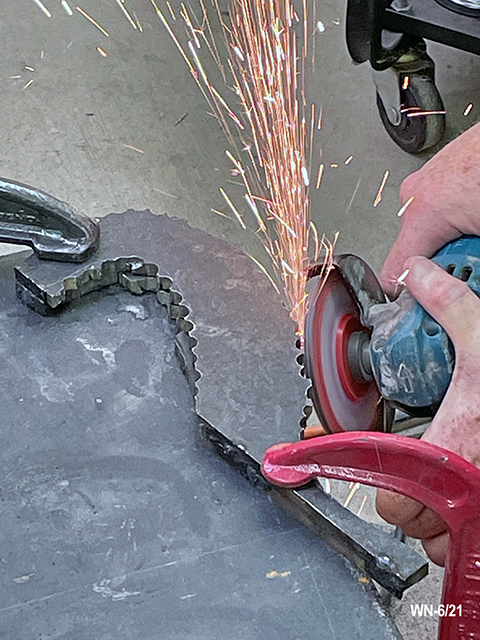
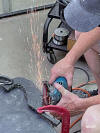
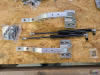
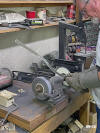
The Custom Hood Hinges are being built from steel plate removed
from the rear cargo area of the '67
First attempt was to smoothly cut it with a saw - too slow - so
cut holes w/drill press, then ground it smooth |
 |
 |
 |
 |
 |
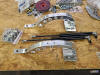
| an
different option was made availabe so these won't be used |
| |
|
|
|
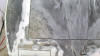
Waterfall
Structure - 6/25-26 |
 |
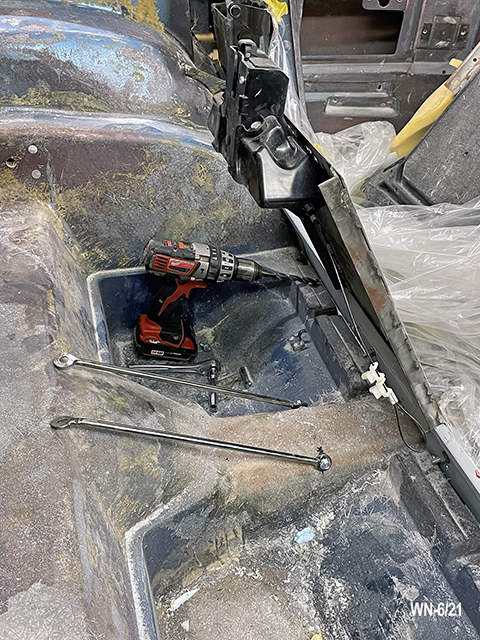
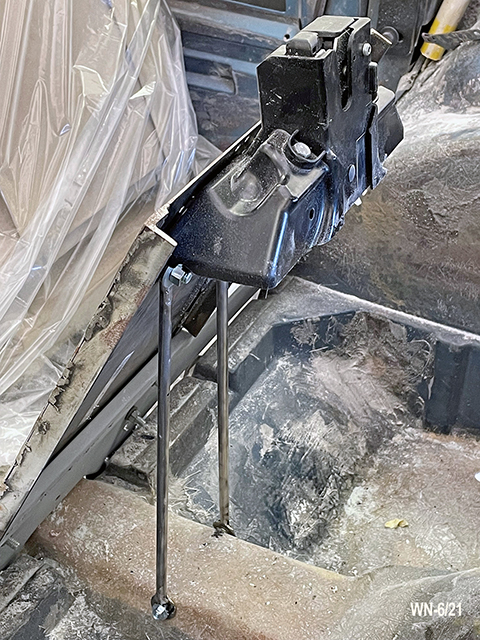
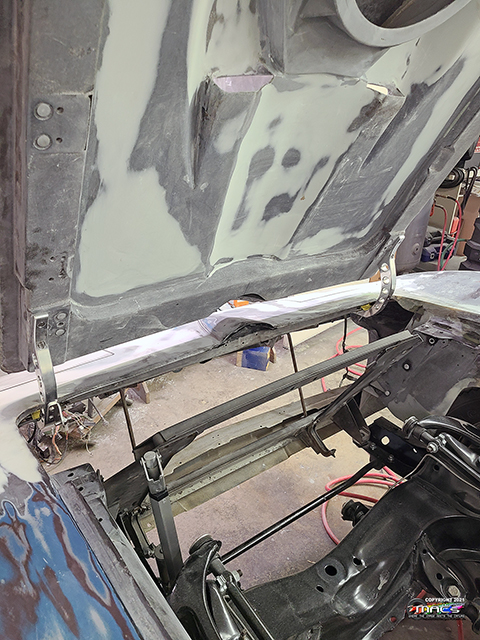
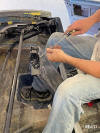
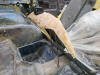
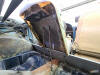
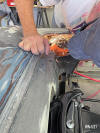
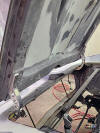
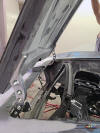
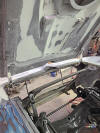
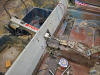
Support rods were fabricated and installed, bracing the
waterfall metal structure to the driveshaft tunnel |
 |
| |
Grinding the waterfall shell that we created |
 |
|
| |
|
|
|
 |
 |
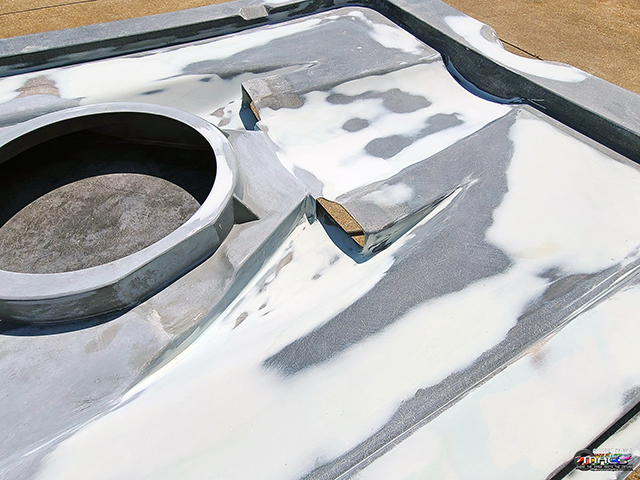
The sanded waterfall
shell in place - taking shape |
 |
| |
|
|
|
 |
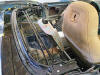
Additional fiberglassing
being done on the waterfall shell |
 |
| |
|
|
|
Waterfall
Cover - 6/28 |
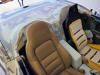 |
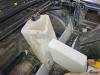
The waterfall shell is pretty much complete, pending final
design of the console of course. You can see it from behind,
where the steel structure supports the waterfall cover. |
 |
| |
|
|
|
 |
 |
 |
 |
|
|
|
|
|
 |
 |
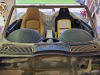
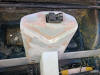
The
shell slips over the steel substructure and secures with 6
screws (3 ea side) |
 |
|
|
|
|
|
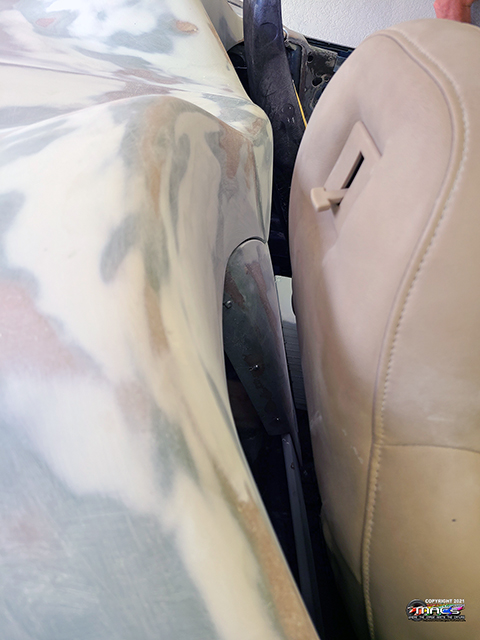
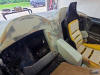
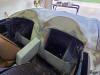
| The
contour of the decklid goes nicely into the waterfall shell |
 |
 |
Looking at it from the top |
|
|
 |
a short video clip showing the smooth closing of the decklid |
|
|
|
|
|
|
|
|
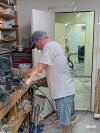
William decided it was time to do some serious cleaning |
 |
|
| |
|
|
|
Hood Hinges -
7/01 |
 |
The Custom Hood Hinges came in from Eddie's - nice quality
aluminum CNC parts. I am not a fan of the struts though and will
be looking to use actuators instead. |
 |
|
|
It required a small top-hat pocket in the header bar |
 |
|
|
|
|
|
|
 |
 |
 |
 |
|
|
|
|
|
|
 |
a short video clip showing the opening & closing of the hood -
using the test actuator |
|
|
|
|
|
Hood Efforts -
7/06-07 |
 |
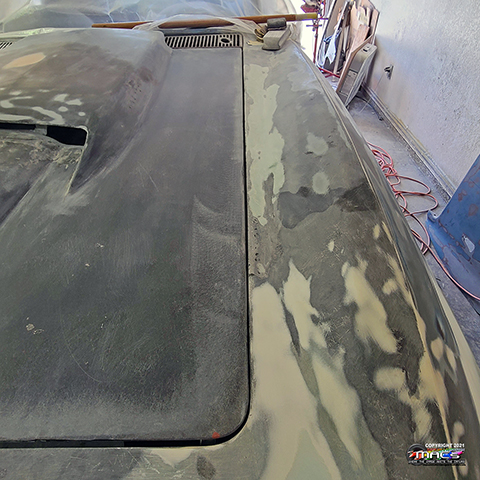
The hood is taking shape - smoothing out the edges and
imperfections. Far right photo is "nitpicking" |
 |
 |
|
|
|
|
|
 |
 |
The hood gaps are looking fairly good after the leveling /
gapping layer of fiberglass |
 |
|
|
|
|
|
|
|
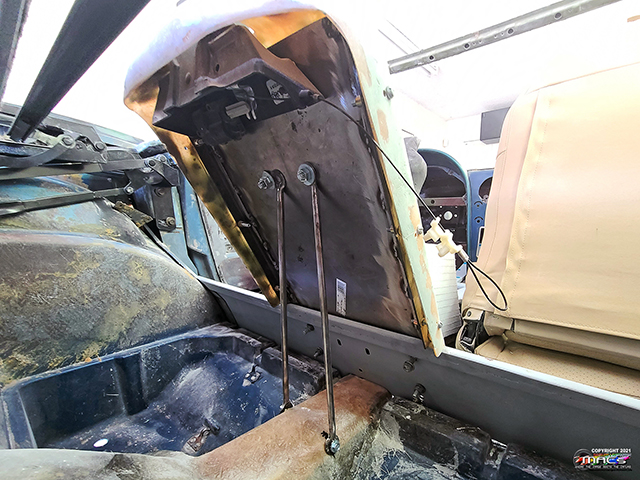
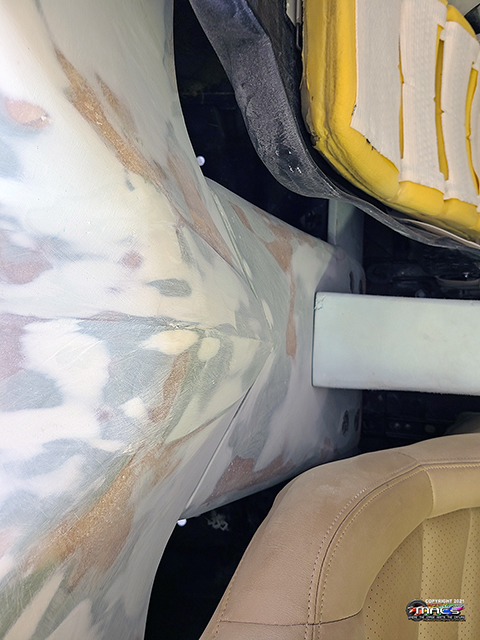
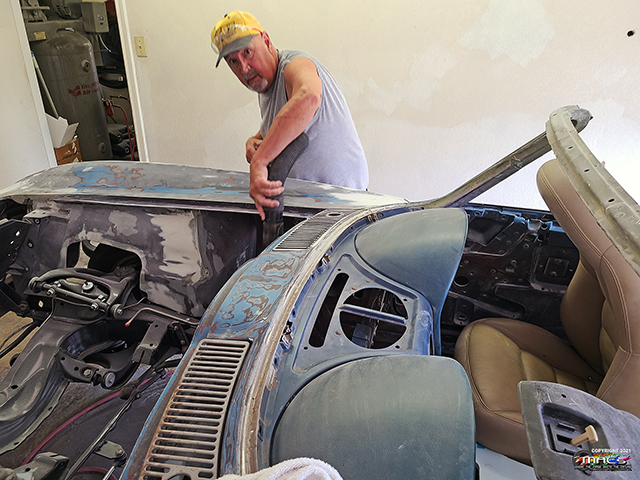
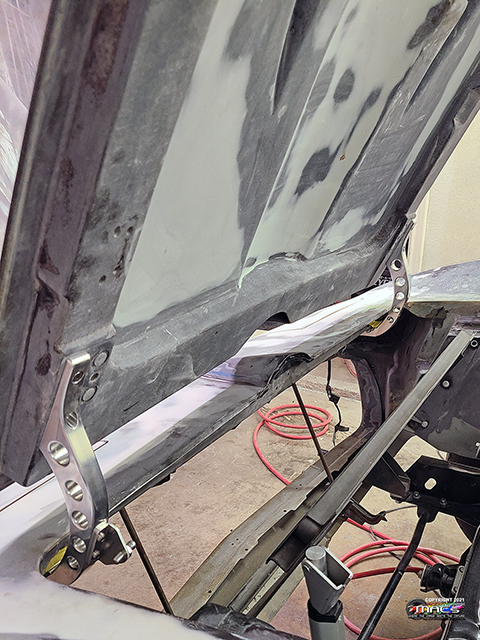
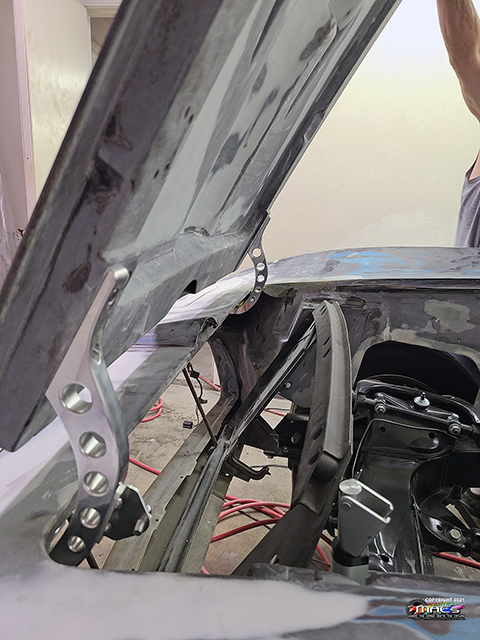
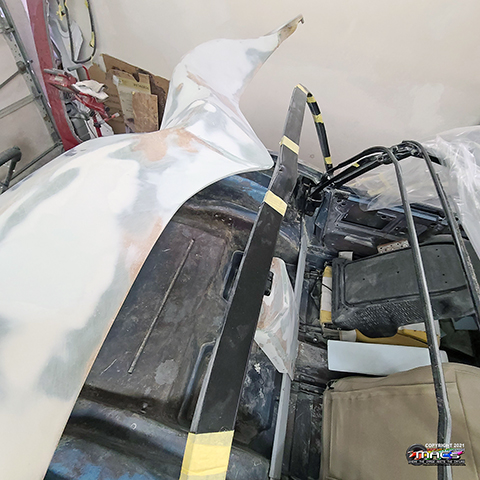
Adjustments to the decklid springs have succeded in raising it
high-enough to clear the convertible top structure |
 |
|
|
|
|
|
|
|
|
|
Hood Automation & Gaps -
7/08-11 |
|
|
|
a short video clip showing the opening & closing of the hood -
using the dual actuators |
|
|
|
|
|
 |
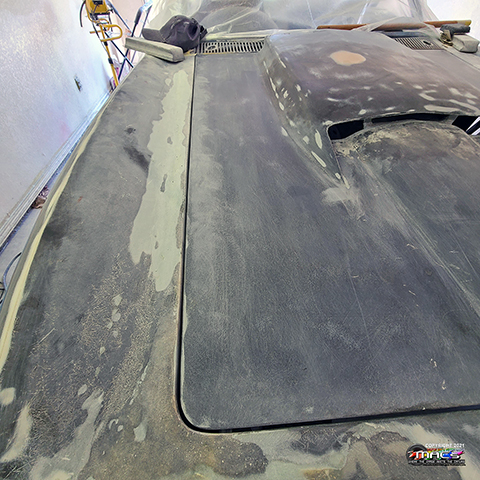
Gapping is complete on the hood & surround - both front corners
required some build |
 |
|
|
|
|
 |
 |
 |
|
|
|
|
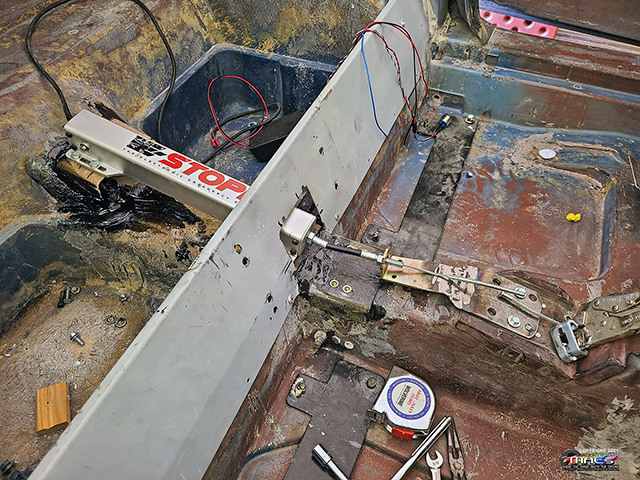
E-STOPP Emergency Brake -
7/15 |
 |
it pulls from the same location that the factory handle pulled
from |
|
|
|
|
|
|
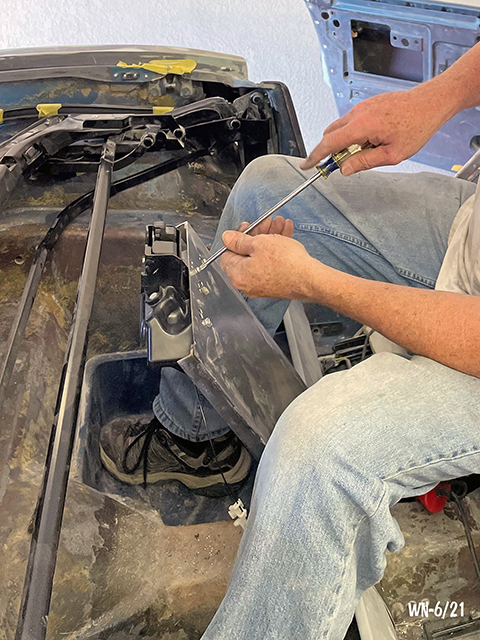
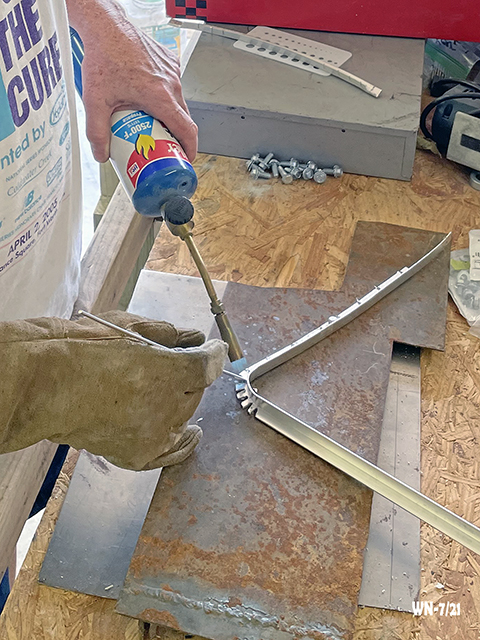
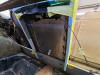
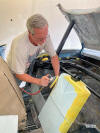
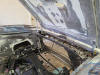
Engine Compartment Rain
Gutters -
7/19 |
|
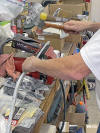
A little gentle persuasion of the aluminum angle |
 |
 |
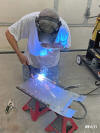
brazing the corners of the aluminum angle |
|
|
|
|
|
 |
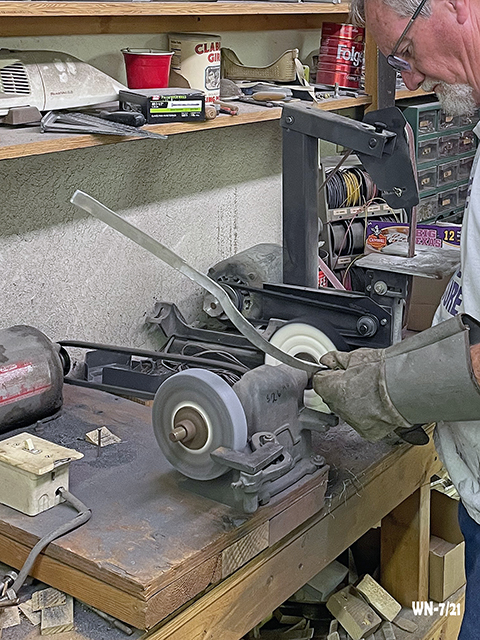
Polishing the face of the angle then test fitting |
 |
 |
|
|
|
|
|
 |
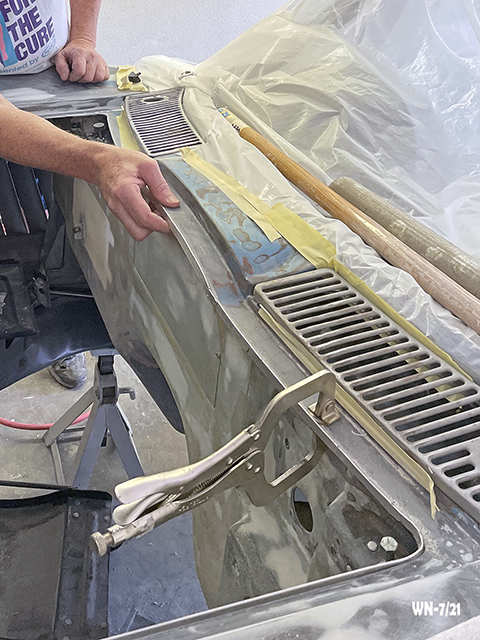
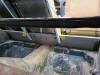
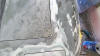
2/3 of the rain gutters are welded, polished and fitted to the
engine compartment surround |
 |
|
|
|
|
|
|
a view from the top, looking down on the 1/16" polished edge of
the rain gutter |
 |
 |
a few from the side (inside the engine compartment) |
|
|
|
|
|