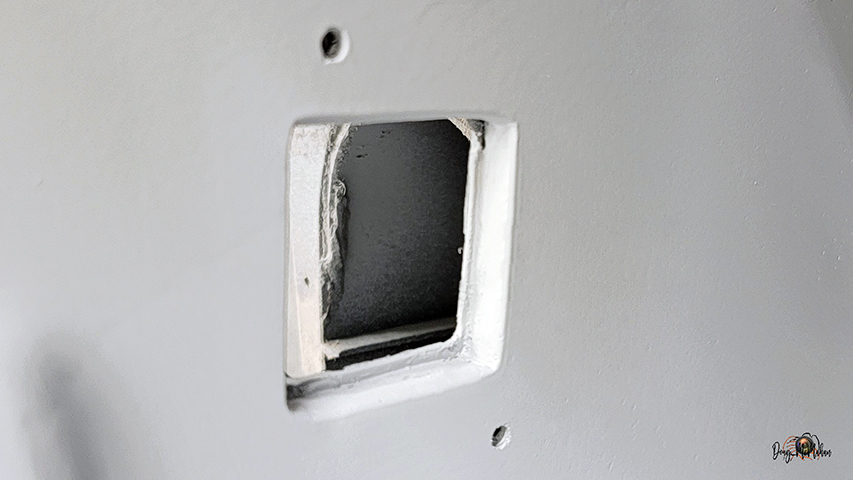
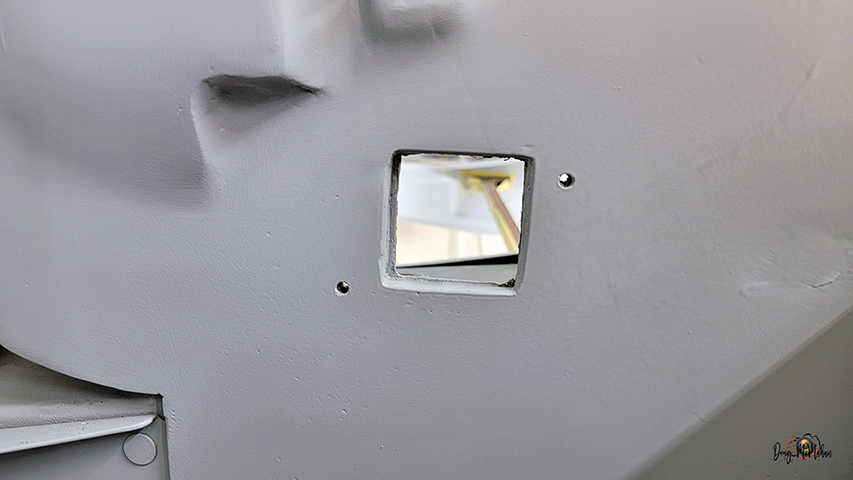
Finishing out the firewall cutout for the fuse box
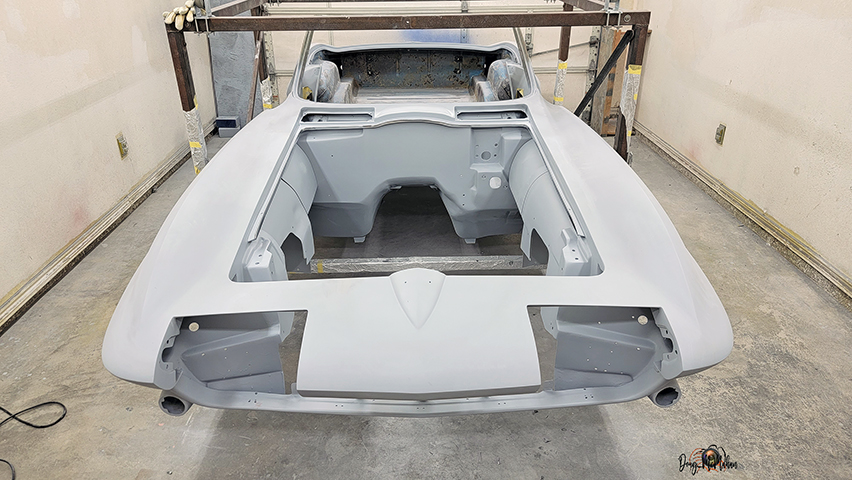
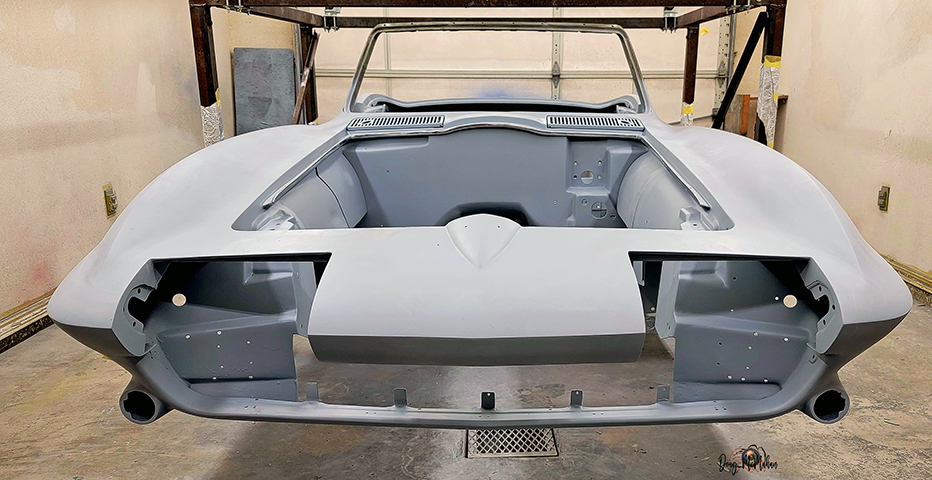
The Engine Compartment is complete and ready for paint, before
putting it on the frame
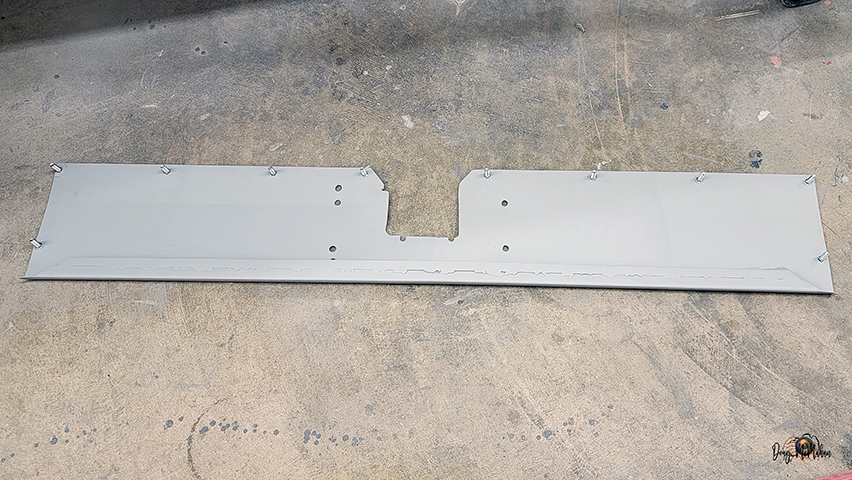
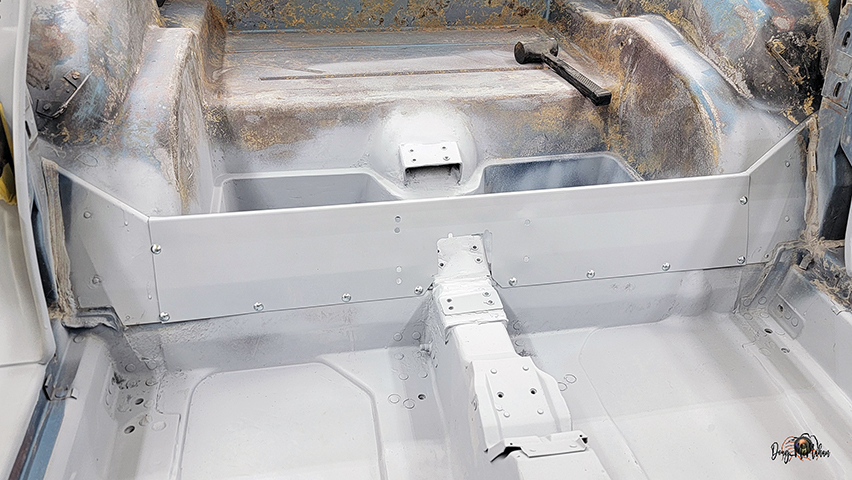
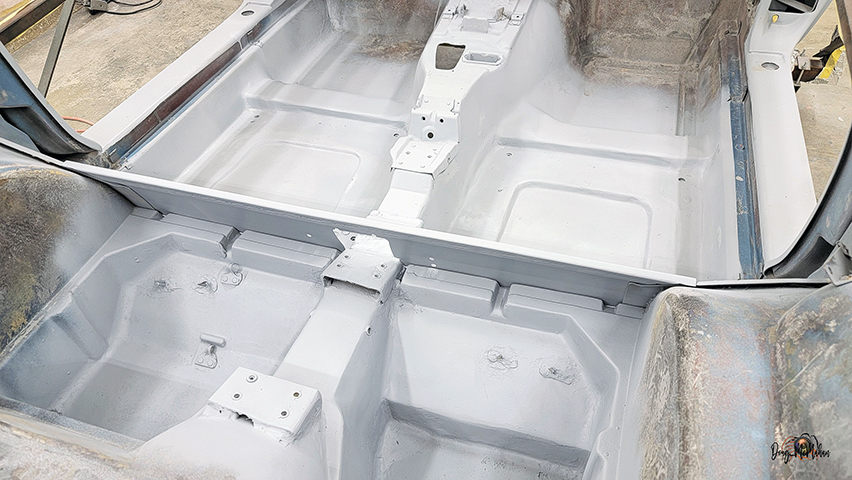
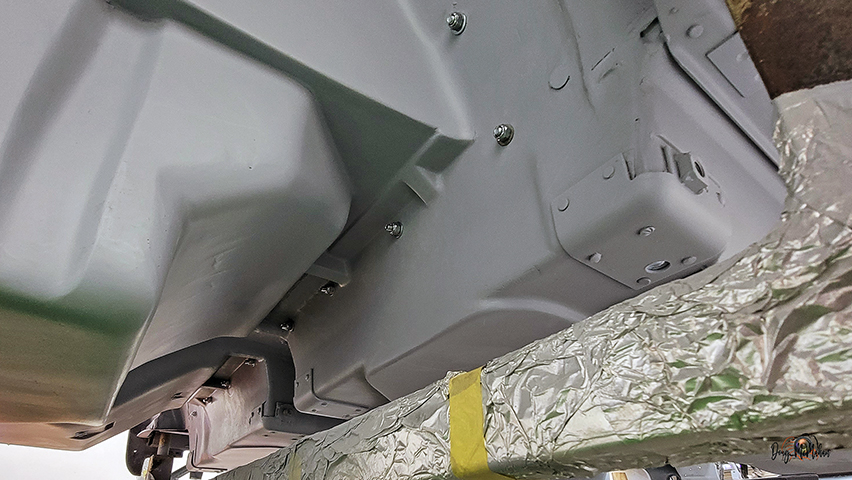
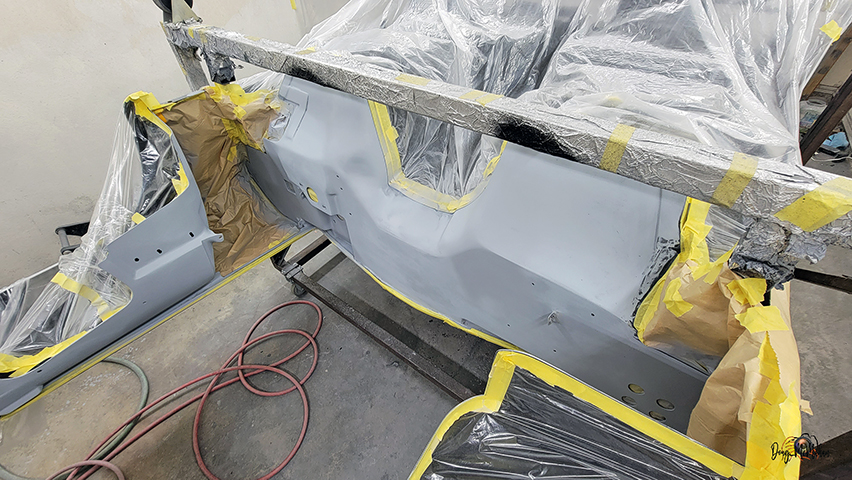
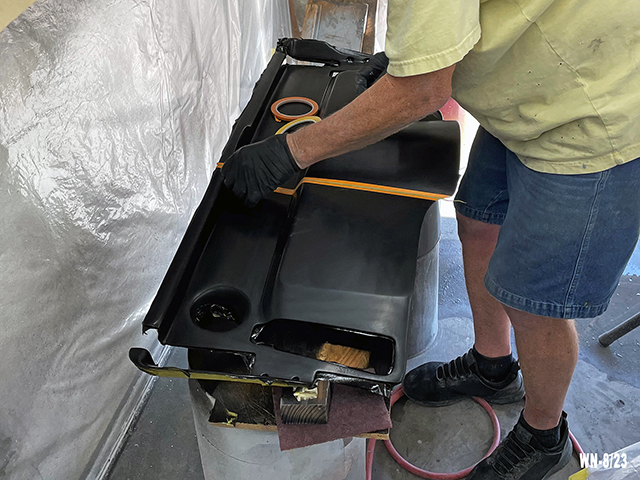
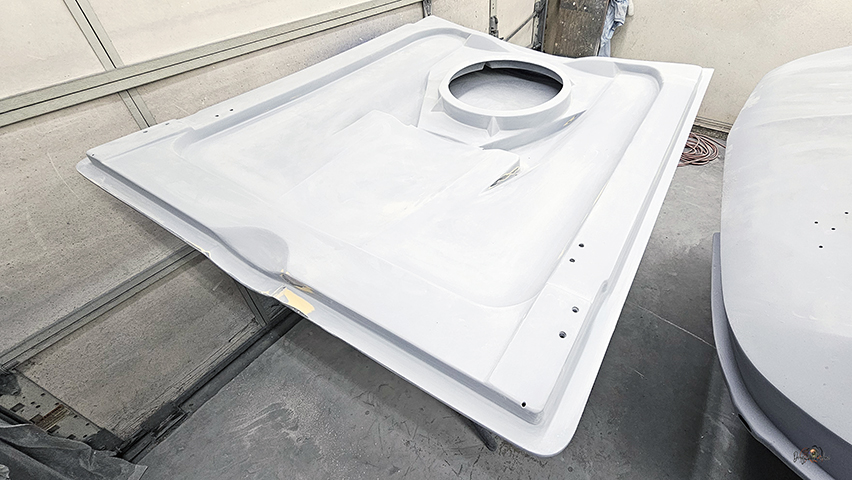
Finishing the passenger compartment bulkhead / package tray piece
-
all primed and bolted (not riveted) in now
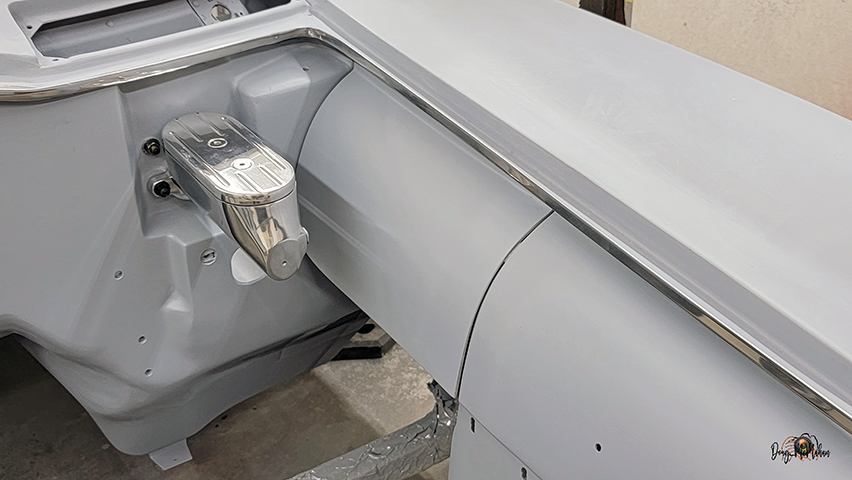
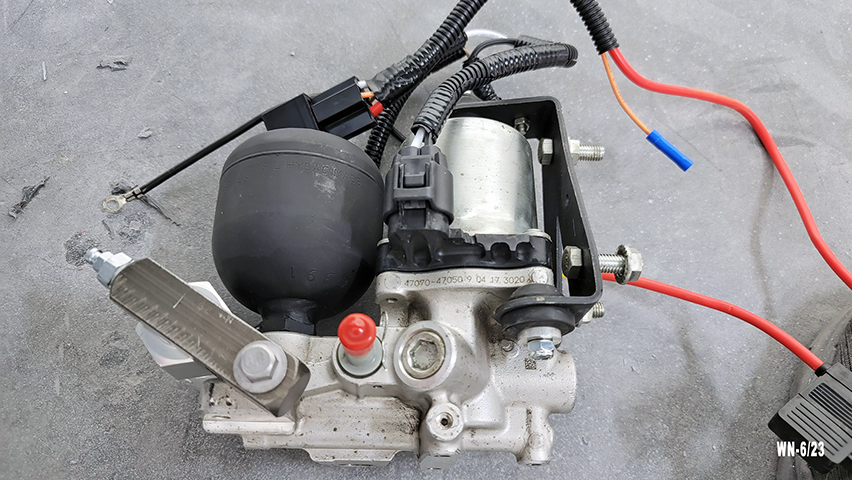
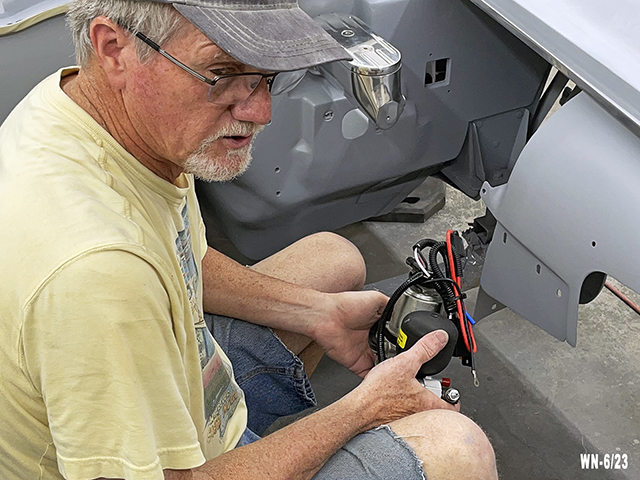
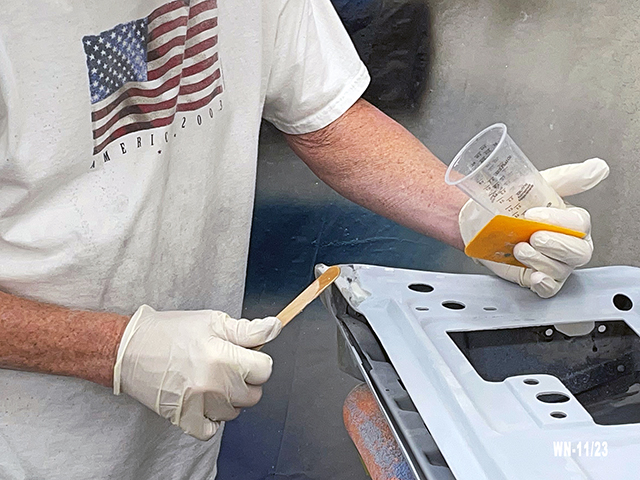
Electric Power Brake Fitment
- 6/8
Test fitting the new Master Cylinder and electric power brake
unit
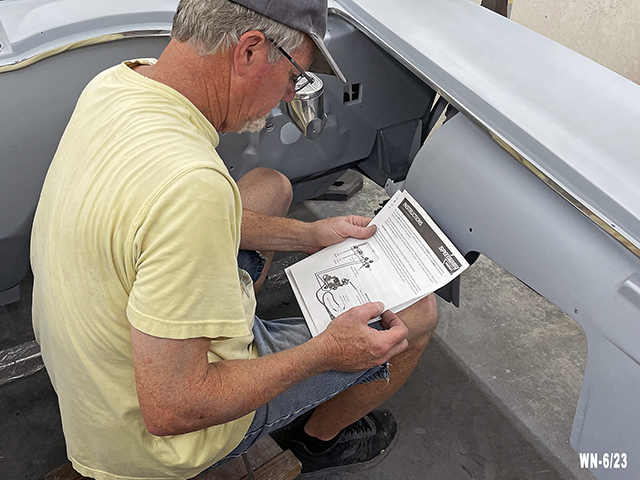
It is small and yes, Doug does read the instructions,
occasionally
Took some time off the
project for Family Vacation
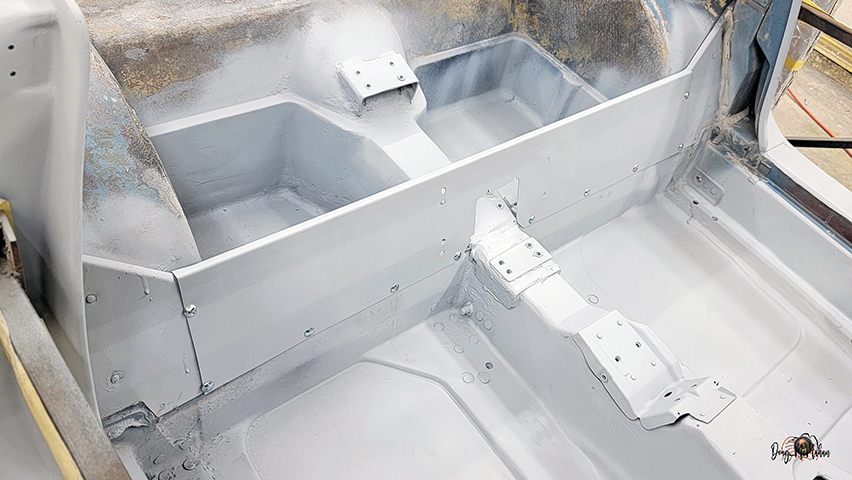
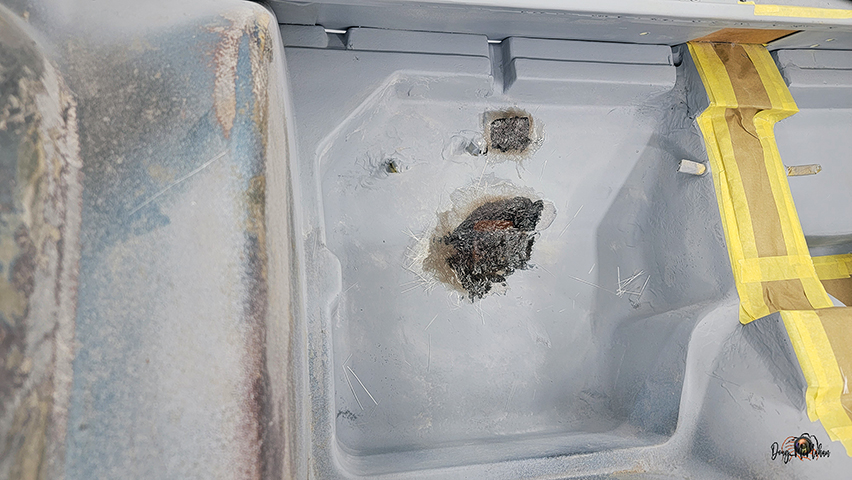
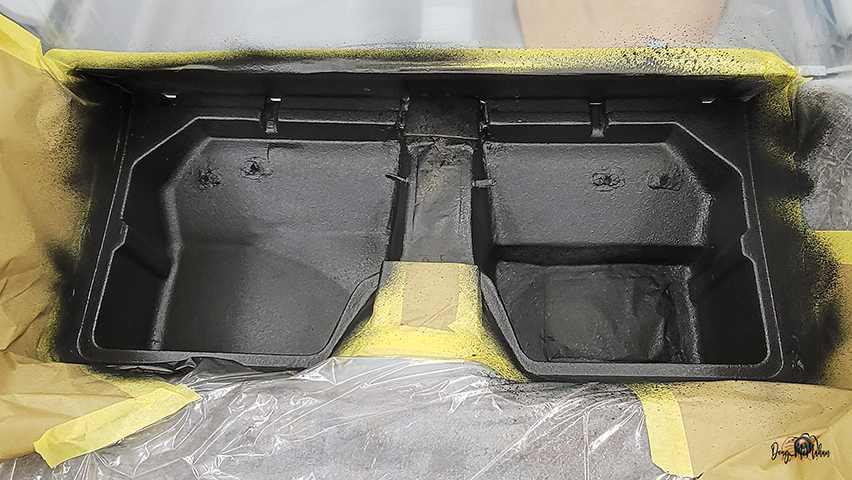
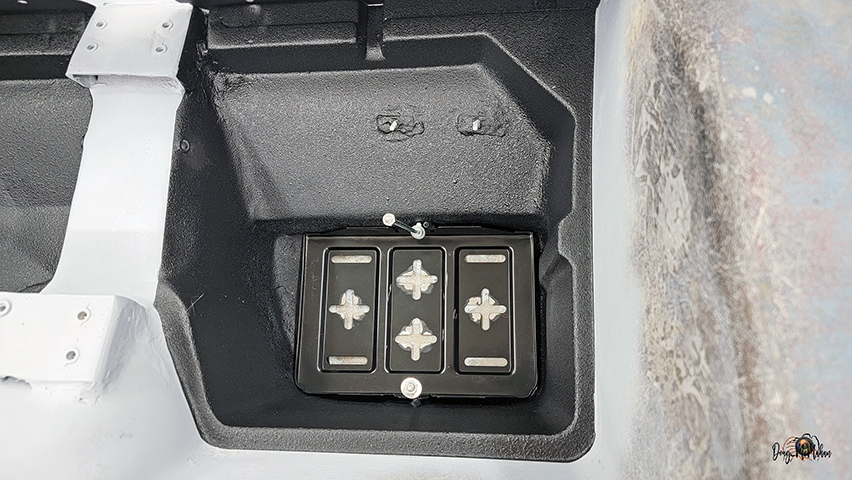
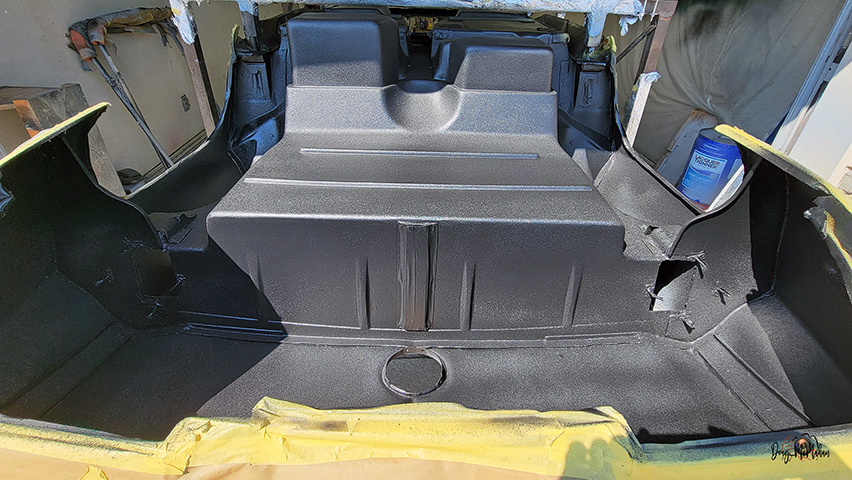
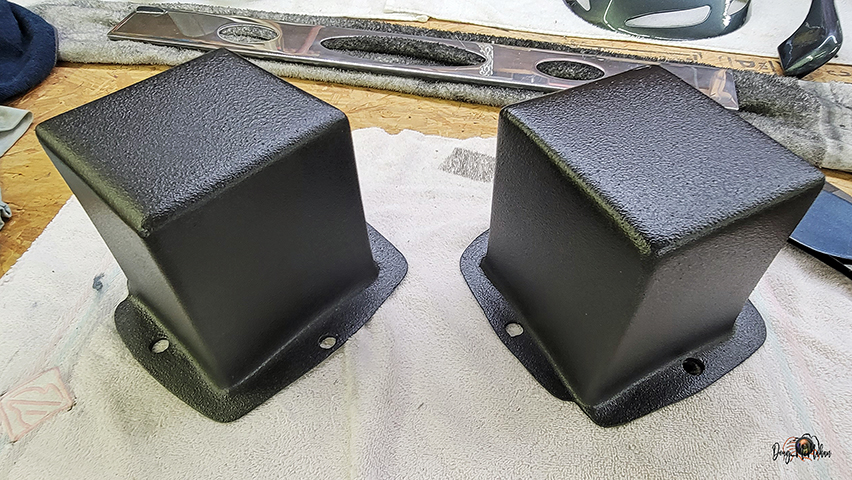
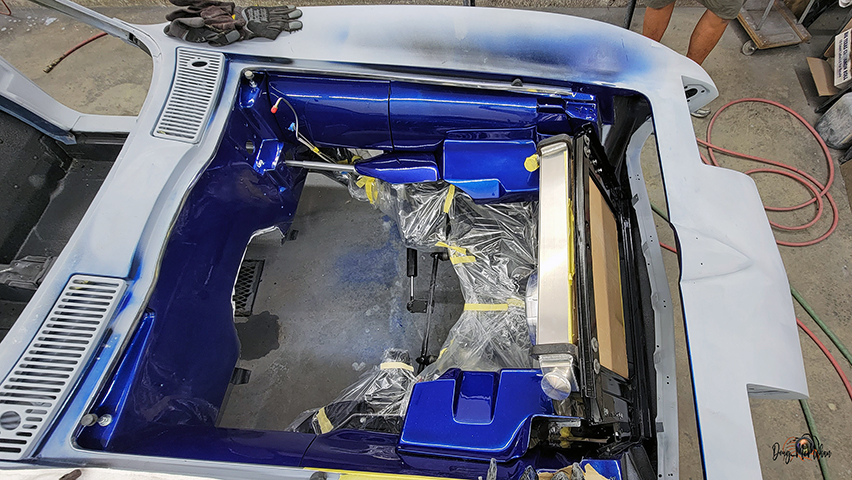
Rear Compartments
- 6/28-30
Decided to remove the jack hooks - since they wouldn't work with
the speaker pod
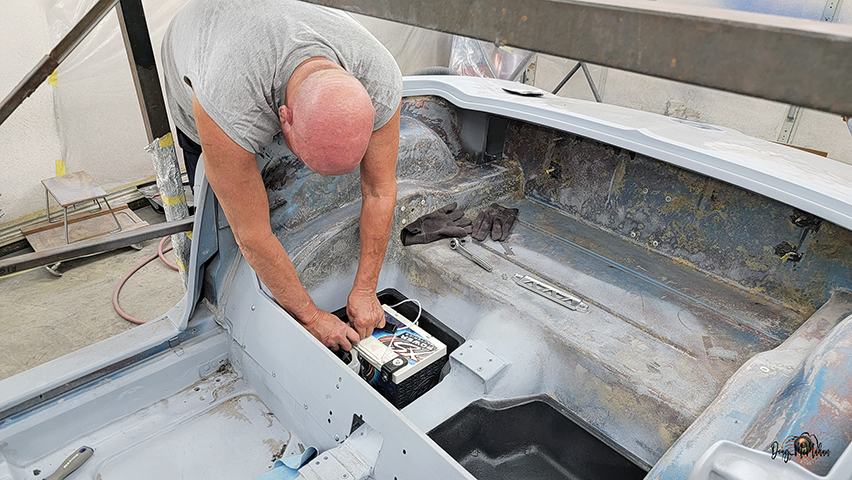
Initial test fit of the battery in the deepened compartment
behind the passenger.
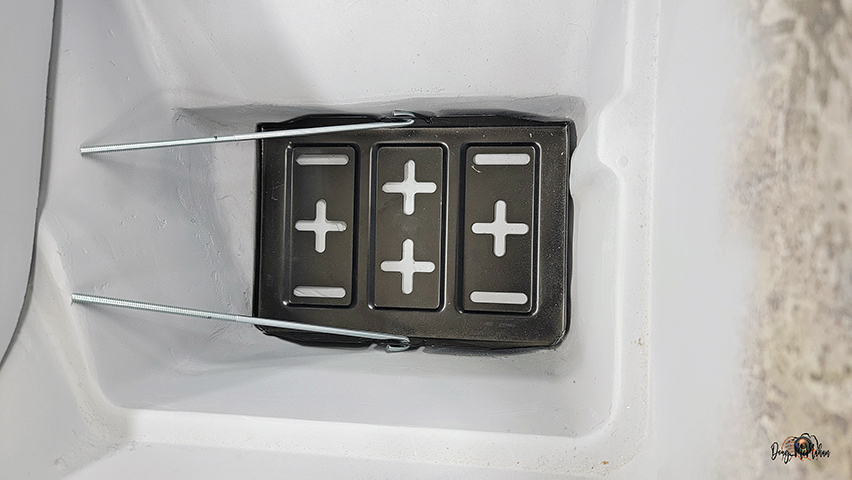
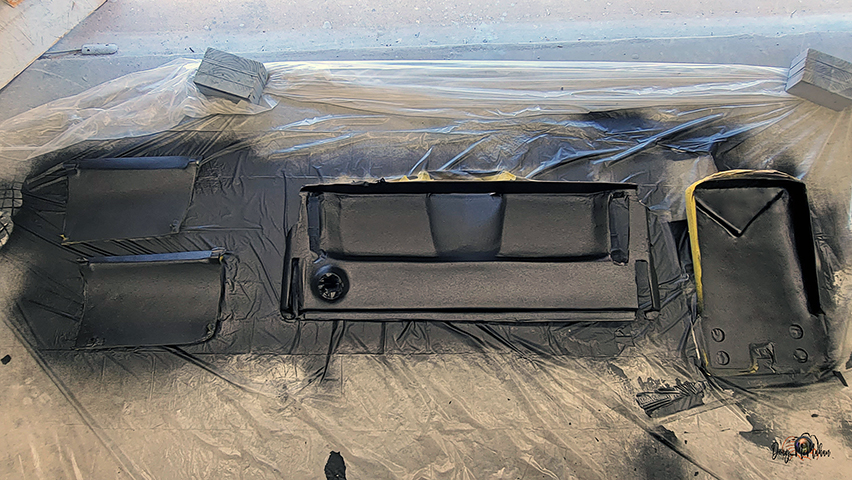
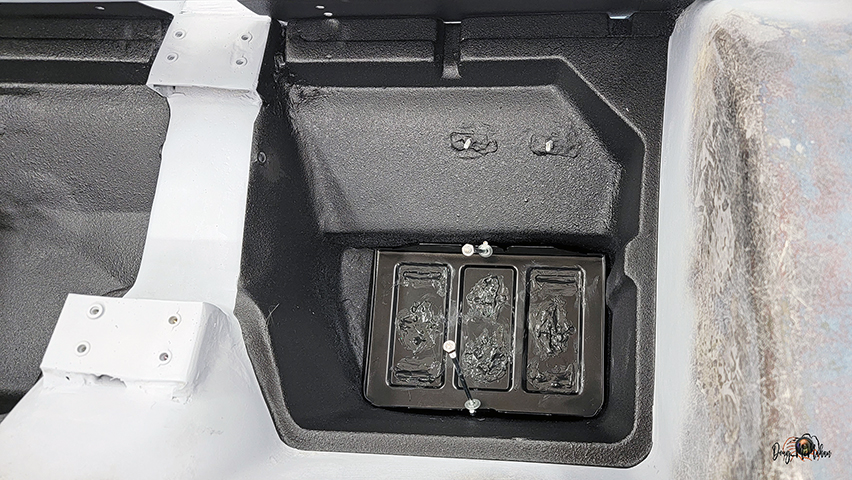
Time to Raptor spray a few parts, including the compartments
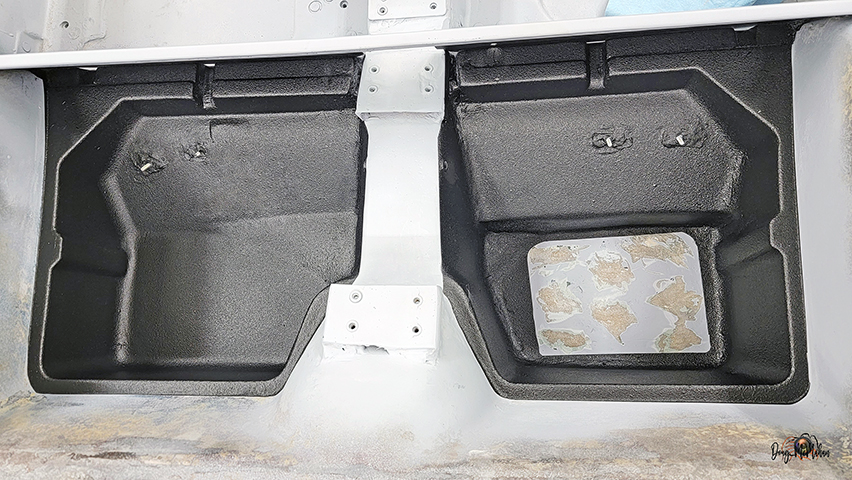
we left the center of the battery compartment un-Raptored so
Battery Tray could be Epoxied to floor
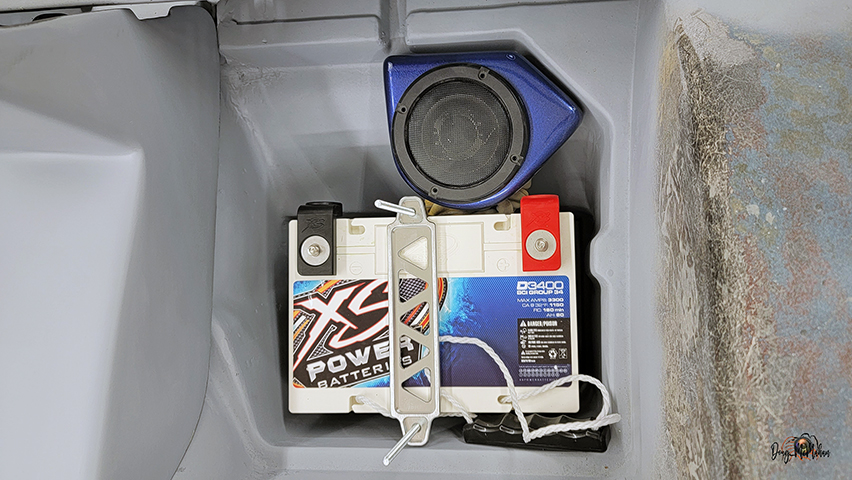
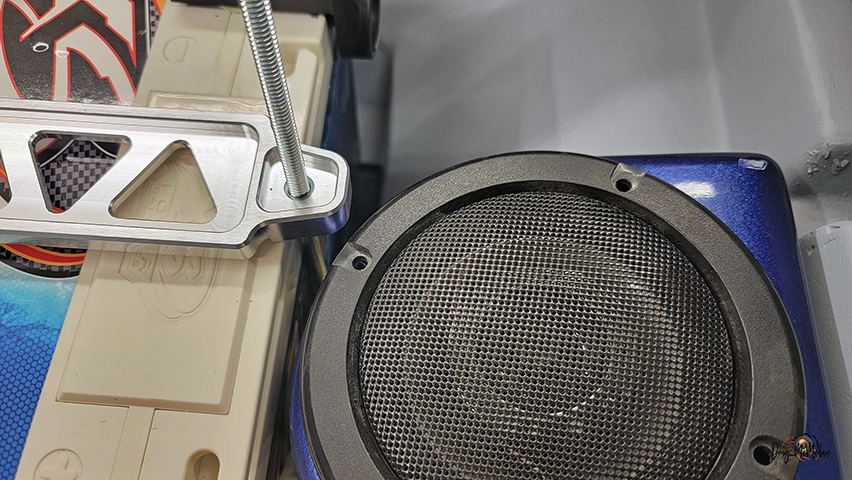
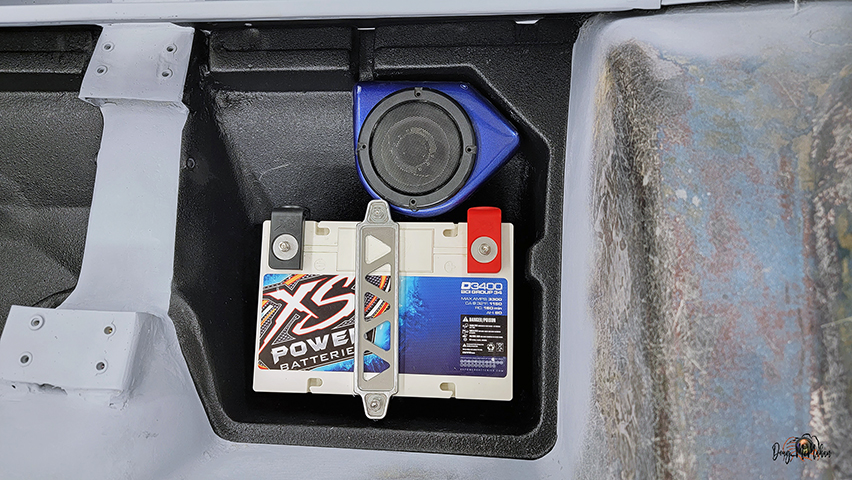
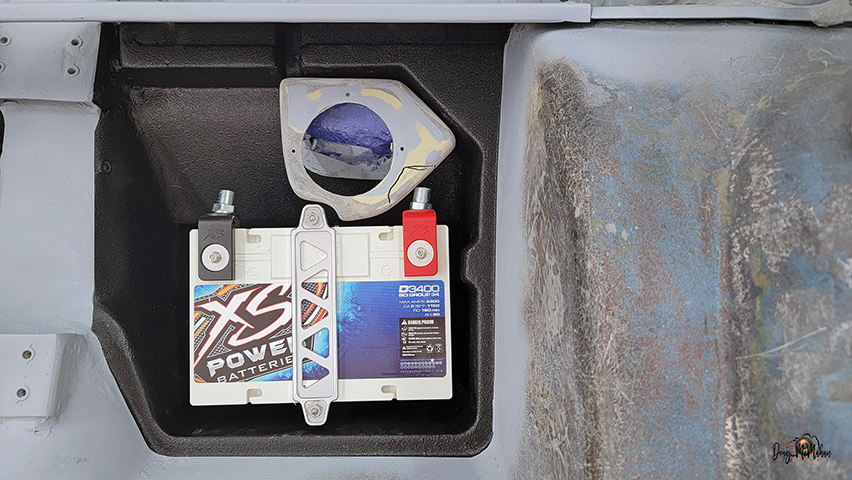
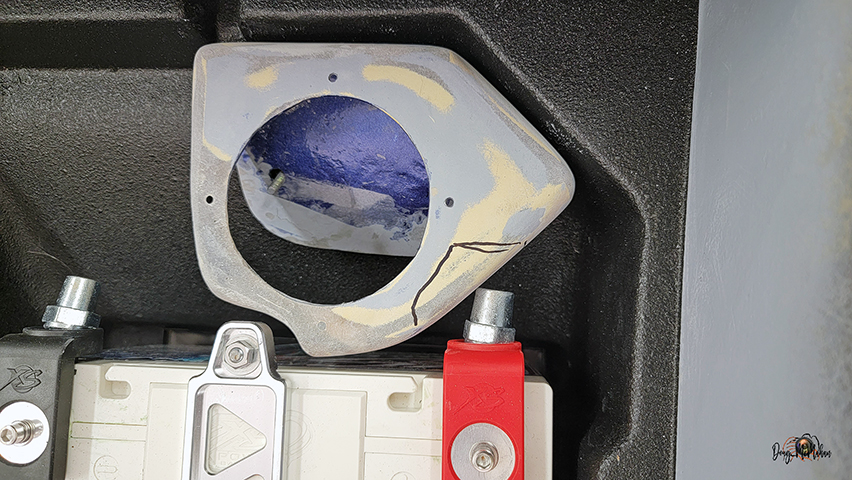
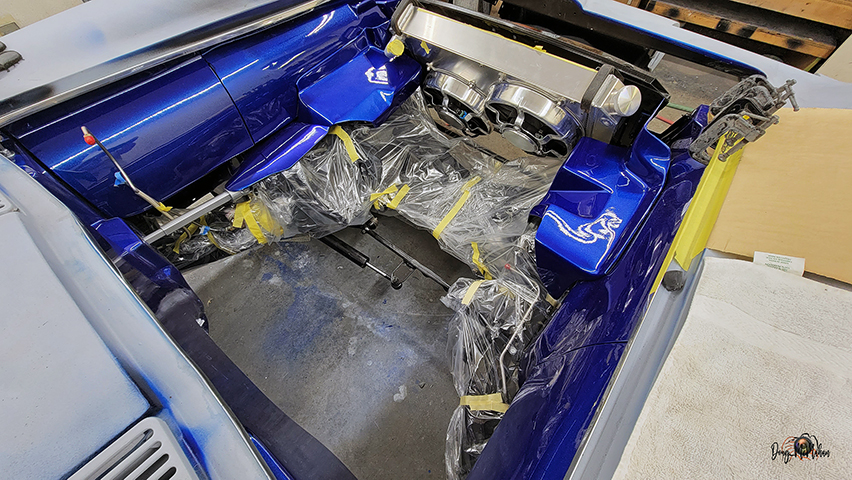
2nd Test fit of the battery uncovered some additional clearance
issues with the battery posts and the speaker pod.
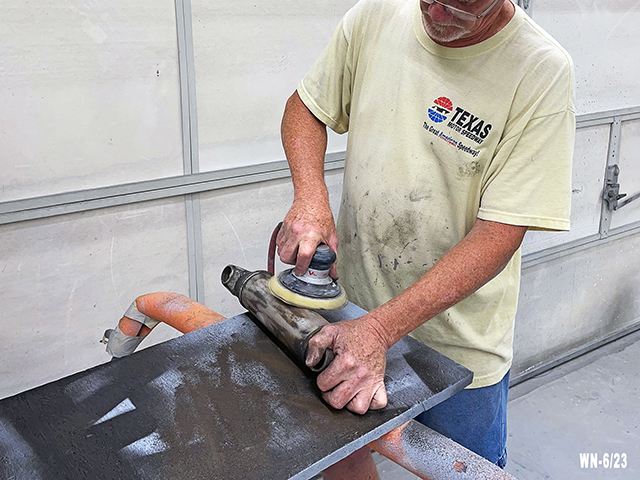
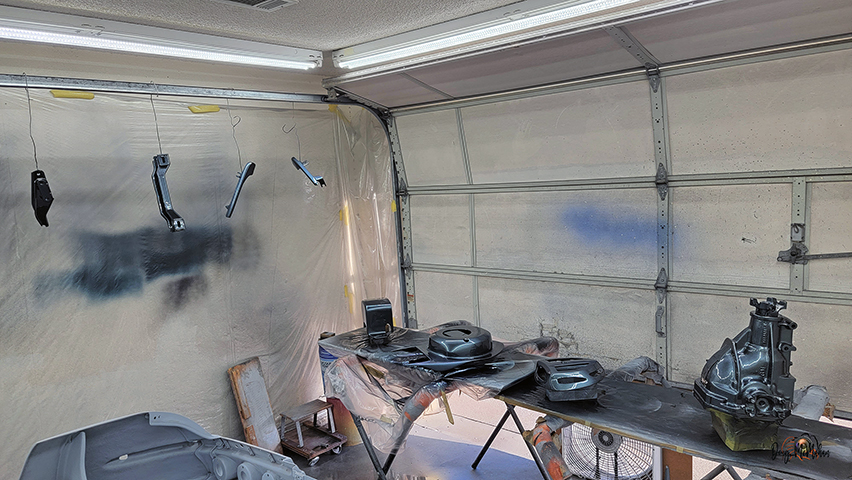
Cleaning & Painting More
Parts
- 6/29-30
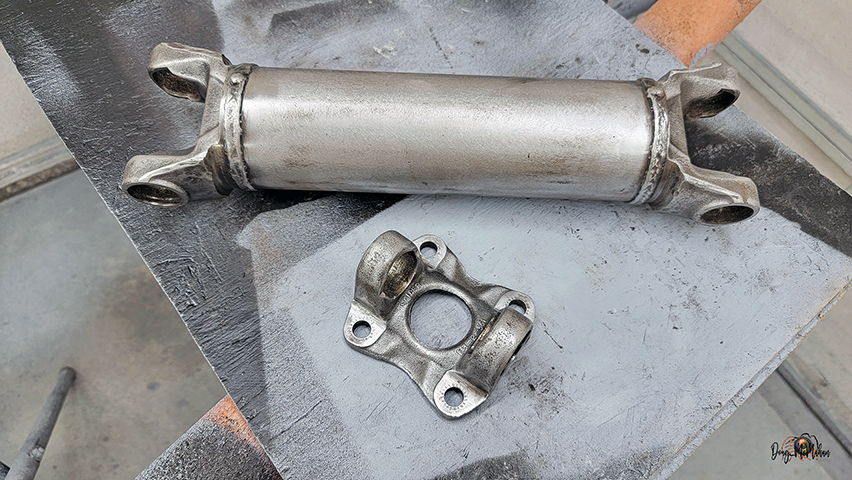
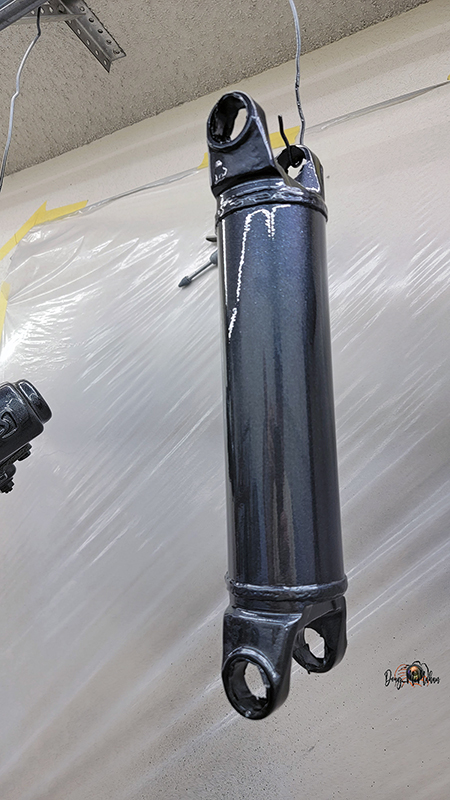
Stripping the paint and sanding the rear-end half shafts
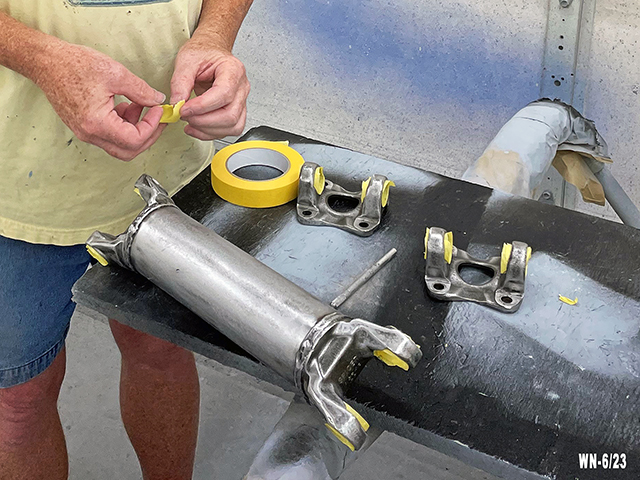
Masking of the U-Joint surfaces before priming the parts
Cleaning & Painting More
Parts - 6/29-7/6
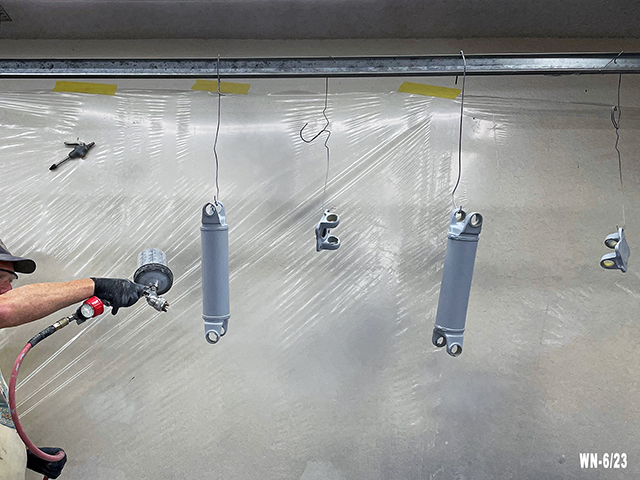
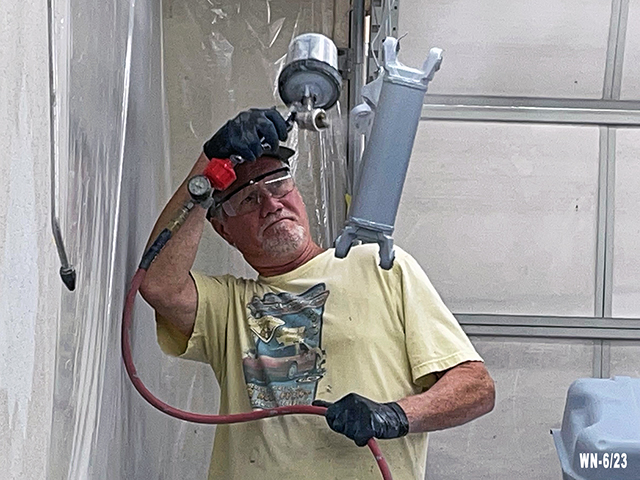
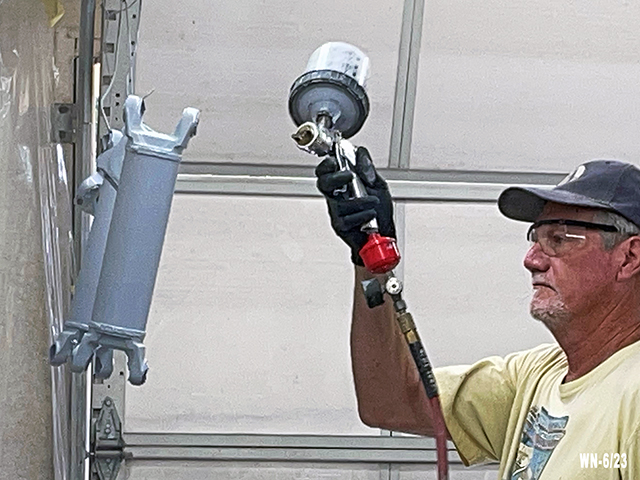
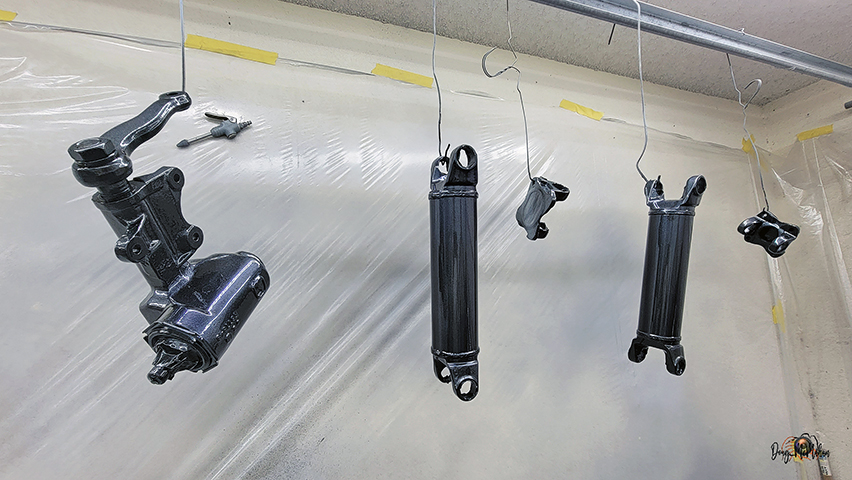
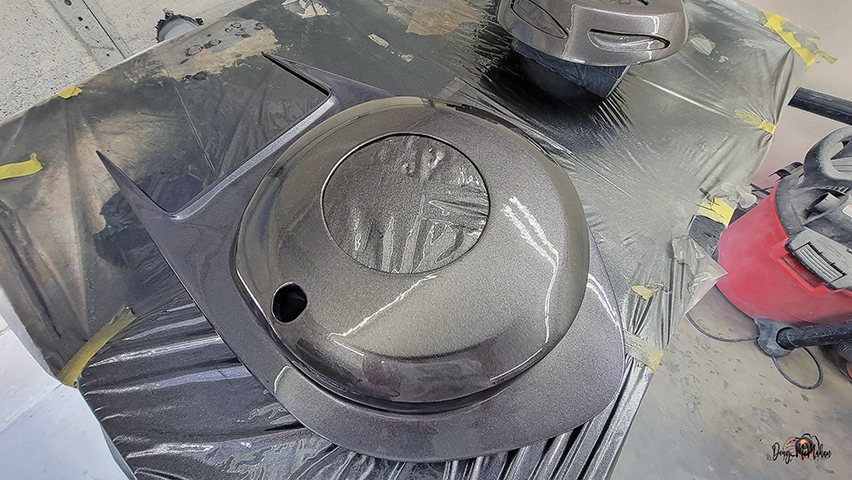
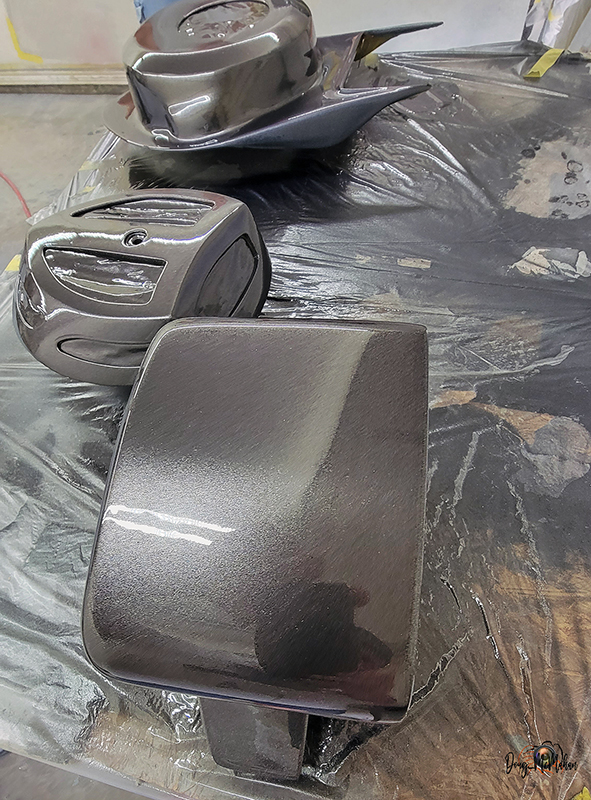
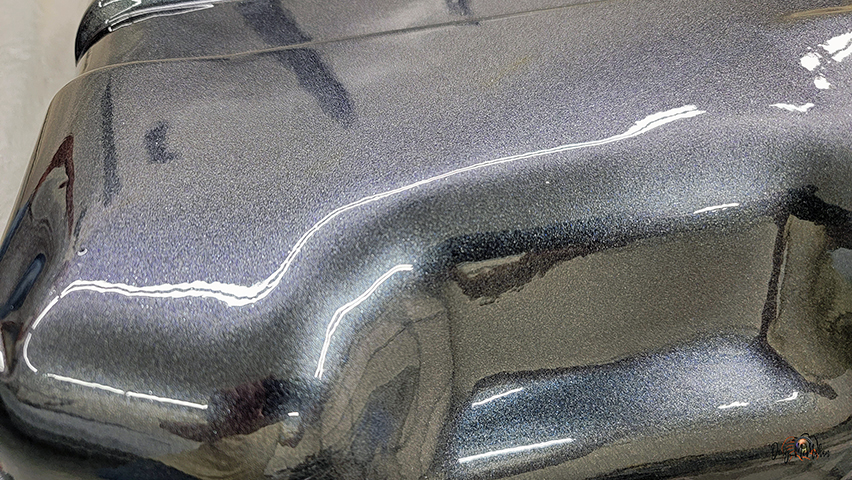
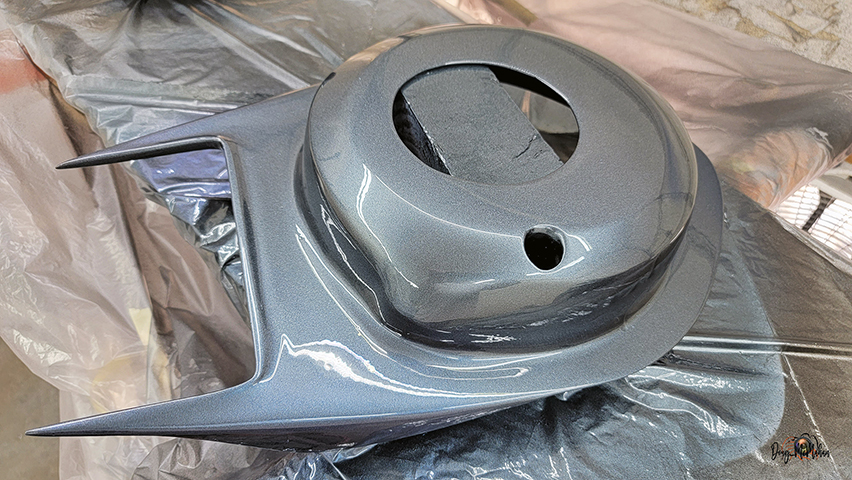
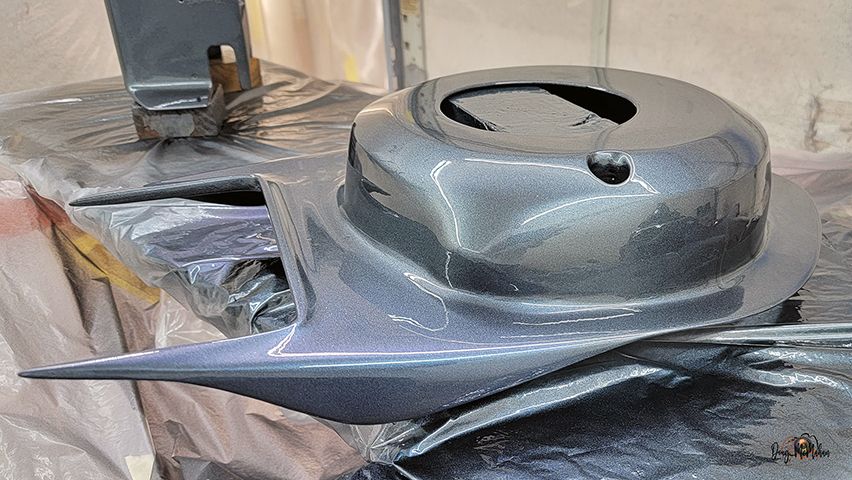
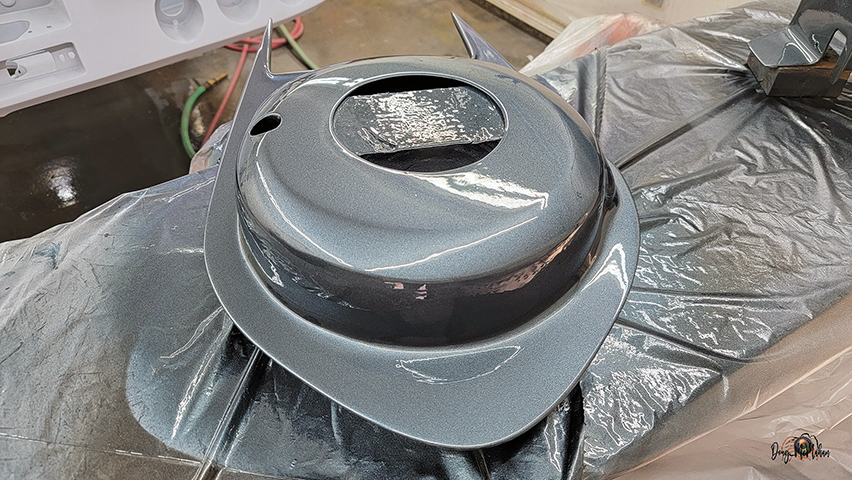
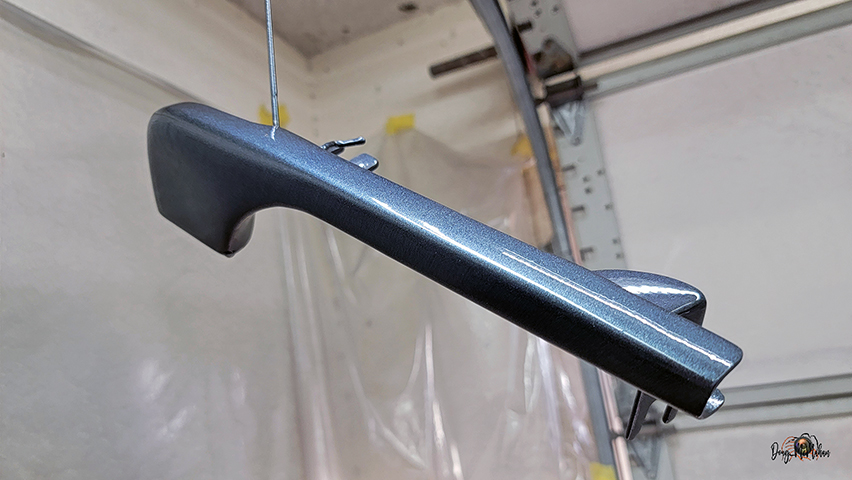
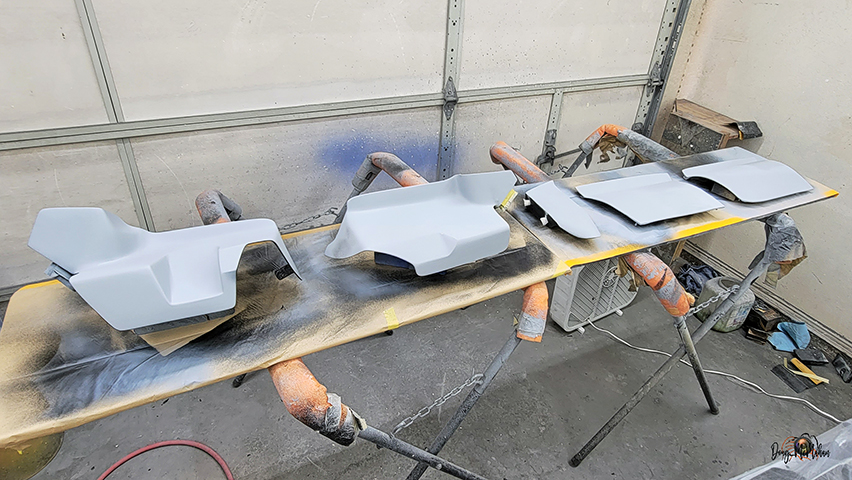
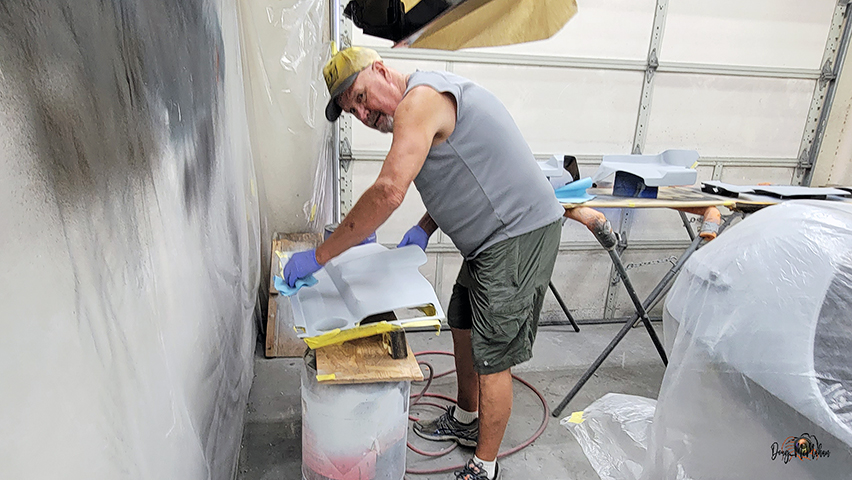
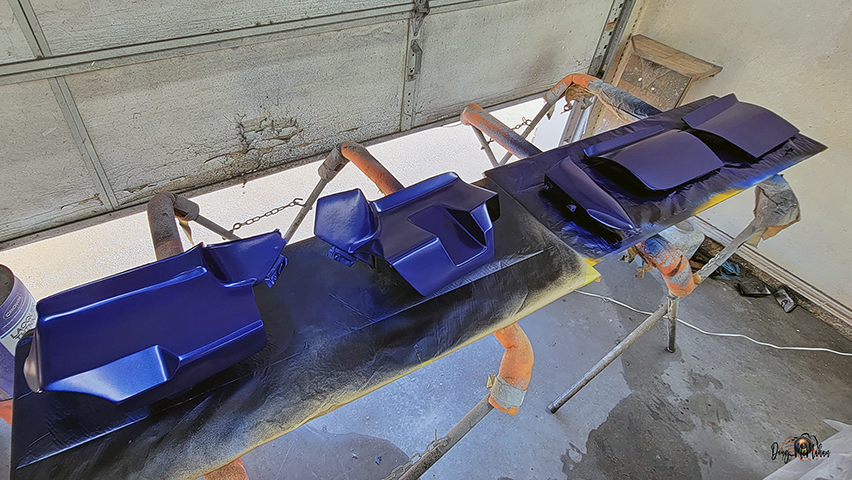
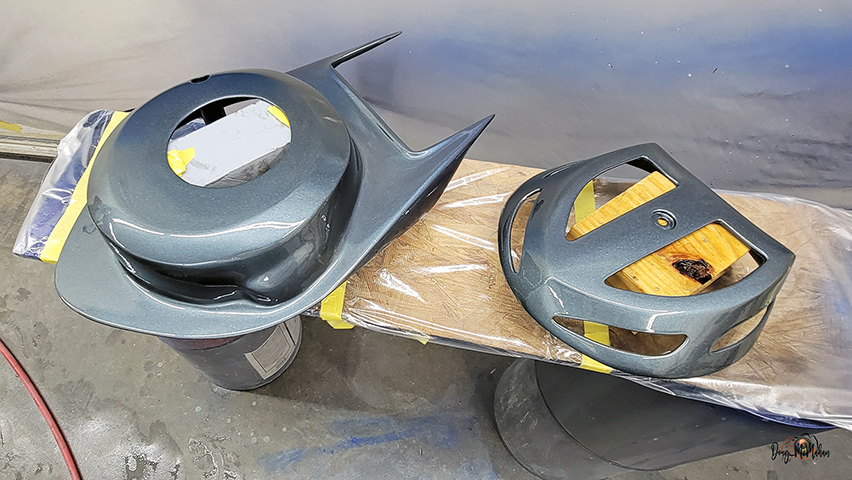
Finally laying finish color to some of the parts ...a special 4
stage sprayout which started with HOK Galaxy Grey, colorshift
pearl, diamond dust & HOK Show Klear - we nicknamed this
color "Sting Ray Grey"
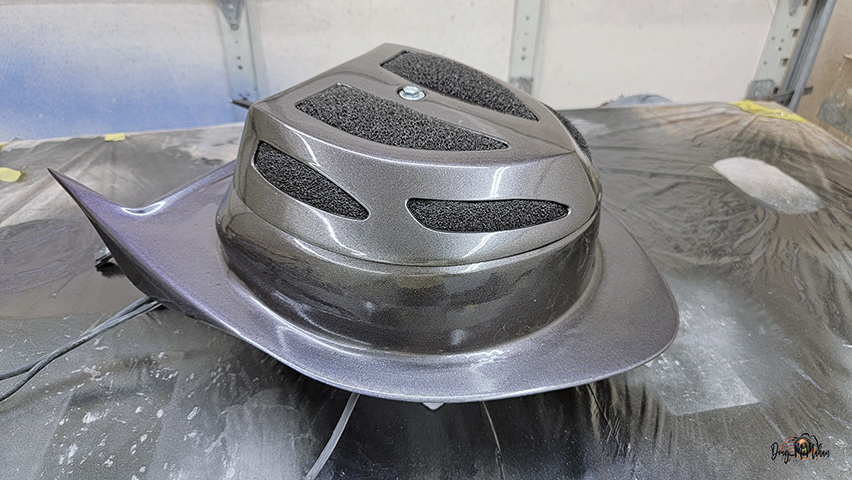
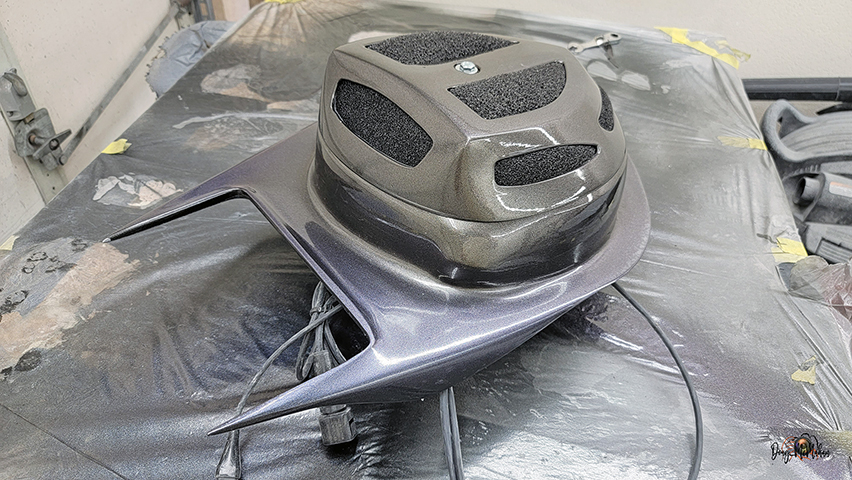
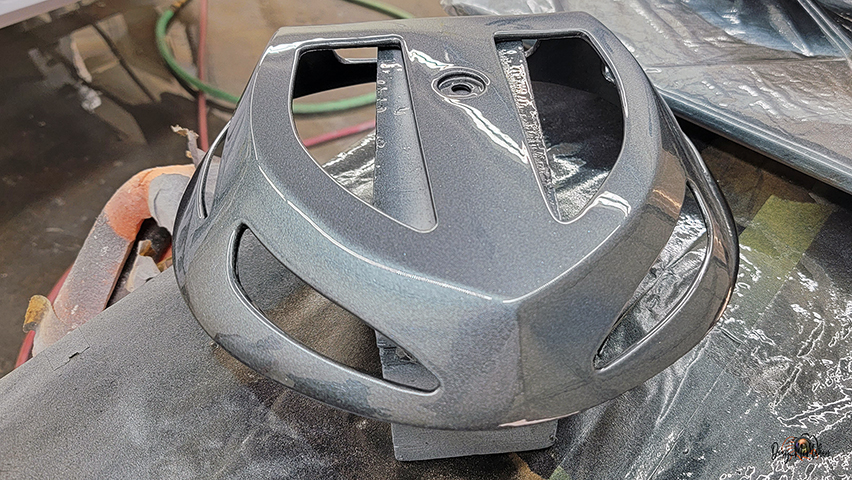
several of the parts had to be sprayed in two settings since
they could not be hung up
so you paint one side, then carefully & strategically mask off
the painted side
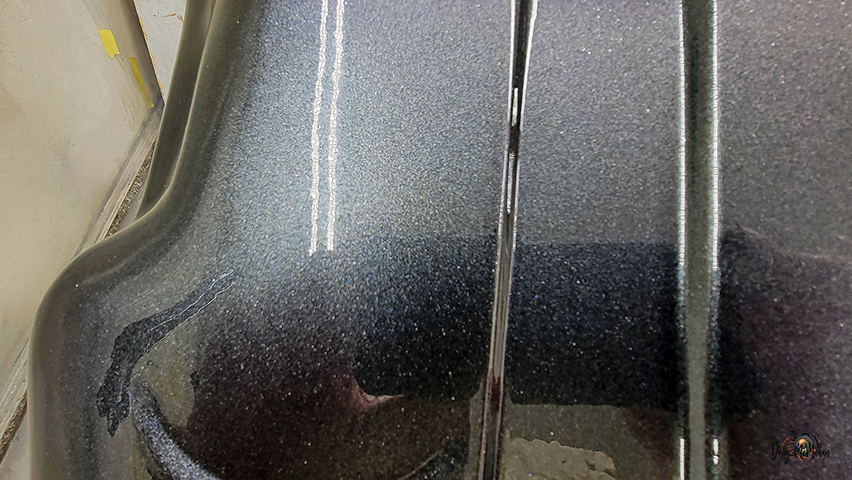
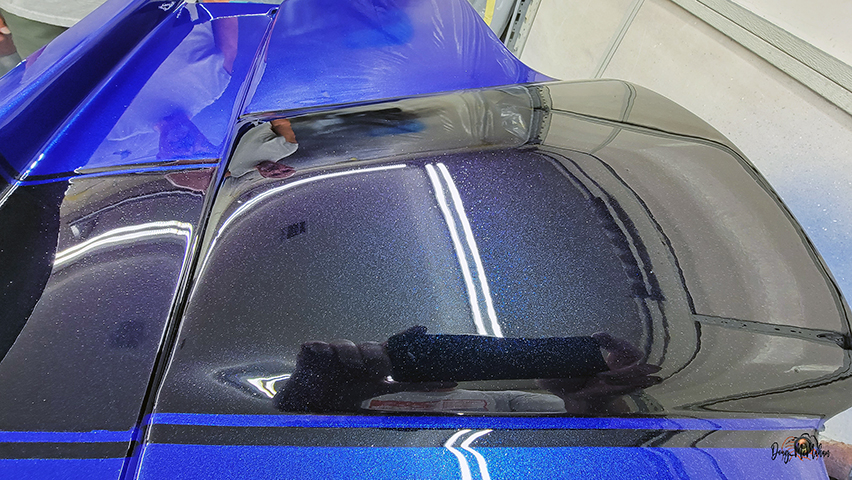
These parts haven't been cut or buffed ...the colorshift pearl
and diamond dust is visible even under shop lights.
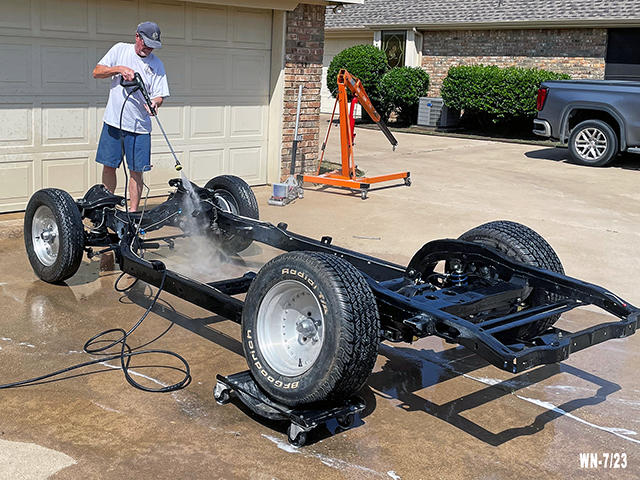
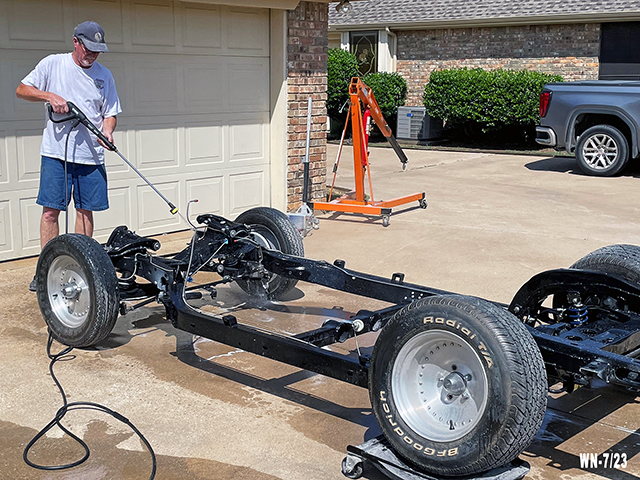
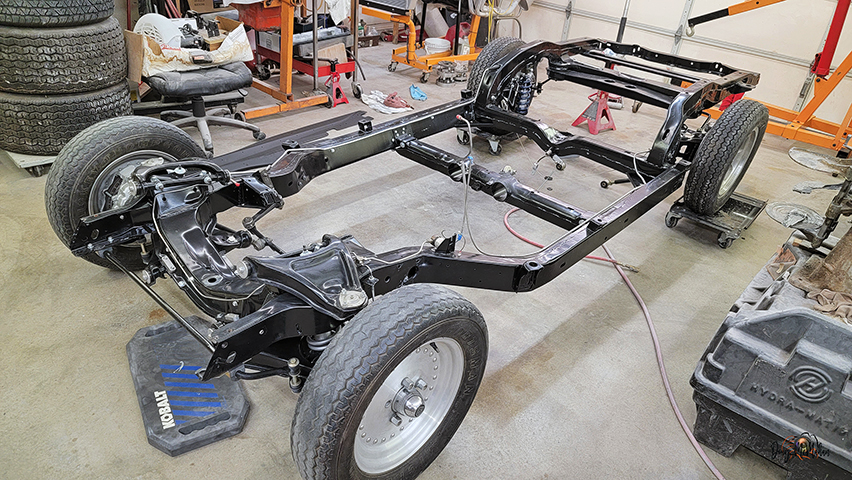
The frame hadn't been cleaned since it was finished, a couple of
years now. Time to finish it up so the body can be mounted for
the last time.
FYI: the half-shafts are out - messing up the rear alignment ;)
Need to clean some primer overspray off the frame and repaint a
few parts
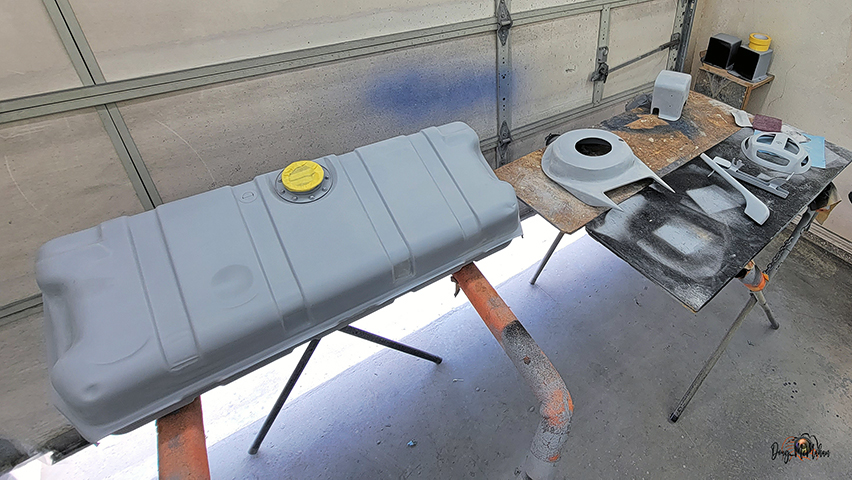
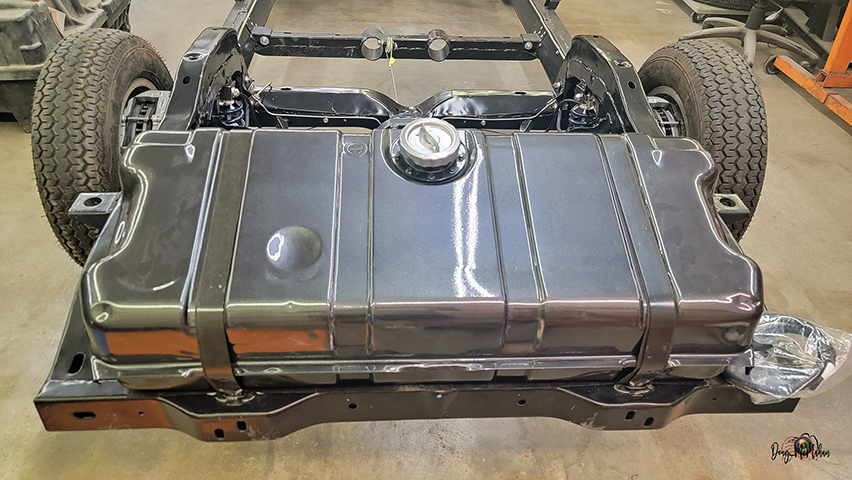
the parts will be painted the custom StingRay Grey, like the gas
tank
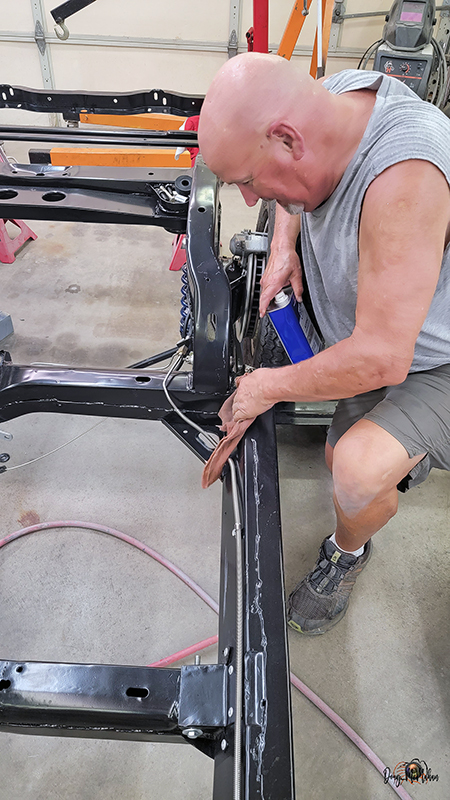
Cleaning up Overspray
(it happened) - 7/12
William took on the task of removing primer overspray off the
frame - great job!
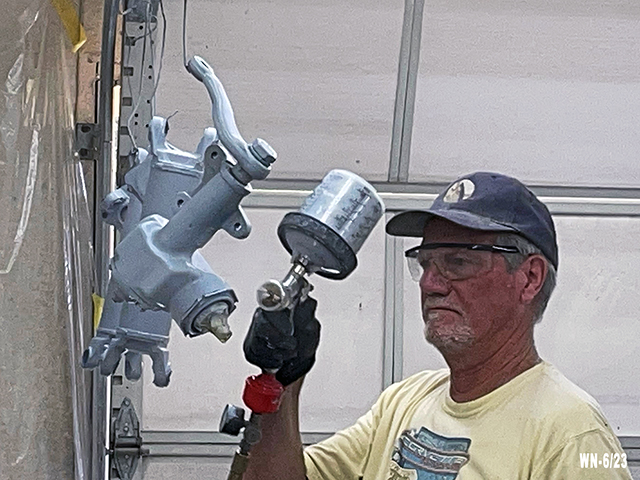
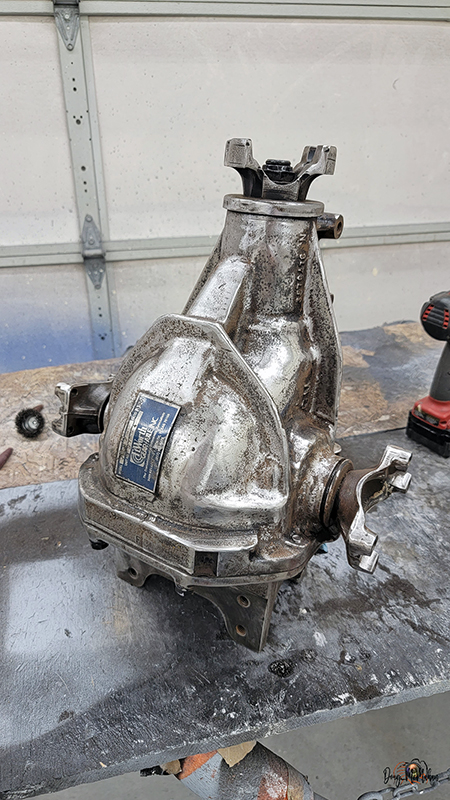
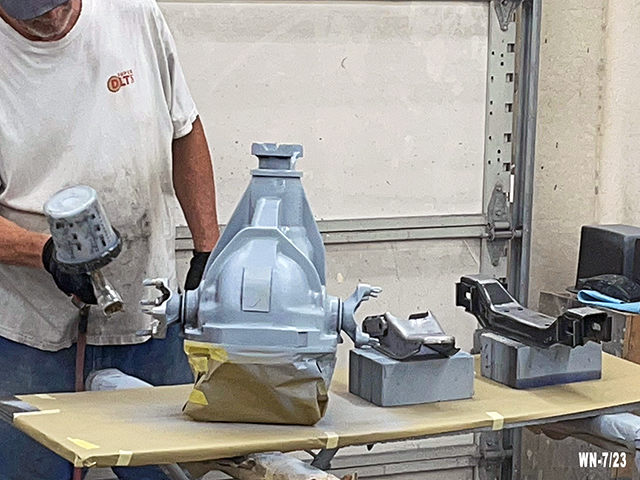
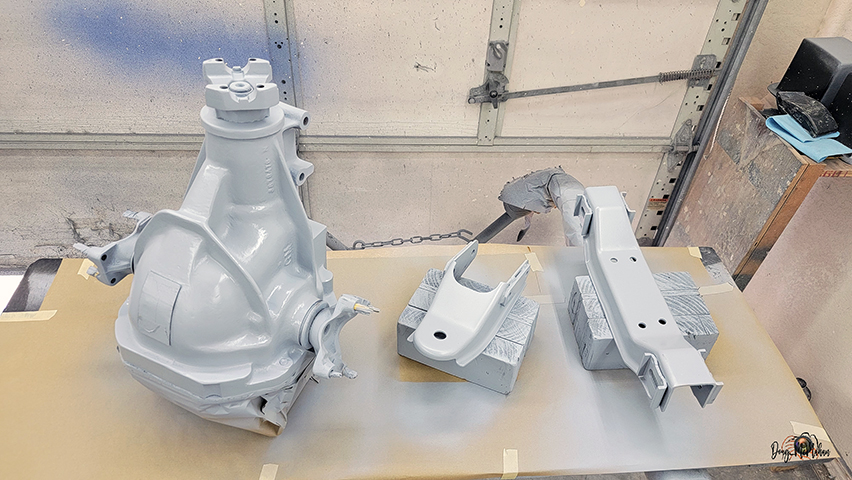
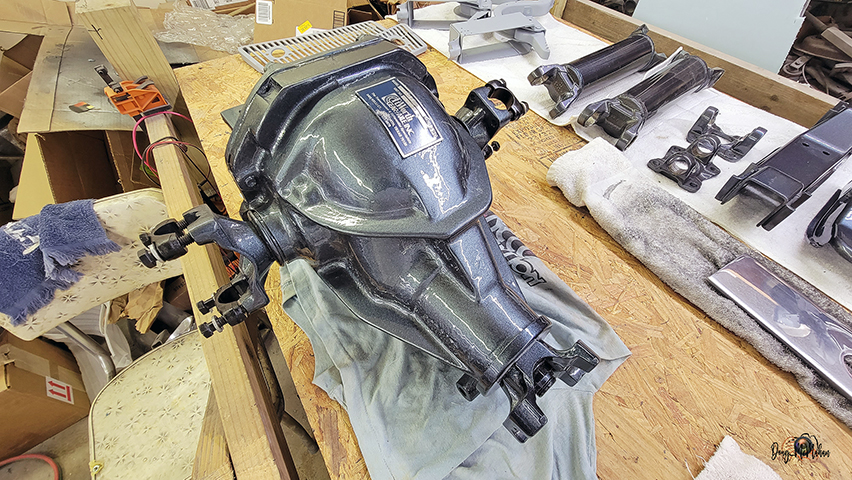
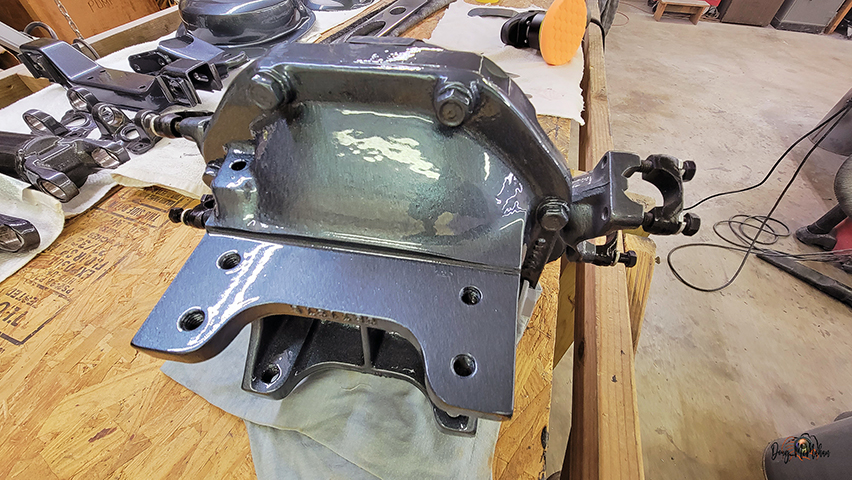
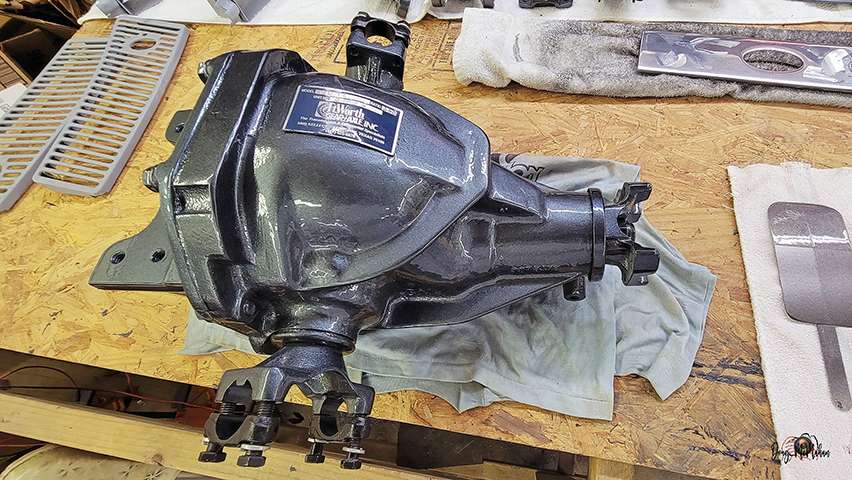
Making Ugly Look Good - 7/12-17
The old ugly differential kept bugging me ...so we decided to
clean-up the ugly and make it pretty
Sanding, grinding and prep to get it pained with HOK KD3000
sealer / primer
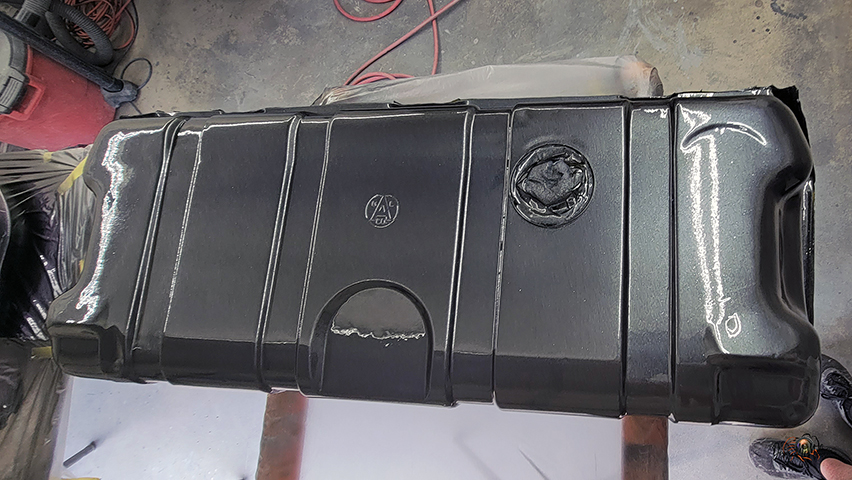
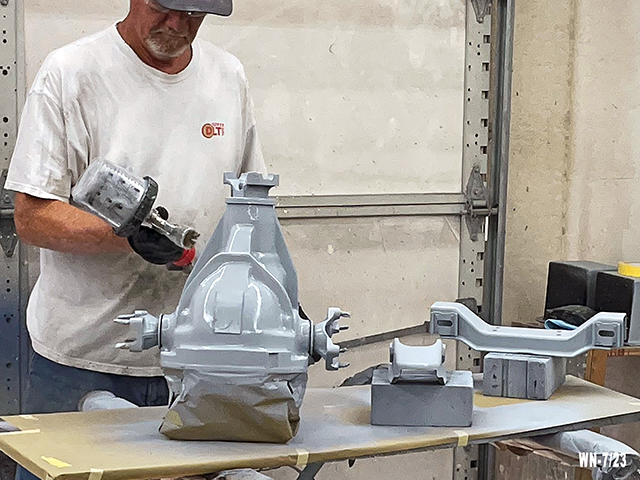
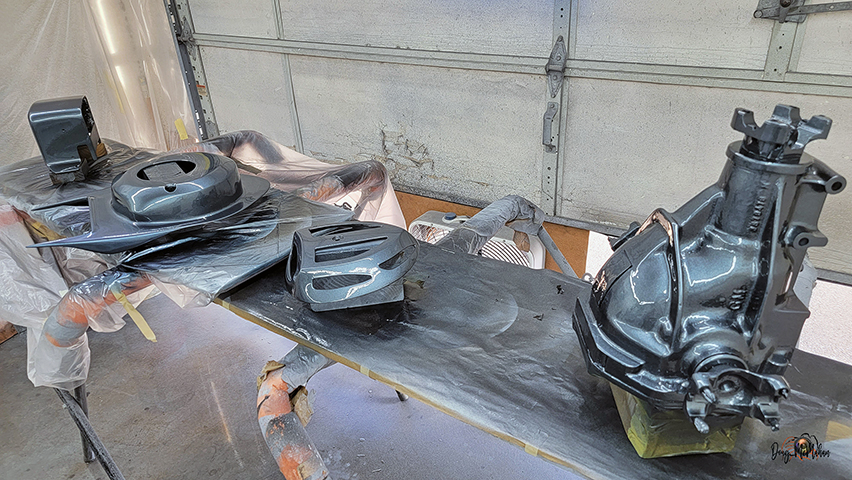
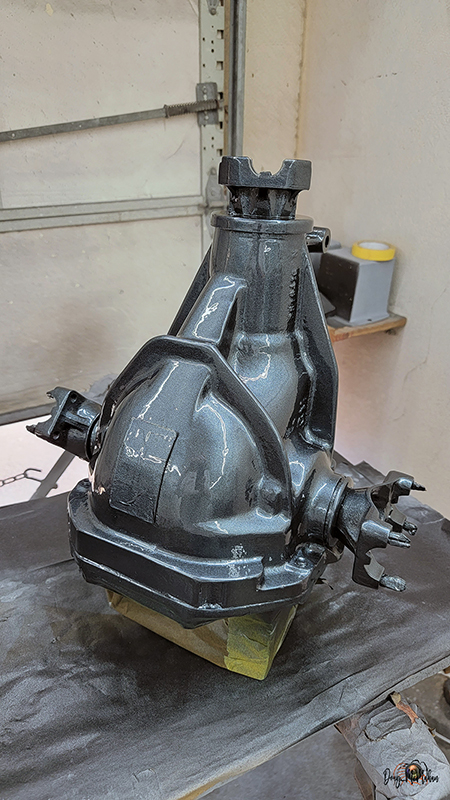
The differential and parts are now HOK special-blend of
"Stingray Gray"
The Diff had to be sprayed in two settings since it was too
heavy to hang
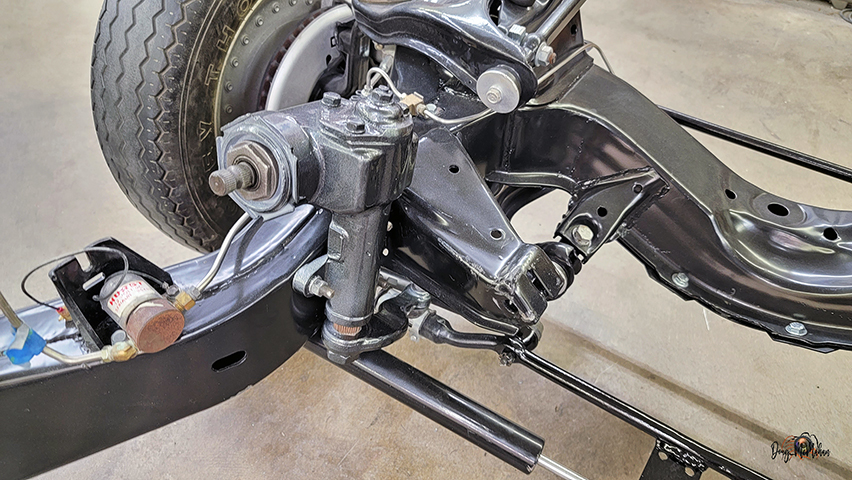
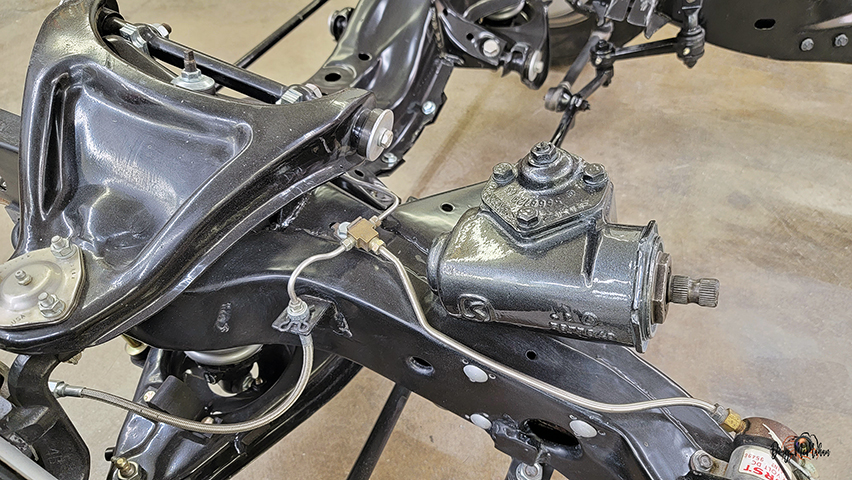
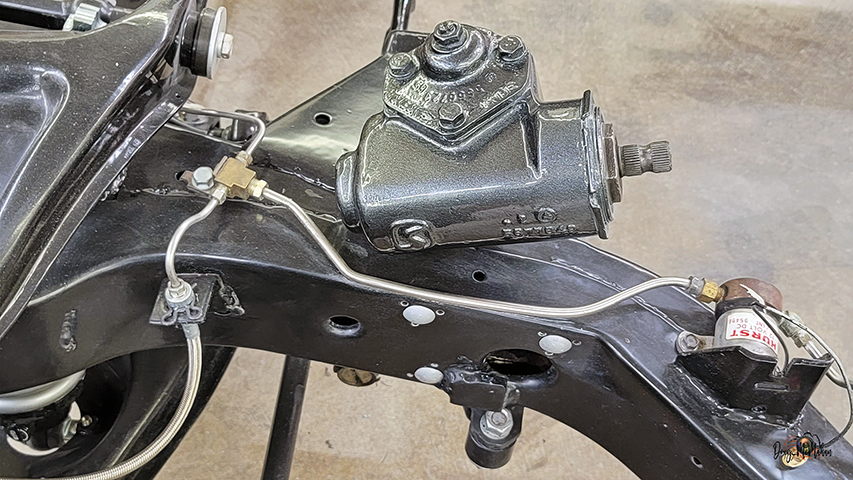
Mounting the Steering Gearbox - 7/14
The painted steering gearbox installed
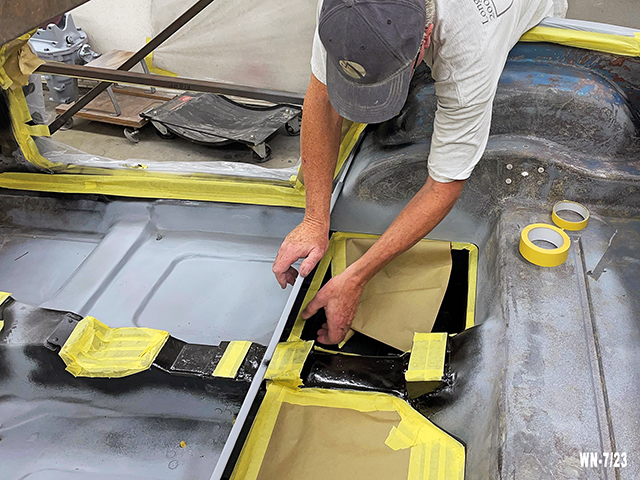
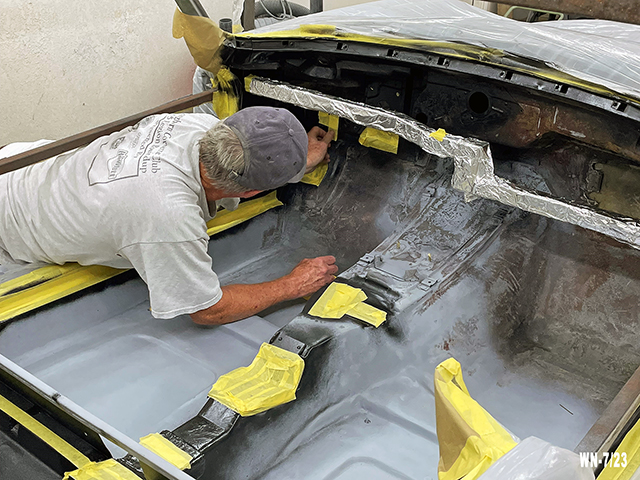
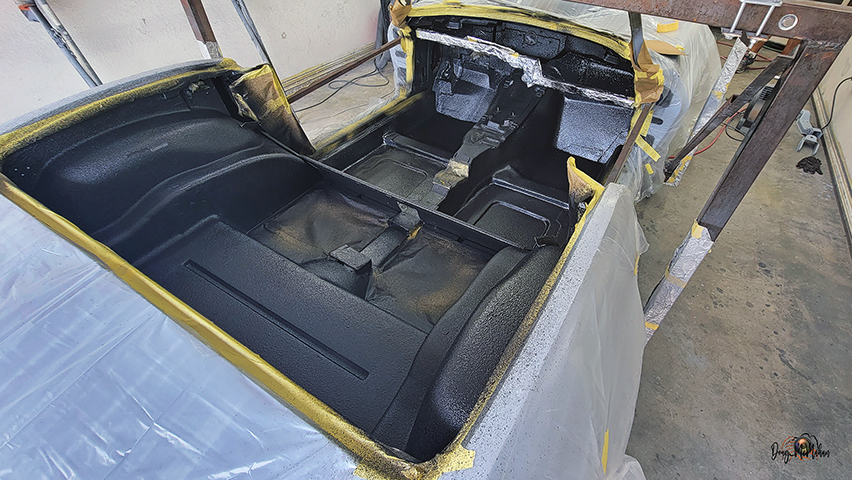
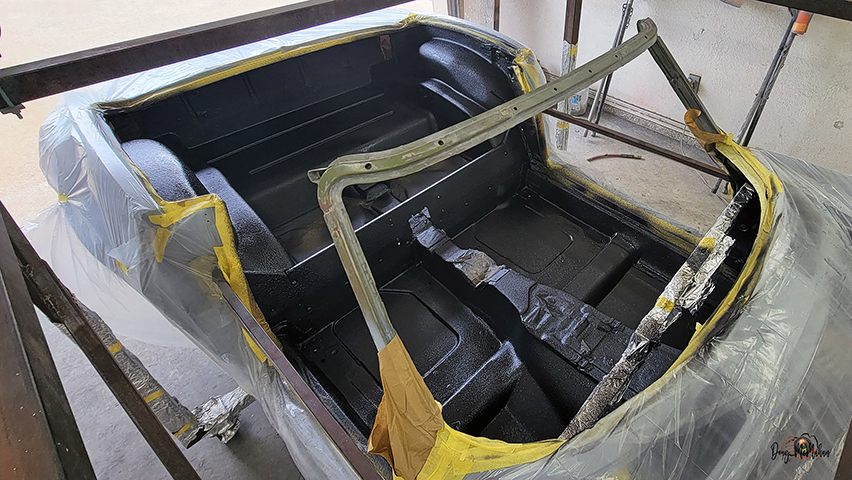
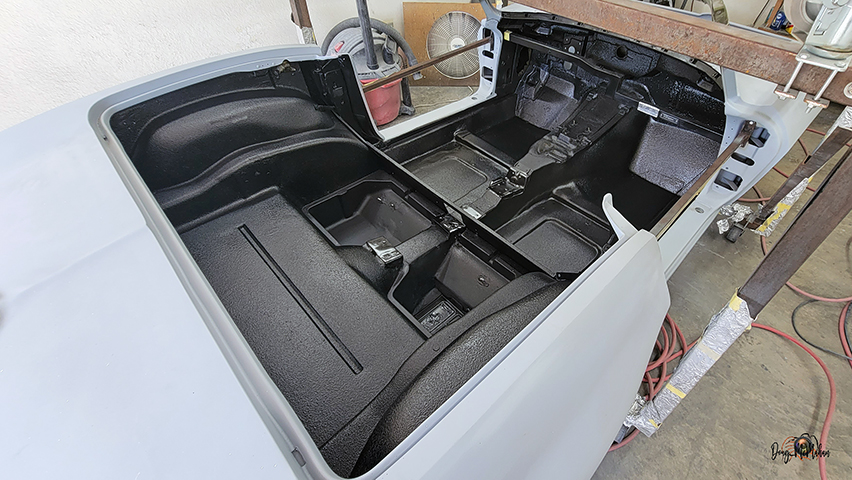
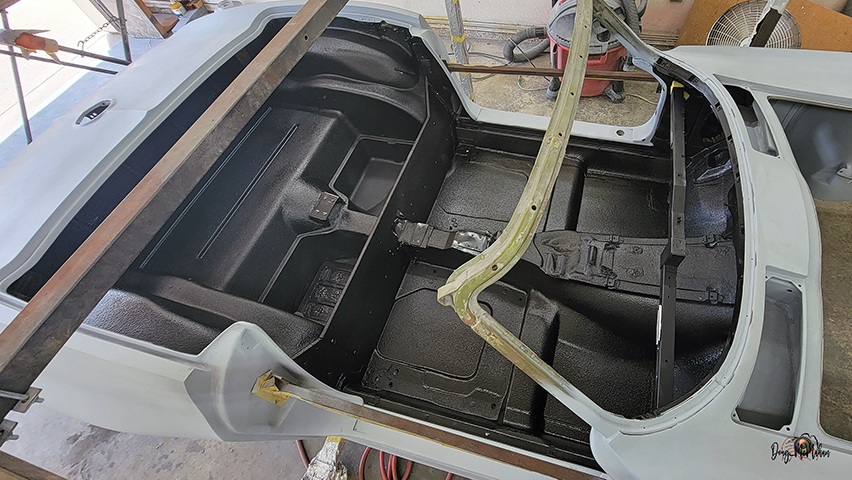
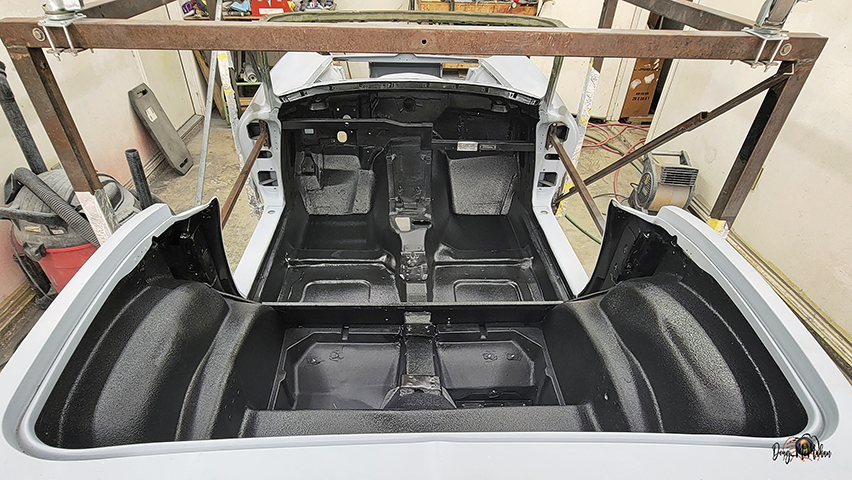
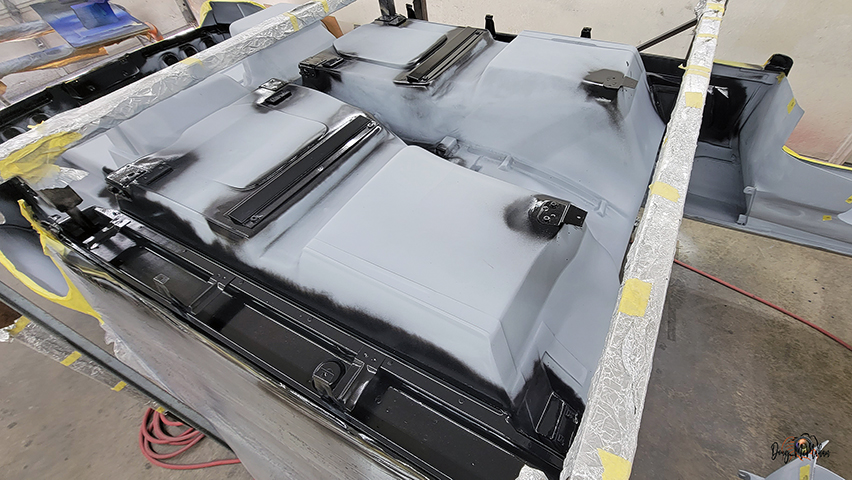
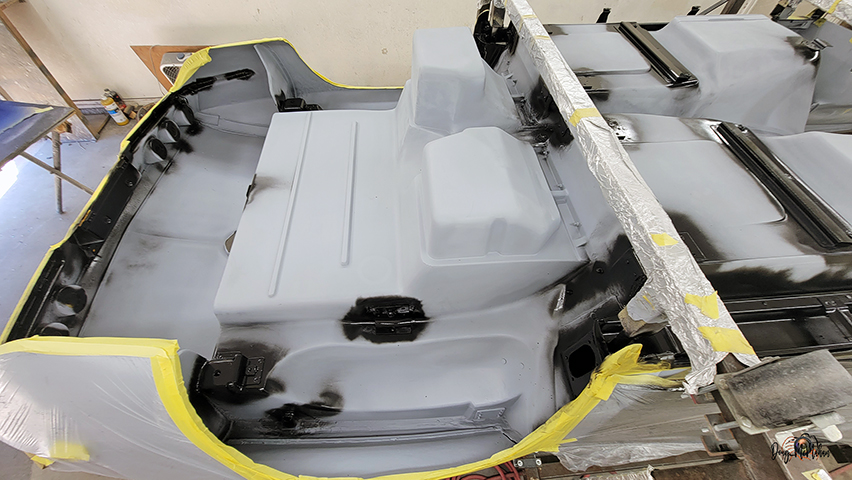
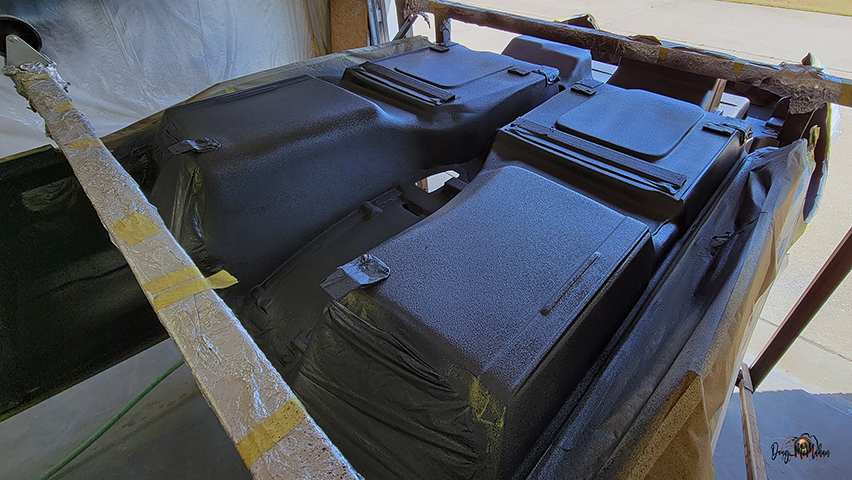
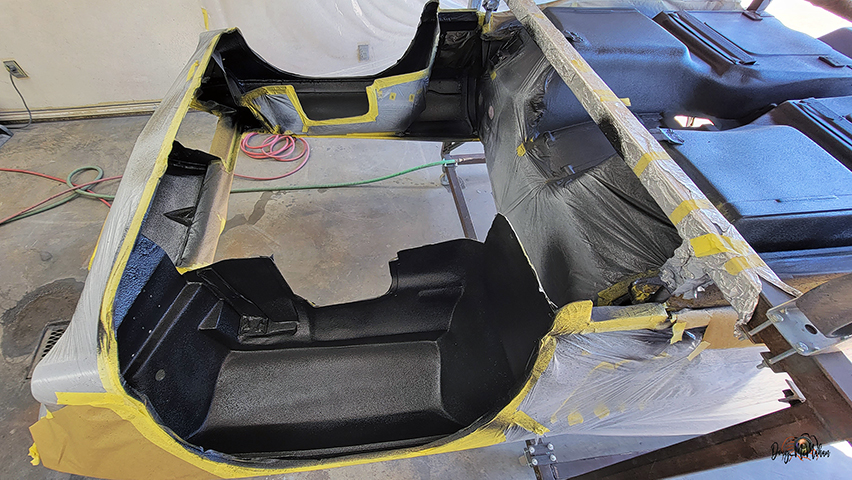
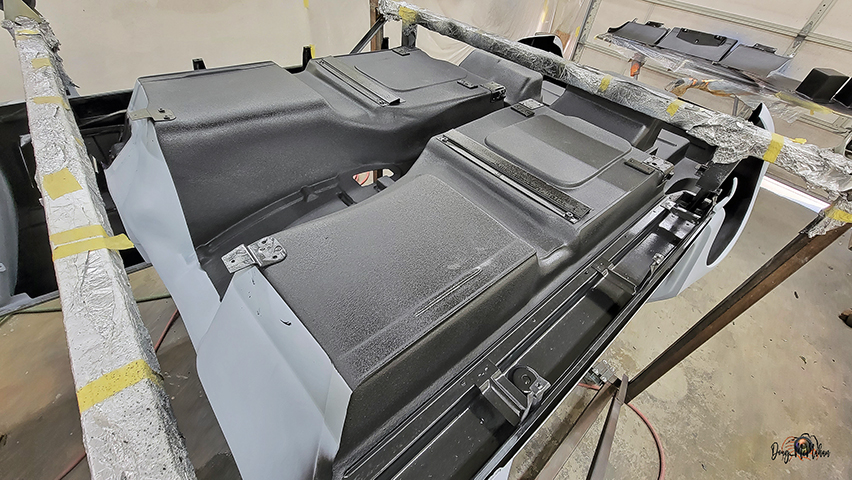
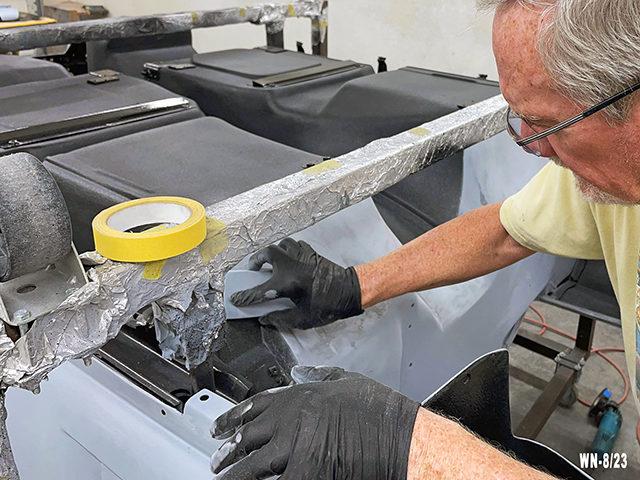
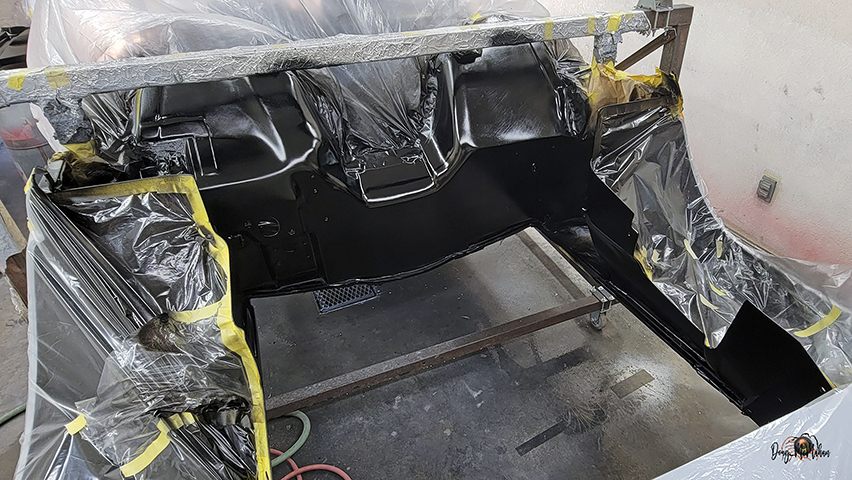
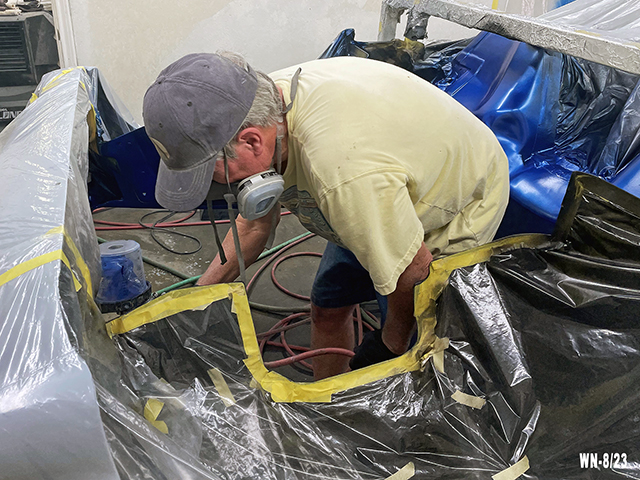
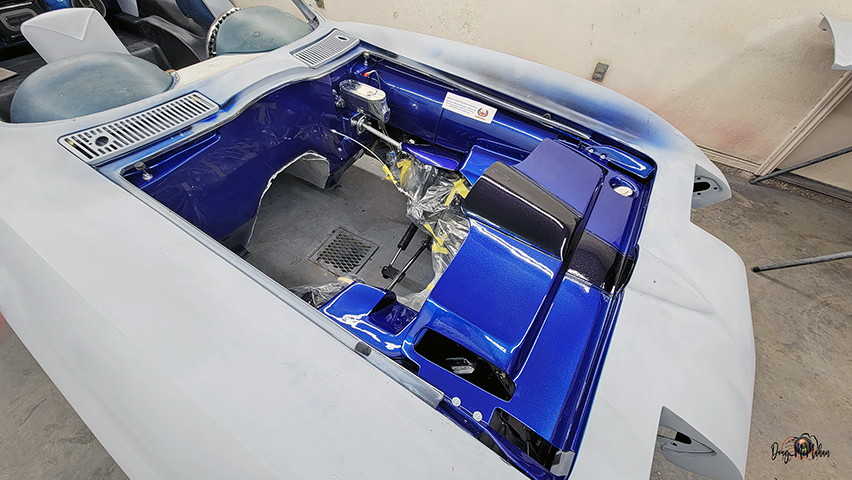
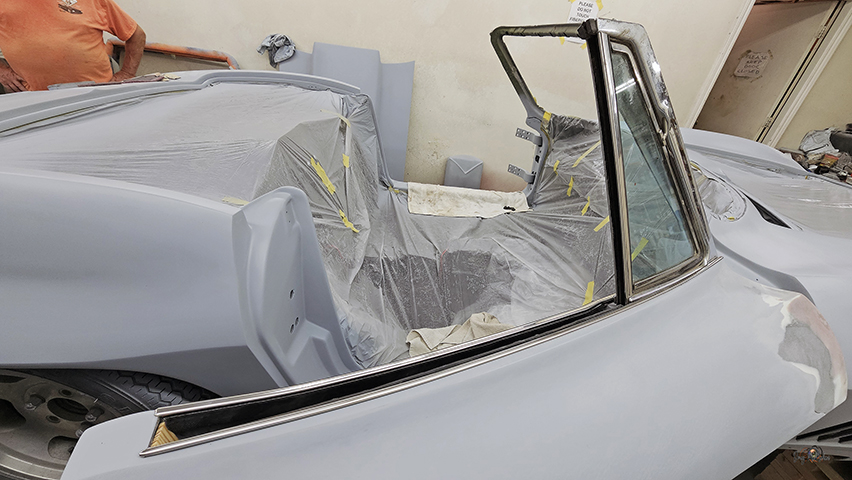
Finishing out the Inside of
the '67 - 7/14-16
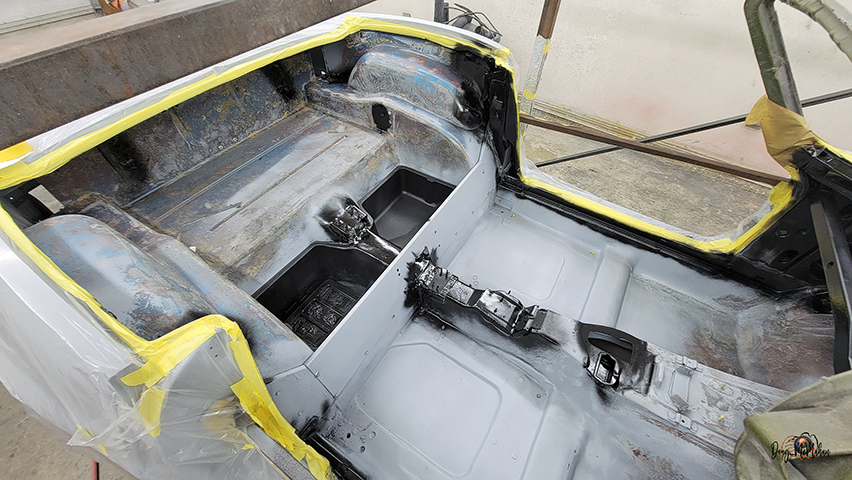
Getting the interior ready for the 2K Raptor lining
The worst part of doing this ...masking to spray black ...then
masking to cover up the black areas to spray the Raptor
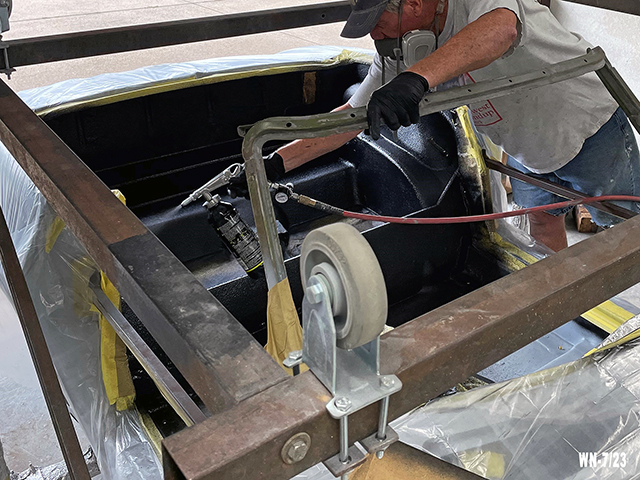
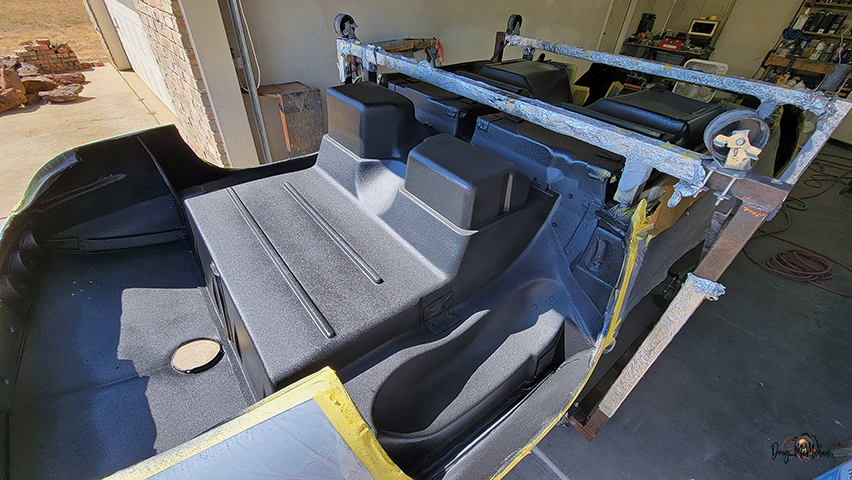
Spraying the Raptor 2K black coating
Nasty smelling stuff ...but it does coat everything nice for
sound & heat ...oh wait, this is a convertible ;)
The Duramat will glue and fit nicely over this when that time
comes.
Spraying Paint on more Parts - 7/17
Spraying the HOK special blend onto numerous other parts for the
"jewelry box" ;)
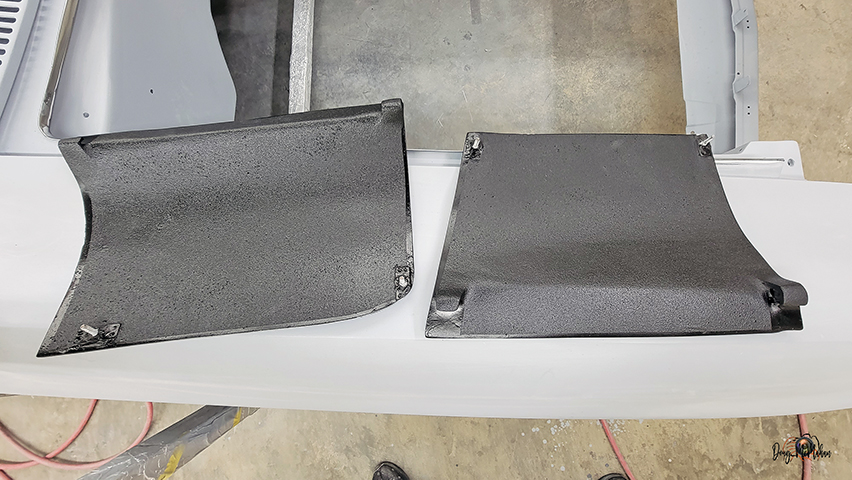
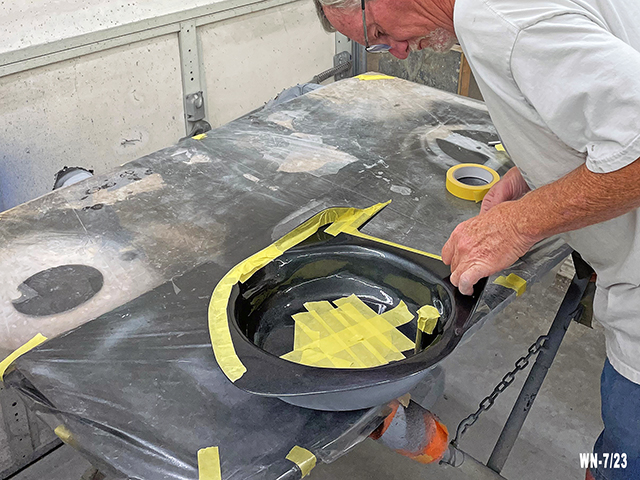
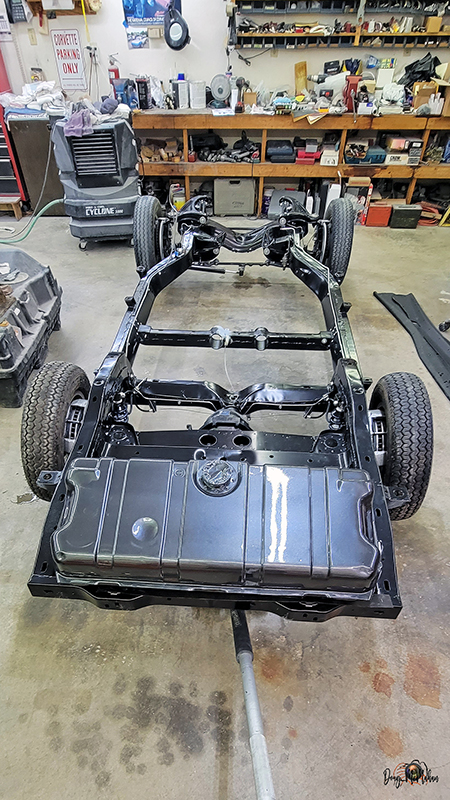
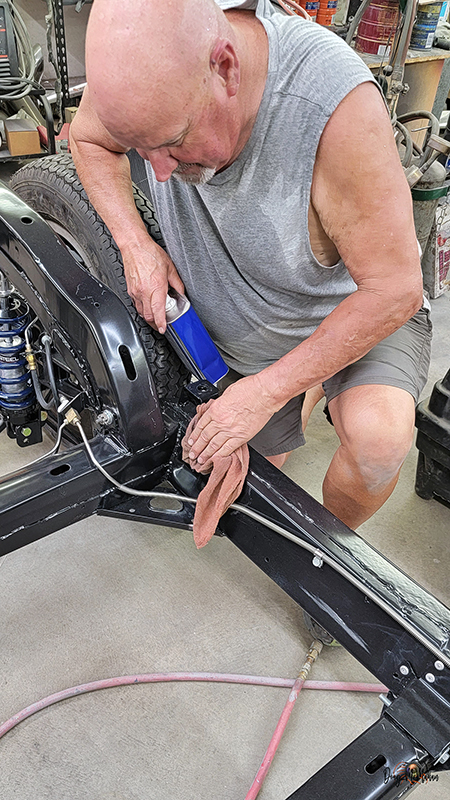
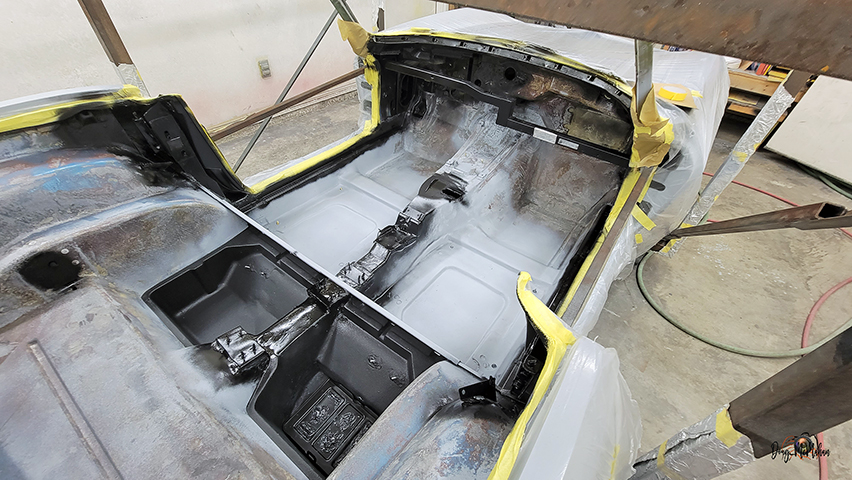
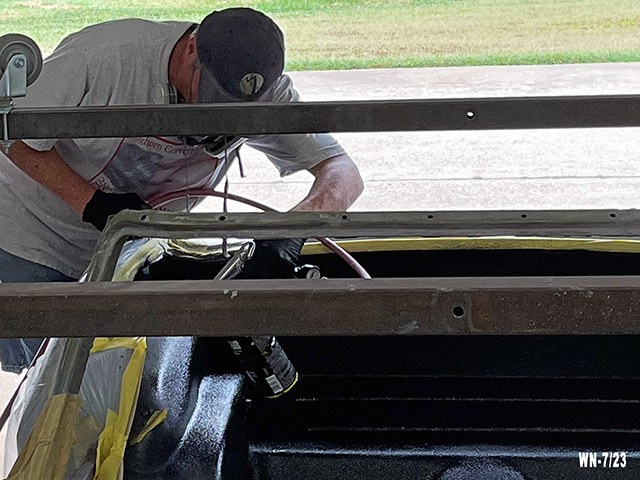
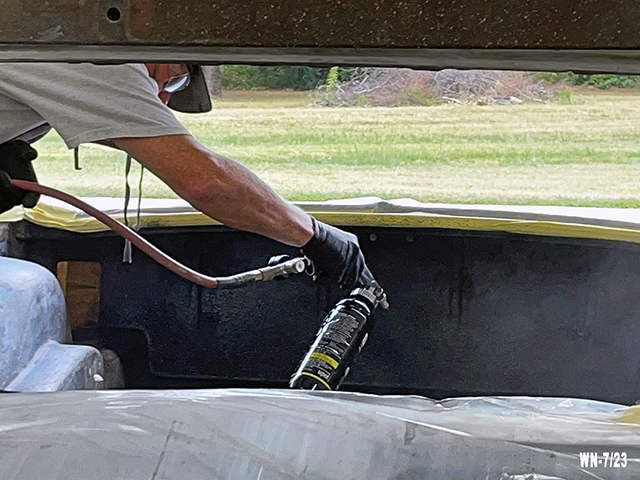
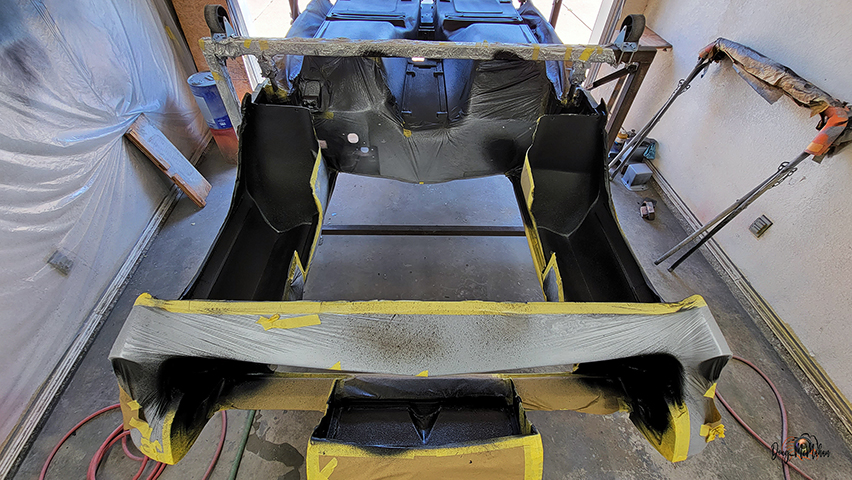
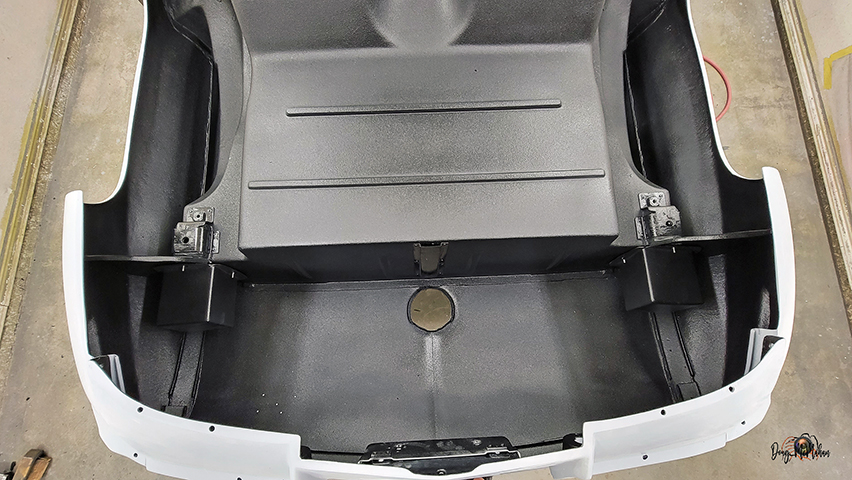
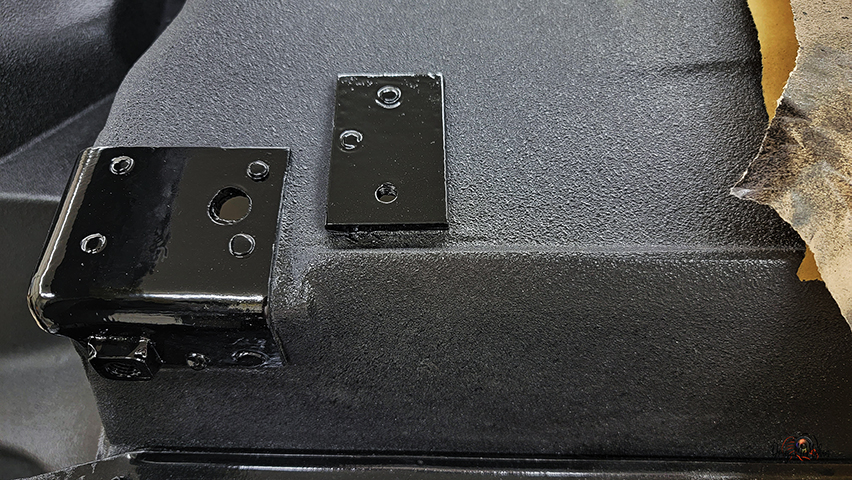
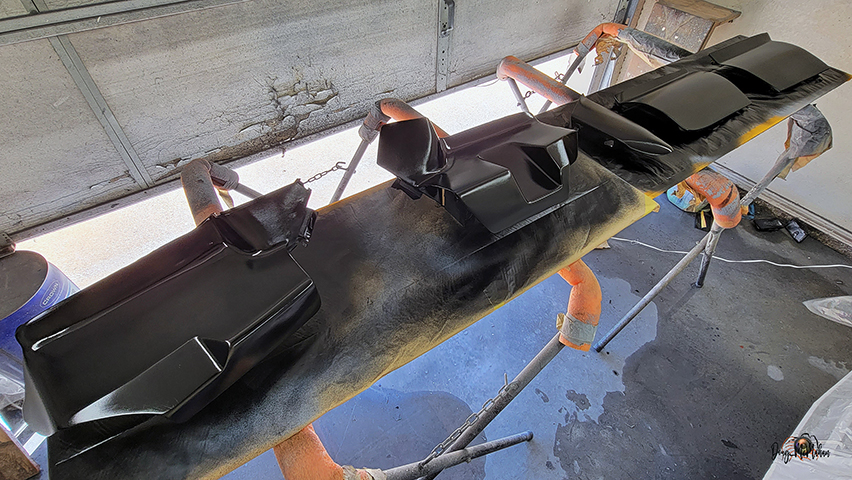
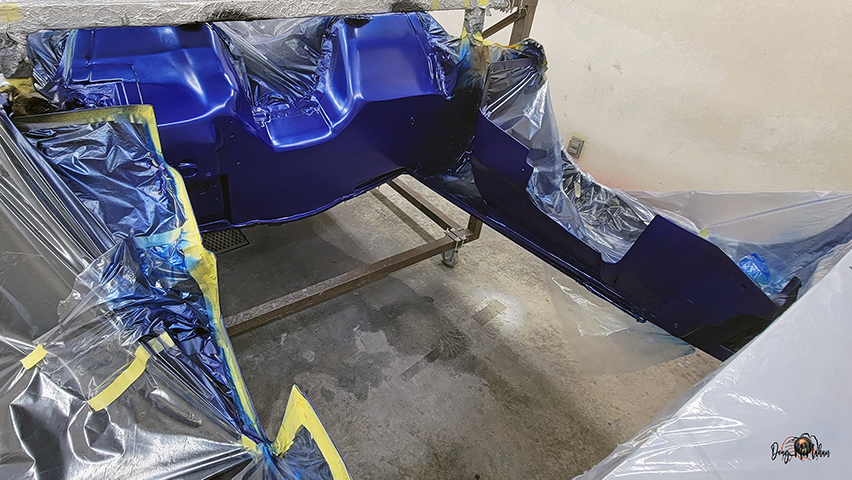
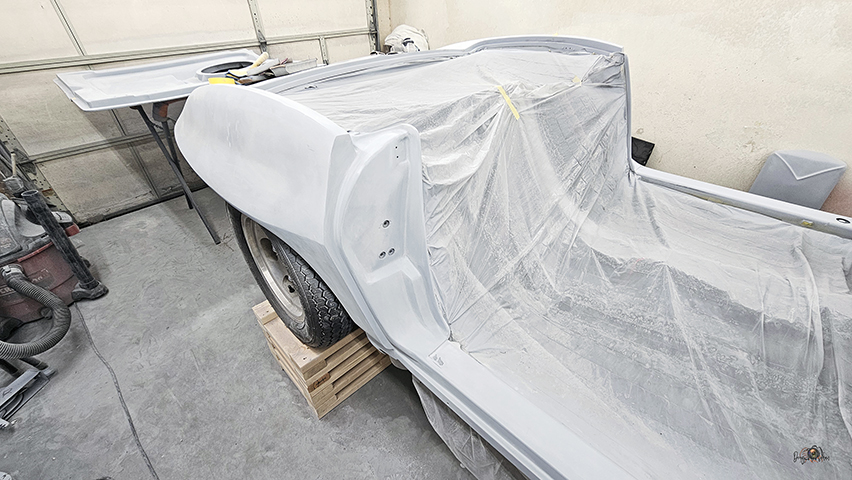
Finishing out the Bottom of
the '67 - 7/23-26
It was with a lot of back-n-forth on how to finish the bottom of
the '67 ...not to mention talking to a couple of high-end custom
shops for recommendation.
We had spent countless hours finishing the underside as good as
the top of the '67
it was a tough decision to make: 1) paint it like the outside,
2) tinted Raptor w/paint like outside or 3) Raptor 2K the
underside in black - you can see which won out
it was tough to spray over all that hard custom work - however,
it turned out great!
Raptored and unwrapped - even on some of the one-off custom
parts
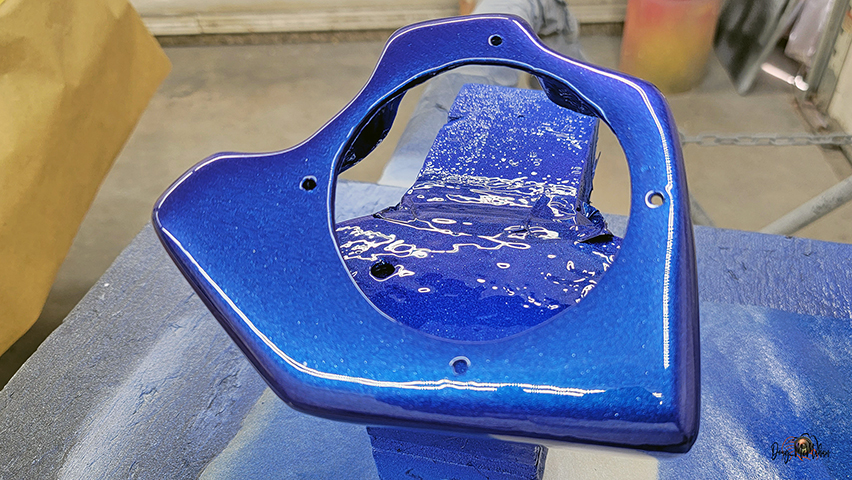
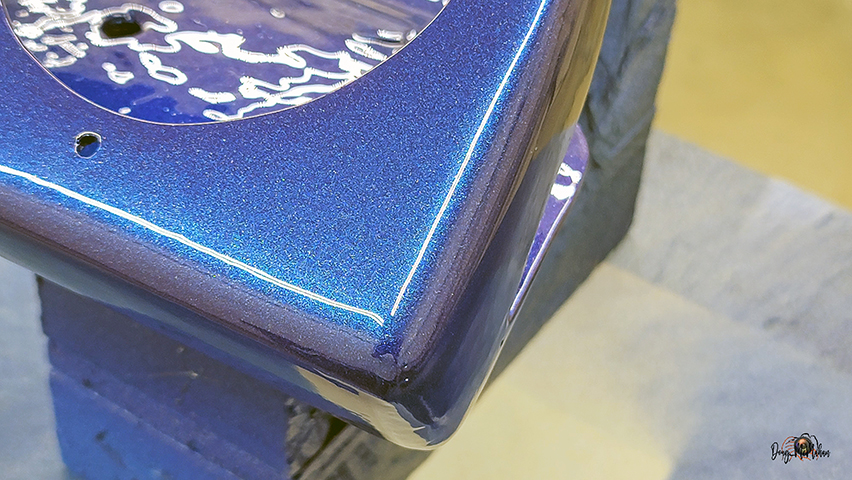
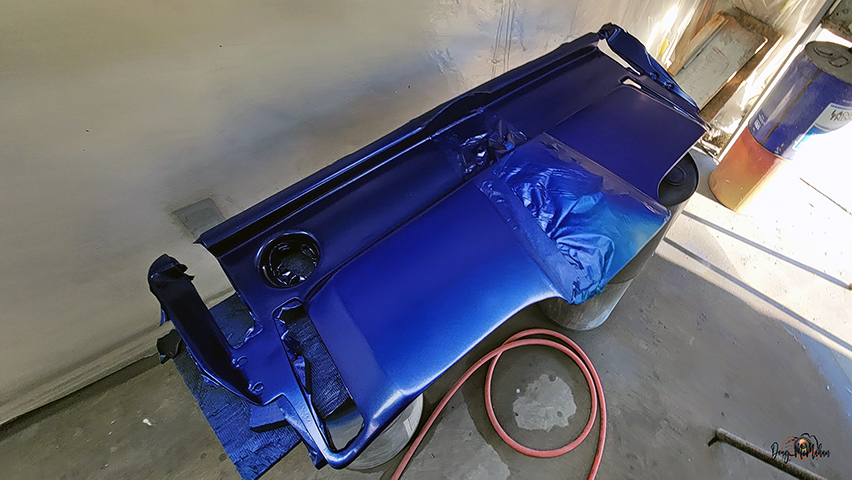
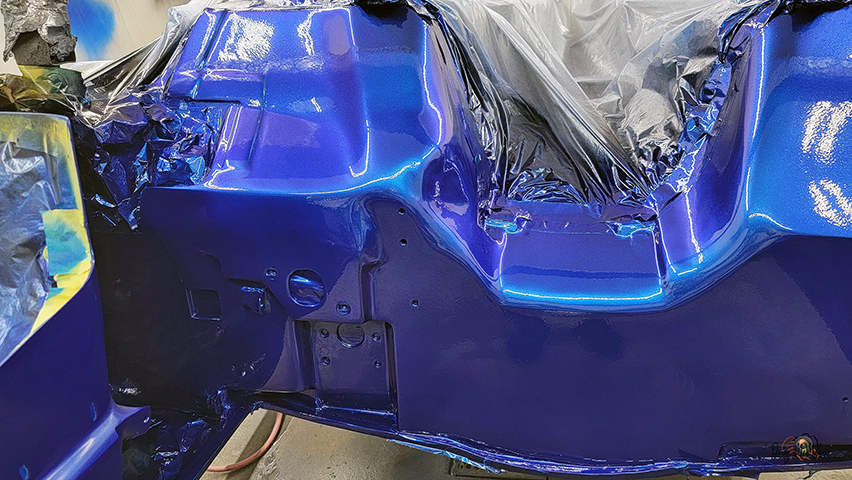
Back to the Exterior Color - 7/23
now it was time to revisit the HOK exterior color for the '67
It has been finalized and the paint has been ordered
- it will be HOK Stratto Blue with Metalumes
(making House of Bluz), & a special blend with
color-shift pearl and diamond dust - with HOK Show Klear
to top it off
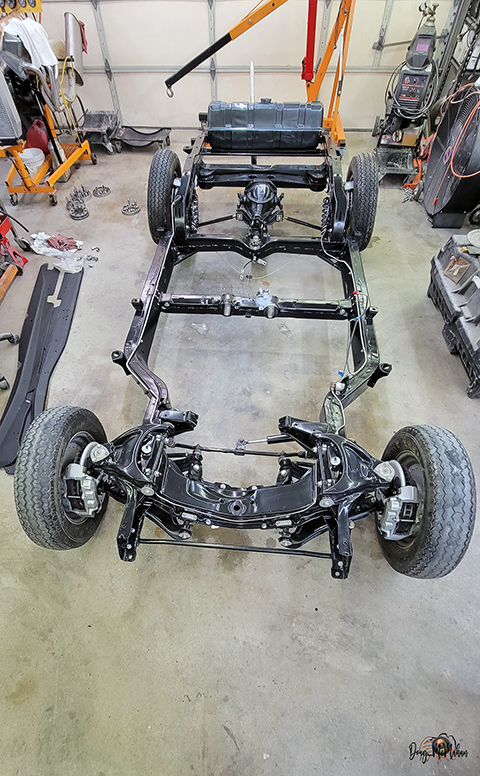
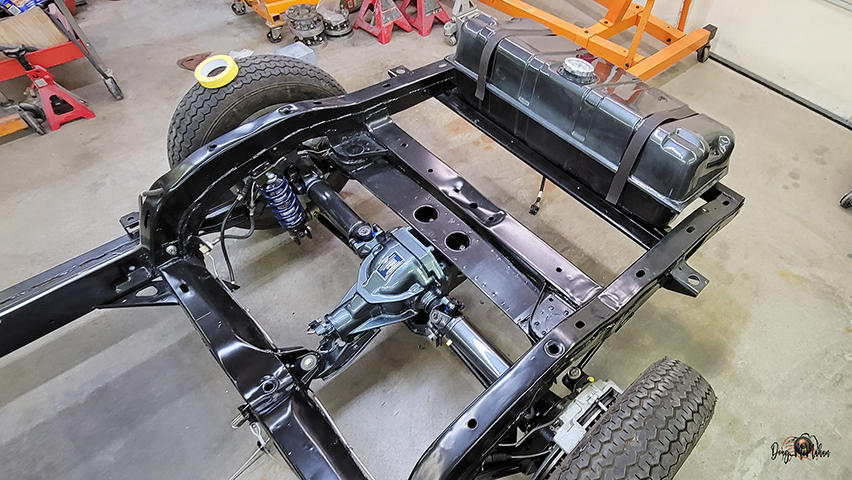
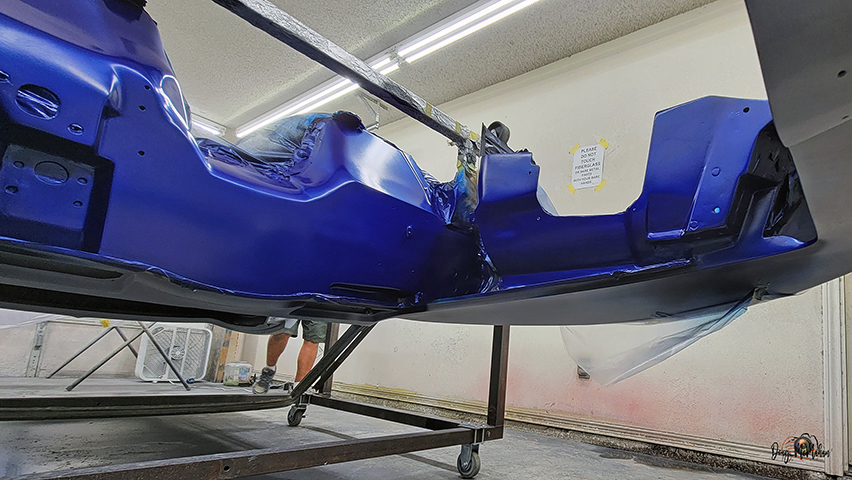
Still Working Underneath the
'67 - 7/26-8/05
Finished with the 2K Raptor and painting the metal parts
underneath
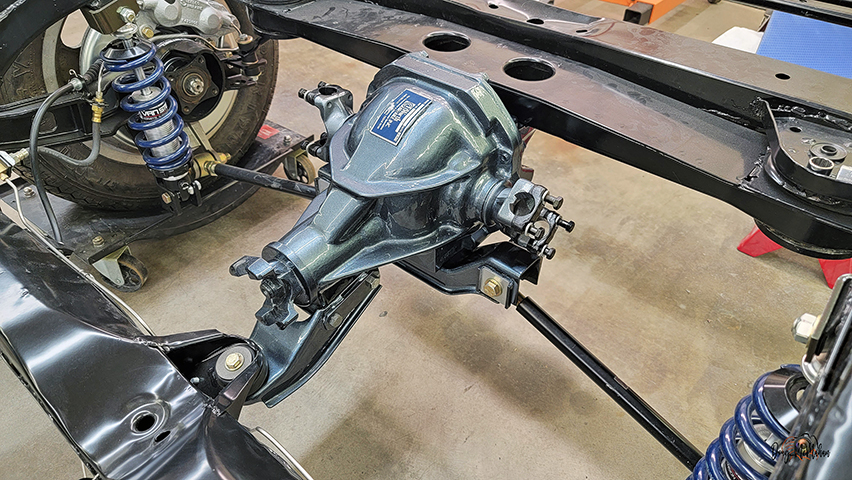
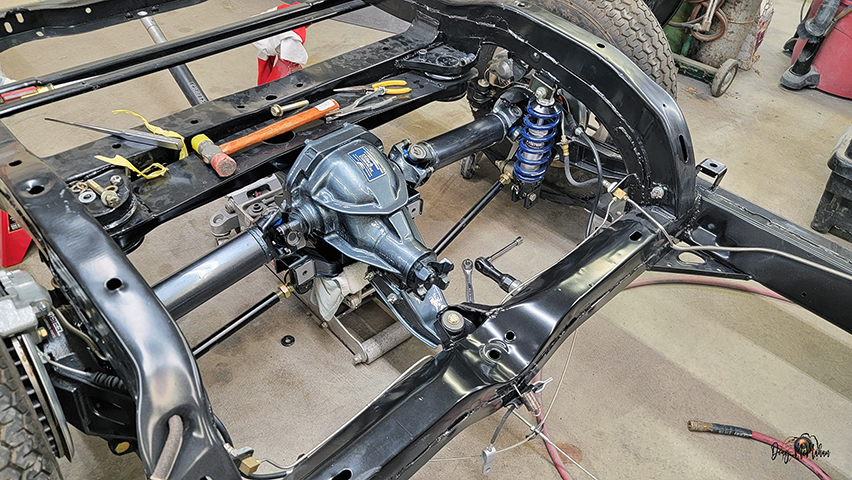
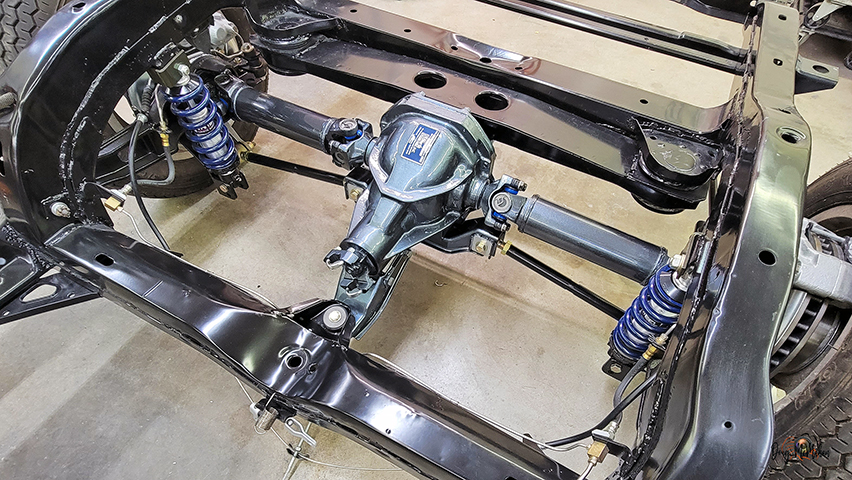
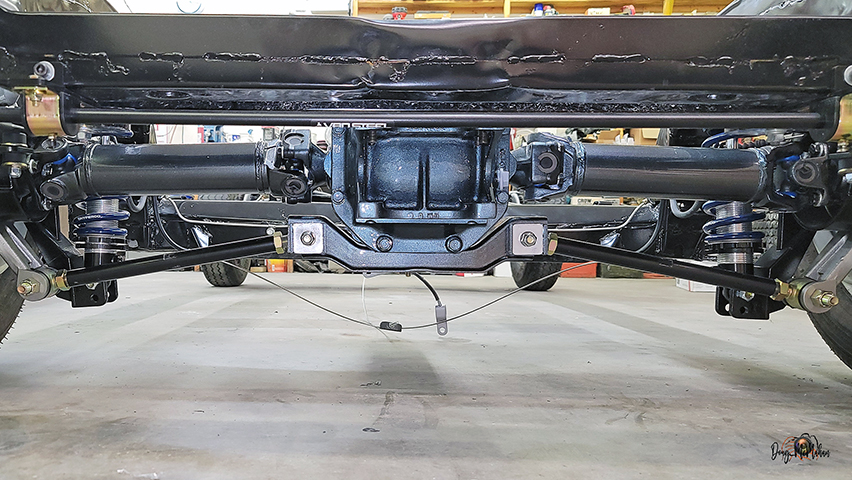
With the differential and half-shafts painted, it was time to
re-install them on the frame
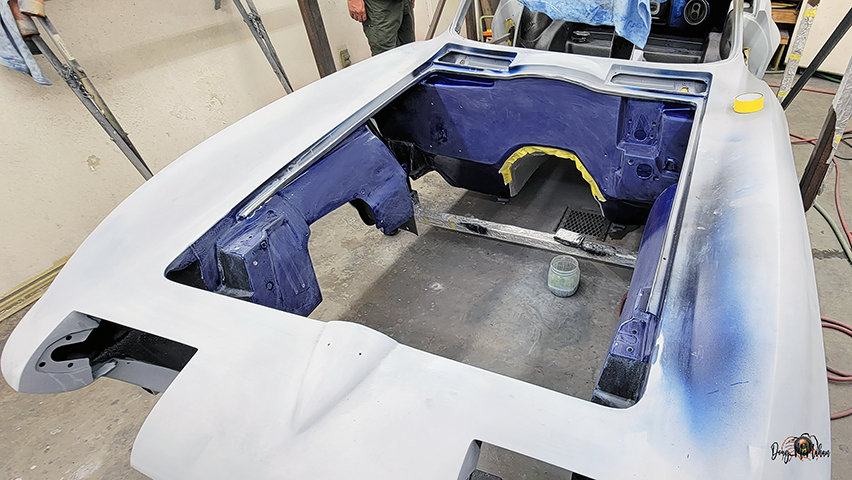
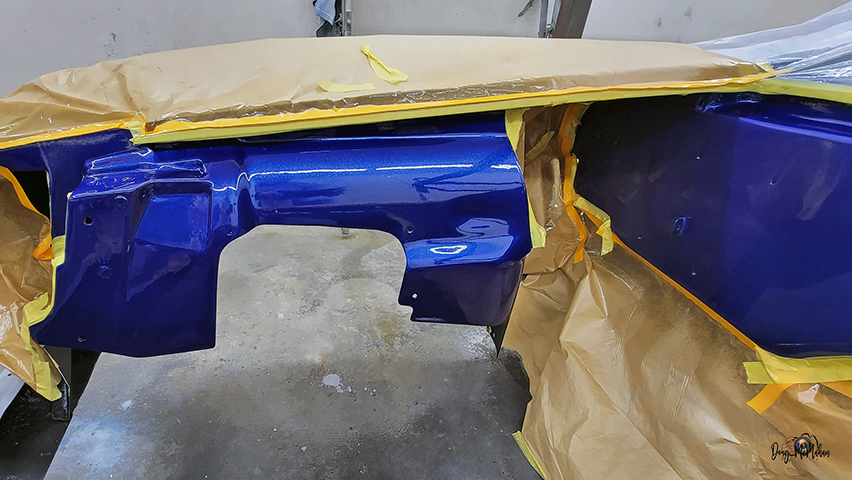
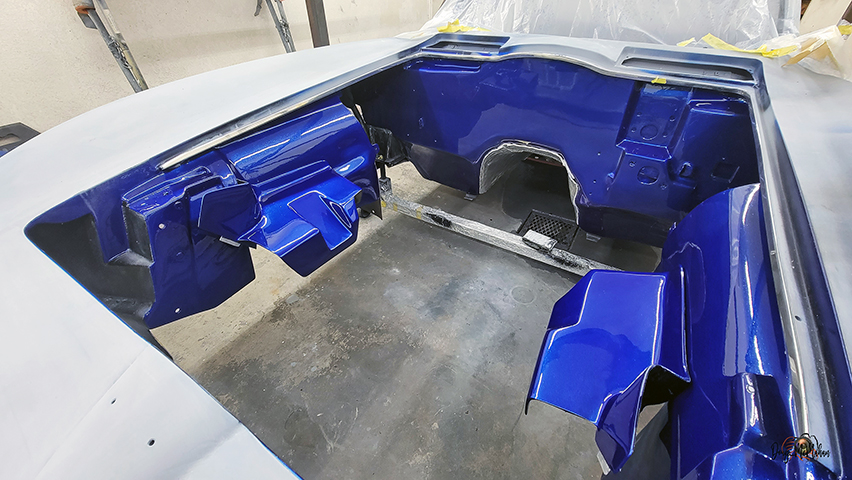
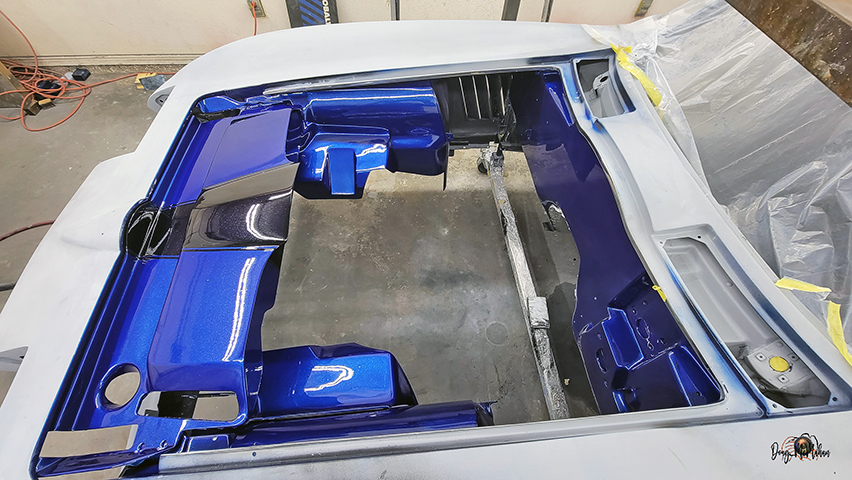
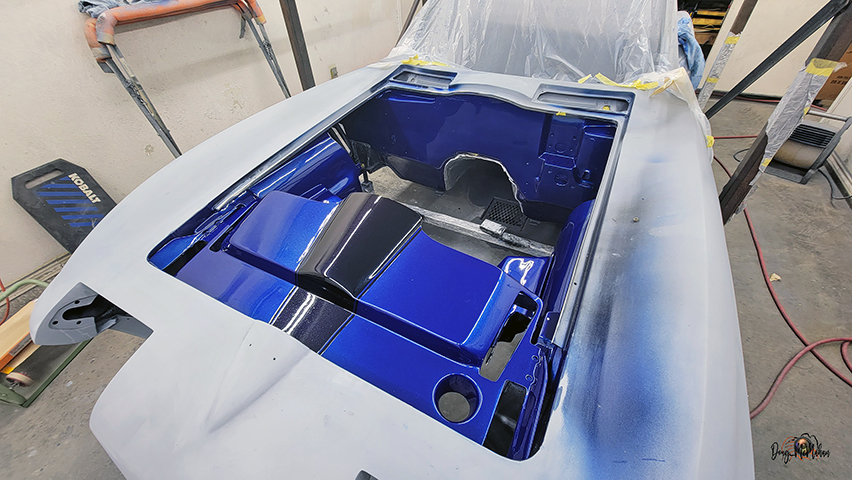
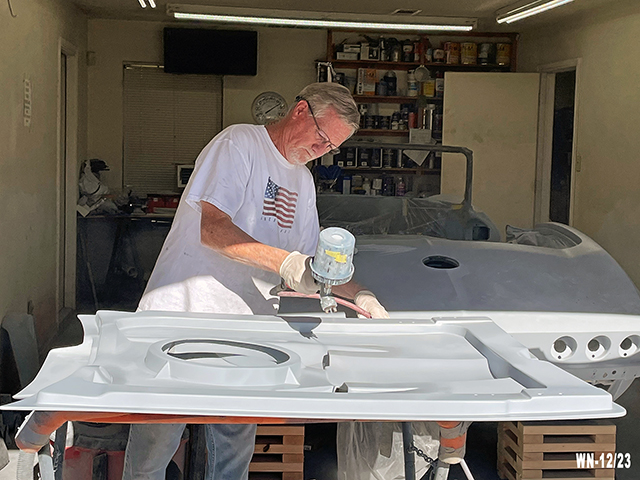
The Engine Compartment is
Getting Kolor - 8/06-8/11
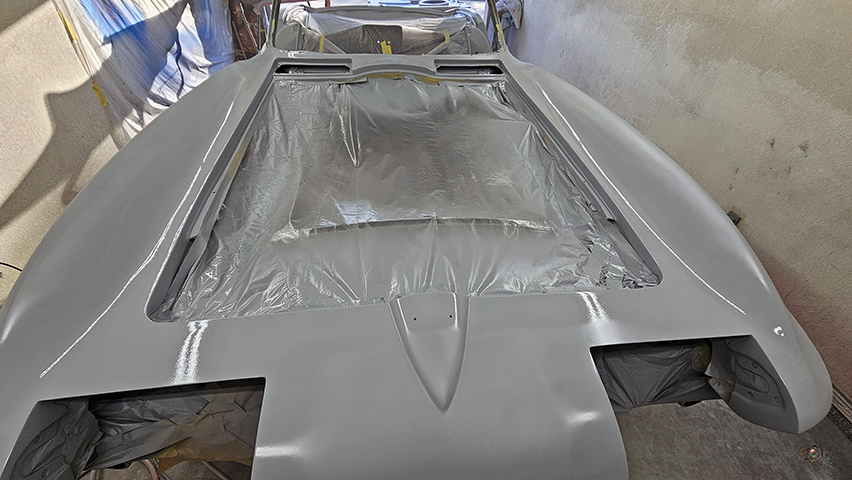
Final blocking of the HOK
KD3000, touch-up and preparation for paint
William did a great job wiping and tacking all the areas for
paint
Time to laydown the House of Kolor (HOK)
S2-25 Jet Black Basecoat
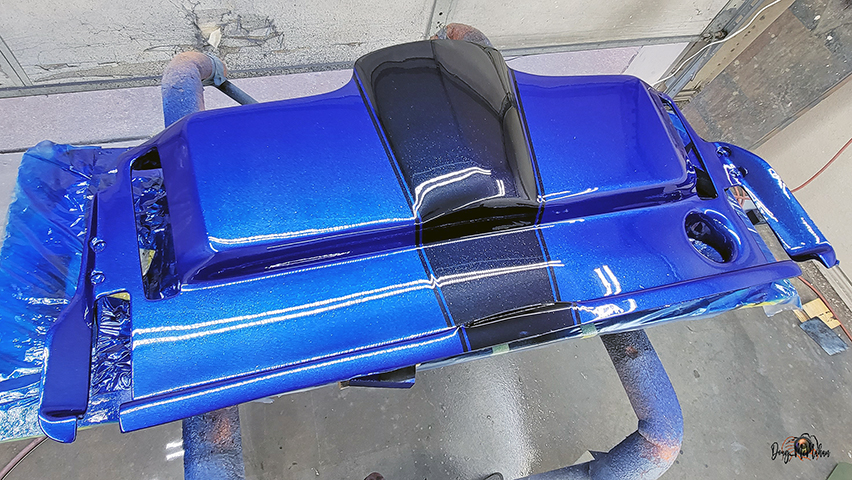
Masking off the center of the radiator cover which will remain
Black
Scuffed all the parts and re-tacked them before spraying the Jet
Black
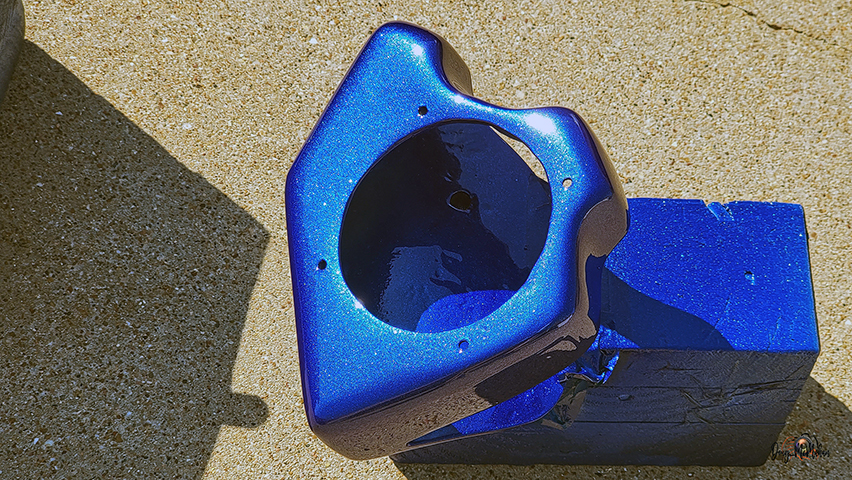
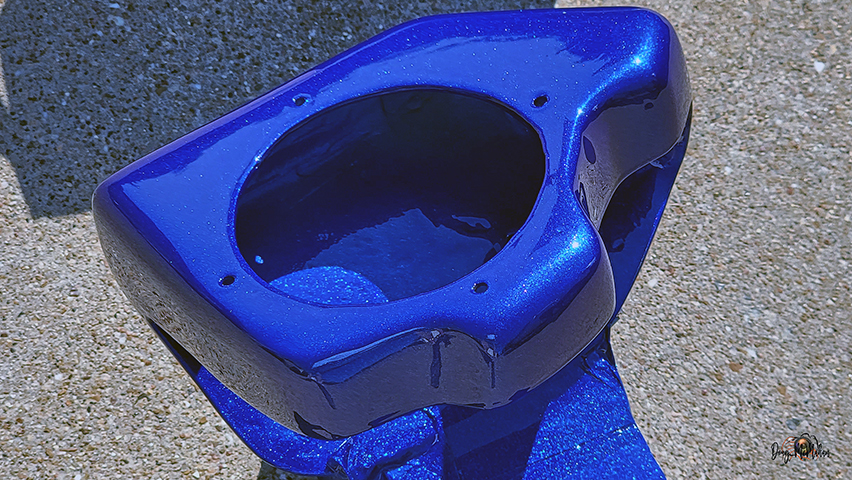
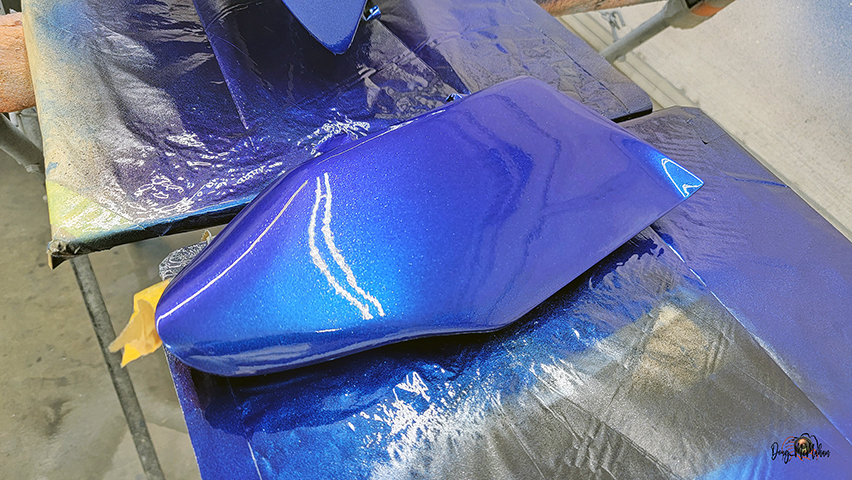
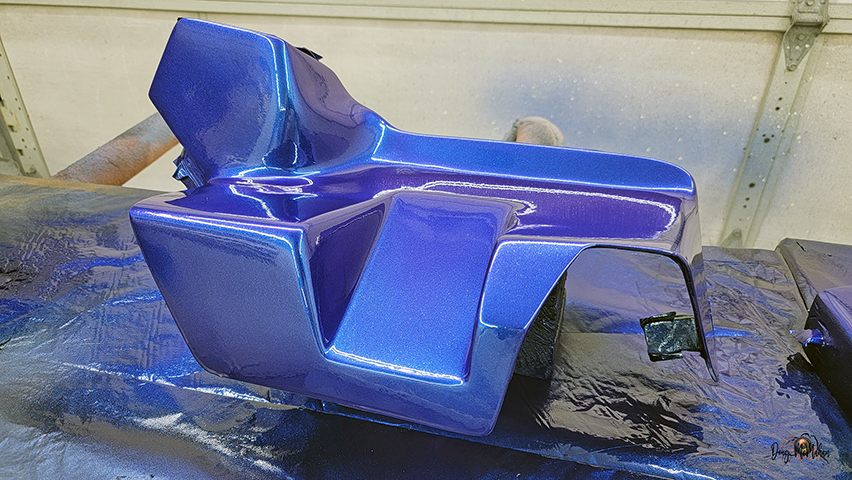
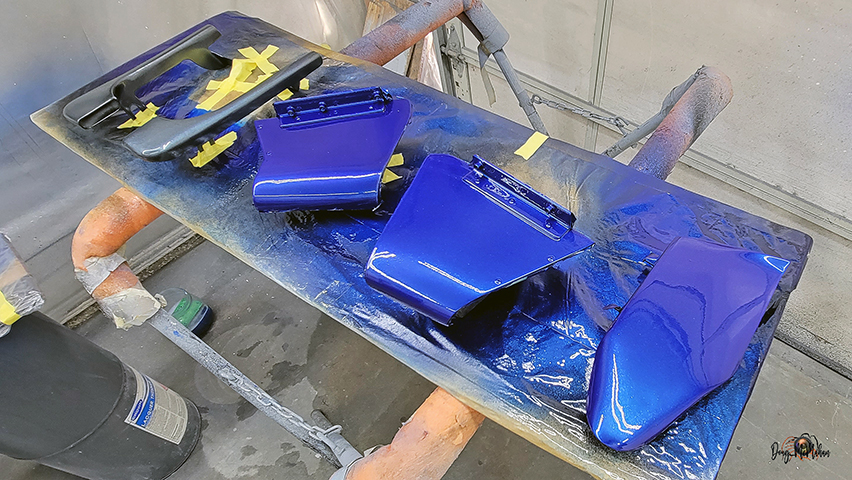
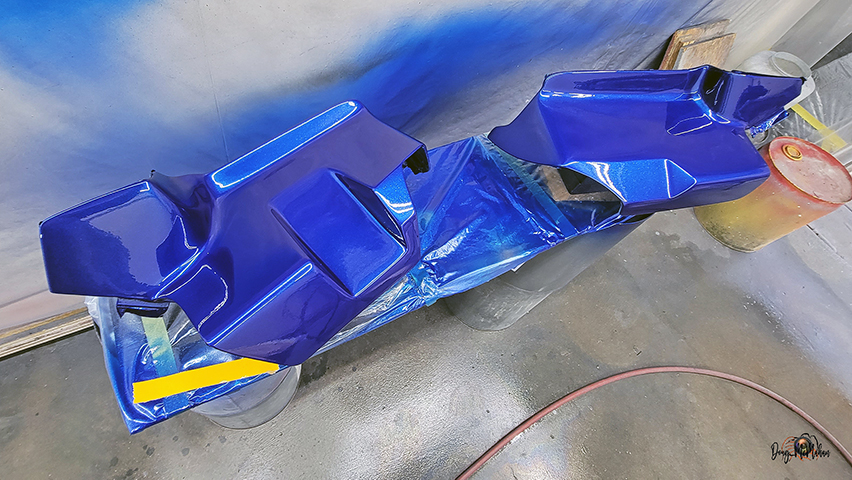
2nd stage is HOK "House
of Bluz" - S2-04 w/Metalumes added. This will be followed
with scuffing, a final coat of bluz
These now have the B/P Colorshift Pearl, Diamond Dust & 1st 3
coats of Klear
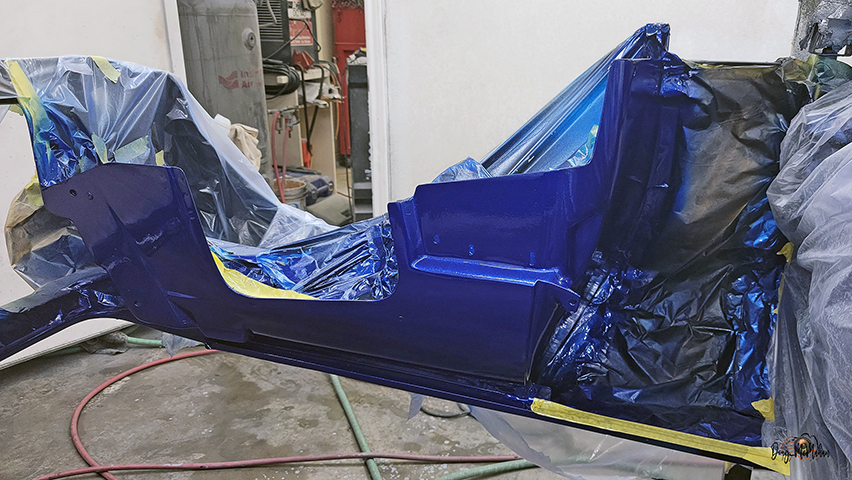
The engine compartment side of the inner fenders have kolor now
...this all has to be done in stages since you have to stage
pieces together due to stage 3 & 4 of the paint
Sprayed final Klear over these engine components after them
being wetsanded
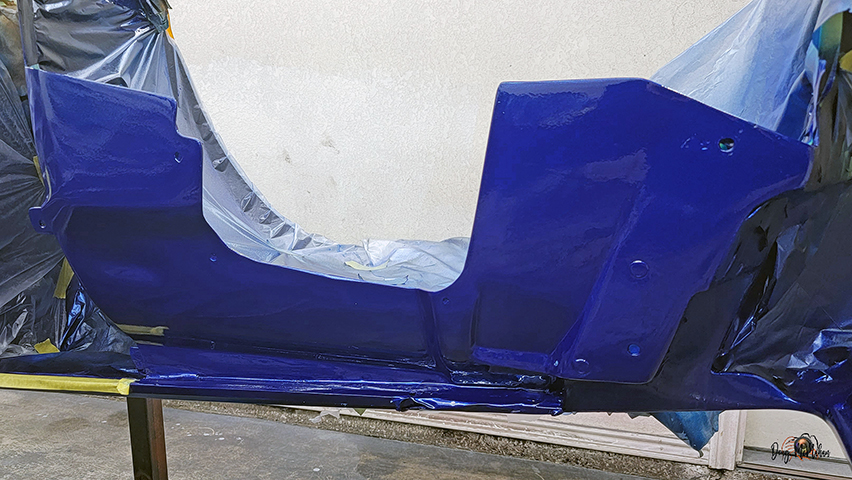
firewall & fenderwells wetsanded, ready for their final coat of
Klear
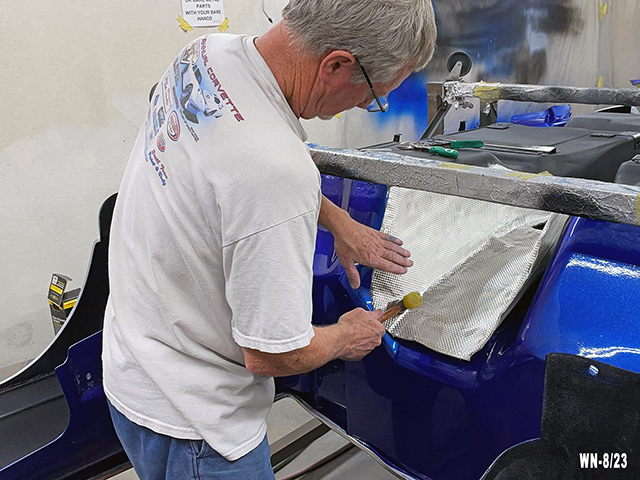
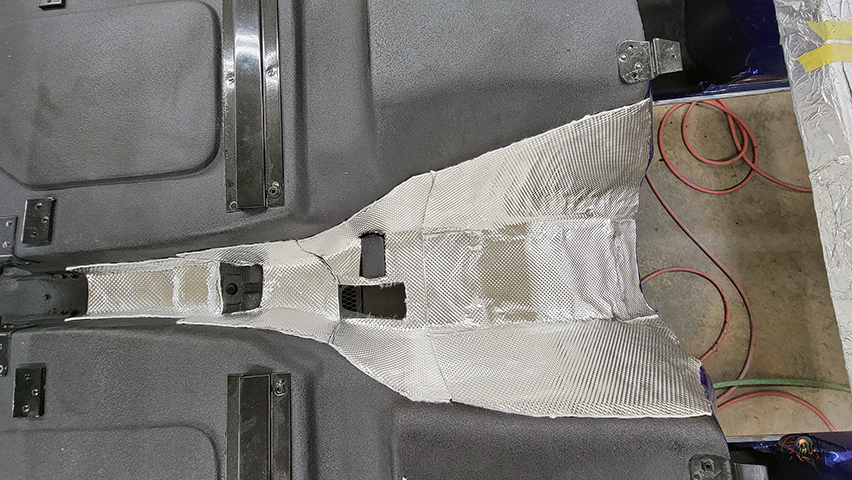
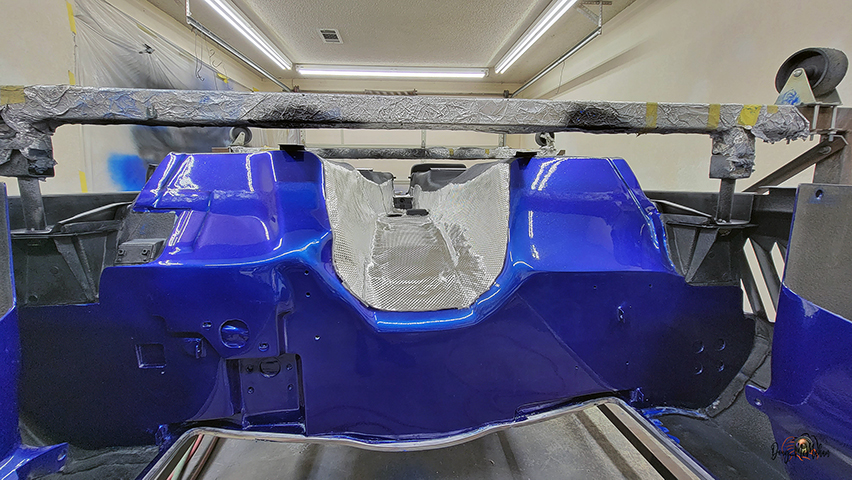
Heat Barrier Installation - 8/13
Before flipping the '67, we installed the heat-barrier in the
transmission tunnel - metal w/insulation backing
More Coats of Paint - 8/14-16
Engine Compartment was wetsanded and the final 2 coats of Klear
have been sprayed
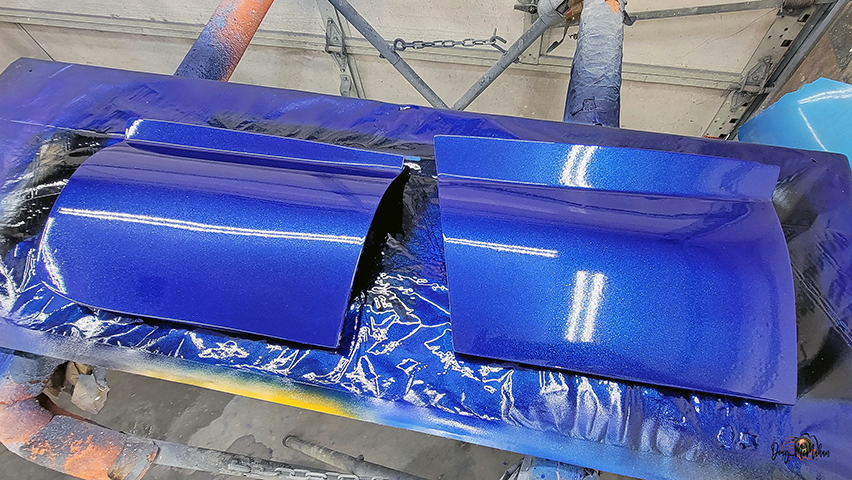
These parts have the first 2 coats of Klear - still needs
wetsanded & Kleared
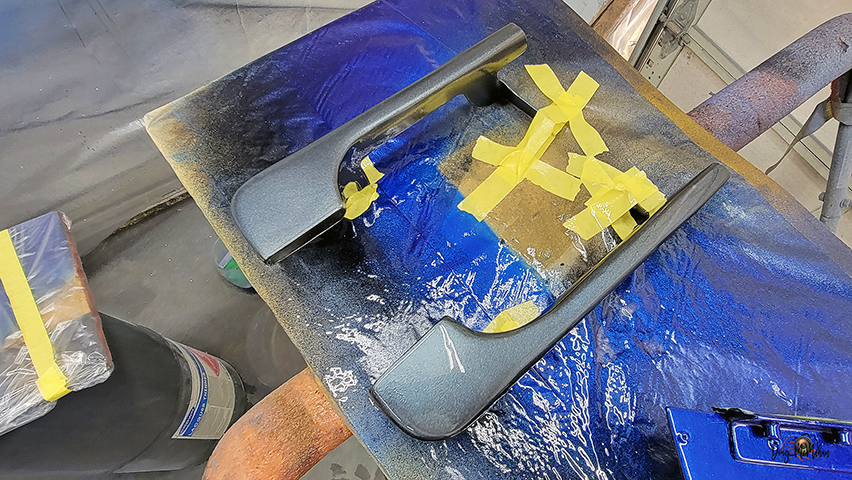
A-Arm Covers in place along with the Radiator Cover
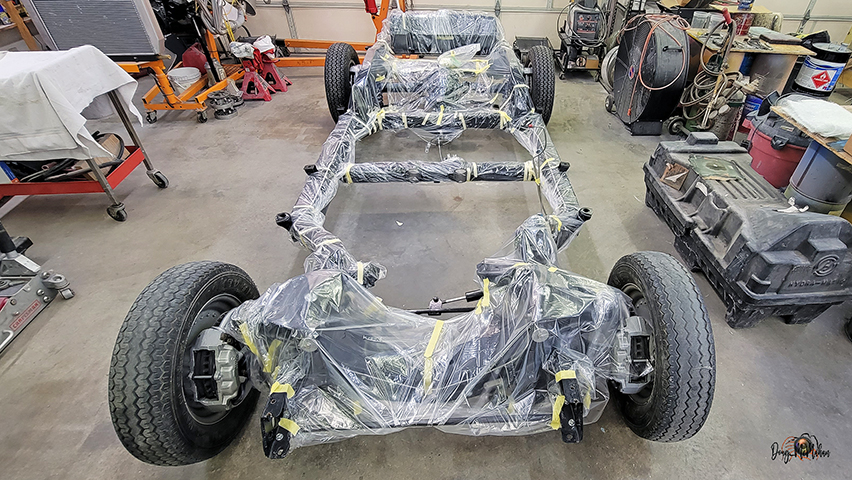
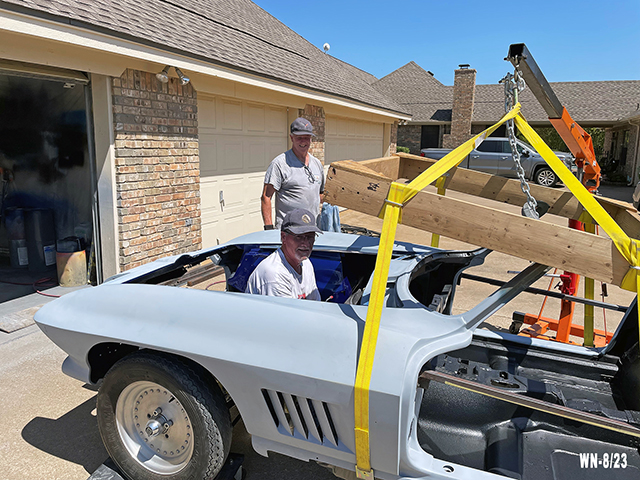
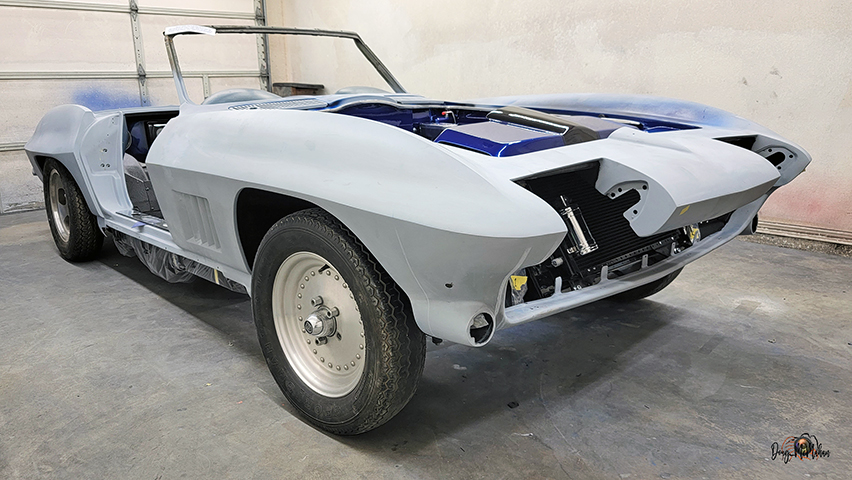
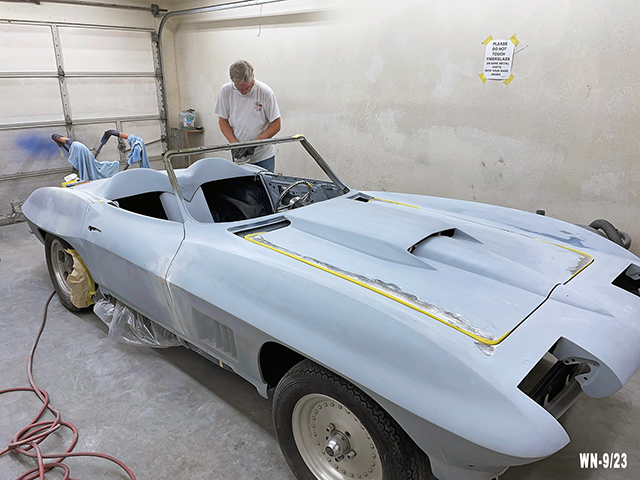
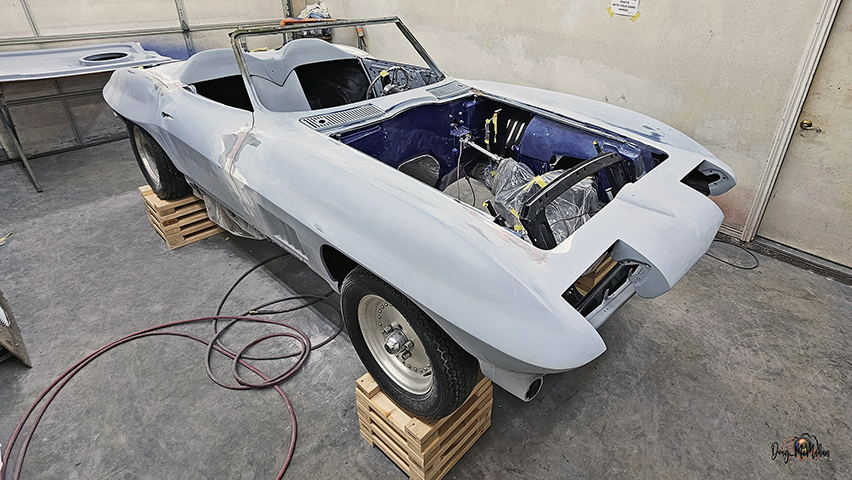
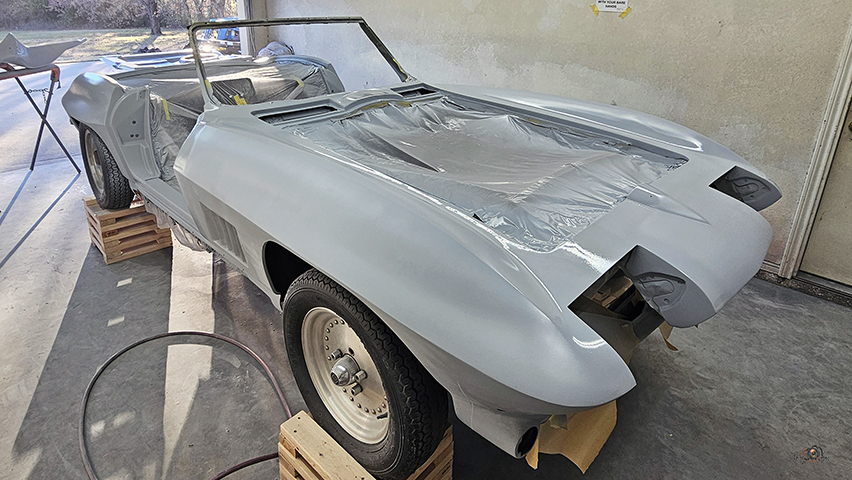
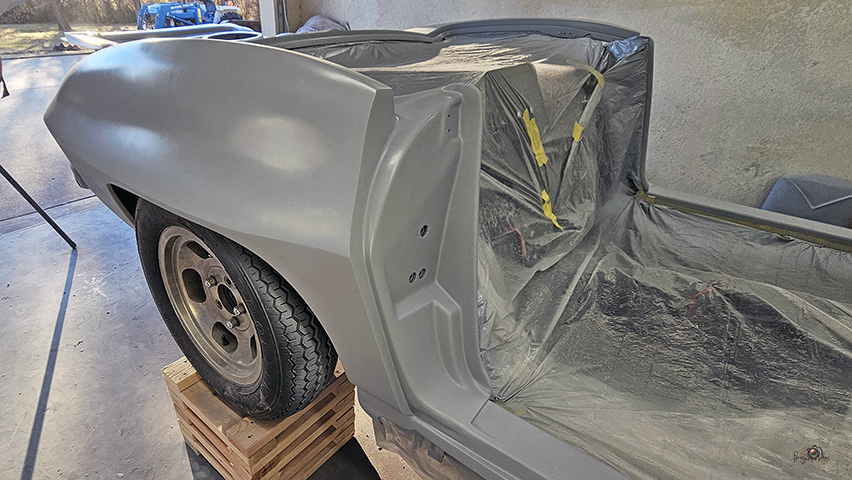
Installed the Body on the
Chassis - 8/17
Wrapping the Chassis to keep it clean while we do the final
gapping & leveling of the body - then off to paint.
Robert Geyer, William Nolan helped to mount the body back on the
chassis today
mock-up efforts in place now that the body is secured on the
chassis
Setting up to Share with
Friends - 8/18
A few parts mocked up for a social on 8/19
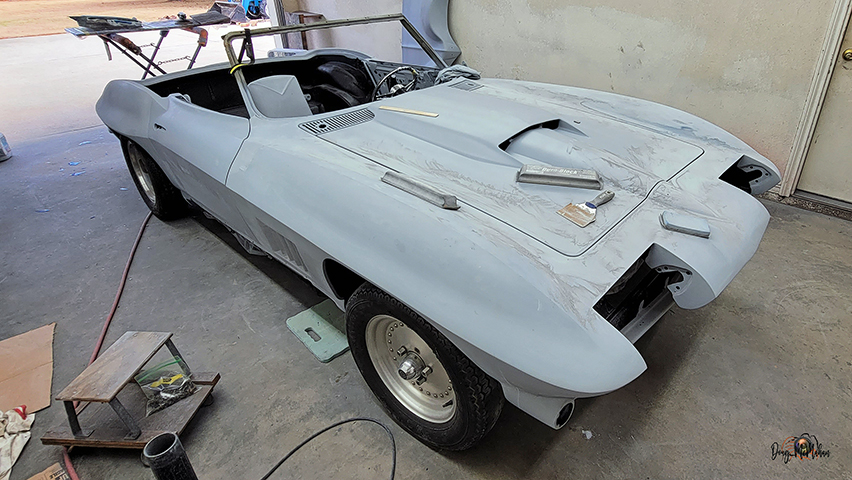
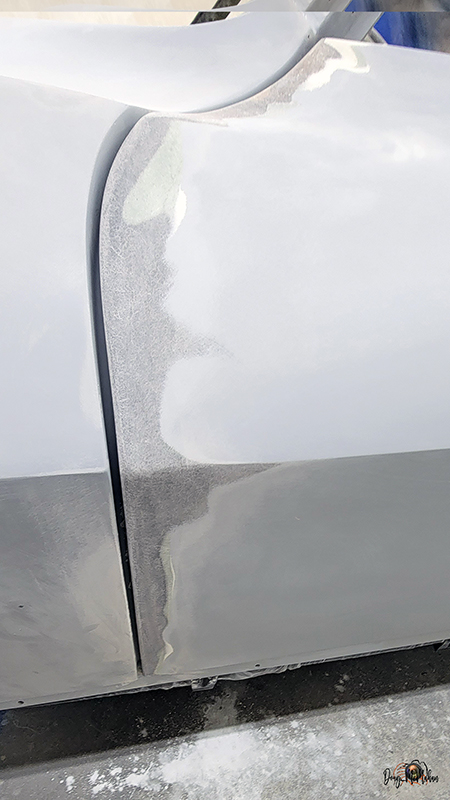
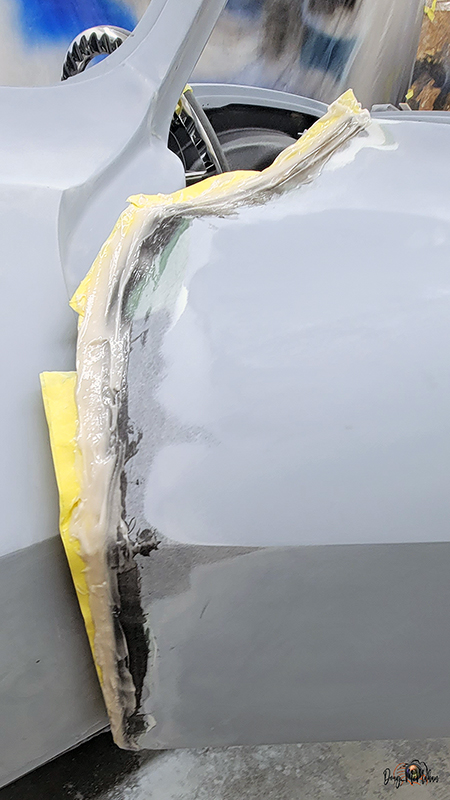
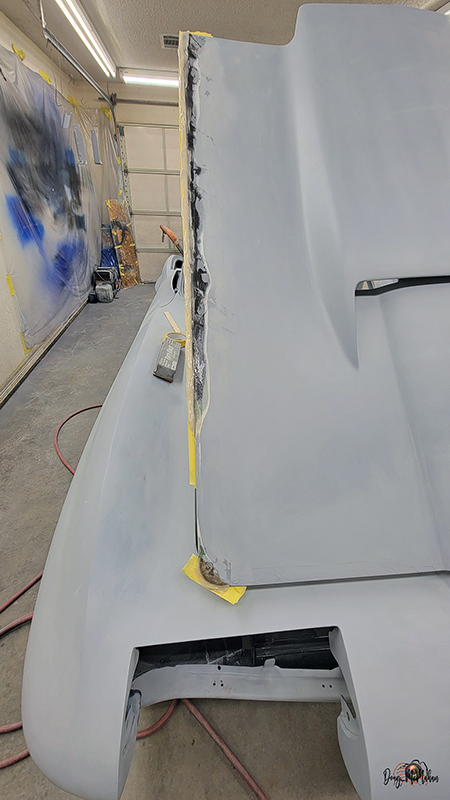
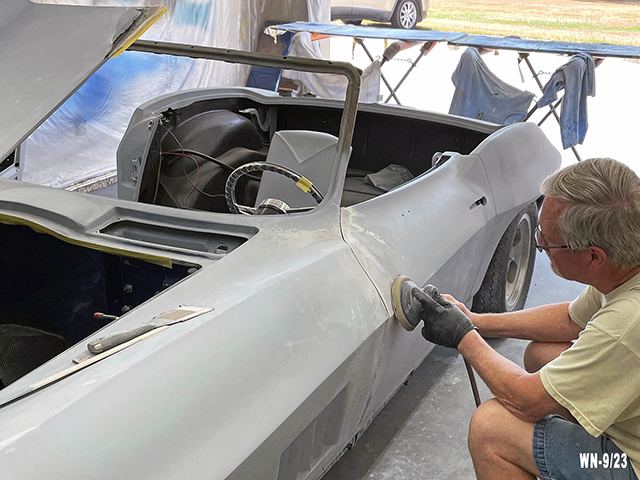
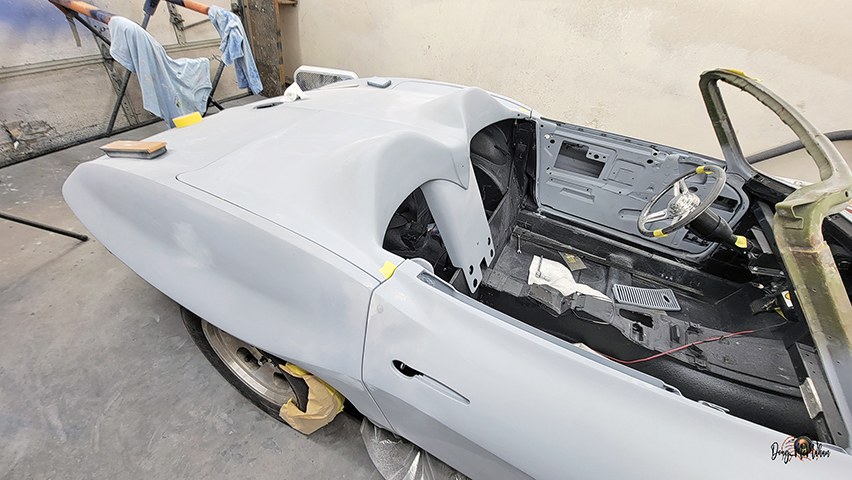
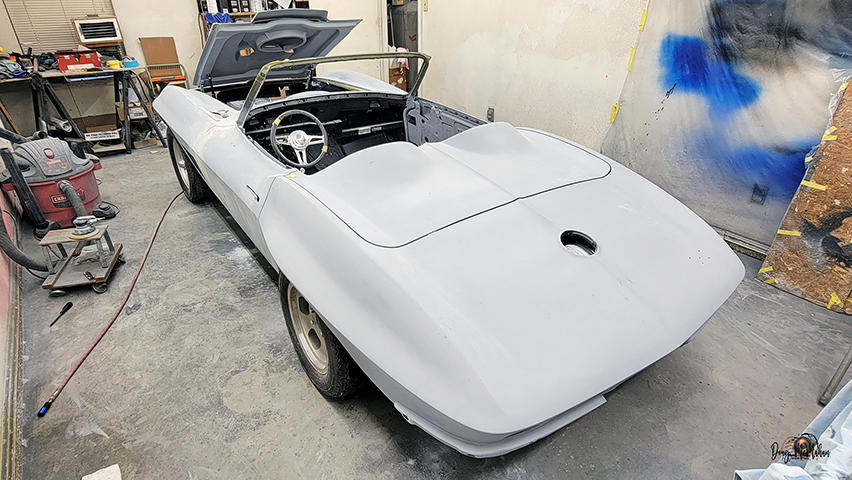
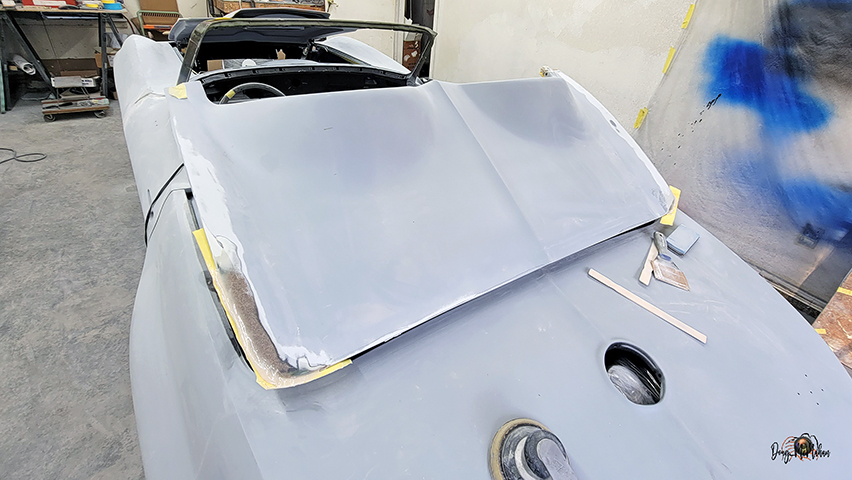
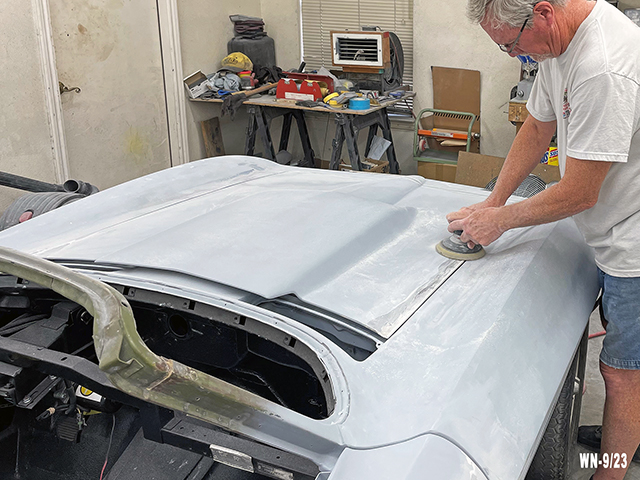
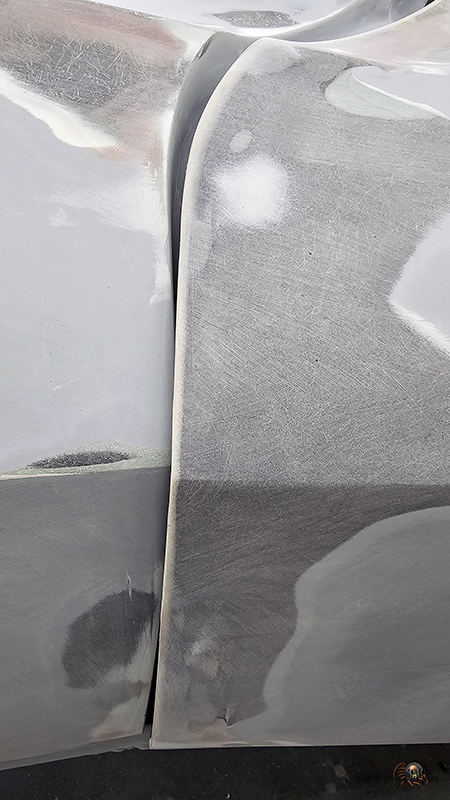
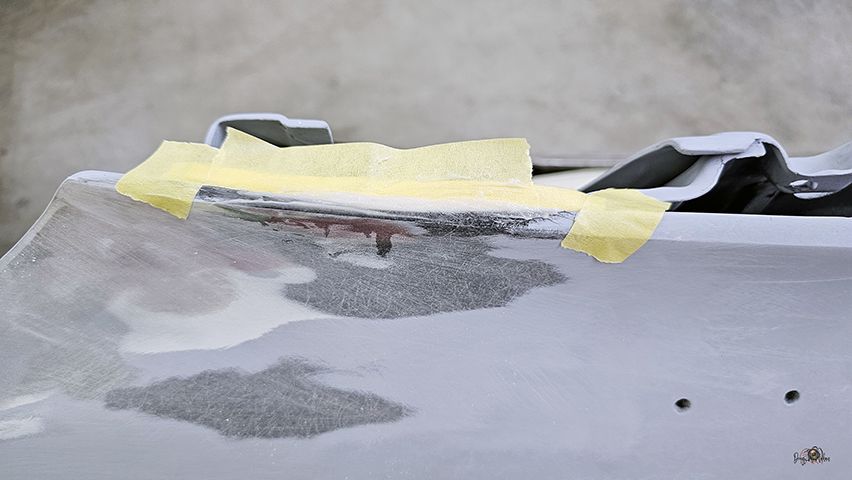
Final Gapping & Leveling the
Body - 8/22-9/25
Now that the body is on the chassis for the final time, it is
true-up time for all gaps and body panels.
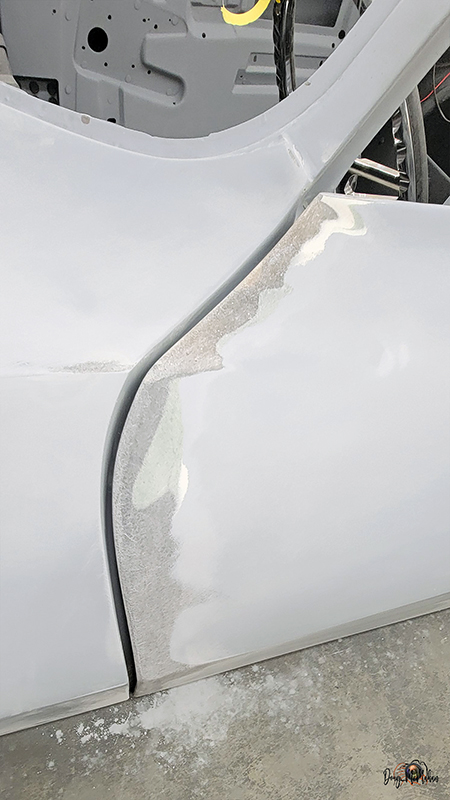
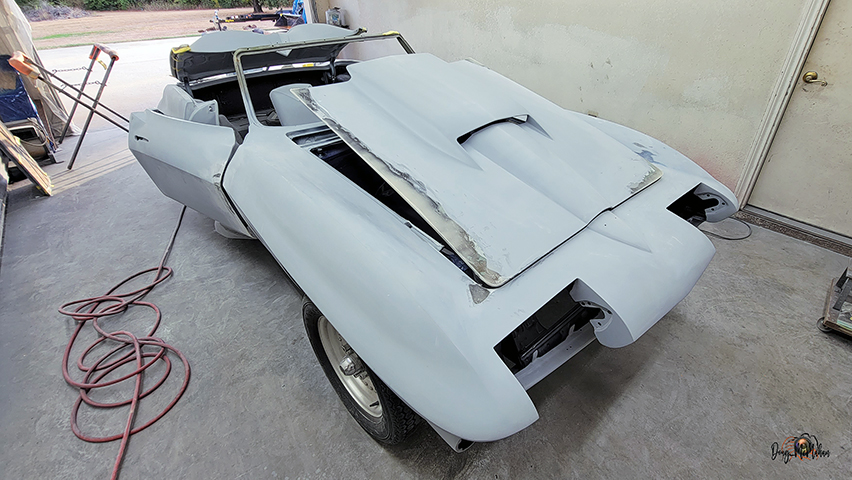
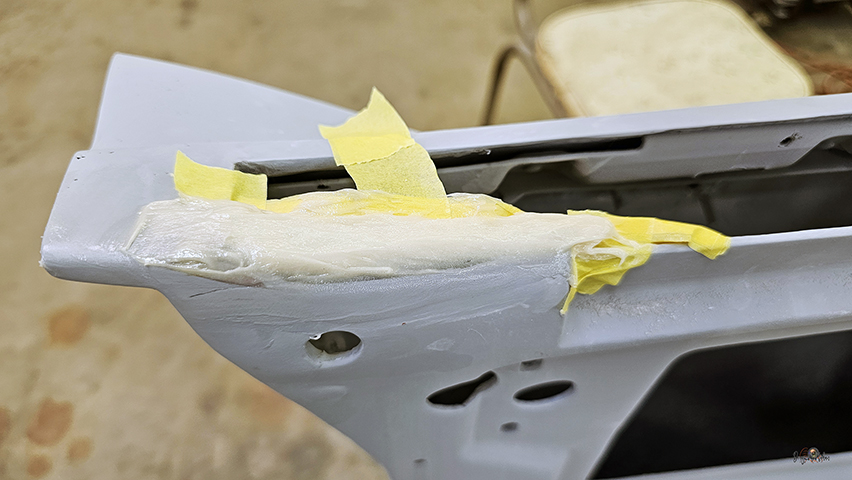
Too-wide Gaps get filled with Gap Bonding Material
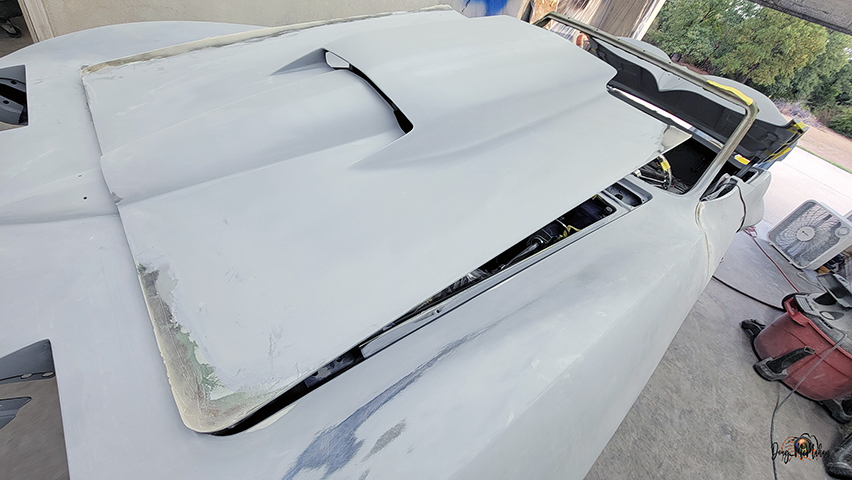
Gaps and body panels level - time to start on the decklid
Add material for panel leveling, then sand it flush
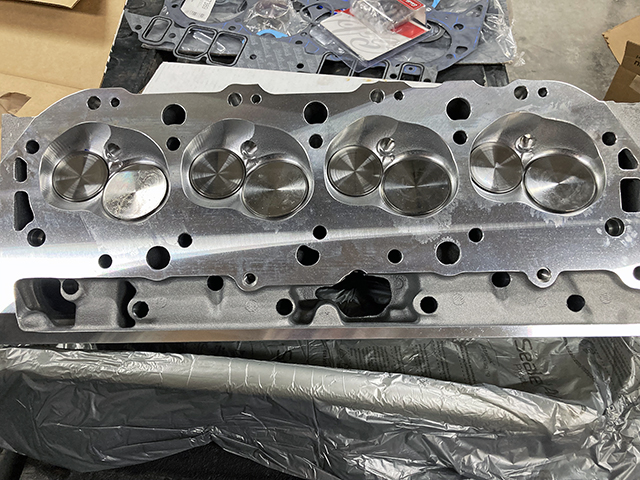
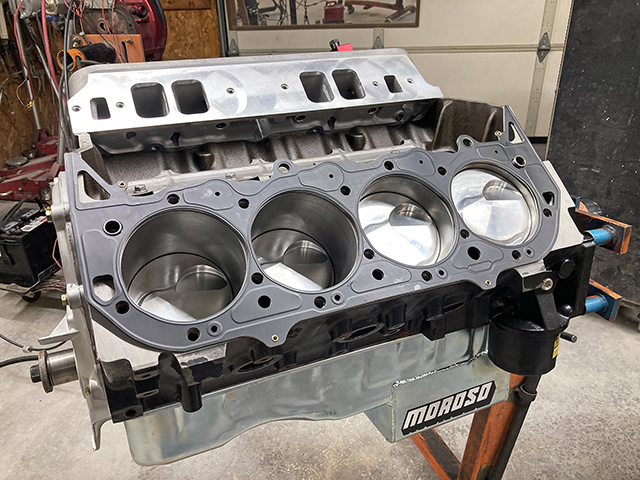
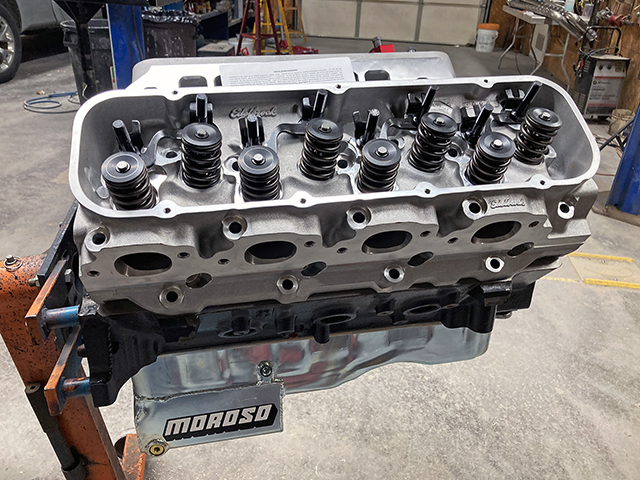
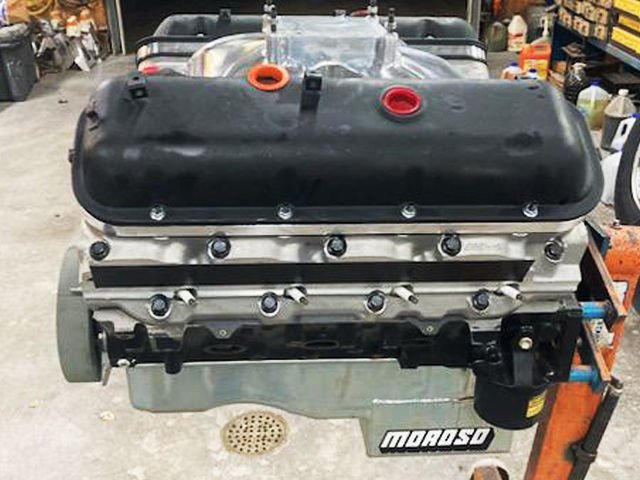
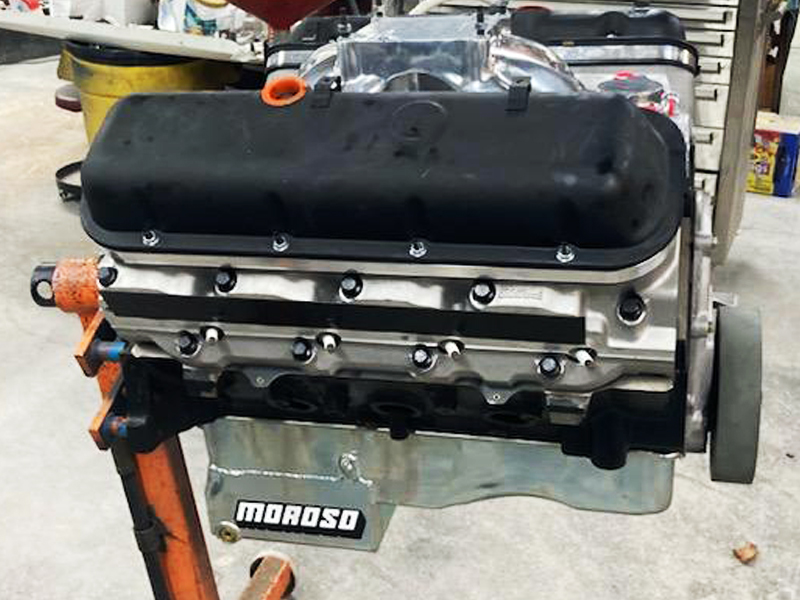
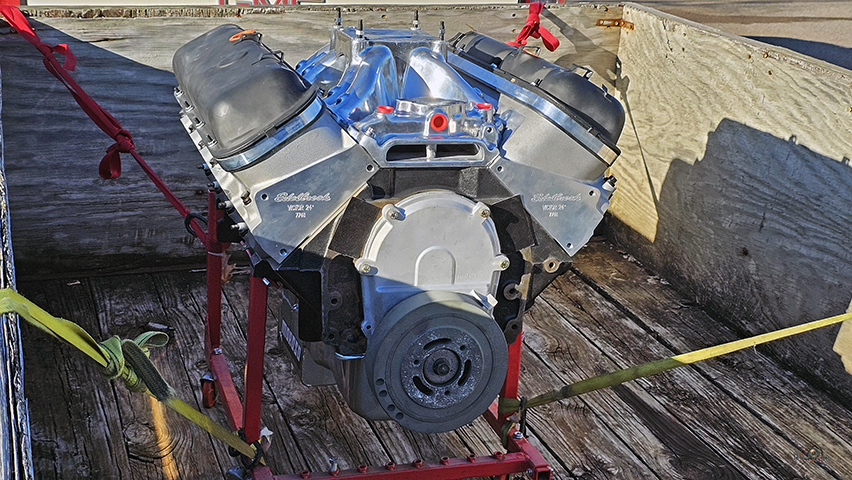
Meanwhile the Engine is
Progressing - 8/18 - 9/13
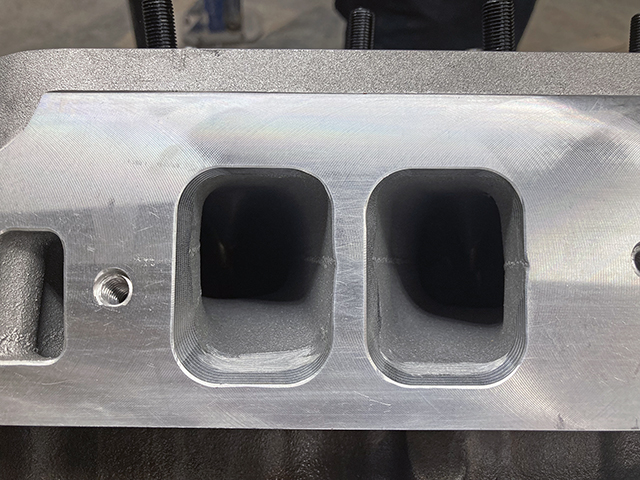
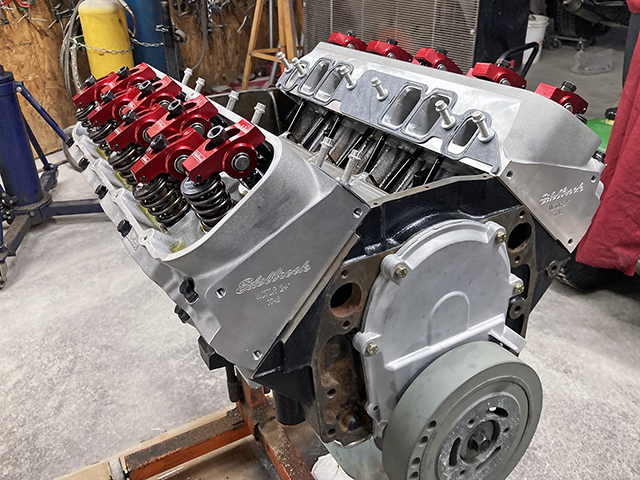
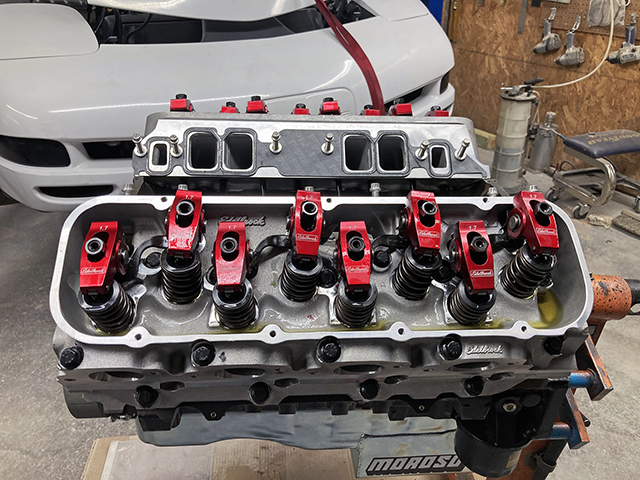
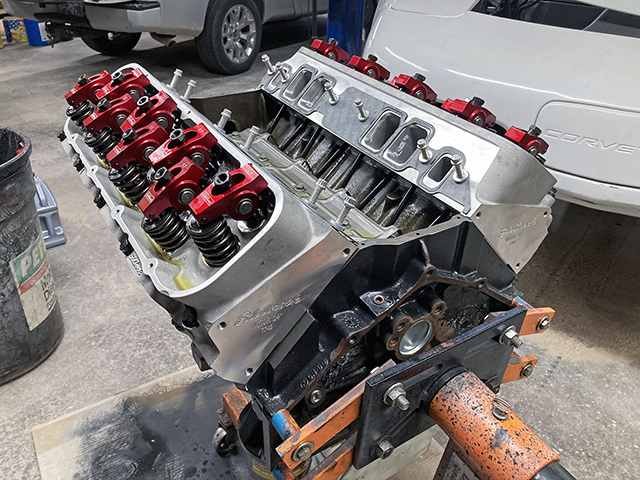
Johnny has installed the Edelbrock 611HP Top End Kit - short
block+ finished
Can you say RAT MOTOR!!!
Lifters are primed &
pumping oil nicely
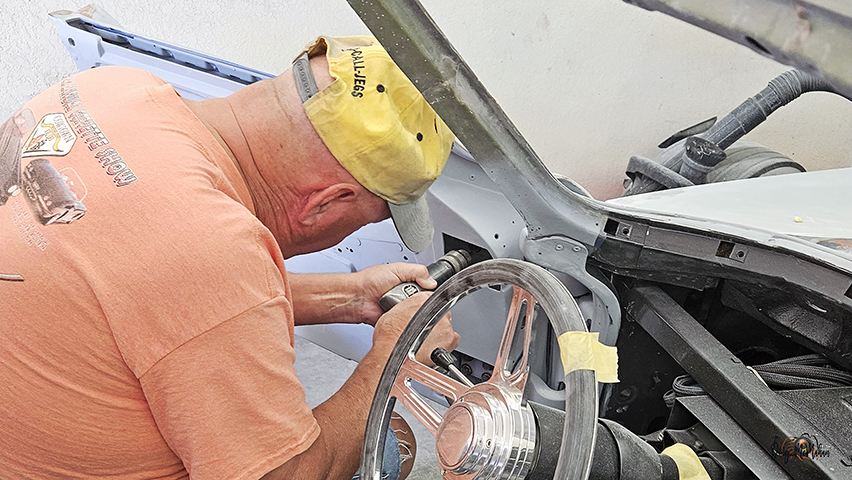
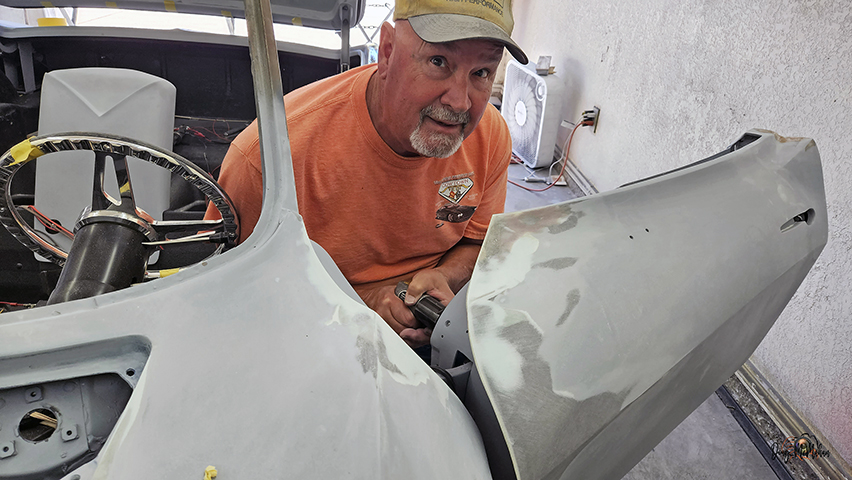
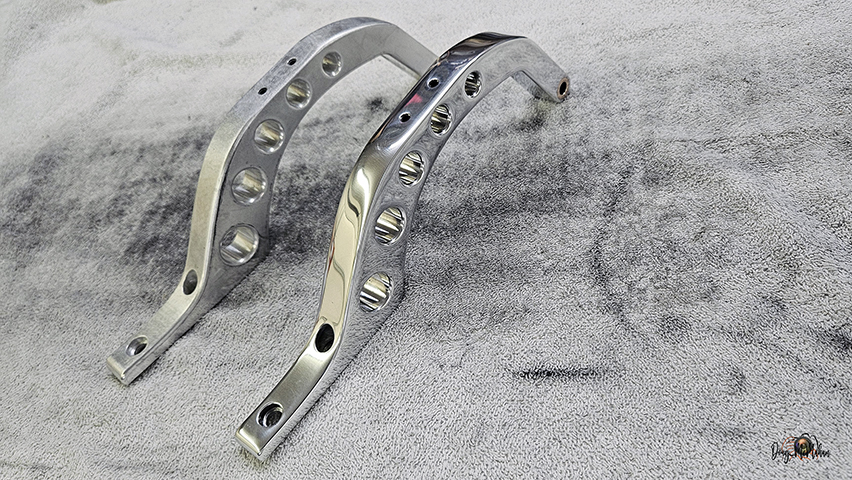
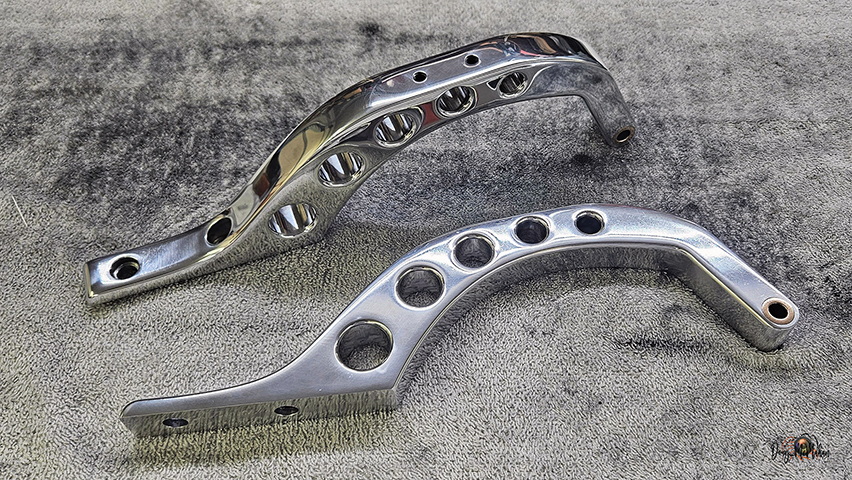
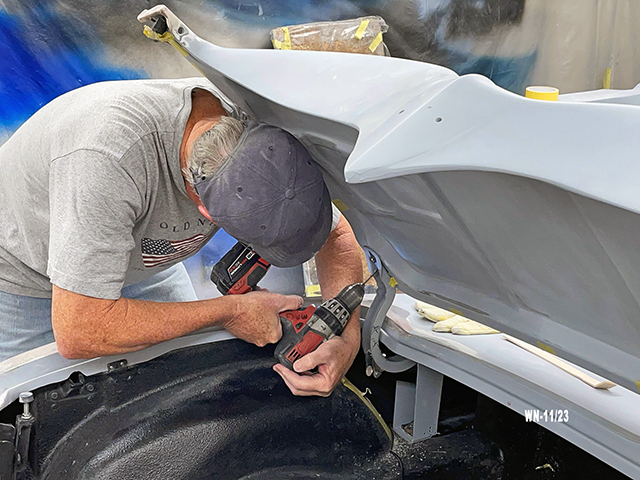
Sometimes You Do Things to
Make Life Easier or Better - 10/8-22
William drilling line-up holes in the door hinges - sure make it
easier next time
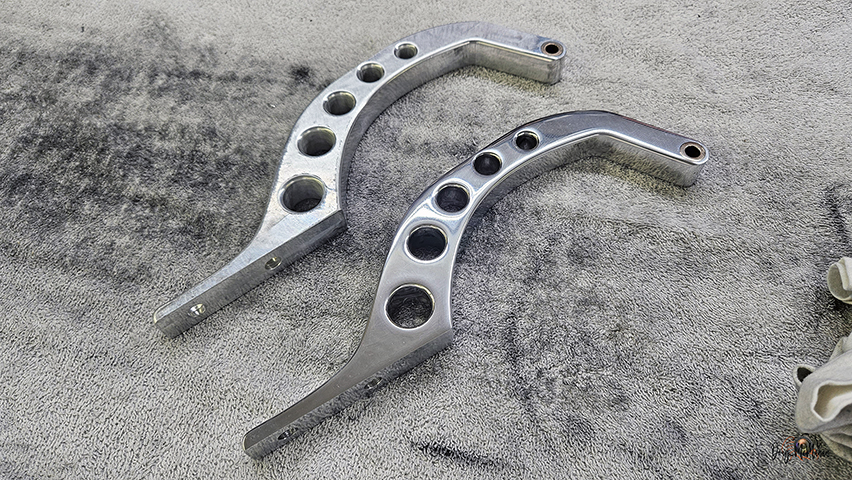
polishing the custom hood hinges - they polished up nicely
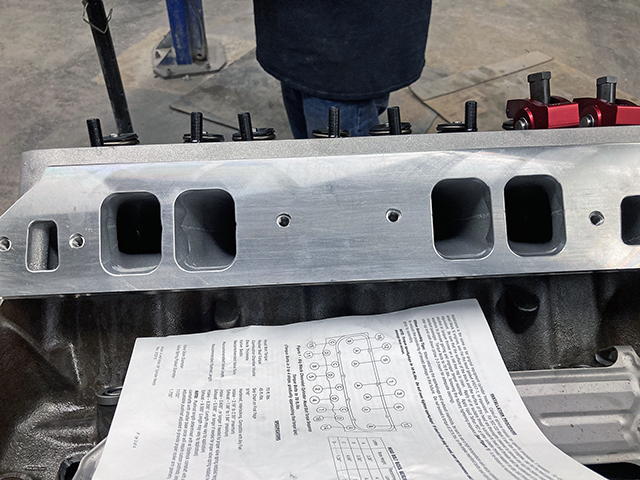
The Engine is Continuing to
Make Progress - 10/26
Johnny rec'd the valve cover spacers allowing stock-height
covers to clear the after-market rocker arms
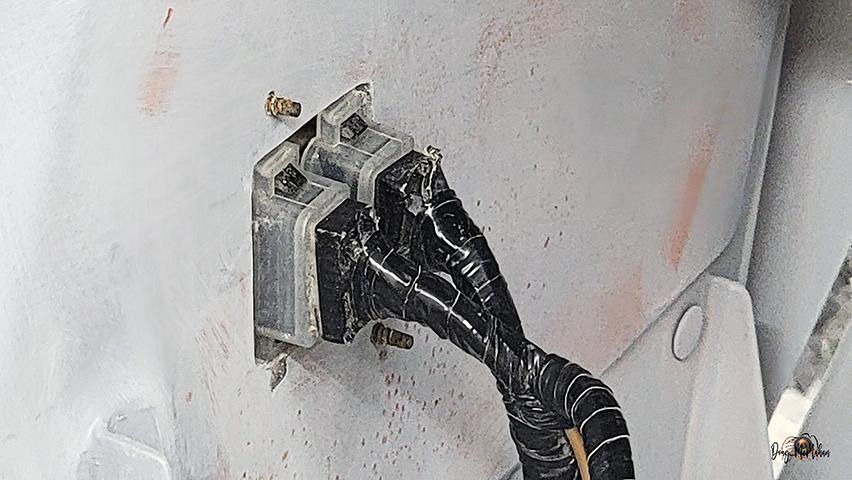
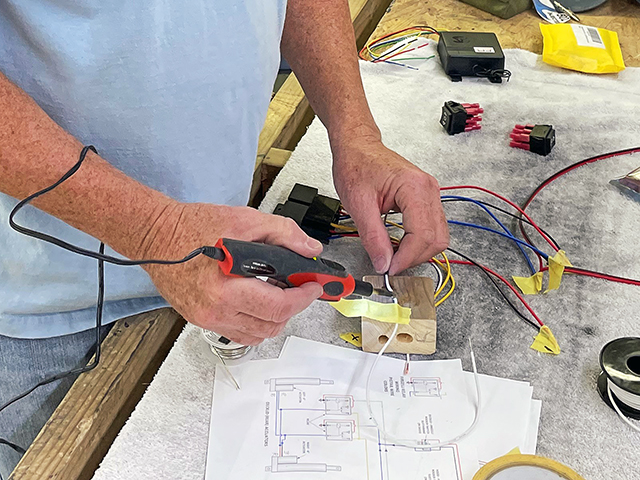
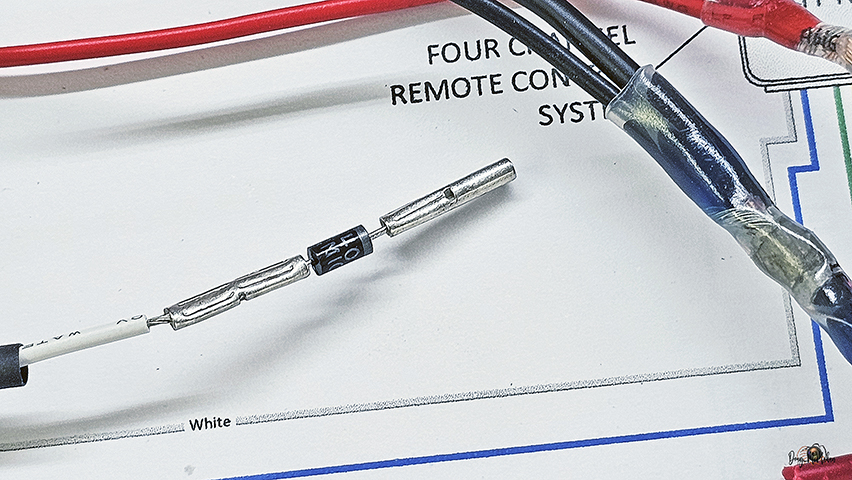
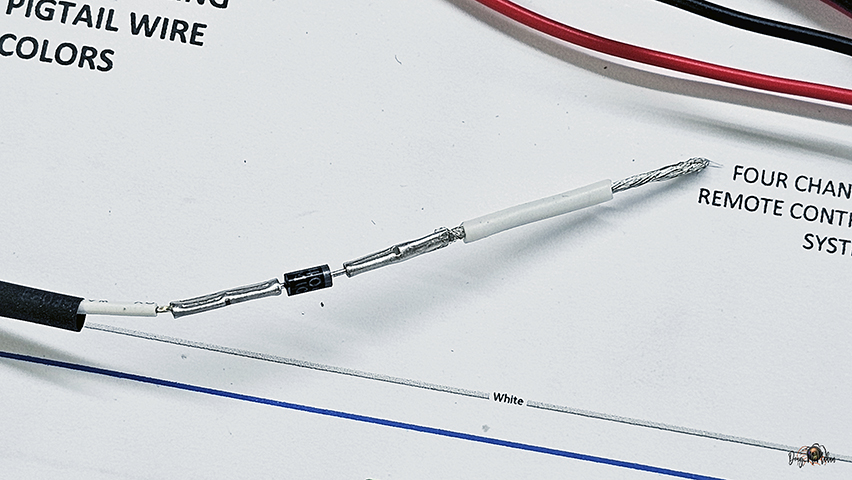
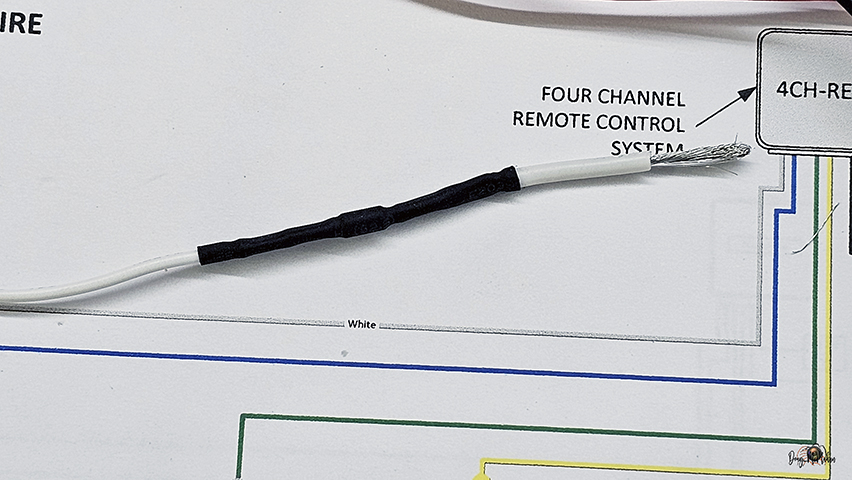
Wiring Fun - 11/13
We were having some issues with the switch, due to current
back-flowing ...time to add a few diodes (electrical check
valves) in the wiring; heat shrink tubing seals it all.
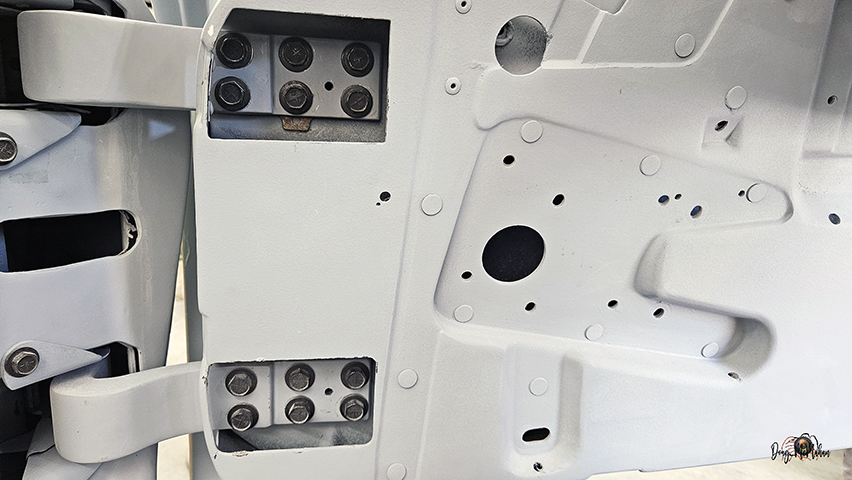
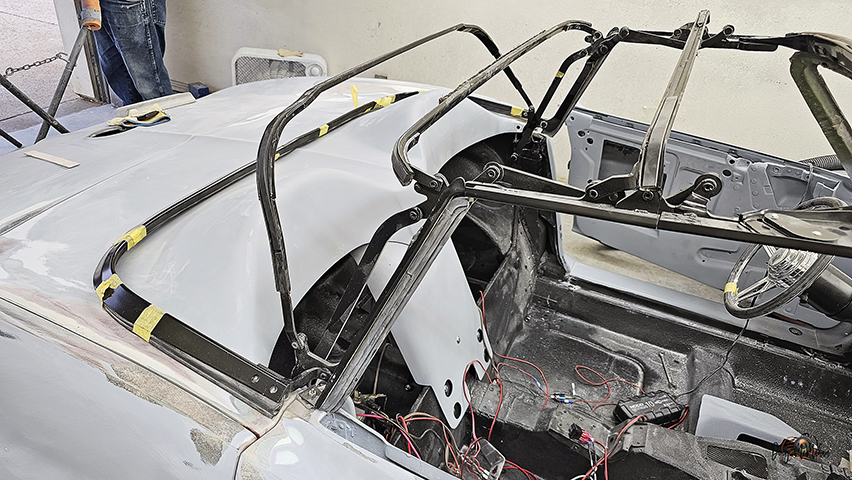
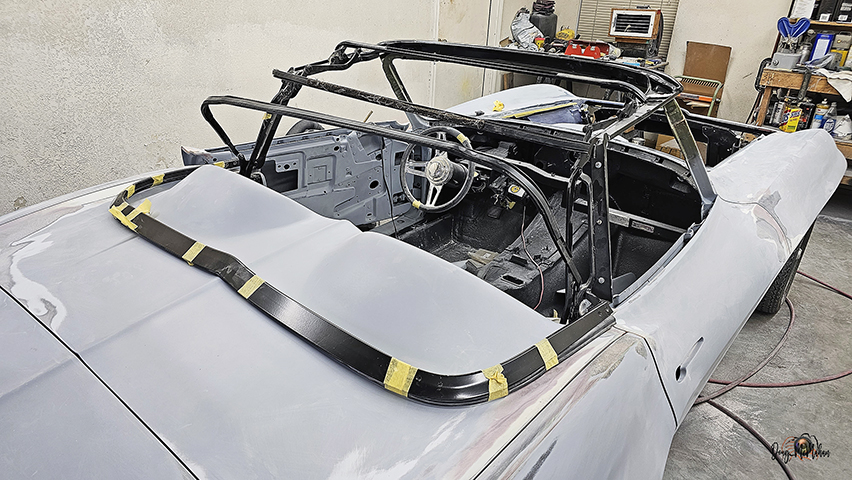
Test Fit Now & for Later - 11/13
<= Line-up holes
Test fit of the convertible top = >
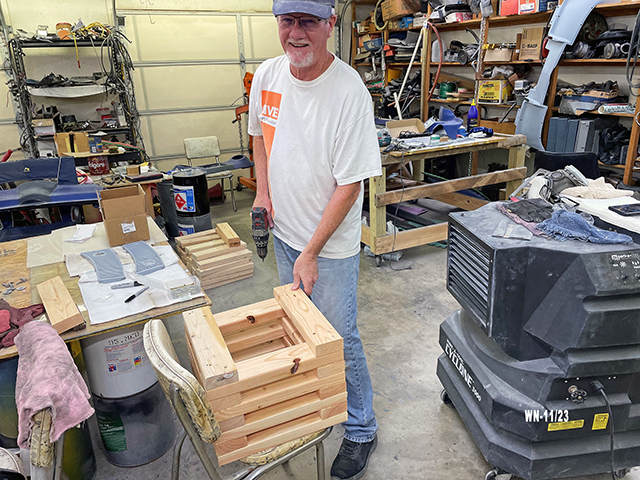
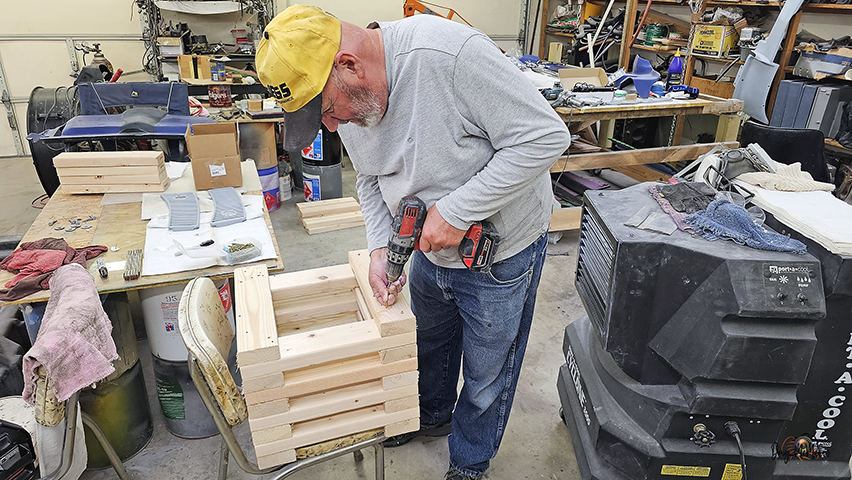
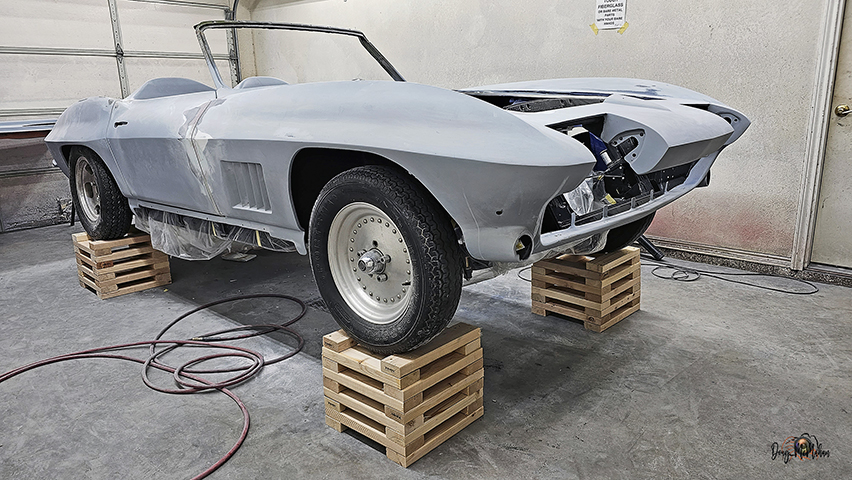
Wheel Cribs - 11/19-20
Decided to build some wheel cribs to elevate the '67 so that it
would be easier to block and paint
...will be about the perfect height
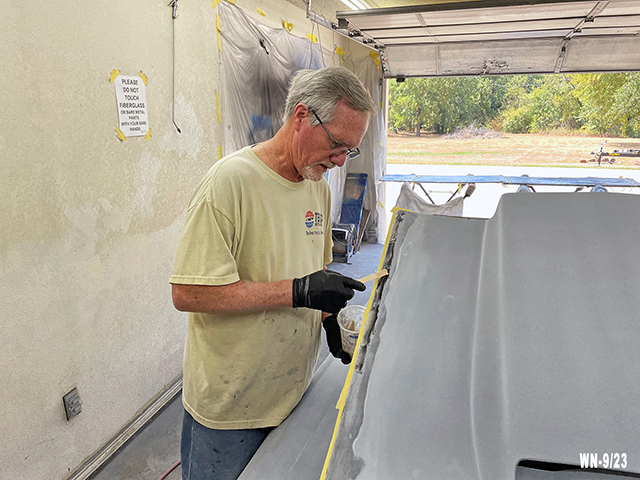
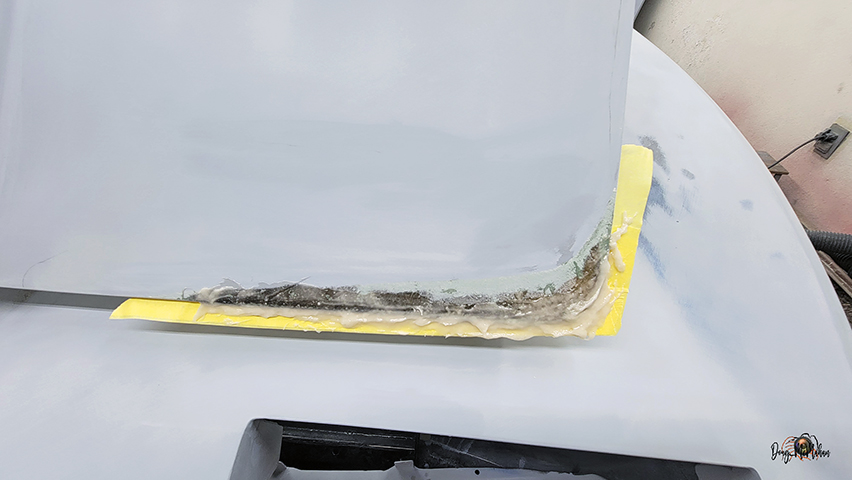
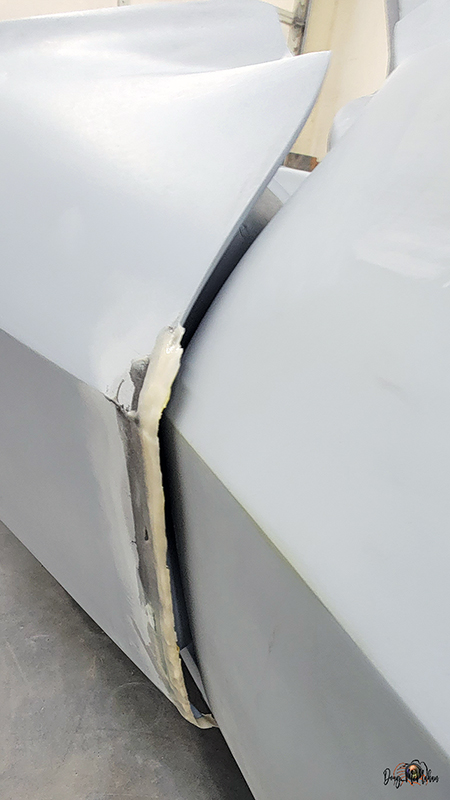
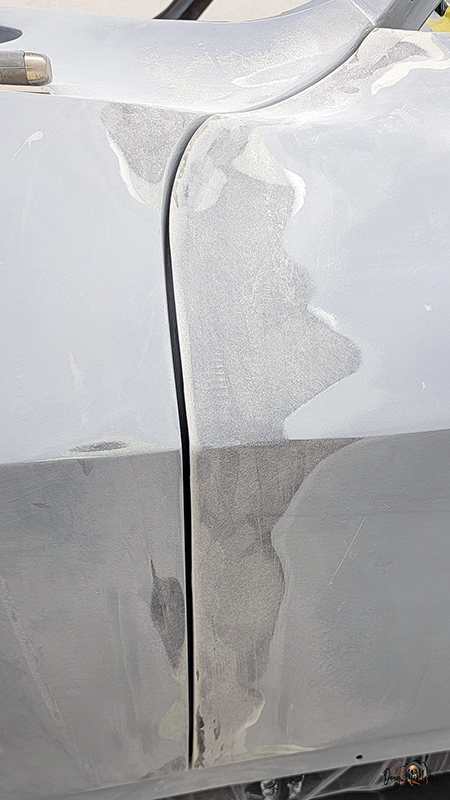
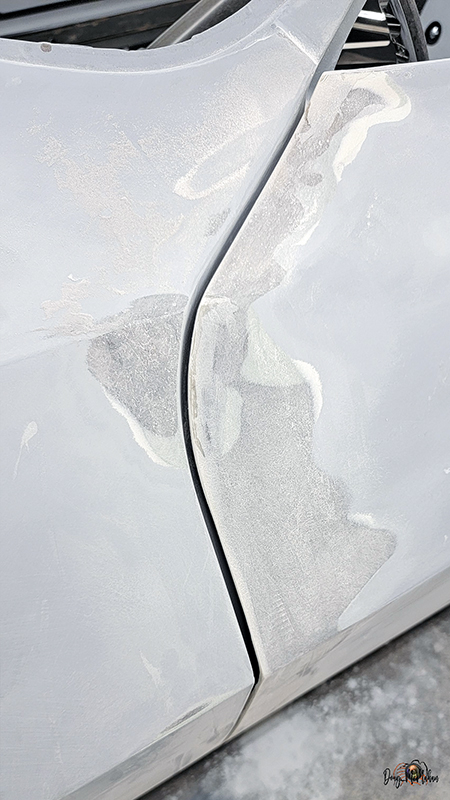
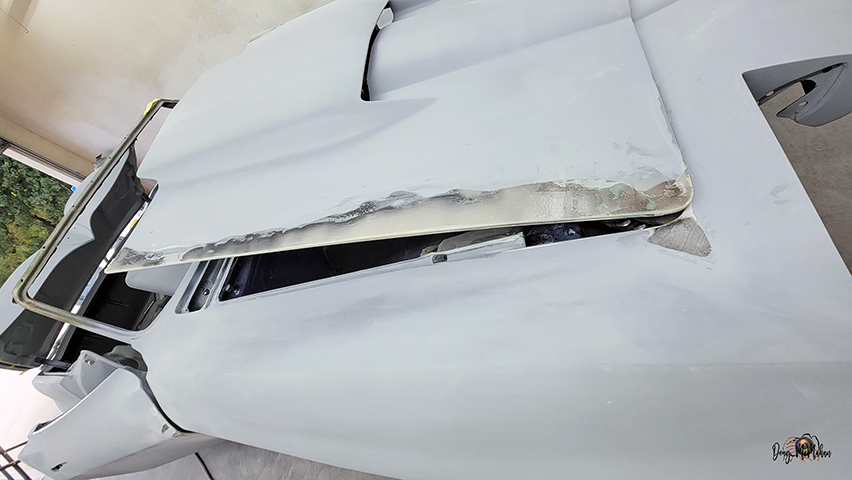
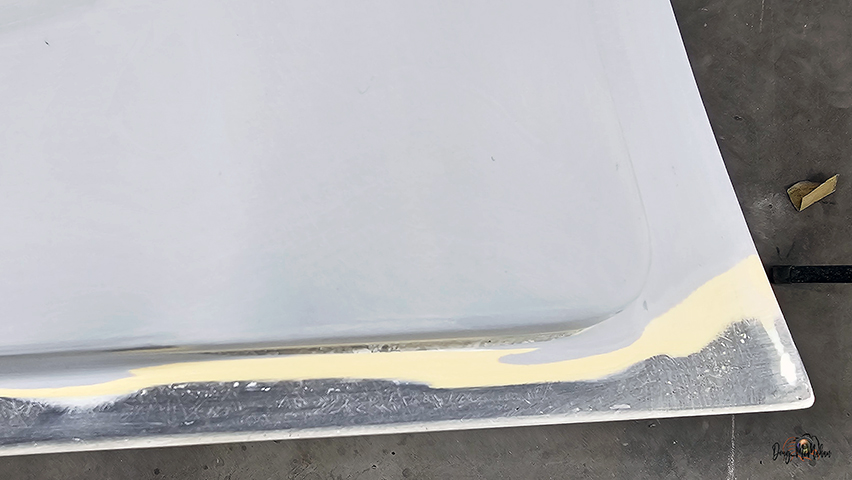
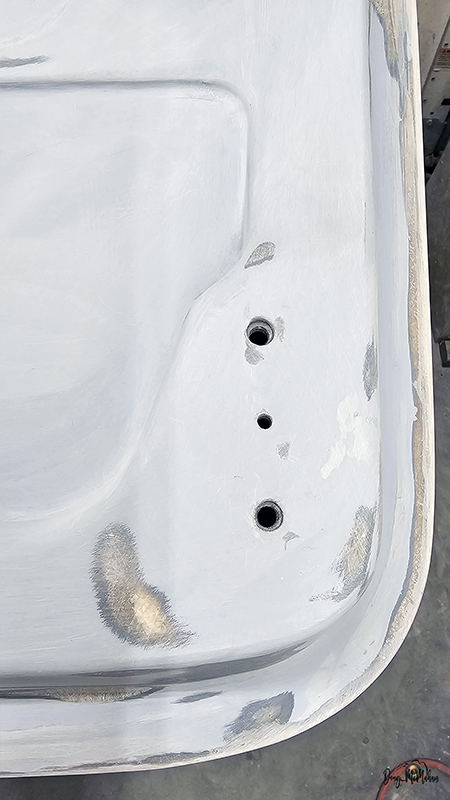
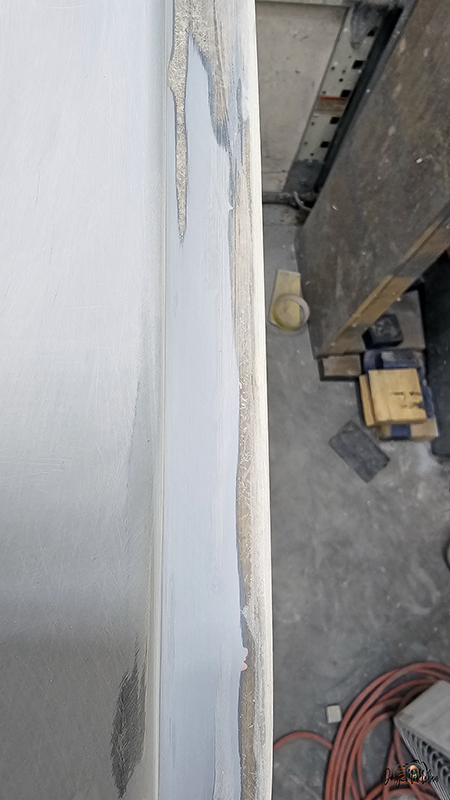
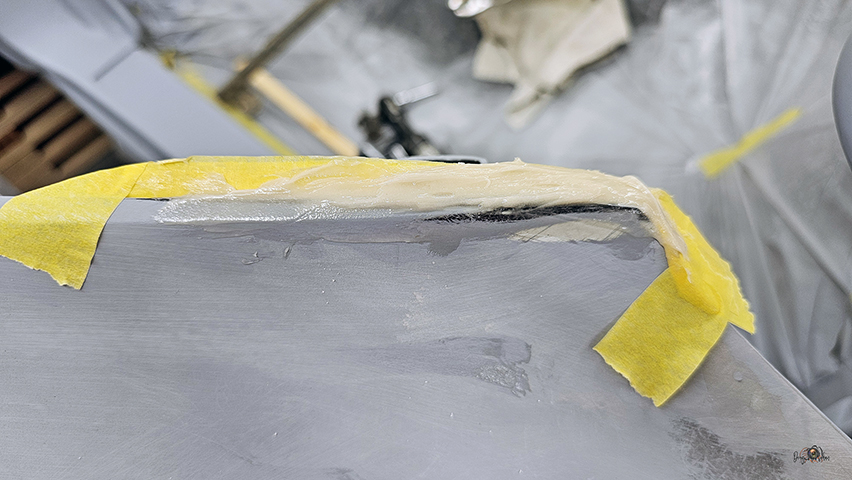
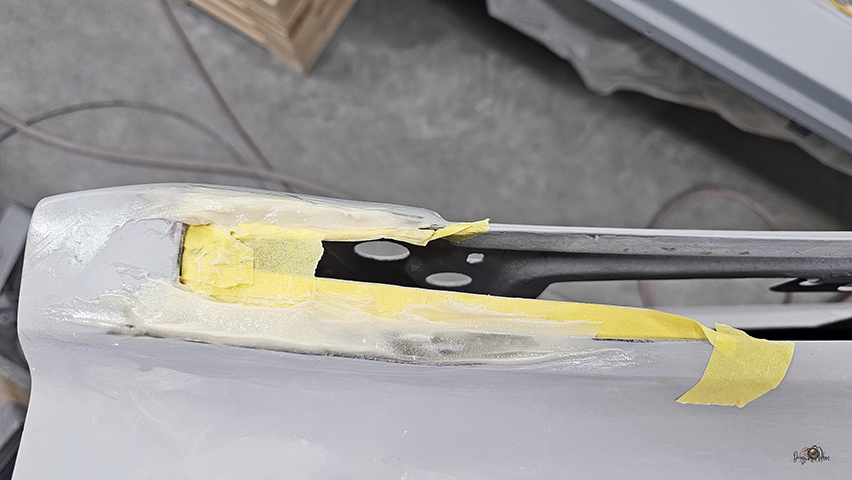
More Gapping / Tweaking - 11/20-27
After you finish the outside, it is time to remove it and finish
the underside of the panel. Sometimes it takes 1/16" to 1/8" of
extending the body panel to properly gap it.
more sanding ...then filling any imperfections w/West Systems
product
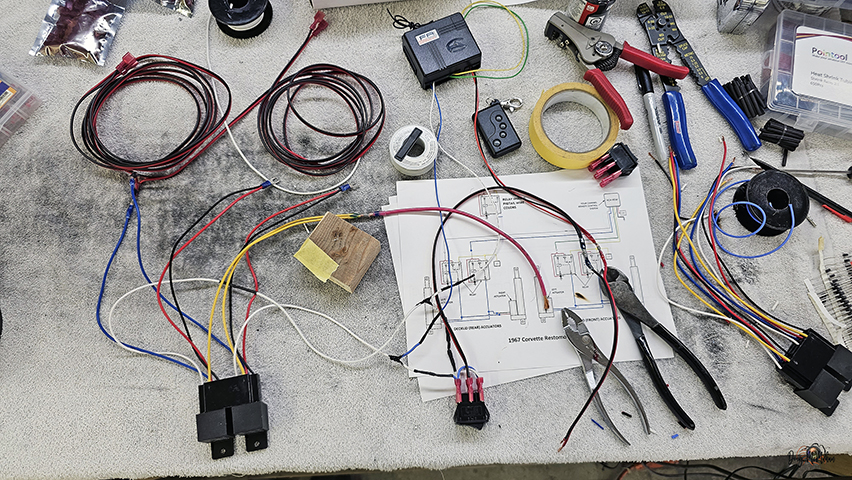
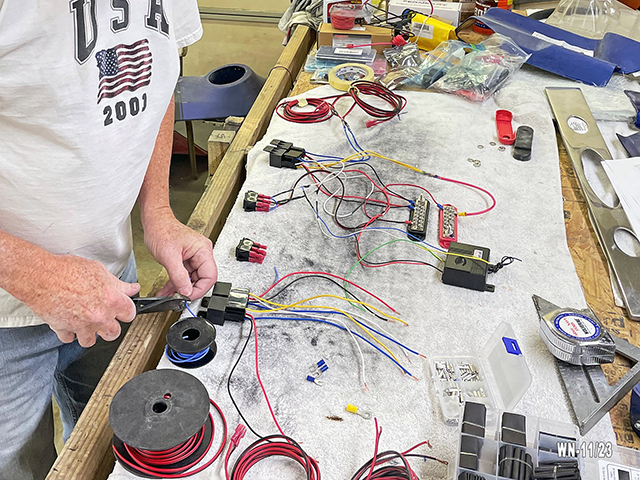
Actuator Wiring (Decklid & Hood) - 11/26
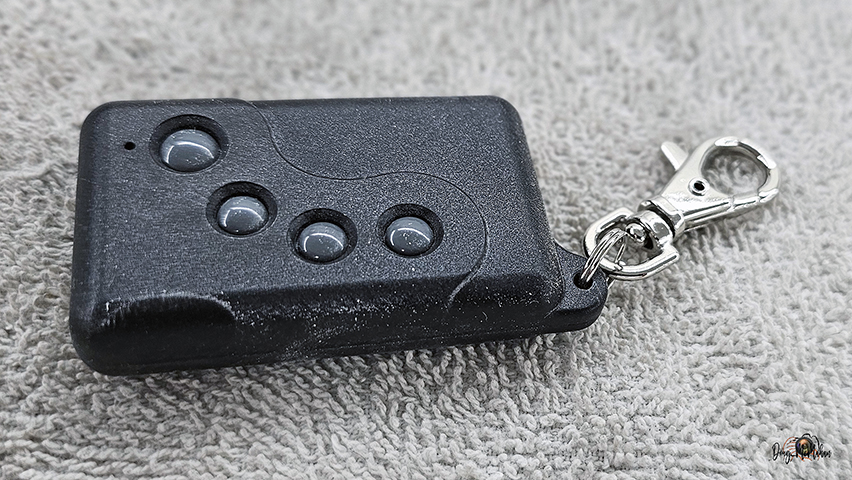
Building the component wiring with remote, dash switches, etc.
all the way to installing diodes to protect direction of current
flow.
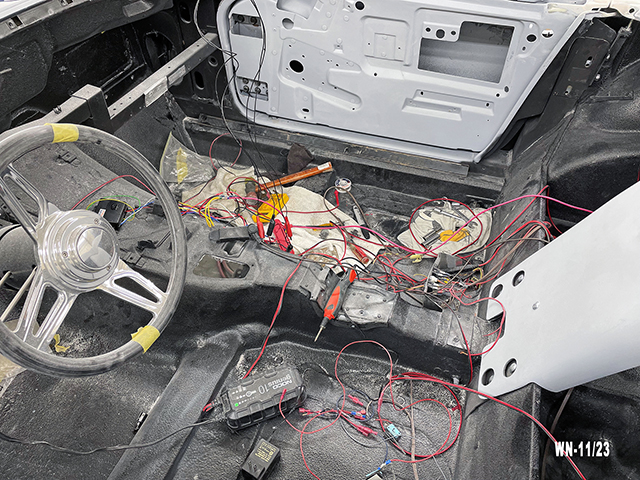
Lots of wires, diodes, switches, terminal blocks, etc. to
complete it
William couldn't resist taking a picture of the wiring in the
floor for testing all of the functionality
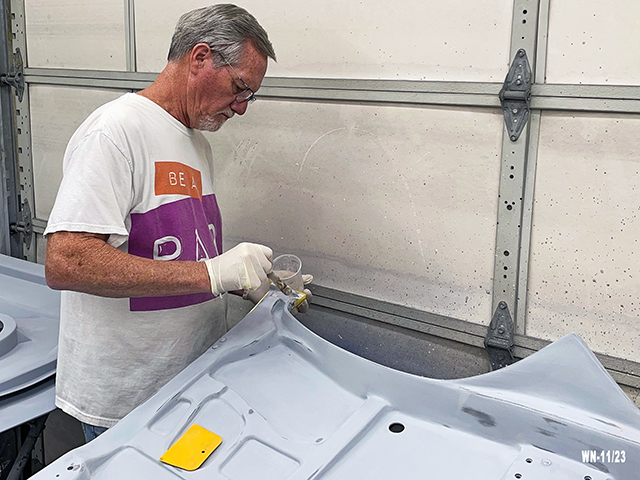
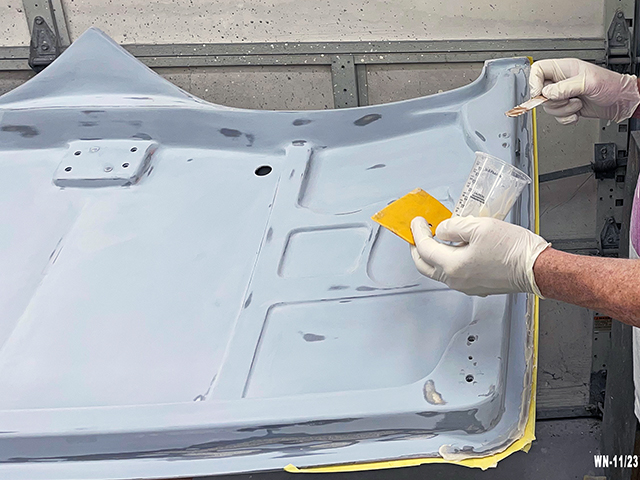
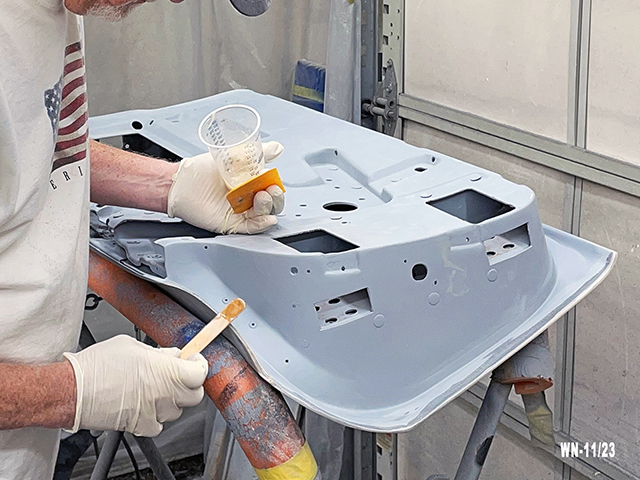
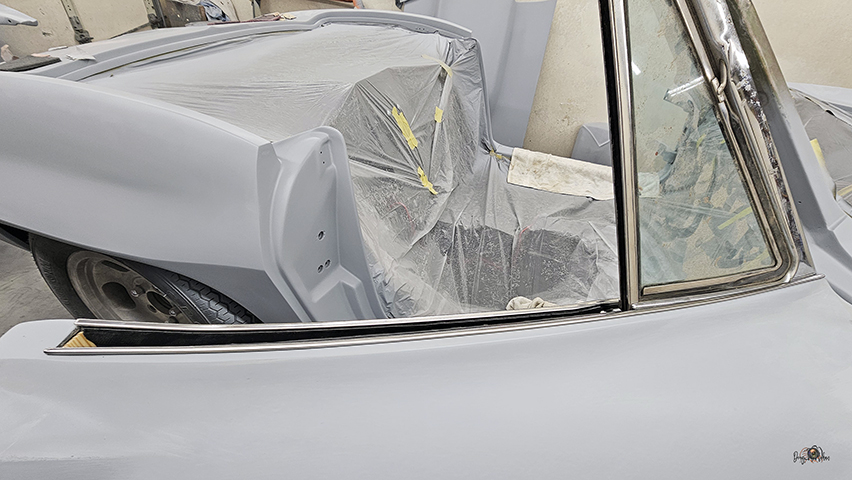
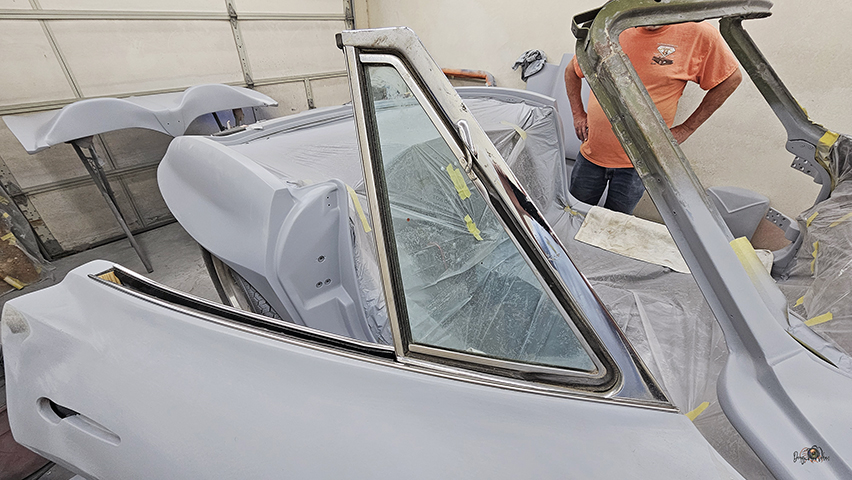
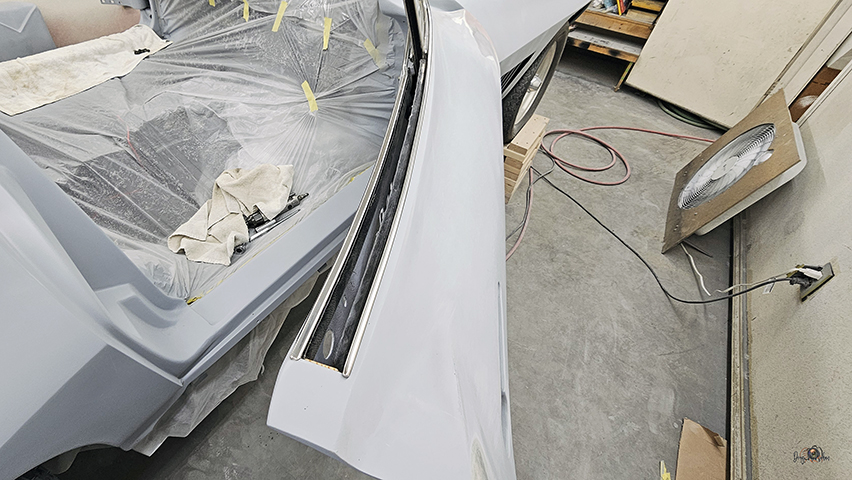
On the Inside - 12/10-17
Lots of time spent getting all the inside edges, door jambs,
etc. sanded and perfect
Heavy Wet Coats of KD3000 High-Build Primer to allow us to do
the final blocking once the jambs and under the hood & decklid
are painted - and reinstalled on the body.
Attention to detail - small areas, maybe even from the
factory that did not let the trim fit correctly had to be
fixed
The trim fits MUCH nicer now.
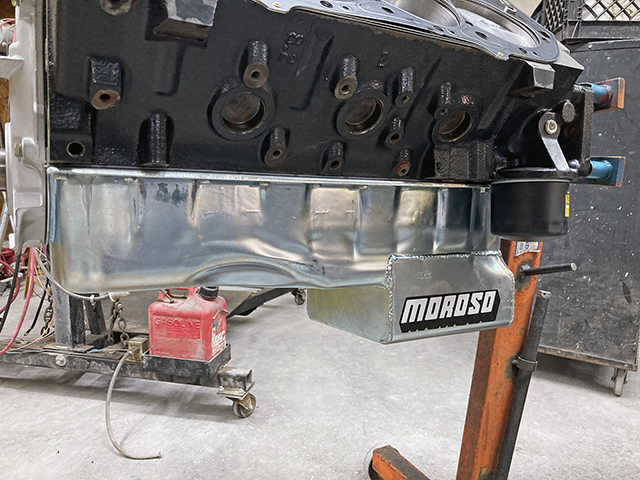
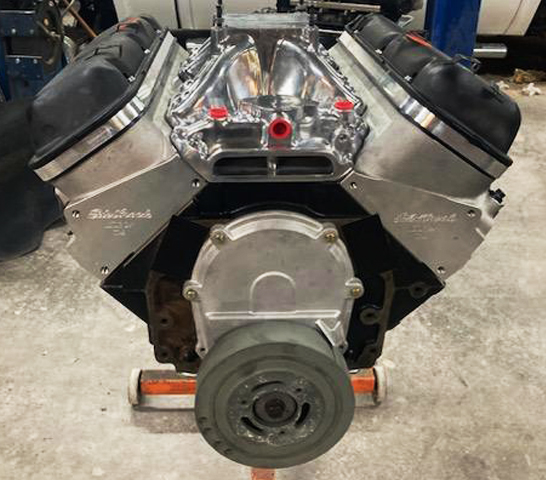
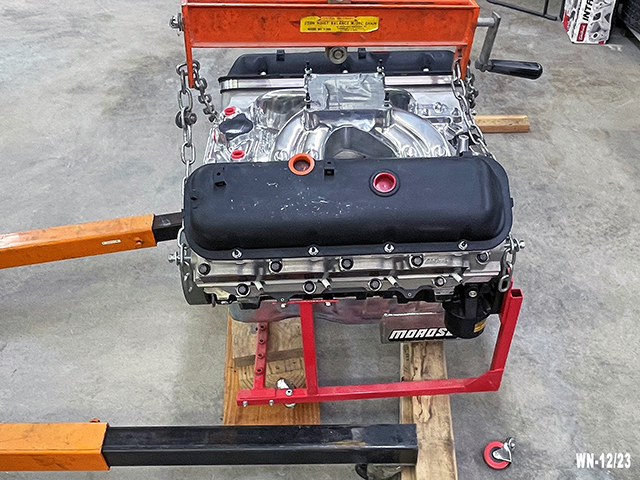
Time to Get the '67s
Heartbeat - 12/28
After over 2 years (due to part shortages @ Edlebrock, William &
I returned from OK with the '67s 502 BBC engine
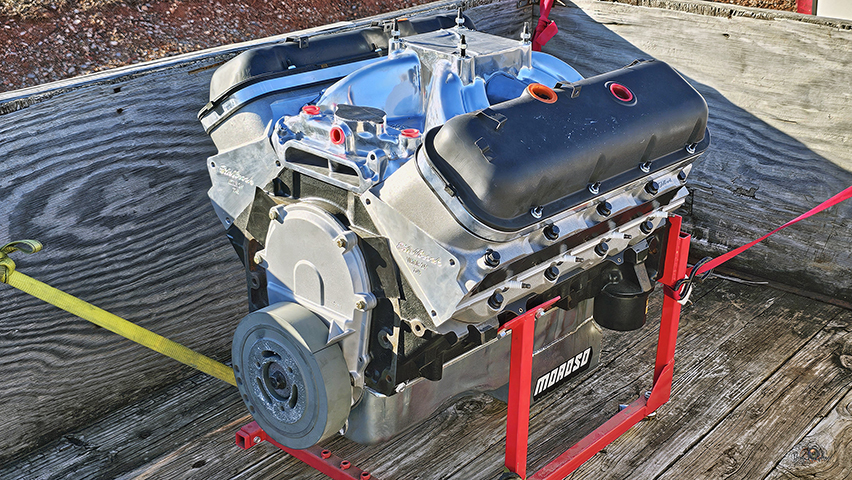
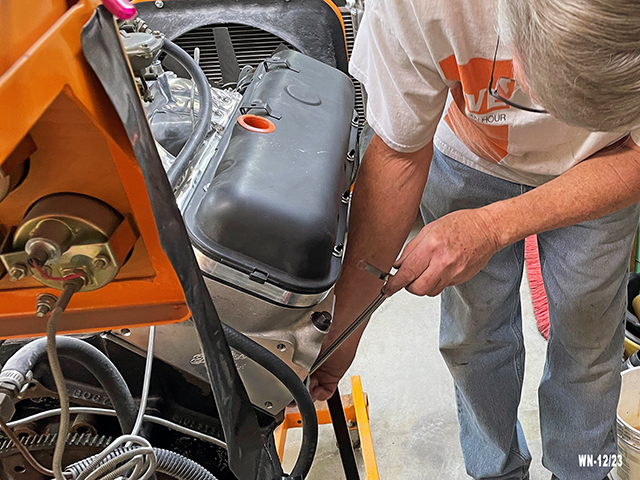
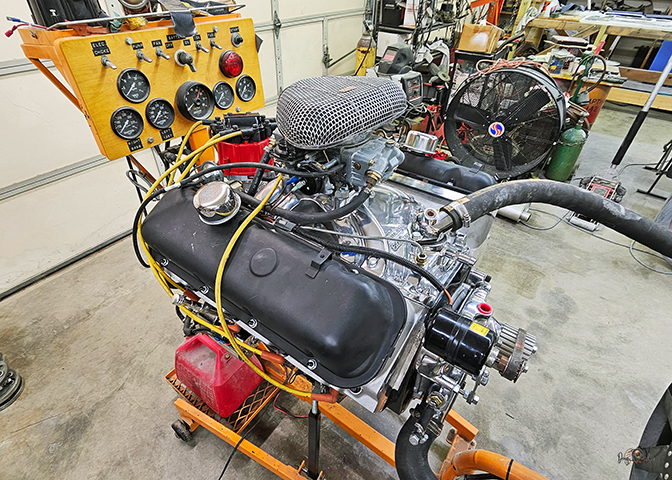
Getting the '67s Heartbeat
Ready - 12/29-30
We have it on the run stand, almost completed to allow for the
run / break in ...then
it will come off and get custom painted & made ready for the '67
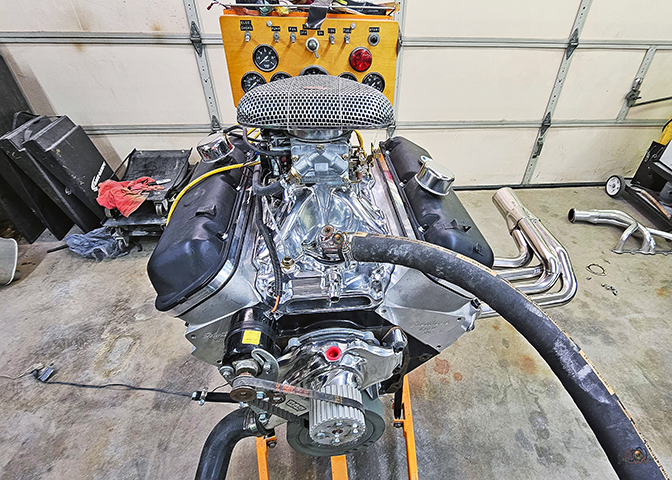
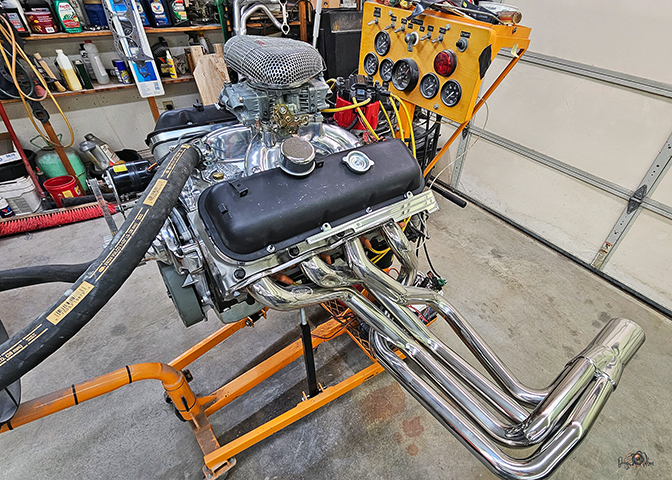
The run/break-in will be done with a typical carb & distributor.
Then after it has been run & ready, we will swap
out those for the Holley Sniper Ignition and Fuel Injection system to
finish the run-in / break-in.
The end-game polished valve covers, custom air filter, etc wont
be installe until the engine is in the '67