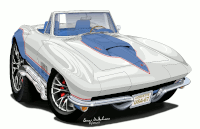
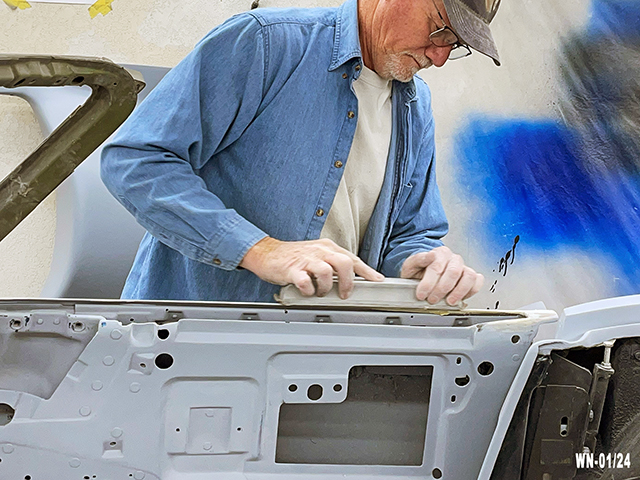
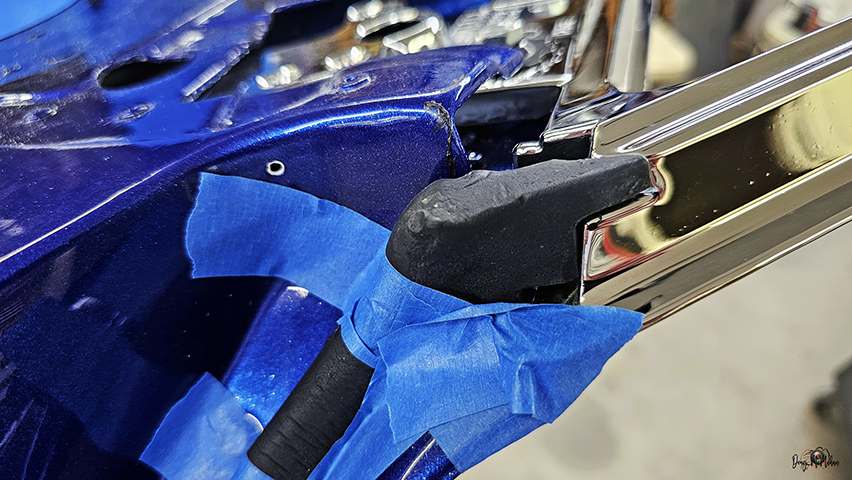
Trying out the new Window Seal Trim ...and it isn't fitting like
I thought it should ...reach out to our friend Aaron Quine and
he sent pictures of his - sure enough the trim is too short :(
Engine Readiness
- 1/07-8
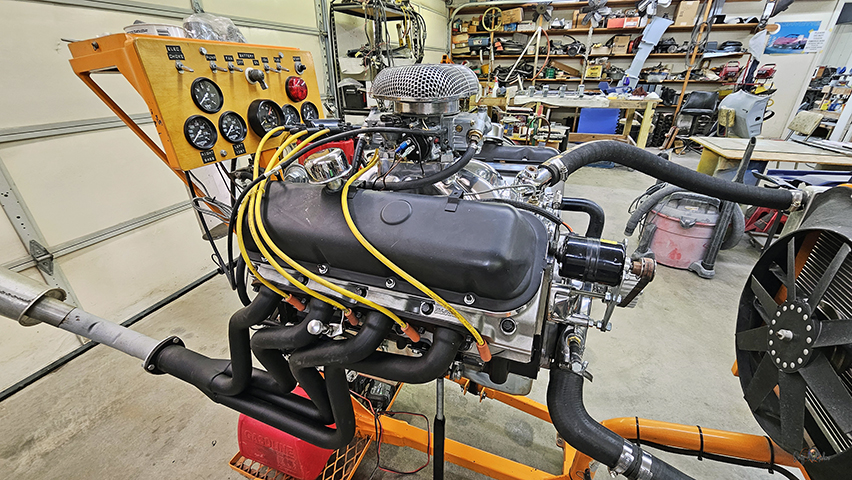
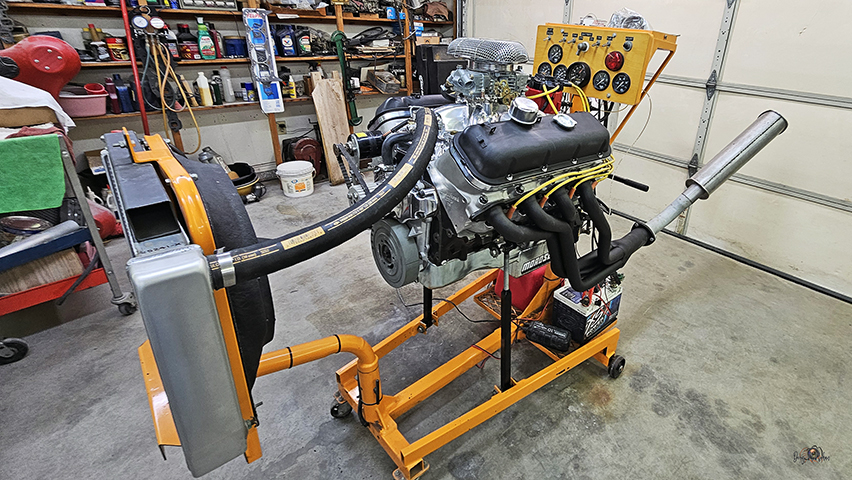
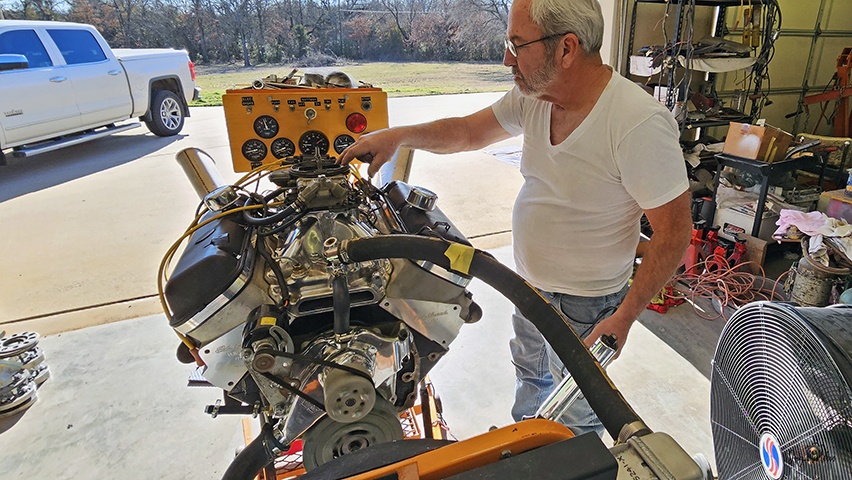
The 502 BBC is ready for run/break-in
the headers are just for this effort along with the black valve
covers & electric water pump motor.
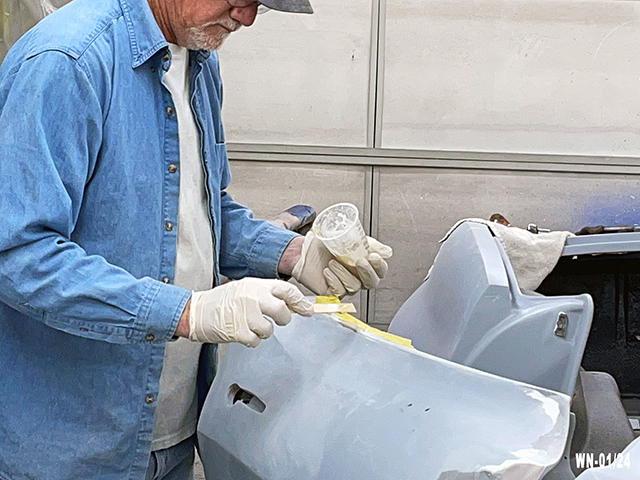
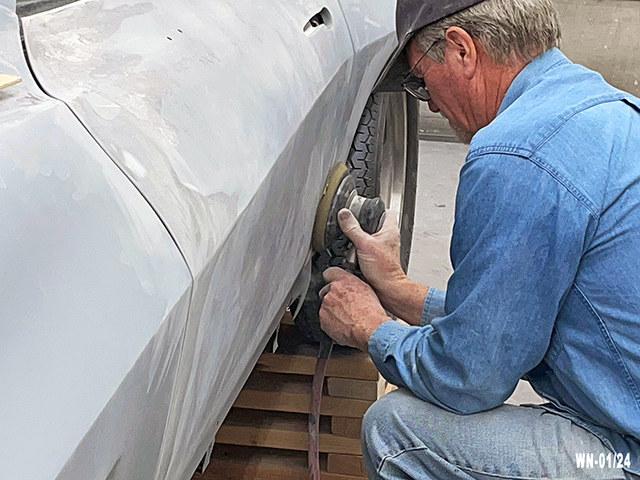
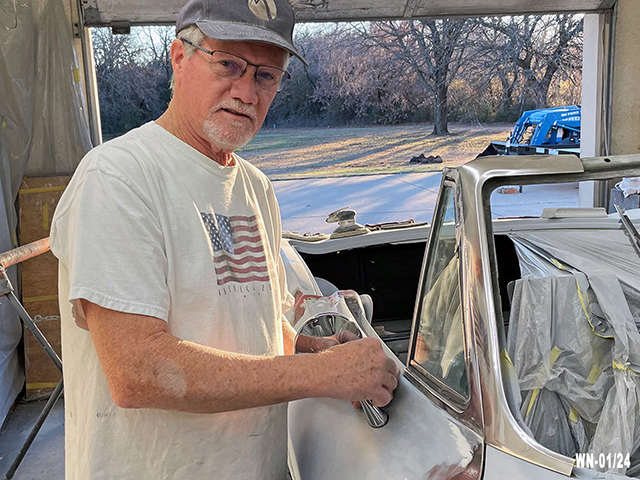
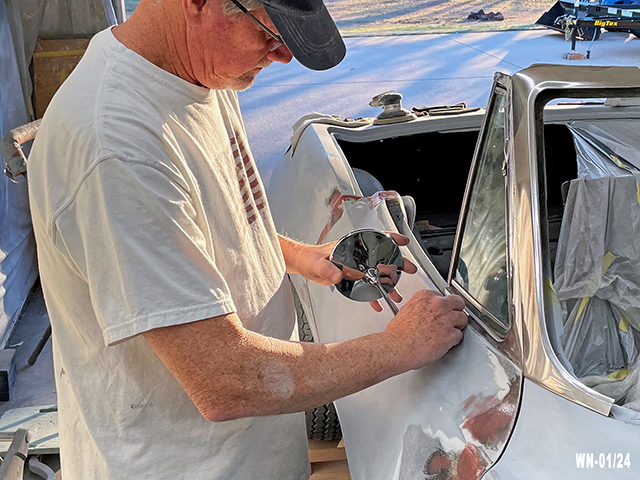
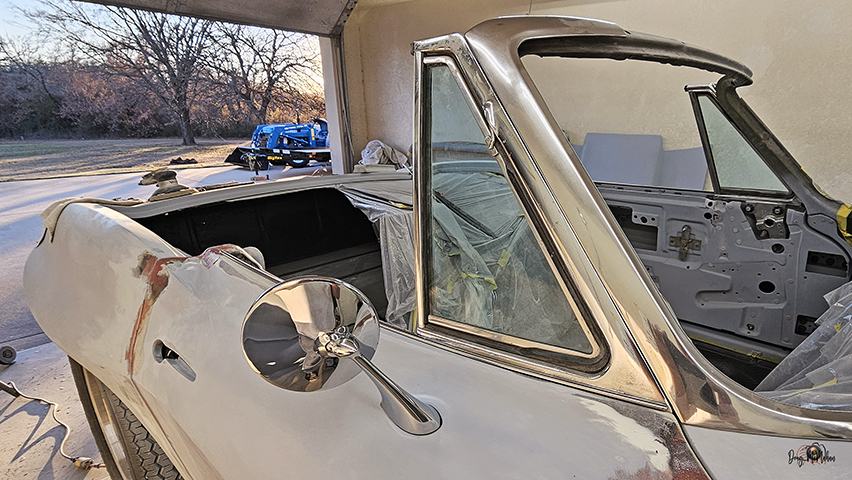
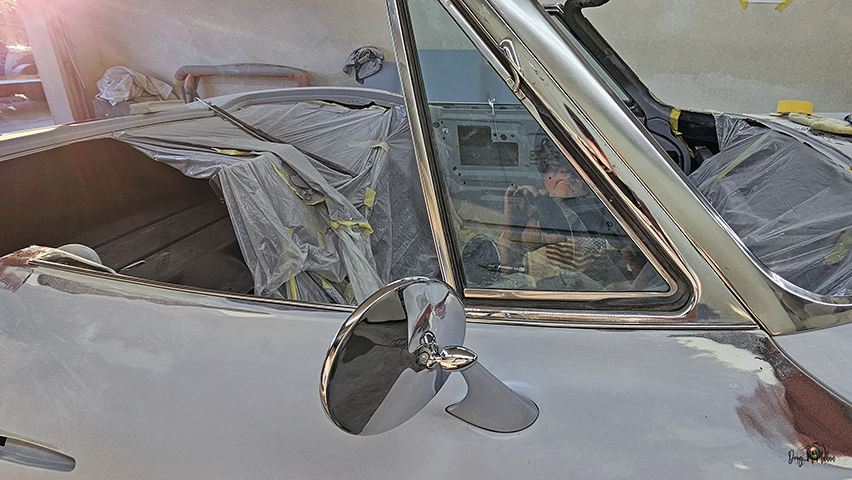
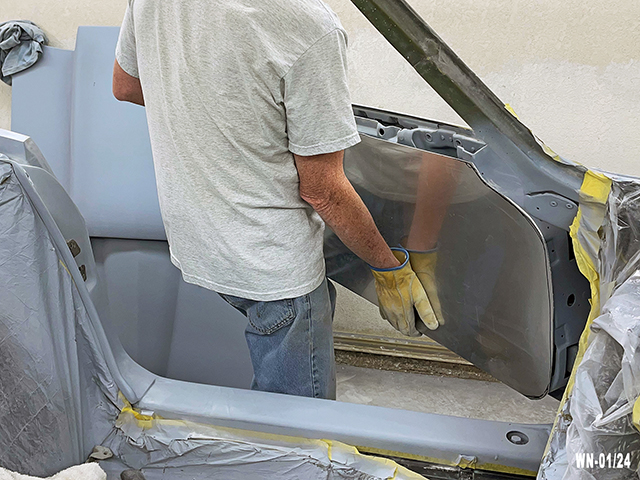
Passenger's Side Mirror & Trim Gapping
- 1/09-19
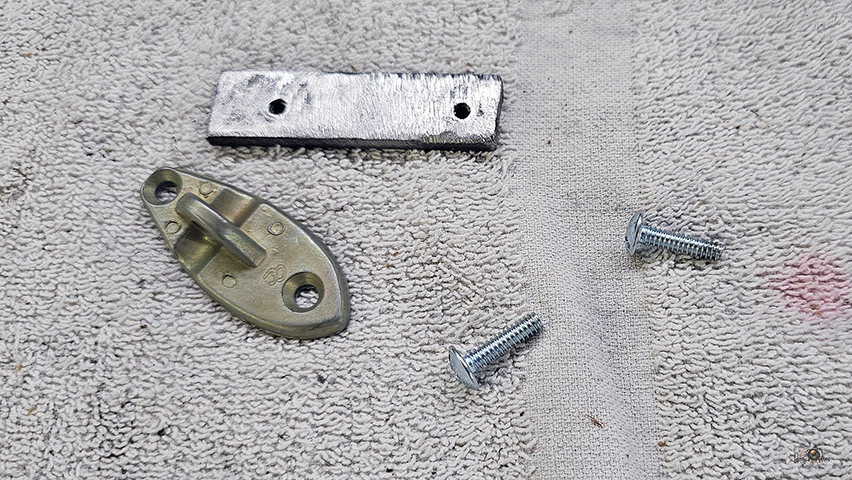
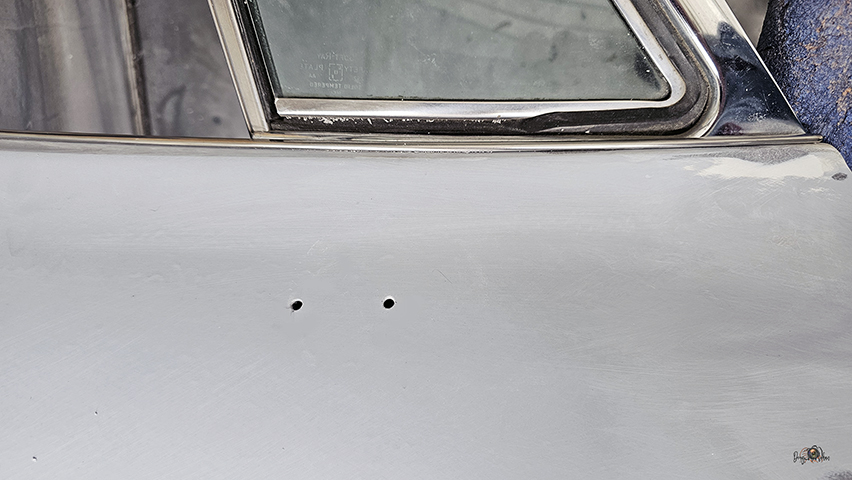
Time to add a rear-view mirror on the passenger's side. Starts
with cutting some flat bar, drilling holes, then building a steel backing plate with
holes tapped for the screws - then bonding it inside.
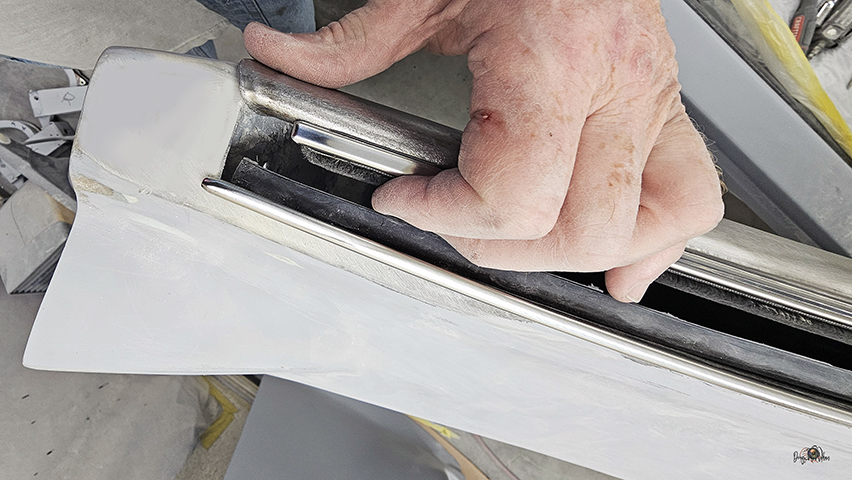
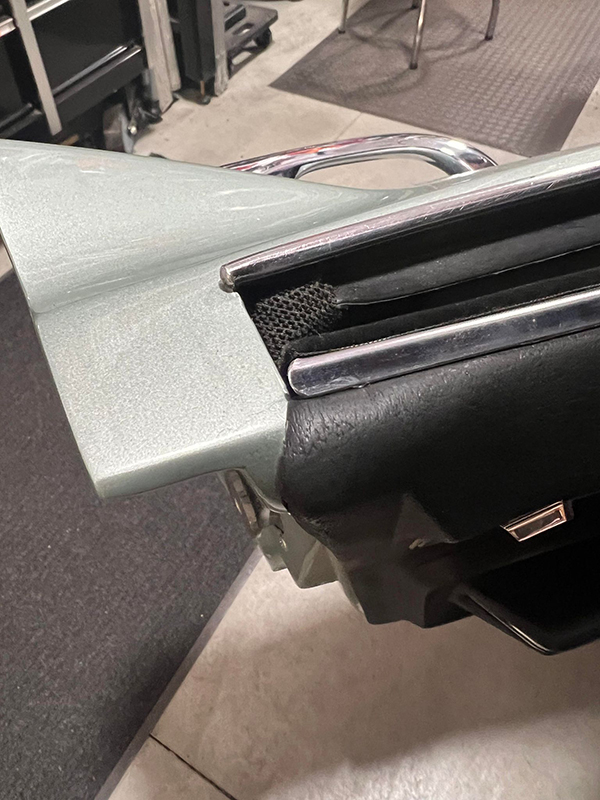
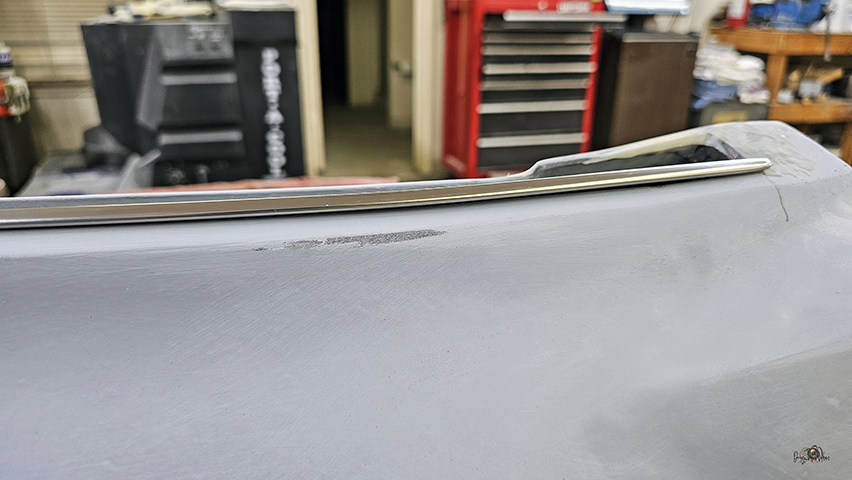
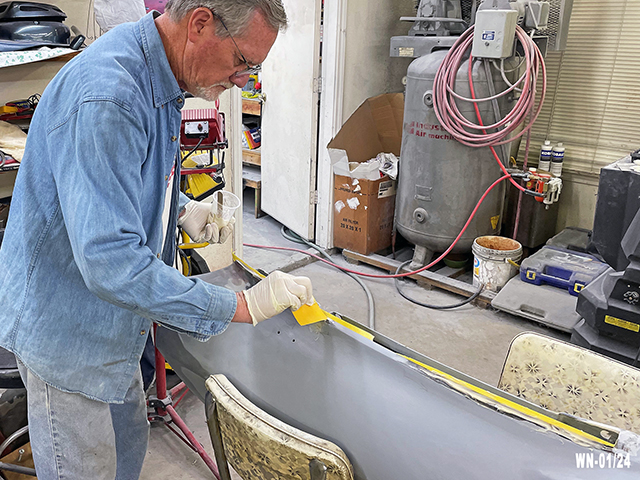
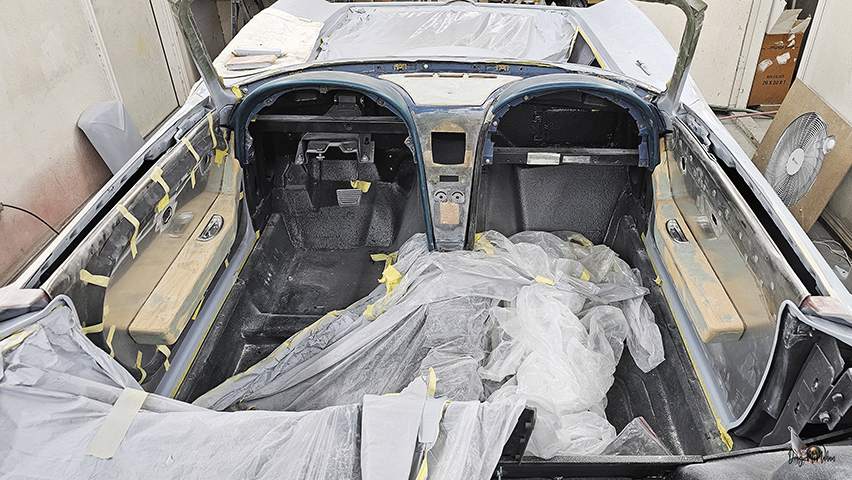
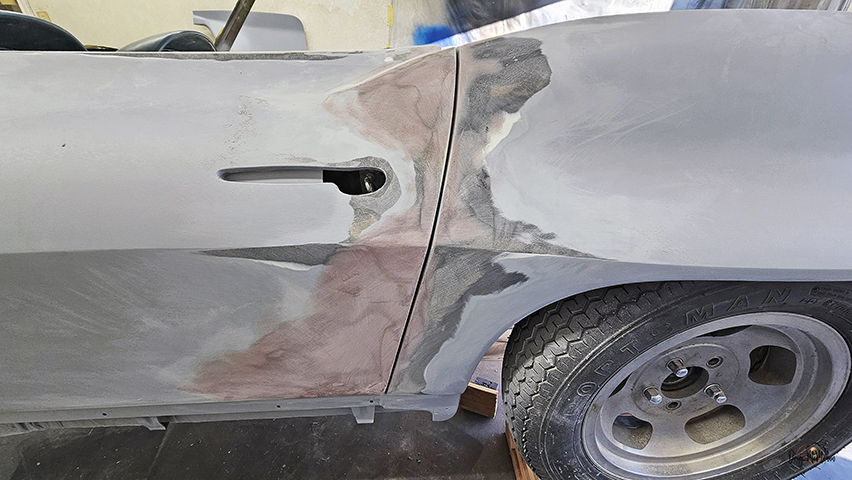
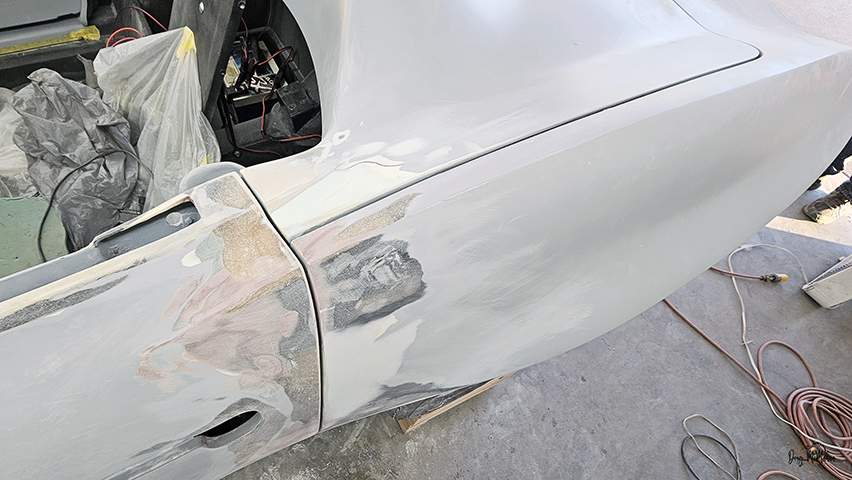
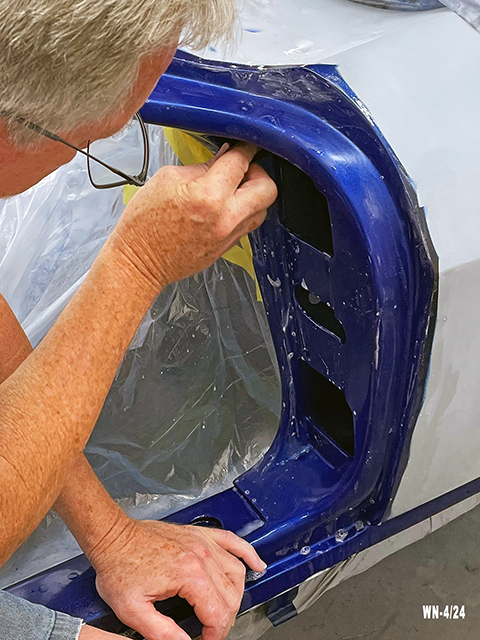
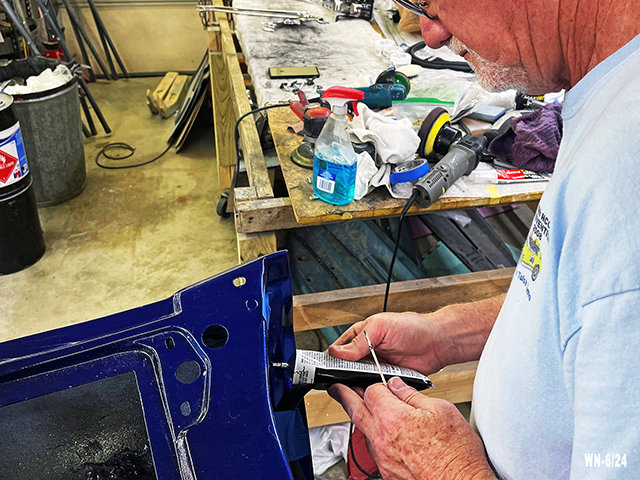
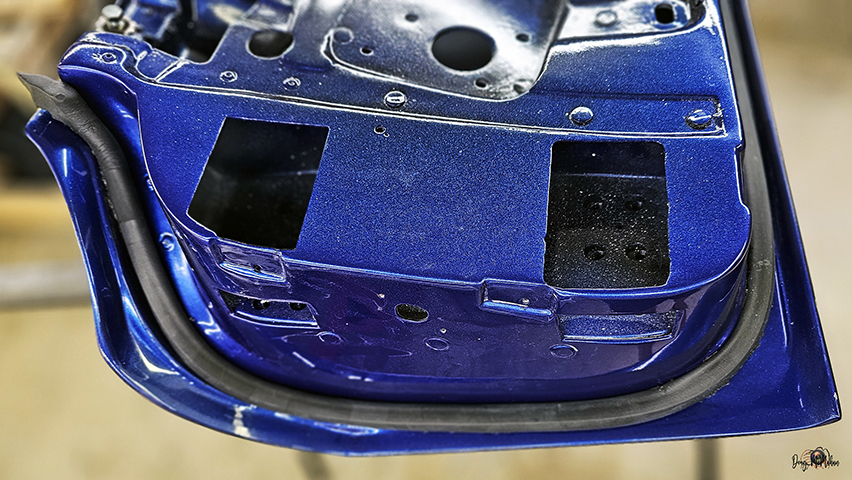
the window trim seals have gaps between them and the body - time
to add material to the top edge, to fill the gap.
More West Systems, smoothing it out to match the window trim
...and panel leveling
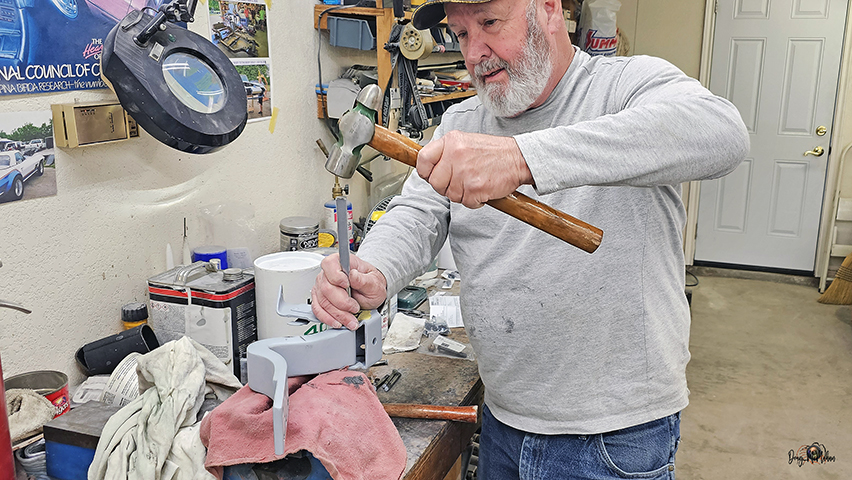
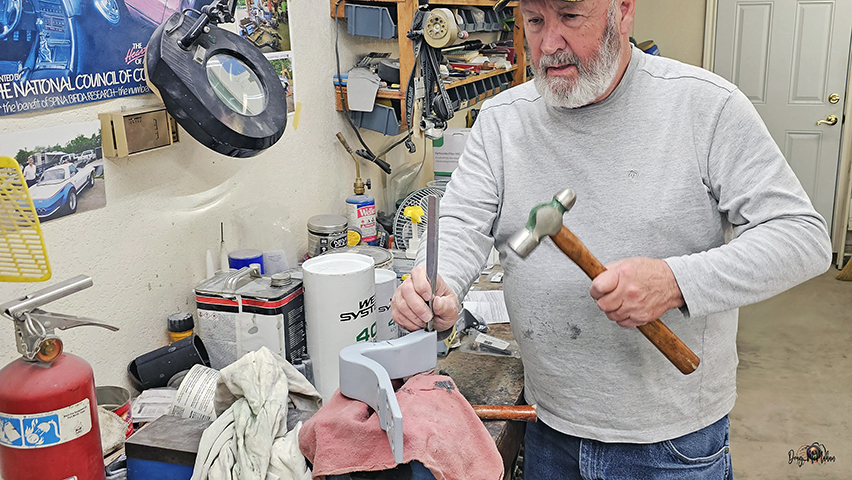
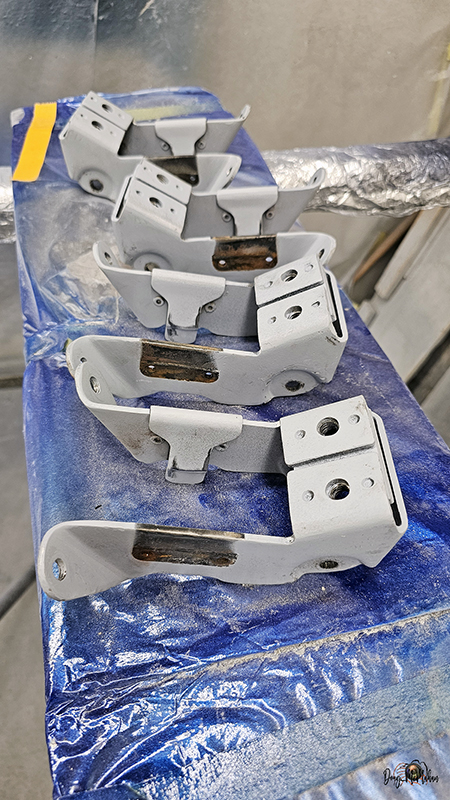
Door Hinges
- 1/12-28
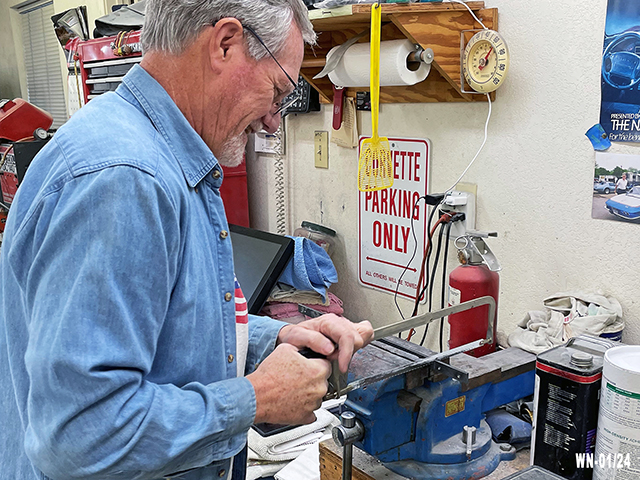
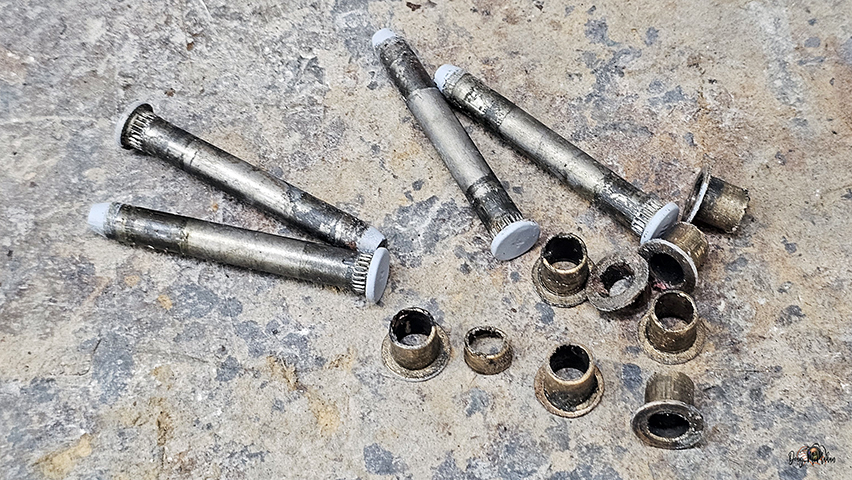
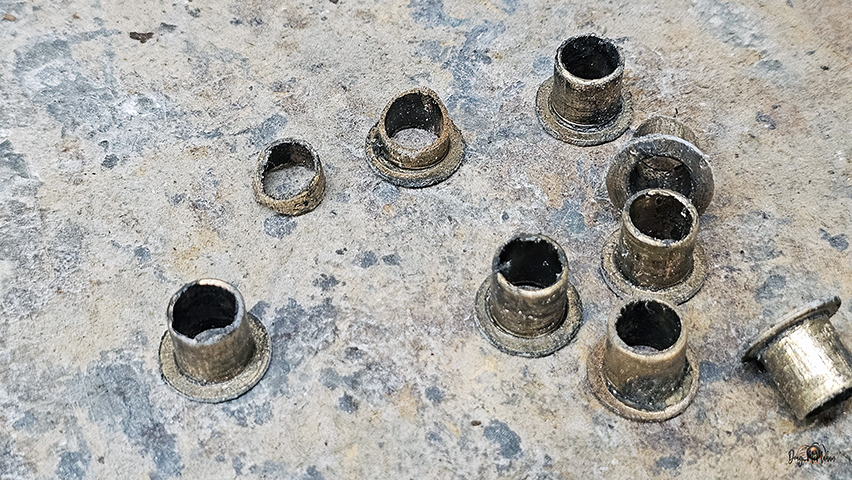
New Hinge Pins & Bushings came in ...time to fix the flex in the
door hinges. William driving the pin out, then the brass
bushings on each side - some VERY worn
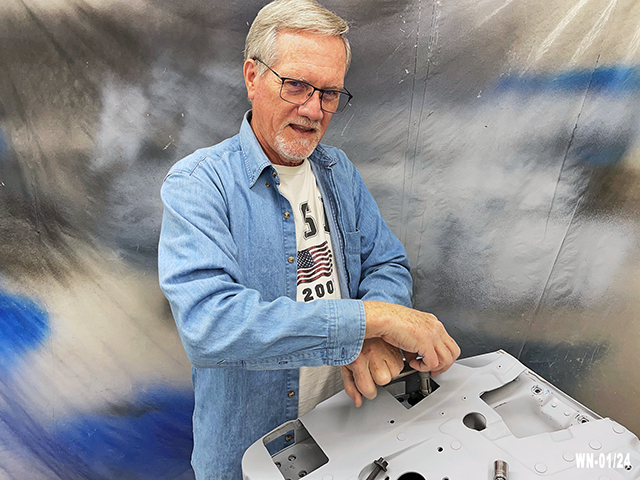
Then tapping the hinge bolt holes in the doors to clean them out
...then test fitting the doors with the repaired hinges.
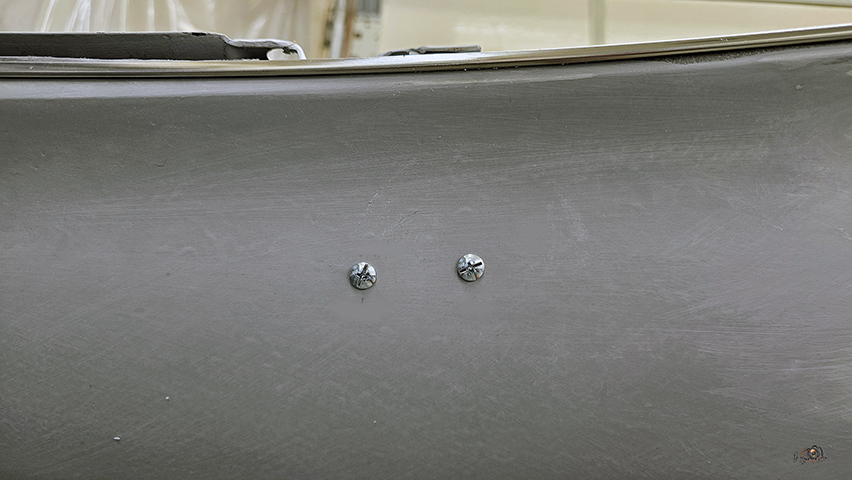
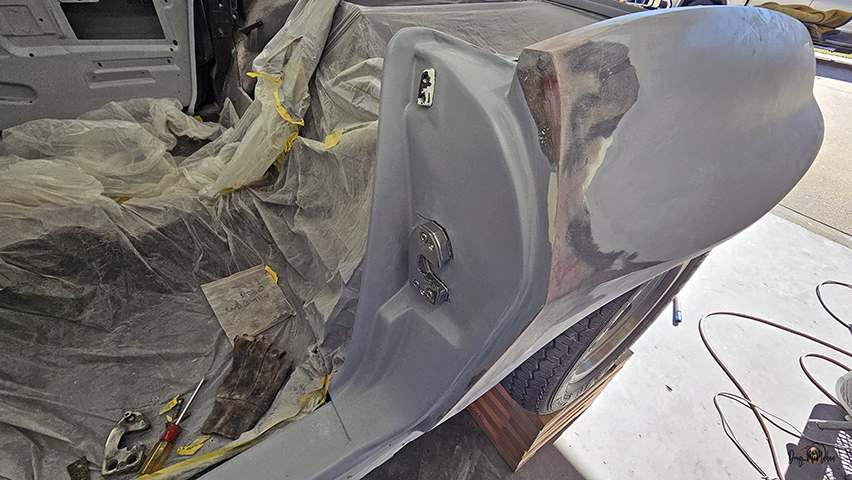
Testing the fit of the Mirror now that the epoxy is dry.
Engine Initial Start /
Break-in
- 1/18
The 502 BBC is ready for run/break-in
the headers are just for this effort along with the black valve
covers & electric water pump motor.
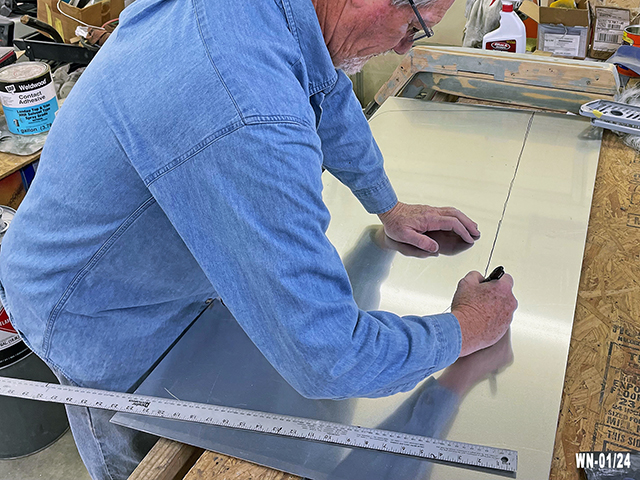
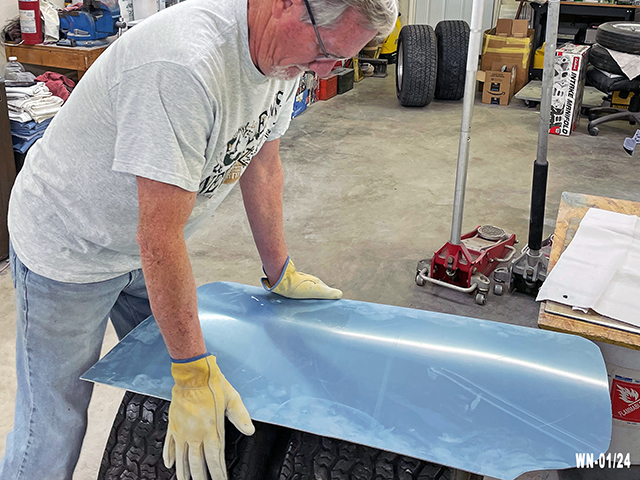
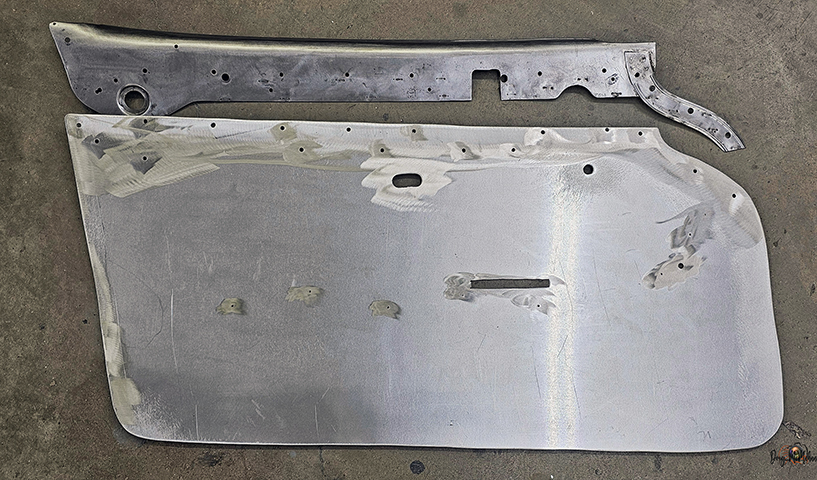
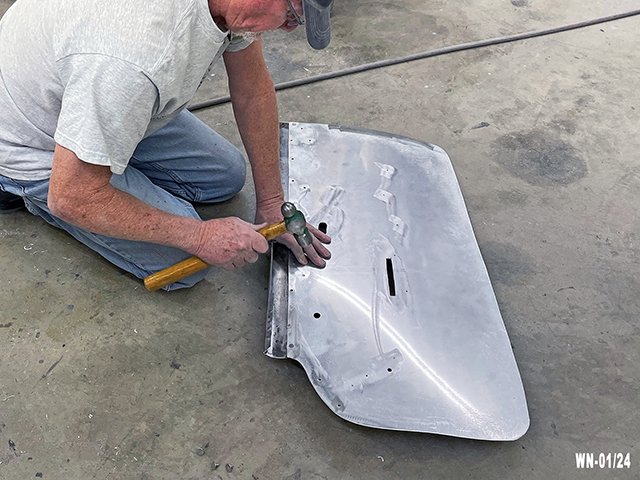
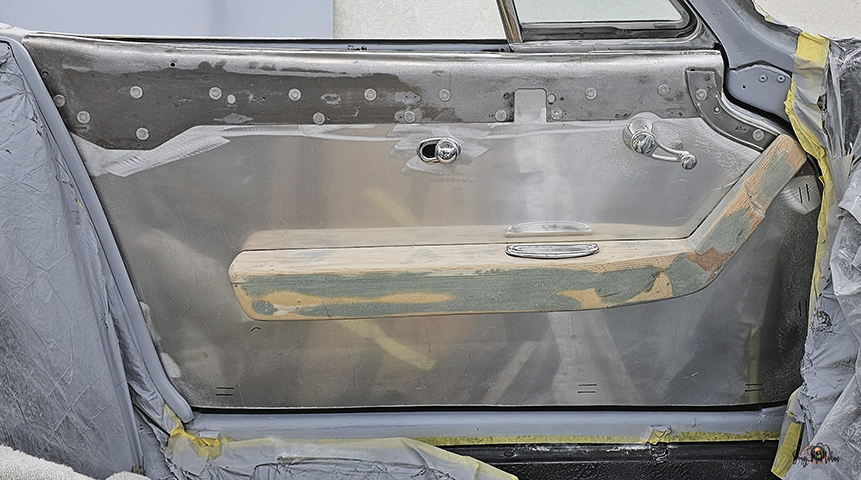
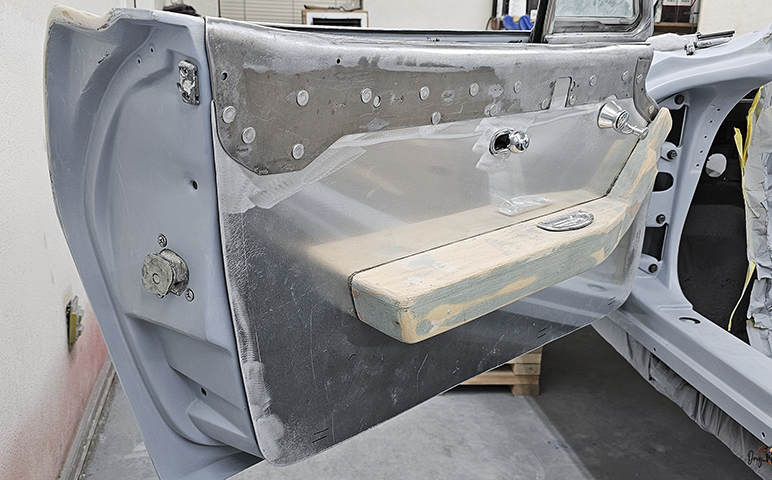
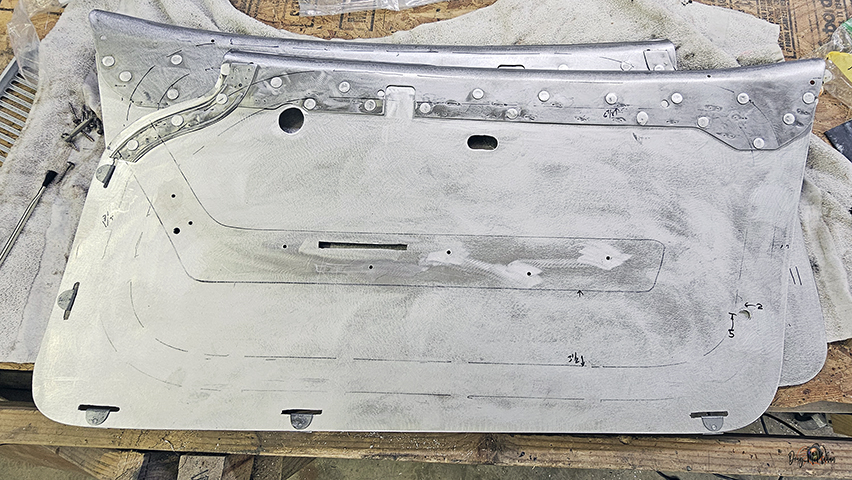
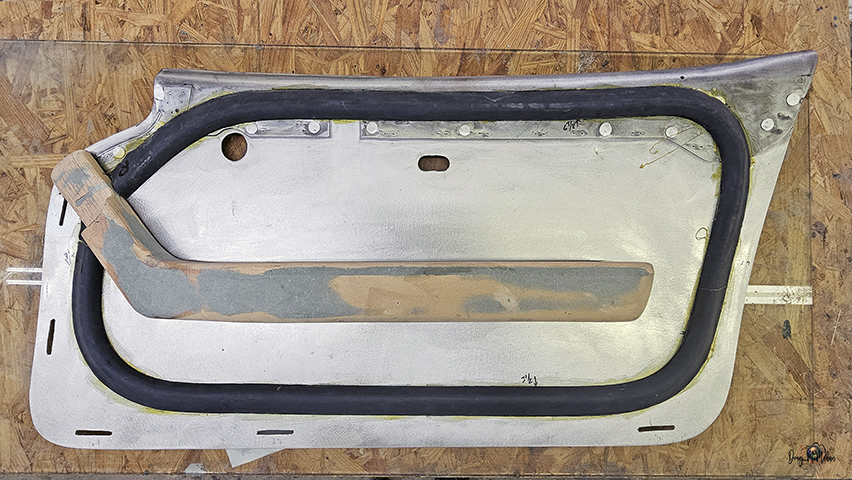
Building Door Panels
- 1/21-2/03
Started by roughing out the shape on the aluminum. Next was
putting the curvature in the aluminum to fit the door shape.
Multiple test-fits onto the door as things progressed.
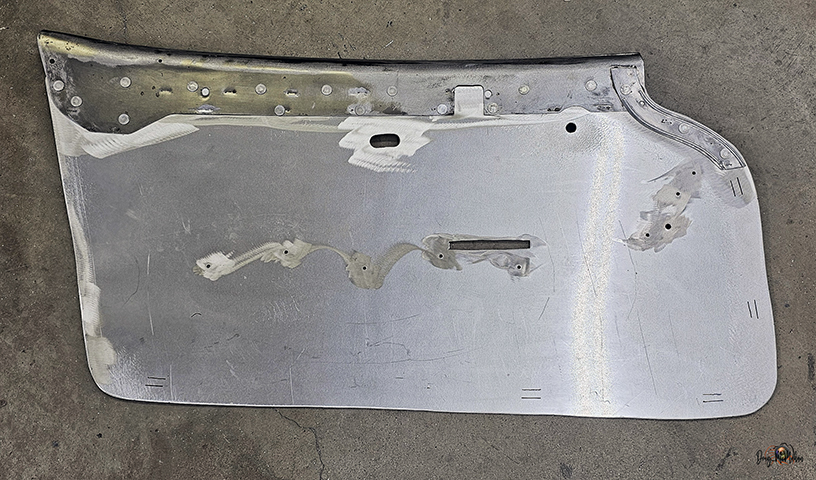
We used flat C2 rivets to bond the original C2 metal top edge to
the new aluminum sheet
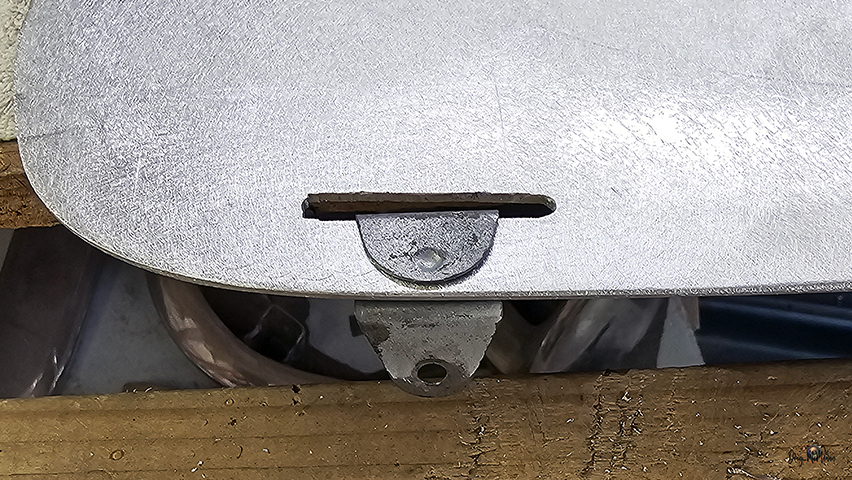
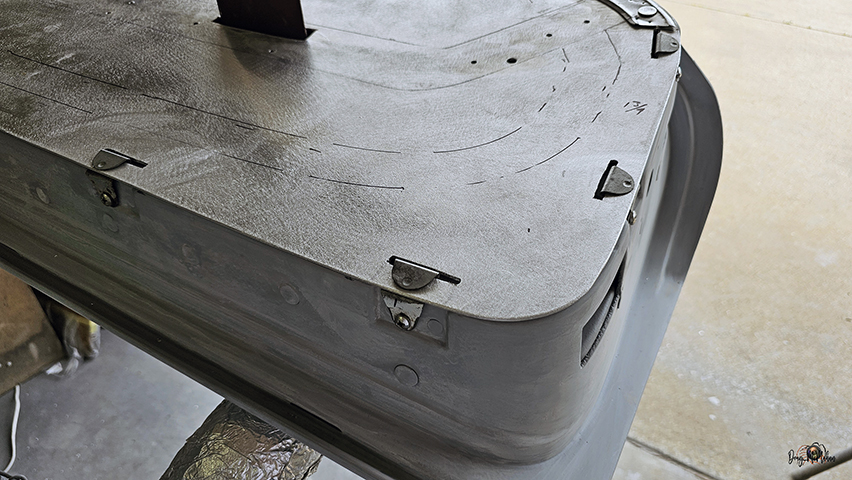
Full mock-up of the new aluminum door panel
We still need to put the slots for the door panel mounting tabs.
Full Mock-up of the door panels with the armrests and dash pads
in place
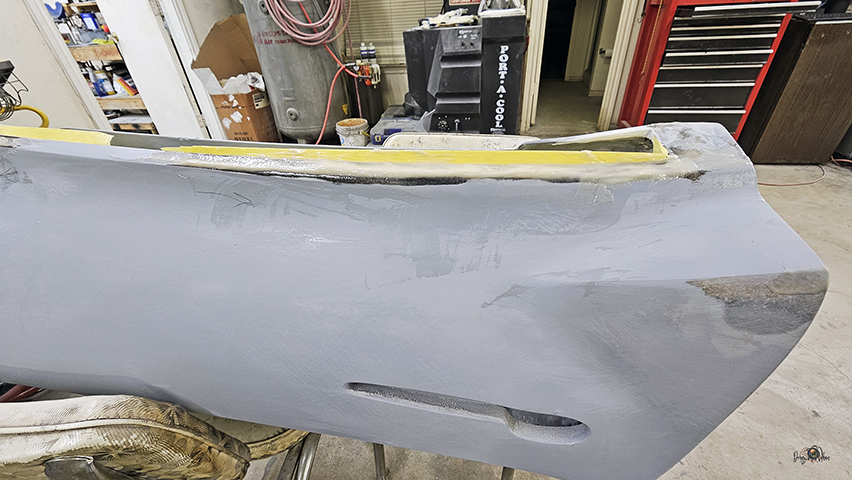
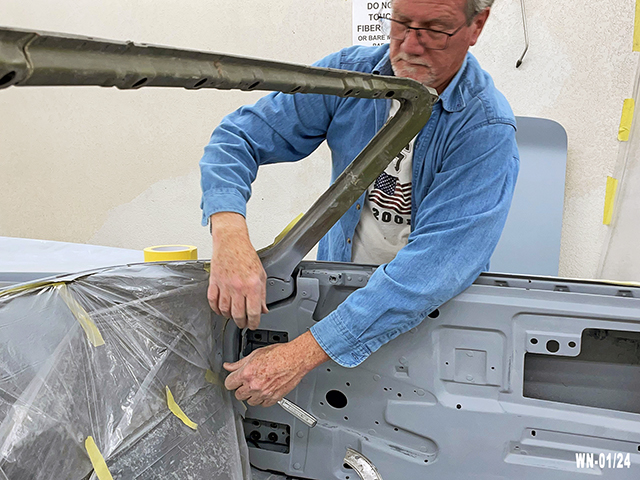
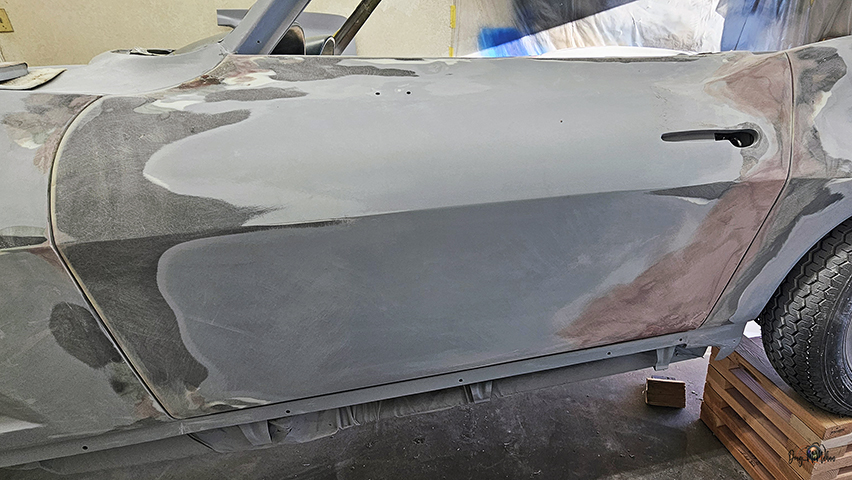
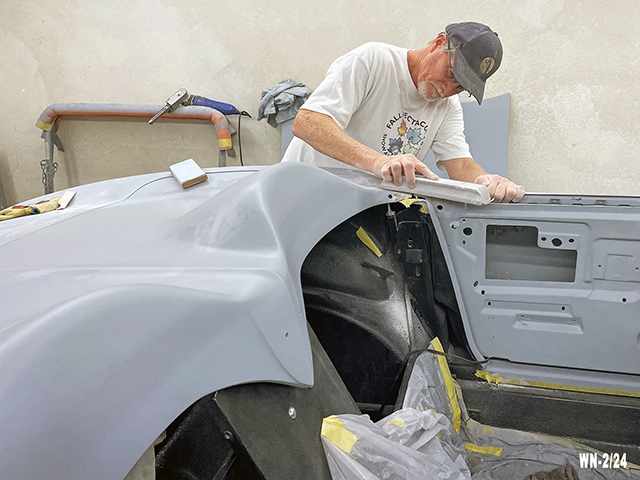
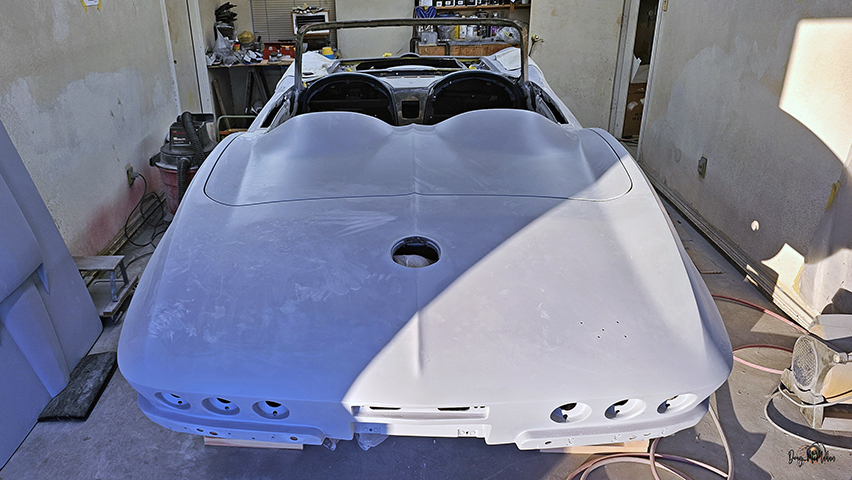
Door Gapping / Leveling
- 2/03
Tested the new Chrome Door Striker and finished leveling and
gapping the doors
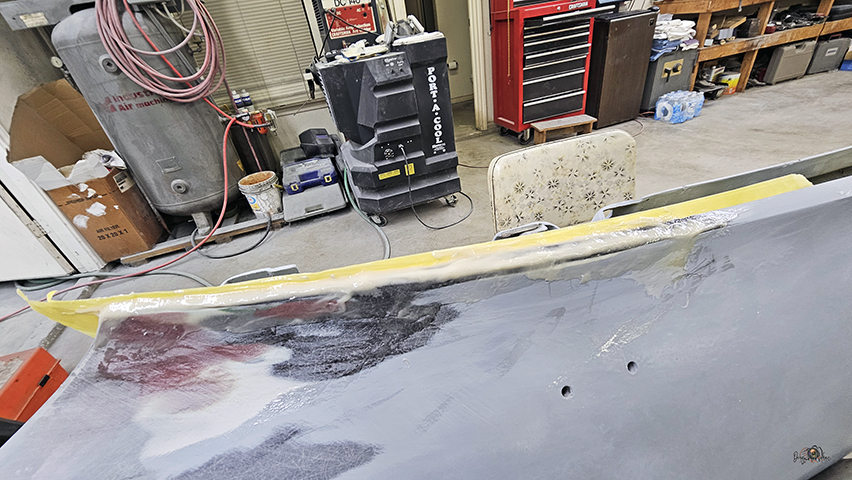
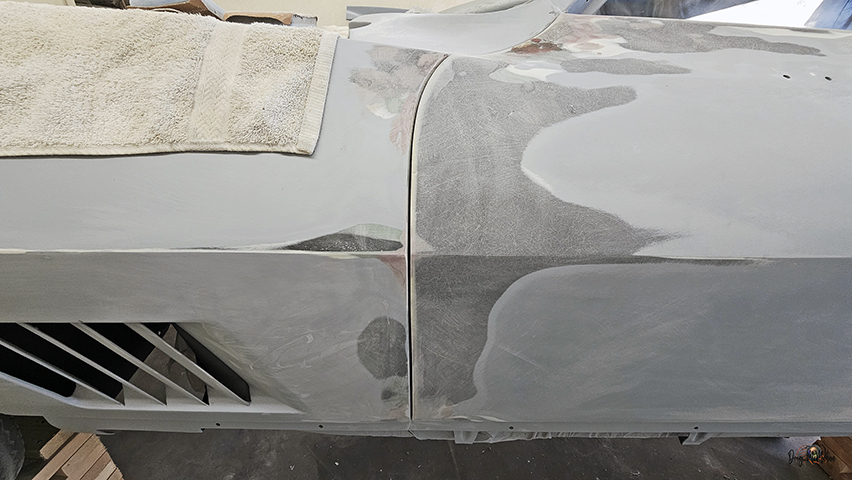
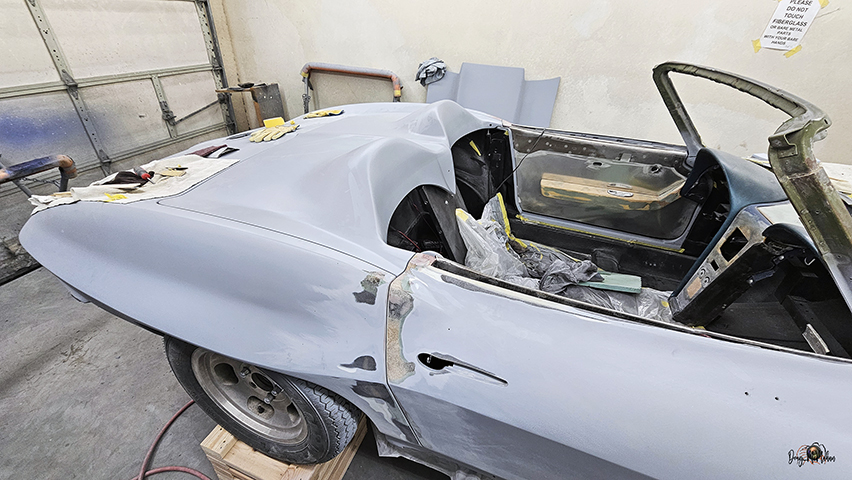
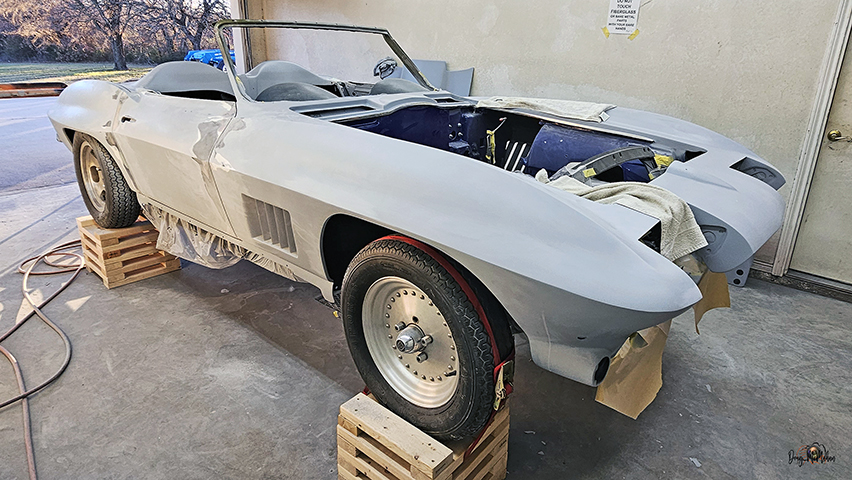
Decklid to Door Gapping / Leveling
- 2/11-19
With a few minor adjustments on the doors & quarter panels -
time to check the decklid one more time
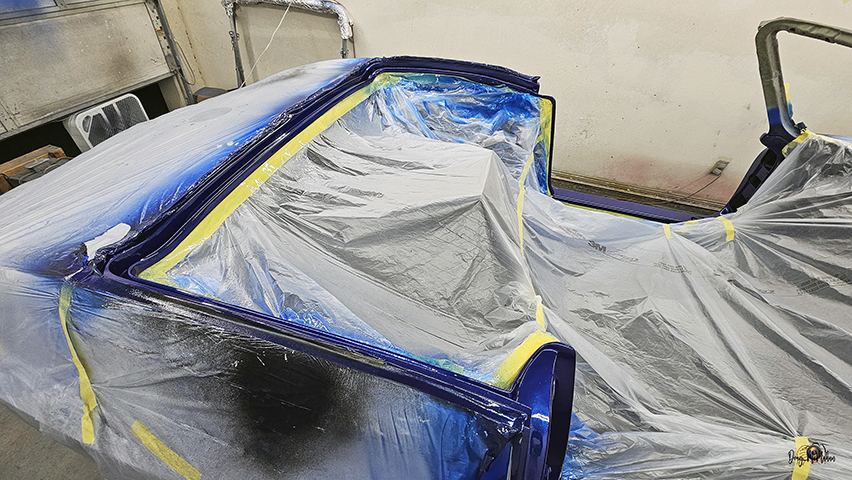
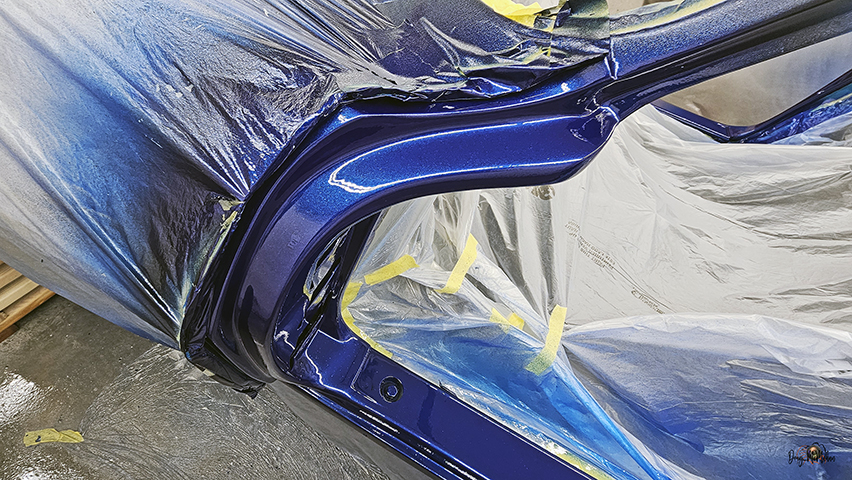
Time to remove the doors and go to painting door jambs
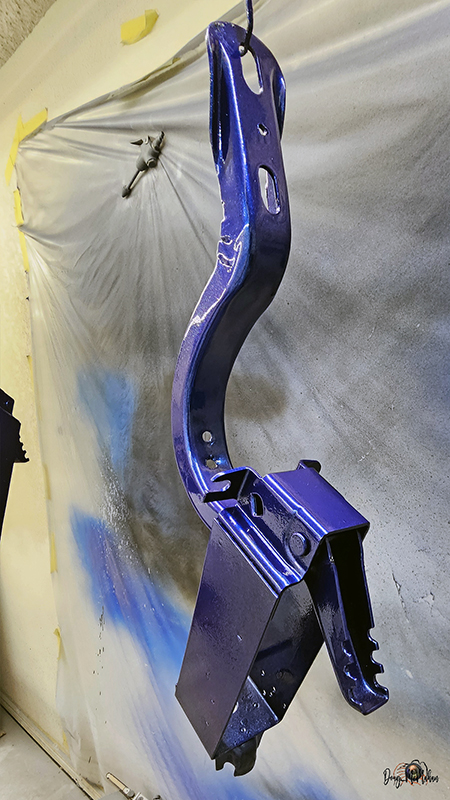
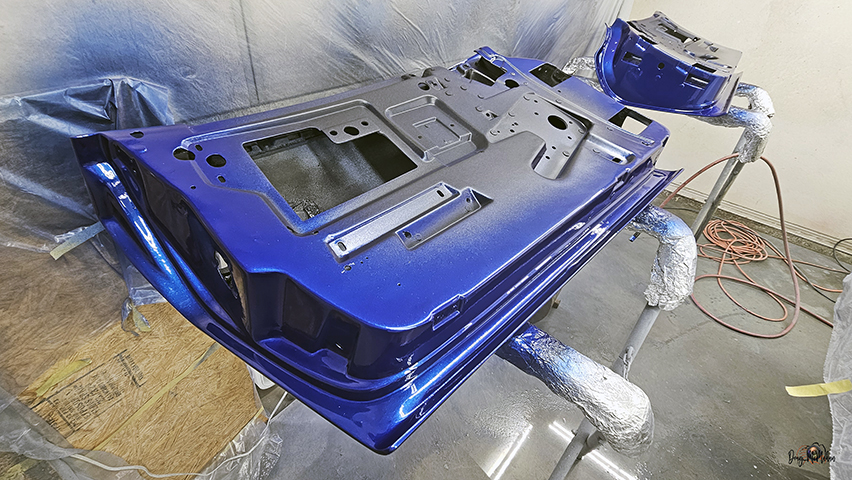
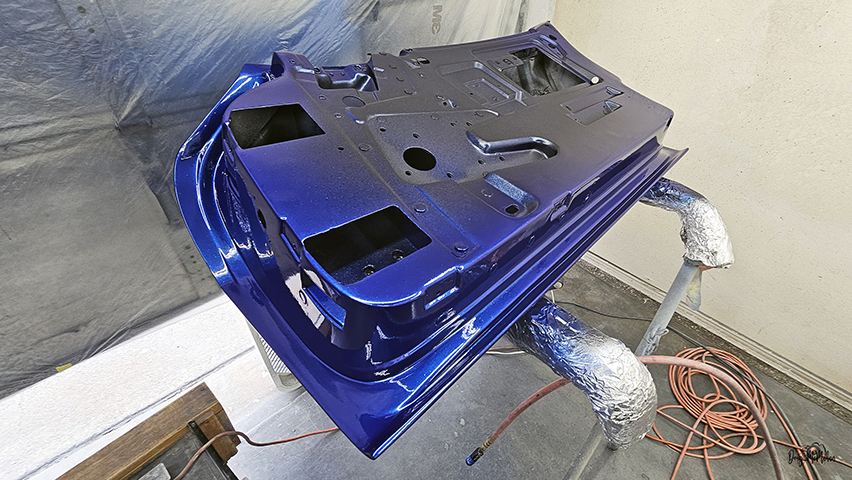
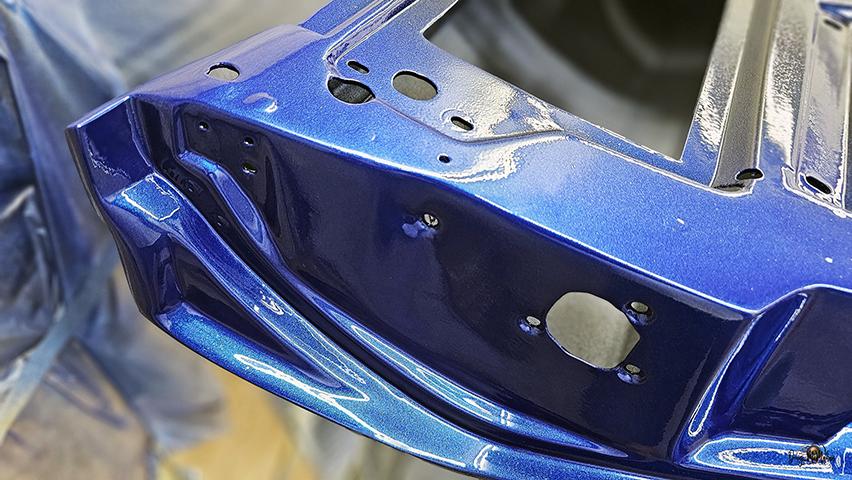
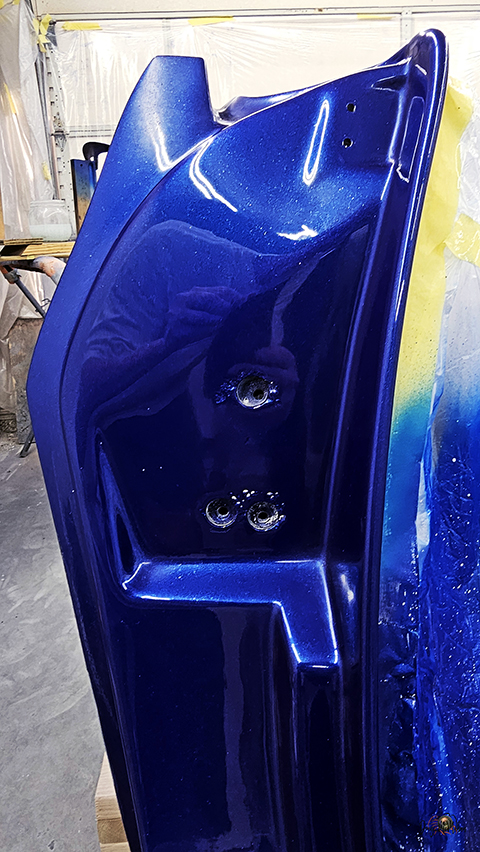
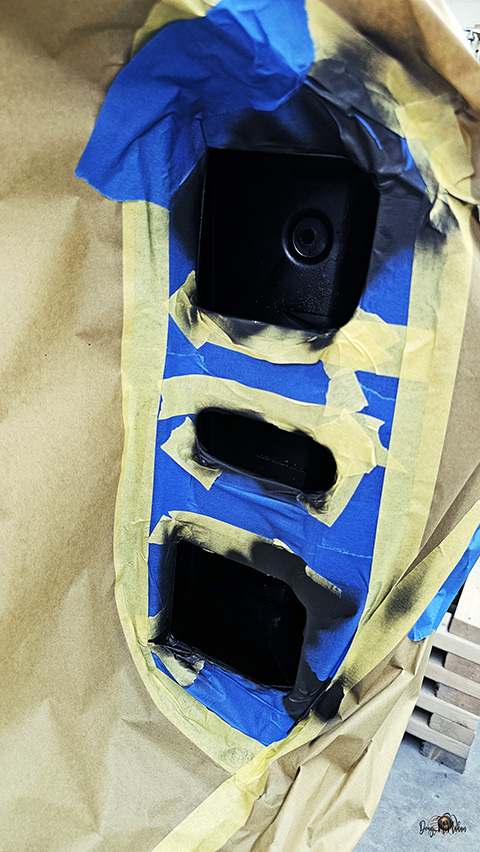
Time to Lay Some Color - Warm
Days
- 2/11-18
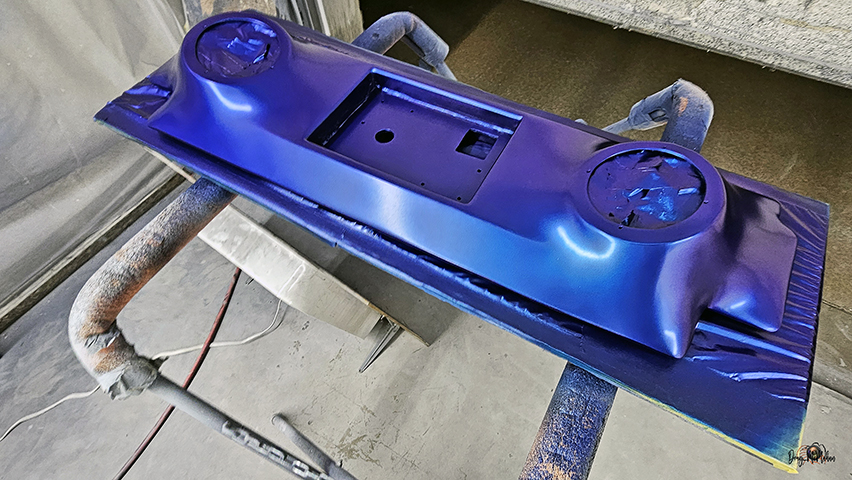
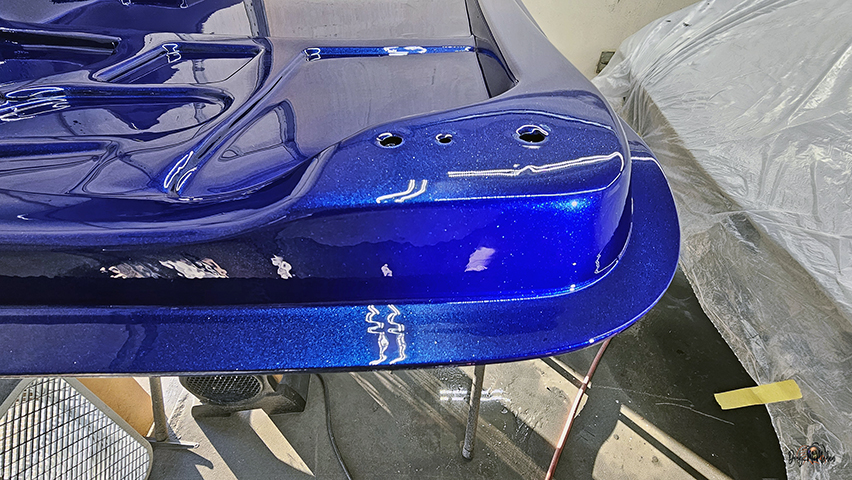
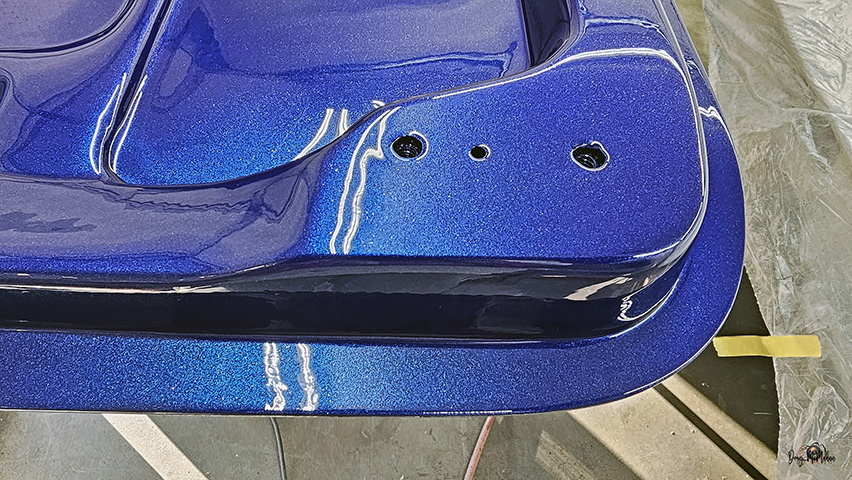
Prepped & ready, black base, HOK blue, blue-purple Colorshift
pearl, then white diamond dust & clear
a little cut-n-buff - will need to do this again in a week or so
after the paint has fully cured
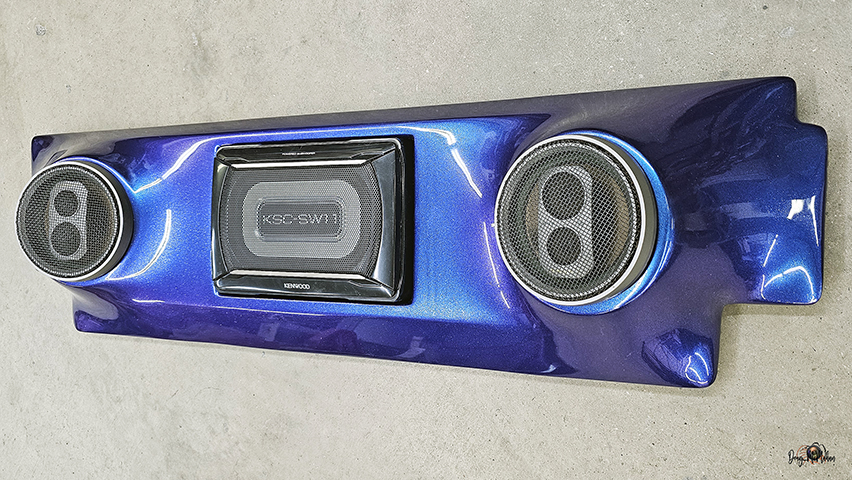
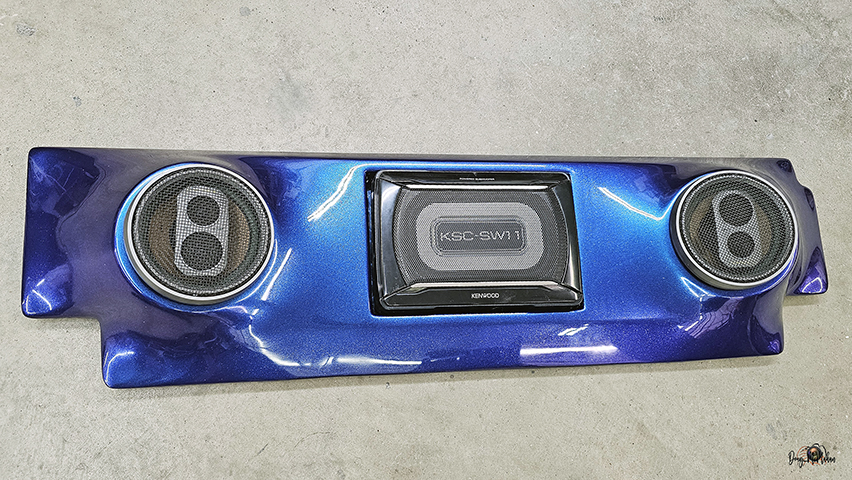
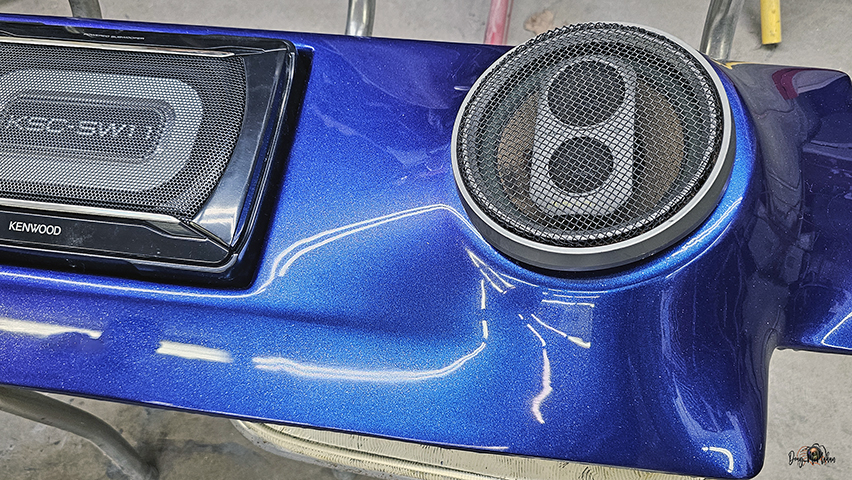
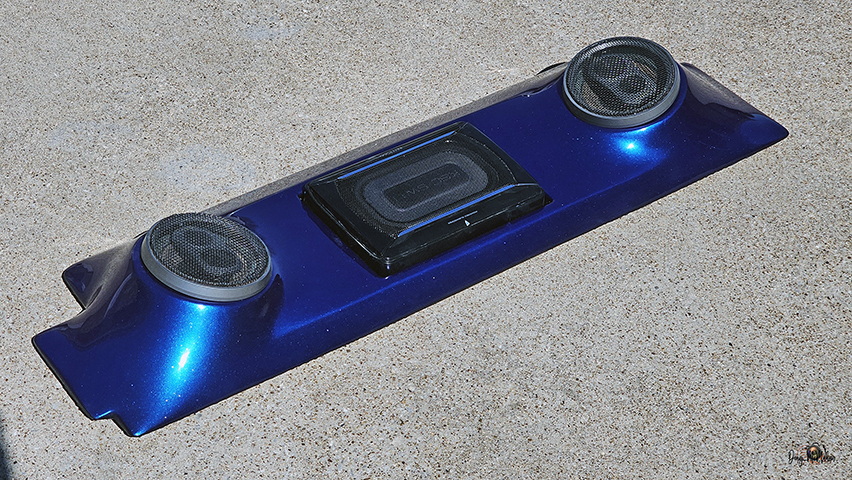
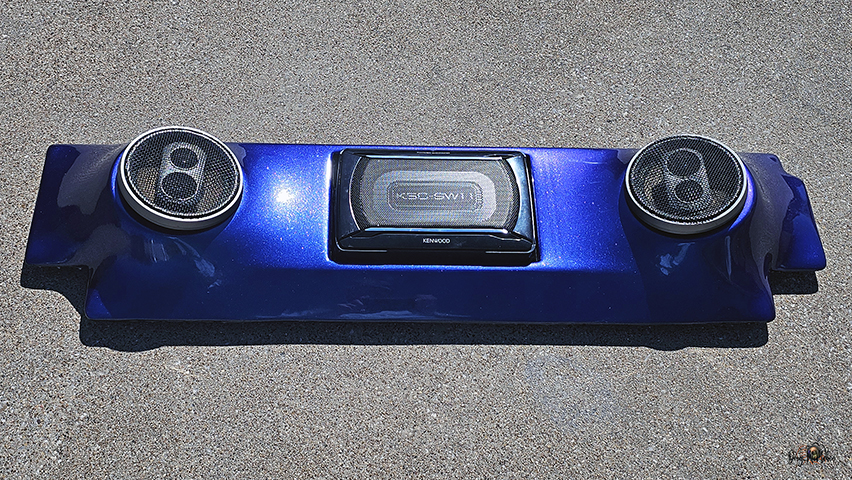
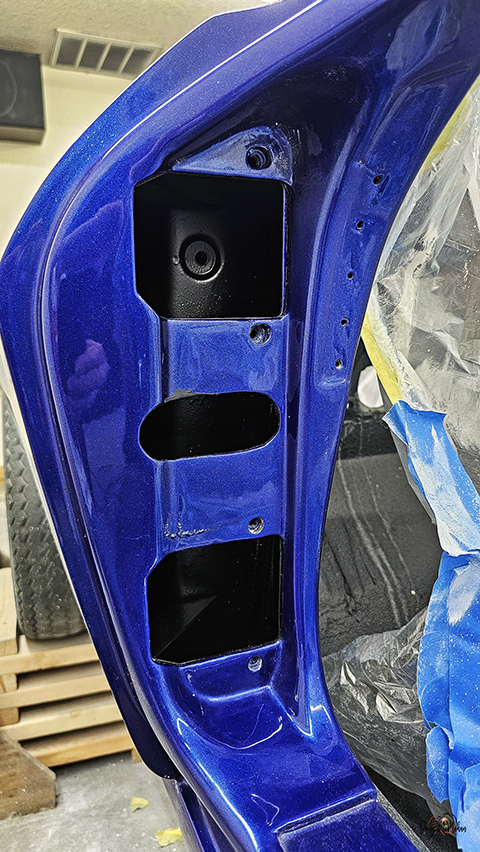
The speaker housing mocked-up after the 1st cut-n-buff
you can see the blue-to-purple shift as you move around looking
at it - last 2 pictures are outside in the sun.
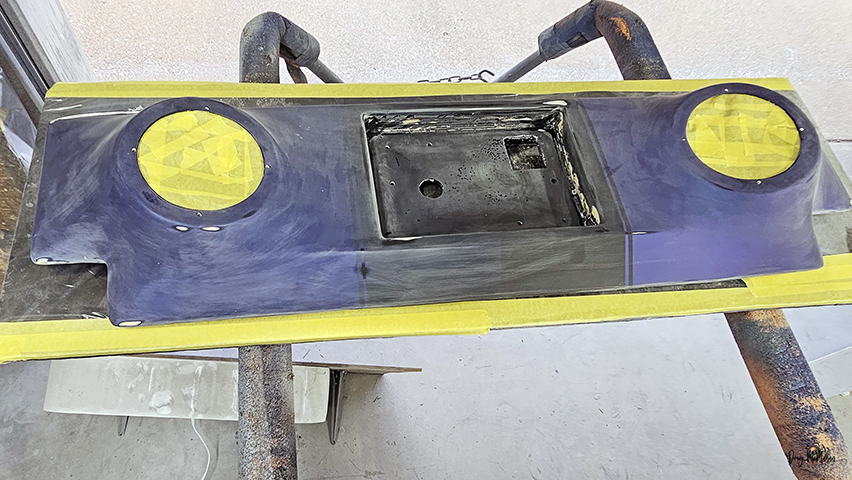
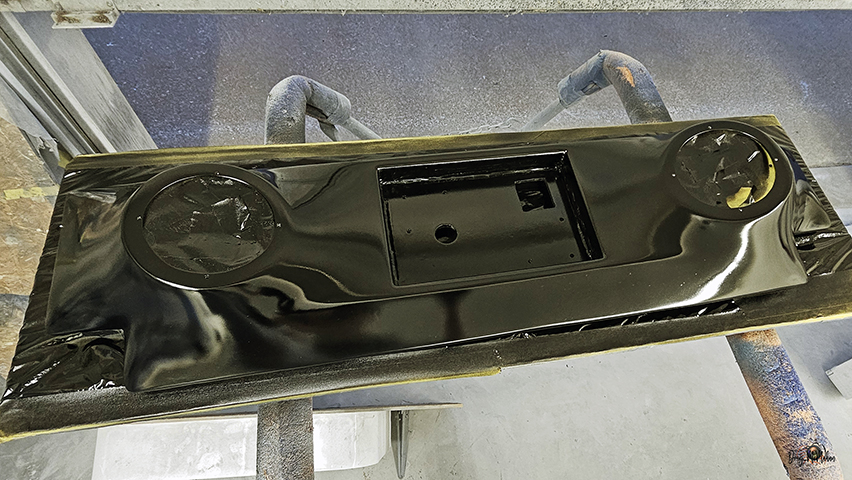
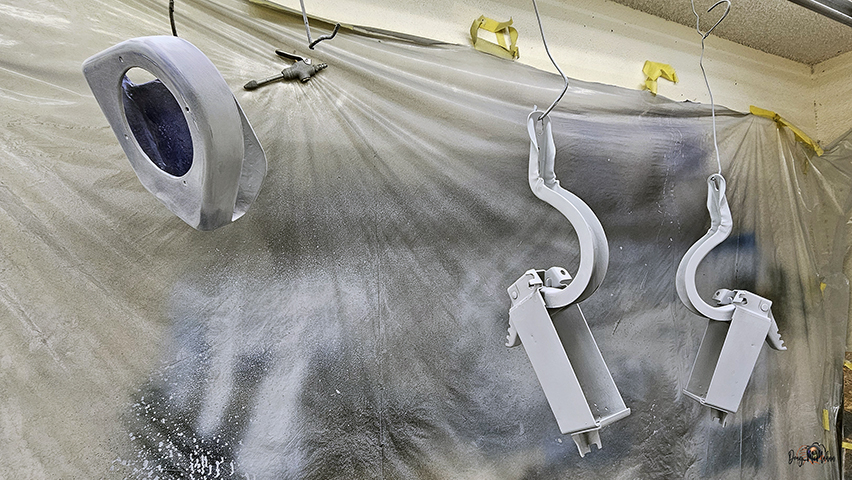
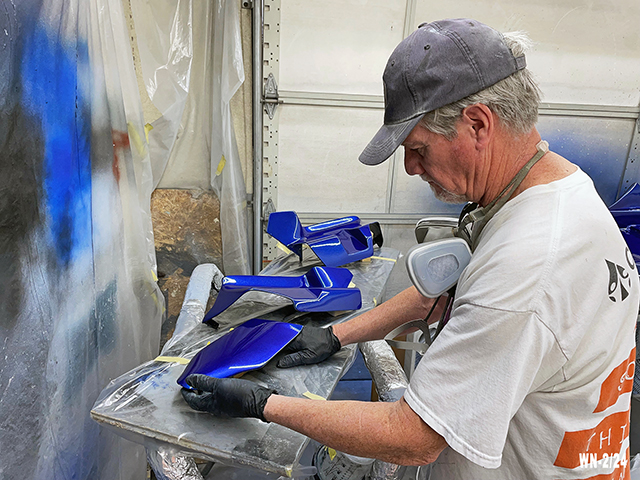
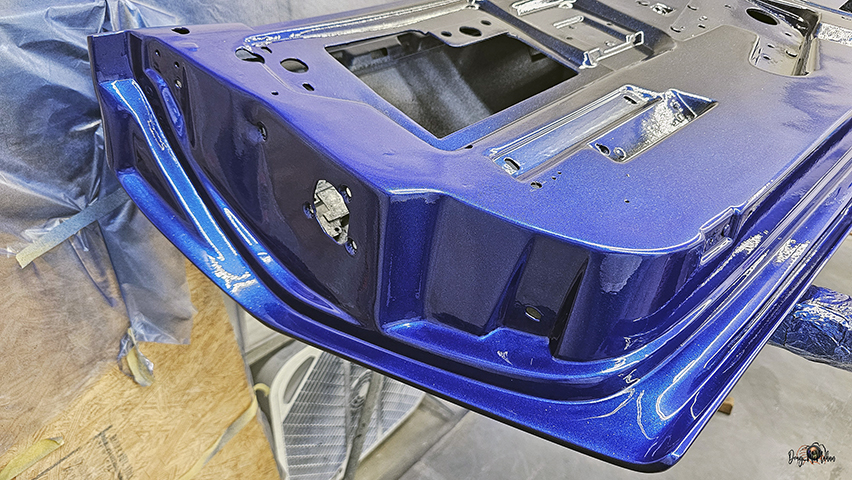
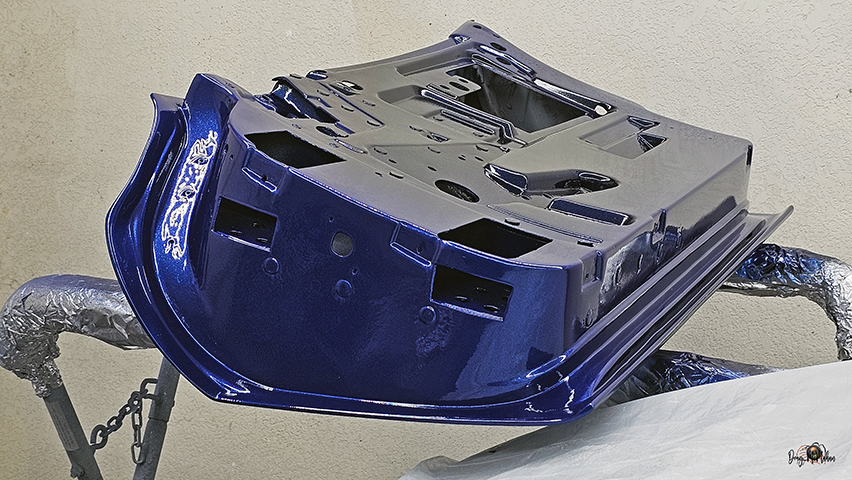
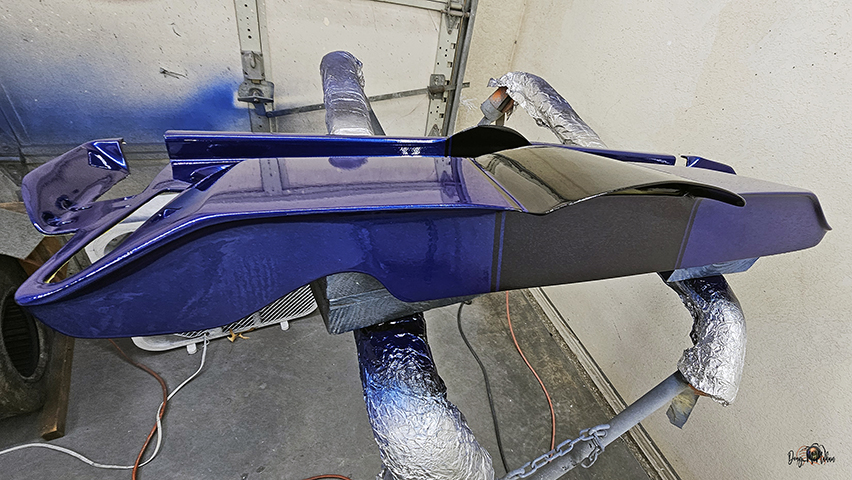
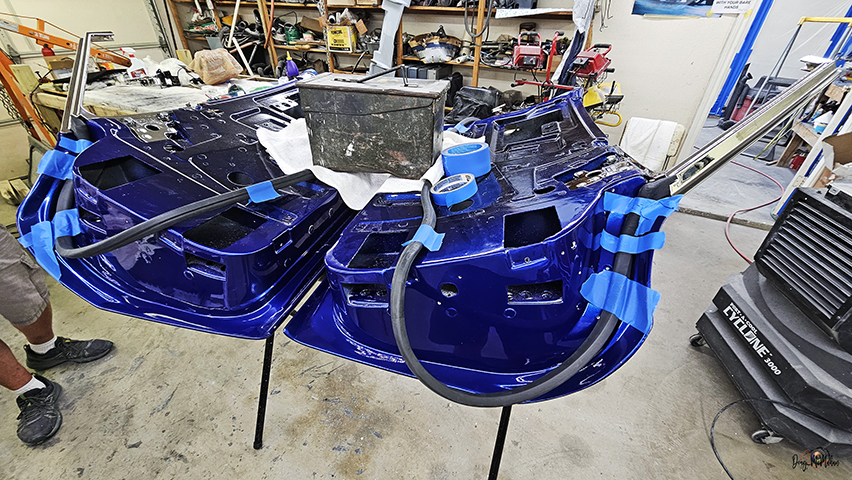
Time to Spray More Color - 2/11-26
Starts with a black base coat - HOK S2-25
Prepping A-Arm Covers for final Klear
The inside of the decklid has color & first 3 coats of Klear
have to look at the parts out in the Sun
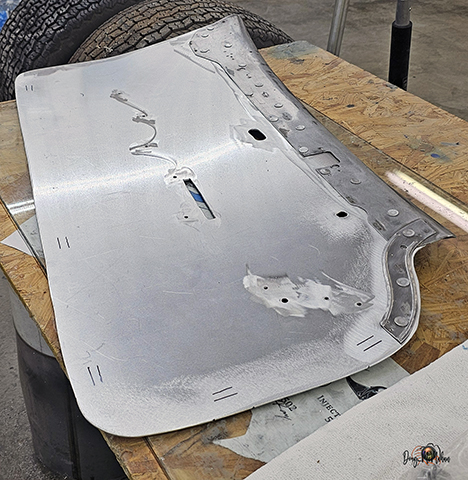
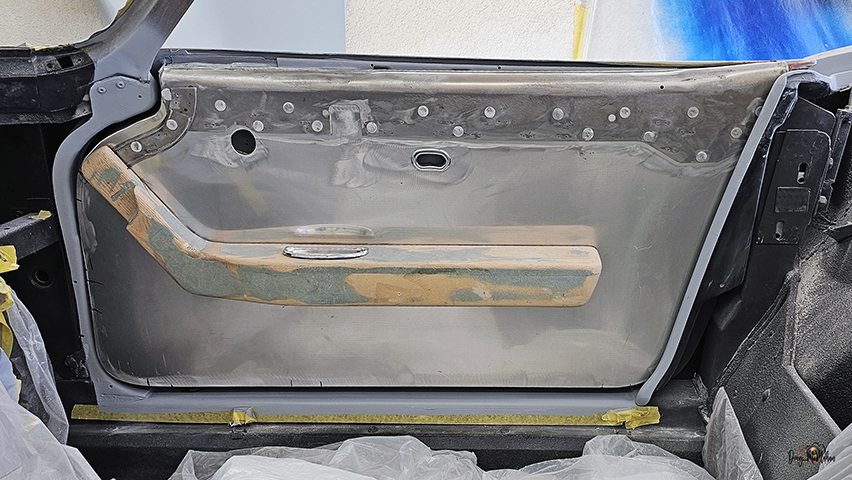
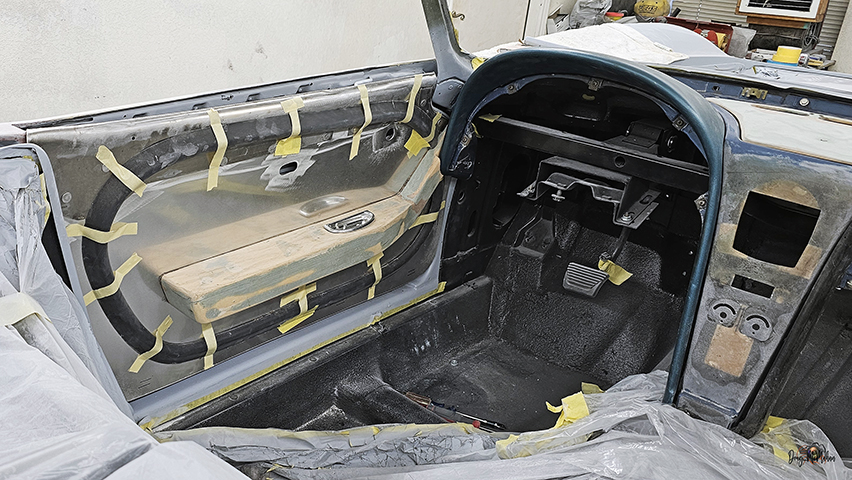
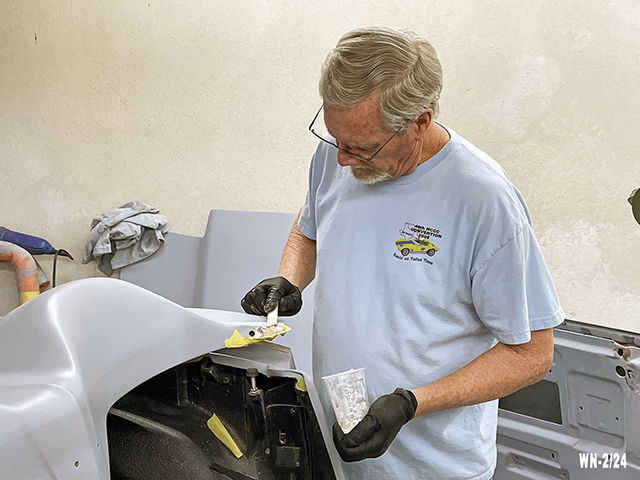
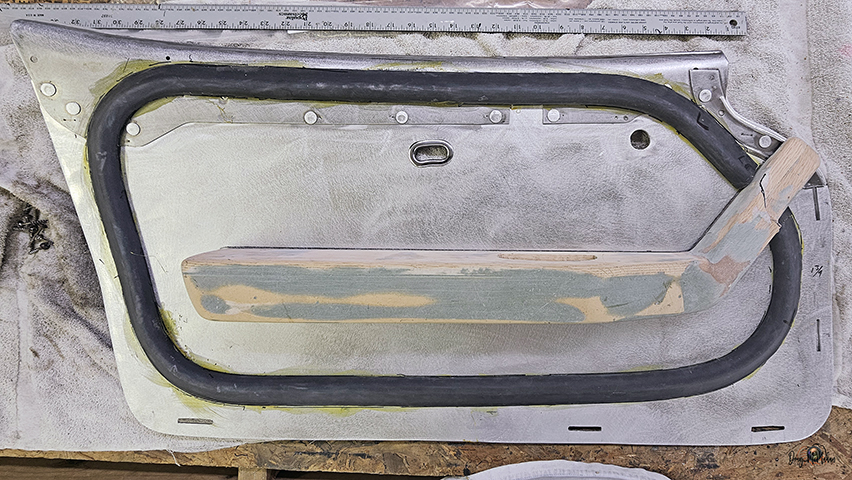
Aluminum Door Panels
- 2/11-27
Door panels are ready for the leather - once a shop has been
selected
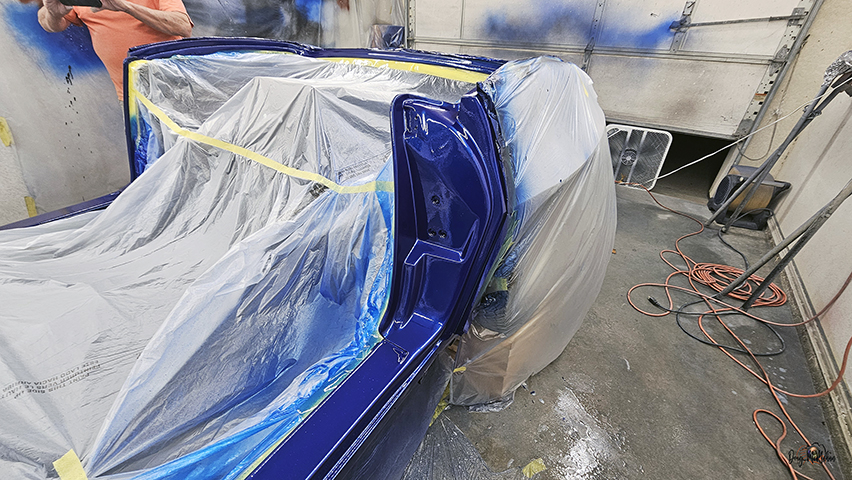
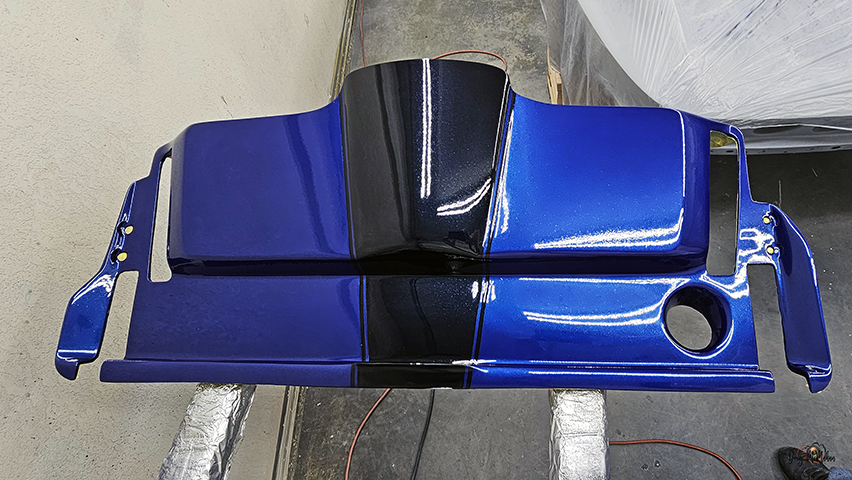
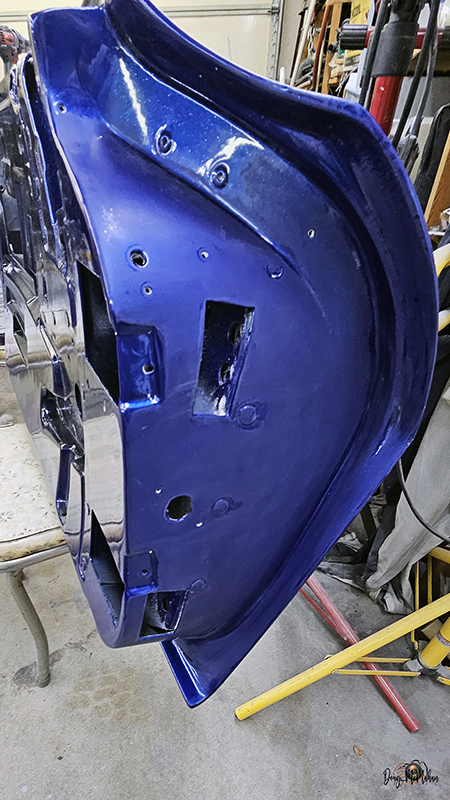
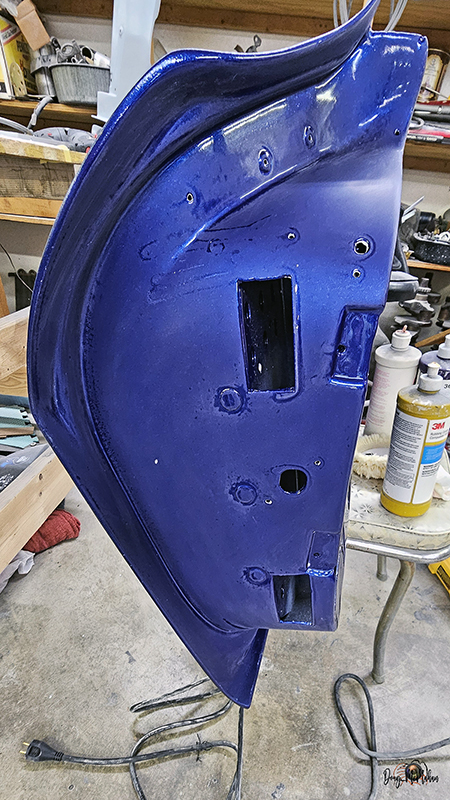
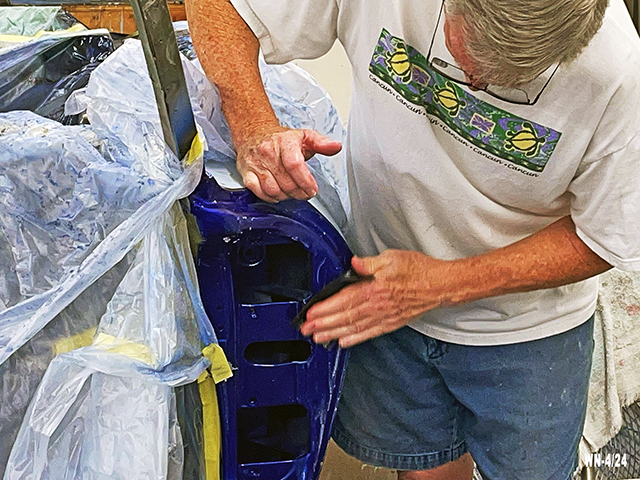
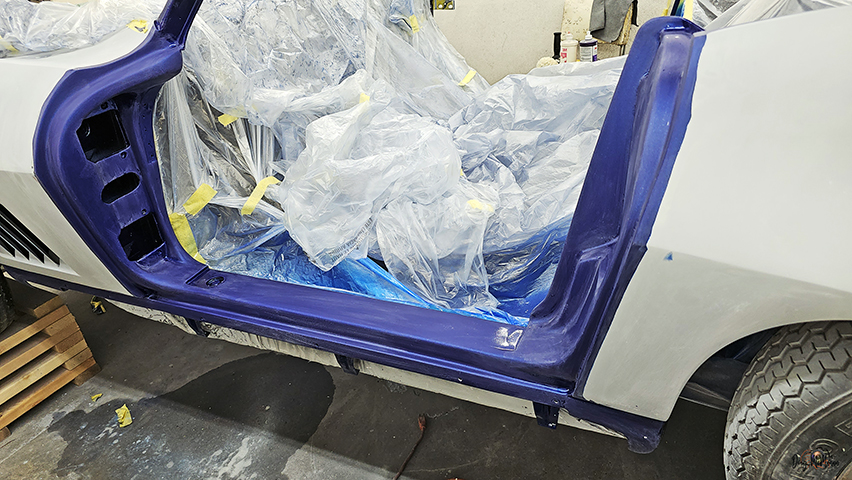
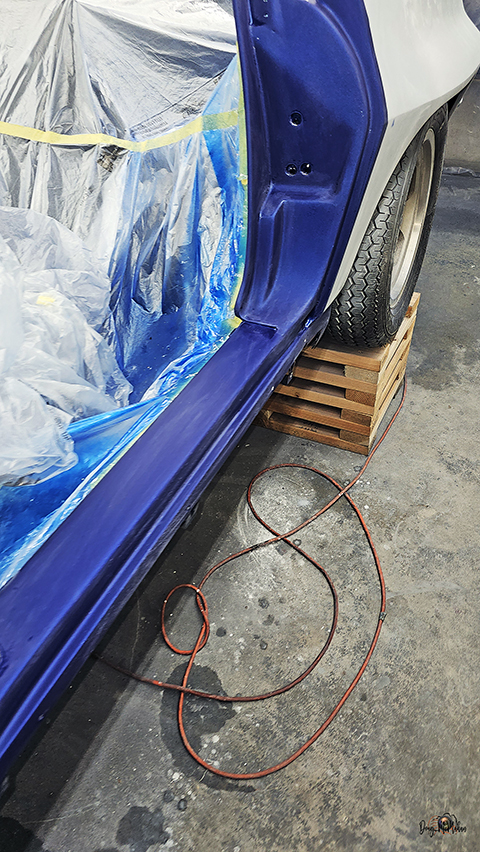
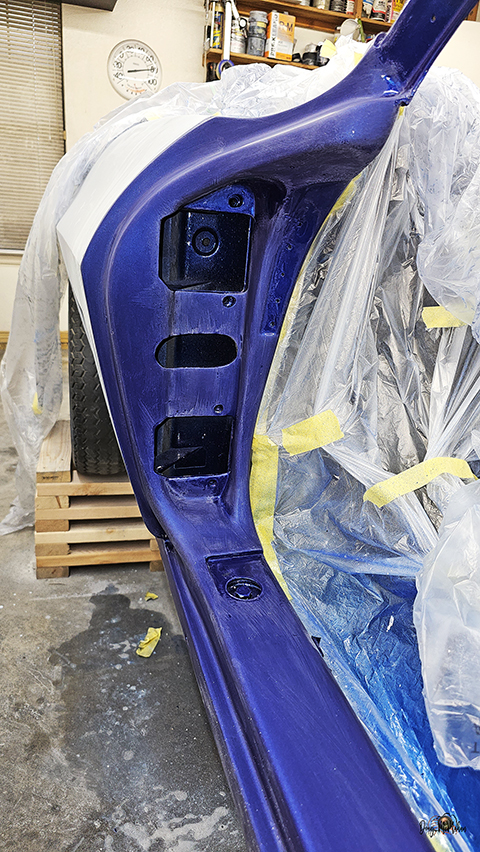
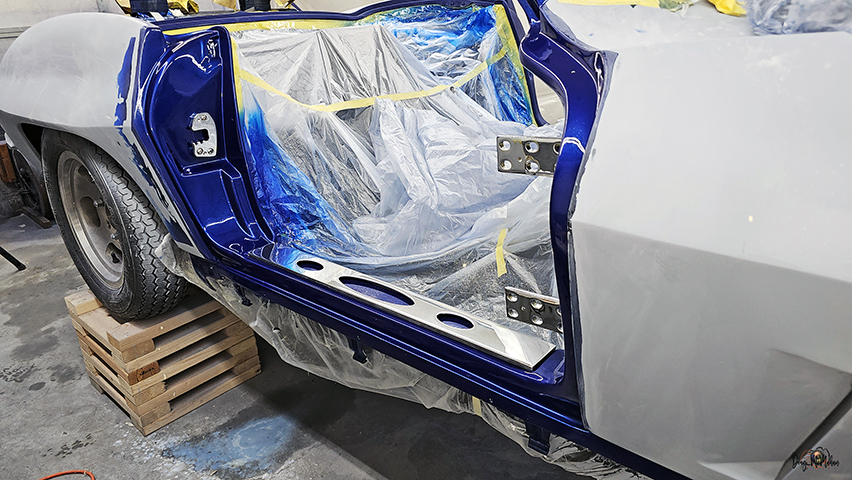
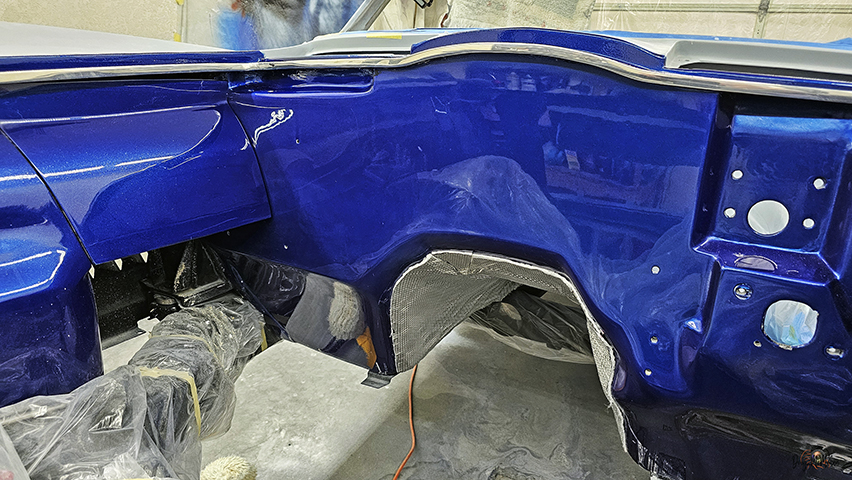
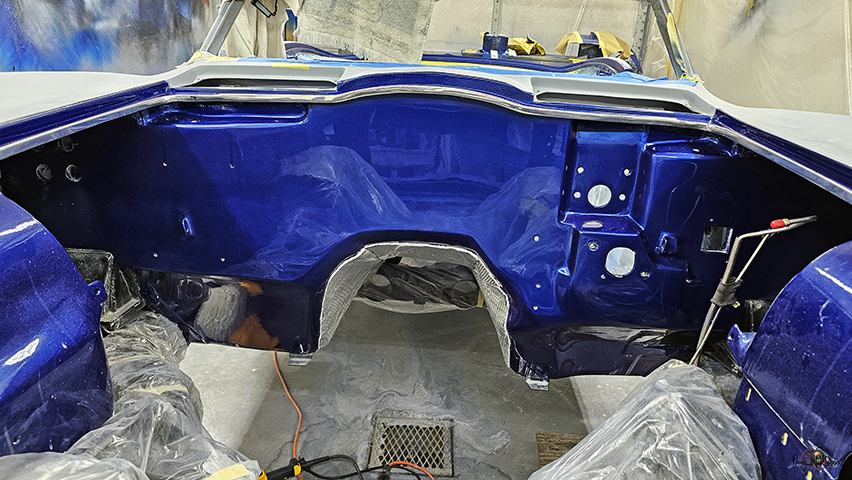
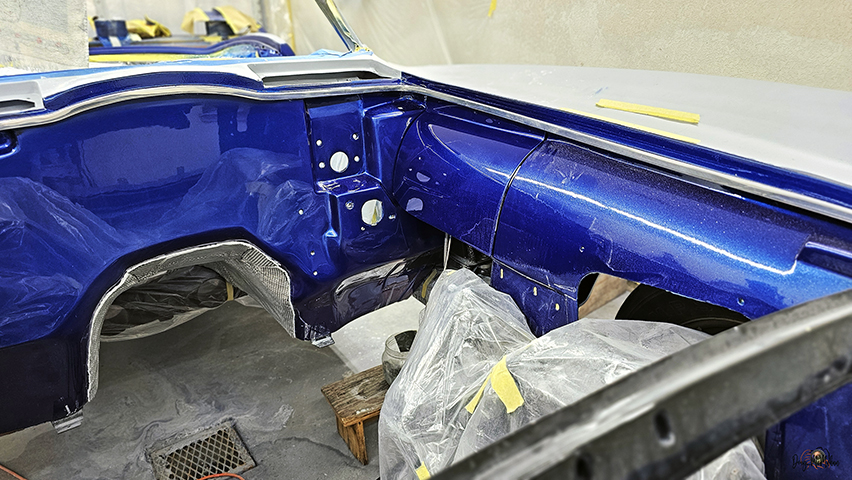
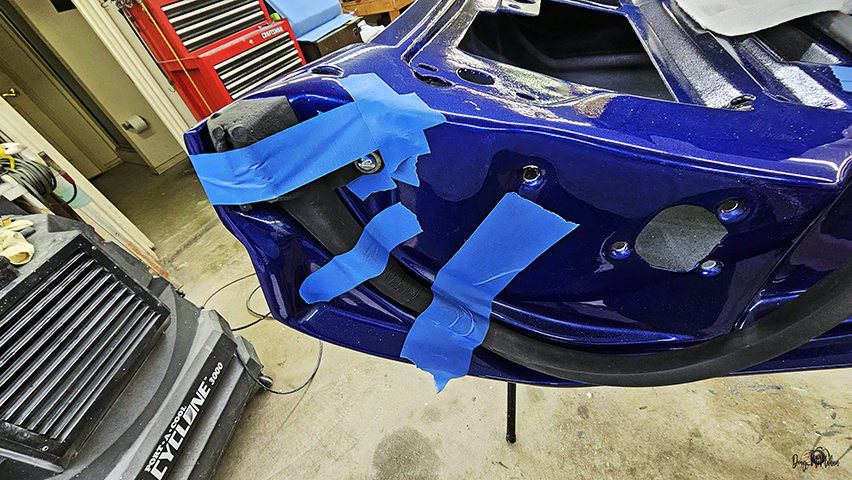
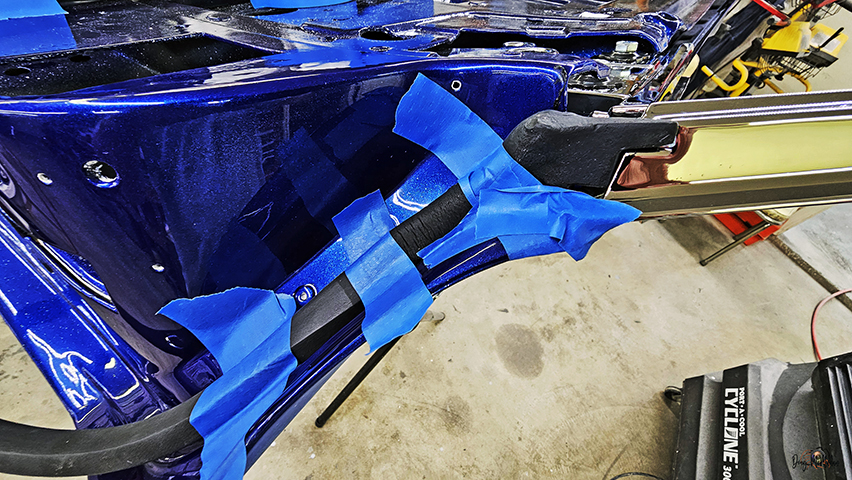
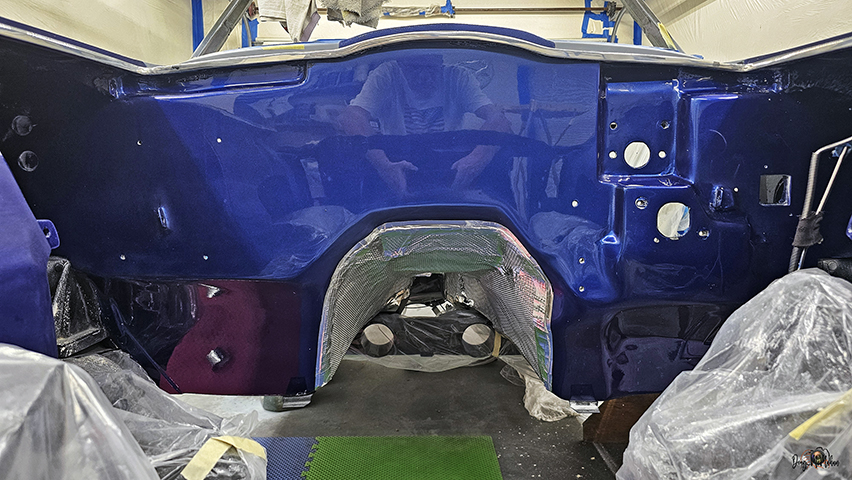
More Color Sprayed
- 3/2-3
Door edges now have color
The door jambs and decklid gutter all have color now
Engine Compartment Rain Gutters painted
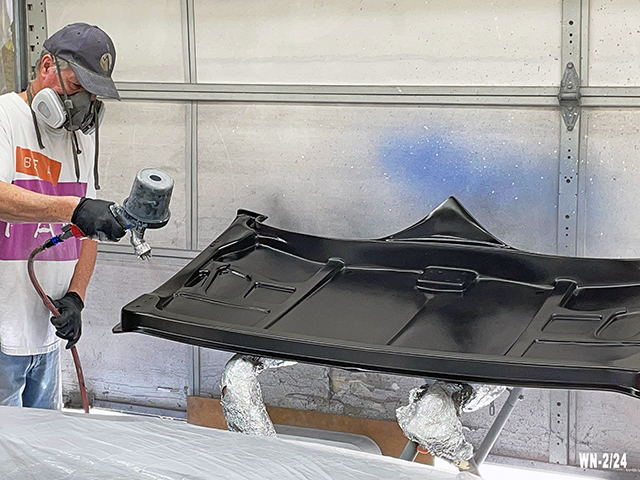
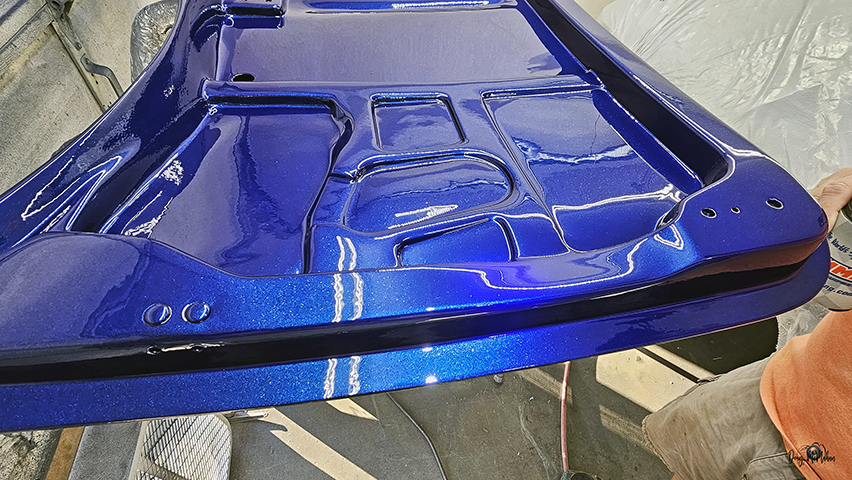
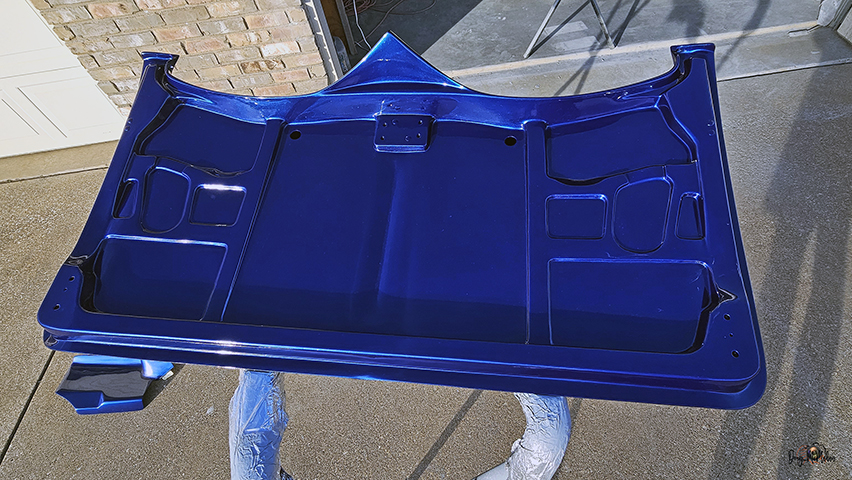
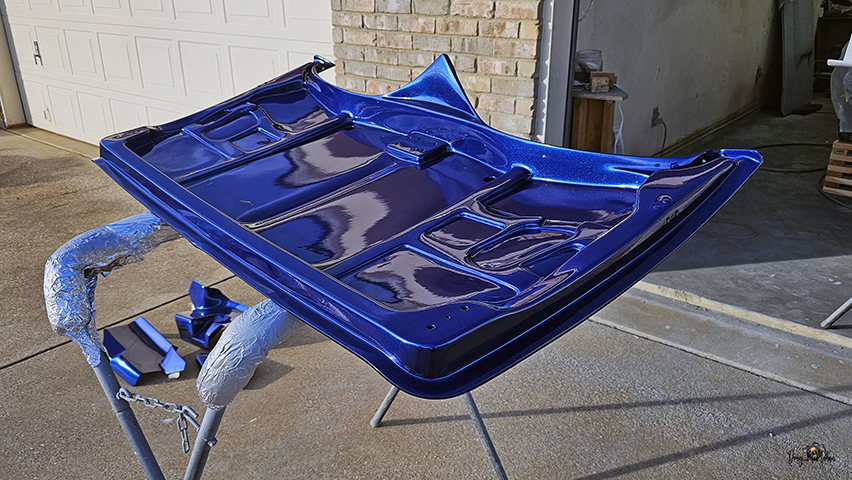
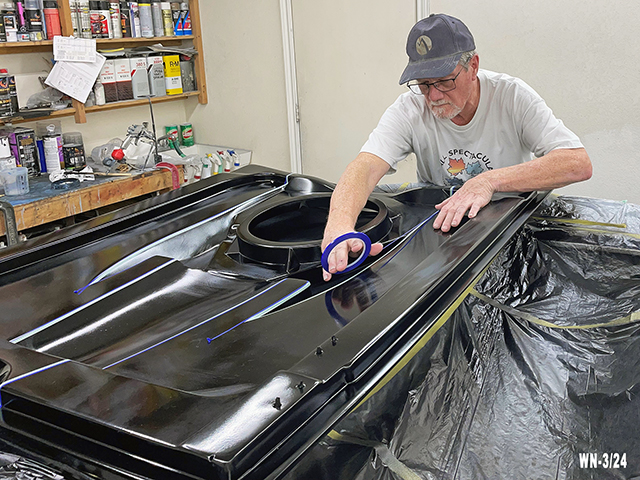
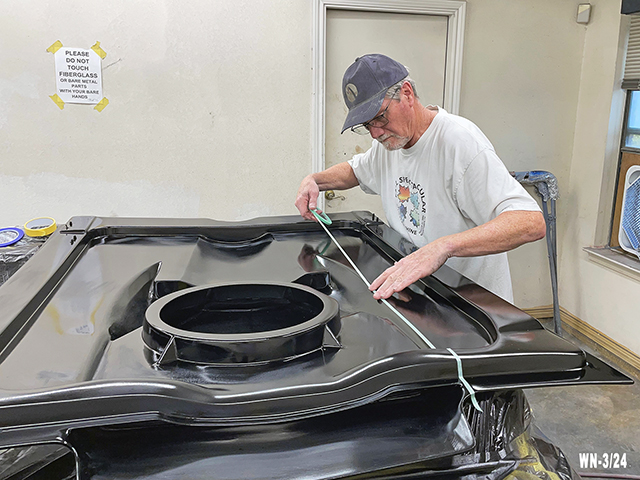
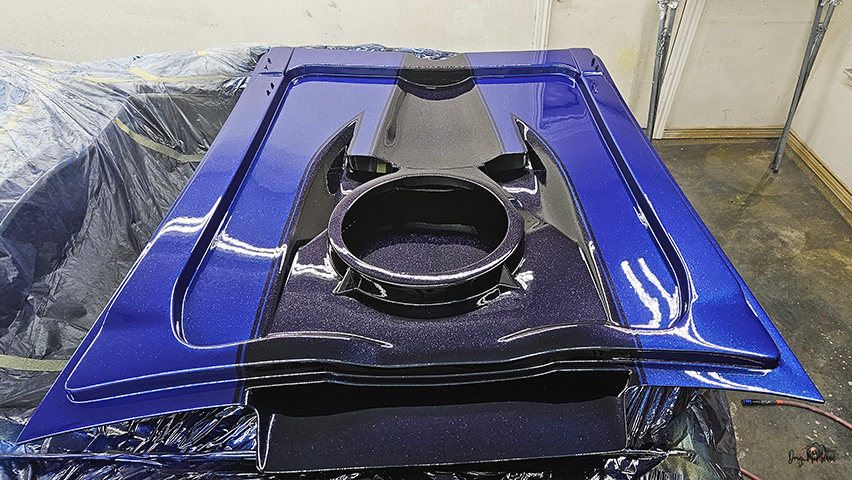
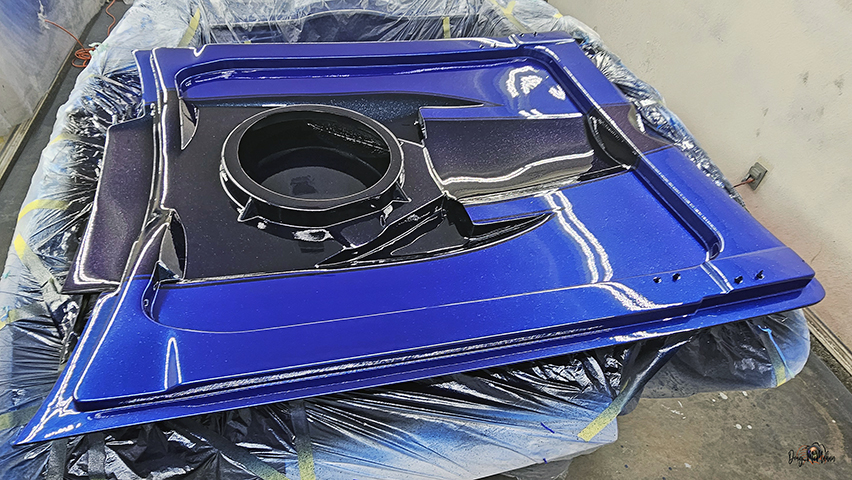
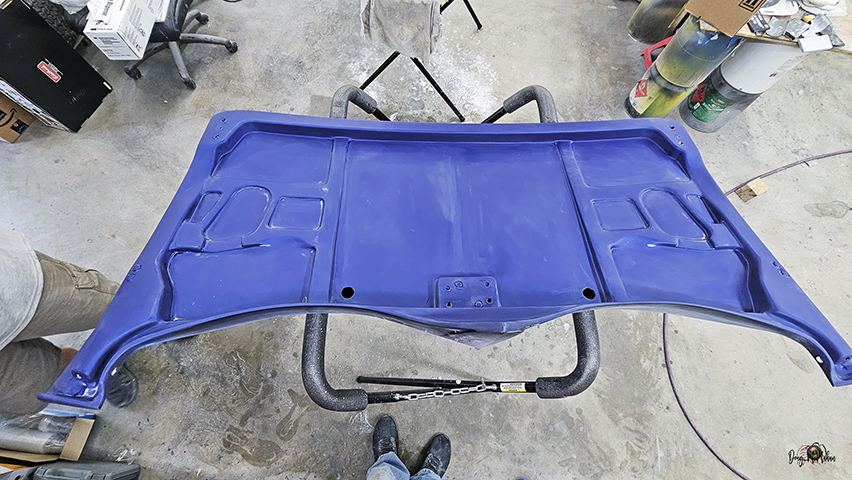
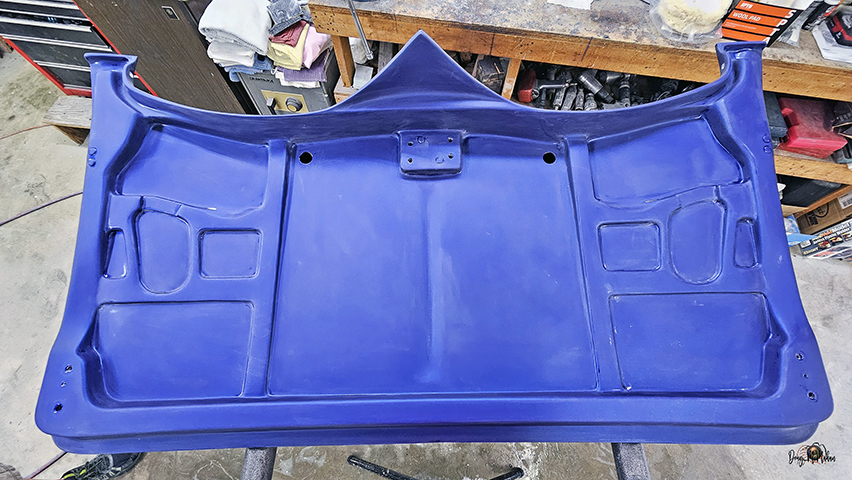
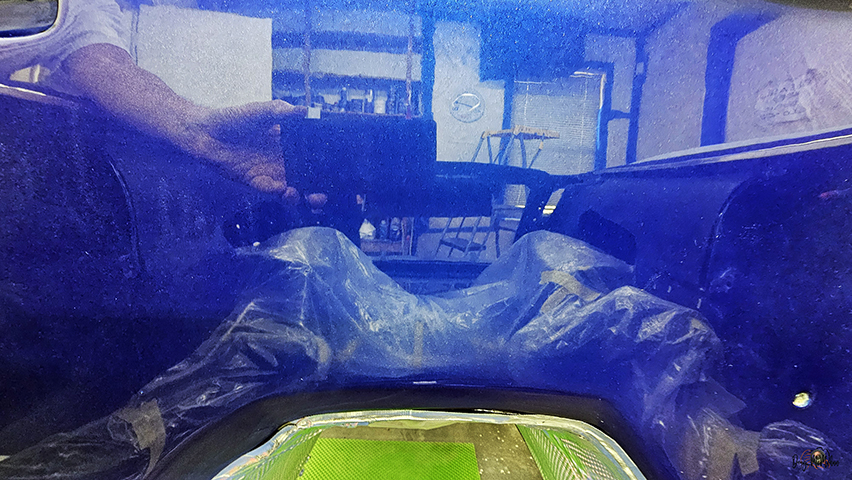
Inside of the Hood Sprayed
- 3/5
Starts with HOK Jet Black base ...masked to mirror what the
outside will be stripped ...then HOK Blue, then blue-purple
colorshift pearl, then diamond dust, then HOK Klear
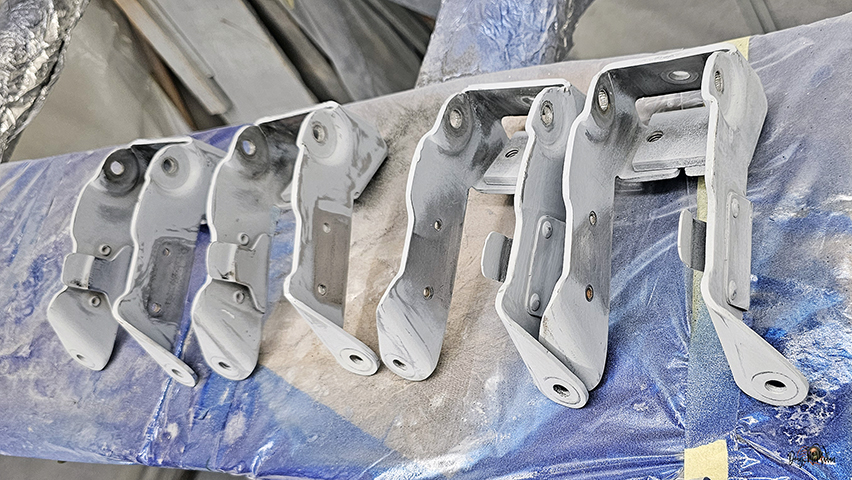
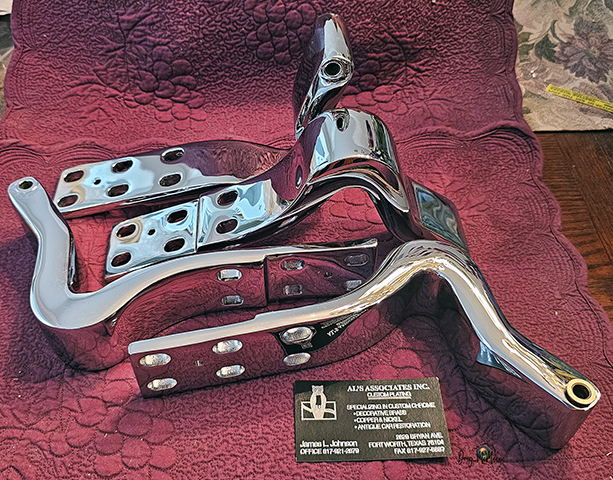
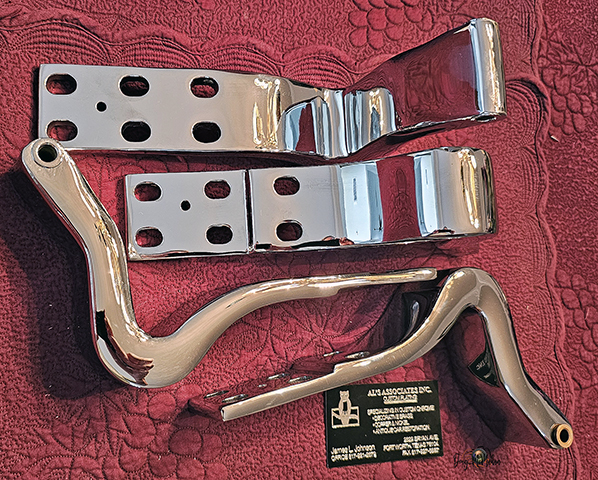
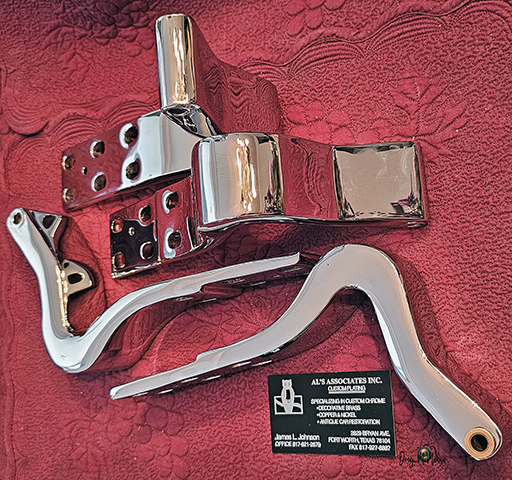
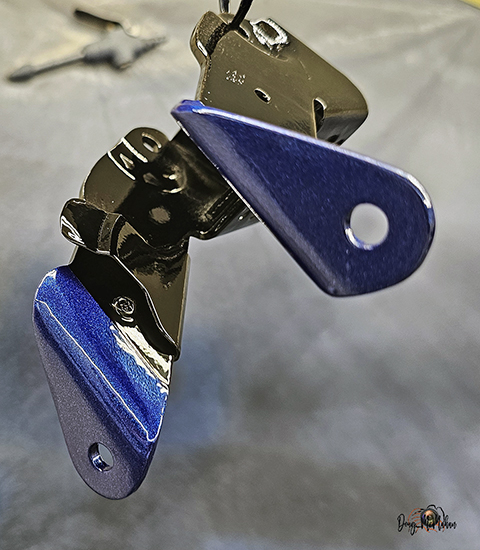
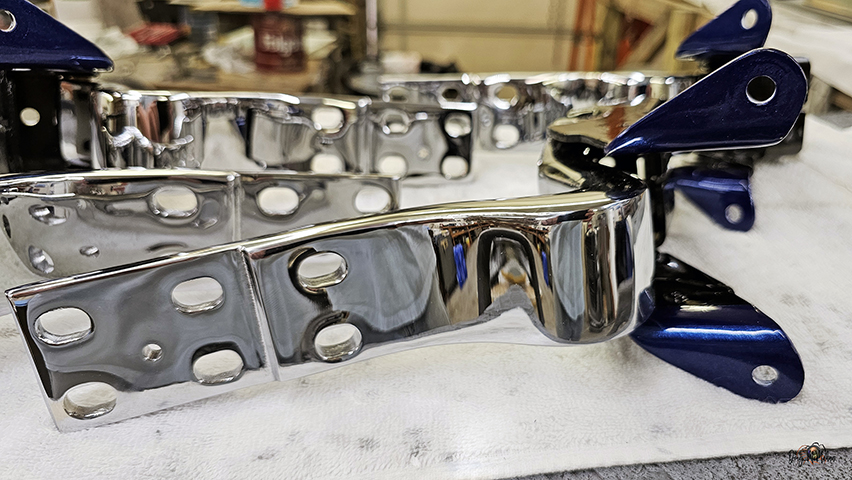
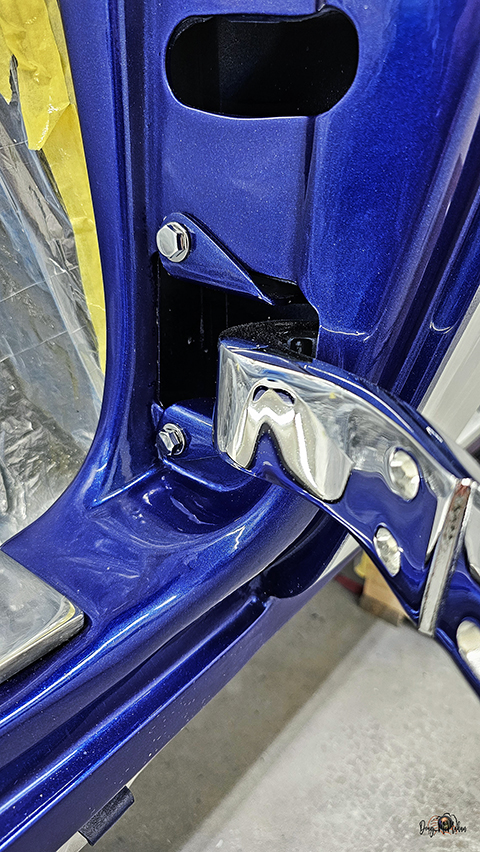
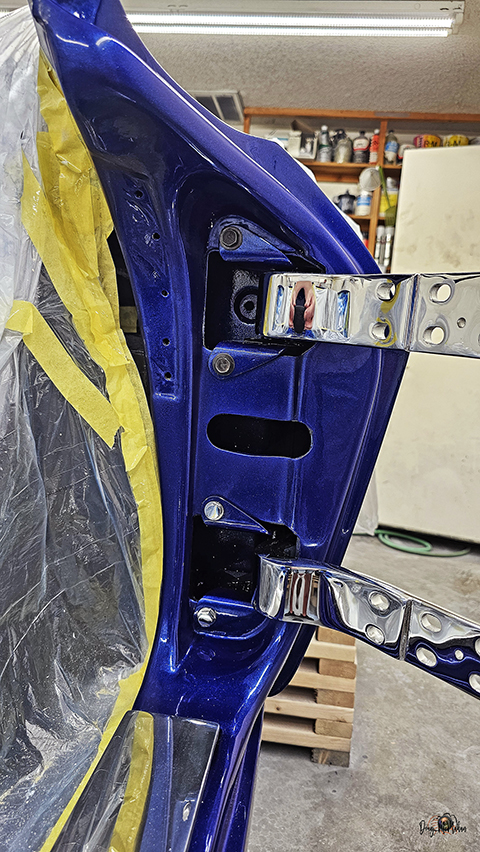
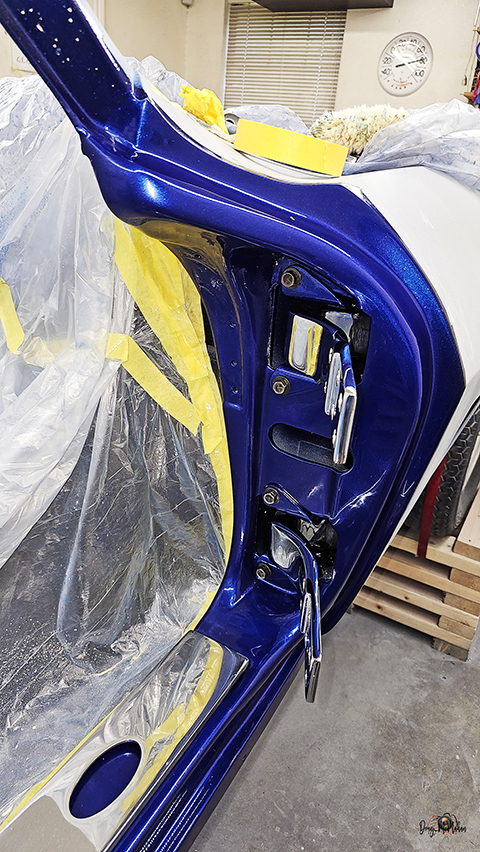
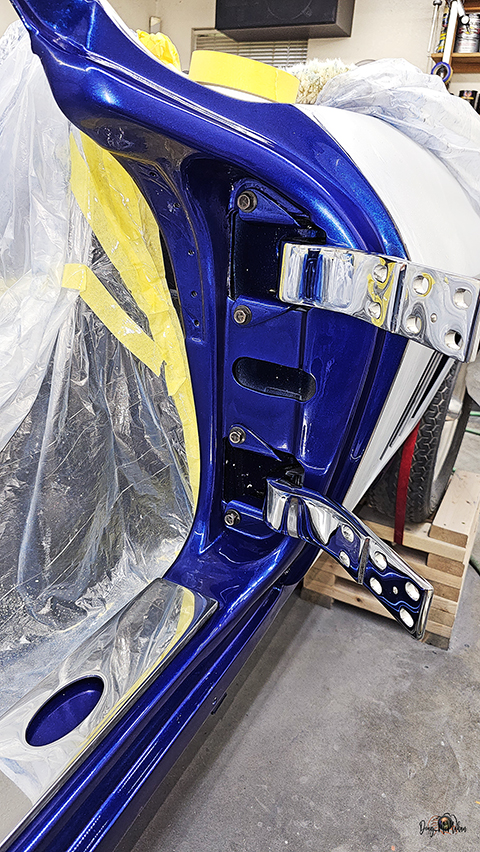
Al's Plating did an AWESOME triple-chrome job on the door hinges
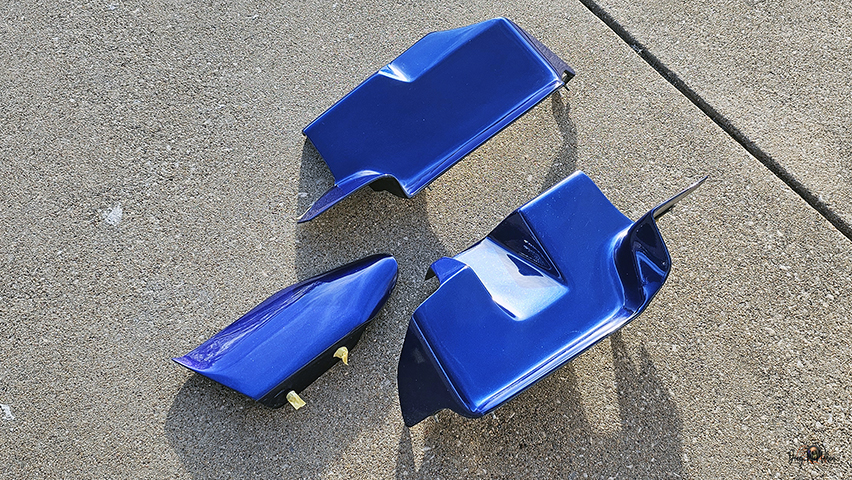
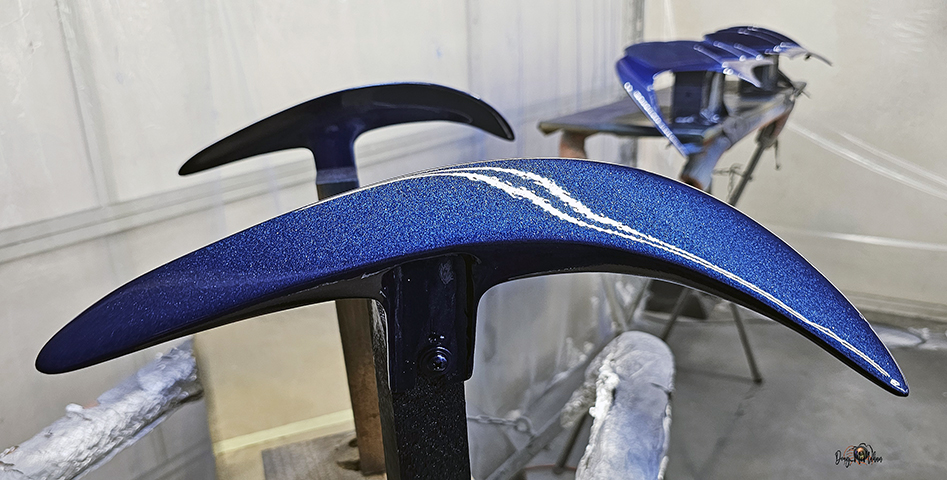
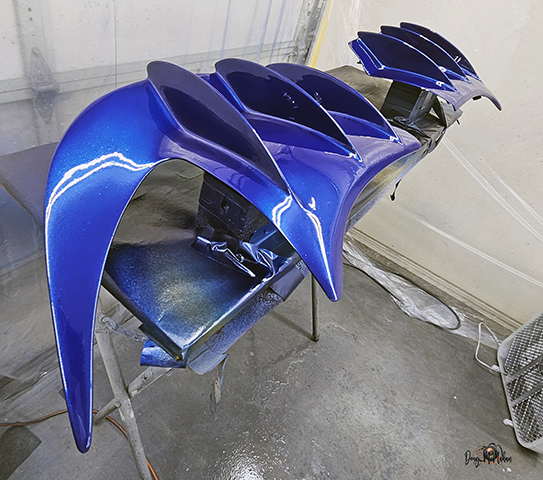
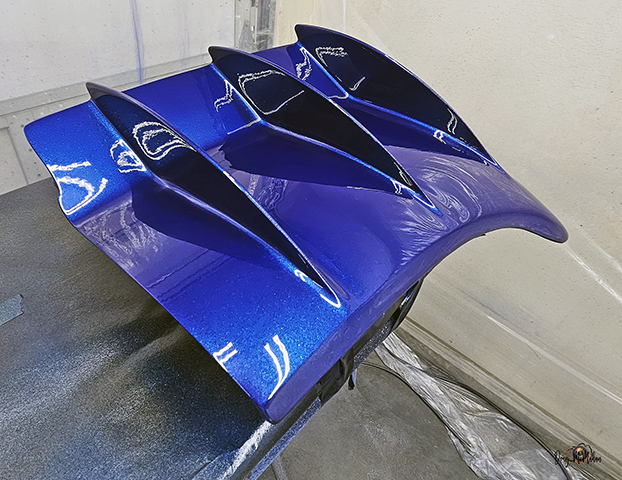
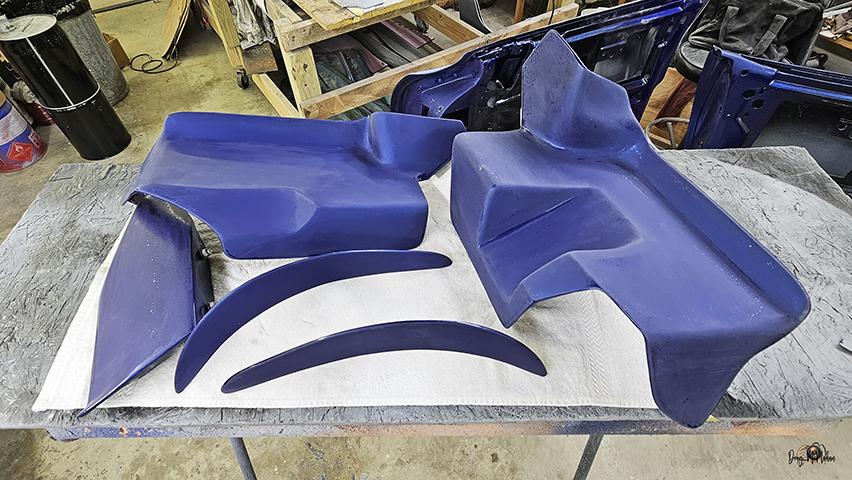
Sraying more Color
- 3/22-30 - 4/15
Laid color on the door hinge mounts, the front winglets and the
rear diffusers
After finishing the door hinge mounts, it was time to put the
hinges in them
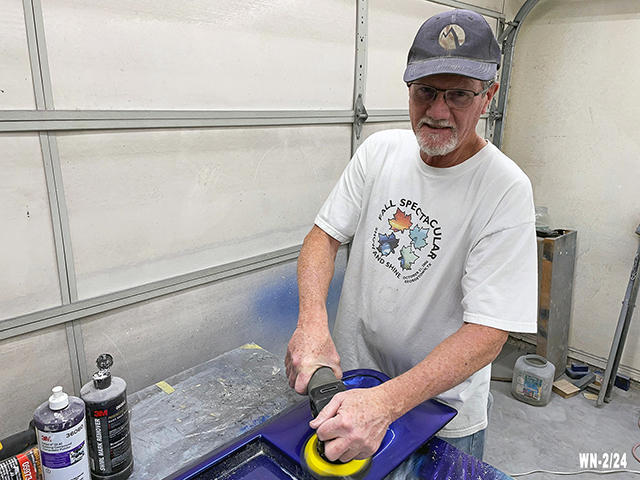
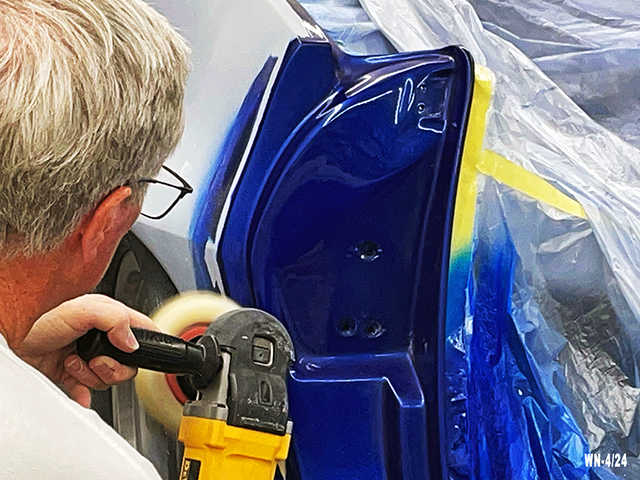
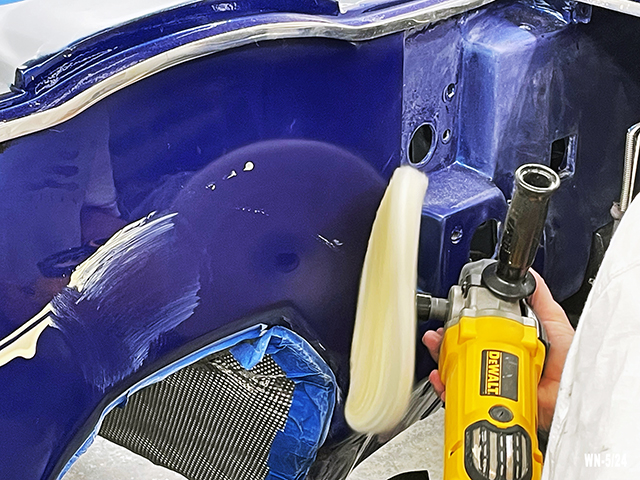
Cuting before Buffing
- 3/5-4/26
Wet Sanding (cutting) the paint on a few parts
Cutting & Buffing Door Jambs
- 4/30 - 5/03
More cutting & buffing - on the door jambs
Cutting & Buffing The
Firewall - 5/03
William cut the paint on the firewall, then it was time to buff
it
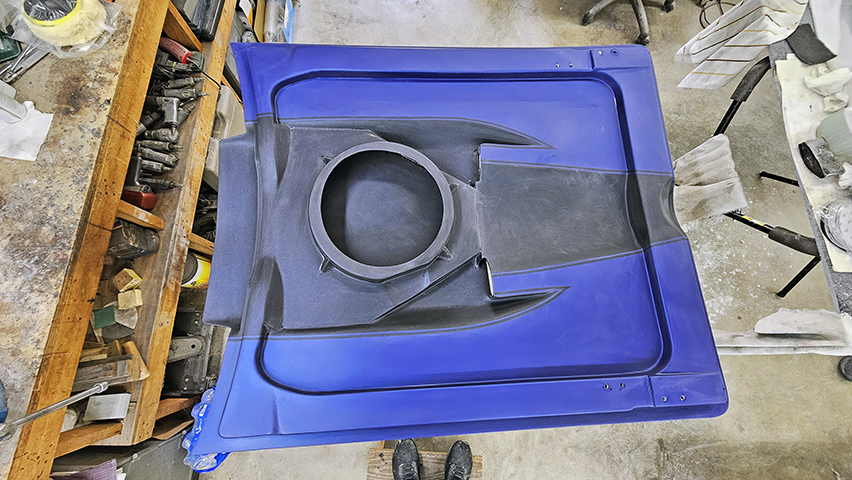
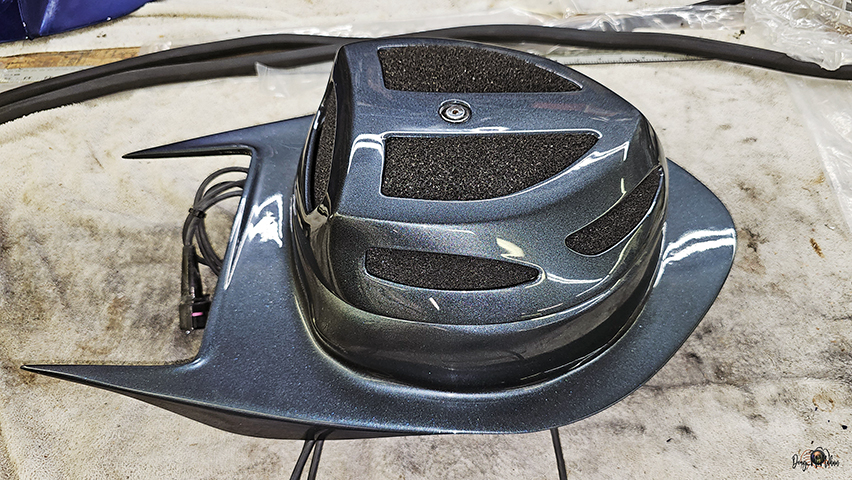
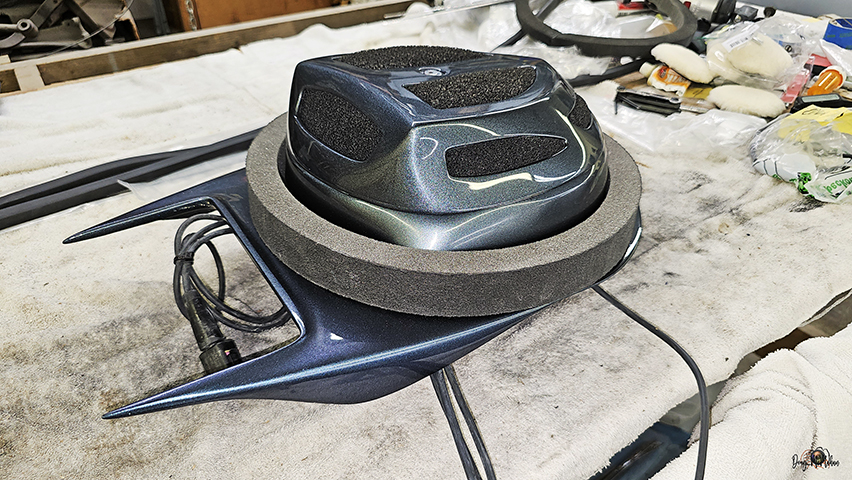
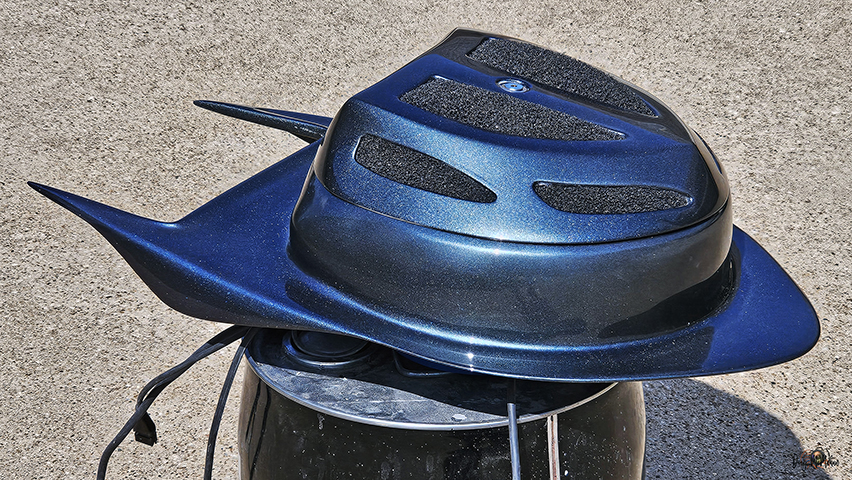
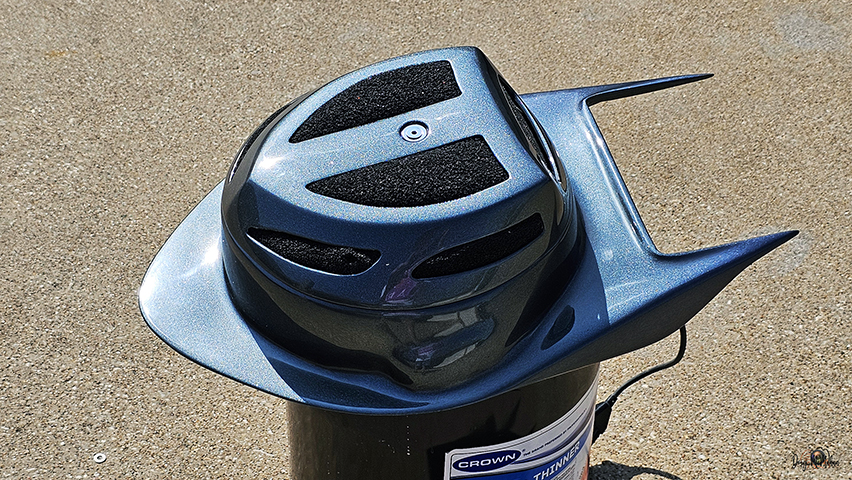
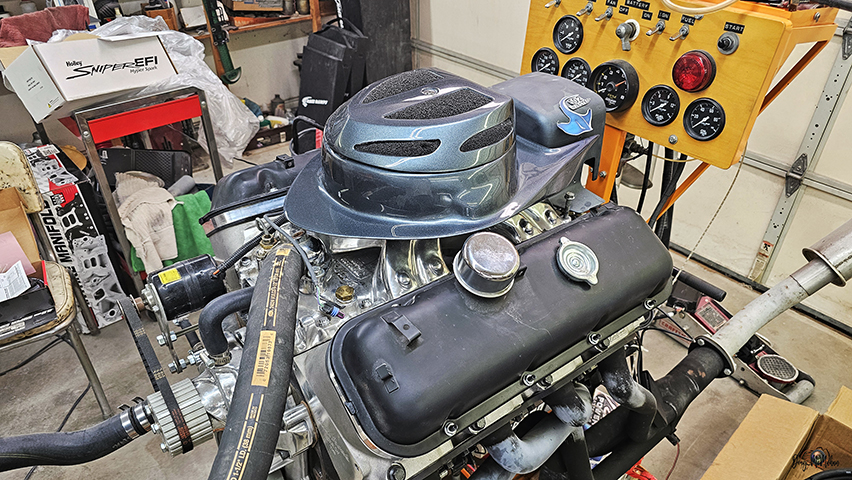
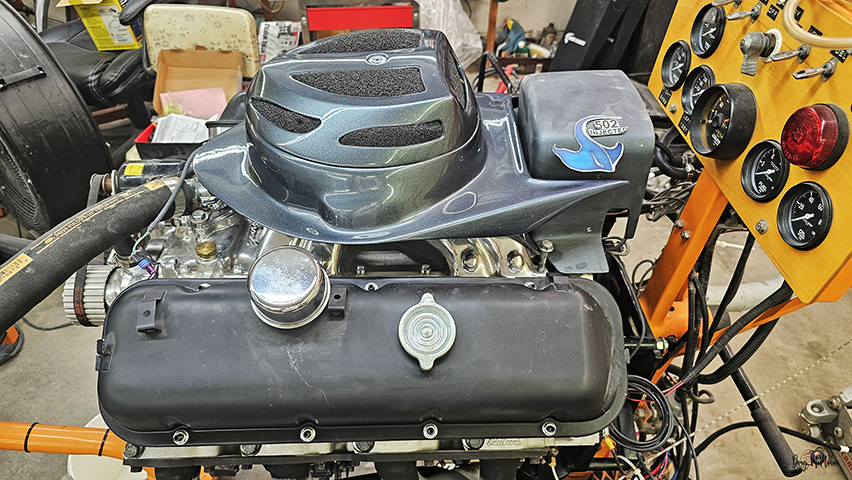
Cutting & Buffing The Air
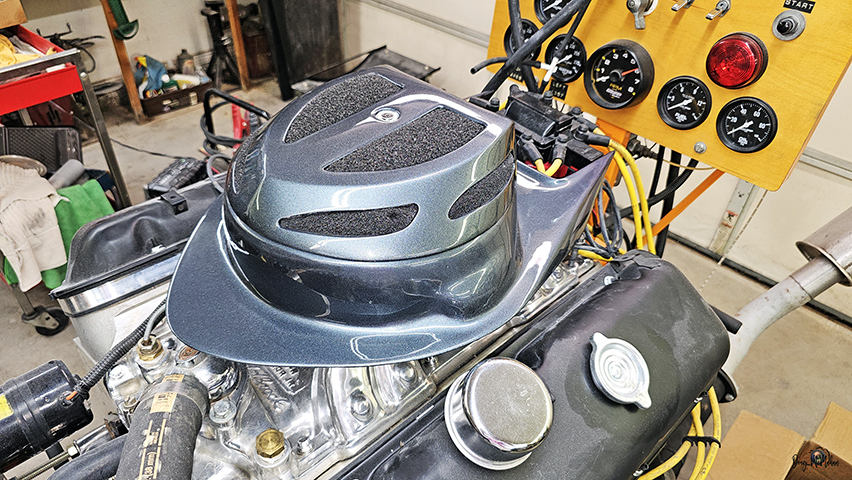
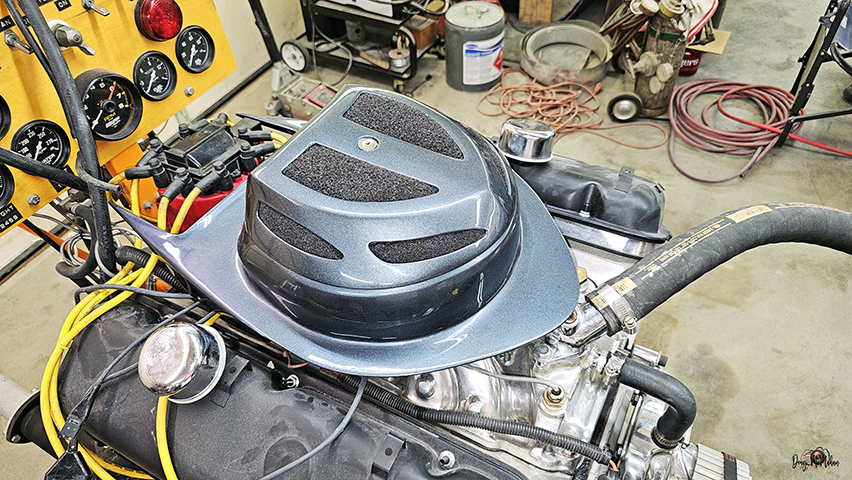
Bonnet - 5/08
This one-off custom built fiberglass Air Cleaner bonnet allows
the Holley Sniper on the 502 Big Block to get clean air thru the
L88 Hood on the '67
Outside in the sun the colorshift pearl comes alive
Time to mock-it-up on the engine ;)
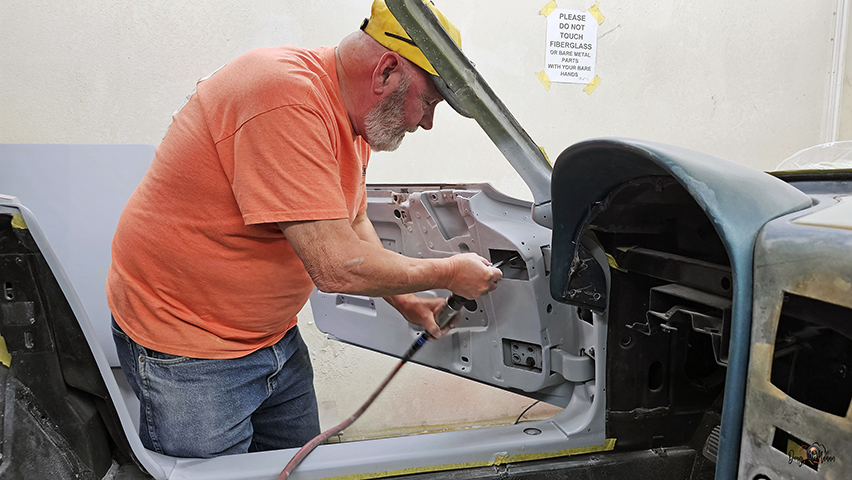
Door Jamb Detailing - 5/08
After mocking-up the door hinges, we needed to turn some
attention to the cavity they sat in. Cleaned them out,
scuffed them and spraint satin black
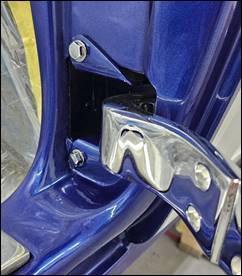
Door hinges back in place - well worth the effort
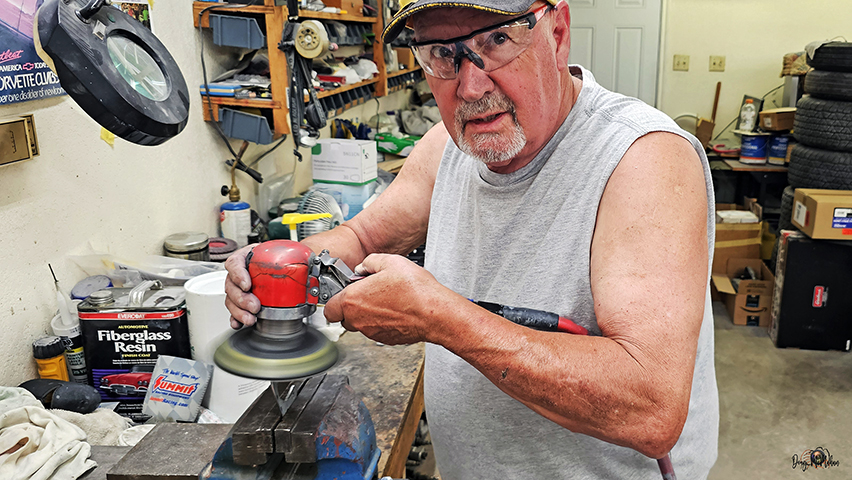
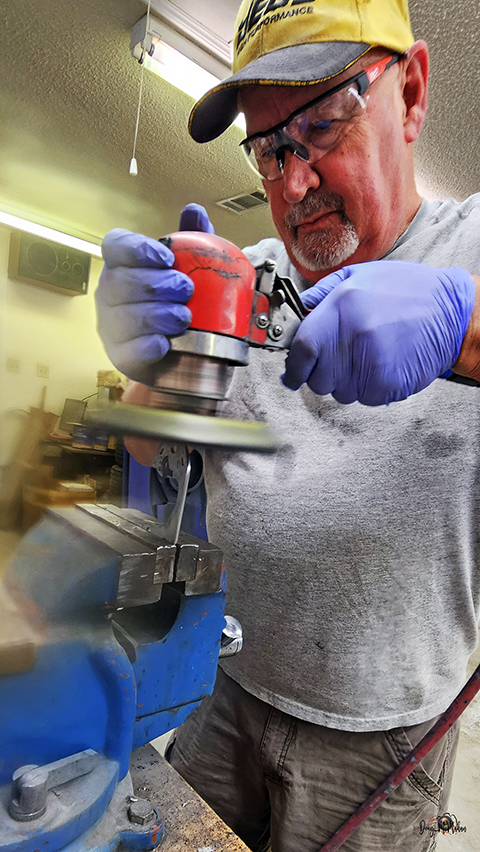
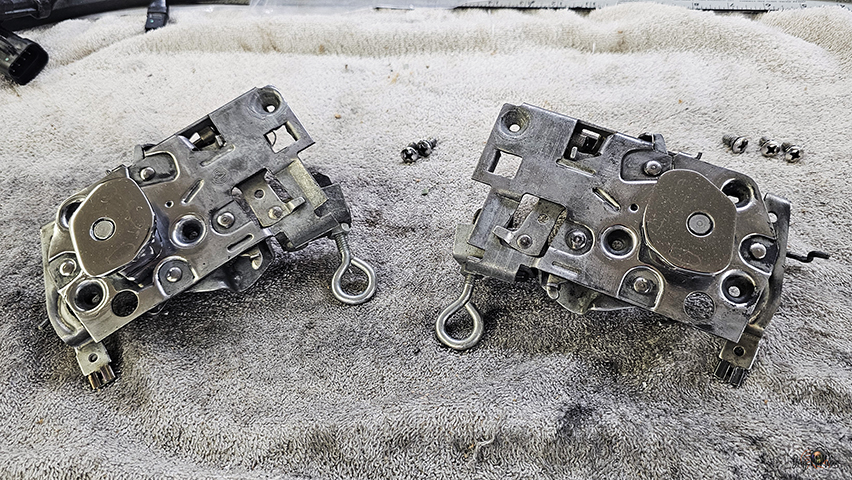
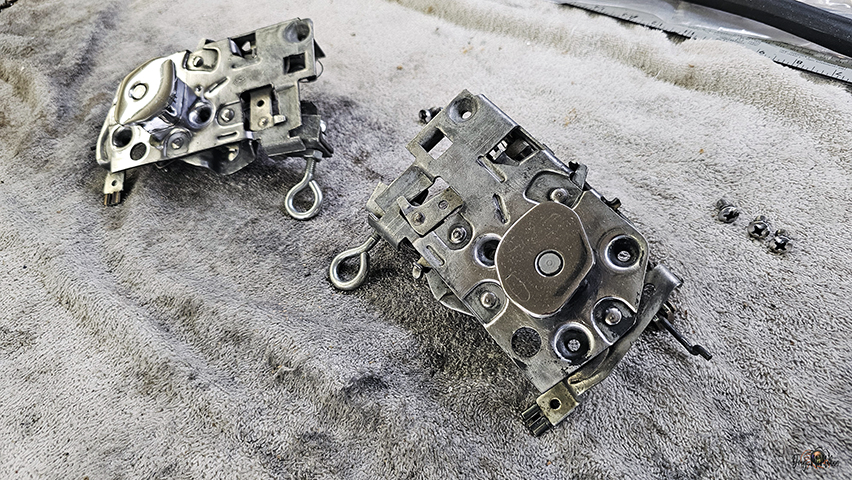
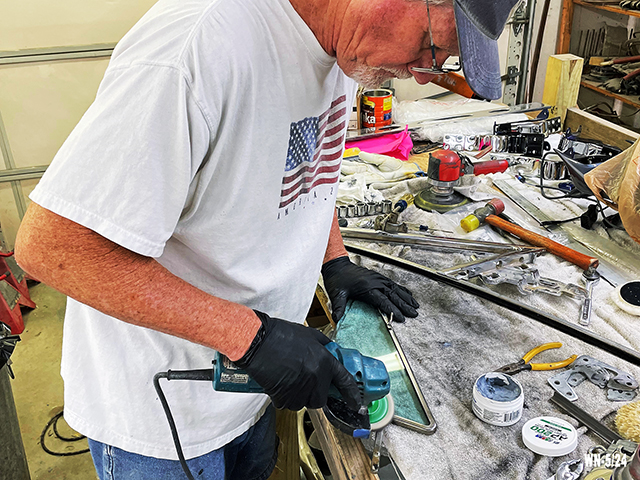
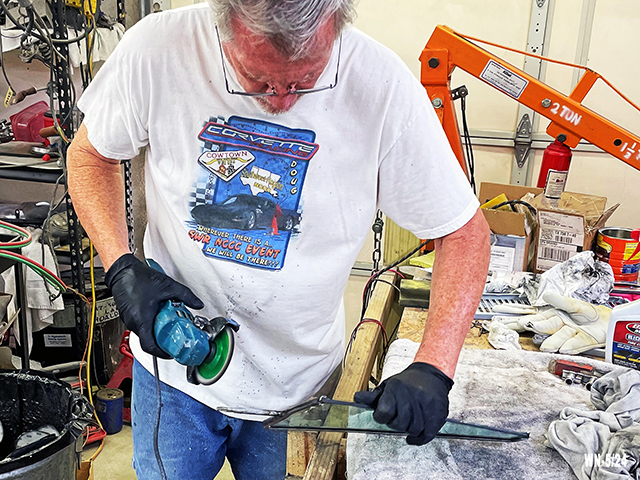
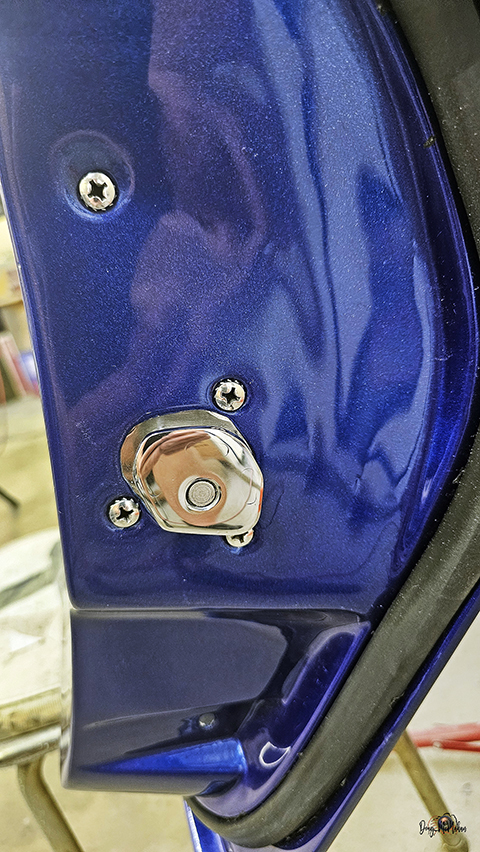
Polishing Stock Parts - 5/14
after some serious cleaning and degriming, it was time to
polishing the stricker shims and the door latch mechanisms
...even though not aluminum or stainless they look good.
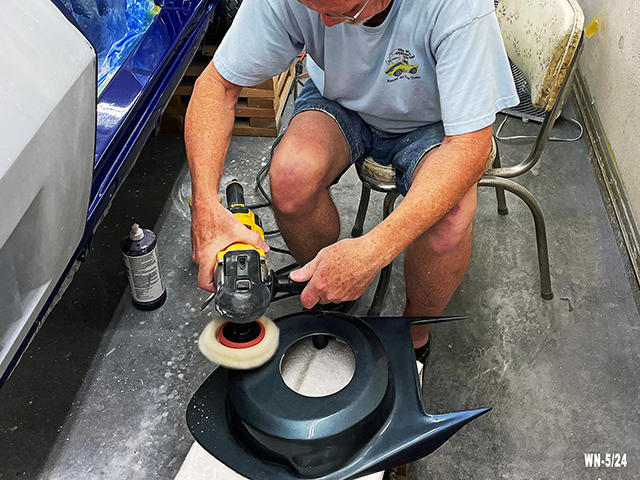
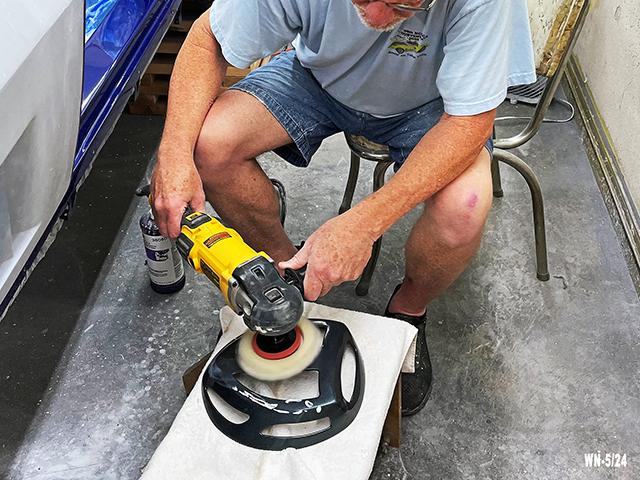
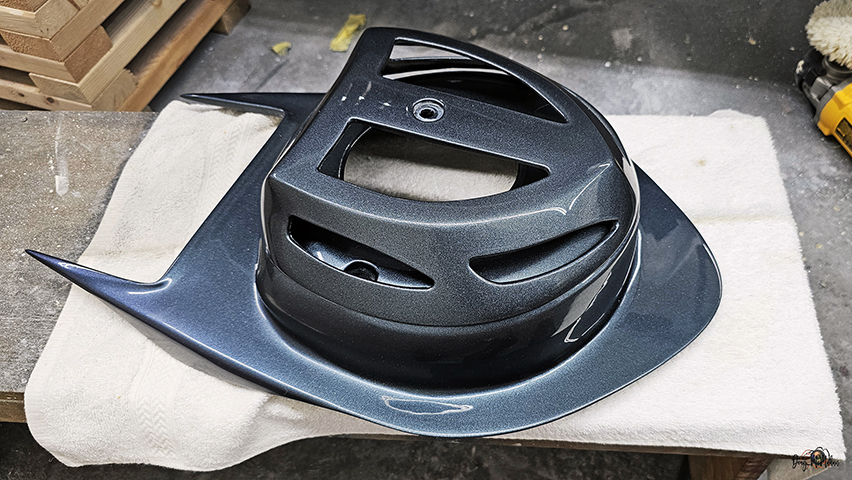
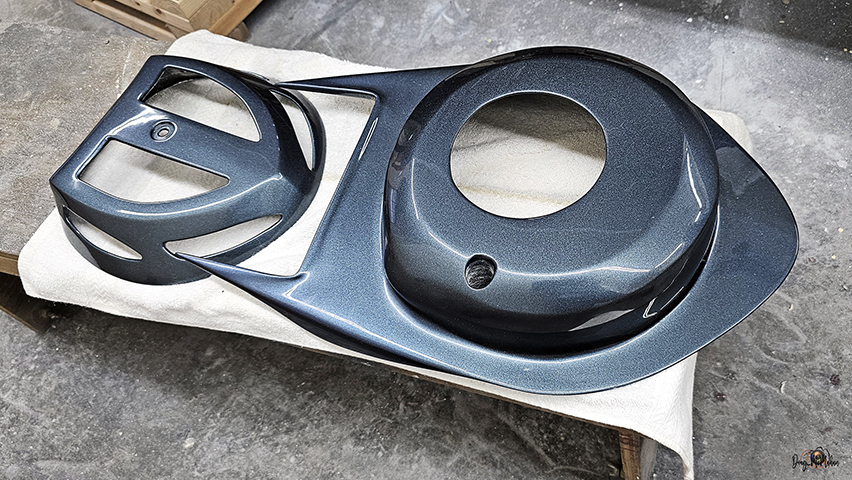
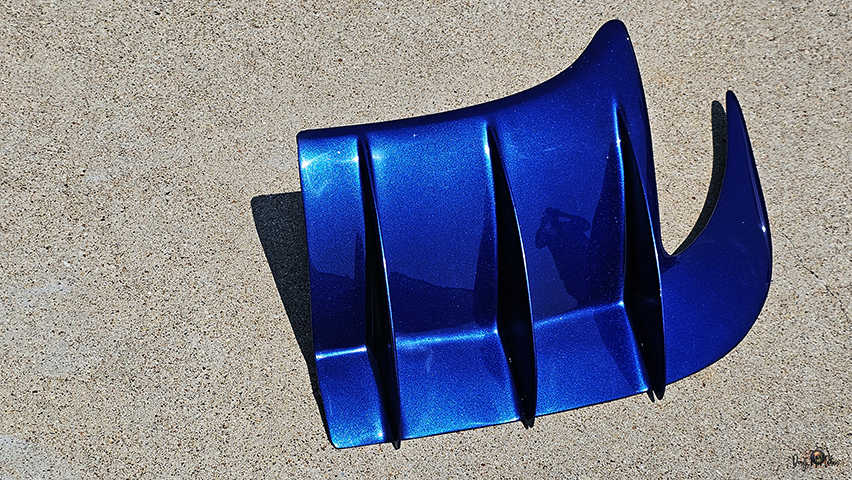
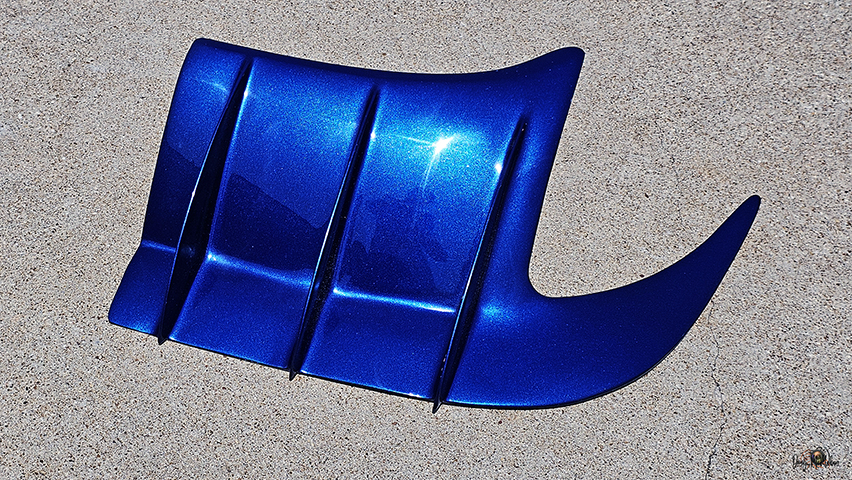
Polishing the Rear Diffusers
- 5/19
Finally rec'd the small buffing wheels and it was time to finish
the cut-n-buff on the rear diffusers.
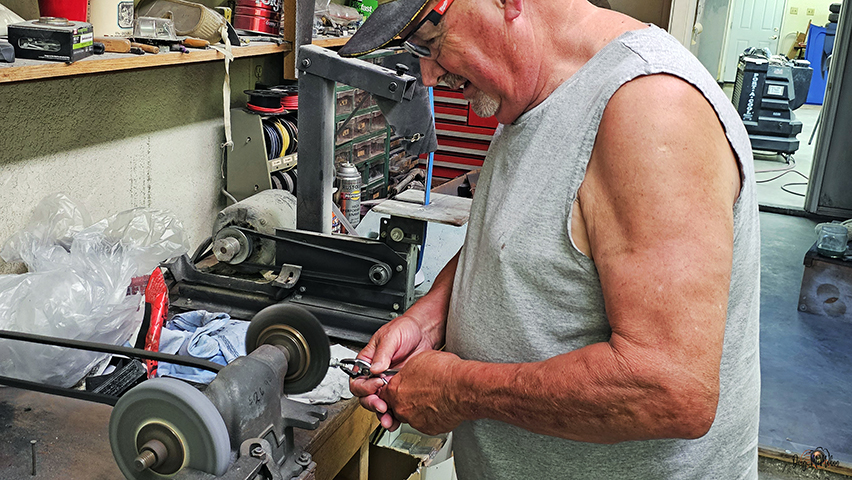
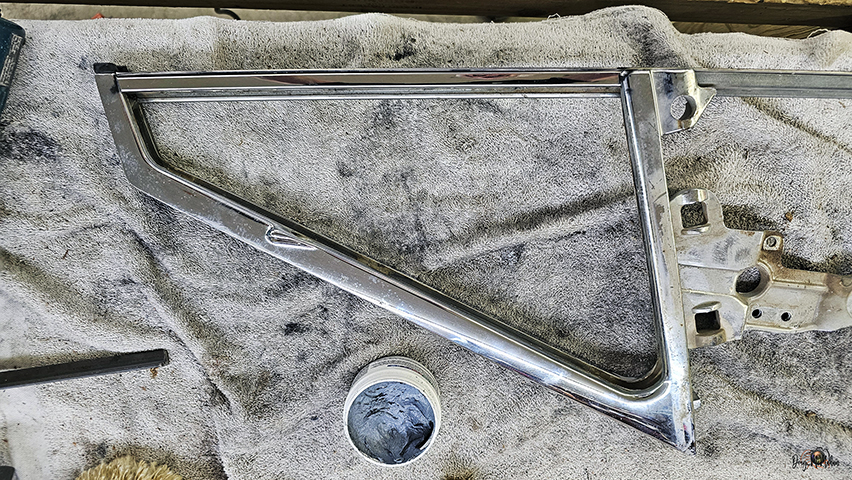
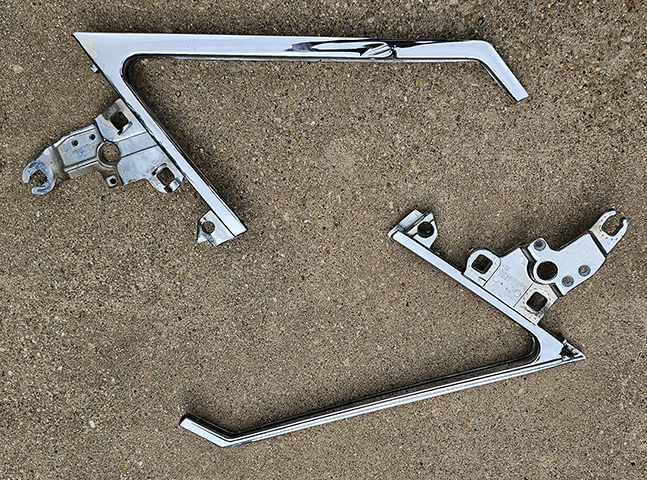
Polishing Vent Windows - 5/20
Time to look at the vent windows (pot metal) to see if they were
savagable or if they had to be rechromed
They cleaned up fair ...but had some pitting that didn't come
out ...time to disassemble & take to Al's
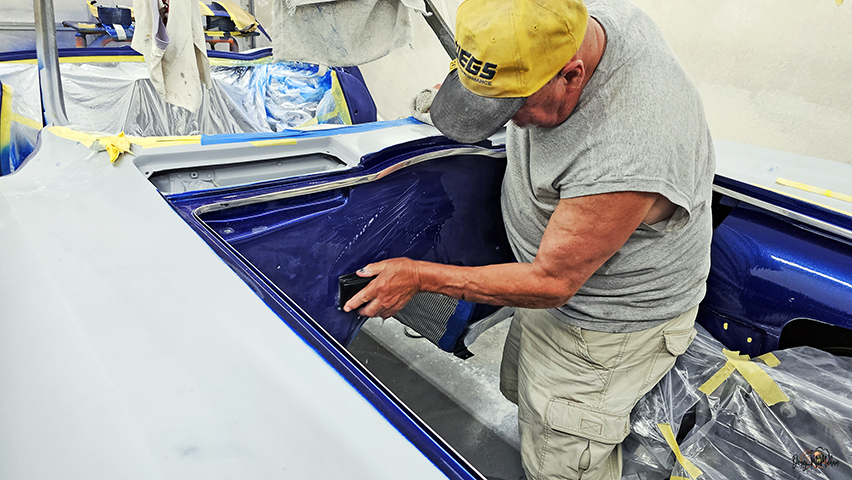
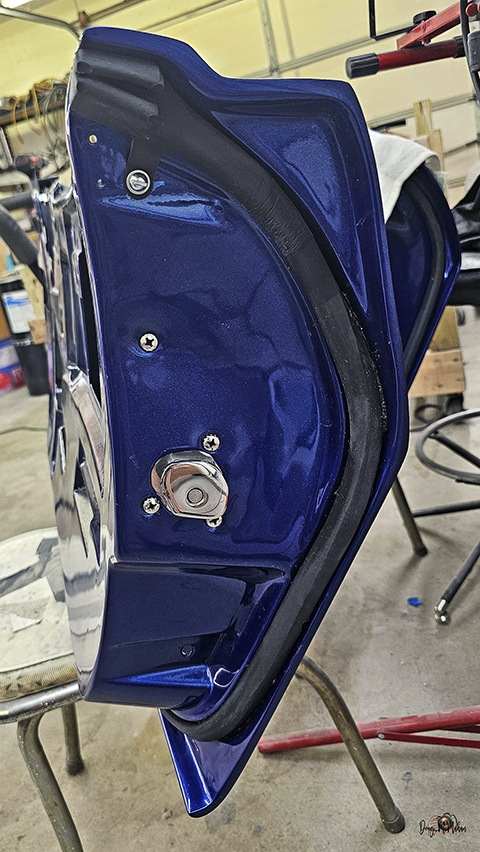
Door Weatherstripping - 6/14
With the door jambs polished out, we might as well put on the
weatherstripping
Turned out good - both doors are done and ready to mount
Mounted the polished door hardware with the new polished
stainless steel screws
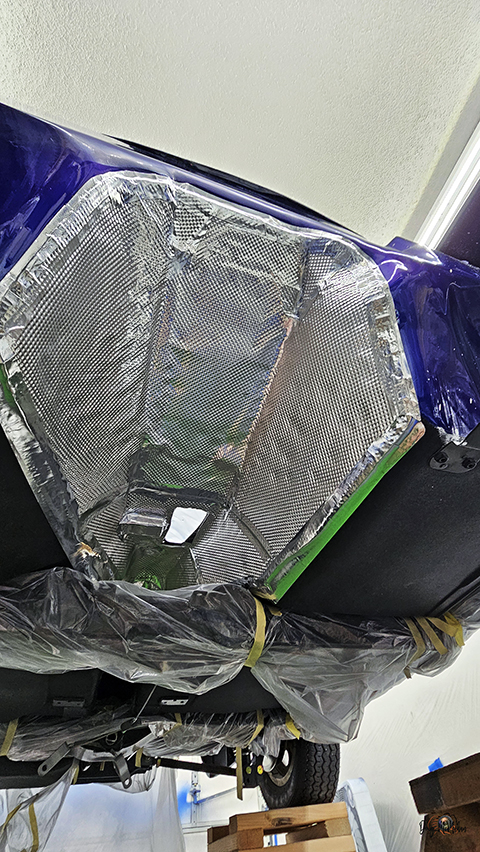
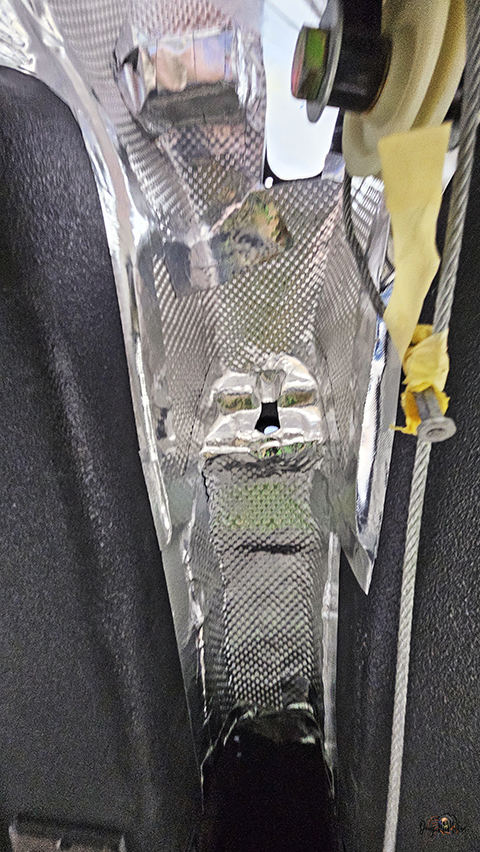
Insulating the Transmission
Tunnel - 6/21
We used some DEI heat insulation on the transmission tunnel
rather than the factory (old technology) insulation
Insulating the Transmission
Tunnel - 6/21
More polishing on the firewall - ashame that BB 502 will hide a
lot of it
Paint Room Readiness -
6/22-07/06
Started installing the Holley Sniper on the 502 BB ...and test
fitting the Air Cleaner bonnet & Distributor Cover
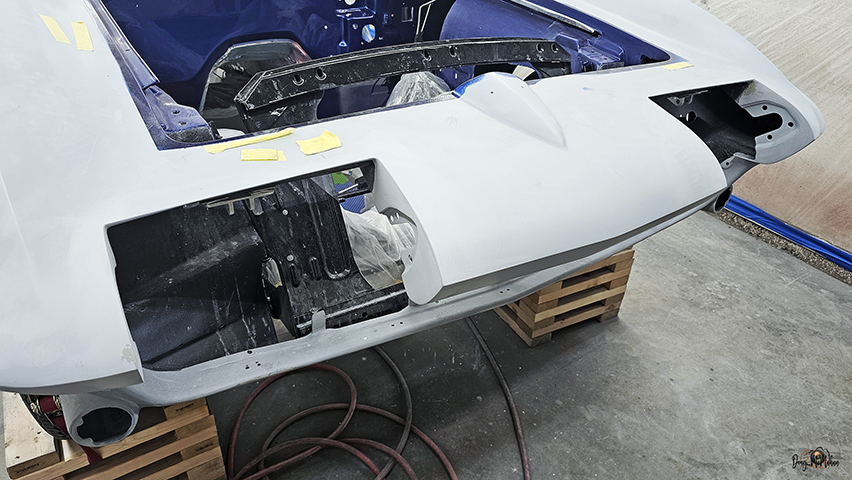
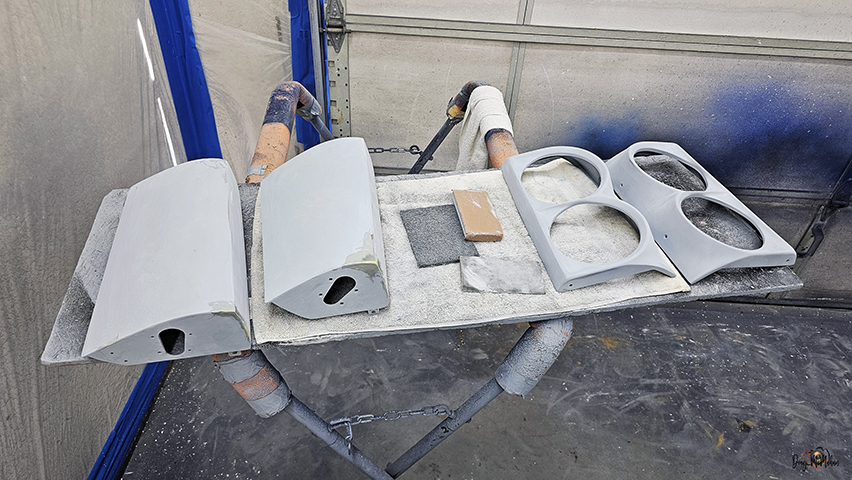
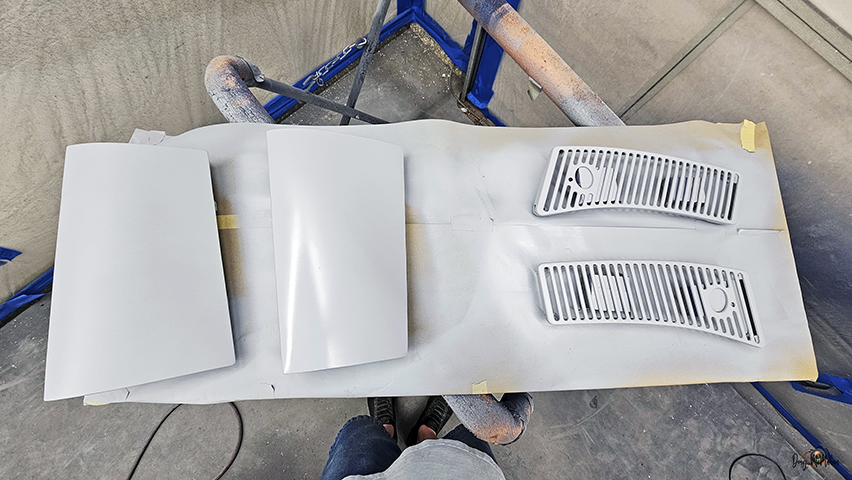
Prepped the headlight openings and doors along with modified
wiper grills - now with fresh primer
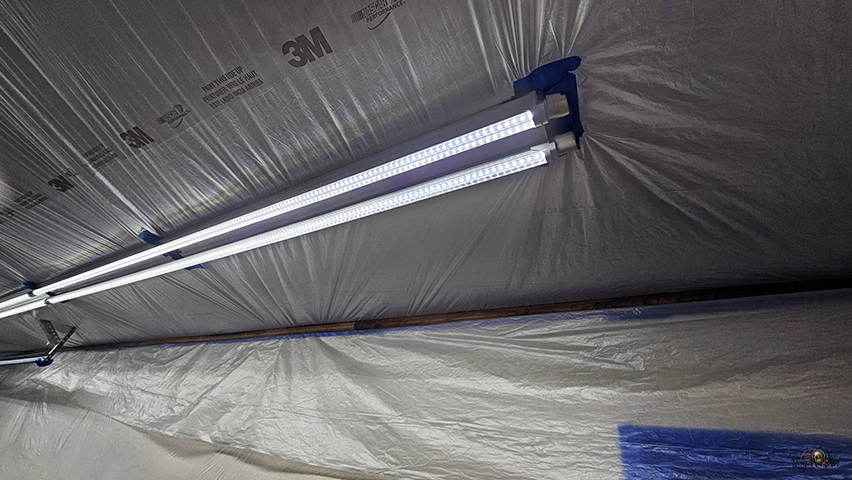
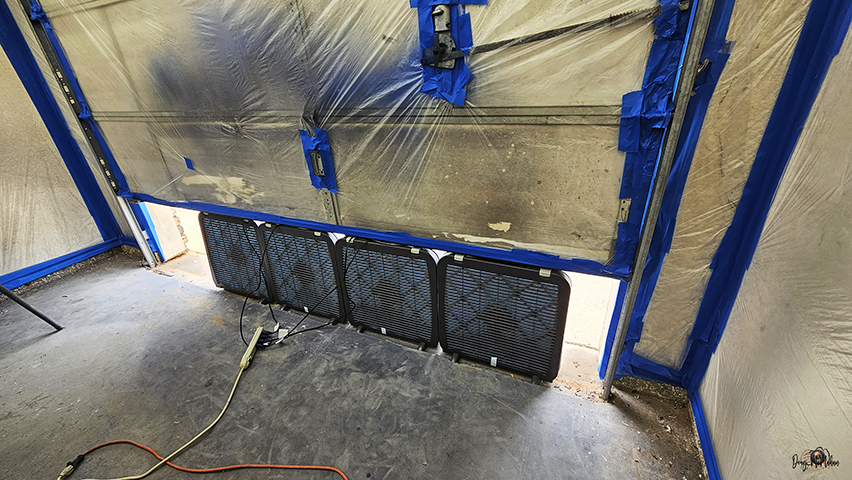
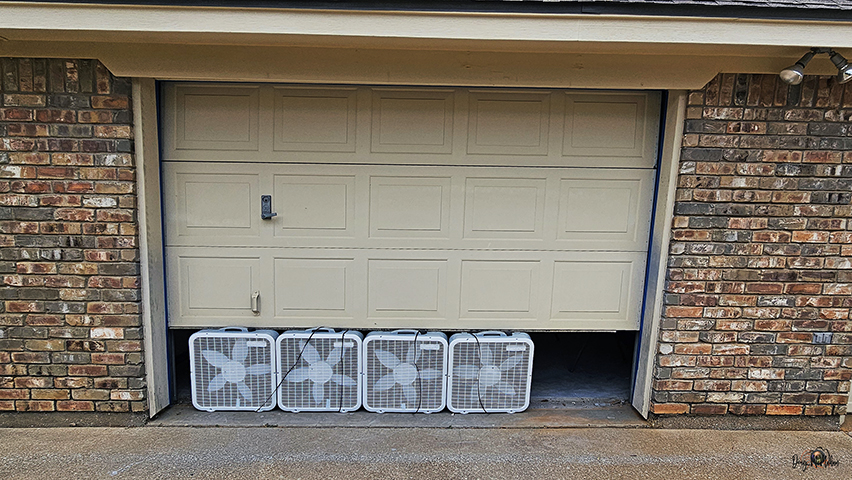
Paint Room Readiness -
6/22-07/06
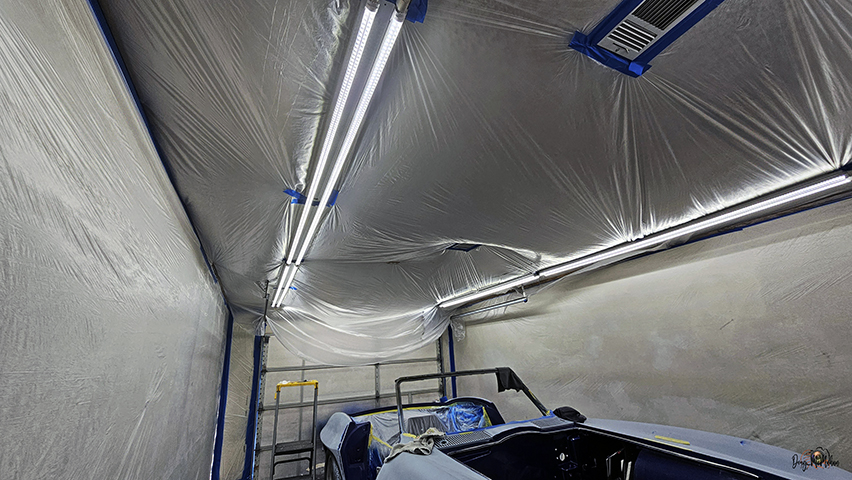
When this paint room was built - the goal was to spray laquer
which dries much quicker than today's paints - so it is time to
cover the walls & ceilings to keep out contaminants
Since the room has no ventilation, 5 high-velocity (filtered)
fans will reside under the overhead door and one in the window
on the opposite end of the room